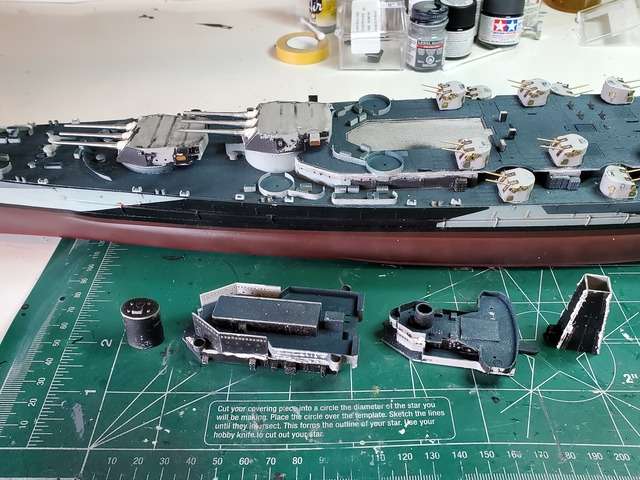
Thanks Stuart,
No, in fact the only ones I can find is Tire Black and light grey for wheel well interior. I was thinking it's white

I may be wrong. I'll do some more research but it sure looks white to me. The exterior changes from FS-36118, FS-36170 to FS-36176 depending on what uber rivet counter forum you are looking at. The consistence seems to be Have Glass FS-36170 with FS-36270 for the radom.
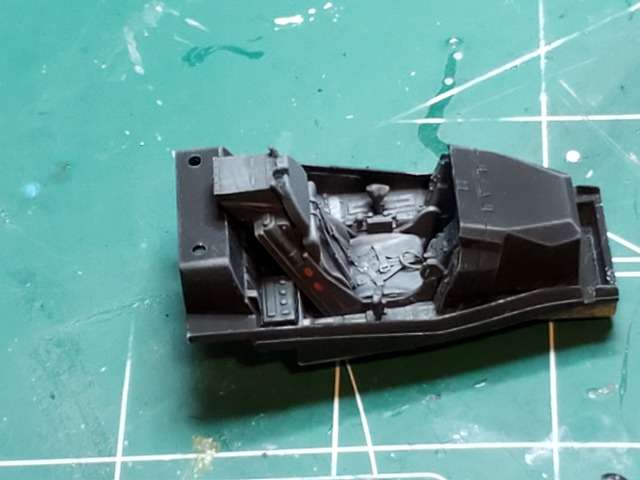
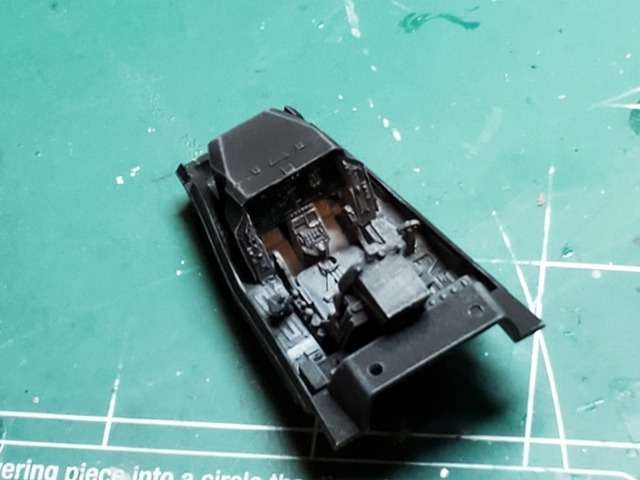
I read where you needed to dry fit the cockpit and nose wheel well sections to the fuse half prior to gluing, I concur. After assembling the wheel well, I stuck the parts together (the instructions have you attach the well and pit together prior to closing the two half's latter) and found trying to get the upper fuse connected to the cockpit was difficult. In fact, my ejection seat broke off during the process but that's OK. I usually don't install the ejection seat until I install the canopy anyway. I temp glued the wheel well in the lower half and snapped the cockpit into the upper half. It's a nice fit so it didn't come out, and aligned the two half's. Yep, the problem I read so much about reveled itself. There's is no wheel well and cockpit clearance so there's a huge gap in the fuse seam. I took my grinder and ground off the cockpit floor 1 mm, maybe a little more and tried again. Still not quite right, There was clearance but the half's still didn't join without some force
. I remembered the tall aligning pins on the wheel well and cut them down. Boom, it fit!
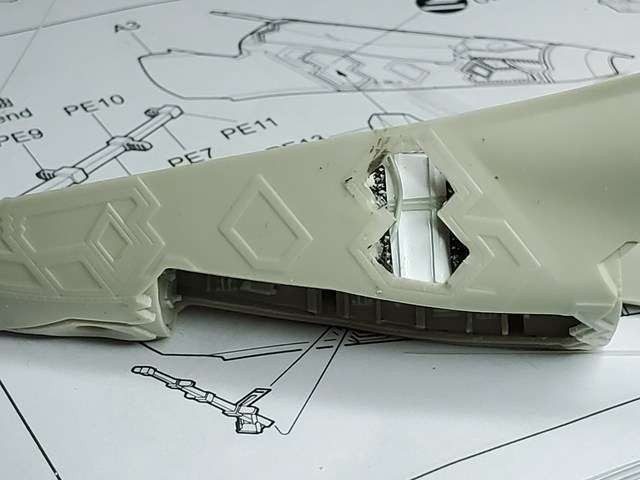
The instructions show a neat little ladder door in PE that can be used along with a PE ladder. This requires the door to be cut out and replaced with the PE part, so after milling this over in my head, in between scenes of Band of Brothers I was bingeing on Prime, I figured "what the heck" everything's going to be open on this bird for the RN fellas to inspect so I'll do it. Back to Google for some more research on the ladder door. I did some scratching, both my head and pieces of sprue, and came up with the best rendition of items I could make out in that little space.
Now on to the engine and driveshaft, the latter I understand is another pain.
The wheel well in the lower fuse assembly.
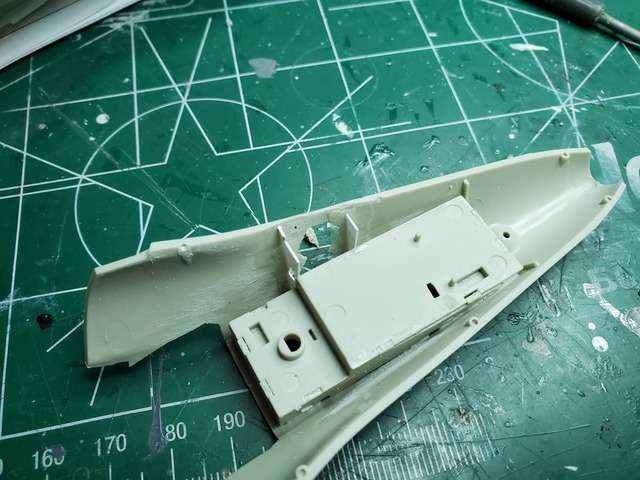
The finished ground down pit assembly in the upper fuse part.

The fit after surgery.
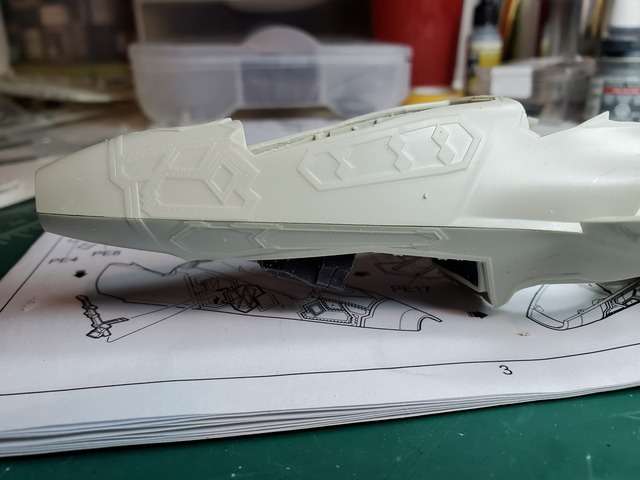
The cut out ladder door and instructions showing such. Not the best instructions. If I was a novice this would seriously confuse me since there doesn't seem to be an option for open or closed.
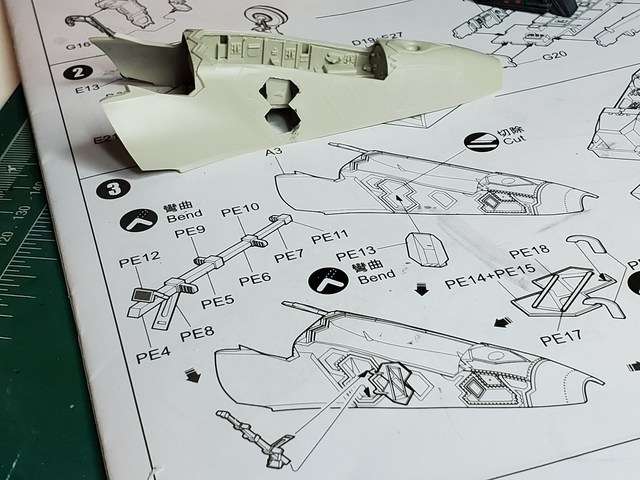
And finally, my rendition of the interior. the bracing still needs a little work and the RAM tape needs to be re-scored, but otherwise, I'm happy with it. A little paint goes a long way.