Re: From Kenny X’s Shelf Of Doom
Posted: Mon Oct 19, 2020 9:06 am
Keavdog- thanks for following along, buddy!!
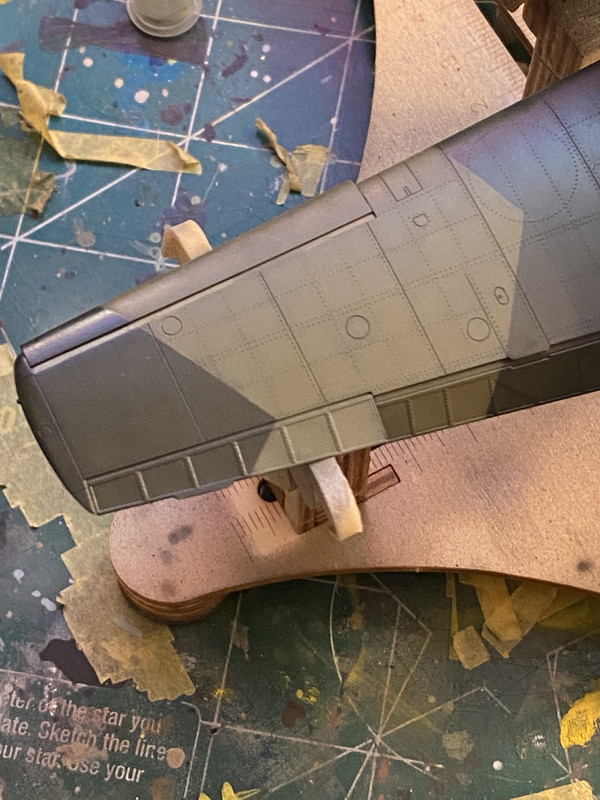
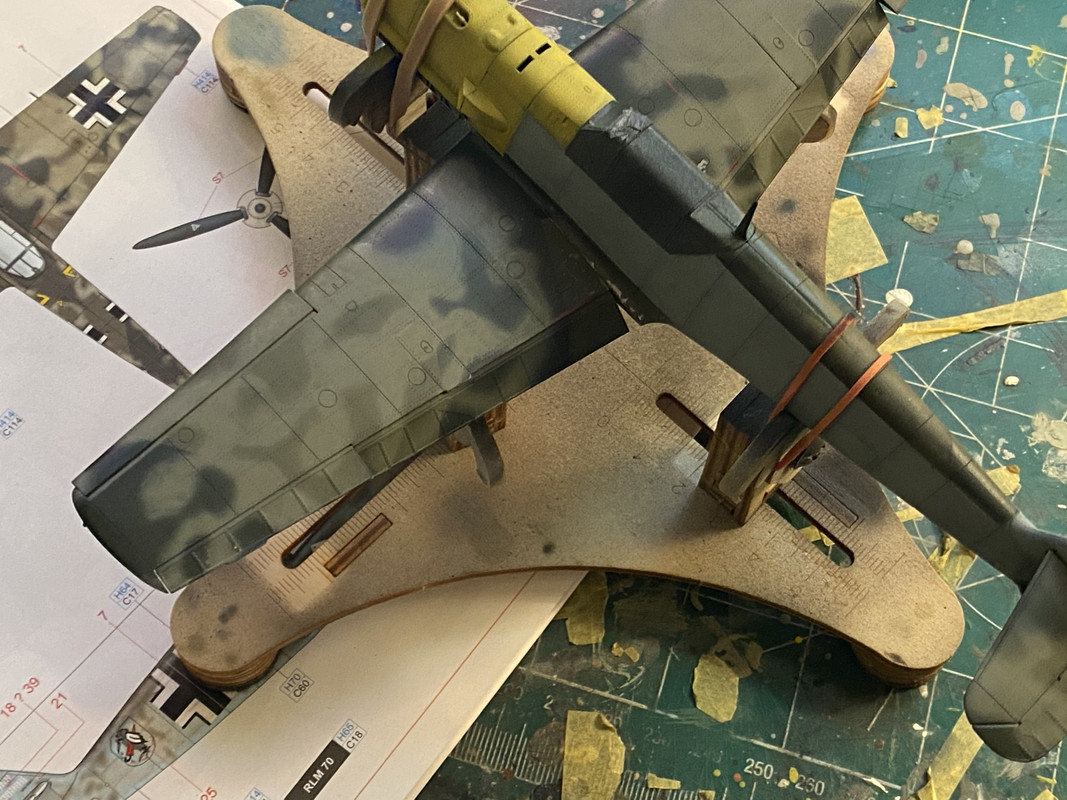
OKAY! So I got some good work done this weekend. I got the RLM 70/71 Splinter scheme done on Pips’ Emil! And you know, I’m glad I opted to change my game plan and forge on ahead with this thing instead of smashing it after Friday’s disaster. Painting this scheme was relaxing and fun.
During the painting process, instead of doing mottled/marbled coats in each panel like I used to, I used the same method that I used on my 1:32 Zero, vis- I used the areas in-between the rivet lines as my localized areas instead. This gave me a smaller grid to work with, and allowed me get some nice depth in the RLM 71. Not so much in the RLM 70, but that’s okay- that paint is so doggone dark. Anyhow, I’m happy with this and it’ll be a real nice base to work from when I set about the field-applied RLM 02 overspray tomorrow. I’m gonna use Silly Putty snakes to cordon off the areas for the over-spray.
Oh, nearly forgot the most important part of this post— FULL DISCLOSURE:
There’s been a lot of debate over which camo scheme this airplane originally started with. You can’t tell at all in the photos I have. And Eduard’s instructions indicated this particular splinter camo scheme, and I picked it purely because I thought it looked hella-cool under the over-spray. That was my only motive- to paint something cool. I am not a Luftwaffe historian, and shoot, fellas- y’all know I don’t research these things too extensively. I download whatever pics I can find for references -if any- and compare them to the schema outlined in the instruction booklet and off so go. So I’m not so married to this that if it ever came to light that his aircraft didn’t wear this under the RLM 02 after all, I won’t be upset.
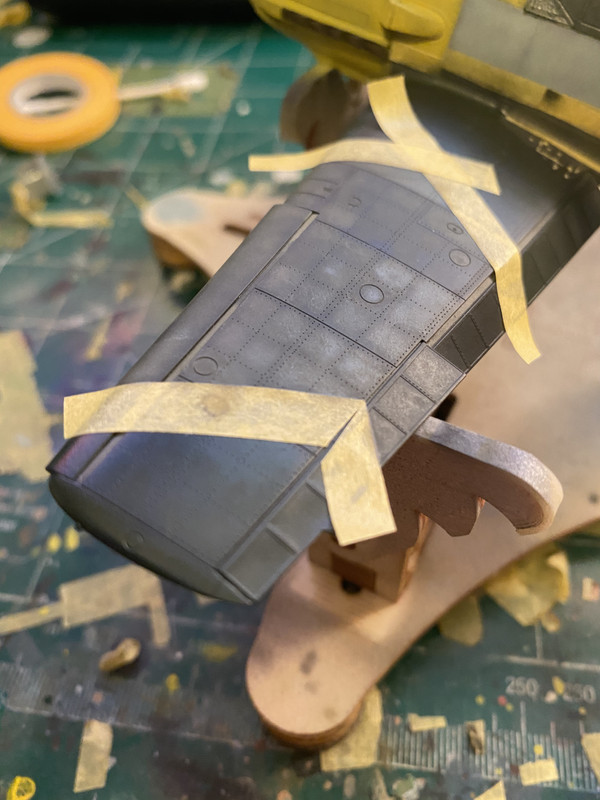
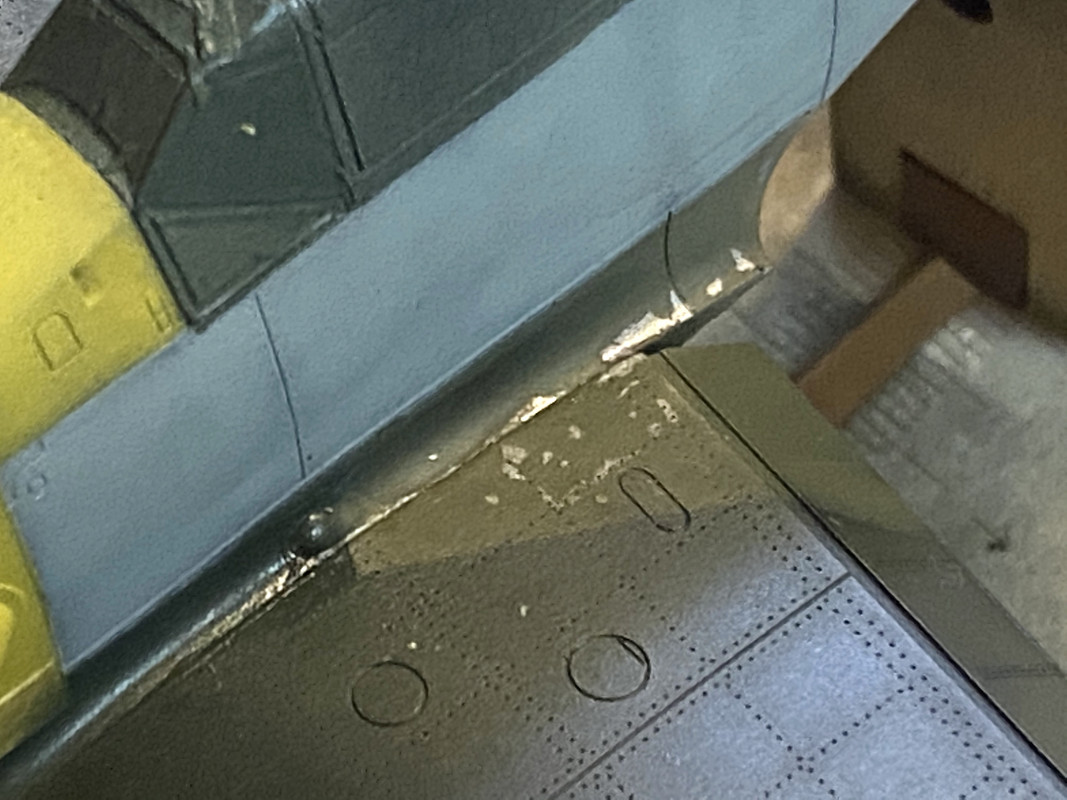
Also, I decided to chip this bird. Y’all know that as a general rule, I don’t chip paint on German aircraft. I have no idea why, except to say that for whatever reason my OCD attached it’s self to Emils and Gustavs and Doras and decided it wanted any of them that I build to be pristine and in tip-top shape. Well, that’s cool and all. But chipped paint happens. And y’all know that in the past I have gone completely overboard with paint chipping effects. My philosophy when chipping paint was “Why back off when you can double down!” ... Aaaaaand y’all know I ended up hating my results. WELL, while working on my Panzer III I had some time to really tweak and dial-in my chipping method and line it up with my new “Noticed But Not Seen” weathering philosophy. And I carried that over to this project. What I did was:
1. Base the areas with Alclad Duraluminum
2. Scan my hobby mat, which is full of scraps of old, used masking tape stuck to it, find haggard-looking pieces, and slice them and dice them with my hobby knife into very small, damn-near-diminutive/microscopic tidbits and place each one by hand precisely where I want the chips to be. This way I can envision exactly how they’ll look as I’m working, and it keeps me from going overboard.
Okay fellas, that’ll all for today! Here are some photos, I hope you enjoy them! Be well and God bless.
During the painting process:
RLM 70 looks like crap with black next to it, but looks lovely with RLM 71 next to it, in my opinion:
My hobby mat is a goldmine for chipping mask material:
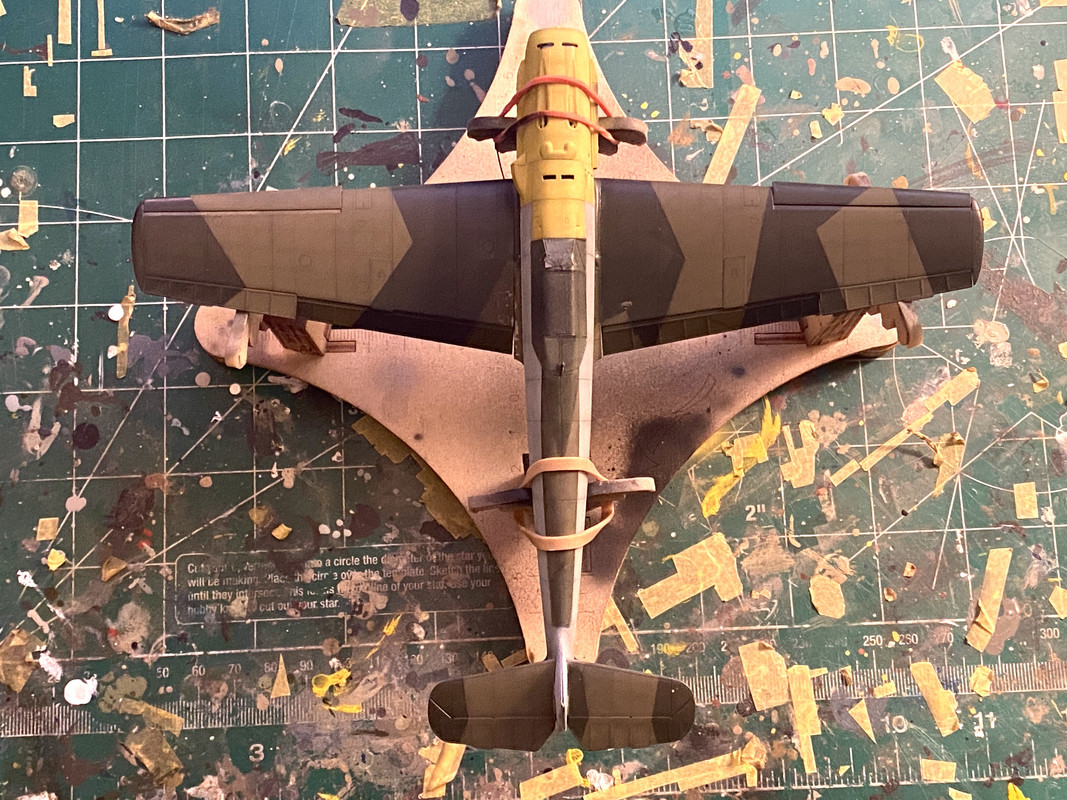
A somewhat nicer shot:
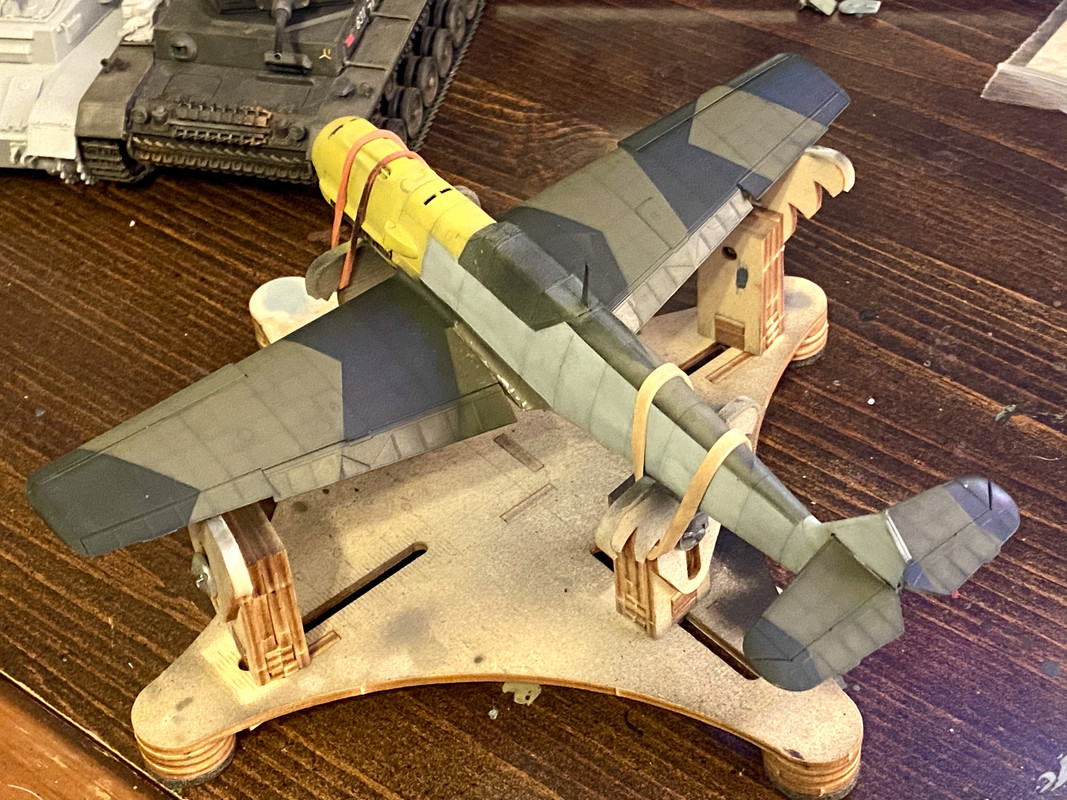
And some paint chipping effects:
OKAY! So I got some good work done this weekend. I got the RLM 70/71 Splinter scheme done on Pips’ Emil! And you know, I’m glad I opted to change my game plan and forge on ahead with this thing instead of smashing it after Friday’s disaster. Painting this scheme was relaxing and fun.
During the painting process, instead of doing mottled/marbled coats in each panel like I used to, I used the same method that I used on my 1:32 Zero, vis- I used the areas in-between the rivet lines as my localized areas instead. This gave me a smaller grid to work with, and allowed me get some nice depth in the RLM 71. Not so much in the RLM 70, but that’s okay- that paint is so doggone dark. Anyhow, I’m happy with this and it’ll be a real nice base to work from when I set about the field-applied RLM 02 overspray tomorrow. I’m gonna use Silly Putty snakes to cordon off the areas for the over-spray.
Oh, nearly forgot the most important part of this post— FULL DISCLOSURE:
There’s been a lot of debate over which camo scheme this airplane originally started with. You can’t tell at all in the photos I have. And Eduard’s instructions indicated this particular splinter camo scheme, and I picked it purely because I thought it looked hella-cool under the over-spray. That was my only motive- to paint something cool. I am not a Luftwaffe historian, and shoot, fellas- y’all know I don’t research these things too extensively. I download whatever pics I can find for references -if any- and compare them to the schema outlined in the instruction booklet and off so go. So I’m not so married to this that if it ever came to light that his aircraft didn’t wear this under the RLM 02 after all, I won’t be upset.
Also, I decided to chip this bird. Y’all know that as a general rule, I don’t chip paint on German aircraft. I have no idea why, except to say that for whatever reason my OCD attached it’s self to Emils and Gustavs and Doras and decided it wanted any of them that I build to be pristine and in tip-top shape. Well, that’s cool and all. But chipped paint happens. And y’all know that in the past I have gone completely overboard with paint chipping effects. My philosophy when chipping paint was “Why back off when you can double down!” ... Aaaaaand y’all know I ended up hating my results. WELL, while working on my Panzer III I had some time to really tweak and dial-in my chipping method and line it up with my new “Noticed But Not Seen” weathering philosophy. And I carried that over to this project. What I did was:
1. Base the areas with Alclad Duraluminum
2. Scan my hobby mat, which is full of scraps of old, used masking tape stuck to it, find haggard-looking pieces, and slice them and dice them with my hobby knife into very small, damn-near-diminutive/microscopic tidbits and place each one by hand precisely where I want the chips to be. This way I can envision exactly how they’ll look as I’m working, and it keeps me from going overboard.
Okay fellas, that’ll all for today! Here are some photos, I hope you enjoy them! Be well and God bless.
During the painting process:
RLM 70 looks like crap with black next to it, but looks lovely with RLM 71 next to it, in my opinion:
My hobby mat is a goldmine for chipping mask material:
A somewhat nicer shot:
And some paint chipping effects:

 I'm with Stik on this. Trust me I've done much worse.