1/32 Revell Me262B-1/U1 Nachtjager

Post your work in progress of your aircraft builds in here.
User avatar
jkim
Elite Member
Posts: 4073
Joined: Mon Apr 10, 2017 4:03 pm

Re: 1/32 Revell Me262B-1/U1 Nachtjager

Post by jkim »

Thanks guys!

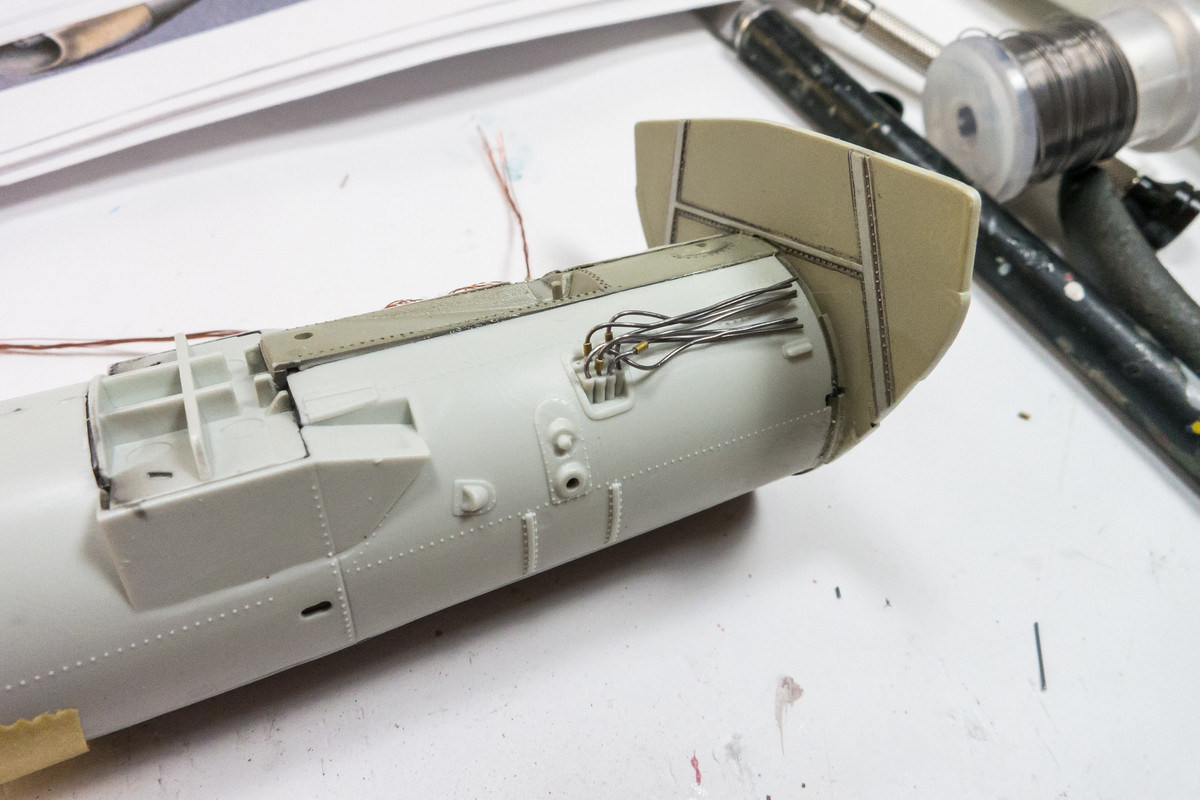
I added detail to the other wheel bay wall. The clear box is from the Trumpeter kit, which is a clear version of the same box I used on the other side. The Trumpeter 262 kit included extra parts in clear in case you wanted to show the engine off without removing panels.
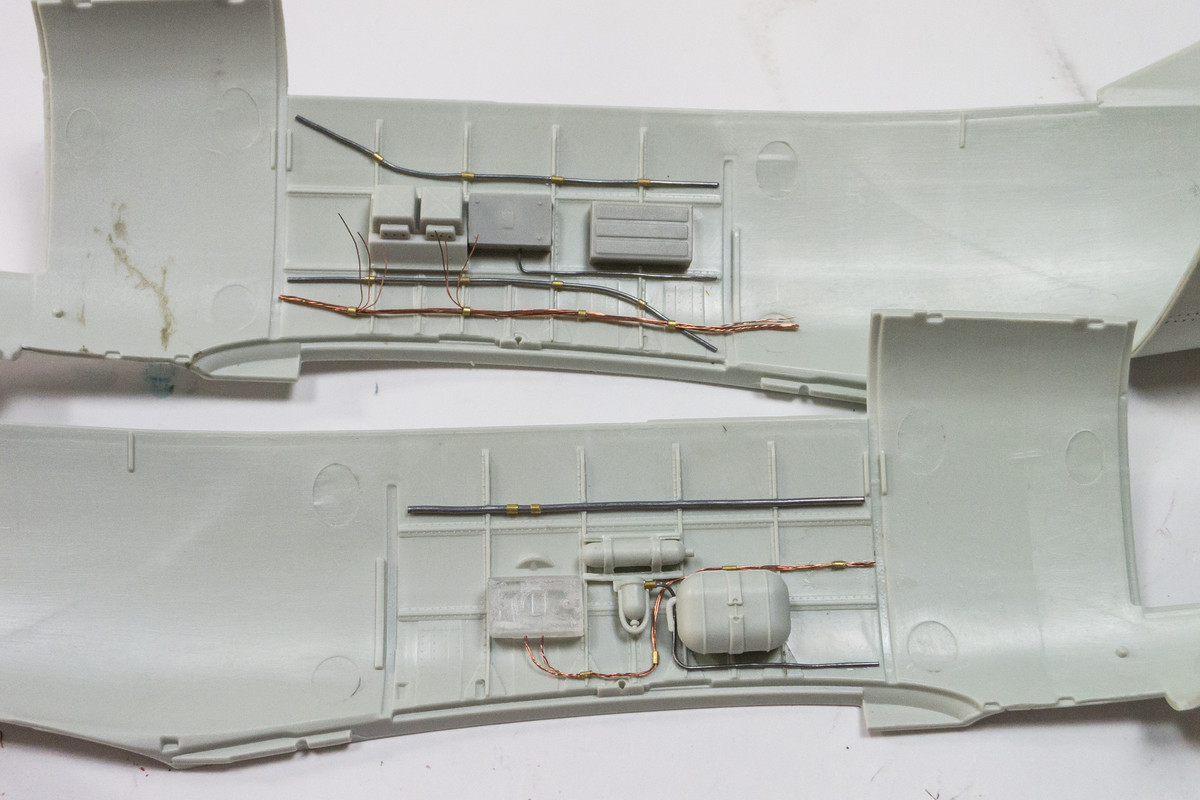
Image

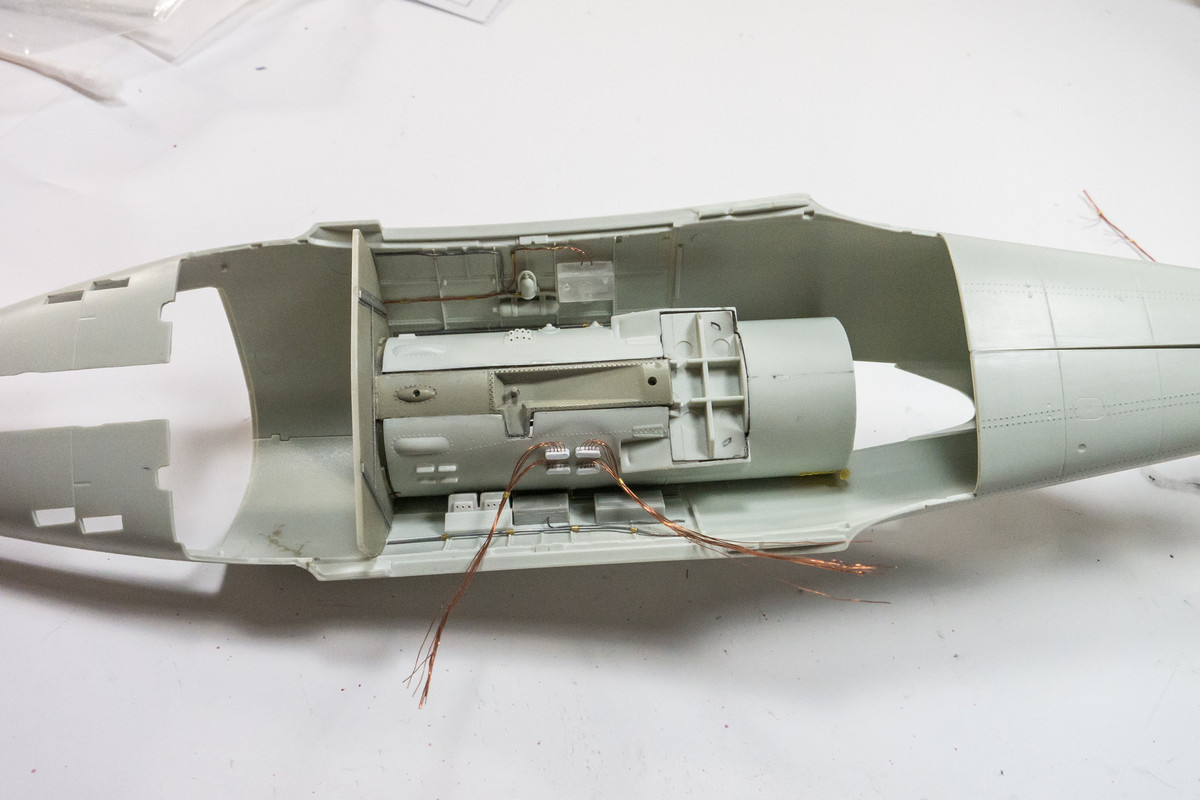
Just to make sure the extra bits don't get in the way of the insertion of the cockpit tub into the fuselage.
Image

Added some plumbing to the tube.
Image

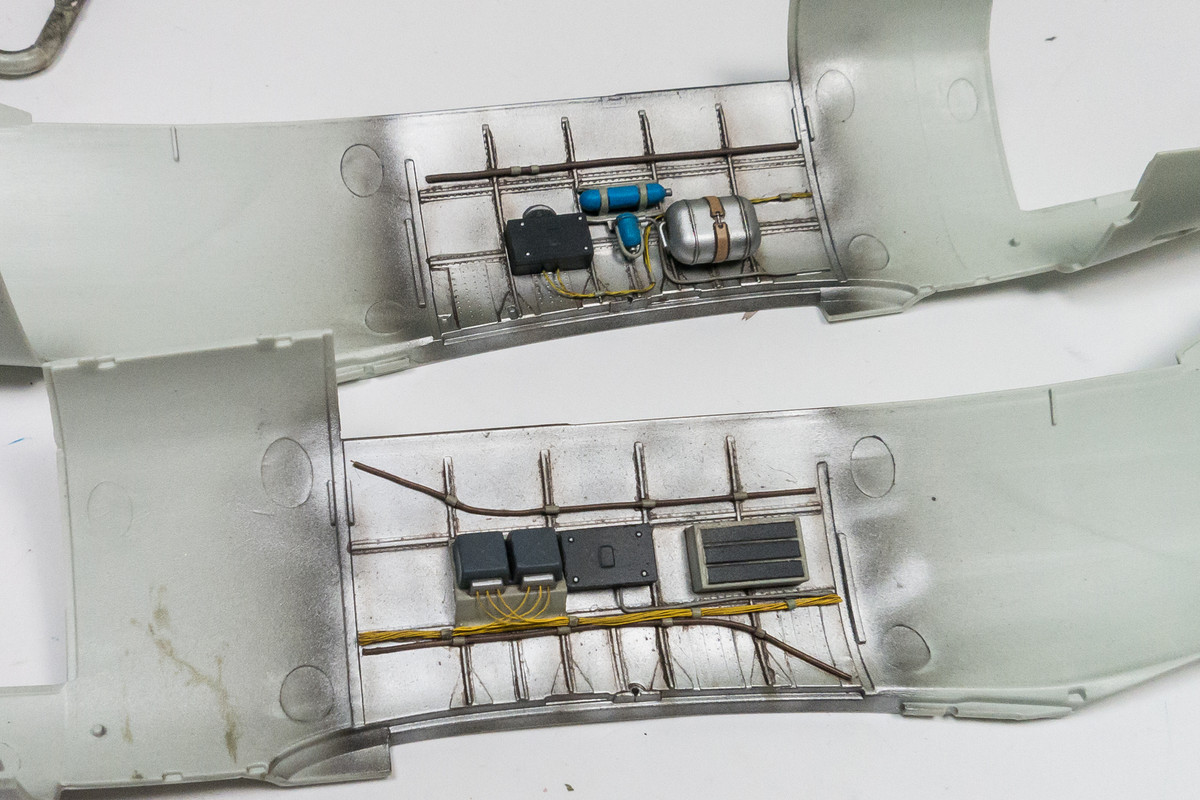
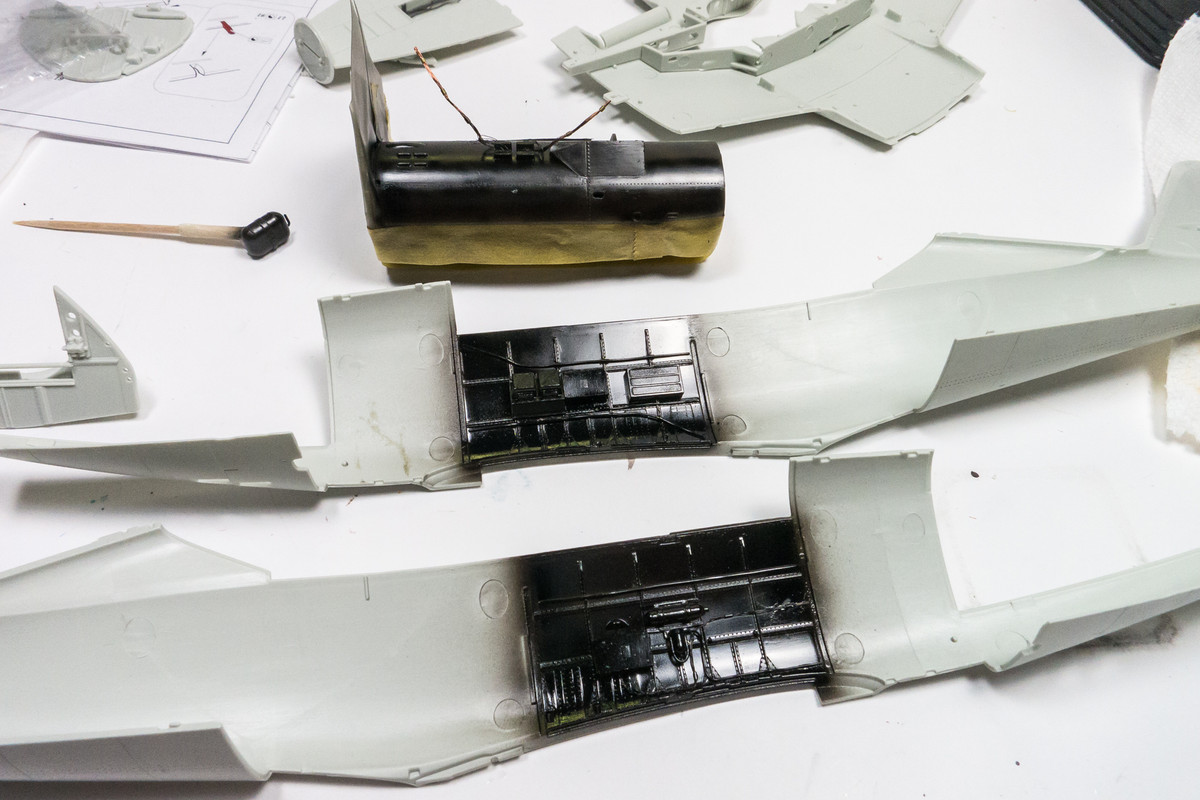
The wheel bay parts were painted in gloss black as a base for the metal color to come.
Image

The fuselage sides were sprayed with Alclad Duraluminum, which didn't go on that well. This particular shade produced webs as I sprayed as if the paint was drying in mid-air. I've experienced it a few times. It's usually removable with careful brushing afterwards but the finish can be a little rough. Not too worried about it since these interior parts will be weathered. I switched to AK Extreme Metal Polished Aluminum for the tube part.
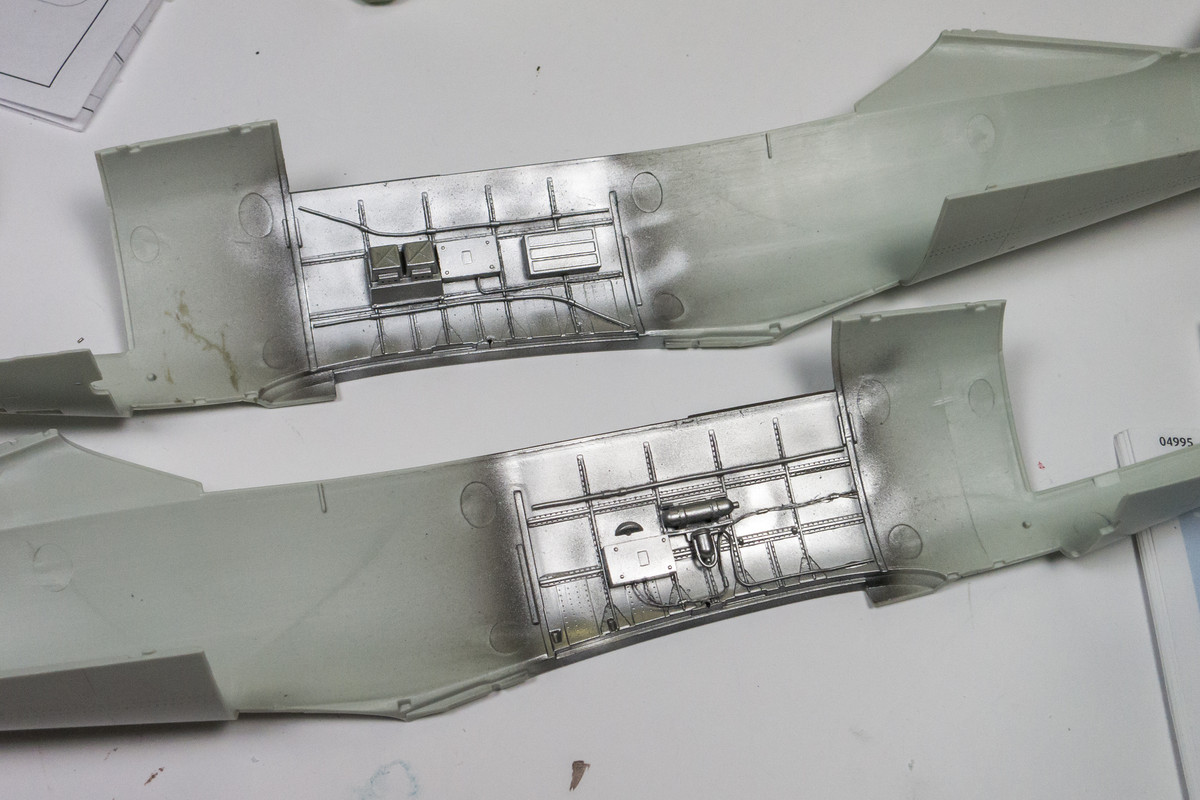
Image

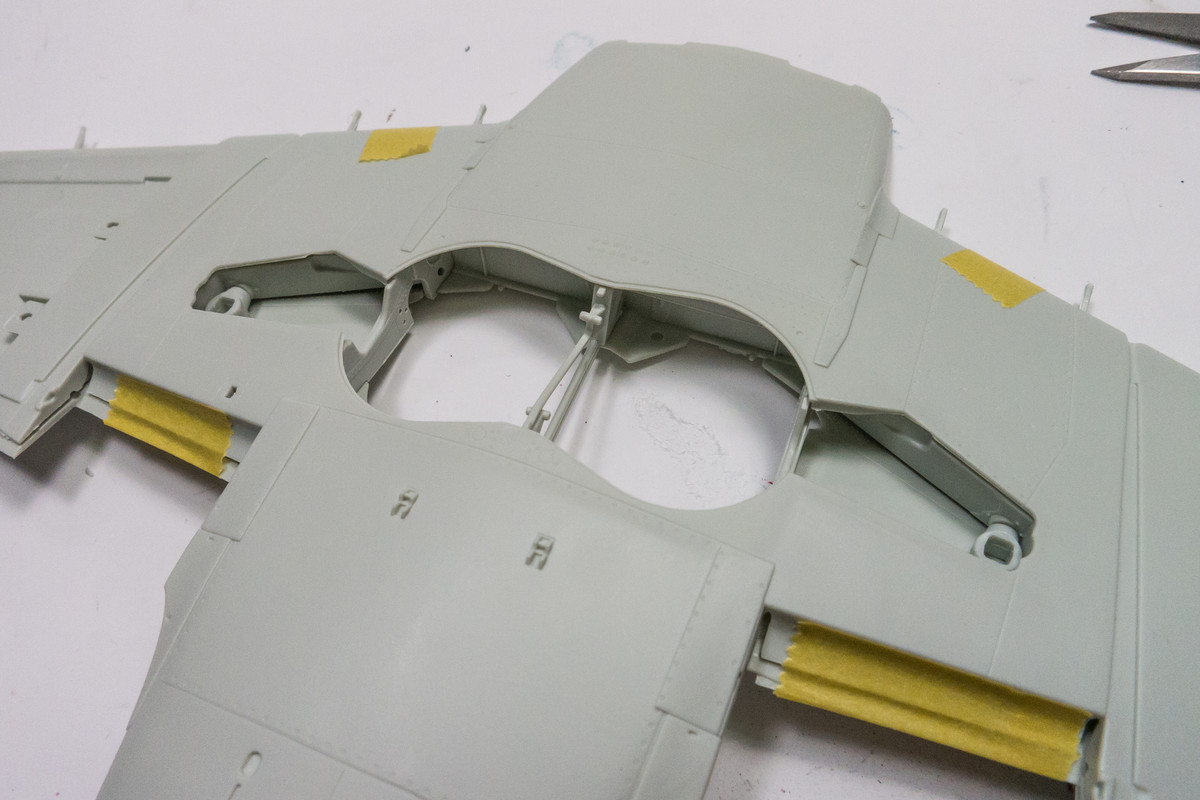
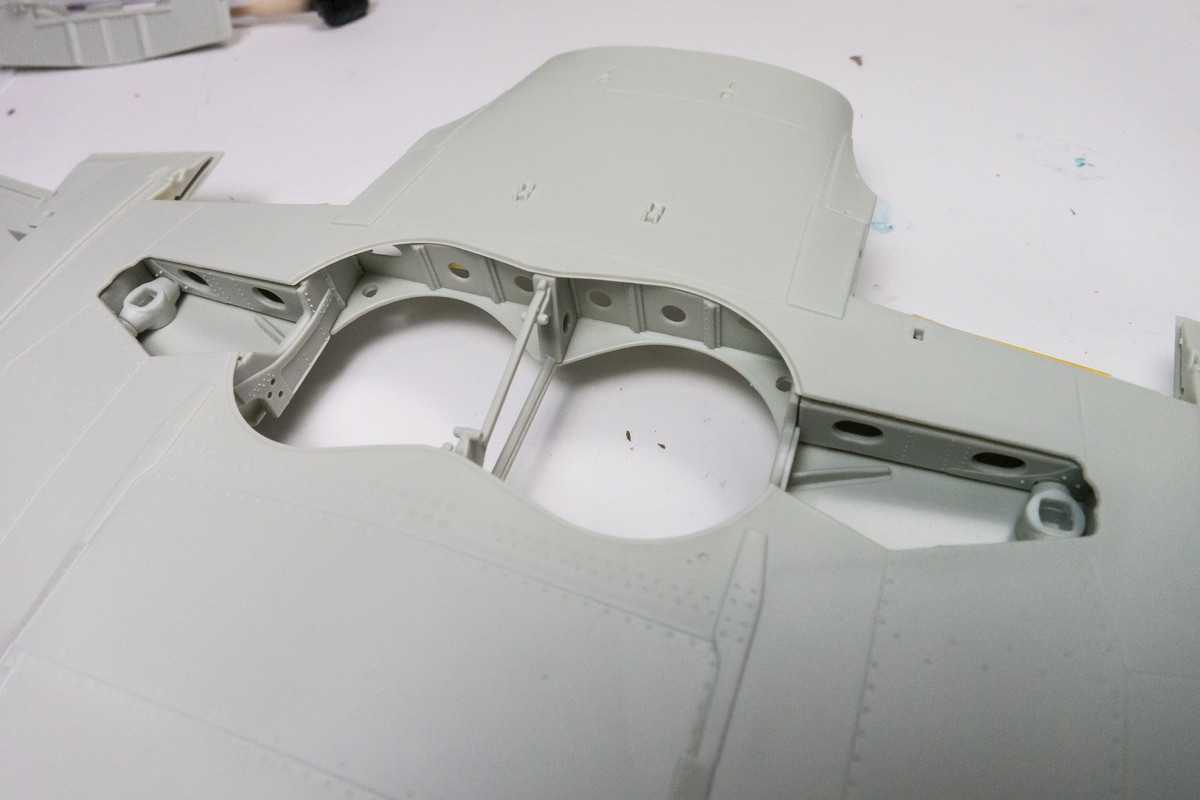
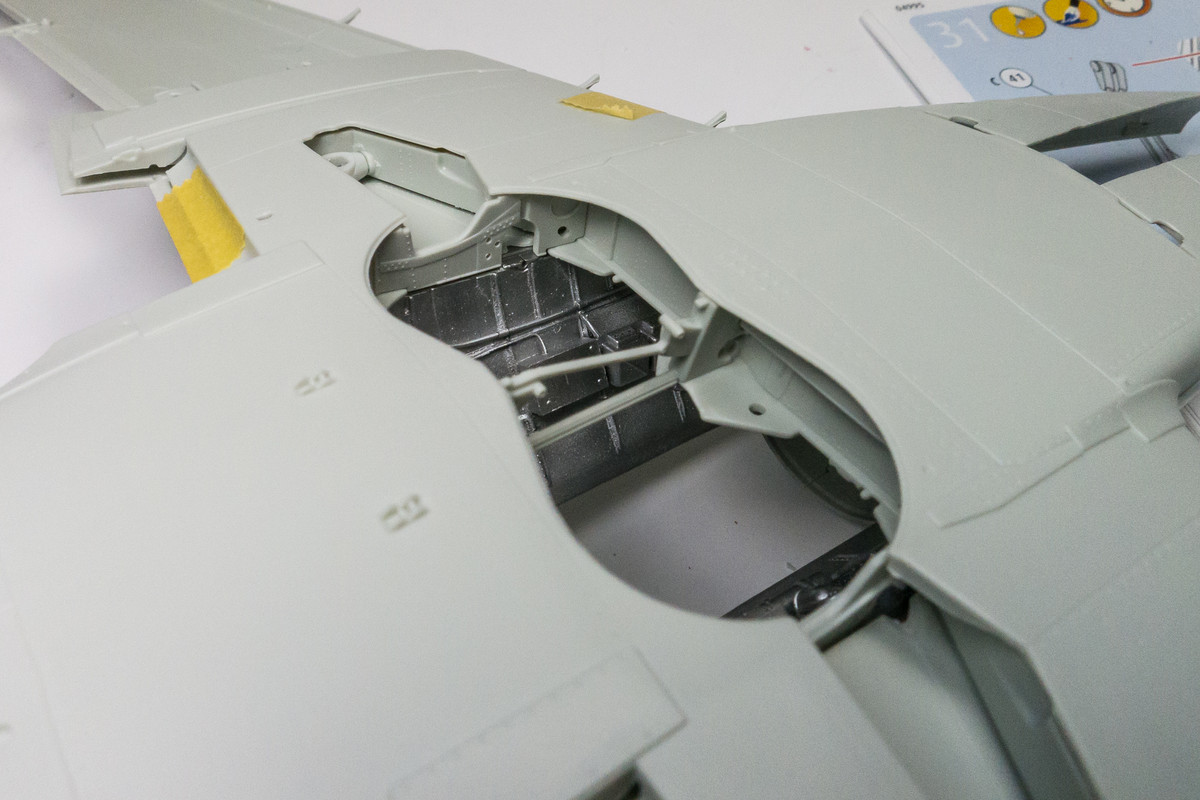
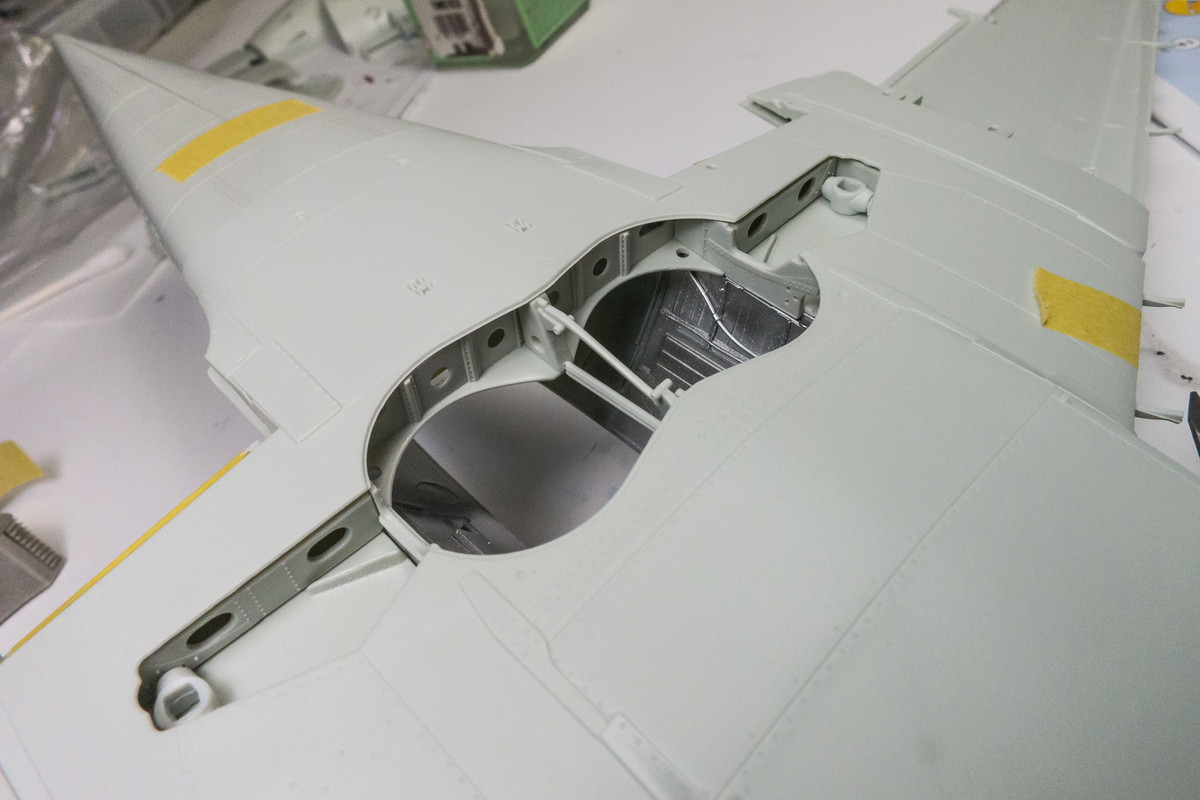
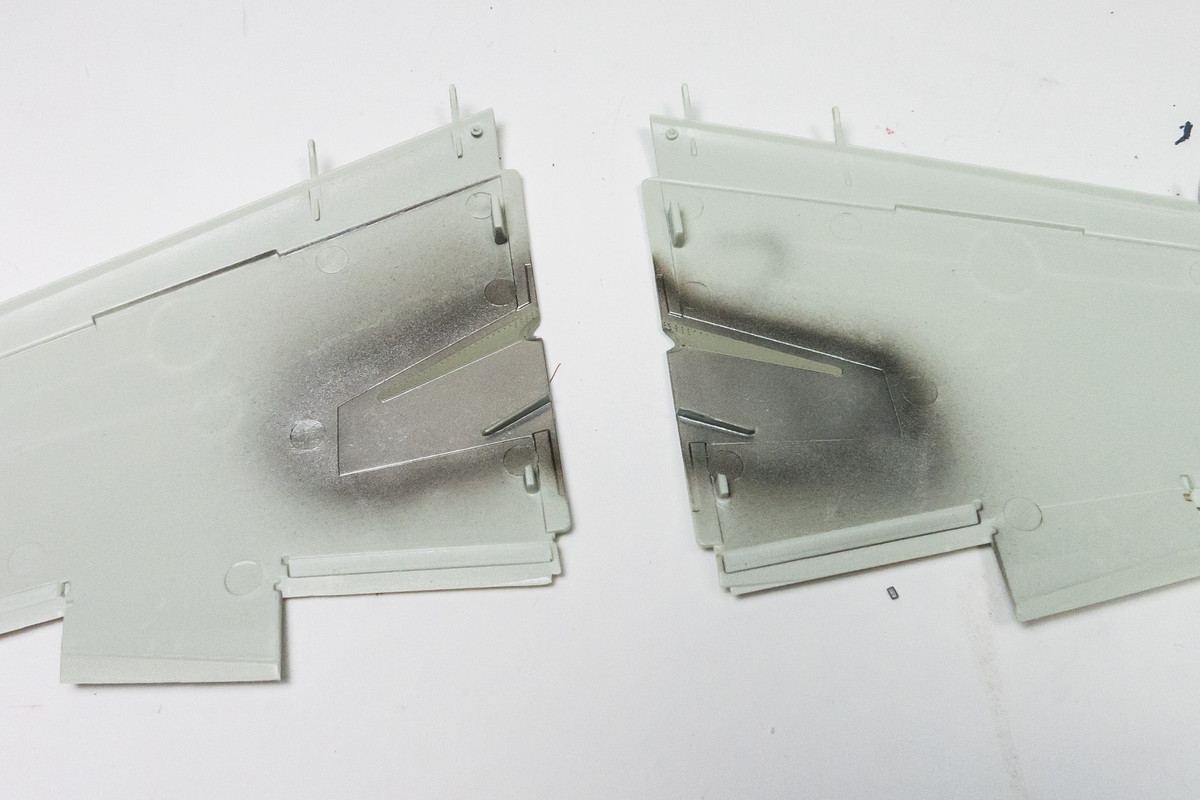
While I let that metal paint dry, I took a look at the landing gear well walls. This is a modular assembly comprised of seven main parts, which allows for some nice detail on the well walls. Interestingly, the landing gear mounts are separate pieces.
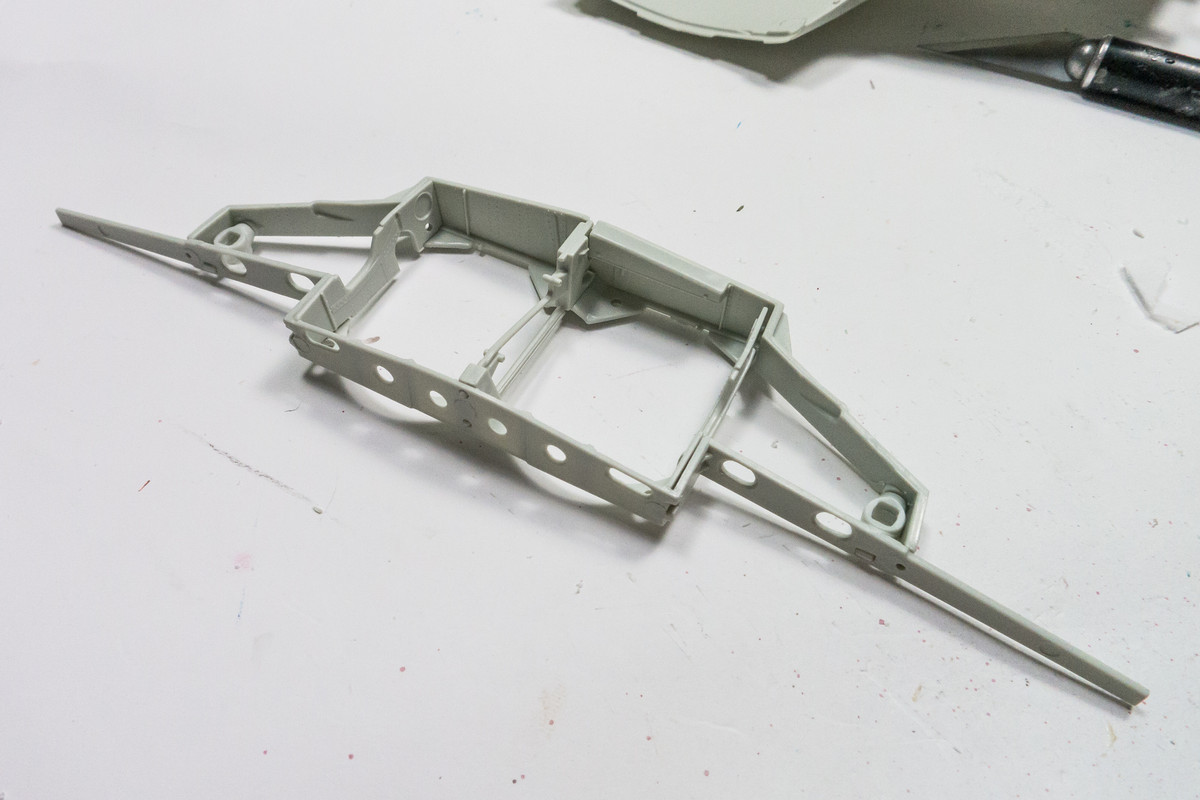
Image

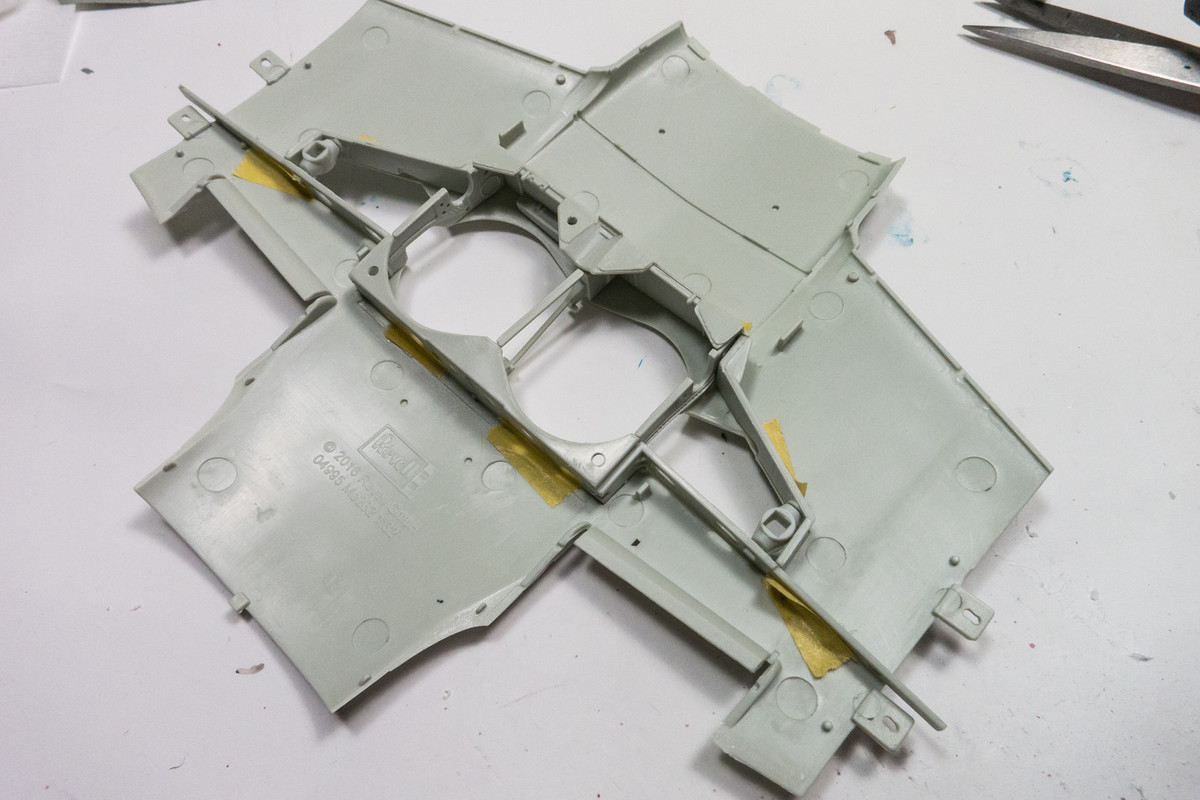
Fit is pretty good although I had to trim down the center spar to get it to fit right.
Image
Image
Image

I'm just checking fit and scoping out opportunities for wiring in the landing gear bays.
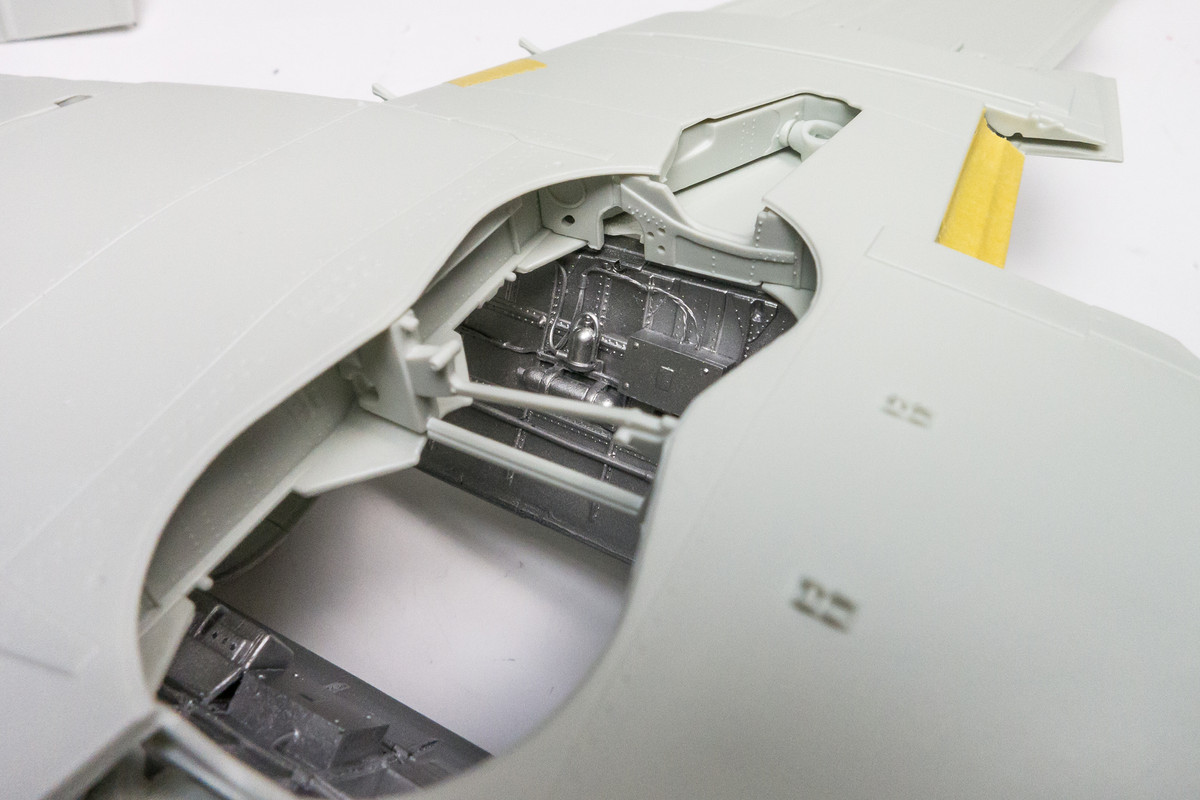
Image
Image
Image
John aka JKim
-----------<><
Image
User avatar
Floki
Elite Member
Posts: 3548
Joined: Wed Dec 12, 2018 2:23 am
Location: Muncie, Indiana

Re: 1/32 Revell Me262B-1/U1 Nachtjager

Post by Floki »

Looks great John! Duraluminum is the alclad color I use the most have never had it or any alclad color spray bad.
March as one, Don't look back
Odin's sons... Attack!
Unleash hell! Do not repent! Warfare grants us no lament
Let your weapons slash and tear This is no place for fear
Hold the lines! Move as one! In unity our victory's won
Our shields will form a mighty wall
United we shall never fall
User avatar
speedgraflex
Moderator
Posts: 11358
Joined: Fri Feb 10, 2017 11:08 pm
Contact:

Re: 1/32 Revell Me262B-1/U1 Nachtjager

Post by speedgraflex »

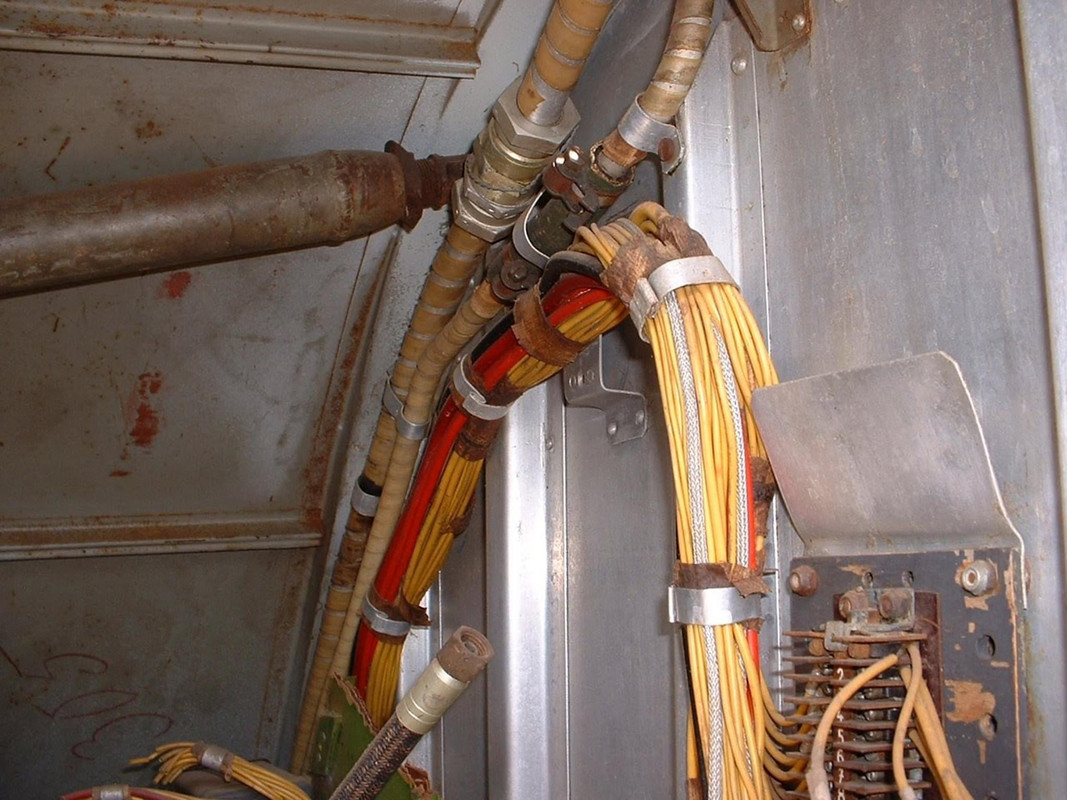
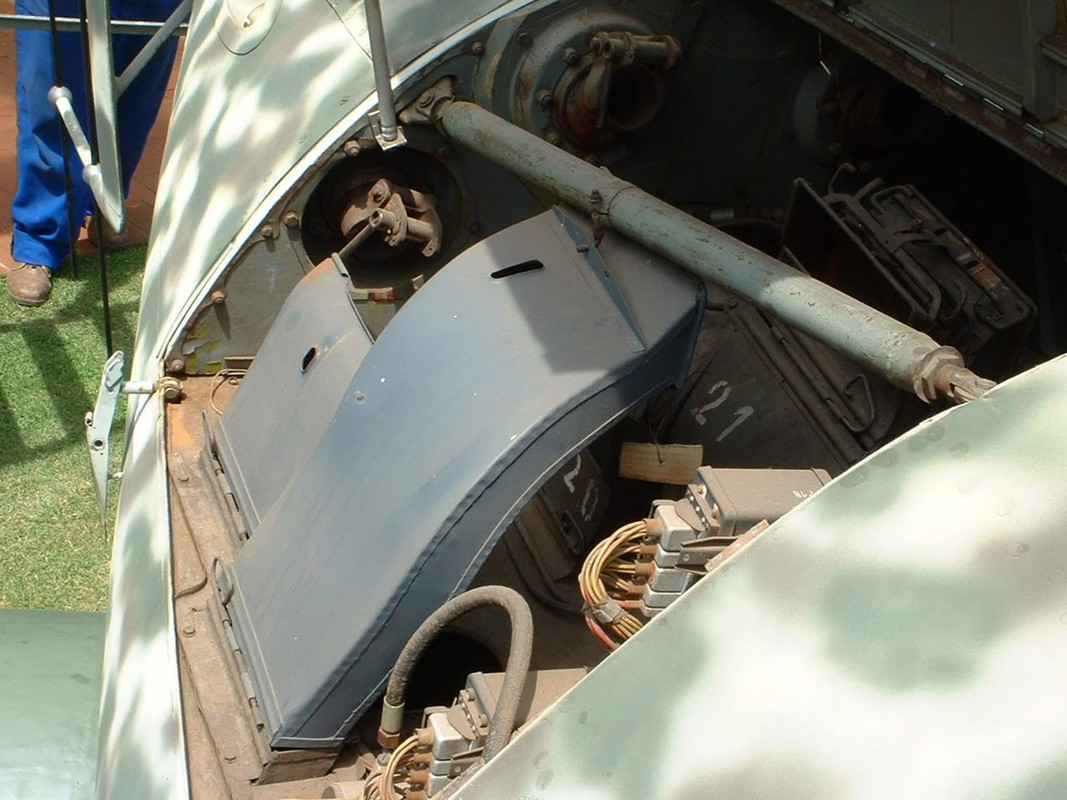
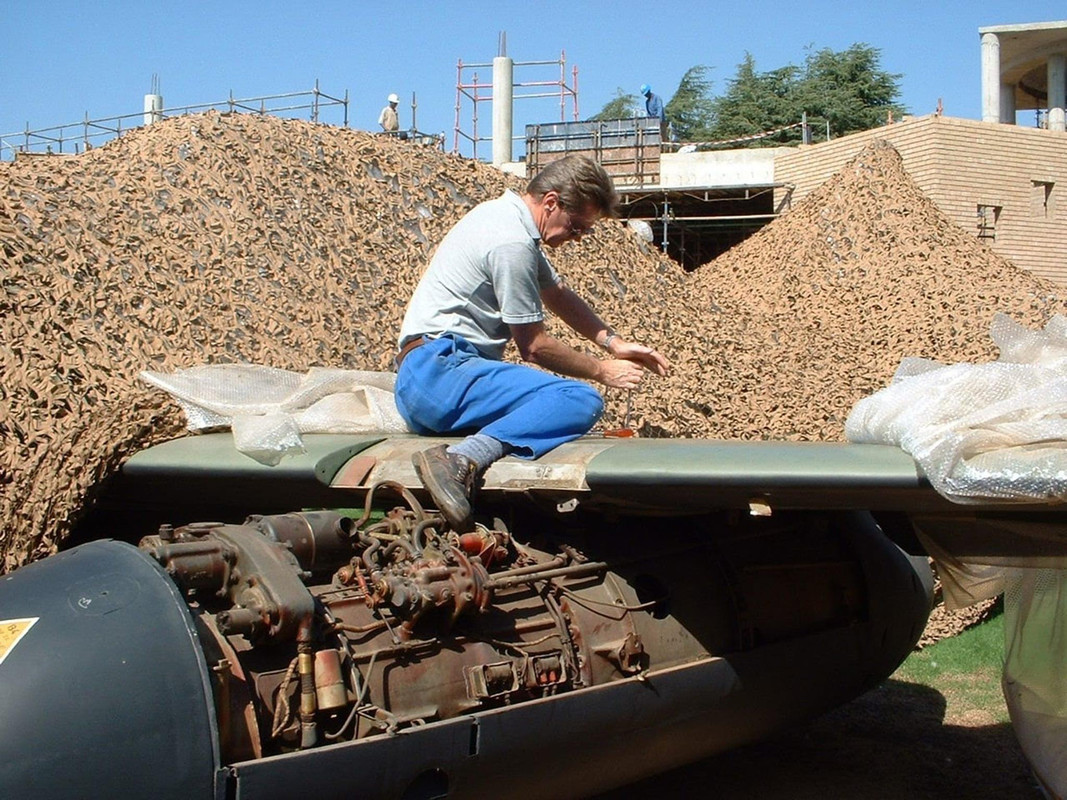
An excellent walkaround of the last surviving Me 262B-1a/U1 in Johannesburg, shot on a rare day spent outside in the sun.

Image

Image

Image
Make more models!
User avatar
jkim
Elite Member
Posts: 4073
Joined: Mon Apr 10, 2017 4:03 pm

Re: 1/32 Revell Me262B-1/U1 Nachtjager

Post by jkim »

Thanks guys! Excellent photos Bruce!
Floki wrote:Looks great John! Duraluminum is the alclad color I use the most have never had it or any alclad color spray bad.
I don't think it is color specific but maybe an eventual drying out of certain ingredients over time. I've never had this happen to a new bottle but occasionally it will develop with the older bottles.

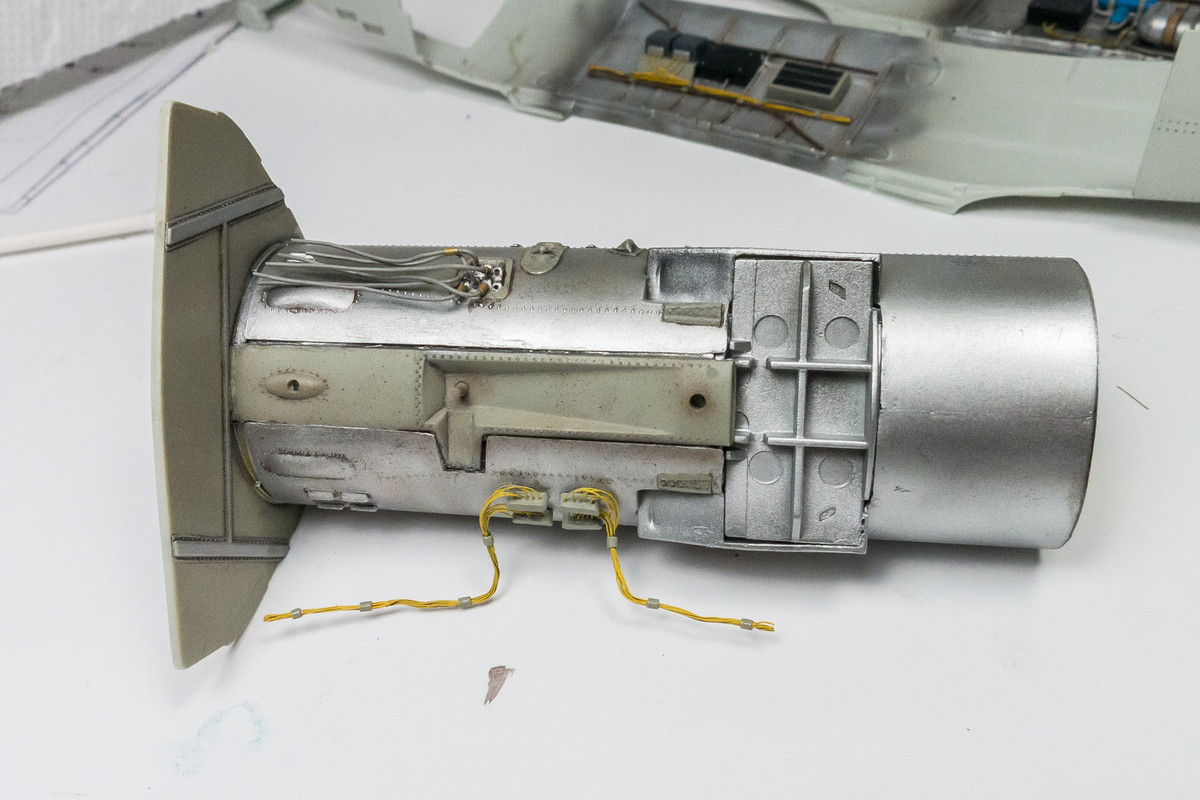
The wheel bay side panels have been painted. It's too late to remove any erroneous components so I'm going to leave it as is.
Image

The central tube has been painted as well.
Image

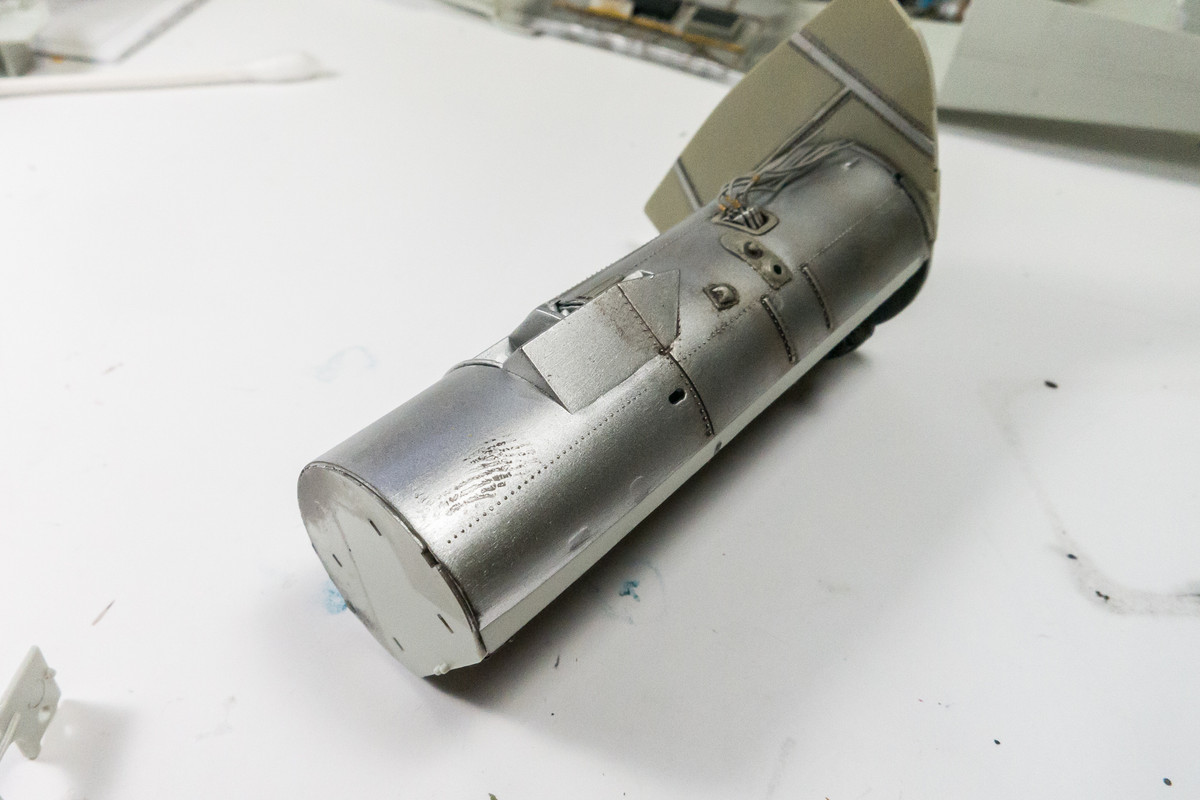
Got careless after one of the clear coats and left this big ole thumb print. I don't think it will be visible so I'll leave it as a signature.
Image

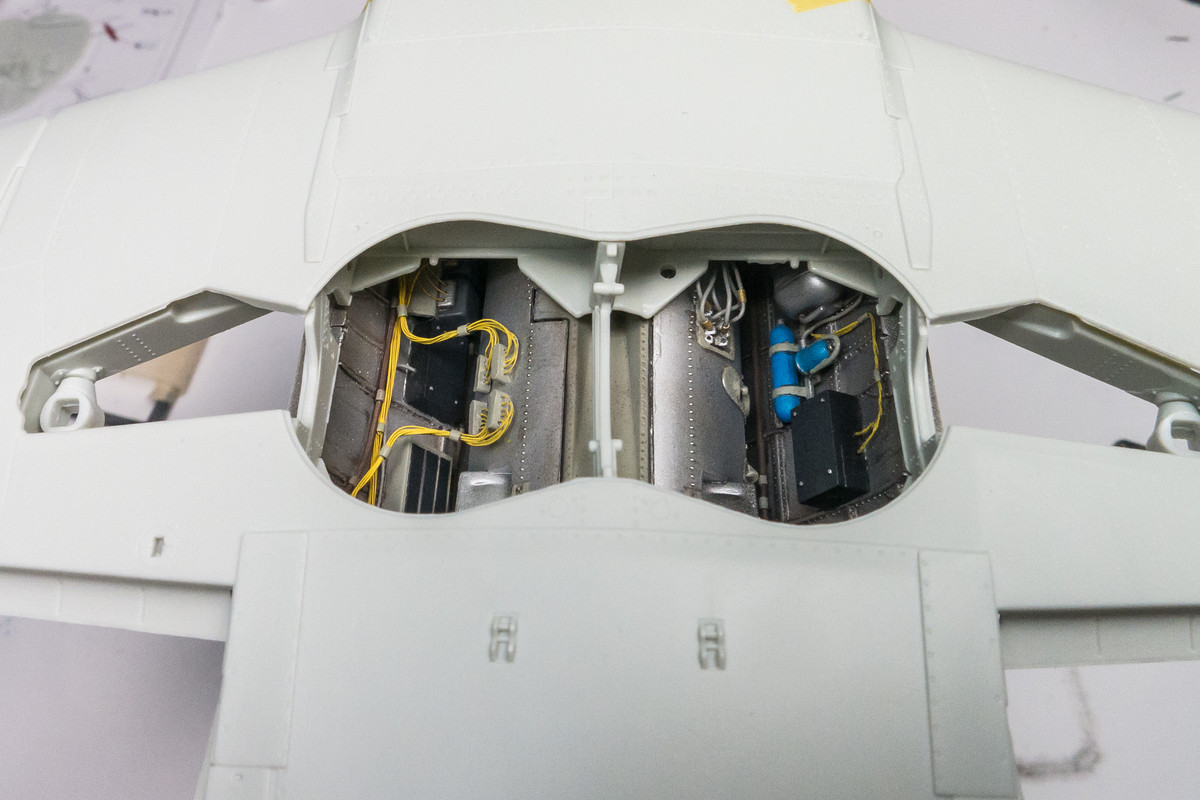
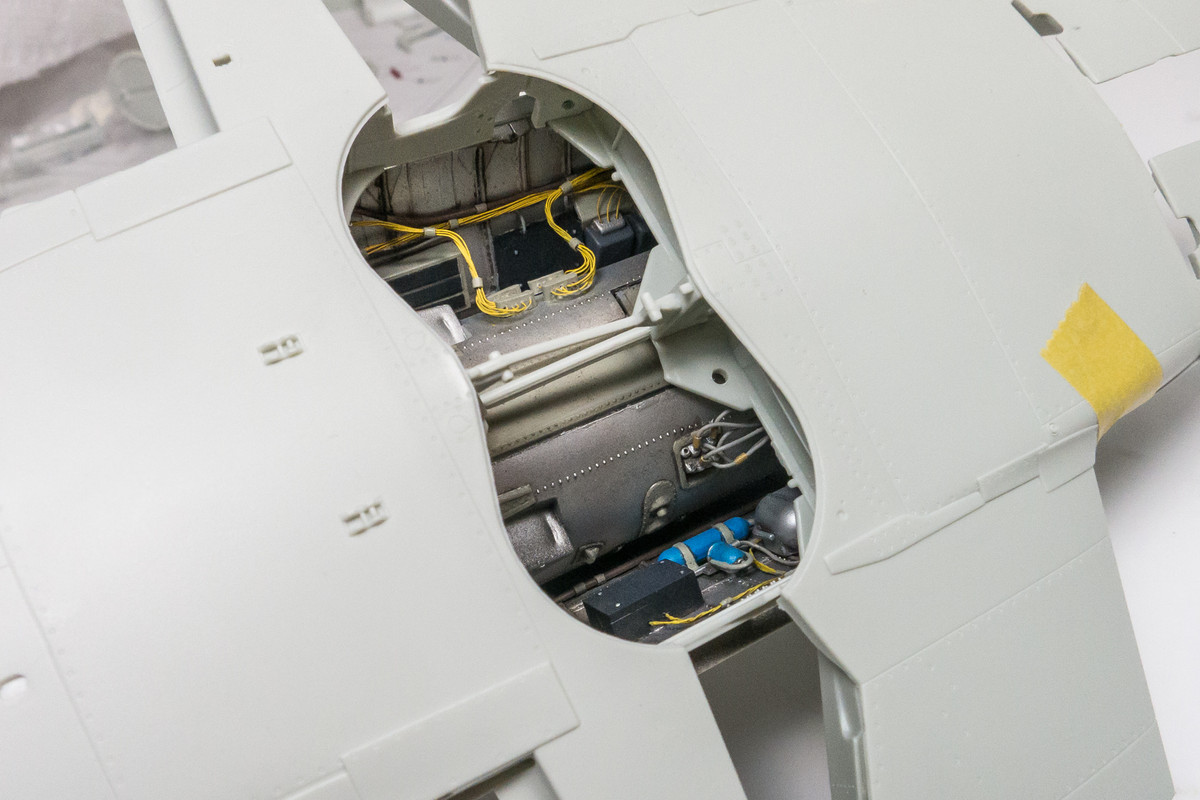
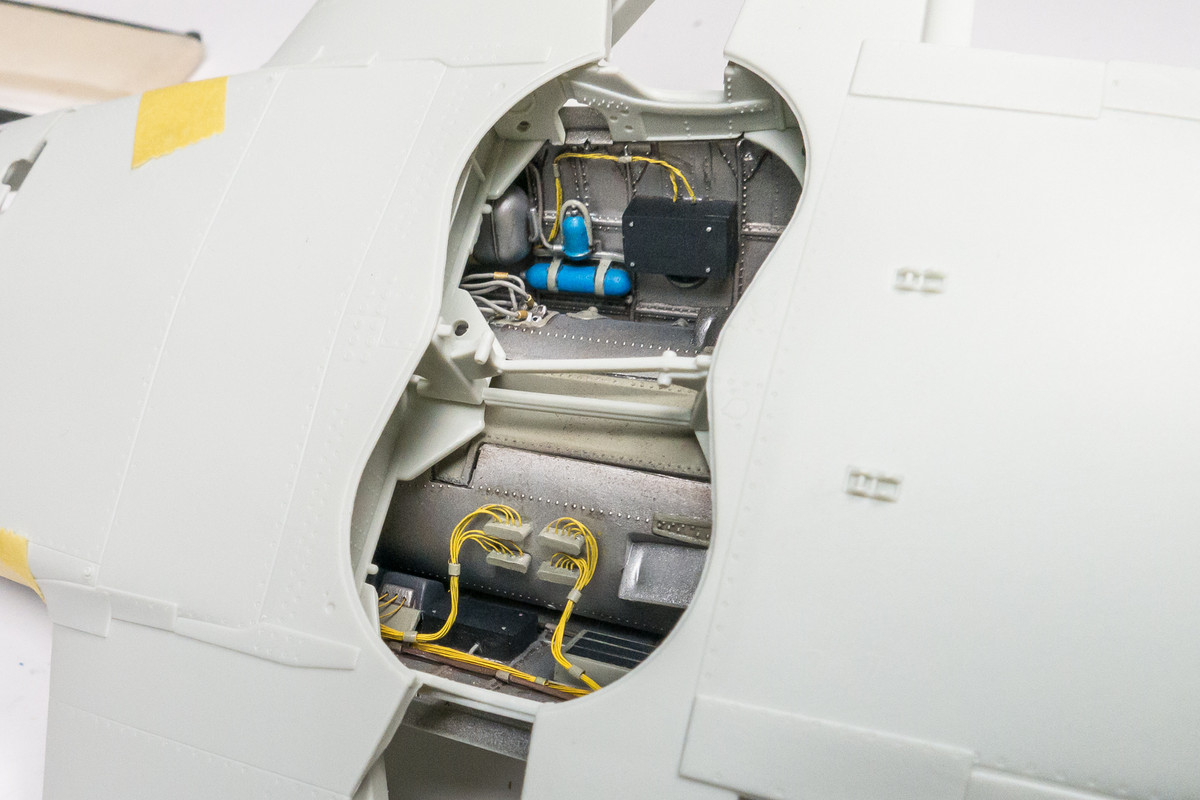
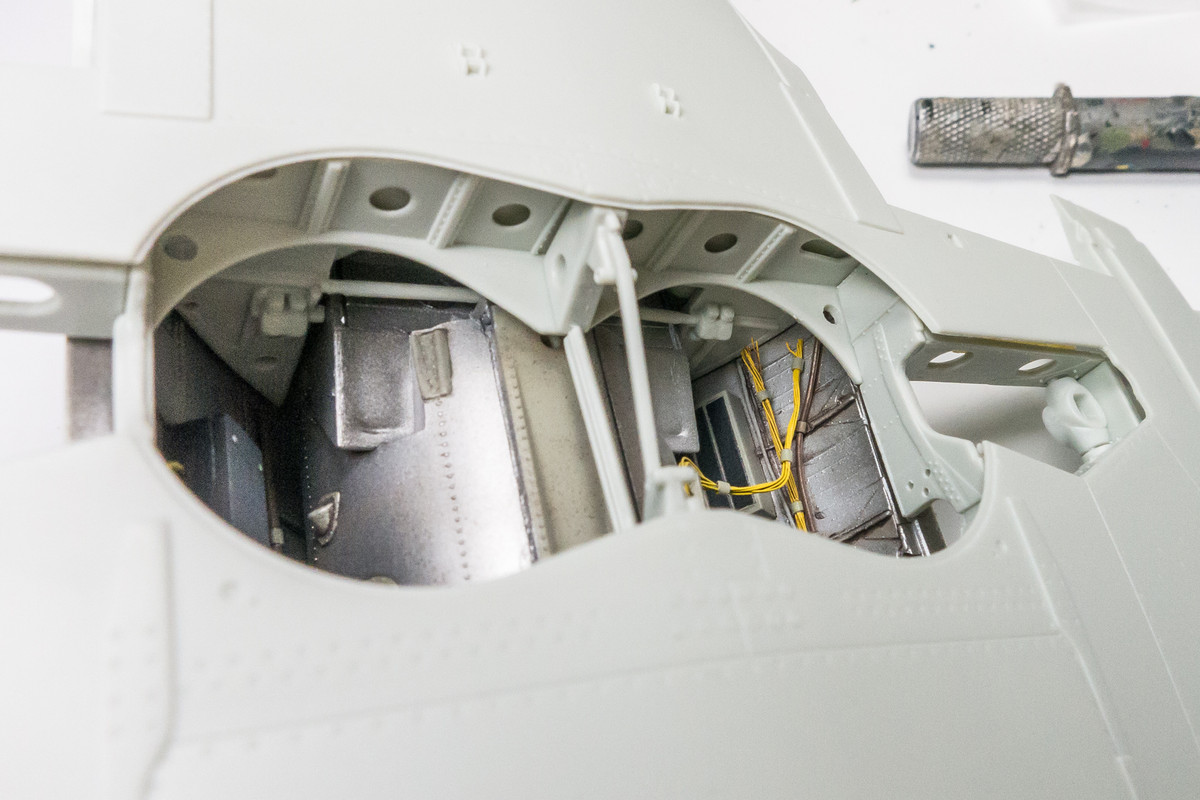
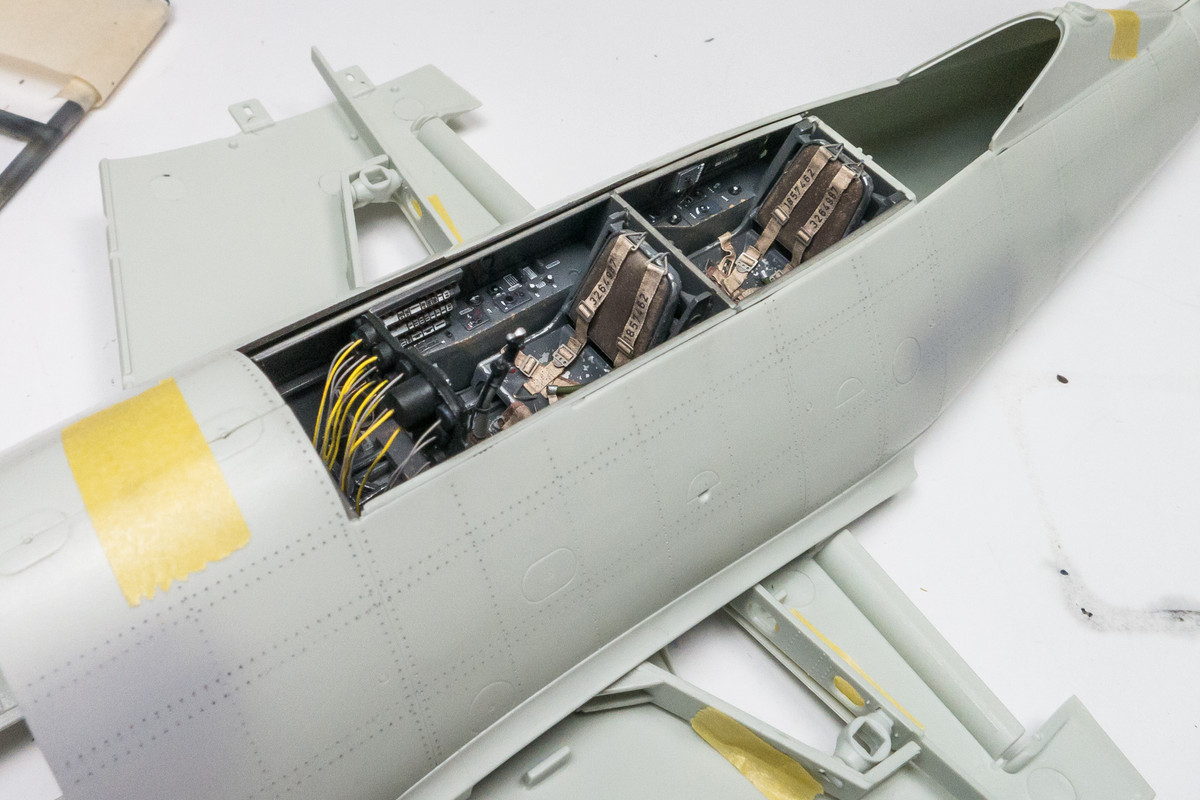
I performed another round of dry-fitting to see how the added details look from the outside. With special attention to see the terminal ends of the wiring runs.
Image
Image
Image

This photo below shows one area where I'll have to hide the ends of the wiring better.
Image

Fit is still cautiously very good as far as I can tell. Remember, this is without the trimming or adjustment of any of the interior bulkhead parts.
Image
Image

A view from the top side to remind us to be careful with the cockpit components when doing this dry-fitting. The tiny anchors for the seat belts are especially vulnerable.
Image
John aka JKim
-----------<><
Image
User avatar
Floki
Elite Member
Posts: 3548
Joined: Wed Dec 12, 2018 2:23 am
Location: Muncie, Indiana

Re: 1/32 Revell Me262B-1/U1 Nachtjager

Post by Floki »

Some great looking progress John! The wire work looks outstanding. Lucky that thumb print will be hidden I never get that lucky. The fit looks to be good I would still be cautious going forward.
March as one, Don't look back
Odin's sons... Attack!
Unleash hell! Do not repent! Warfare grants us no lament
Let your weapons slash and tear This is no place for fear
Hold the lines! Move as one! In unity our victory's won
Our shields will form a mighty wall
United we shall never fall
User avatar
Stuart
Elite Member
Posts: 11907
Joined: Sun Apr 06, 2014 1:06 pm
Location: North Wales

Re: 1/32 Revell Me262B-1/U1 Nachtjager

Post by Stuart »

:shoutout: Wonderful work as ever John, the detailing is fantastic and your wiring really raises it up a notch.


Stuart Templeton 'I may not be good but I'm slow...'
User avatar
tempestjohnny
Elite Member
Posts: 3804
Joined: Sat Oct 15, 2016 4:51 am
Location: Naples. FL

Re: 1/32 Revell Me262B-1/U1 Nachtjager

Post by tempestjohnny »

If it wasn't for the tape I'd swear I was looking at the real thing
User avatar
BlackSheep214
Elite Member
Posts: 13417
Joined: Sun Apr 06, 2014 8:47 pm

Re: 1/32 Revell Me262B-1/U1 Nachtjager

Post by BlackSheep214 »

Stunning detail work.... :shoutout: :shoutout: :shoutout:
“Who controls the skies, controls the fate of this Earth”

Author unknown- 352nd Fighter Group, Blue-Nosed Bastards of Bodney

“Send one plane it’s a sortie; send two planes it’s a flight; send four planes it’s a test of airpower. - Richard Kohn
User avatar
jkim
Elite Member
Posts: 4073
Joined: Mon Apr 10, 2017 4:03 pm

Re: 1/32 Revell Me262B-1/U1 Nachtjager

Post by jkim »

Thanks guys! I'm always cautious about fitting multiple panels together so I will be taking things forward very carefully.

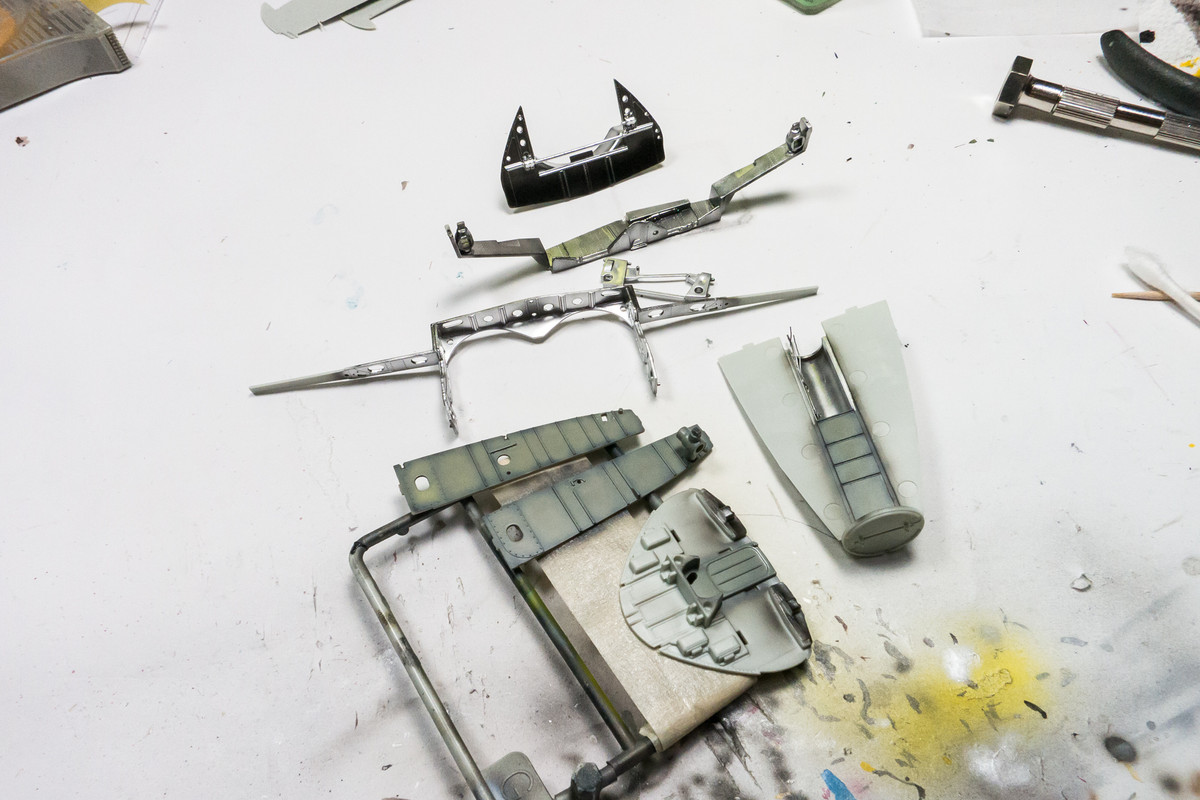
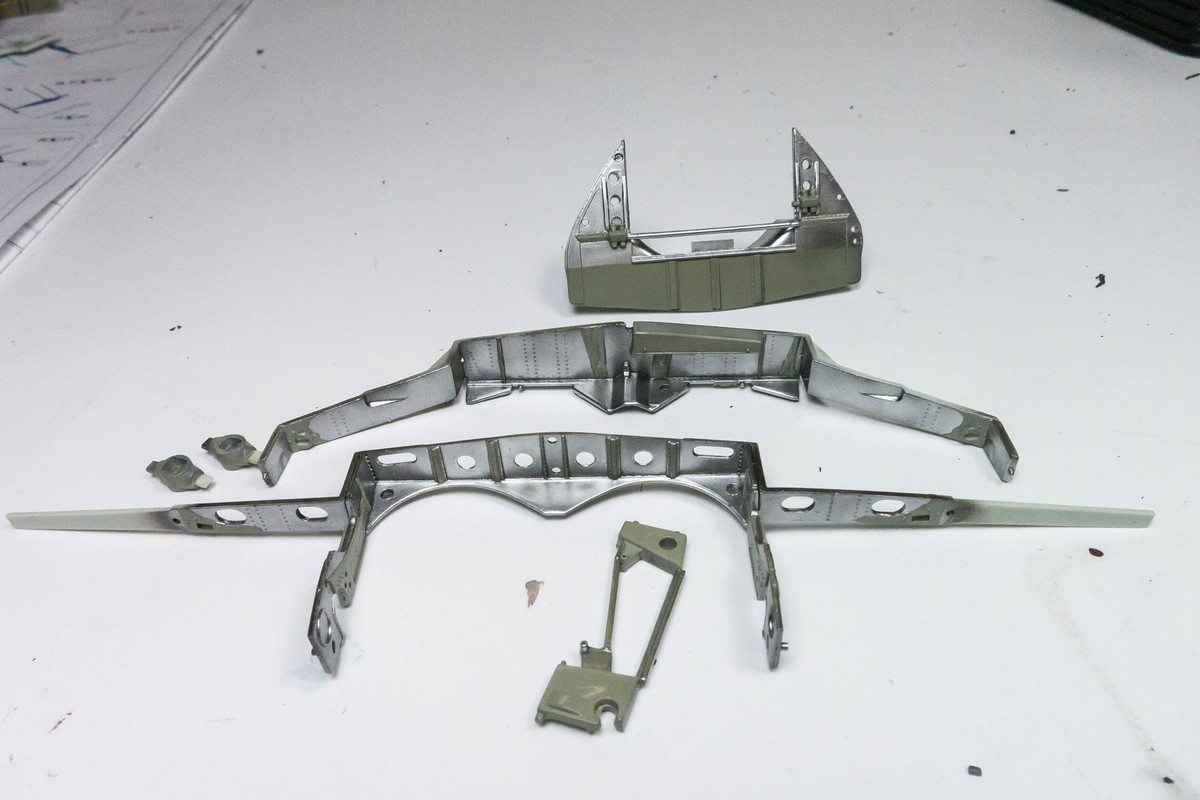
The landing gear well wall components have been painted. The metal color used was AK Extreme Metal Polished Aluminum and it came out really shiny but that will get knocked down by the subsequent wash, post-shading and flat coat.
Image

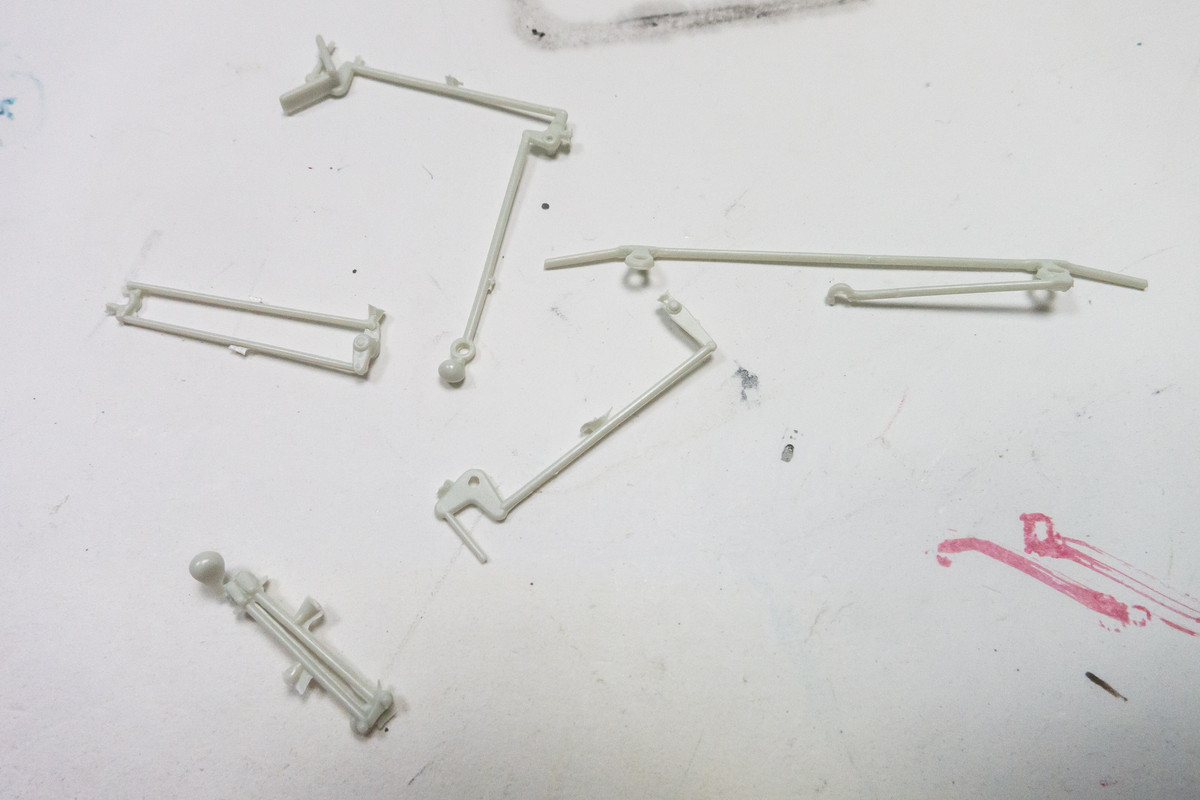
There are a number of control rods and linkages that get glued into the wheel bay. BE VERY CAREFUL in cutting these off the sprue and trimming the sprue gates off of these parts. Revell plastic is on the soft side and it is very easy to break these delicate pieces.
Image

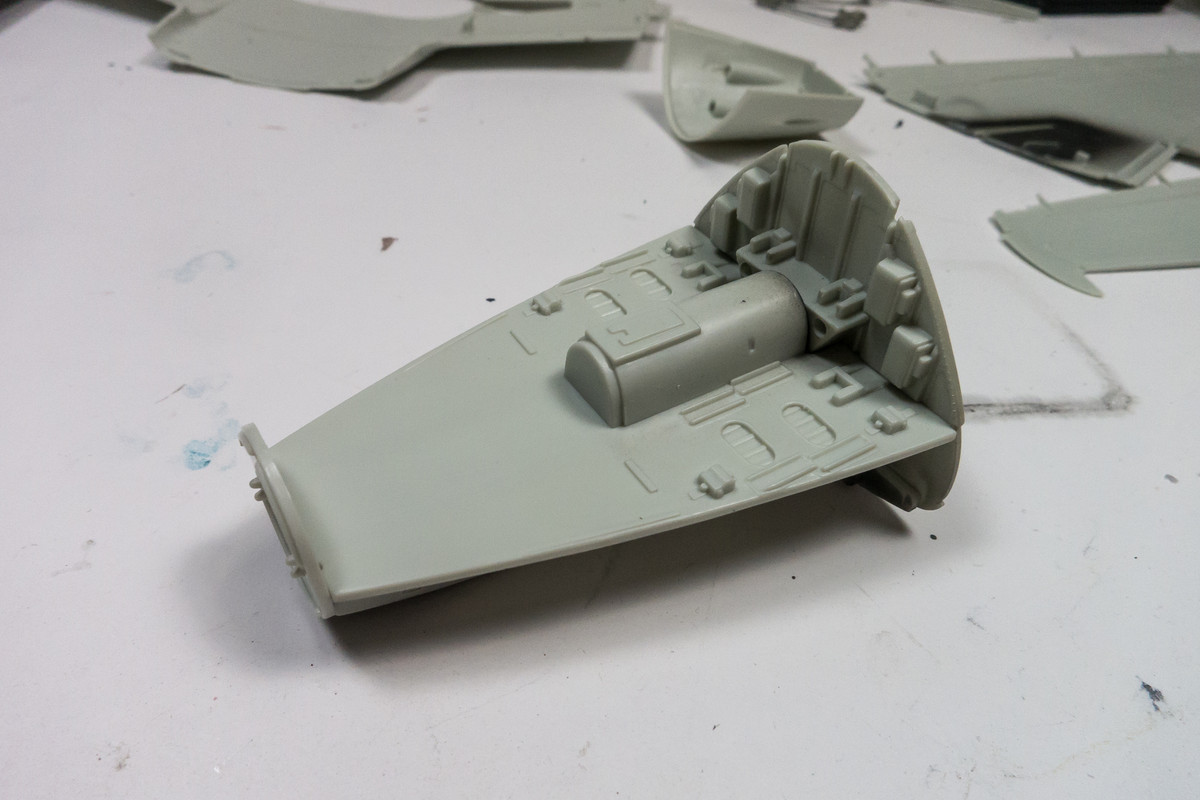
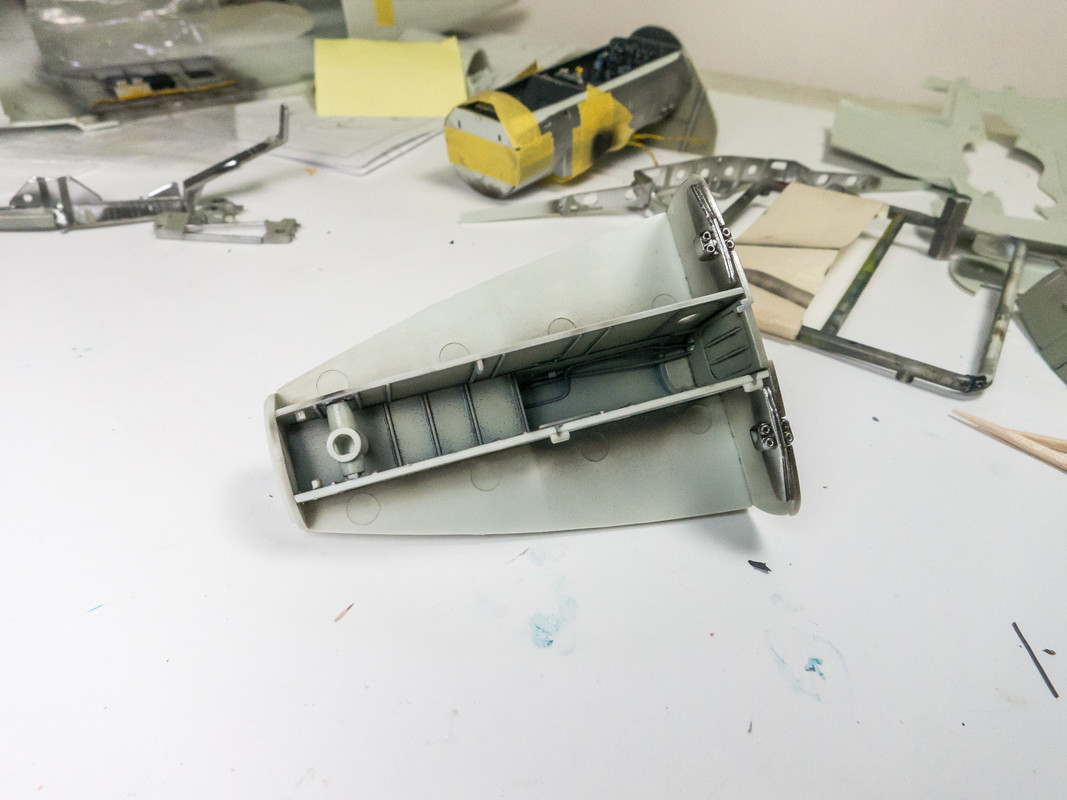
The gun bay/nose gear well has been assembled. The gun bay is unpainted and I think it will remain so since I will be gluing the covers shut. I elected to paint the interior of the nose gear well in RLM 02 Grey Green (Mr Hobby Aqueous). The nose gear well is narrow and deep with limited visibility so the only enhancement here is some wiring along the ceiling.
Image
Image

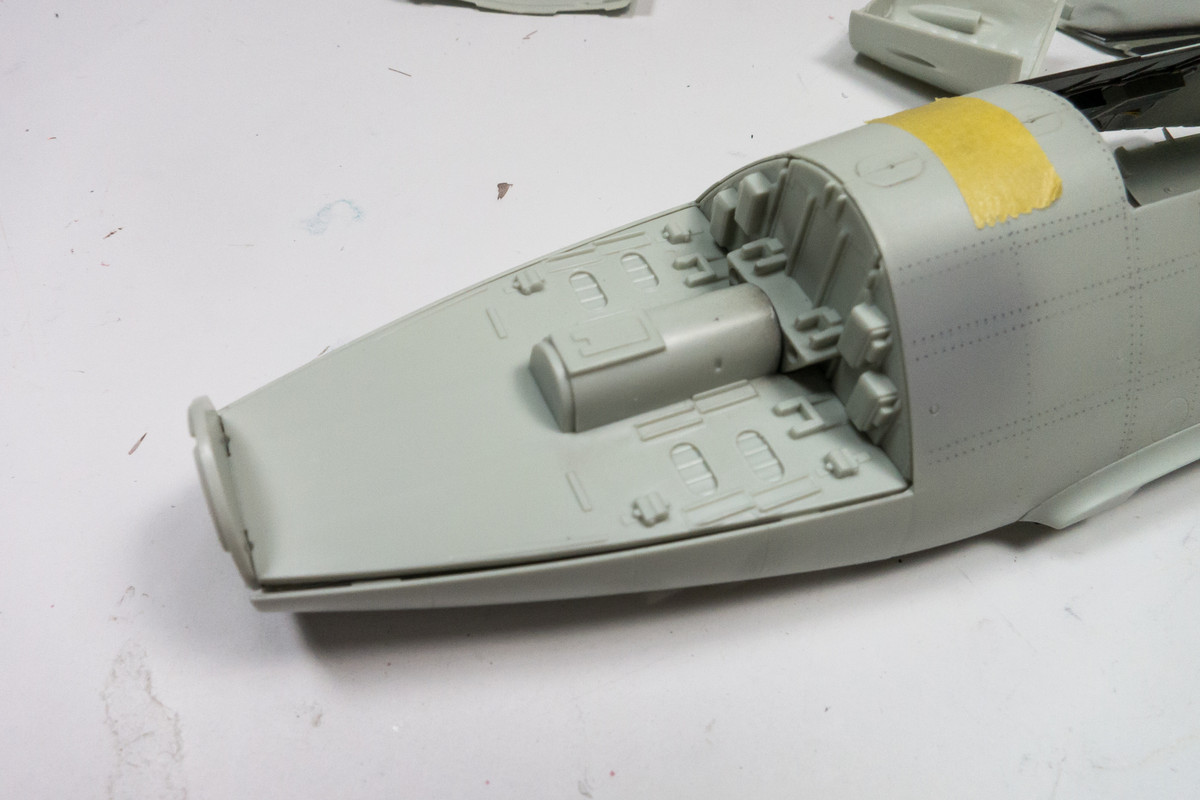
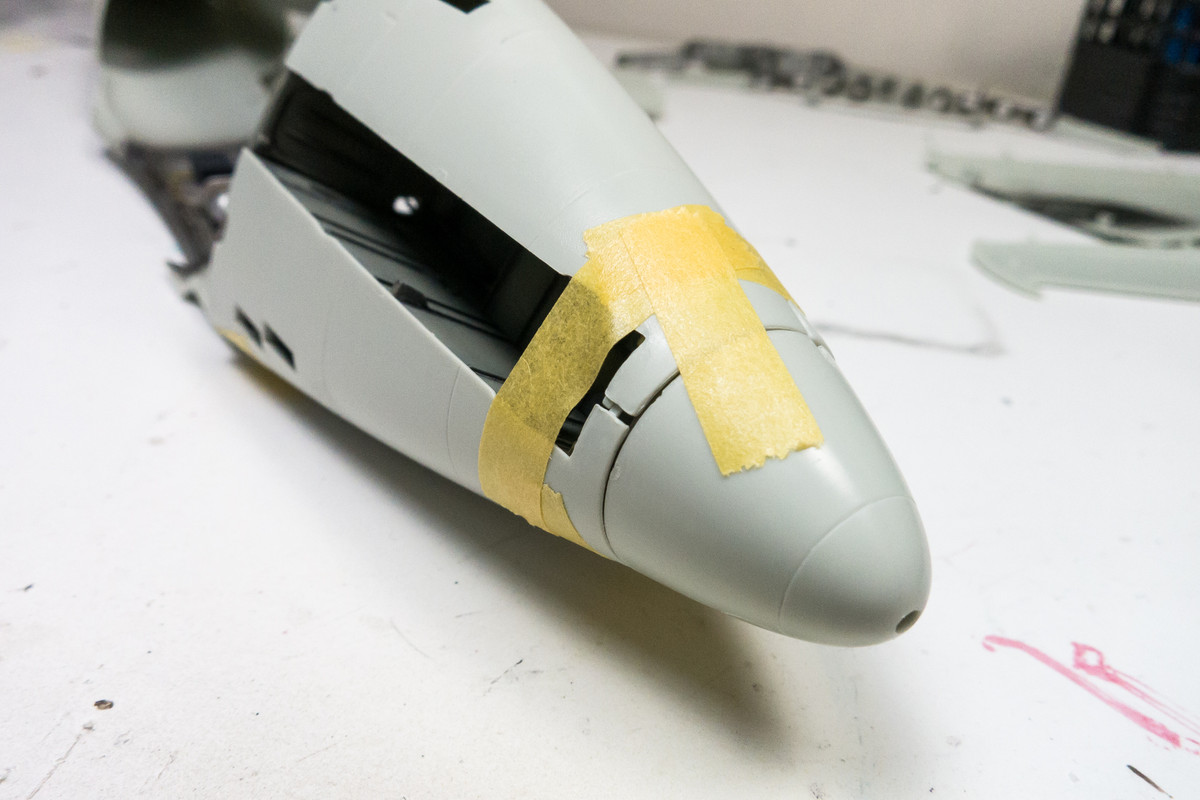
Once the gun bay/nose gear well has been completed, the fuselage halves may be glued together. But I'm quite ready to do that yet. Another round of dry-fitting is necessary to check how the glued together nose gear assembly fits within the fuselage. There seems to be a slight resistance for the tip of fuselage halves from coming together.
Image

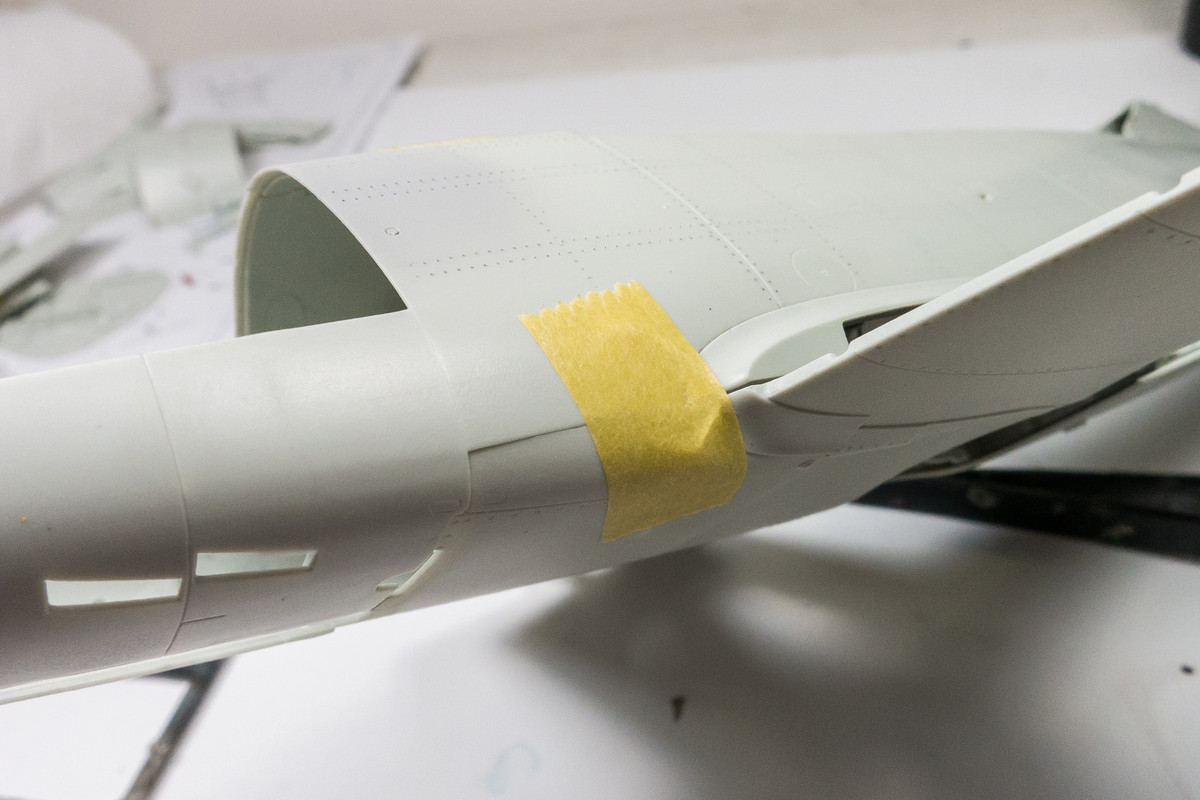
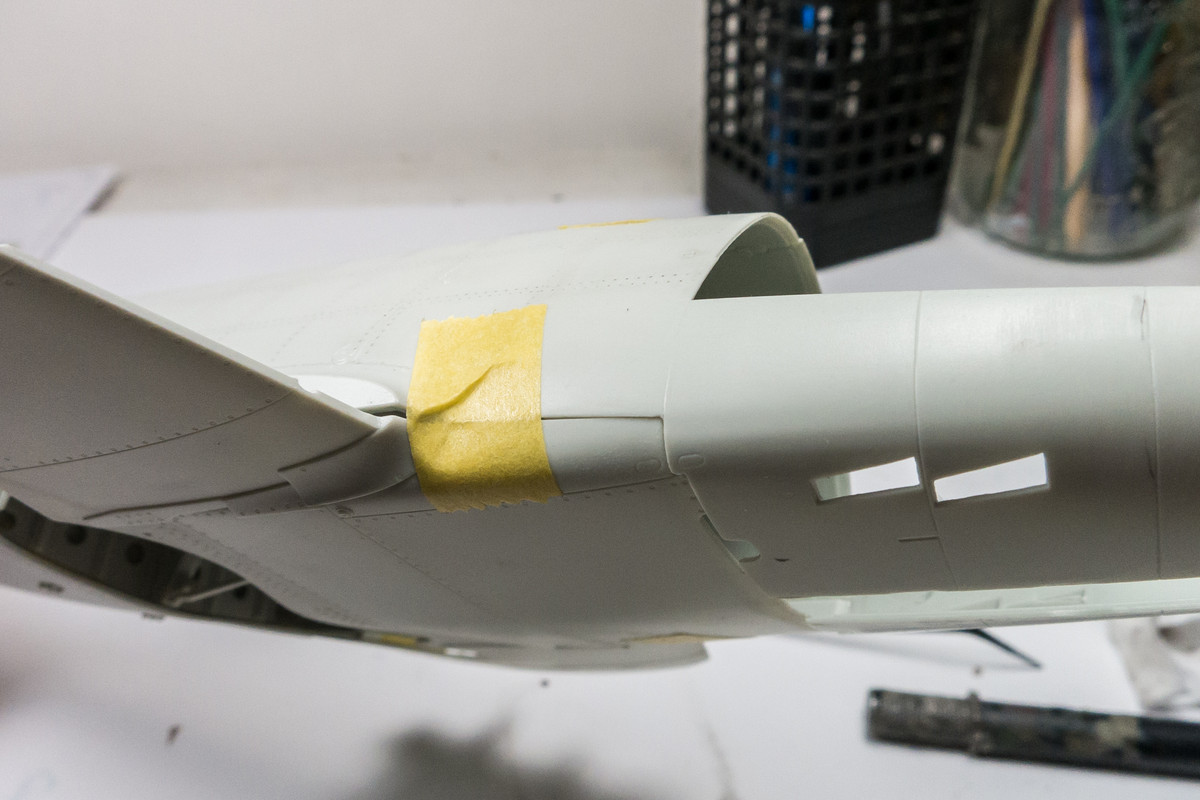
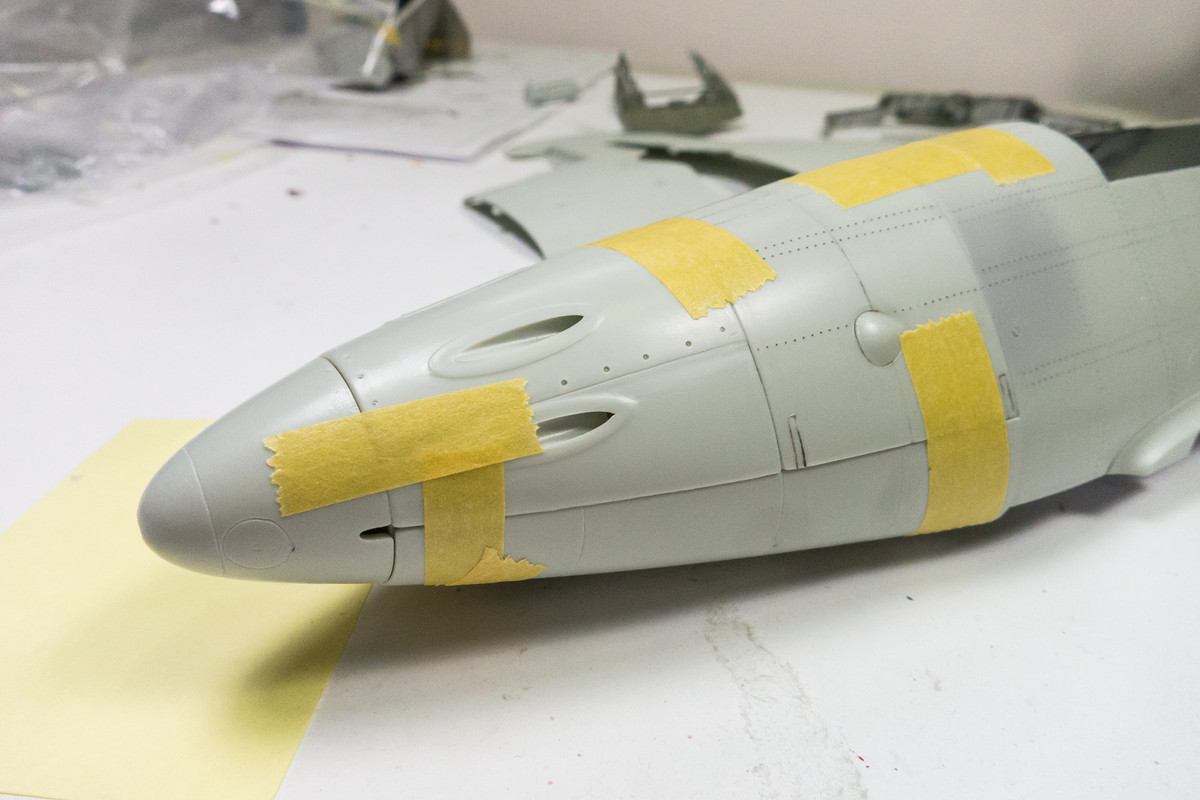
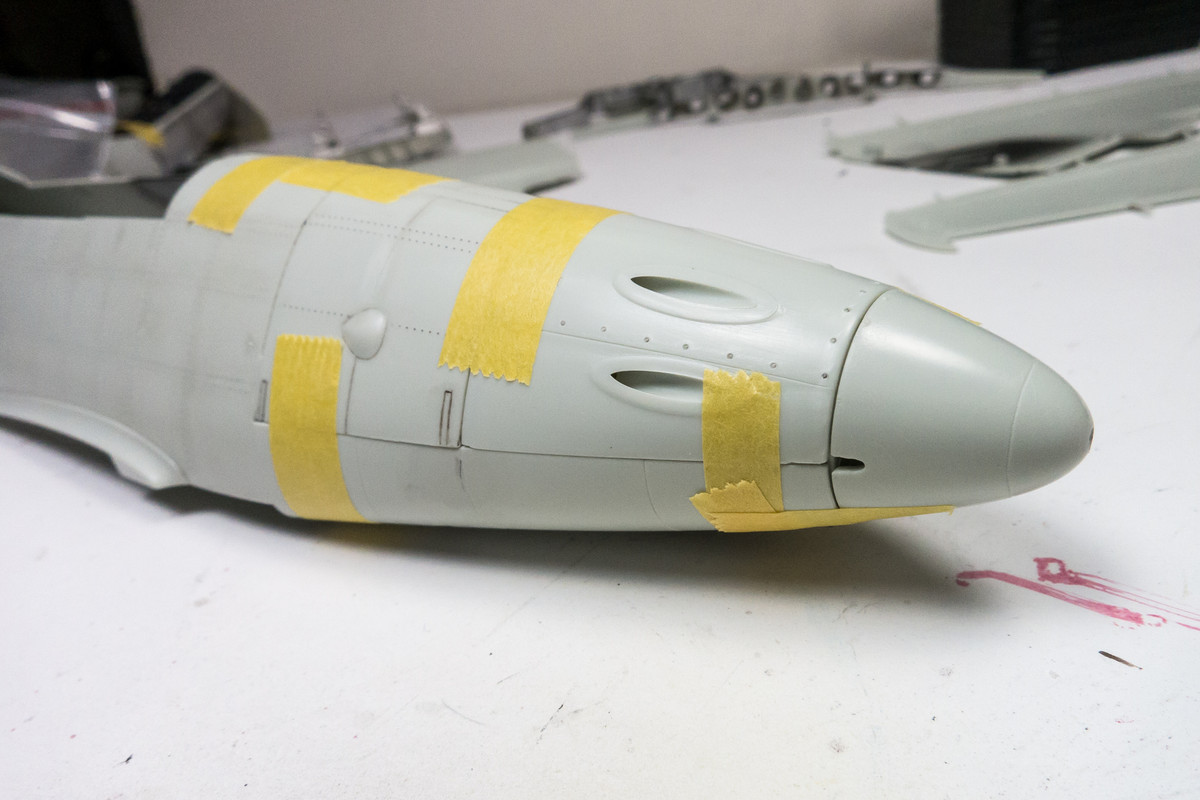
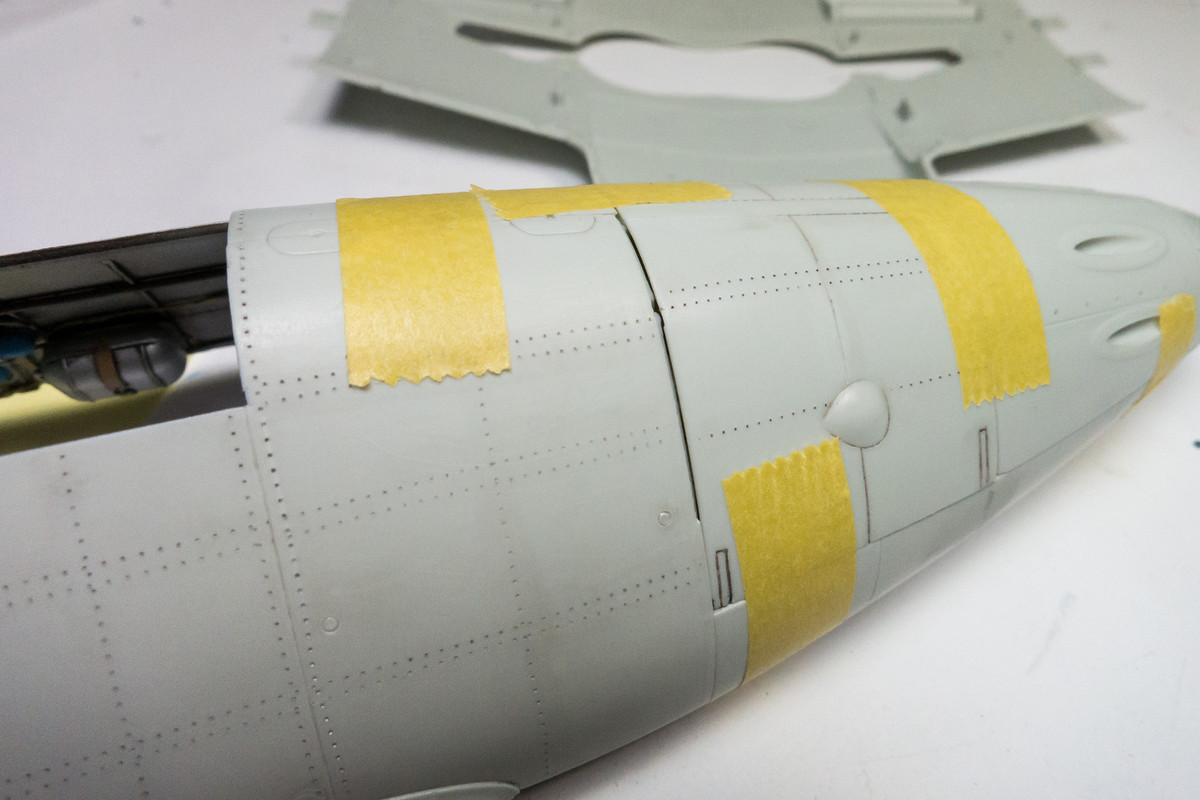
Taping on the remaining nose panels reveals pretty good fit with just a few exceptions.
Image
Image

This mold deficiency in the starboard fuselage half continues to create a gap. I am leaning towards addressing the gap after attachment with stretched sprue.
Image

The other issue seems to be the nose gear well being a tad too wide and not allowing the fuselage halve to close at the front. I think this can be easily addressed by a little bit of trimming.
Image

I've chosen to highlight some parts of the landing gear wells with RLM 02 Grey Green. These parts will be dirtied up a bit before they are glued together. I have a concern about adding wiring to these painted parts... I would have to be very careful to avoid marring the paint with excess CA glue.
Image
Image
John aka JKim
-----------<><
Image
User avatar
Stikpusher
Moderator
Posts: 21188
Joined: Sat Apr 05, 2014 8:37 pm
Location: Ceti Alpha 5

Re: 1/32 Revell Me262B-1/U1 Nachtjager

Post by Stikpusher »

All those sub assemblies are looking great so far John. I’m surprised that the wheel wells are in bare metal and not having some sort of protective paint coating.
"Surely I have made my meaning plain? I intend to avenge myself upon you, Admiral. I have deprived your ship of power, and when I swing 'round, I intend to deprive you of your life."

FLSM
Post Reply

Return to “Aircraft Work in Progress”