Page 11 of 29
Re: Trumpeter P-47D Razorback "Eileen"
Posted: Sun Dec 18, 2022 3:30 am
by Stuart
Stunning detail work as ever John!
Re: Trumpeter P-47D Razorback "Eileen"
Posted: Sun Dec 18, 2022 7:50 pm
by Floki
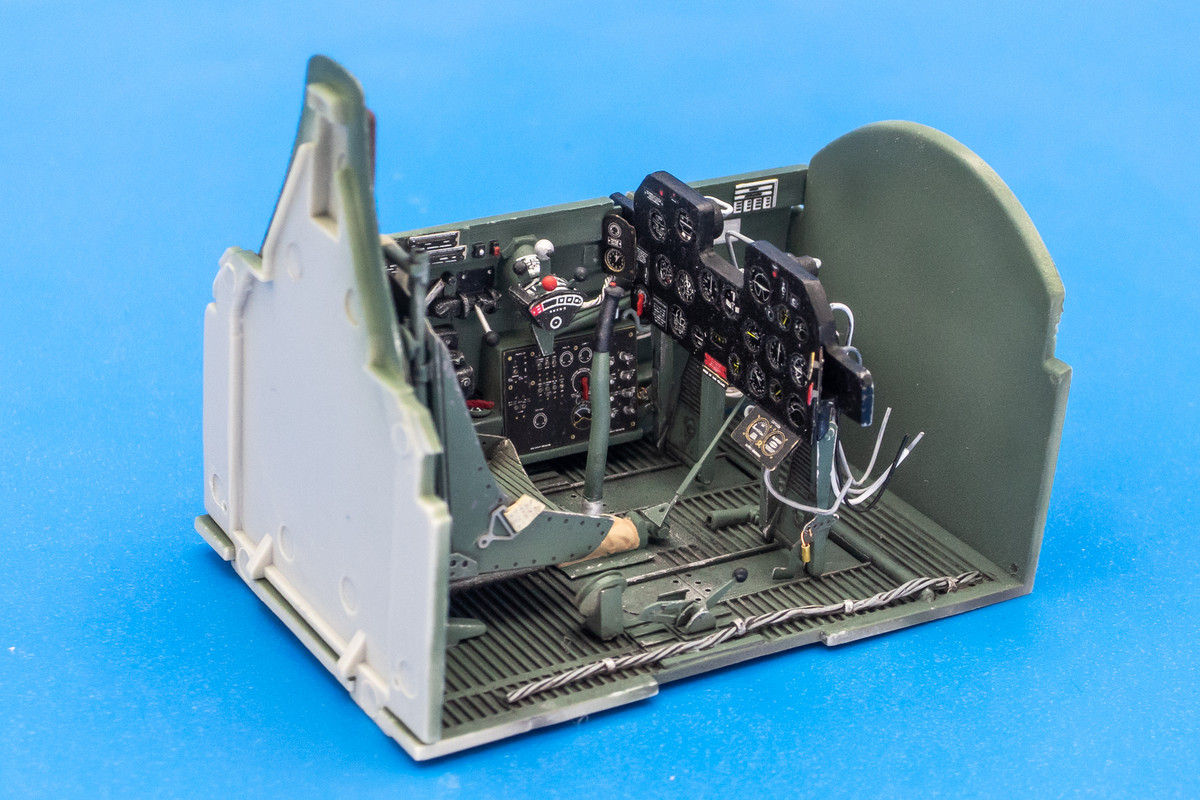
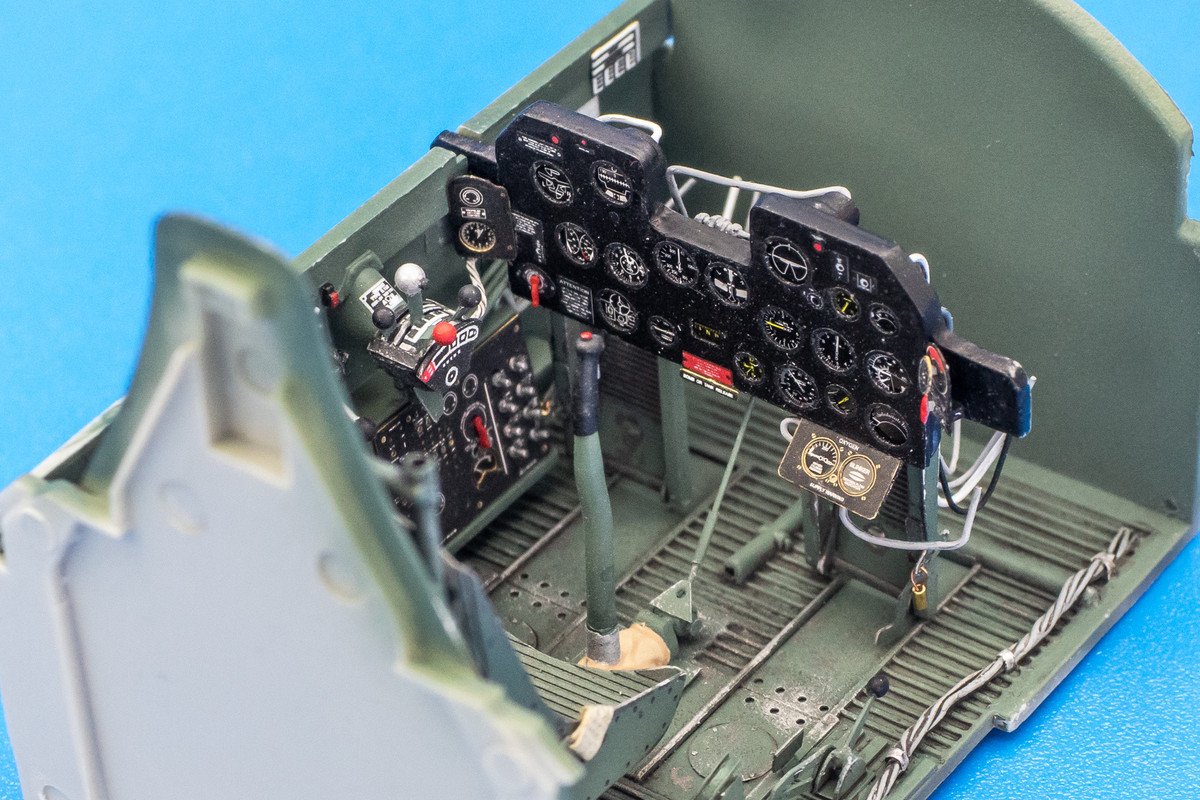
Excellent looking cockpit! You can see the dark chipping in the photos along with the bright dry brush
Re: Trumpeter P-47D Razorback "Eileen"
Posted: Mon Dec 19, 2022 6:46 am
by TheMongoose
You better get a green screen program to set up your pics when done because if you put a background with these we won’t know what’s real or not!
Re: Trumpeter P-47D Razorback "Eileen"
Posted: Mon Dec 19, 2022 12:00 pm
by Medicman71
Incredible work as always!

Re: Trumpeter P-47D Razorback "Eileen"
Posted: Mon Dec 19, 2022 3:49 pm
by jkim
Thanks guys! Creeping along on the cockpit... it's nice because of the large size of the P-47 office. There's lots of room to play with.
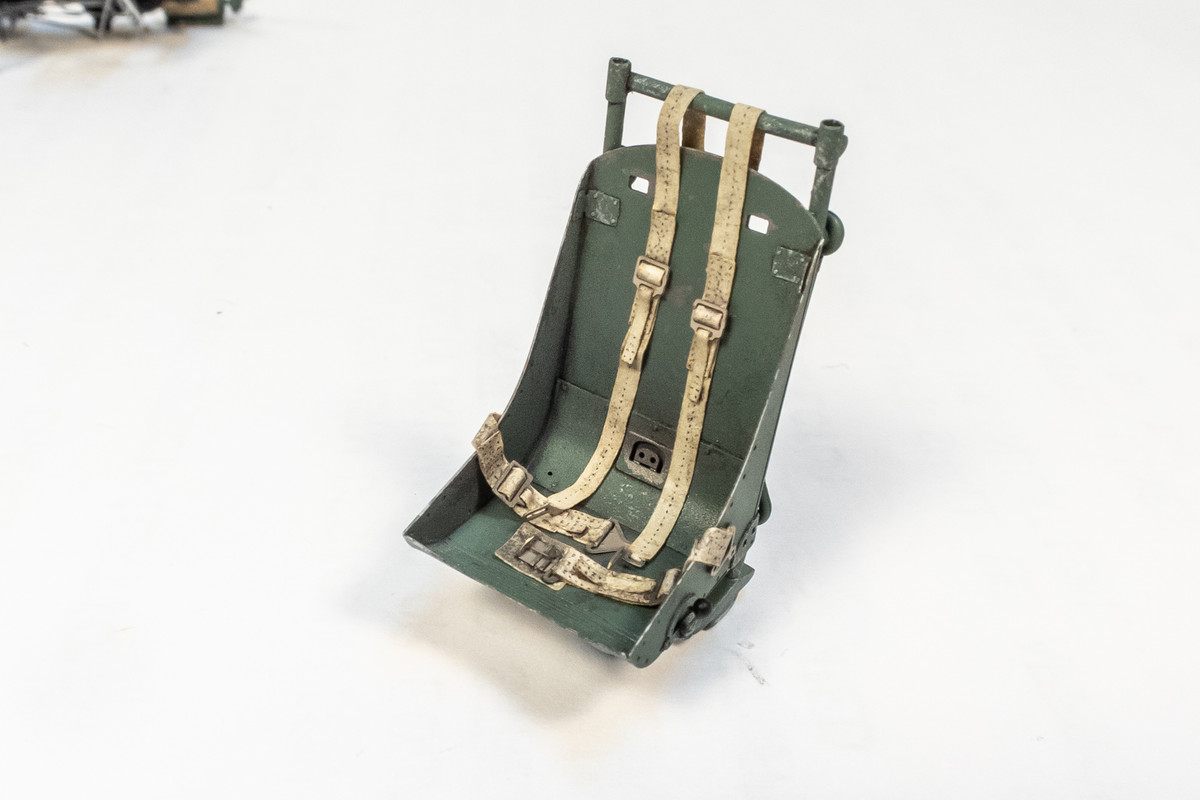
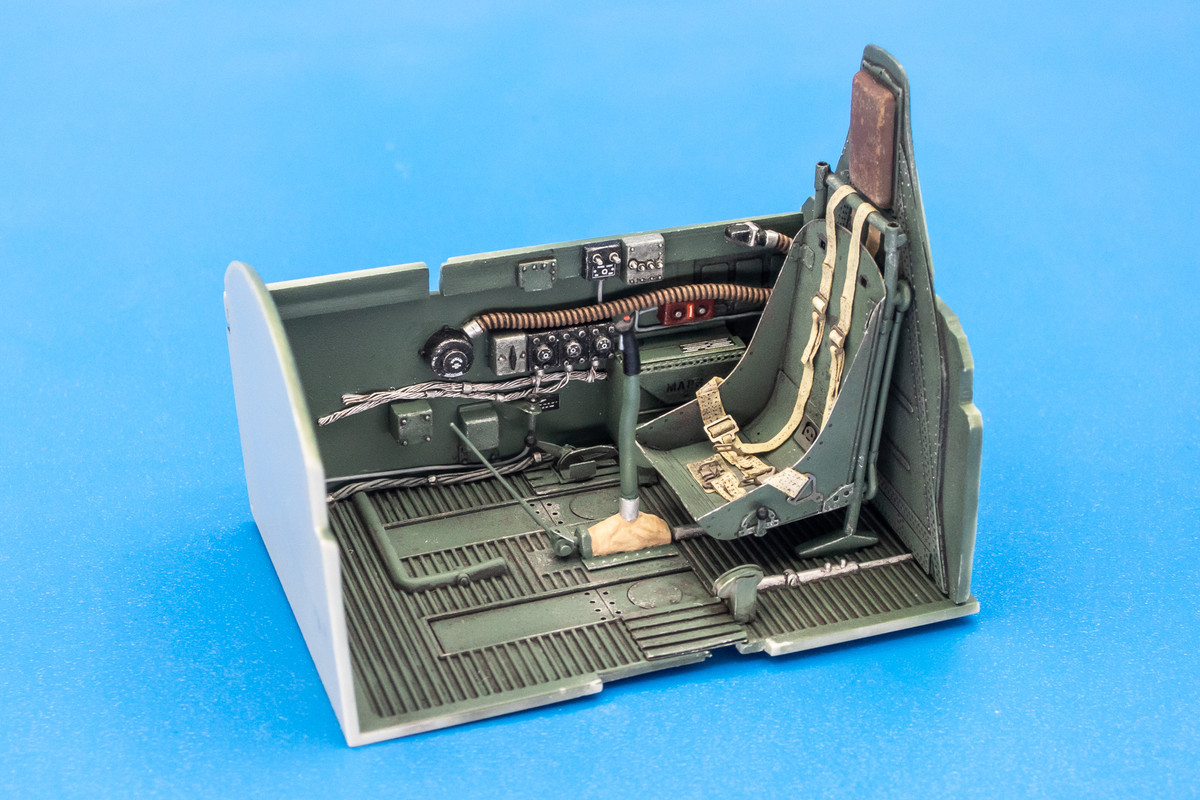
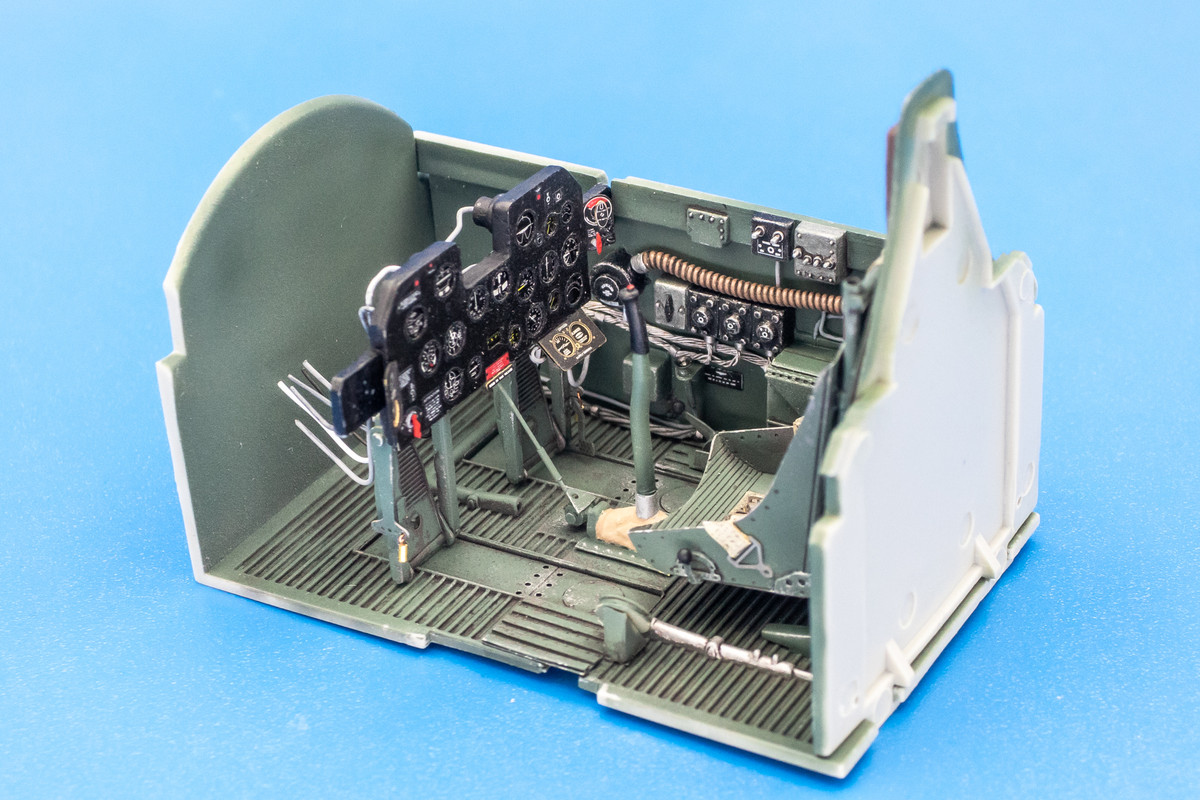
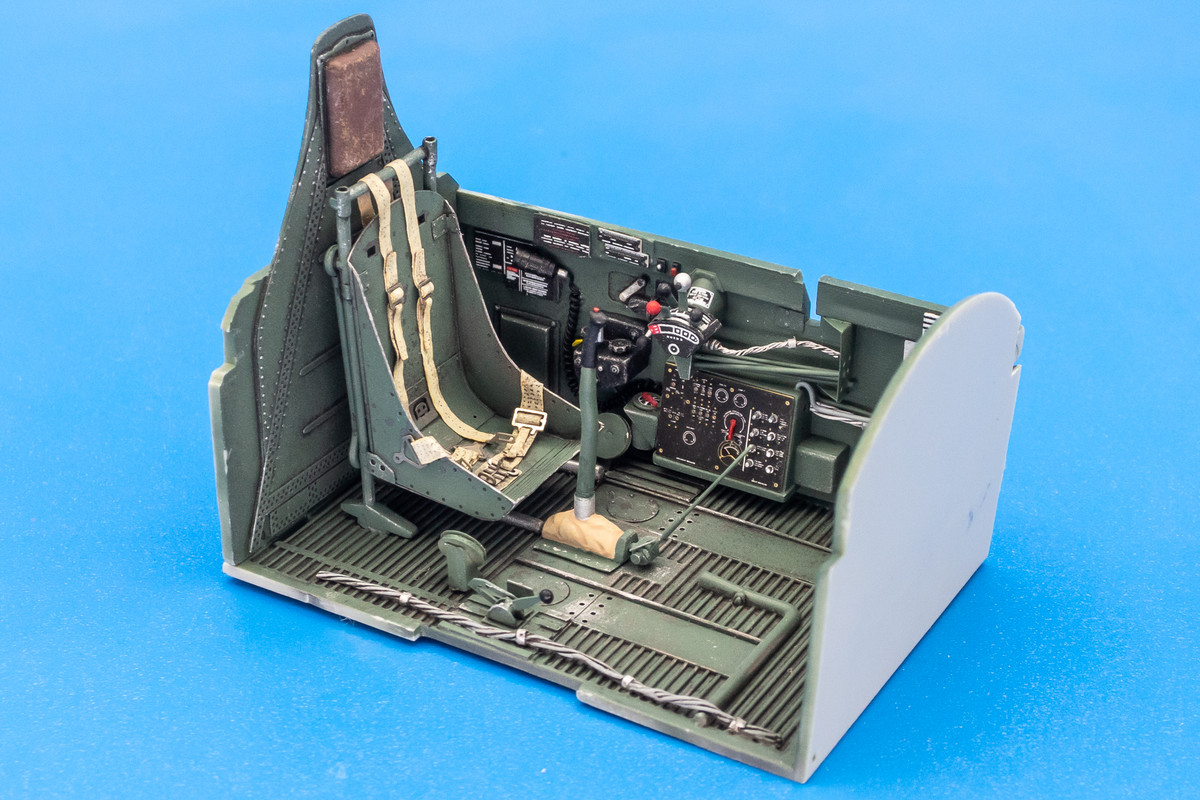
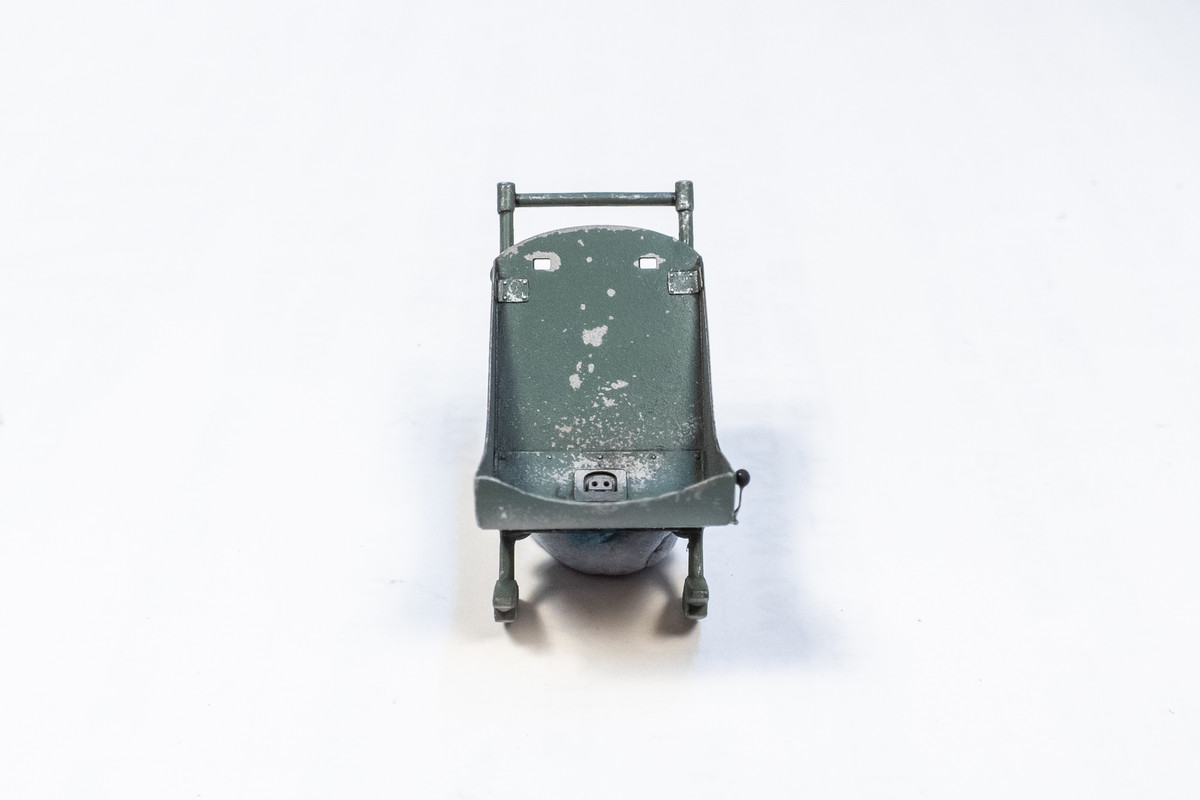
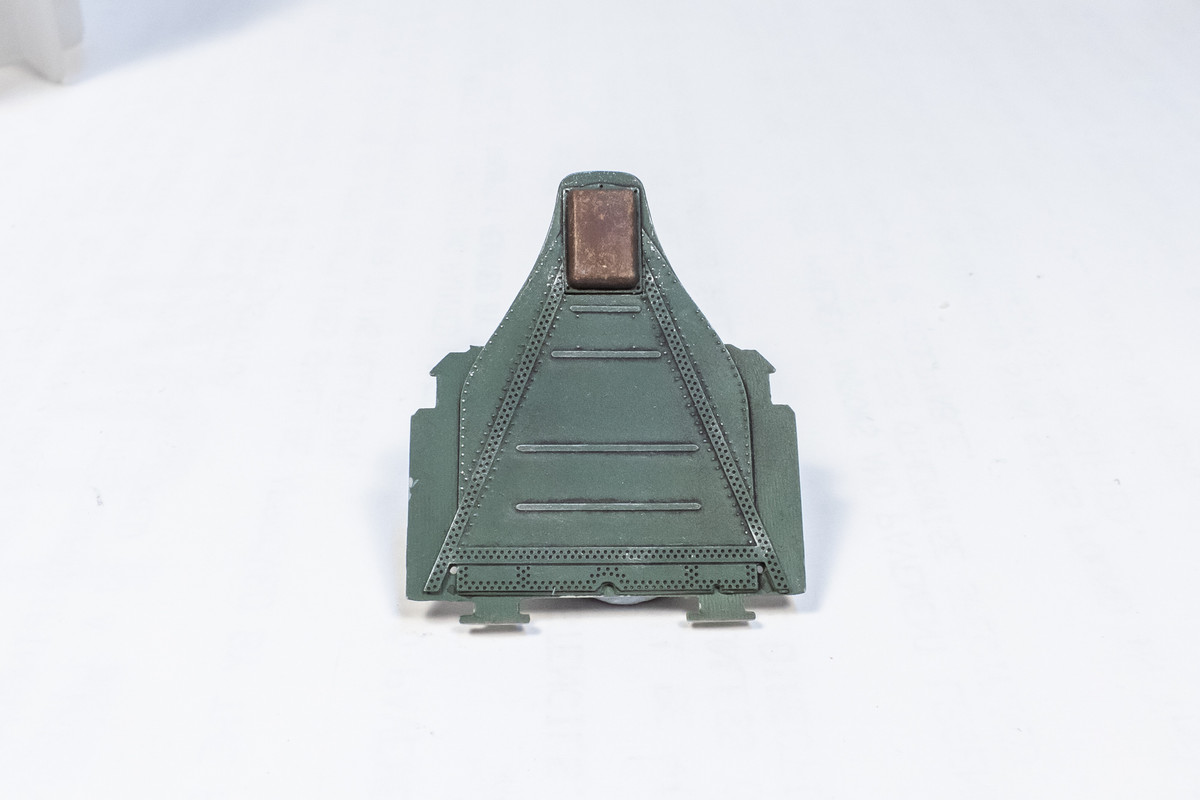
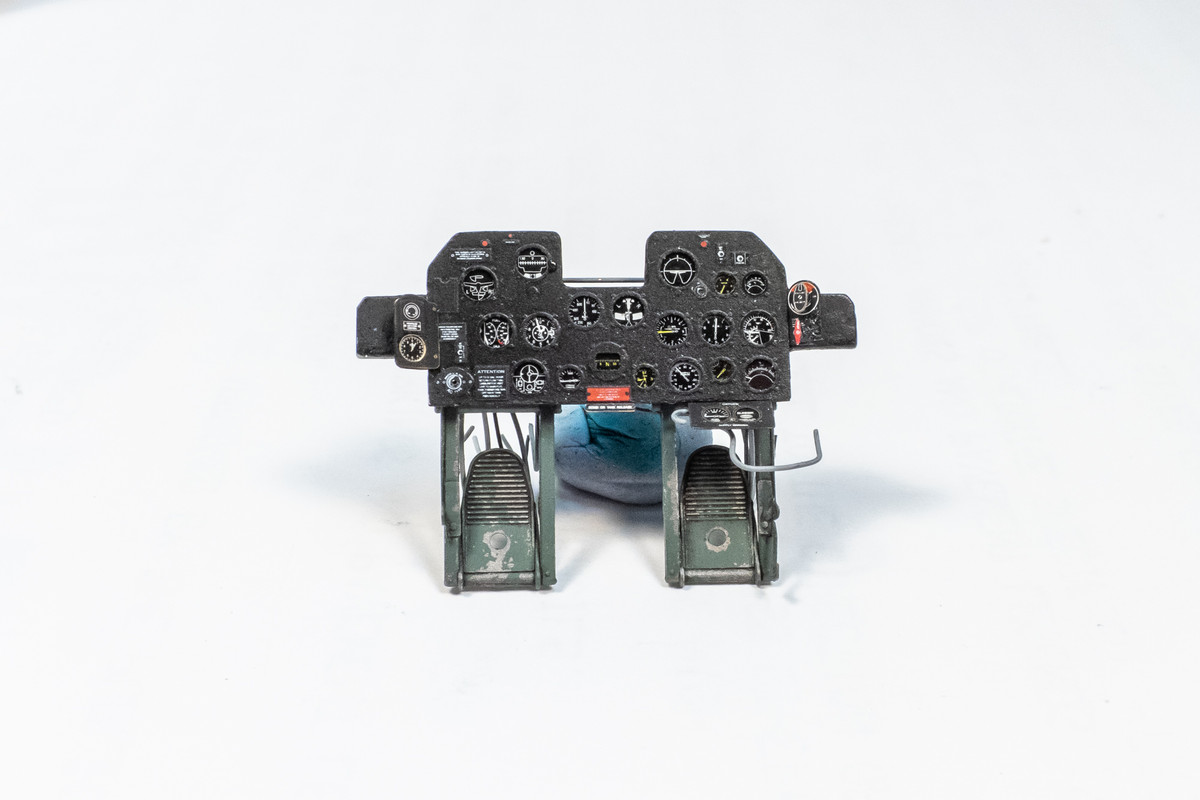
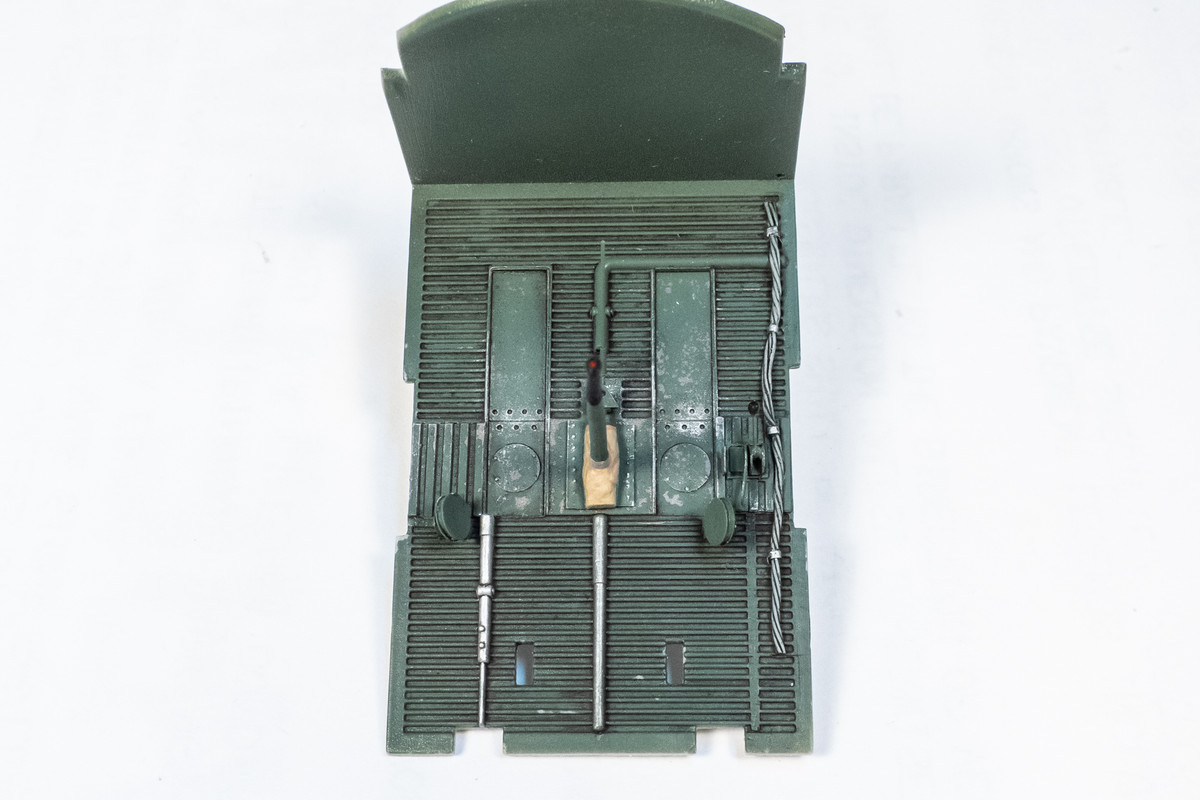
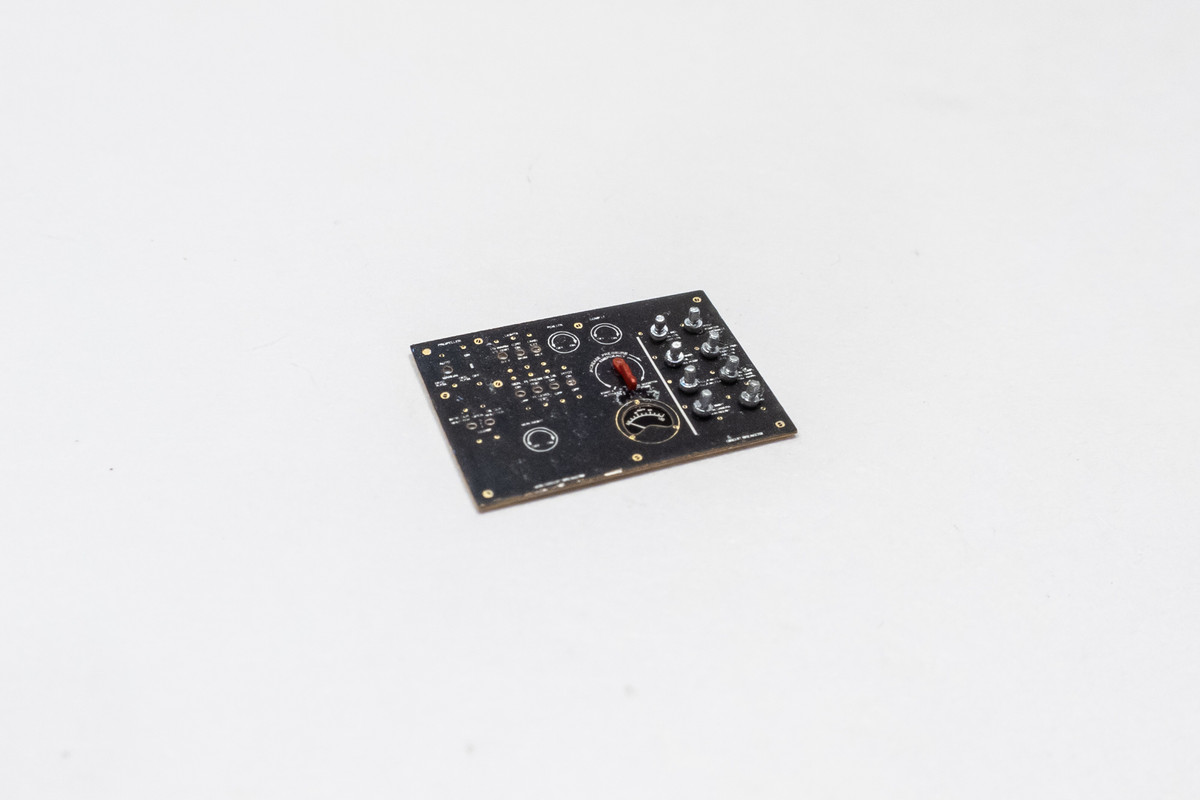
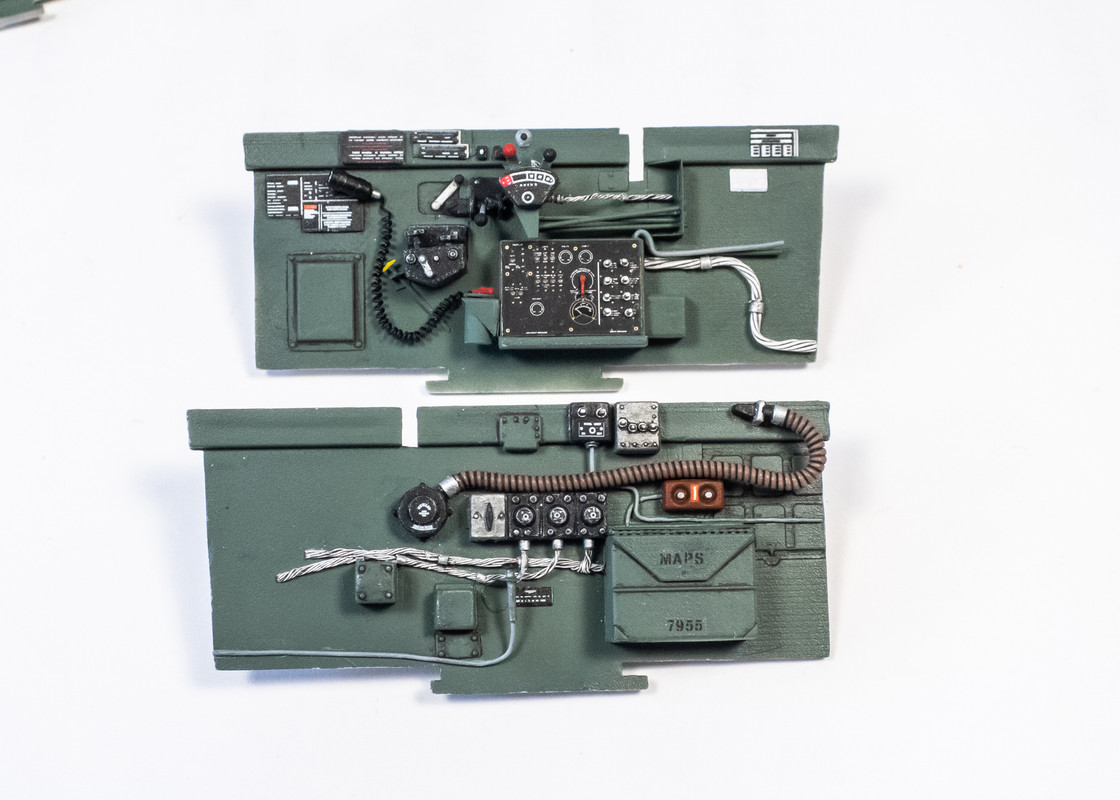
Here are some views of the components that have been painted so far. I've tried to position the parts so that the chipping is more visible.
The seat.
The rear cockpit bulkhead and headrest.
The instrument panel with the foot rests added.
The cockpit floor with the control stick.
Adding adding levers to the main circuit panel was fiddly and I've decided not to go any further and add the even smaller knobs that could possibly populate other areas of the panel.
Completion of the main circuit panel signals the last step in the cockpit sidewall work. The sidewalls are now complete.
The starboard wall mounted on the cockpit floor.
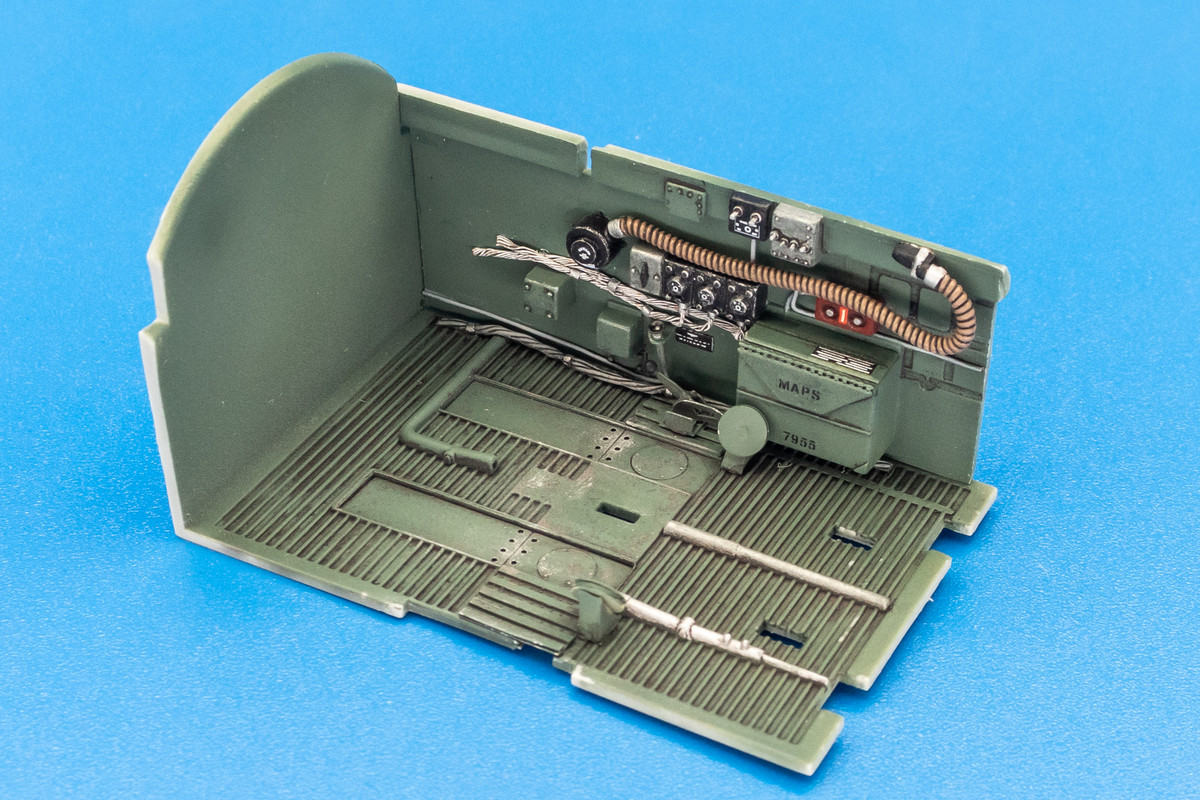
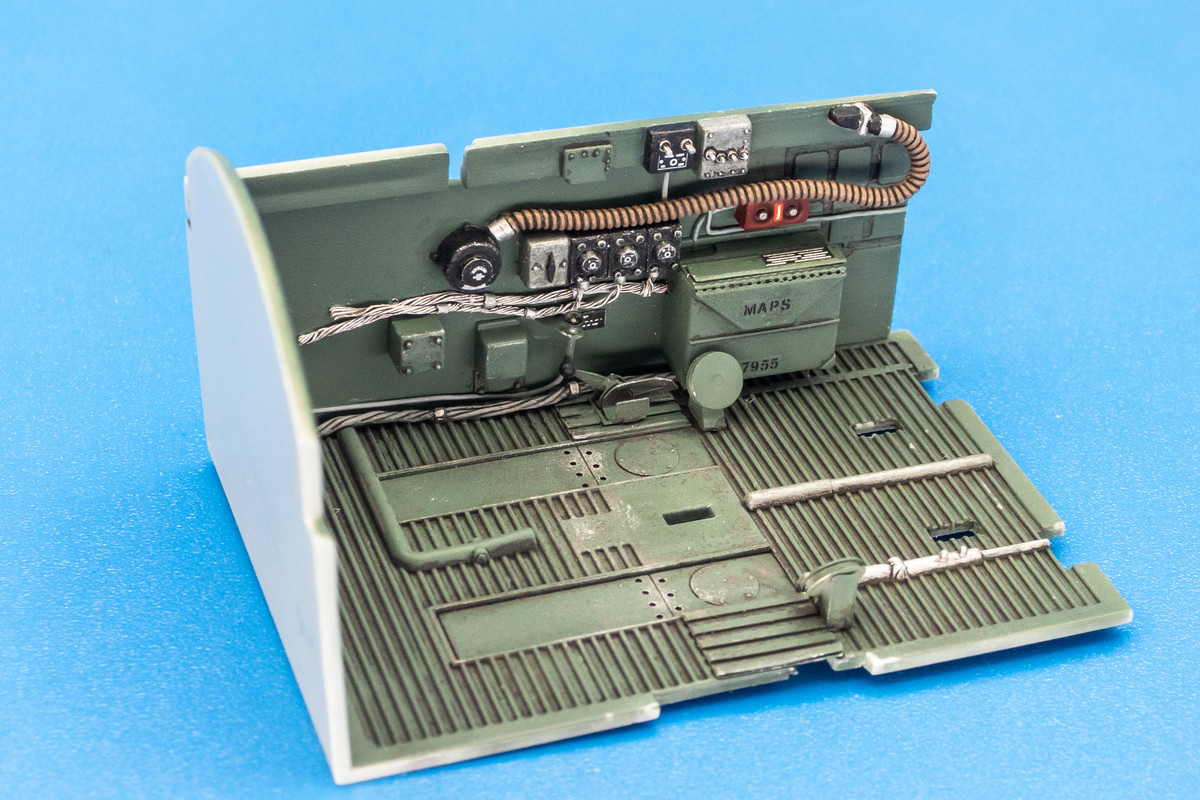
The port side.
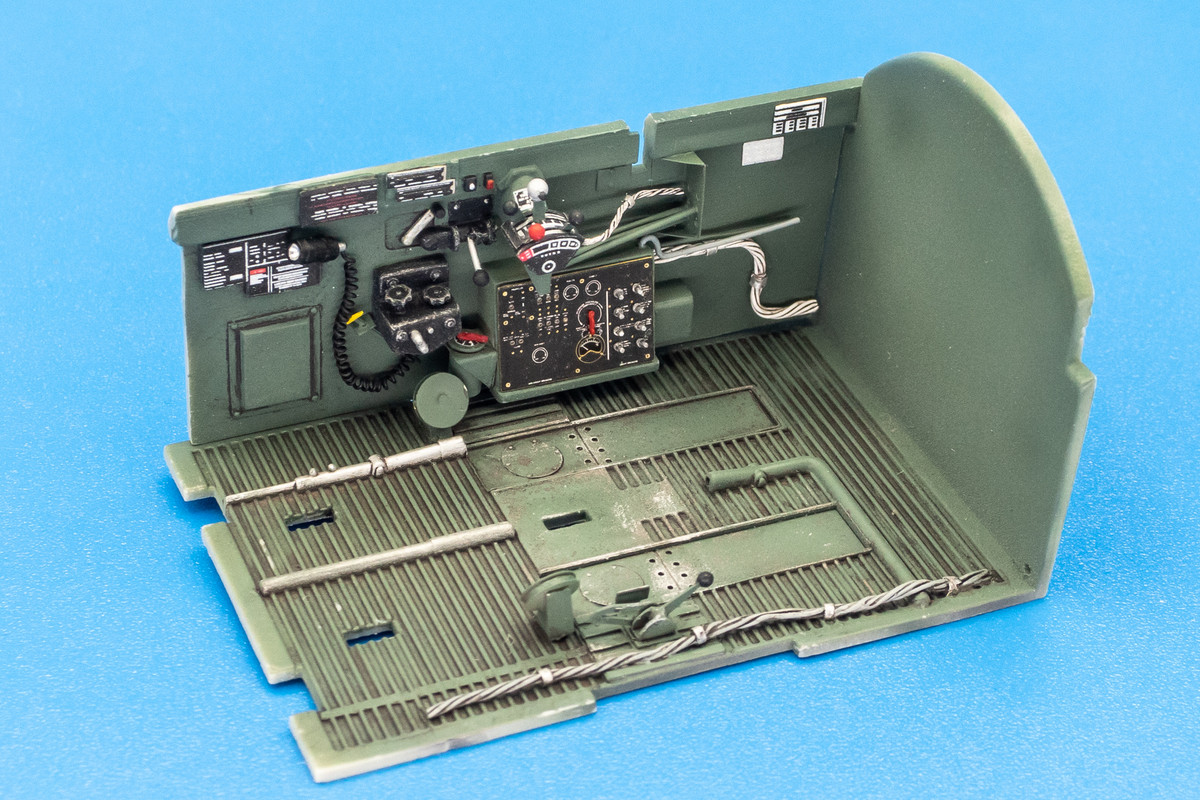
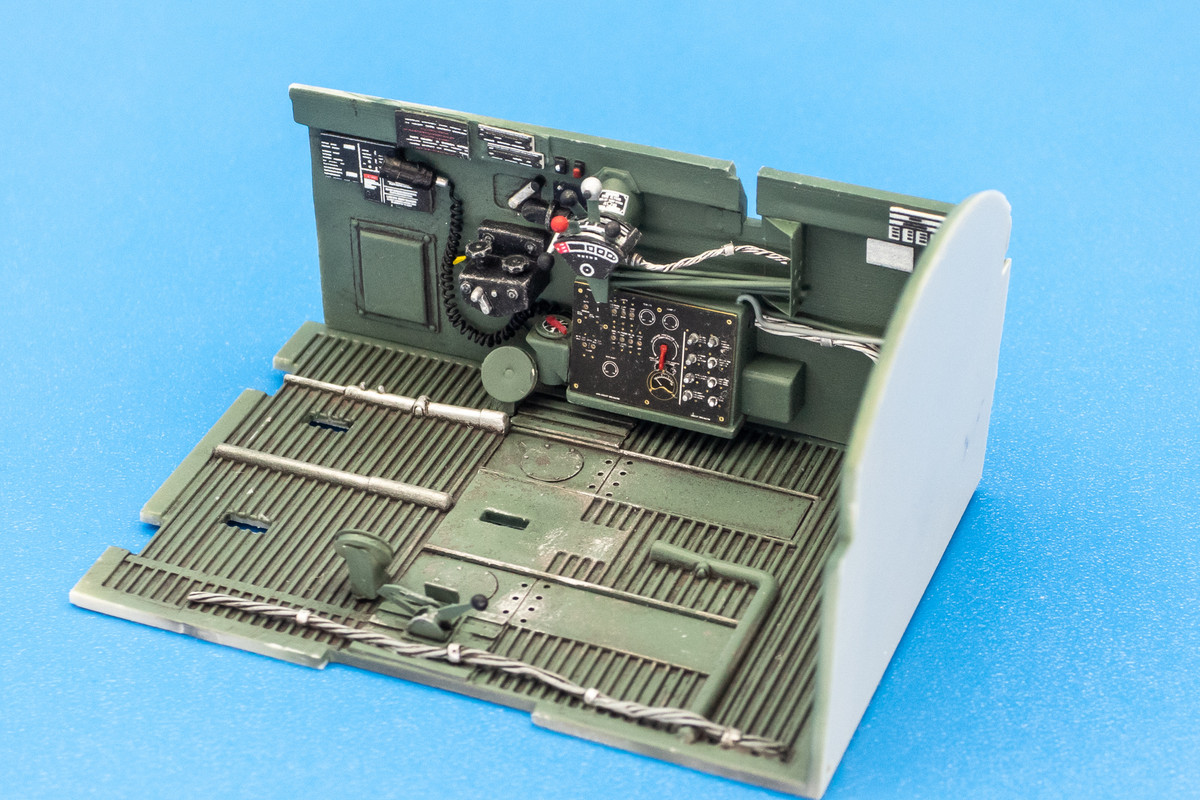
Re: Trumpeter P-47D Razorback "Eileen"
Posted: Mon Dec 19, 2022 4:42 pm
by tempestjohnny
Re: Trumpeter P-47D Razorback "Eileen"
Posted: Mon Dec 19, 2022 5:46 pm
by BlackSheep214
Damn..... can I sit in it when you’re done? Pure entertainment watching this come together.
Re: Trumpeter P-47D Razorback "Eileen"
Posted: Tue Dec 20, 2022 2:55 pm
by jkim
Re: Trumpeter P-47D Razorback "Eileen"
Posted: Tue Dec 20, 2022 4:30 pm
by jeaton01
Lifelike!
Re: Trumpeter P-47D Razorback "Eileen"
Posted: Tue Dec 20, 2022 7:55 pm
by jkim
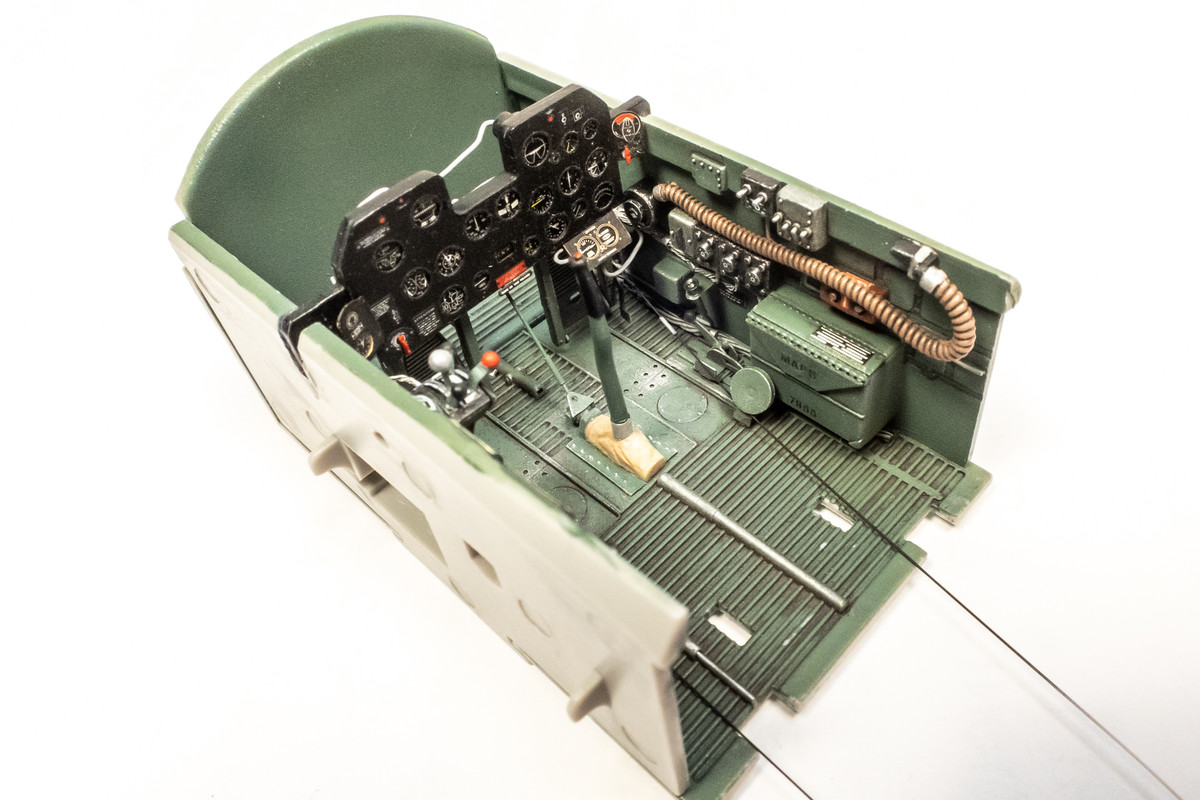
Trying to take the detail thing as far as I can but maybe this next thing isn't worth it. Here are the rudder cables attached to the foot pedal assembly. The cables are stretched sprue threaded through sections of brass tube.
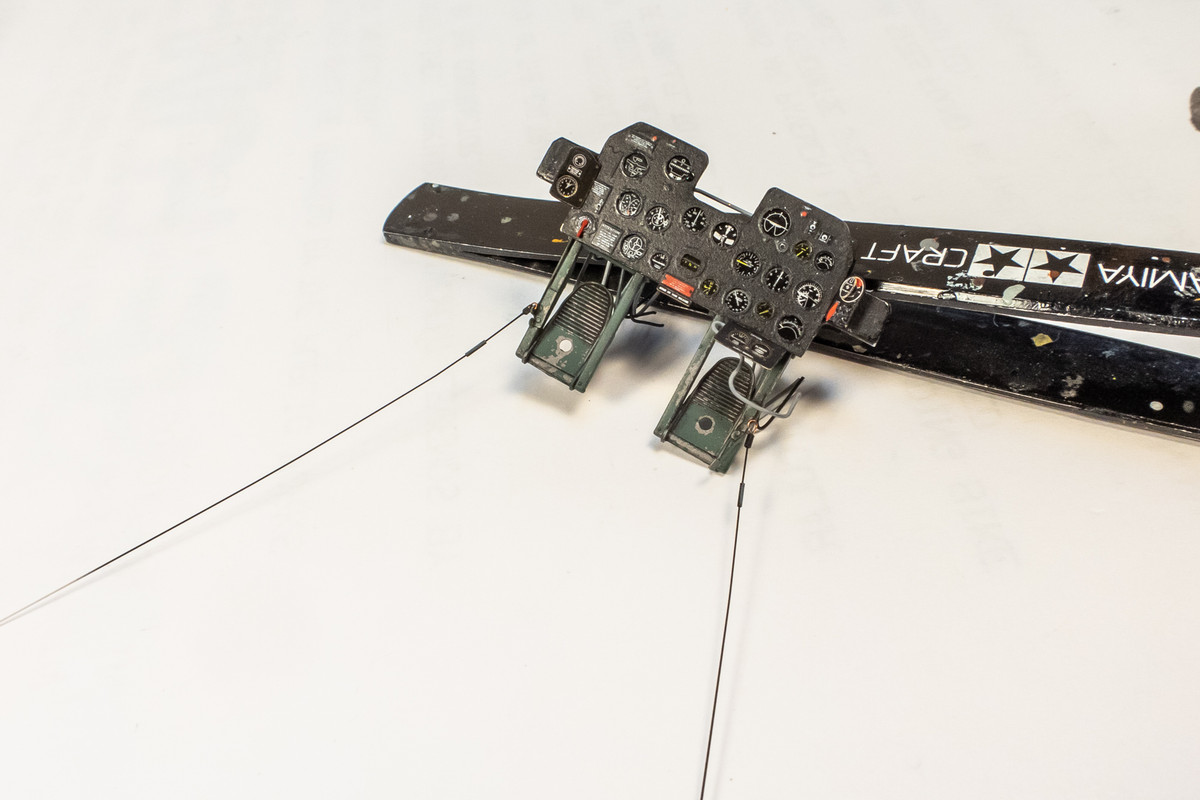
Since the instrument panel rests in notches in the side panels, I had to install the side panels first. The control stick is glued in too because the instrument panel needs to fit over the control lock rod. The seat and rear bulkhead are left off so I have room to route the rudder cables under the pulley wheels.
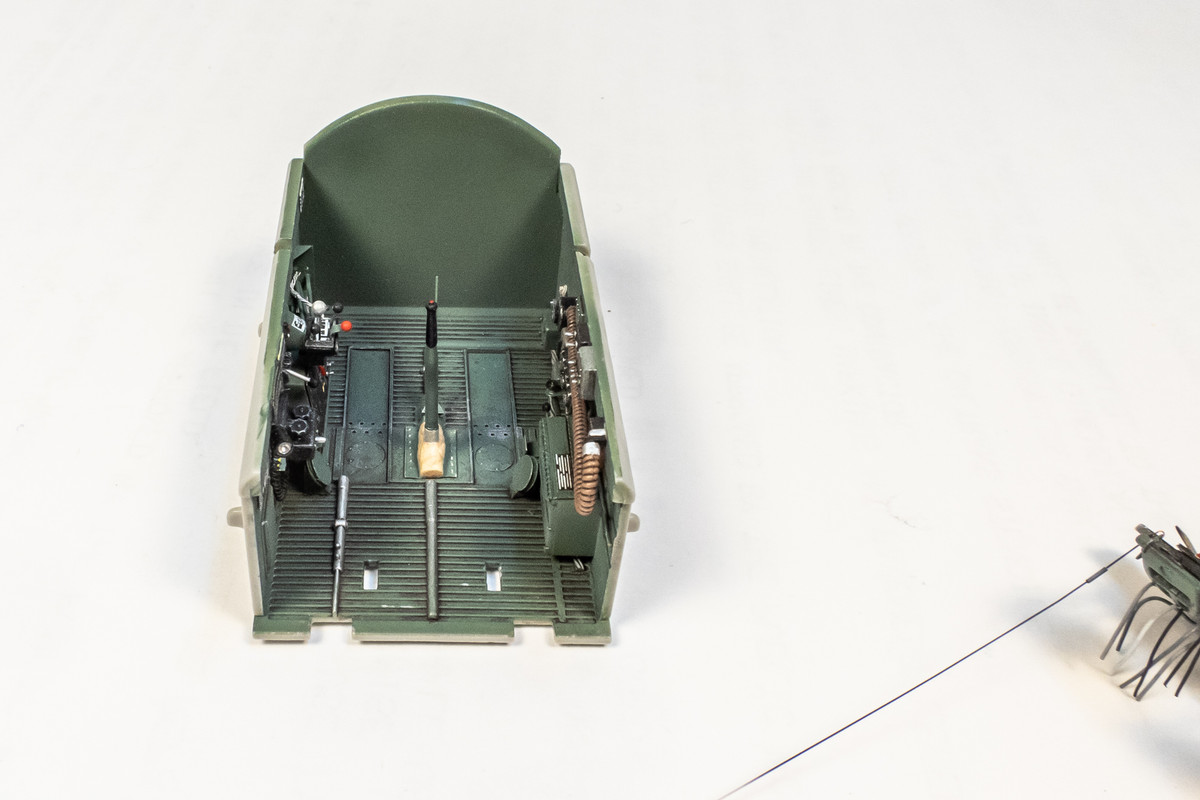
Physical conflict and overall busy-ness in this area makes the cable unnoticeable on the port side compounded by my choice to paint the cables black. I even knocked off one of the switches on the circuit panel... GRRRR.
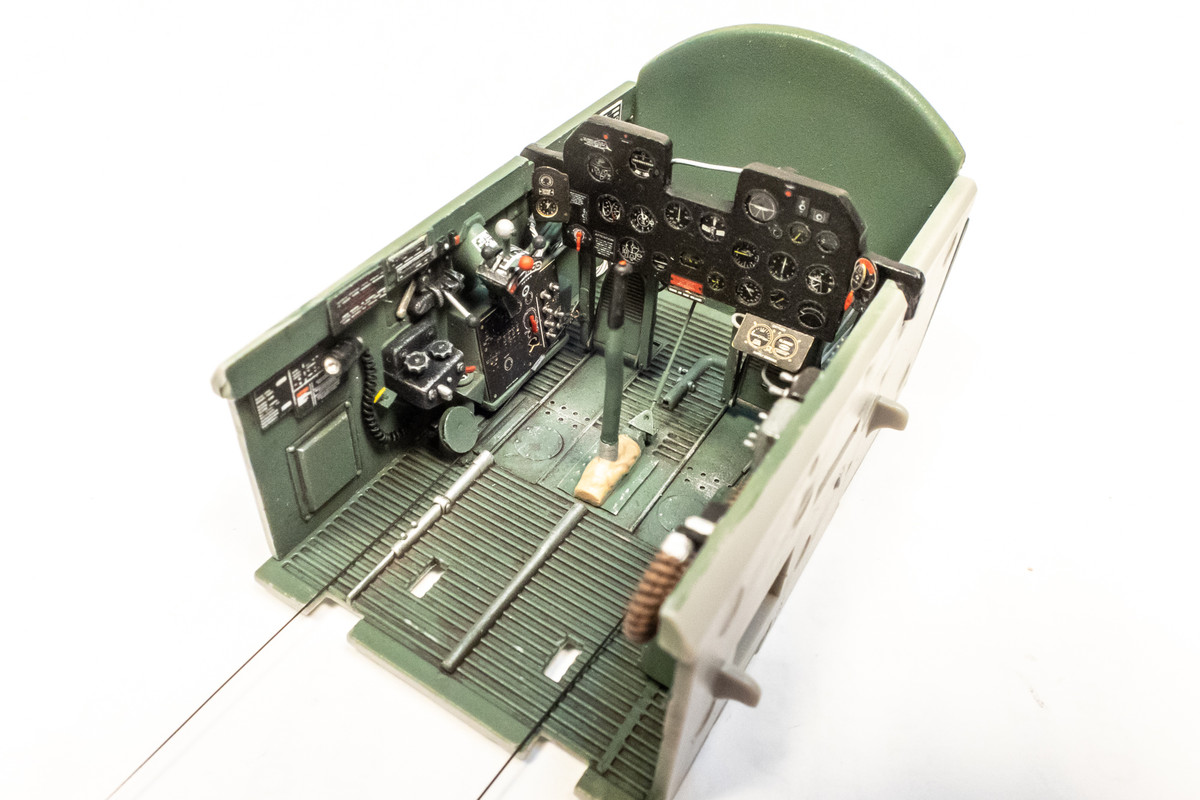
It's a little more visible on the starboard side.