Page 12 of 34
Re: 1/32 Revell Me262B-1/U1 Nachtjager
Posted: Tue Dec 08, 2020 12:57 pm
by Stuart
It looks like you're going to have fun pulling that all together John!
Re: 1/32 Revell Me262B-1/U1 Nachtjager
Posted: Tue Dec 08, 2020 6:14 pm
by Duke Maddog
Wow, I gotta stop looking in on this; I get so depressed when looking at my work....
But I CAN'T! It's too stunning and enjoyable to watch all this realism come to life! Bring it on John!
Re: 1/32 Revell Me262B-1/U1 Nachtjager
Posted: Tue Dec 08, 2020 9:49 pm
by jeaton01
Lovely.
Re: 1/32 Revell Me262B-1/U1 Nachtjager
Posted: Wed Dec 09, 2020 11:26 am
by jkim
Re: 1/32 Revell Me262B-1/U1 Nachtjager
Posted: Wed Dec 09, 2020 4:52 pm
by jkim
Re: 1/32 Revell Me262B-1/U1 Nachtjager
Posted: Wed Dec 09, 2020 7:33 pm
by mustang1989
This all looks really good so far John. You're gonna have to expand on this whole pastel wash deal. Just trying to see if it's the same thing I'm doing or if there's something different to it.
FYI....... Believe it or not I'm planning on another aircraft build....soon. An Me-262 as a matter of fact.
Re: 1/32 Revell Me262B-1/U1 Nachtjager
Posted: Wed Dec 09, 2020 7:47 pm
by Floki
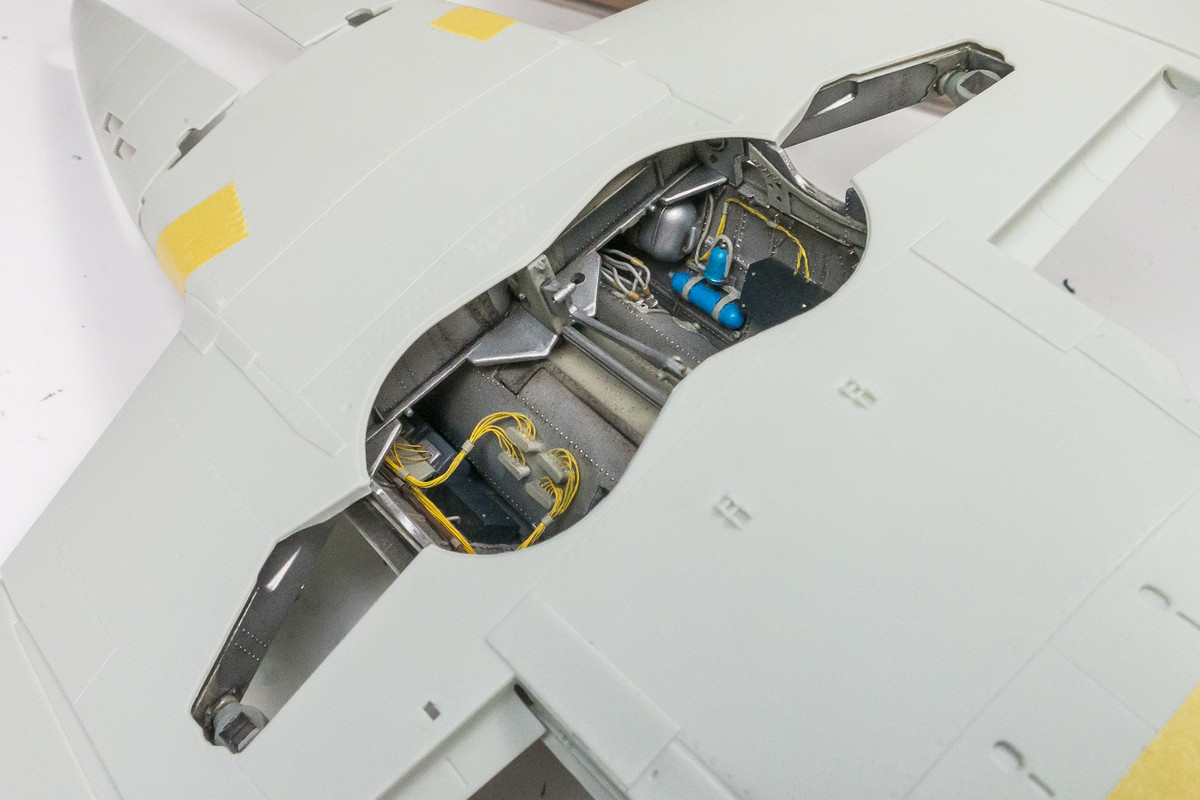
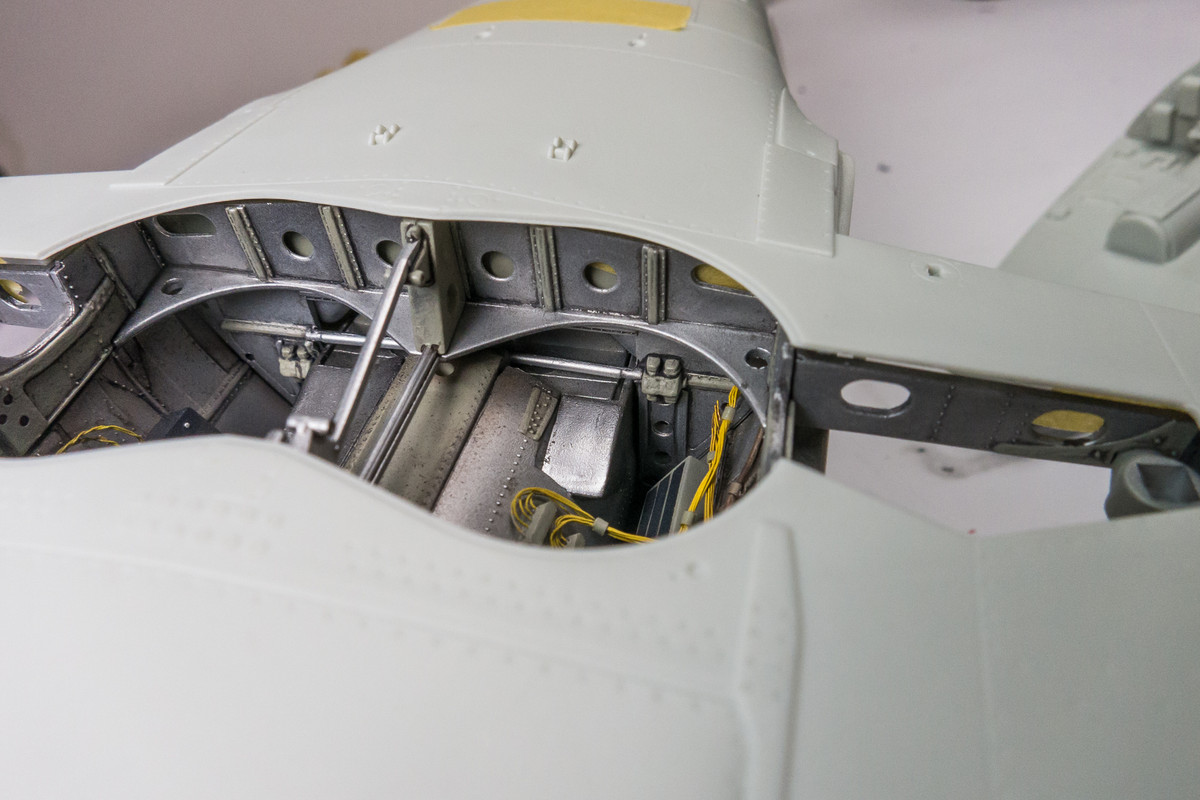
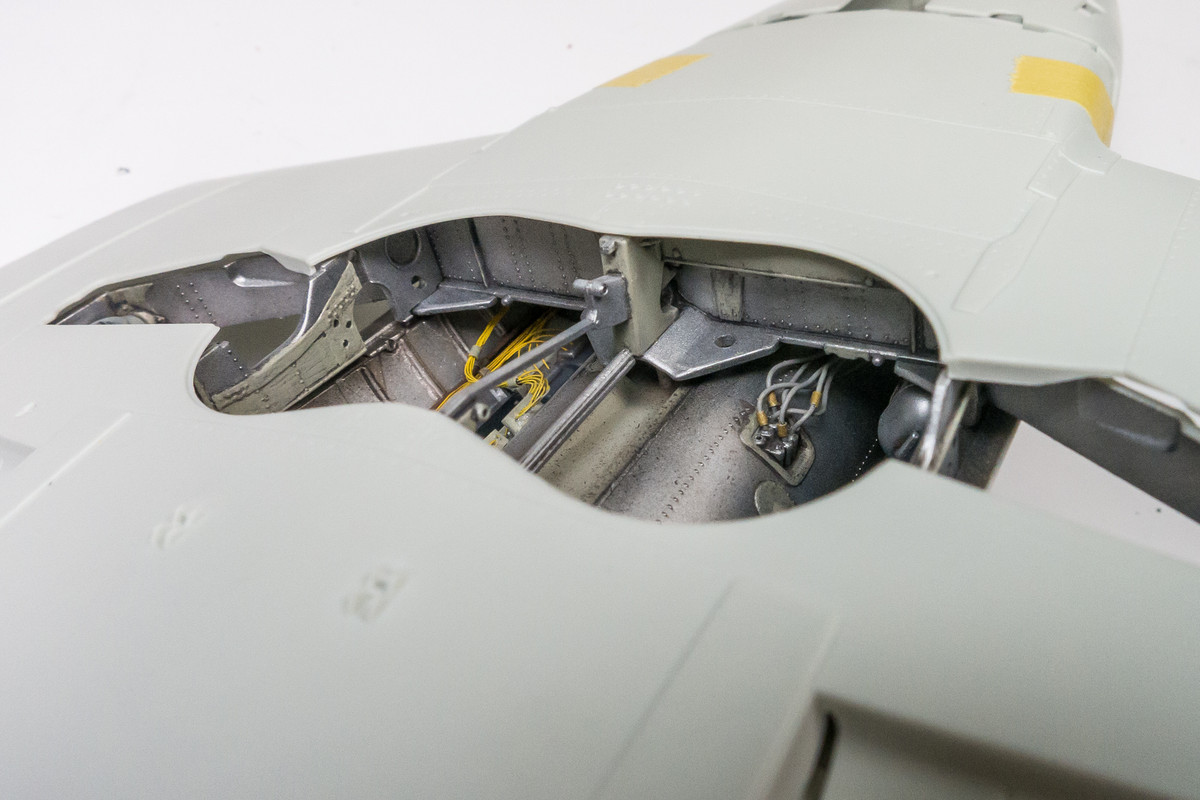
All great progress John! I'm sure you'll dress the landing gear up just as nice as the gear bay.
Re: 1/32 Revell Me262B-1/U1 Nachtjager
Posted: Thu Dec 10, 2020 11:53 am
by jkim
mustang1989 wrote:This all looks really good so far John. You're gonna have to expand on this whole pastel wash deal. Just trying to see if it's the same thing I'm doing or if there's something different to it.
FYI....... Believe it or not I'm planning on another aircraft build....soon. An Me-262 as a matter of fact.
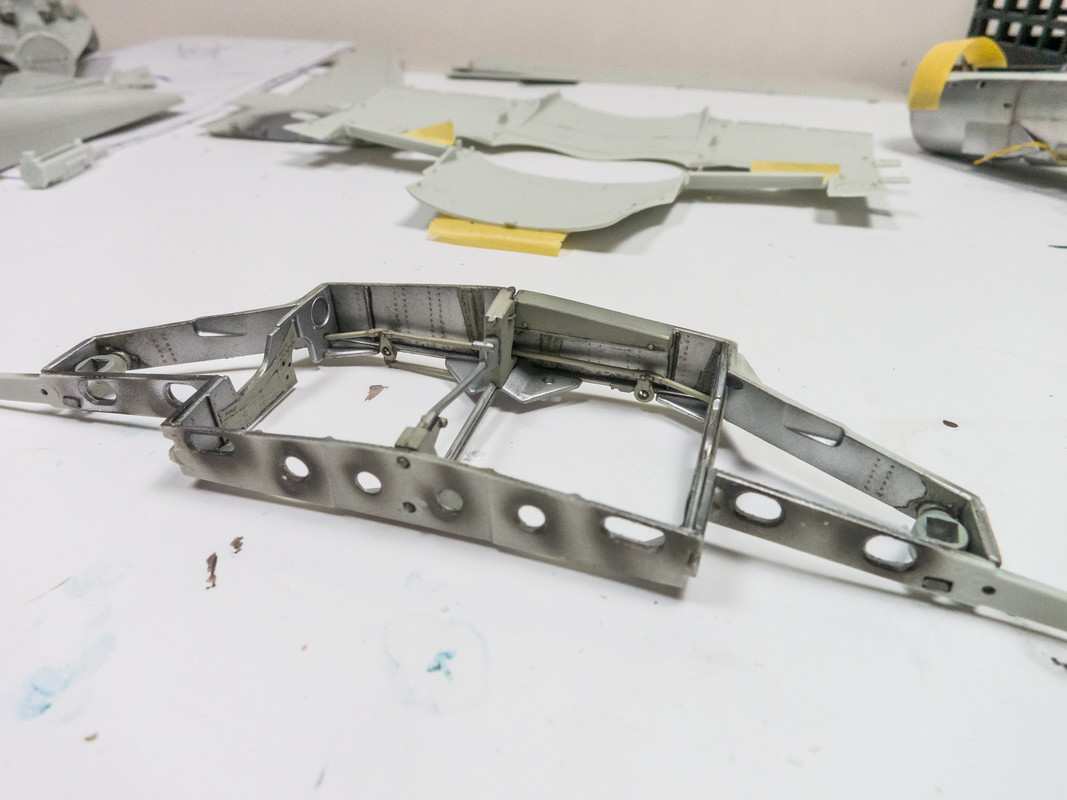
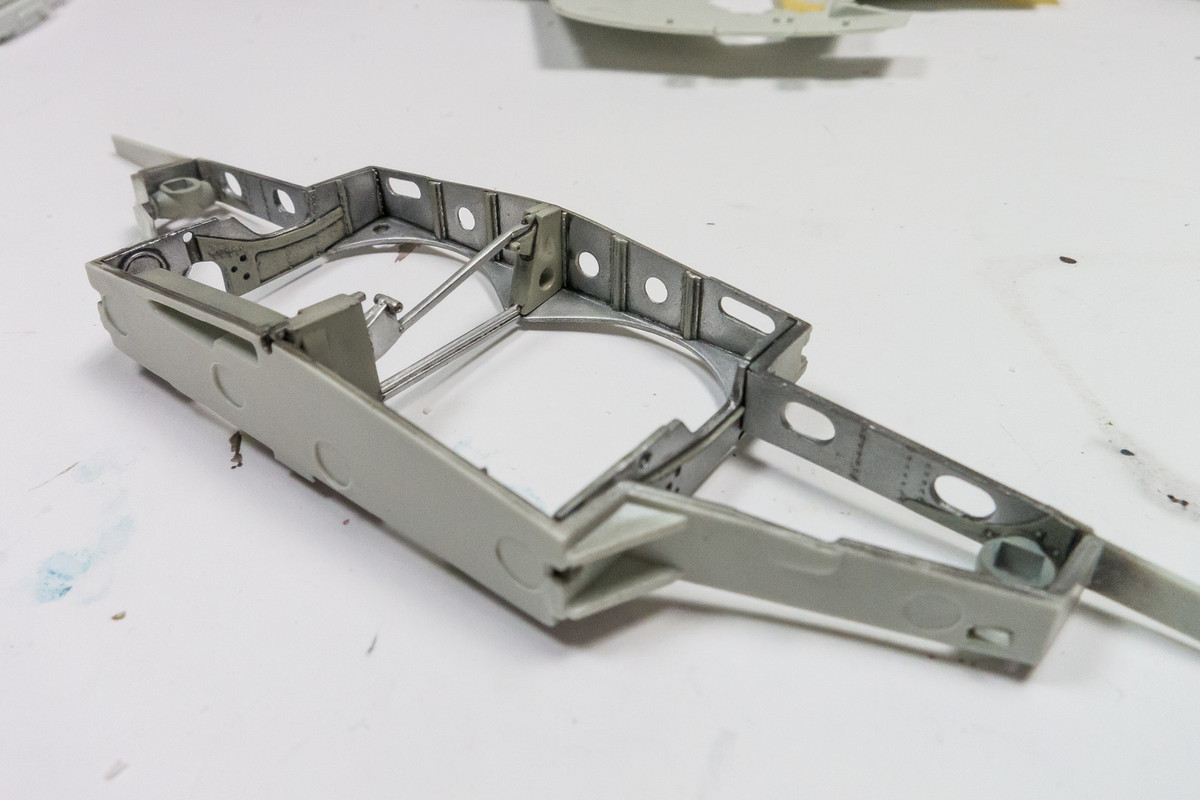
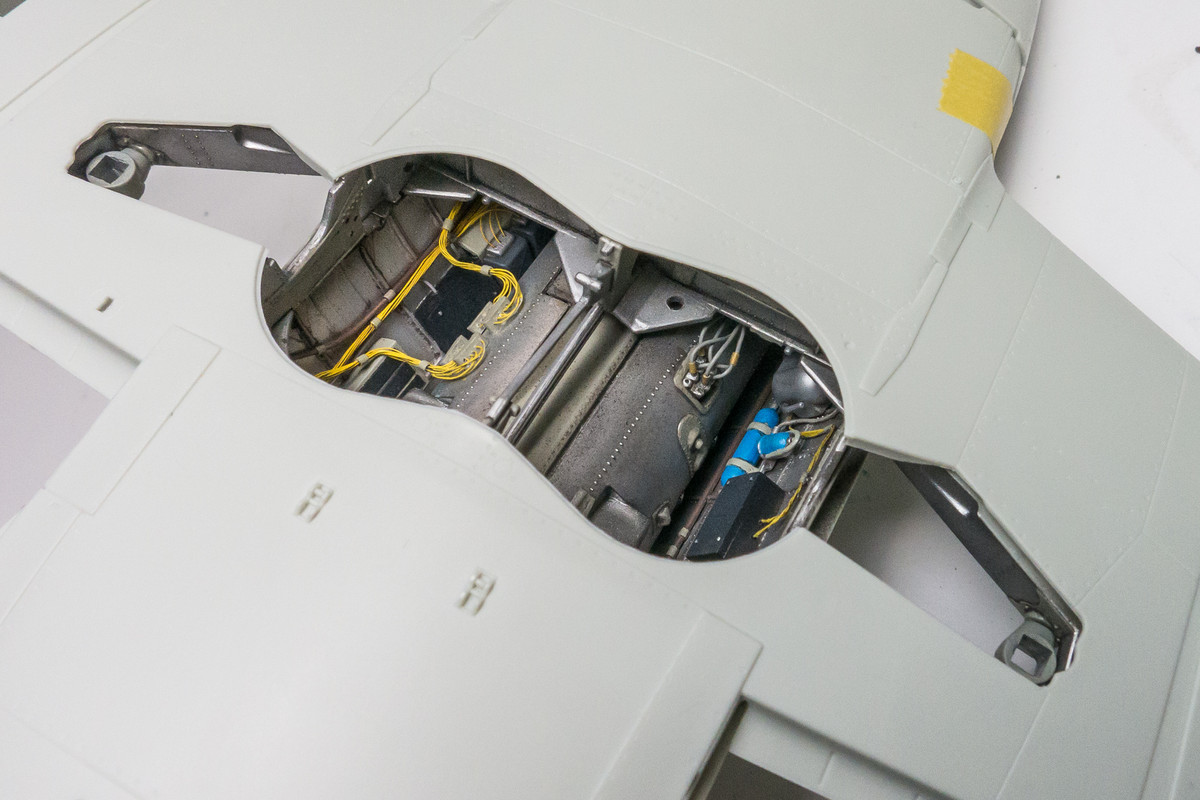
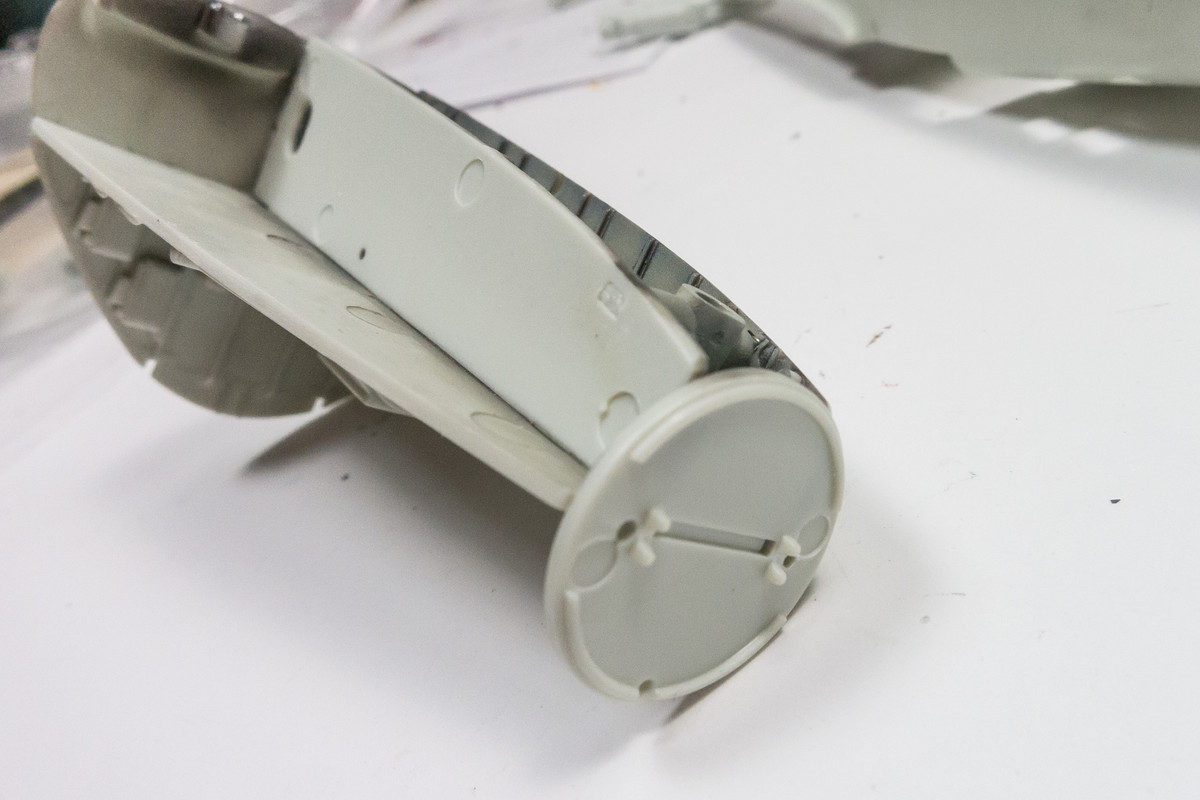
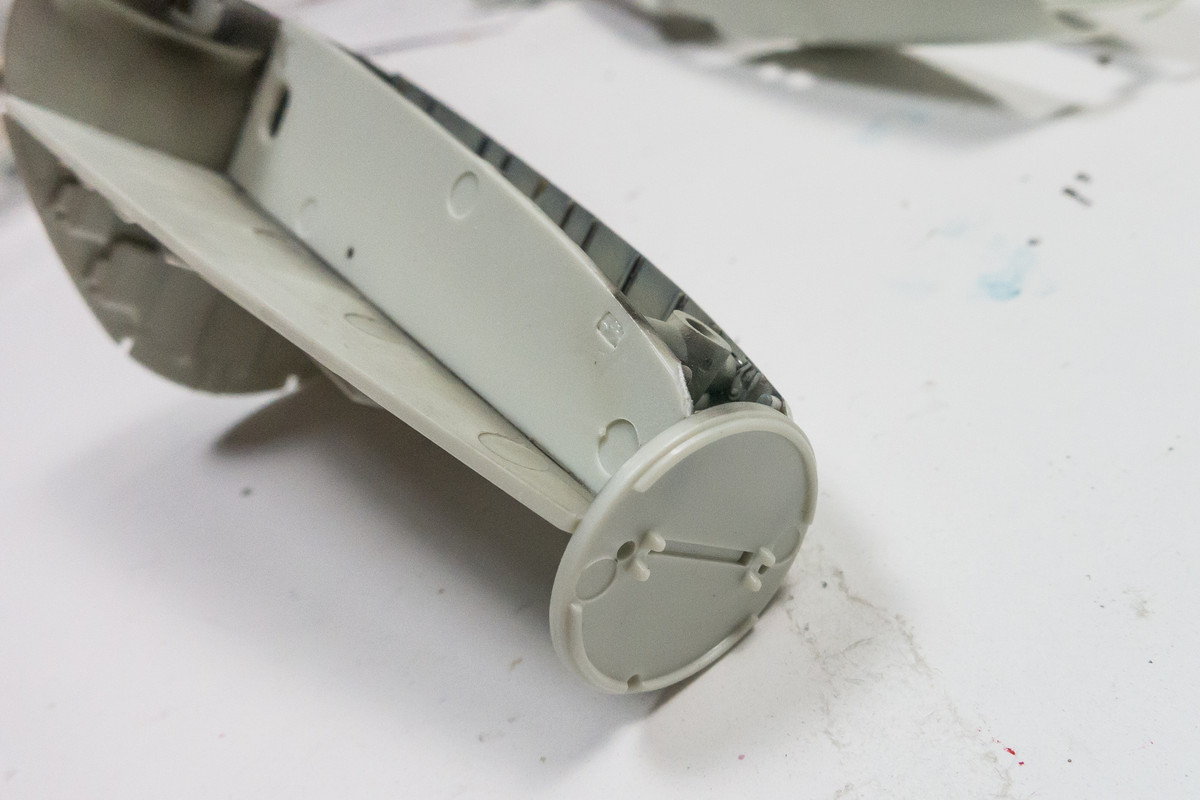
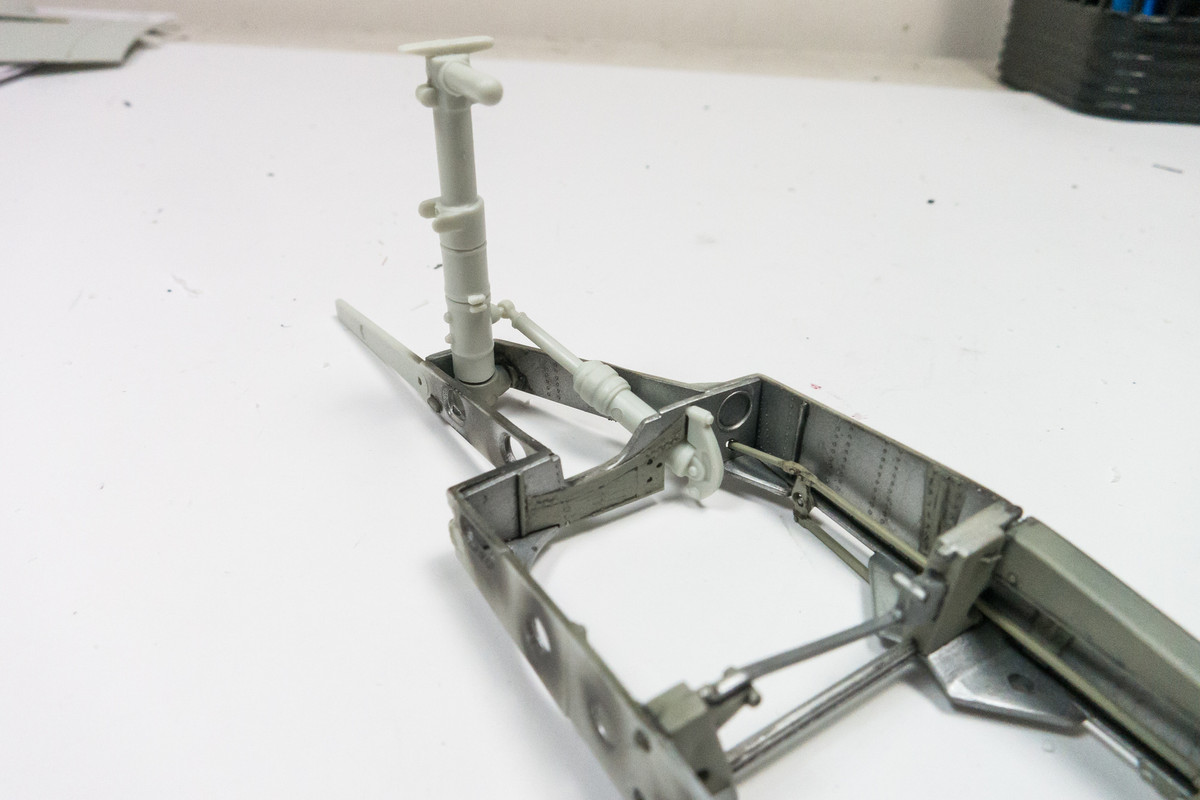
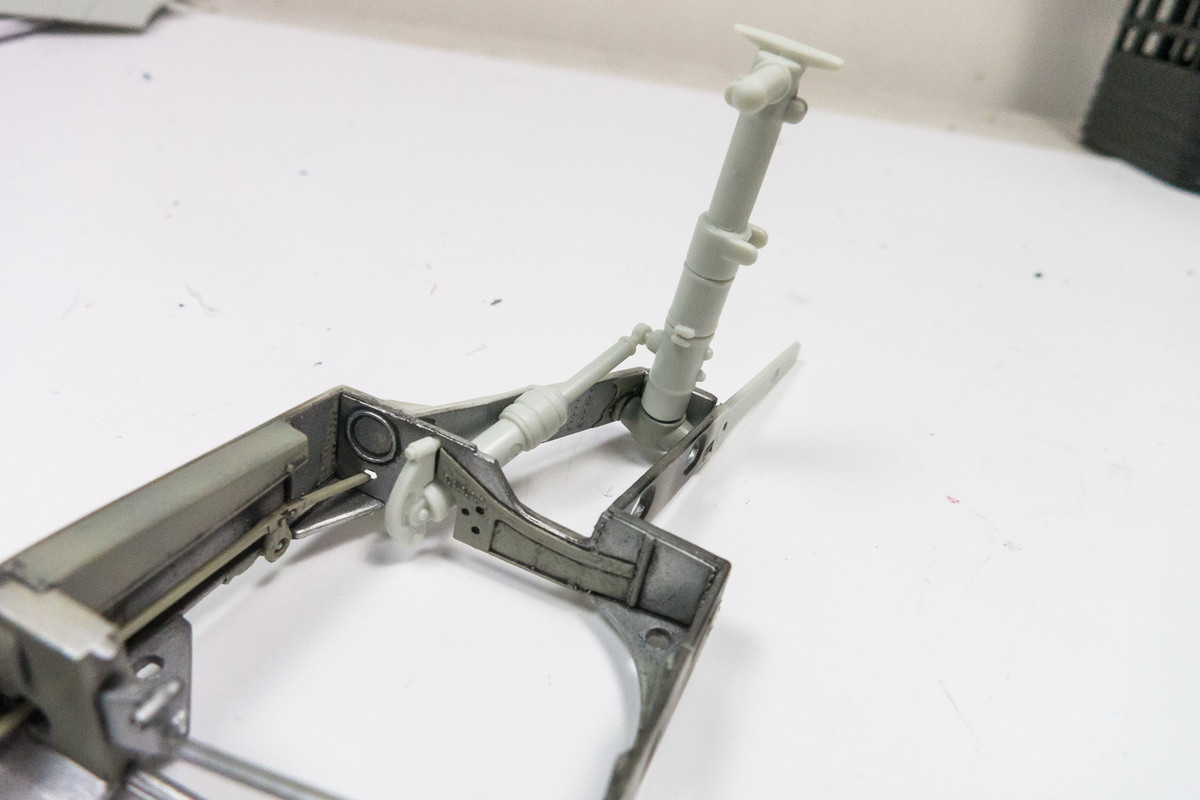
I can't wait to see your 262 build! The pastel wash is used after the painting stage. On parts that have molded details that I want to highlight. It's also a good way to hide a few errant brush strokes from the painting. Looking at the landing gear wall frame as an example, a dark brown pastel wash was brushed into all of the raised or recessed details, even corners and joints. After it dried, it was wiped off with a moistened paper towel, leaving remnants of dark brown behind. Can you see the details outlined in a dark color below?
Floki wrote:All great progress John! I'm sure you'll dress the landing gear up just as nice as the gear bay.
Thanks Clint! Yes, the landing gear legs will be painted but I'm trying to figure out attachment points for the brake lines before that.
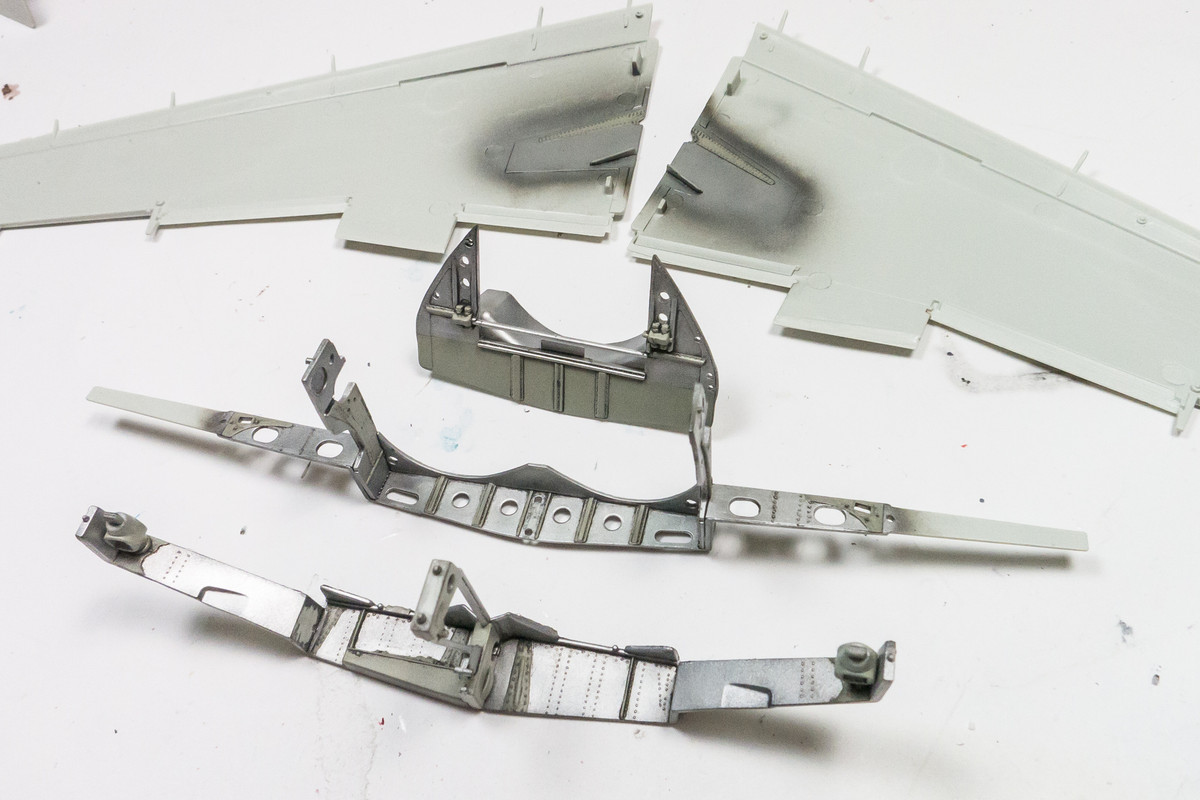
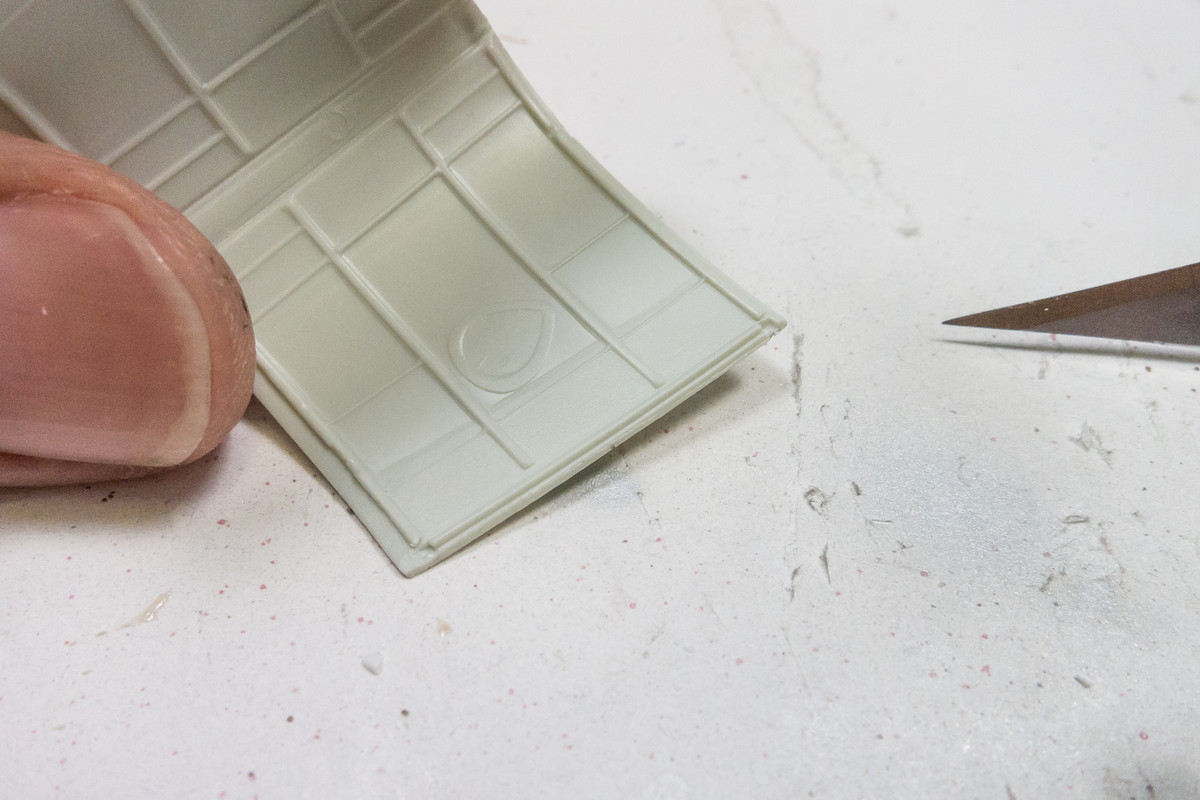
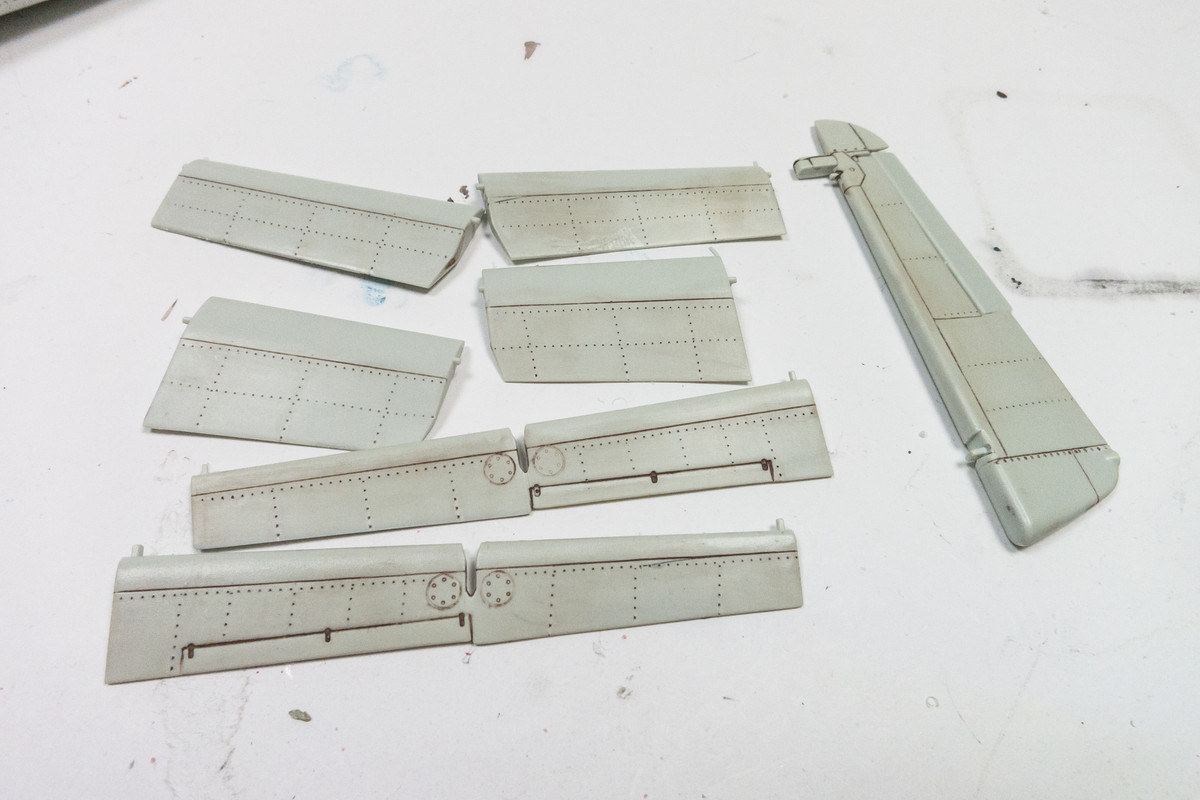
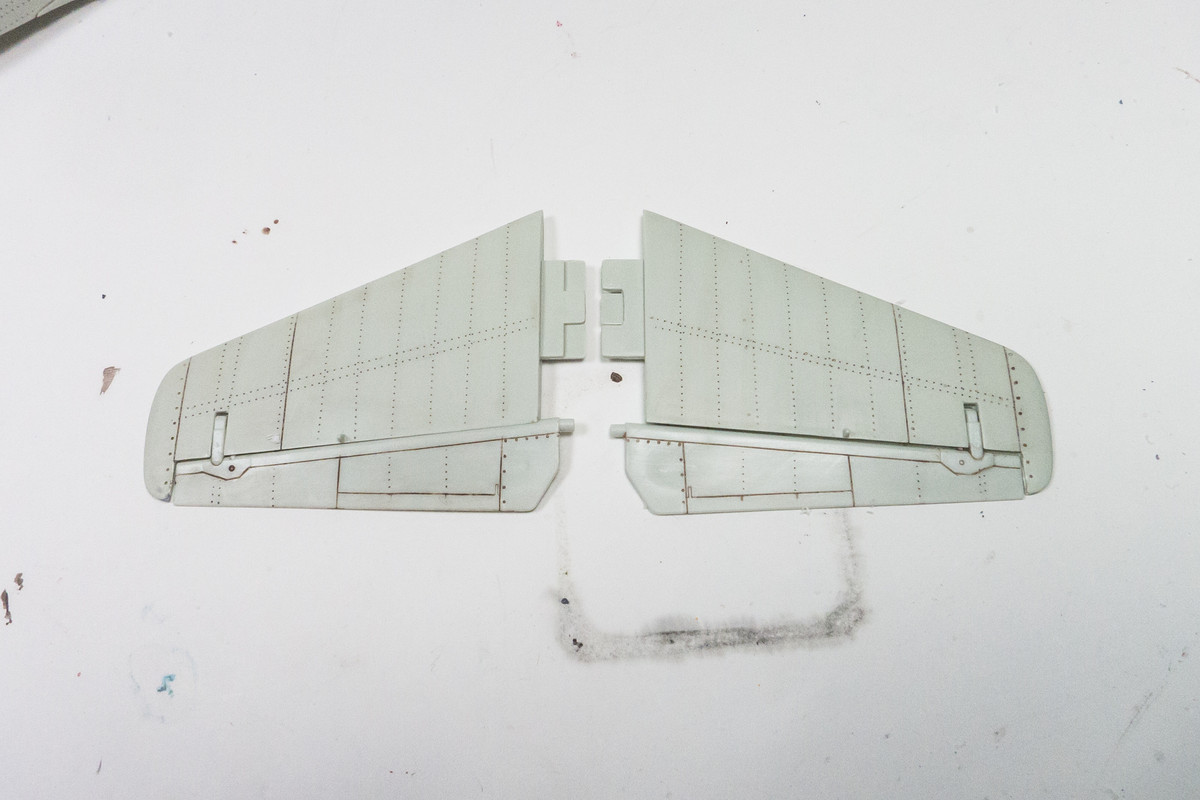
I've performed riveting on the smaller control surface parts. The riveting has been highlighted with a brown pastel wash. After photos, the parts will be scrubbed with a toothbrush under the faucet to try and clear the rivets and panel lines as much as possible for the later painting stages.
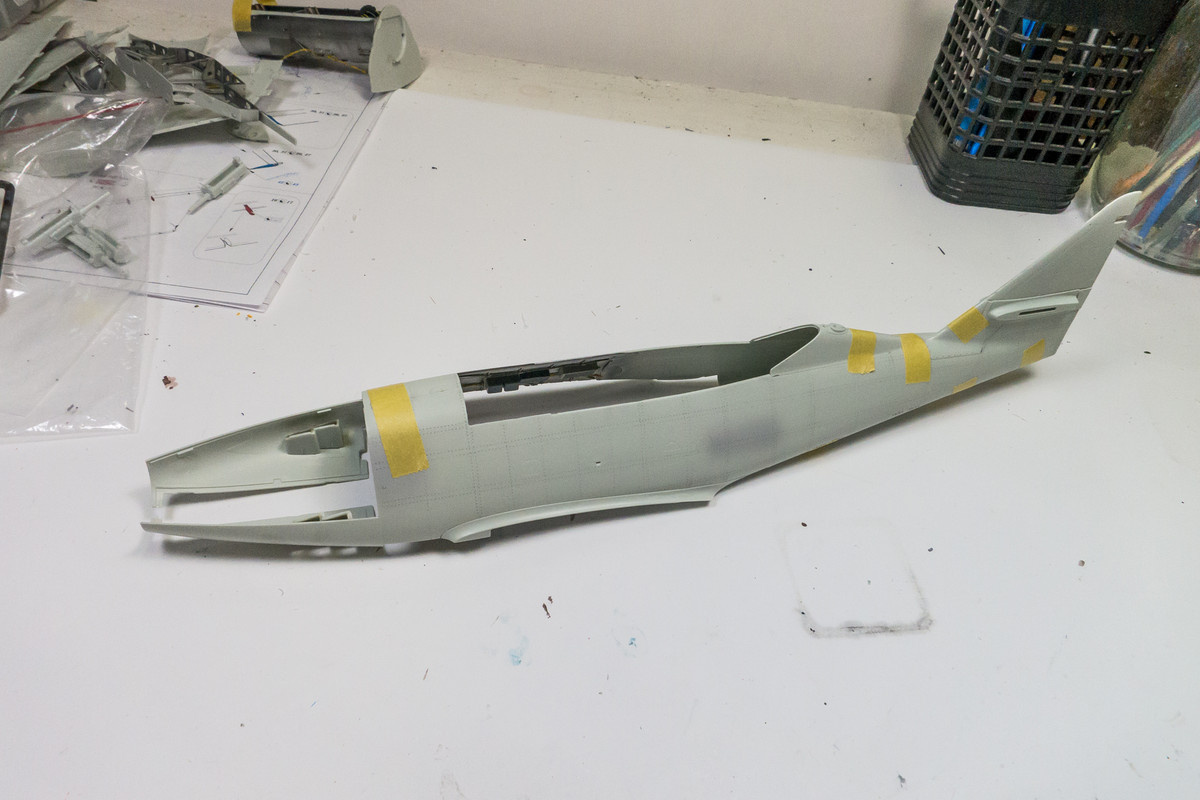
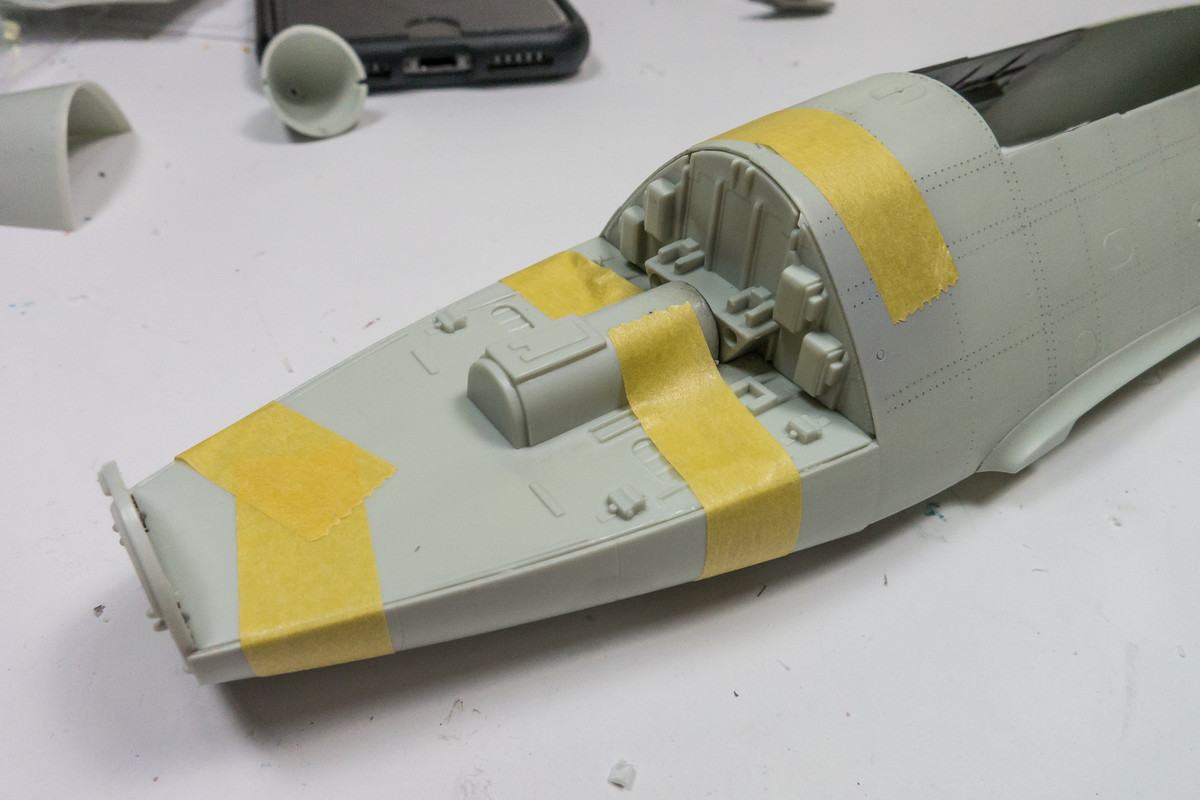
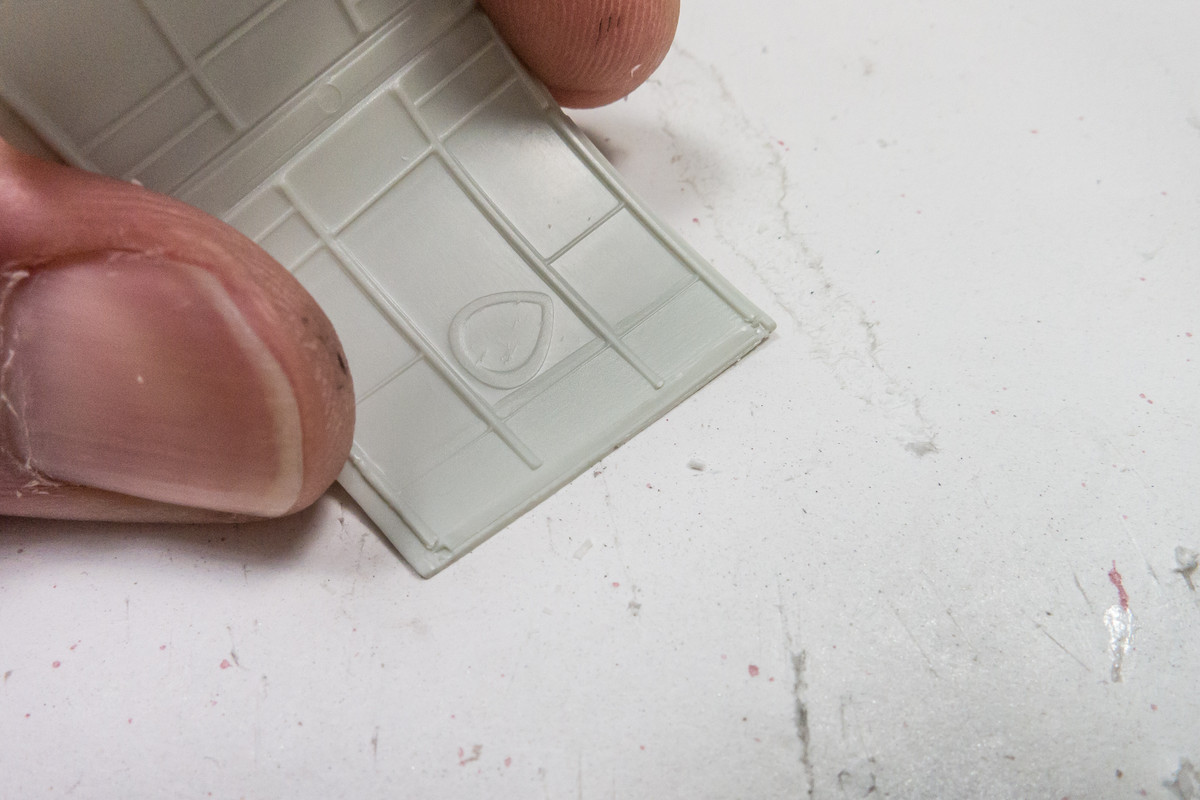
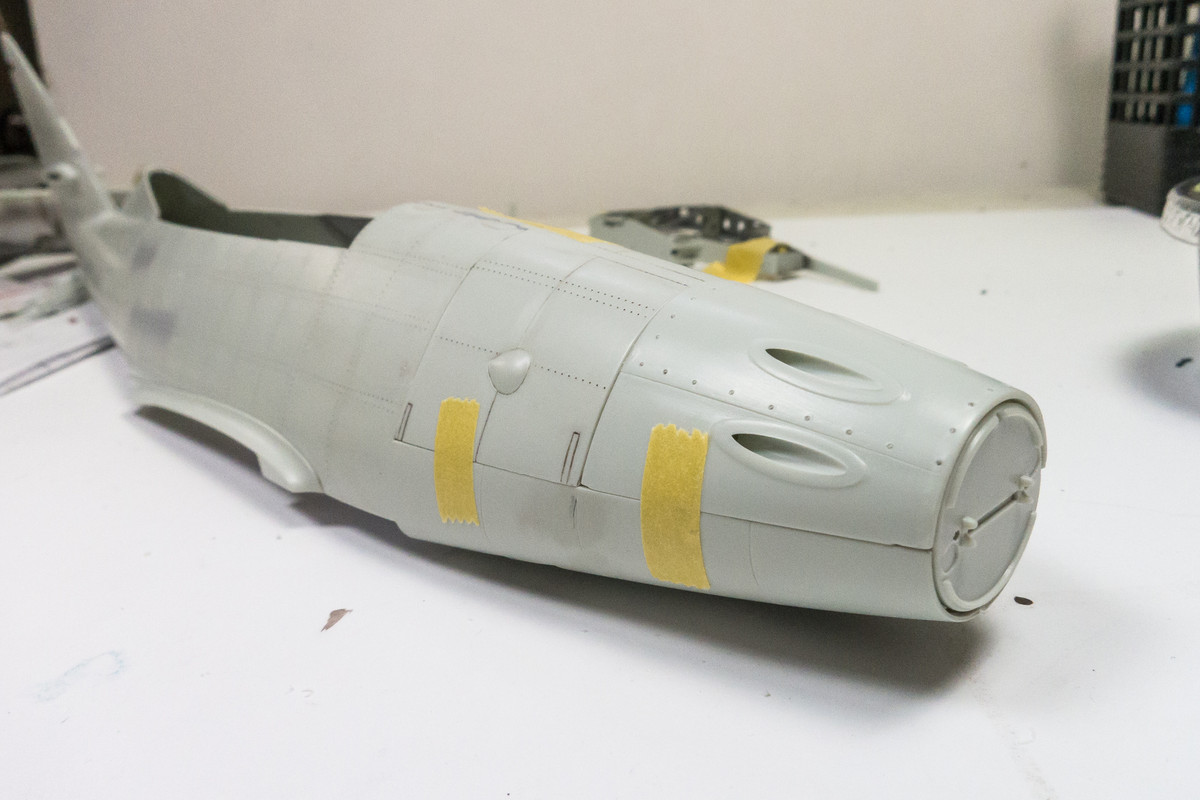
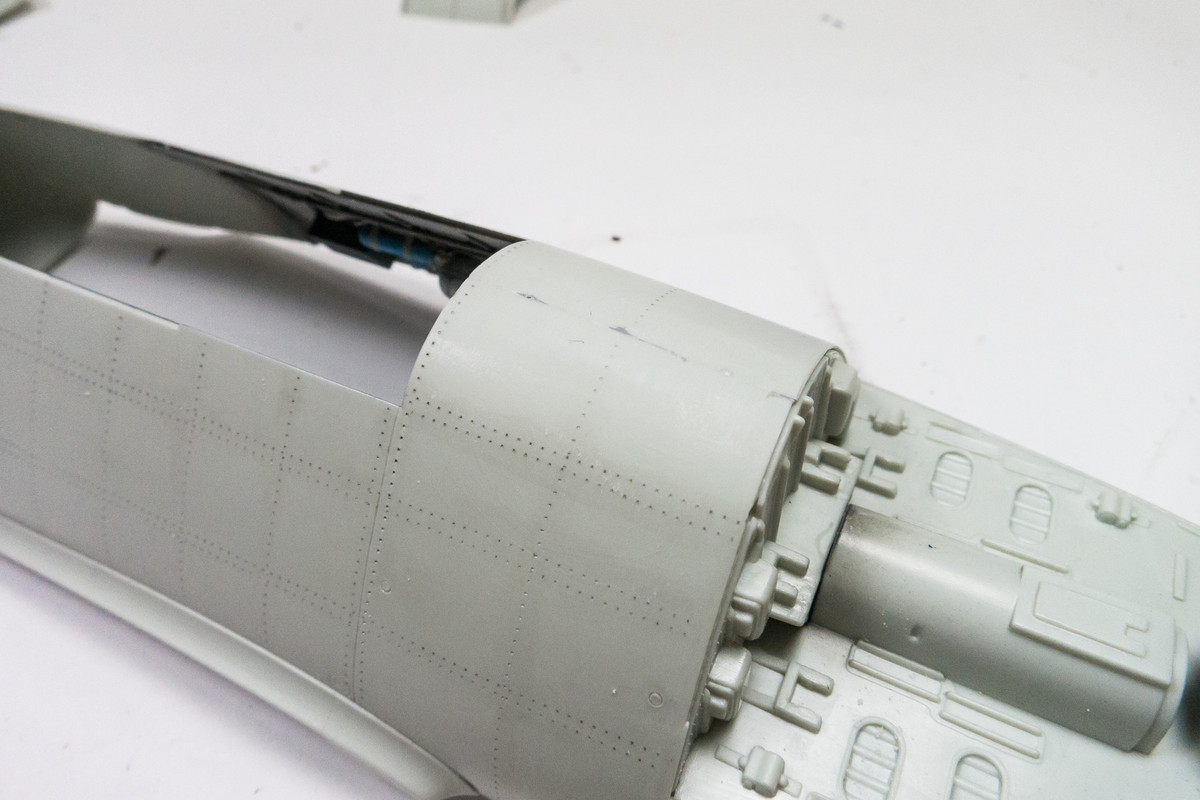
The fuel ports in front of the windscreen are raised, which makes the seam line awkward to clean up.
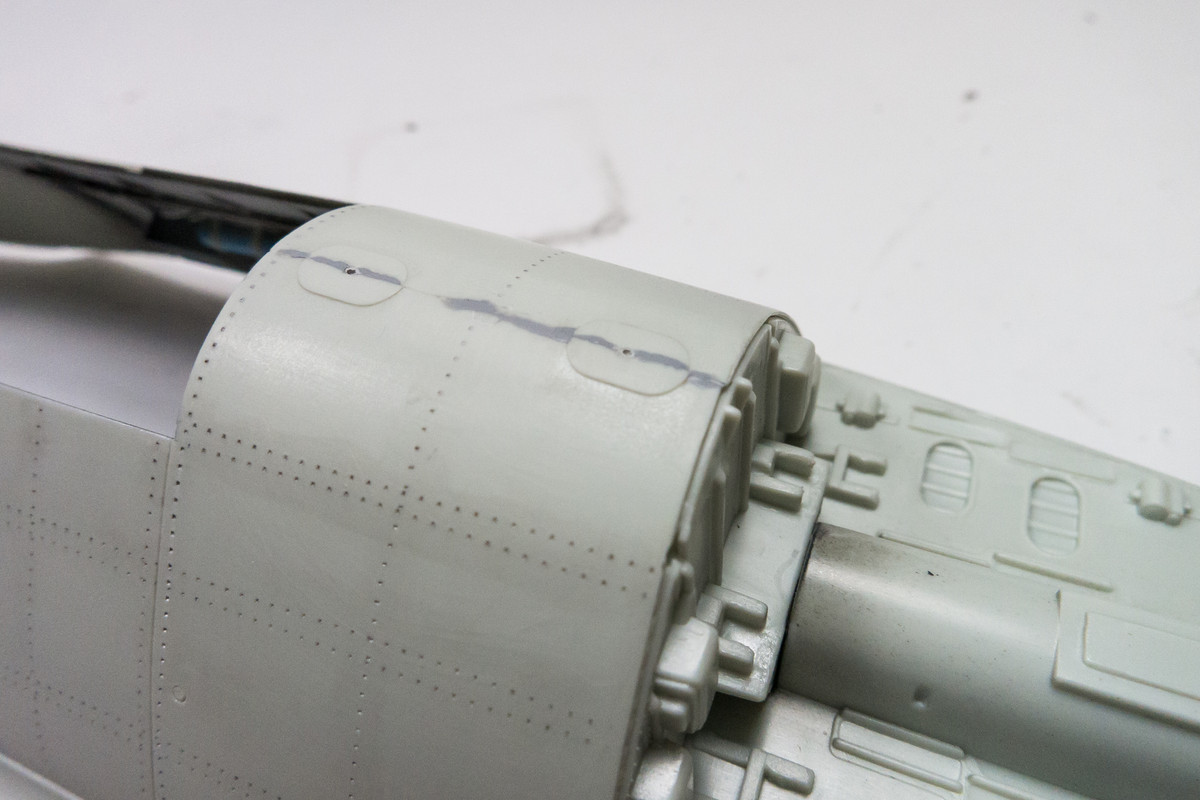
I'm going to whack them off, tidy the joint properly and then re-scribe the ports using templates. The David Union DU400 hobby sander is the perfect tool to level out this type of raised feature. Also shown in the photo are about 14 grams of fishing weights that I've glued into the nose to help balance the model on its tricycle landing gear.
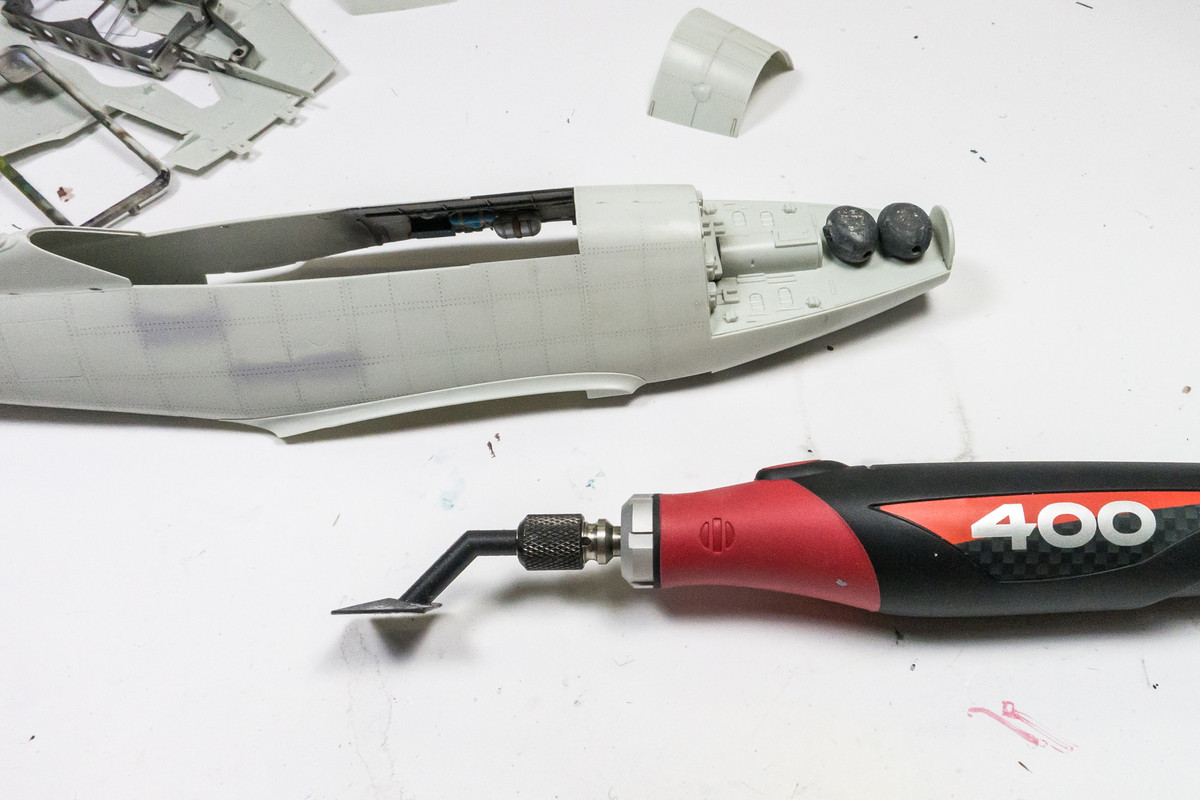
The DU400 makes the fix easy but also uniform without any carving gouges that would've resulted if I had tried to use an x-acto blade. I'll probably wait until after the gun cover has been glued on before I scribe the fuel ports.
Re: 1/32 Revell Me262B-1/U1 Nachtjager
Posted: Thu Dec 10, 2020 9:45 pm
by Floki
That's a neat tool! It perfectly removed the raised areas and I can't tell they was ever there.
Re: 1/32 Revell Me262B-1/U1 Nachtjager
Posted: Fri Dec 11, 2020 12:15 am
by jkim
Not essential but a nice tool to have. Similar results could've been had with a sanding board but the mechanically-provided motions allow you to impart a more uniform shaping result.
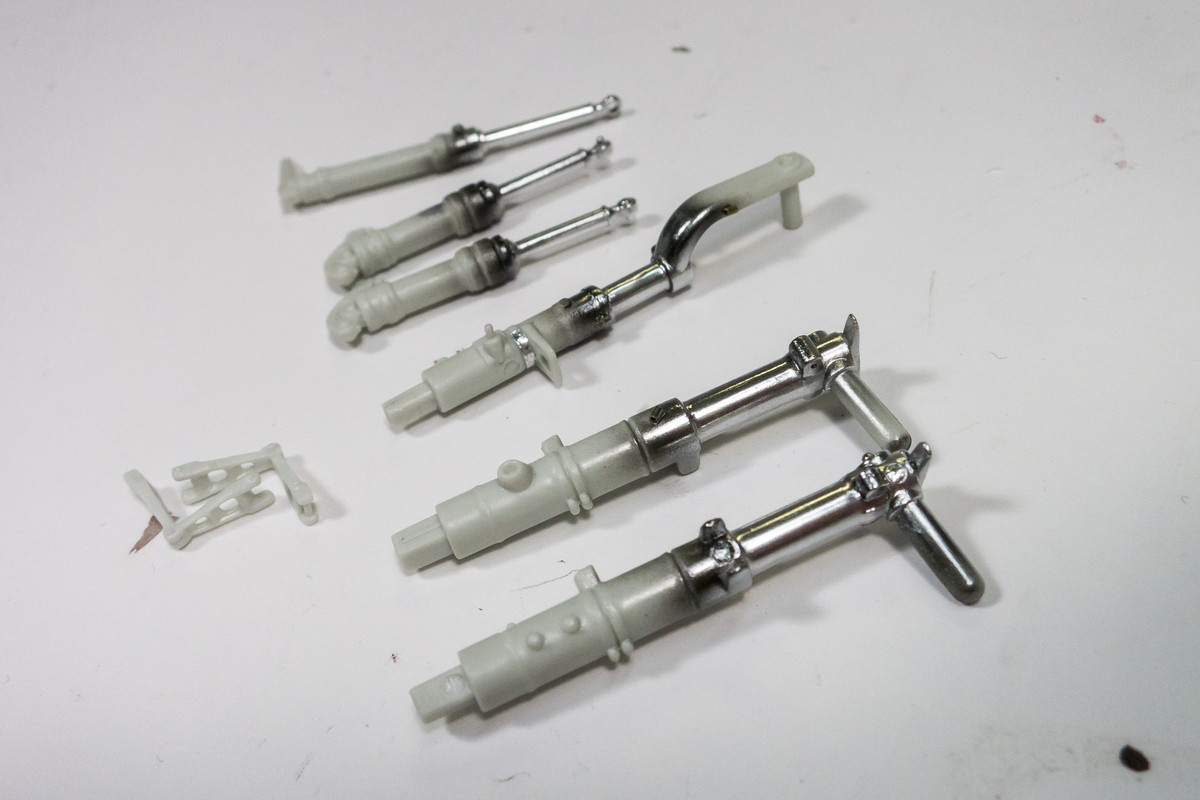
Moving along on several different fronts. The shiny metal bits on the landing gear have been painted. This is Alclad Chrome over a gloss black base. It's best to let this dry a complete day before masking.
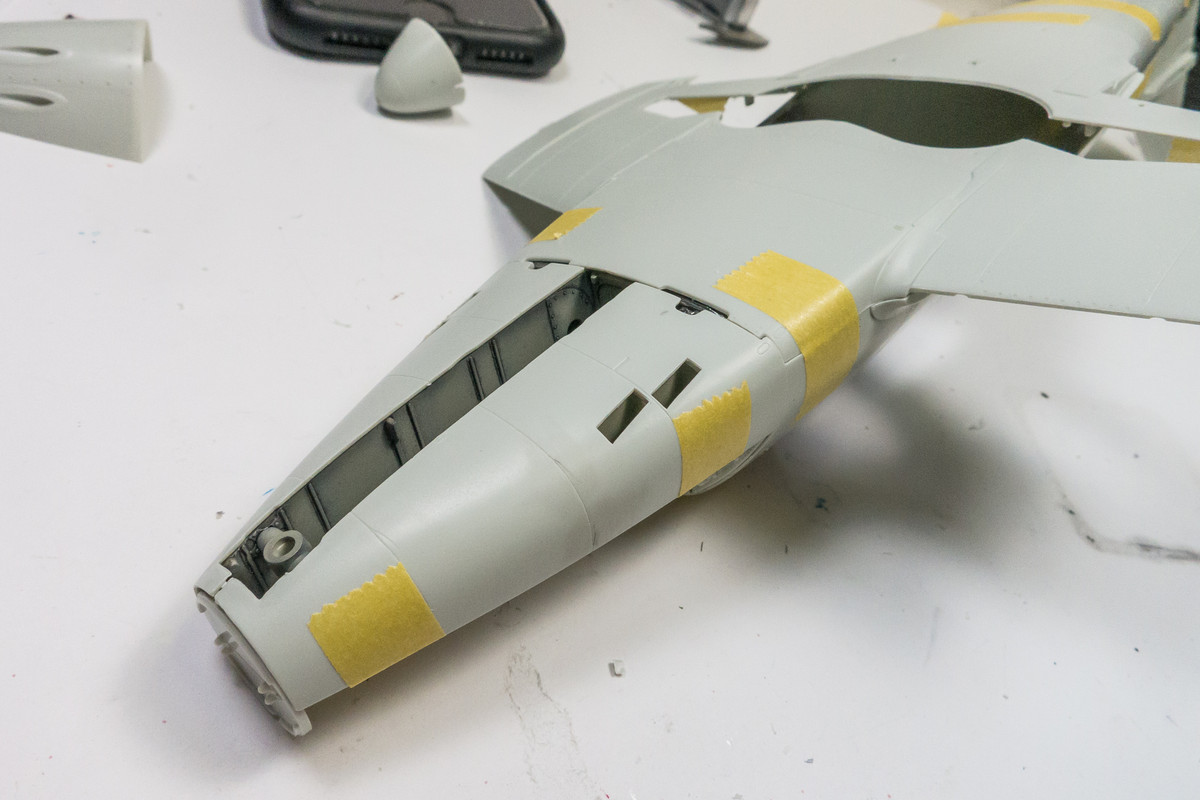
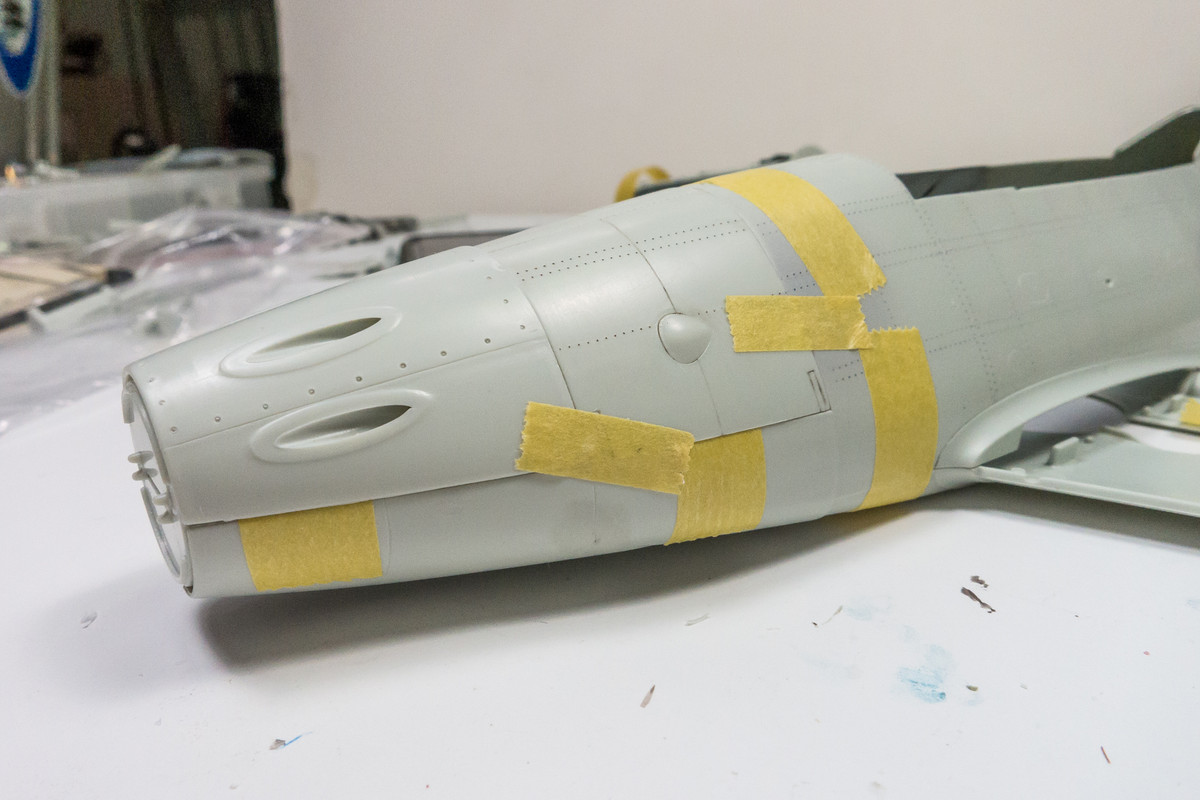
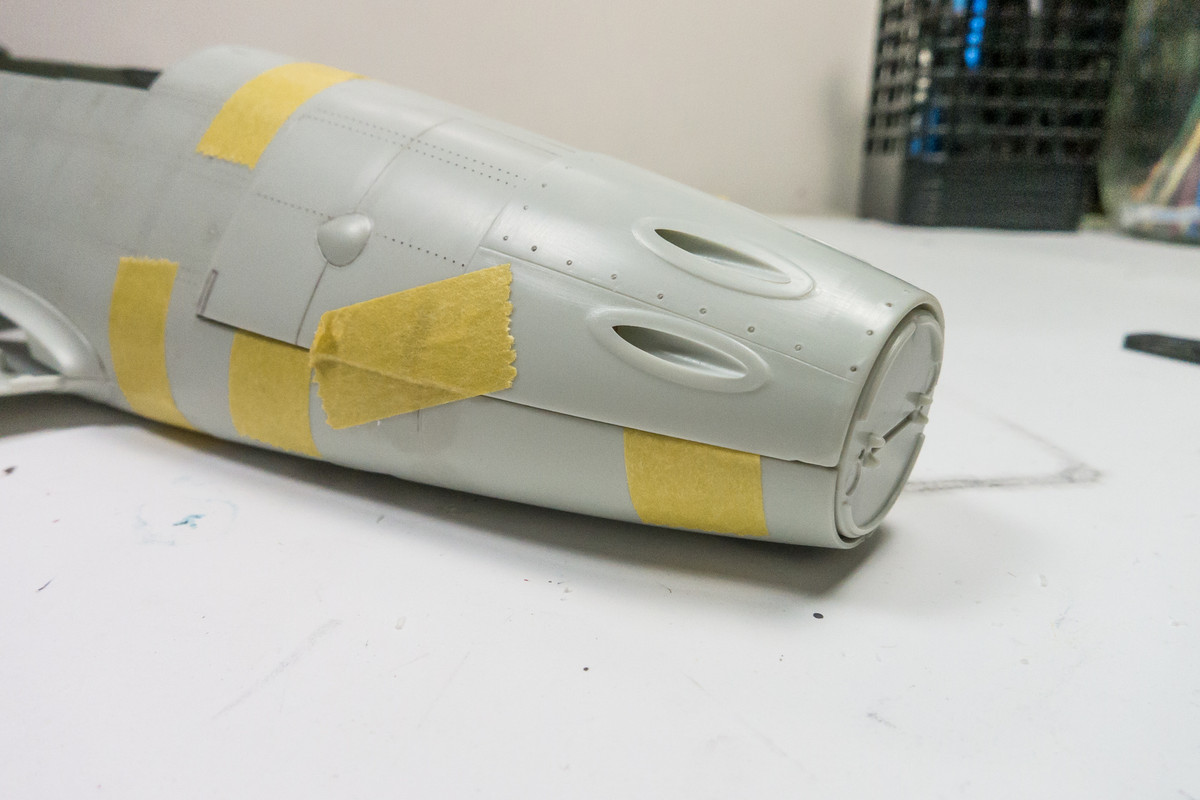
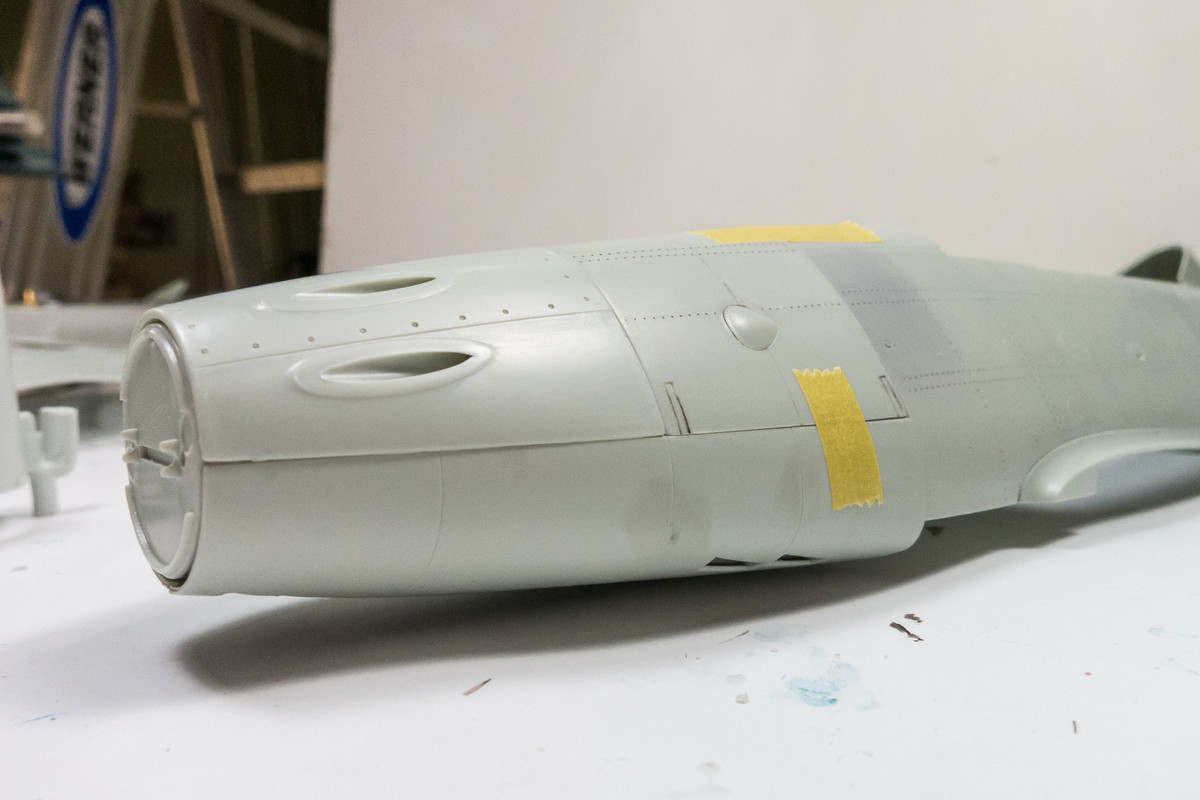
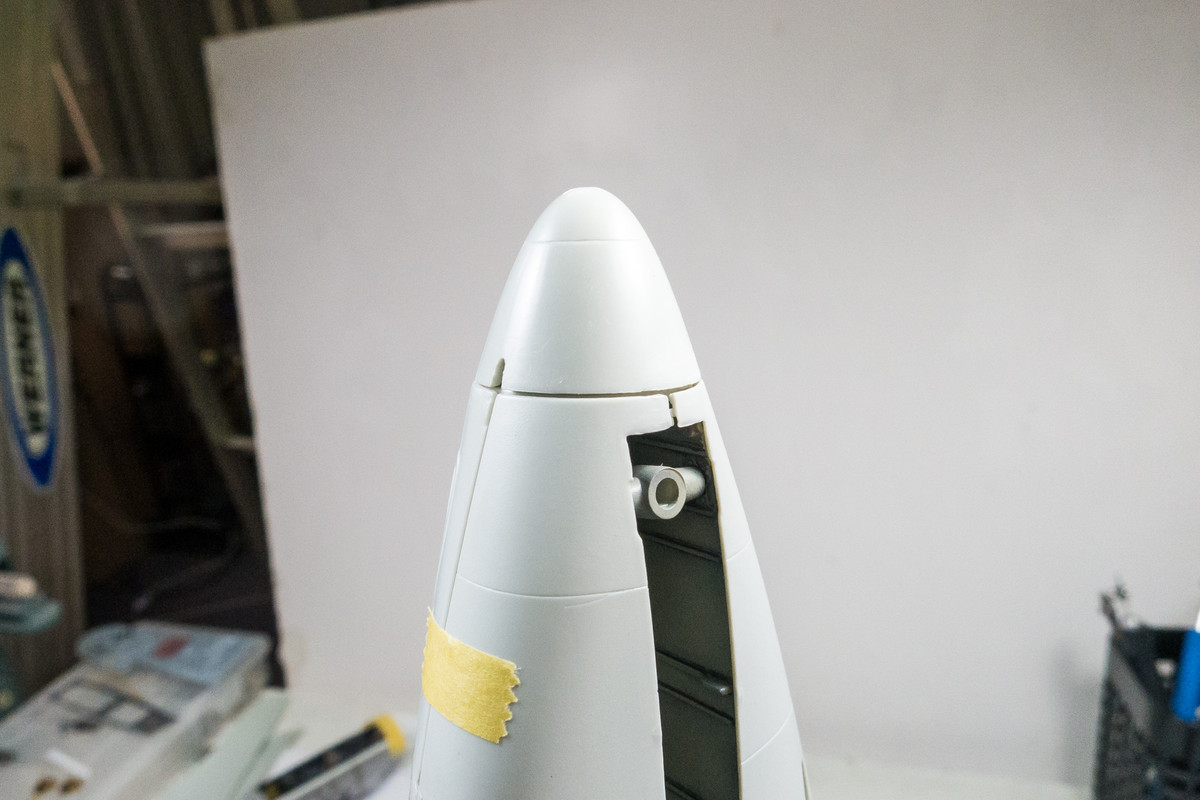
It's finally time to glue the forward cowling pieces into place. First the gun bay cover. It's not a drop-in-and-forget-about-it fit. It takes some pushing and pinching to get good cement contact along all of the edges. This is where Tamiya Extra Thin cement really shines, allowing for spot control of glue application on pieces that are already in place. The known gap on the rear edge of the starboard side has been filled with a piece of stretched sprue fused into place with Tamiya Extra Thin.
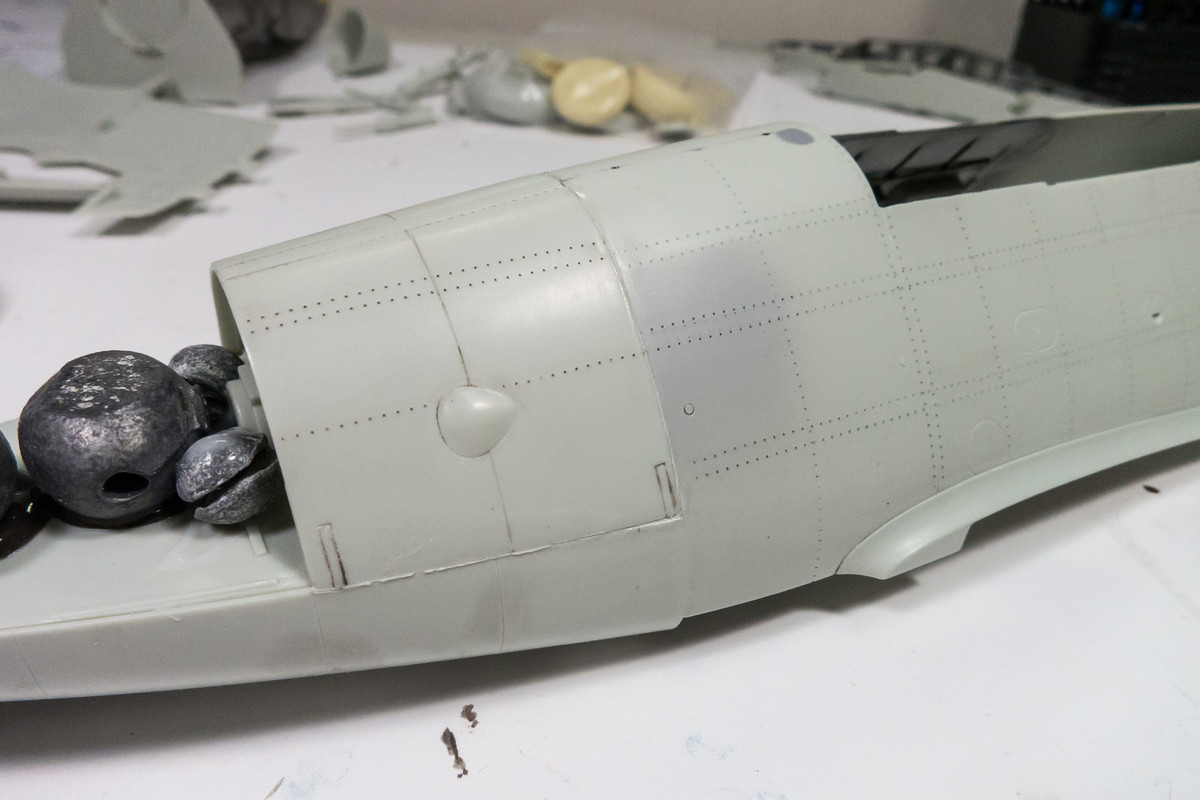
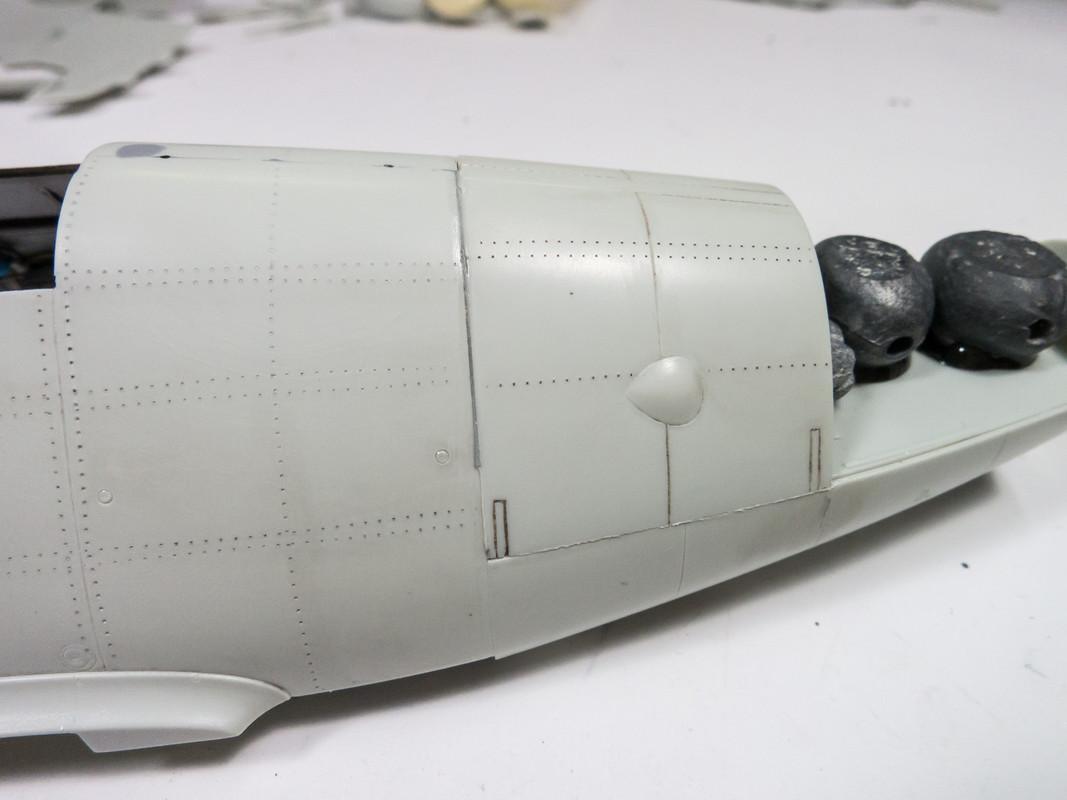
I let that dry for about four hours before gluing in the next piece. I didn't want to push gun bay cover out of place. The next piece didn't fit quite as well as the gun cowling with some noticeable overhangs and steps as if the part was just a little too big for the space it occupies. Not perfect but I can deal with that. The main thing is that I get a good glue connection all the way around so that the joints will stand up to the puttying/sanding/re-scribing/riveting that will come.
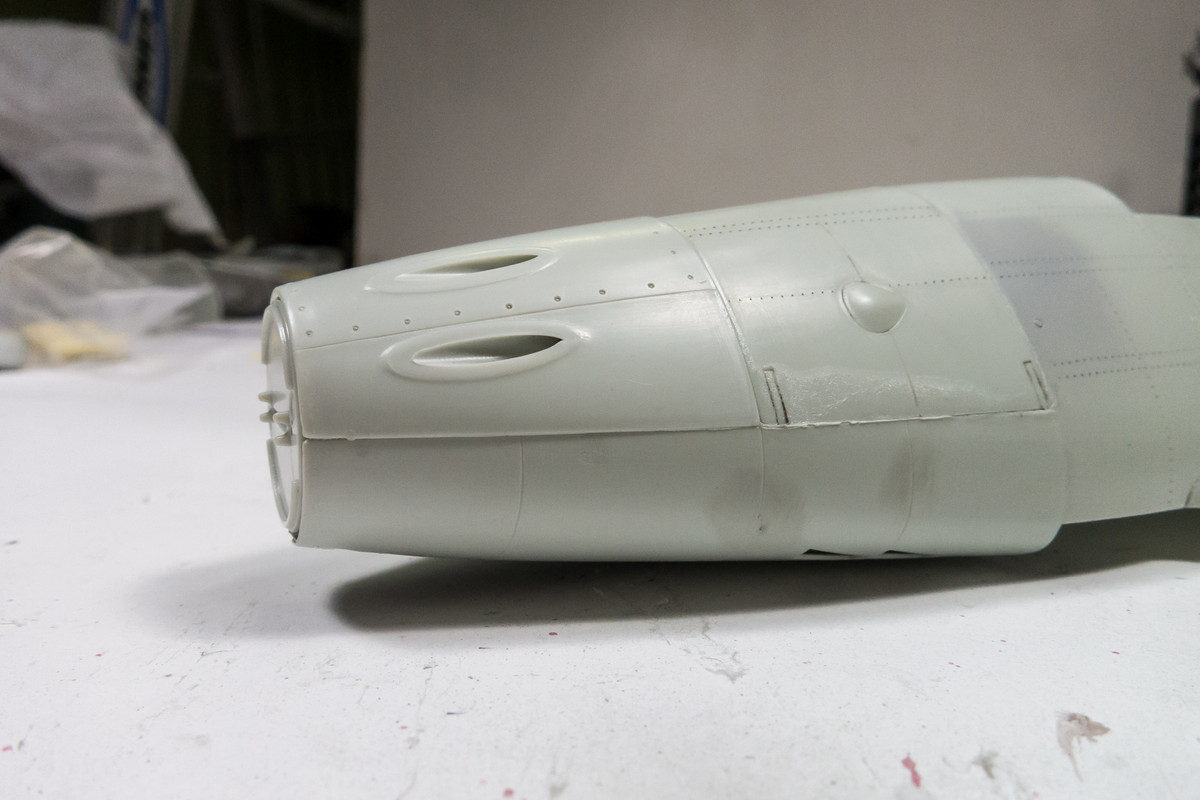
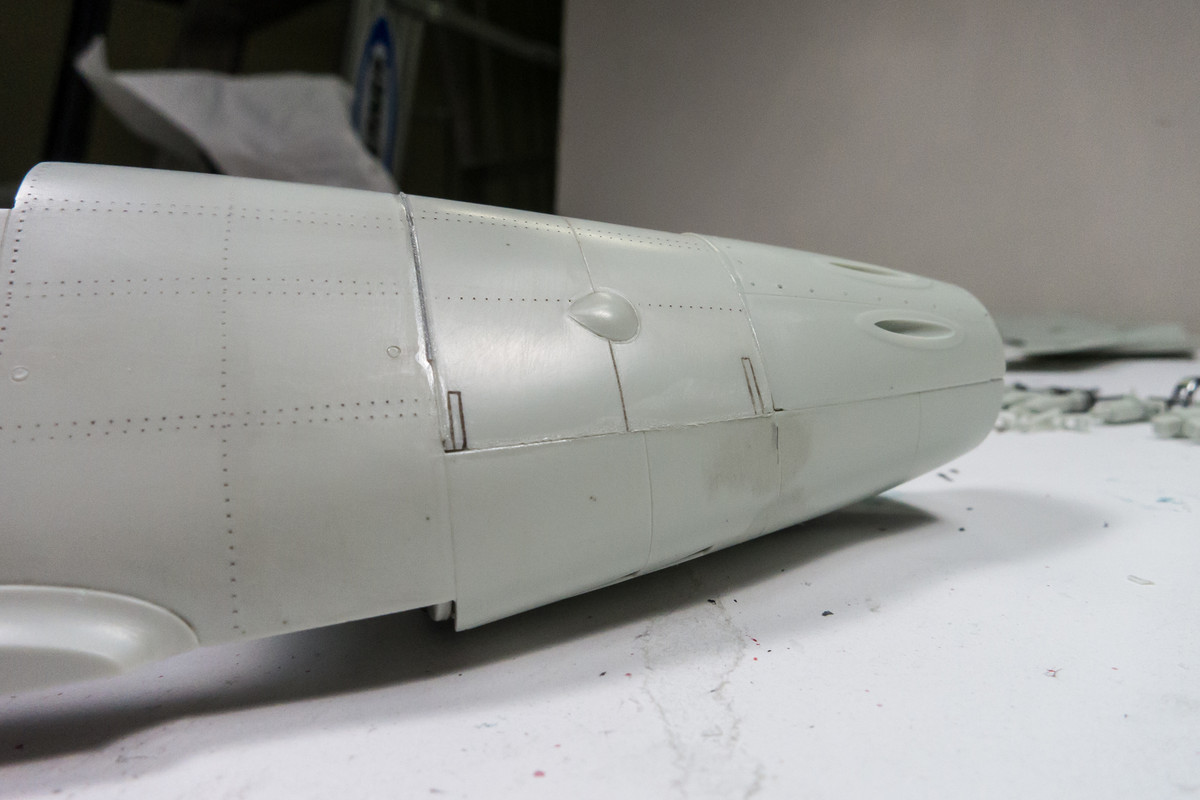
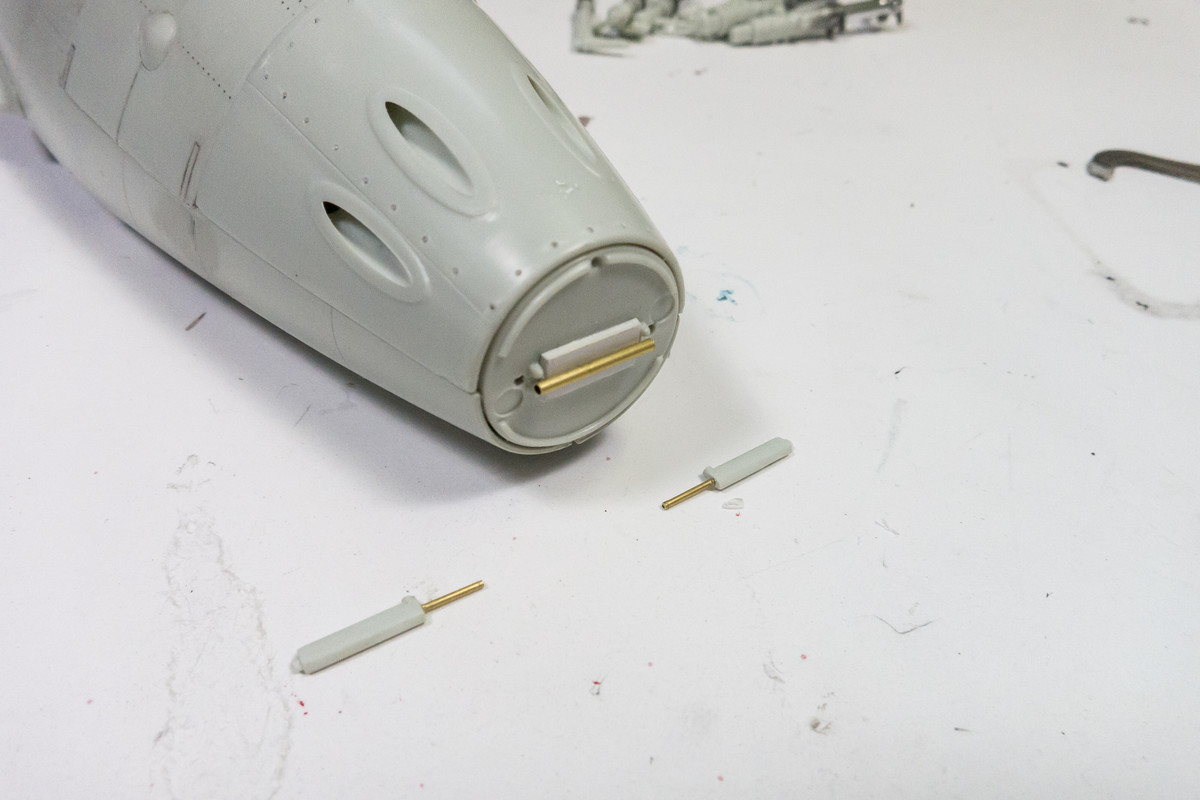
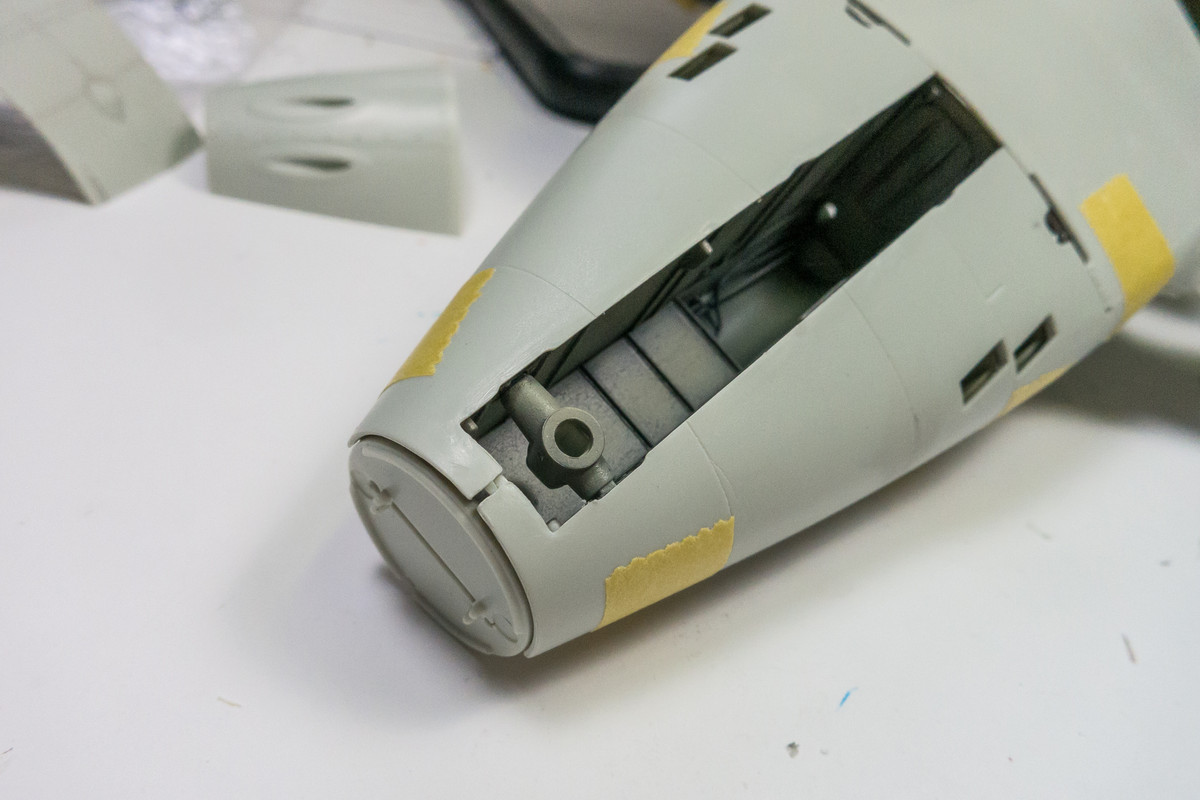
The nose cap presents some issues. The base for the nose-mounted radar antenna is supposed to be glued in place before the nose cap and would result in two bits sticking out from the nose. I'd like to clean up the joint all the way around the nose cap and those two prongs would undoubtedly get in the way.
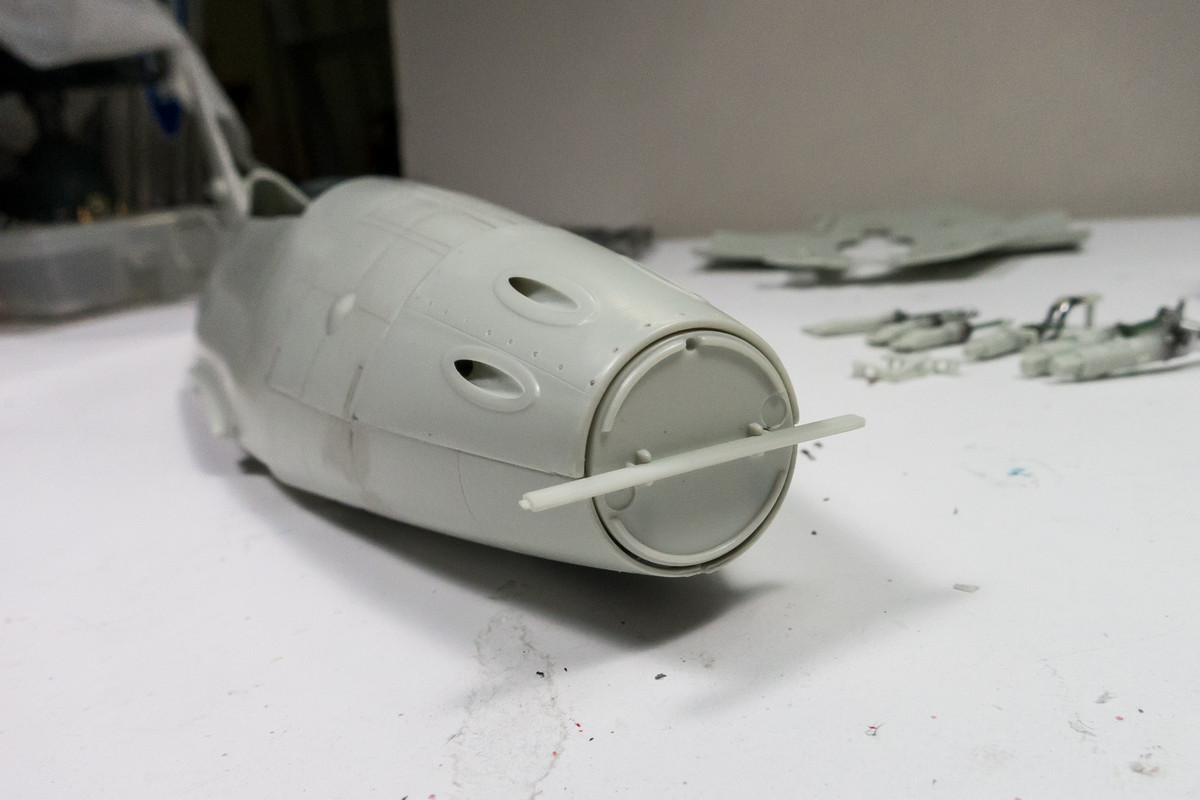
Playing around with some Albion Slide Fit brass tubing, I thought I could create an antenna base that could provide the correct geometry and be attachable from the outside.
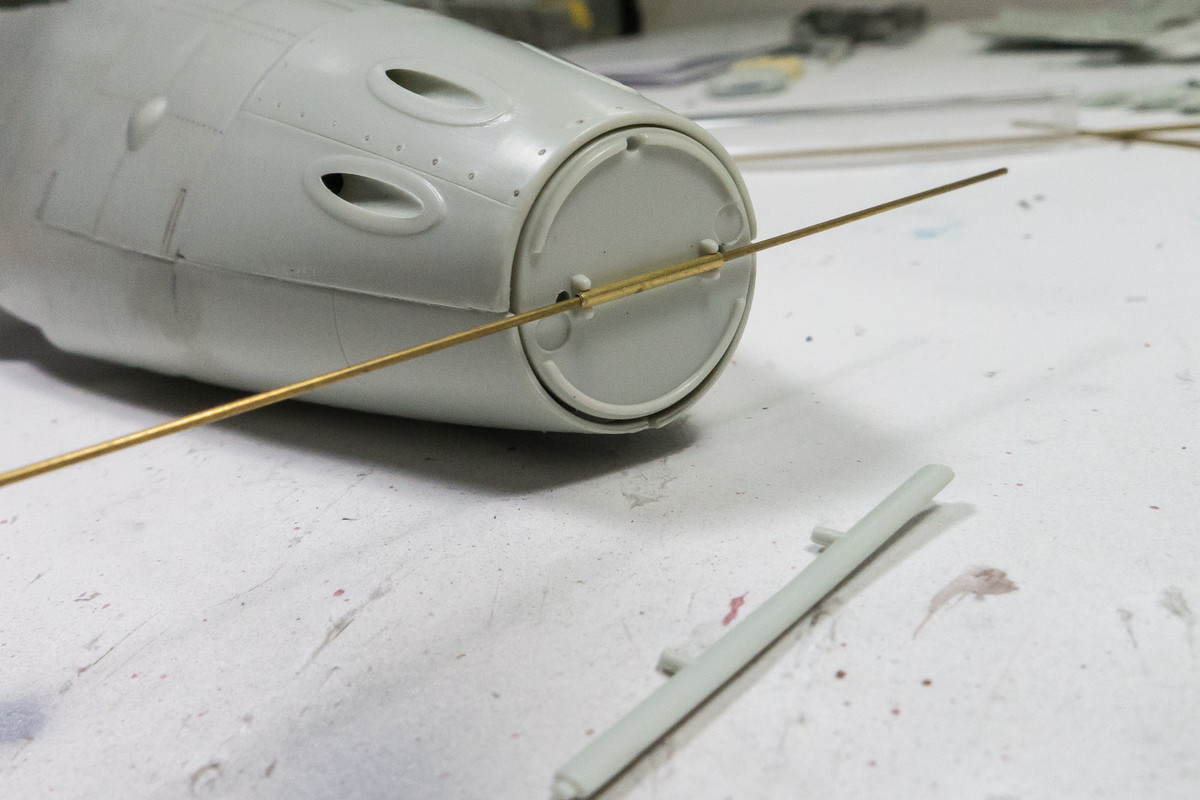
I cut the plastic antenna base, keeping the locating tabs in place. Brass tubing was used as the central (female) mount. Smaller brass tubing were attached to the plastic antenna mount pieces.
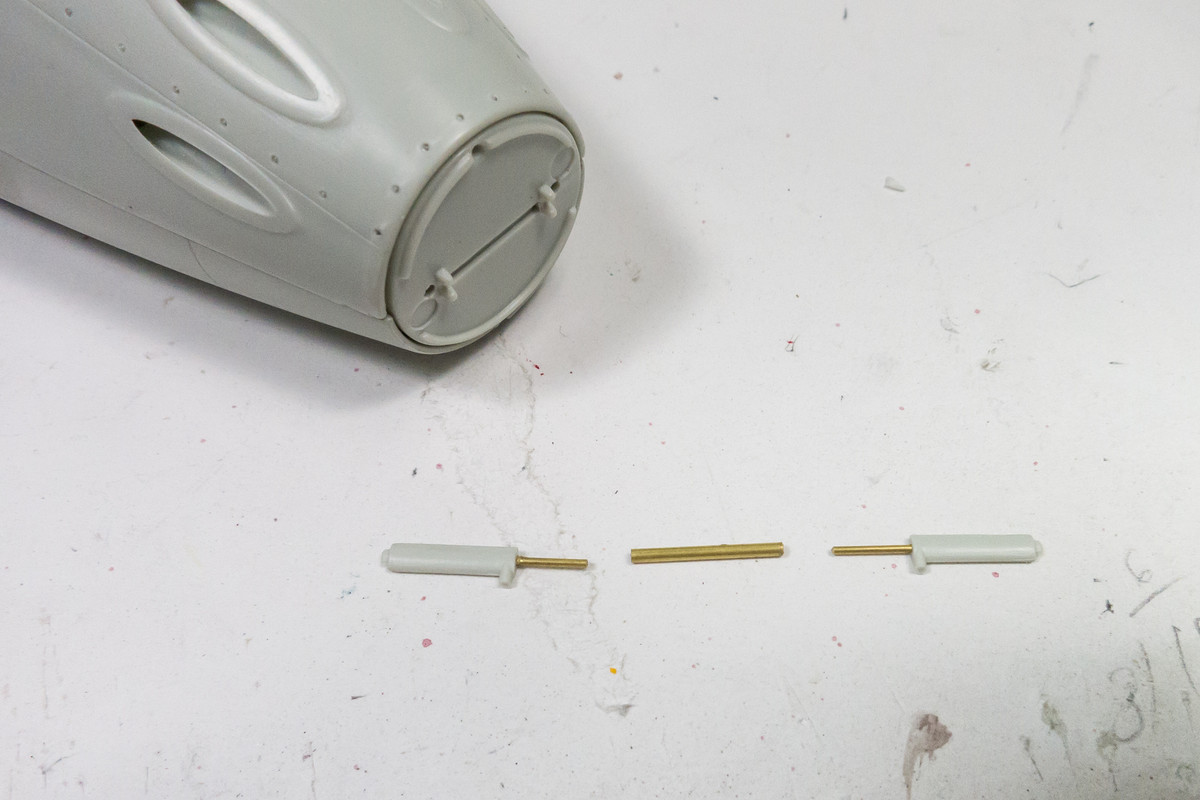
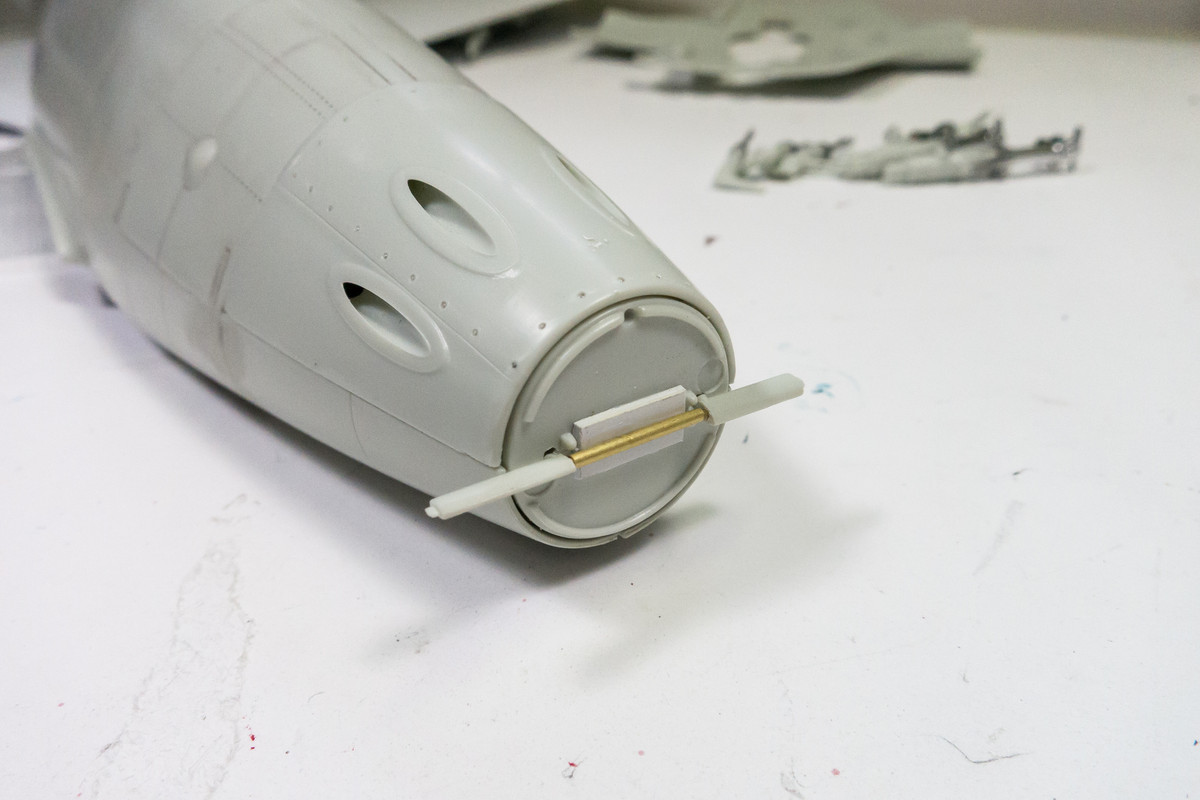
When this was fit into place, it was apparent that spacer under the central mount would be needed.
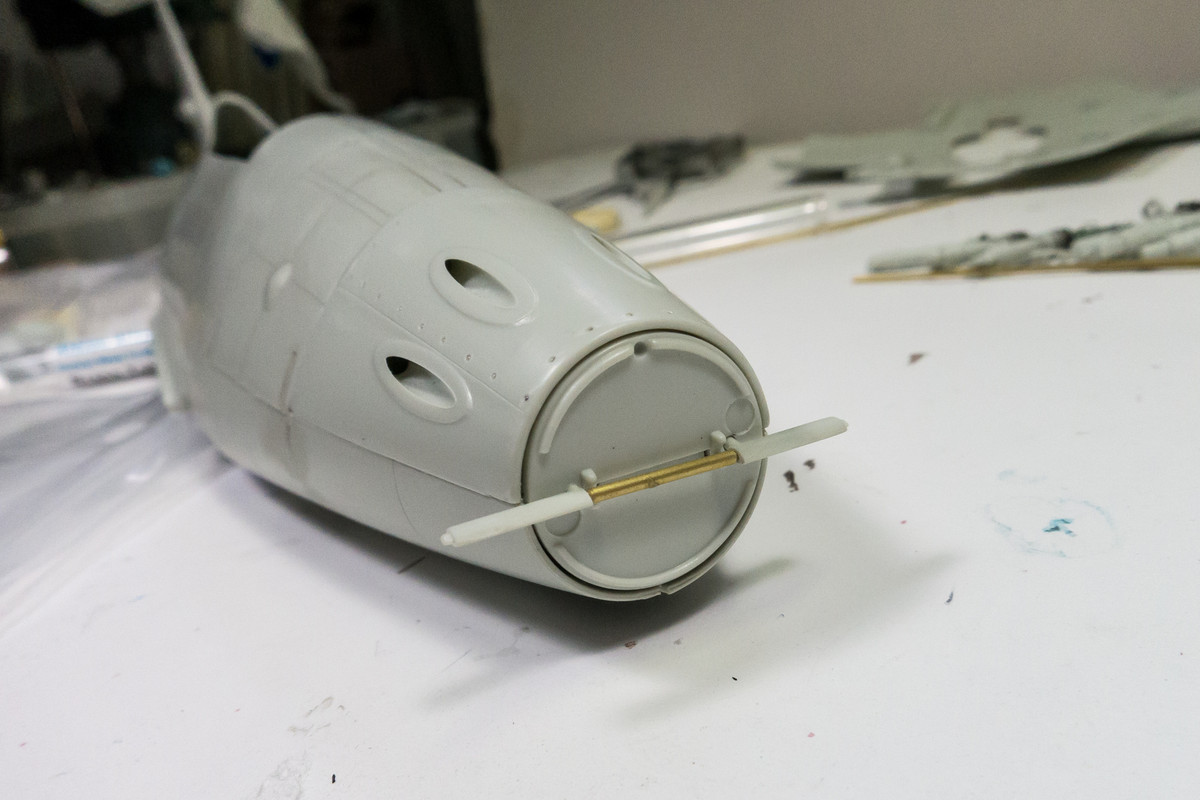
A spacer was made from a sheet of styrene.
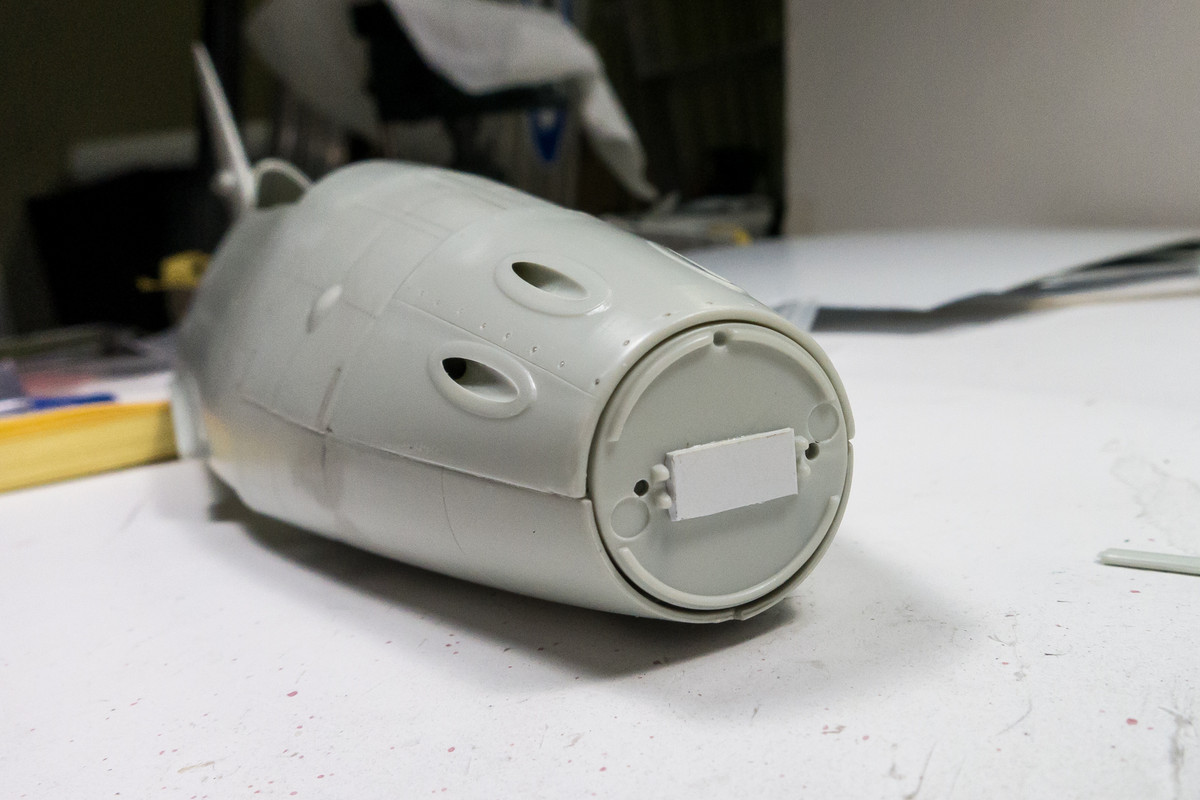
The central mount brass tubing is glued onto the spacer and now I have an antenna that can be mounted from the outside with the nose cap in place.