Well it has been awhile, mostly because I actually picked up a couple jobs. However, this means I will have a pretty substantial update here today.
Let's start with my aircraft. All aboard the tram to the hanger, and remember to keep your hands and feet inside at all times.
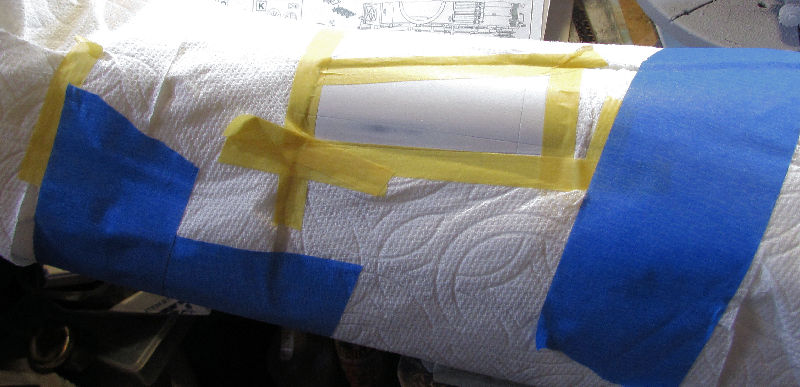
To start with, I had a smudge in the paint on my Antonov that would not go away. Upon closer inspection, it seems that somehow all the white had been sanded away. So, I masked off the whole thing except for the bunged area to shoot some white:
A couple coats later and after drying, I have a now very white patch! Not sure what to do about this:
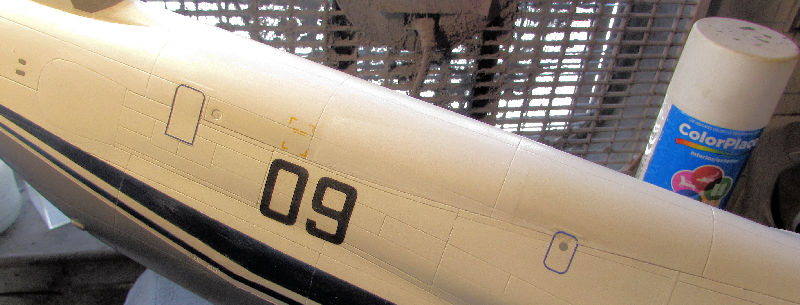
I went ahead and shot a gloss over this so that I could seal it in, seal the decals more, and moved ahead on this. No such luck. I waited three days to shoot a clear on this, and once it hit that blue stripe, it all crackled again:
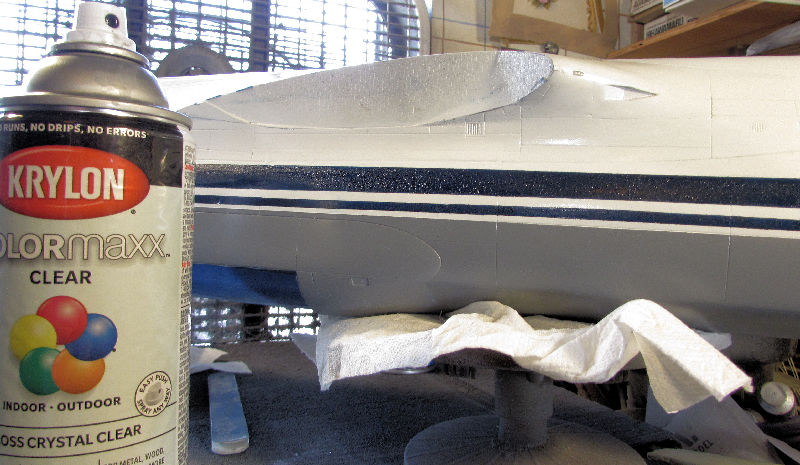
You can see the white was fine, but the Humbrol blue cracked like shattered glass. Once more into the breech....
I masked off the strip where it cracked and sanded the cracking smooth again:
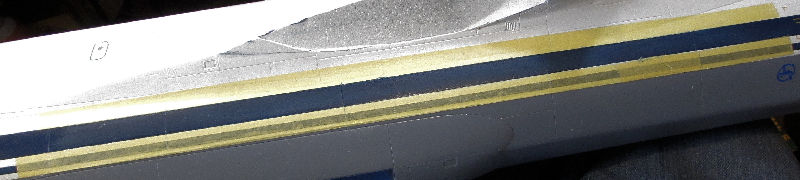
Sorry for the bad pic there; but this was ready for re-painting that section of blue. Already done as of this update. This time I'll be trying Future again, now that I have a new bottle.
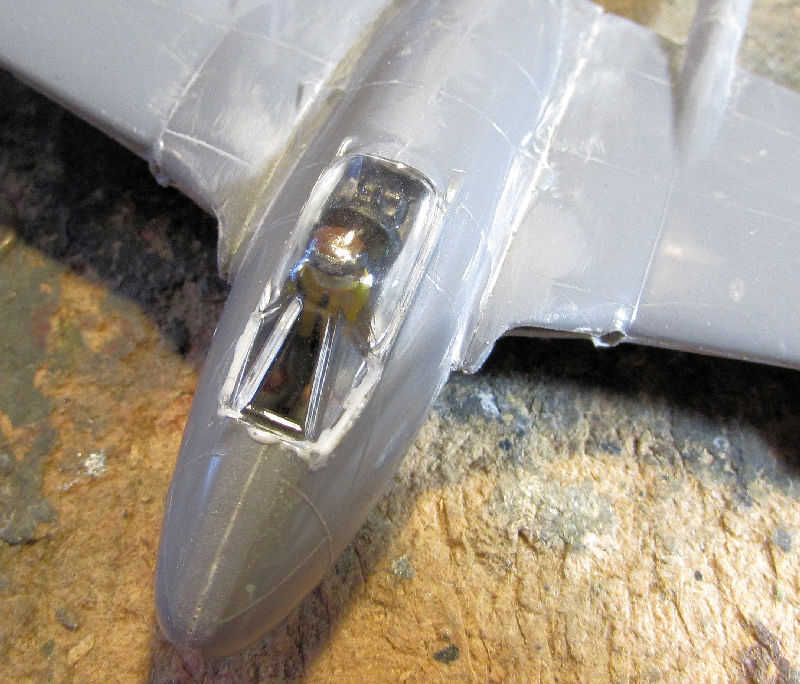
Moving on to something easier, I painted the pilot of the Vampire and then glued on the canopy:
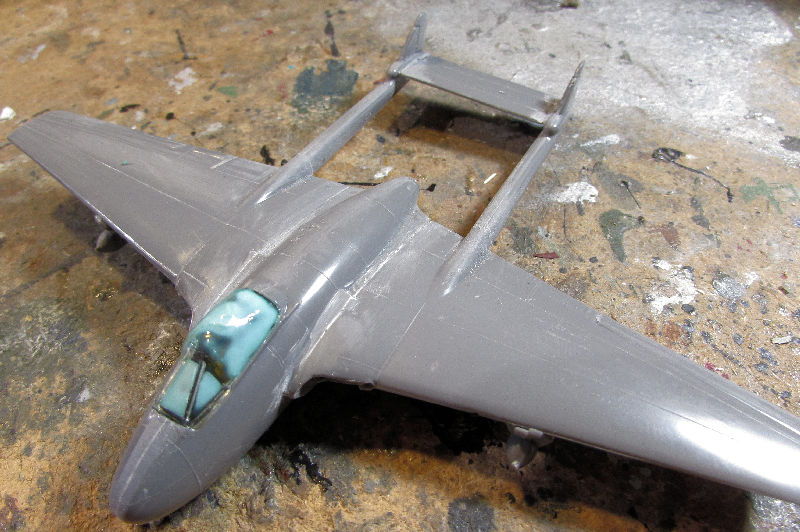
After that dried, I used my Vallejo masking agent to cover the clear portion of that canopy for painting:
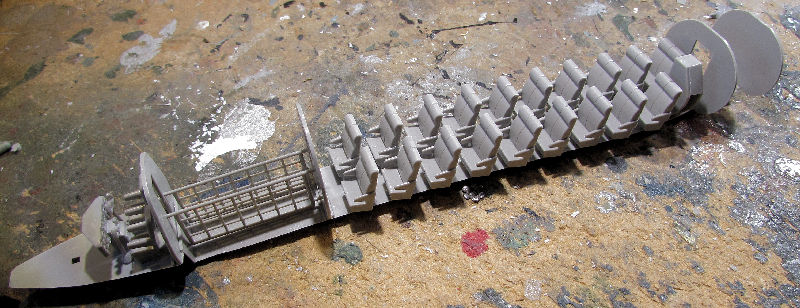
Moving on, I started two new aircraft. While I was building my armor, I was chatting with a friend and we were talking models. The F-27 Friendship was mentioned and since I was already planning to build it, I was motivated to start it today. Here is the interior of this plane all assembled:
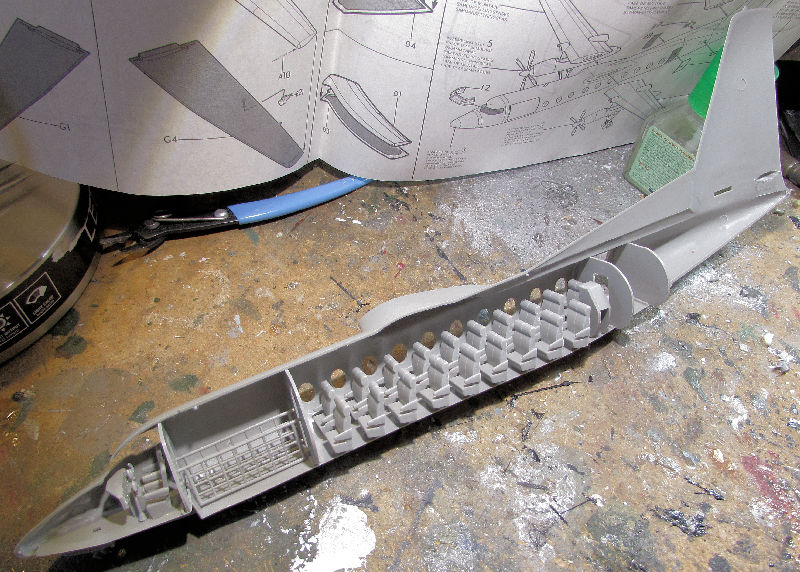
Just for fun, I dry fit that into one side of the fuselage:
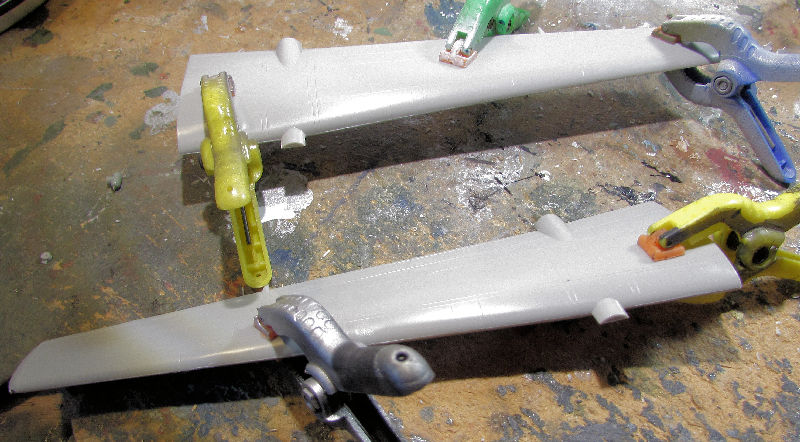
Nice! Later I glued the wing and tail halves together (not to each other though) so that I wouldn't have to worry about that later:
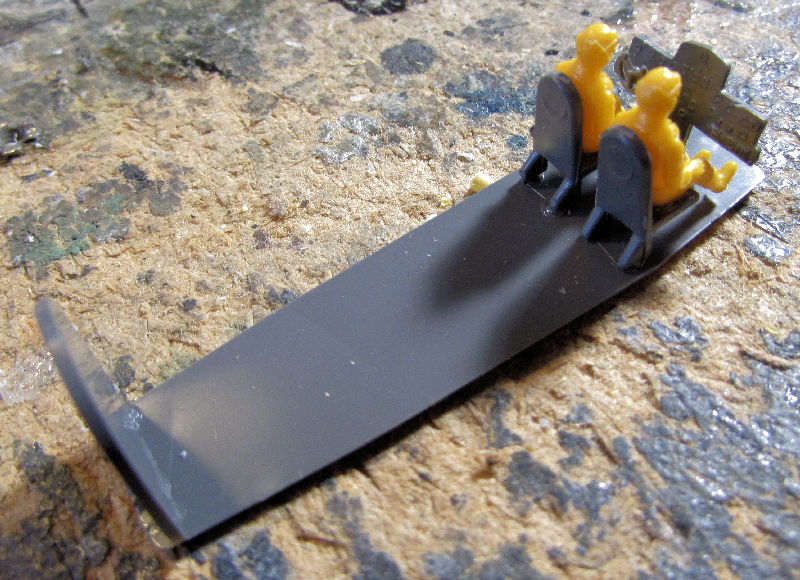
That was good enough for now because we also started talking about the ancient Matchbox Noorduyn Norseman which I also happened to have in the stash. So, out it came and the most basic interior was completed:
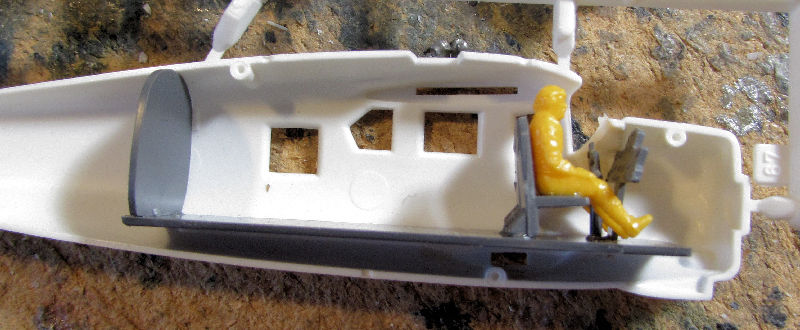
Here's what that one looks like inside one side of the fuselage:
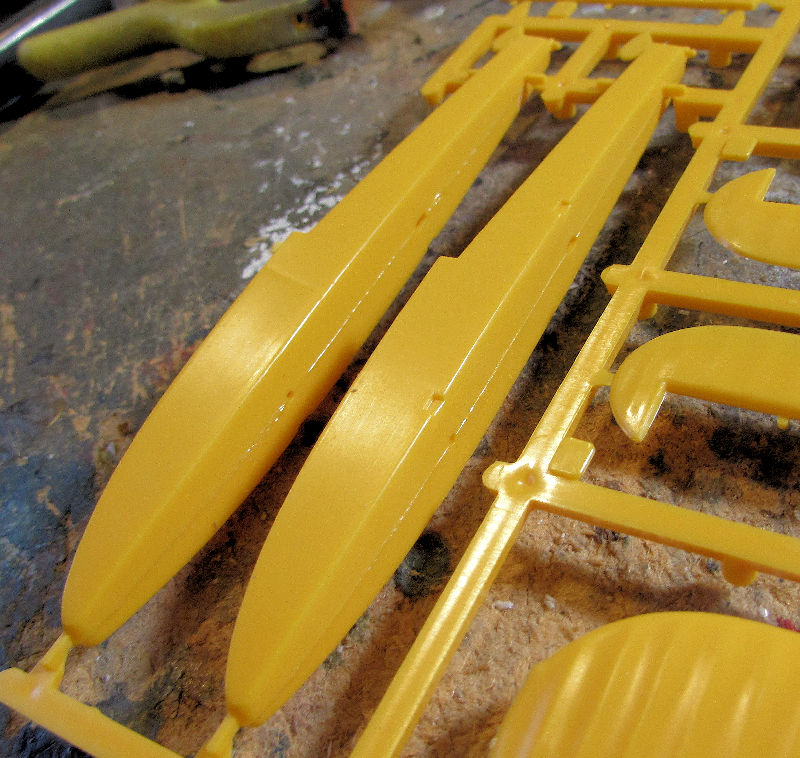
I then cemented the float halves together to ease construction later:
There's where I stopped more or less. I wanted to focus on my armor now since I have so many under production. So, next stop for this tour is my motor pool portion of this factory....
My first one I did was the Canadian Cadillac Gage, which needed the interior, basic as it is:
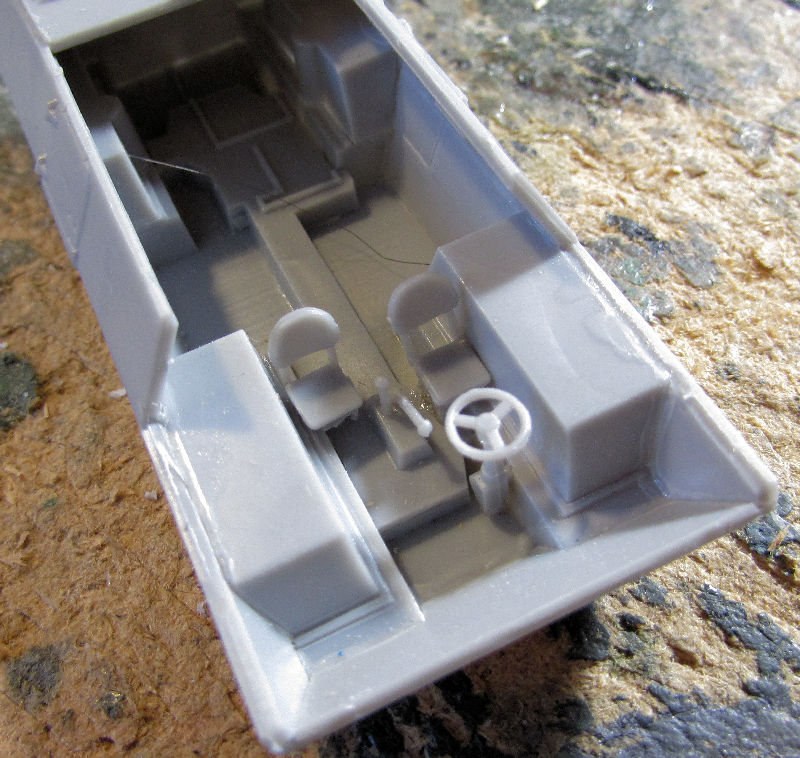
Not even sure why I did that, it won't be seen once this is closed up. Oh well, it was fun!
Next up was the Russian CLUB M Coastal defense missile system. I'm doing this four hours at a time for our SoCal AMPS 20 hour build. Before I finished up the chassis, including the photo etch. This time, I started on the cab with the interior first:
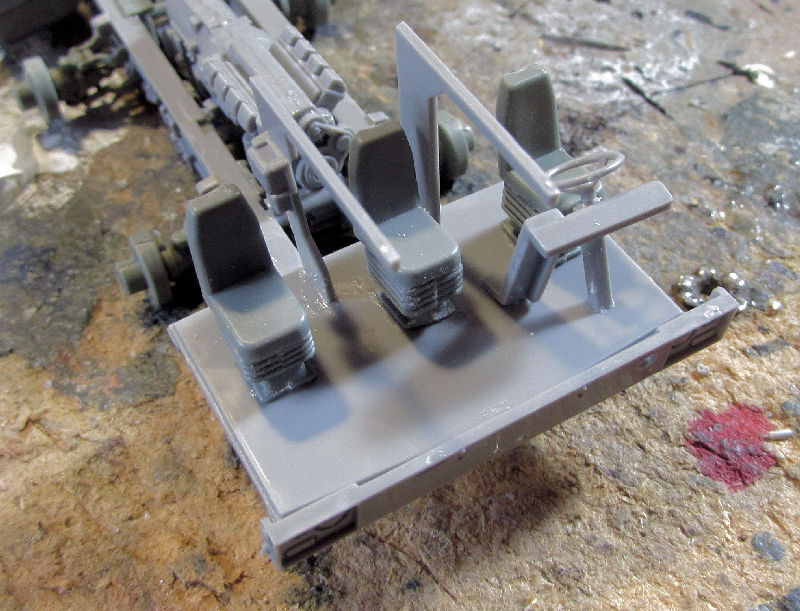
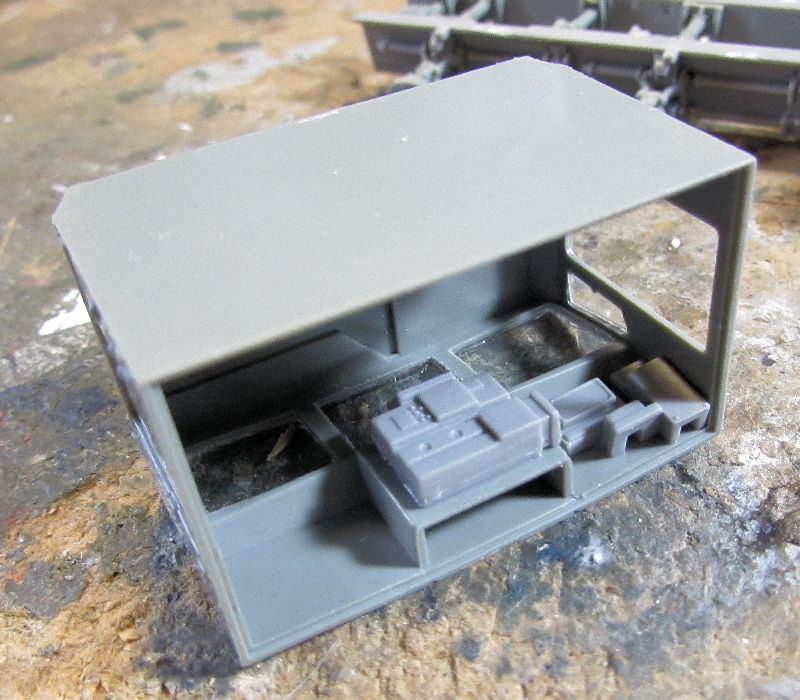
The outer cab was then done, first the interior dashboards:
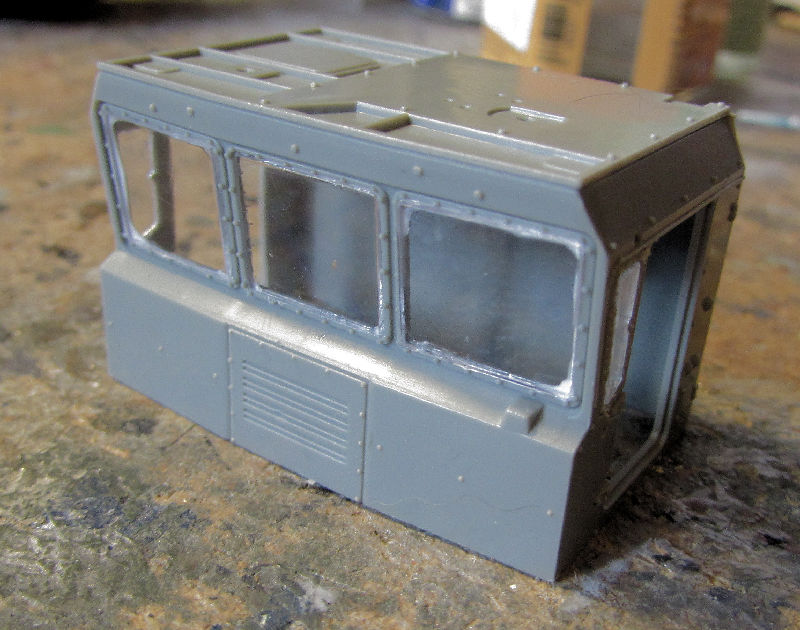
...followed by the windows:
After that I started the generator cab, getting it assembled:
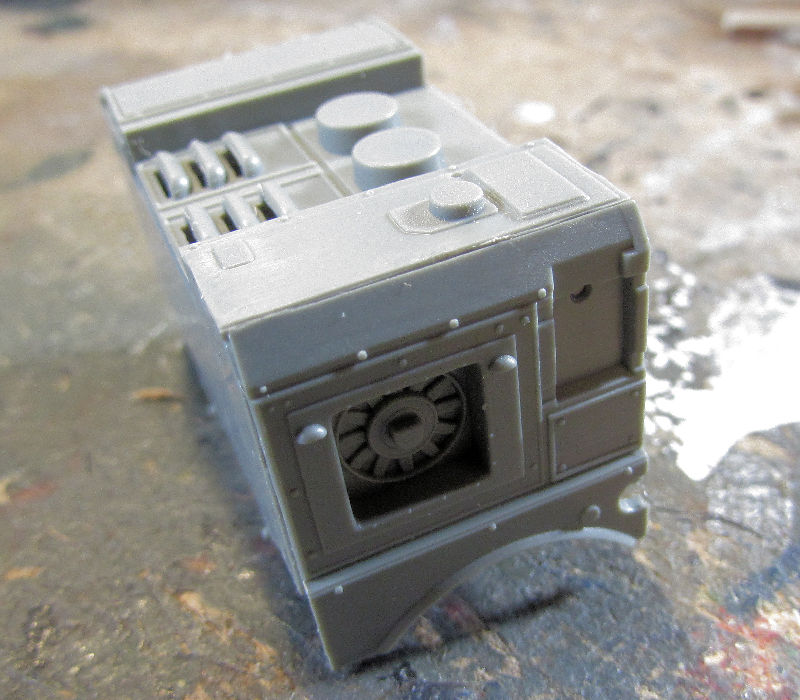
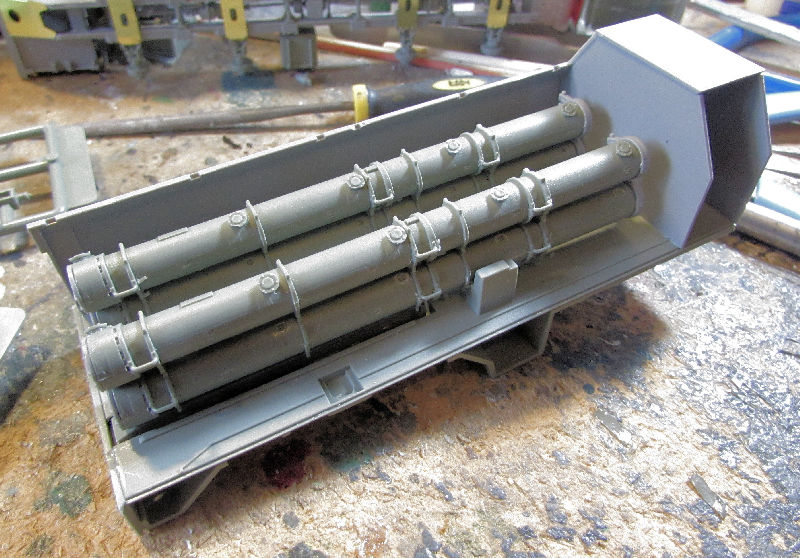
Then I started on the launch tube cabin, first assembling and then mounting the launch tubes inside:
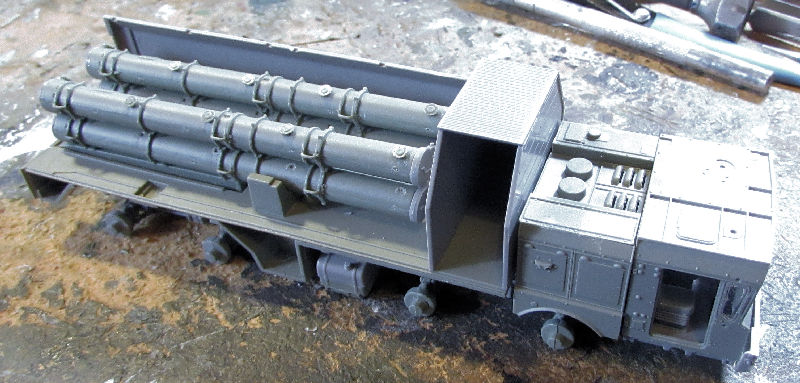
Here's the whole set of sub-assemblies sitting on the chassis:
This is the other side which shows how this will look:
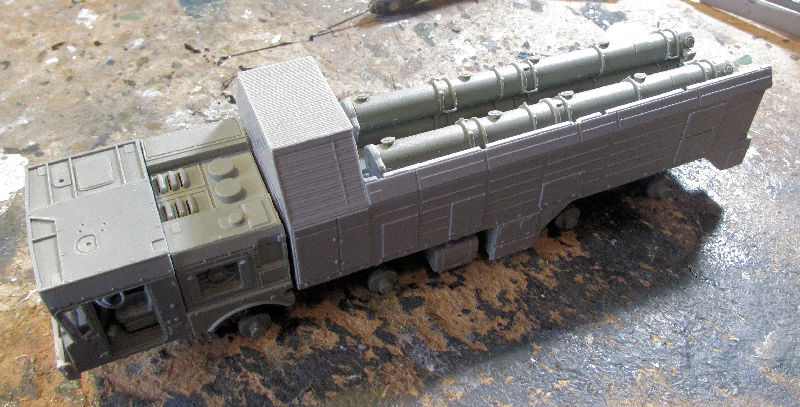
I need to paint that interior before I add anything more. And yes, this will be shown open because I figured out how to make the launch tubes elevate....
Moving on to my Centurions, my first one is my Australian Centurion Mk.5 LR. I had already built the basic lower hull, so this time I moved on to the turret:
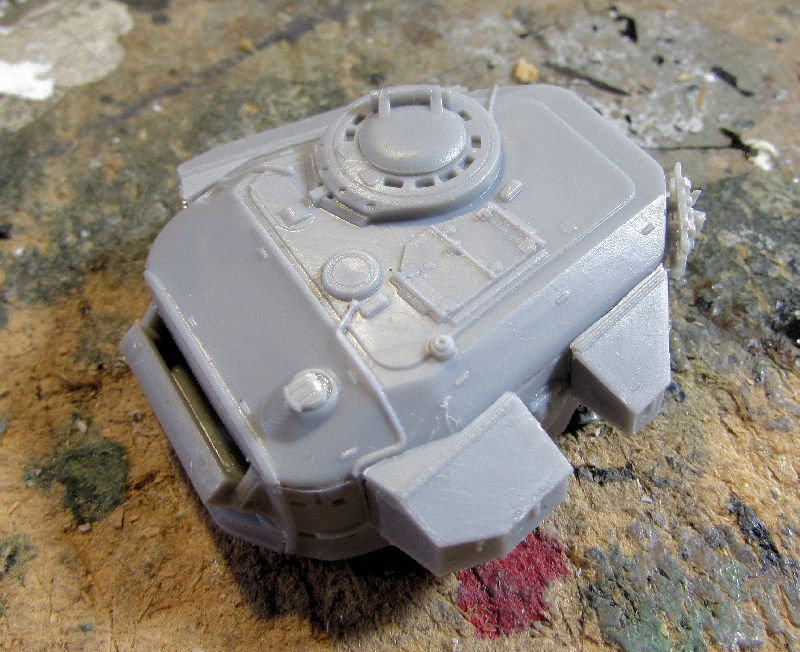
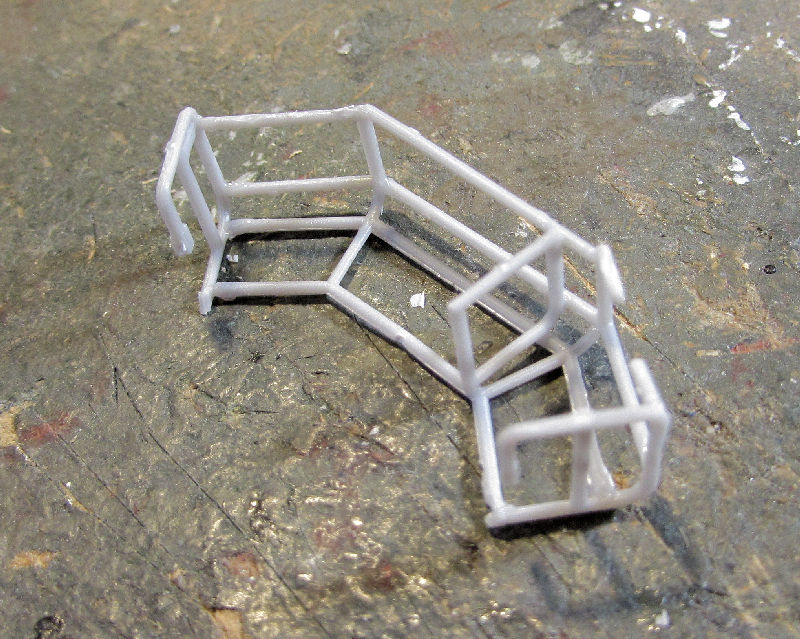
This has a turret basket on the back so I built that. Later I'll be adding photo etch to it:
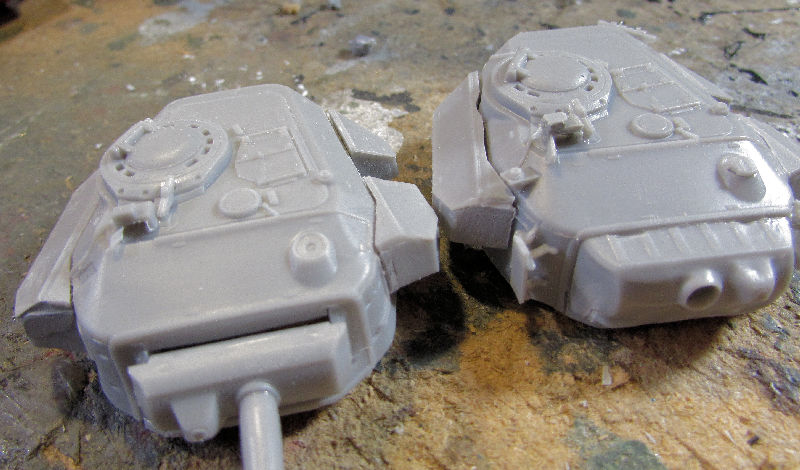
Then the top part in front of the commander's hatch disappeared so I scratched out a new one and installed it on the turret:
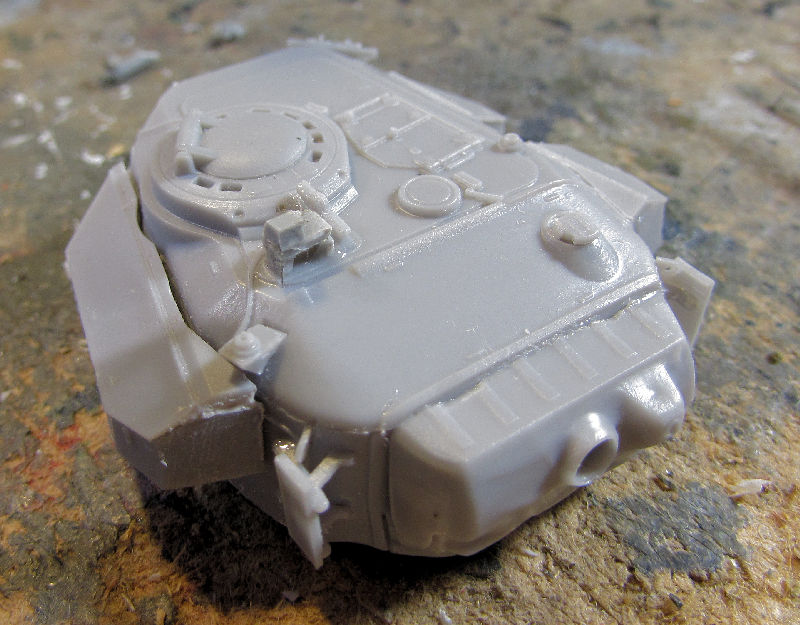
It looks close enough to the original kit part so at least I'm happy with that:
Next I decided on a new approach to adding the tracks to these beasties. First I added the inner wheels and sprockets:
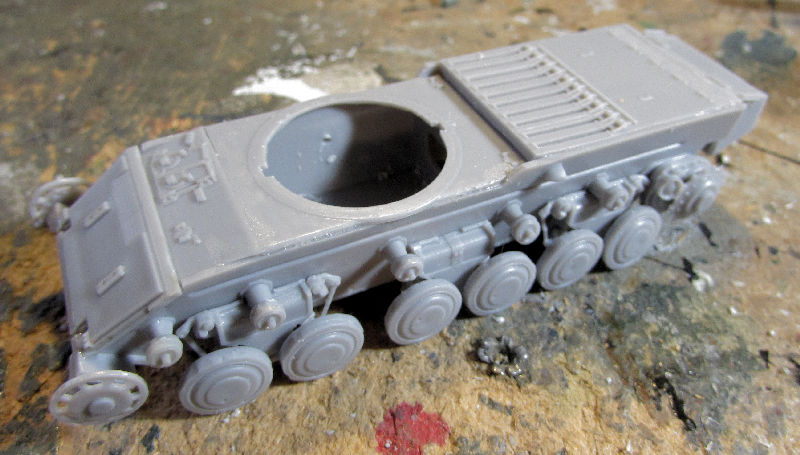
Then I cemented the run of tracks to the bottom of the roadwheels, making sure the guide teeth were up against each one. Yes, I used the glue shown in the pic. It works!
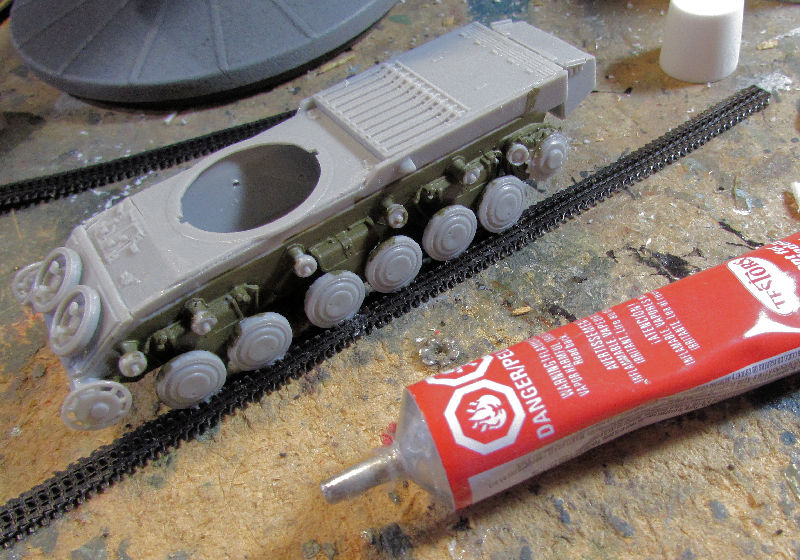
After this dried, I wrapped it around the sprockets and connected them at the top of the run; cementing them to each wheel and sprocket:
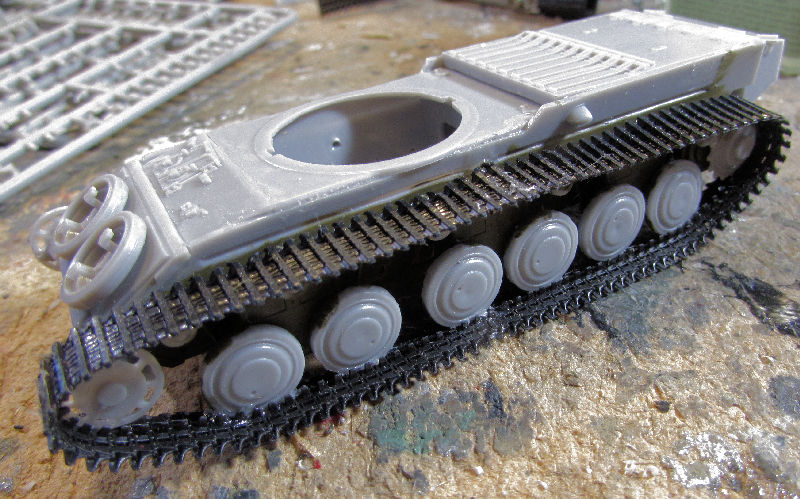
Once that was done, all I needed to do was add in the outer wheels and sprockets and Bob's your Uncle!
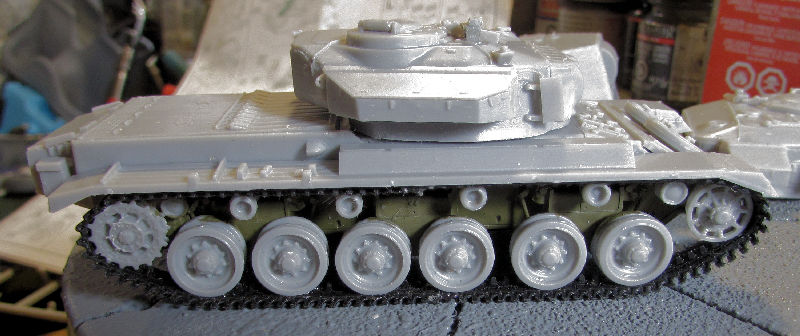
I did the same with the other two Centurion variants and it worked out exceptionally well. Here you can see the progression from first gluing on the left to finished on the right:
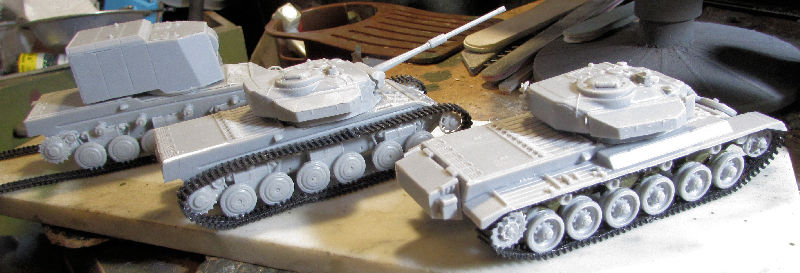
After that, I completed all the plastic assembly for the tank. Next up is the addition of all the photo etch:
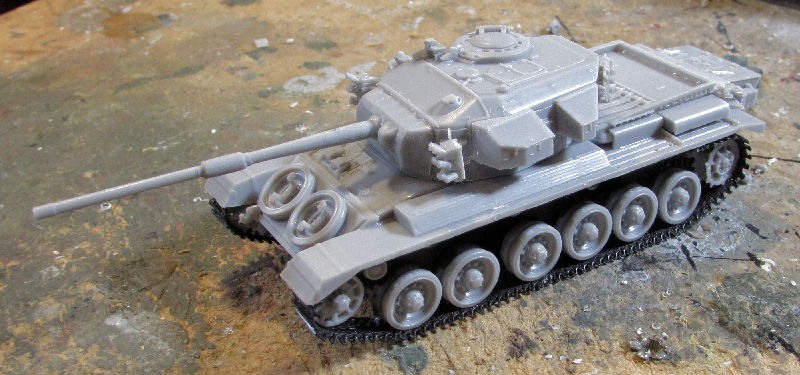
I then worked on completing the hull and most of the turret on the British Mk.5:
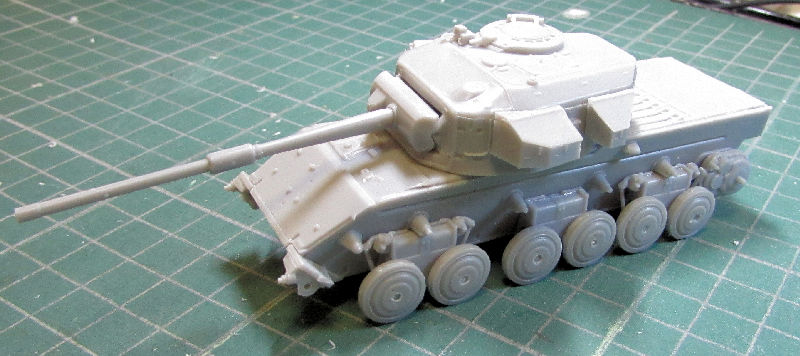
Later I also assembled the hull and turret for the British FV4005; or as I like to call it, the British KVII! The first thing I did, since the turrets were sticking on the previous two Centurions; was to fix and test the turret ring panel before installing it on the hull:
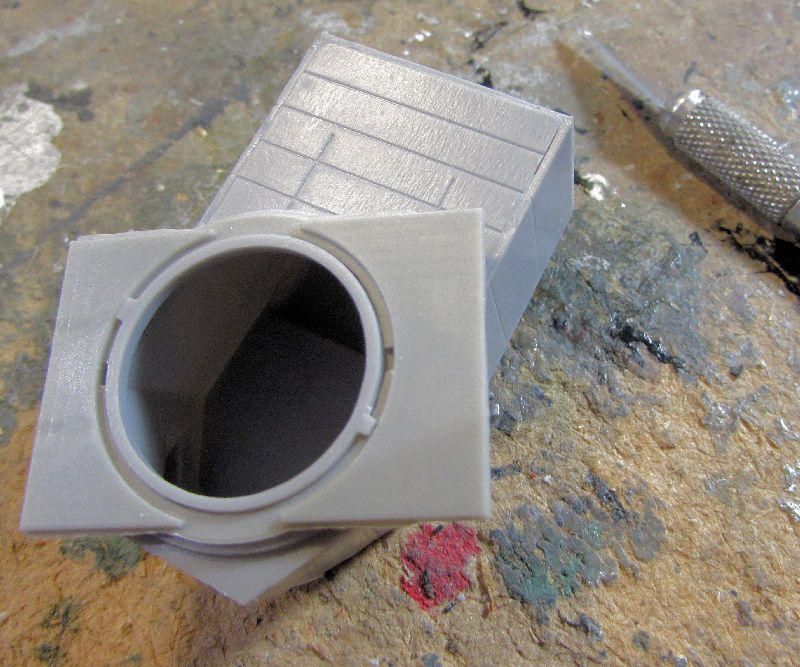
Should've done that with the other two Centurions...
Got the hull all assembled and stuck the turret on it:
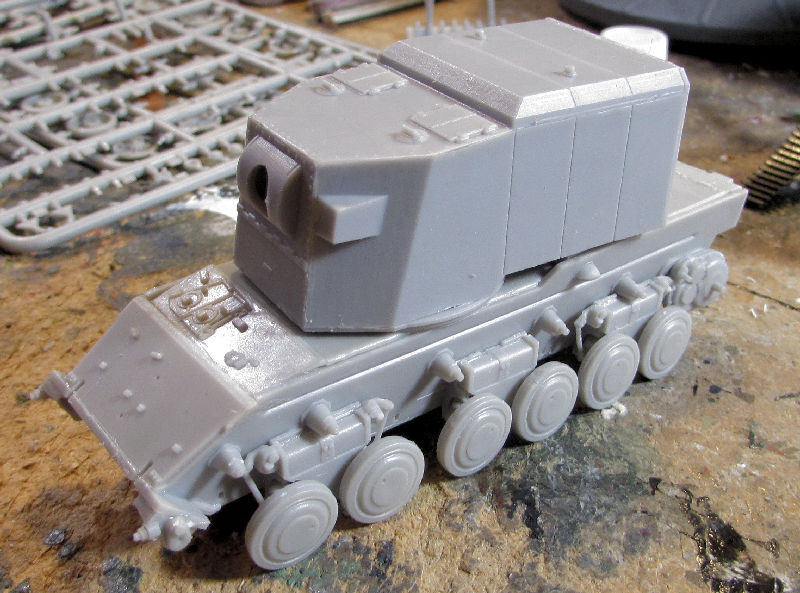
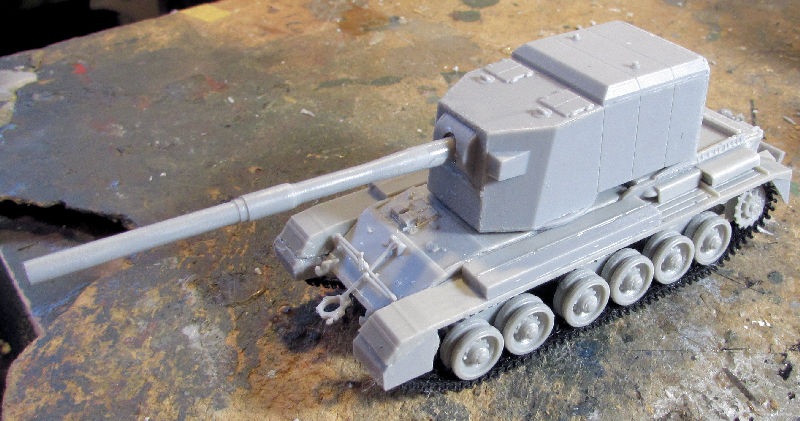
Later I completed this all the way up to photo etch:
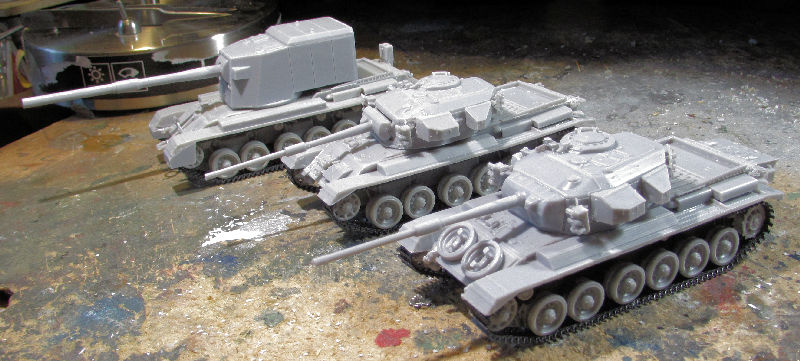
I also brought the British Mk.5 up to the same level. Here are all three sitting together ready for photo etch:
And that completes the latest tour of Maddog Manufacturing, I hope you enjoyed it.
Thanks all for looking in, comments are welcome.

