Wow, I finally found a couple free hours to get this latest tour ready to go! So, let's climb aboard the trams and get this party started!
The Hangar has been idle for awhile, so we'll head to the Shipyards straightaway. Quite a bit has been happening there.
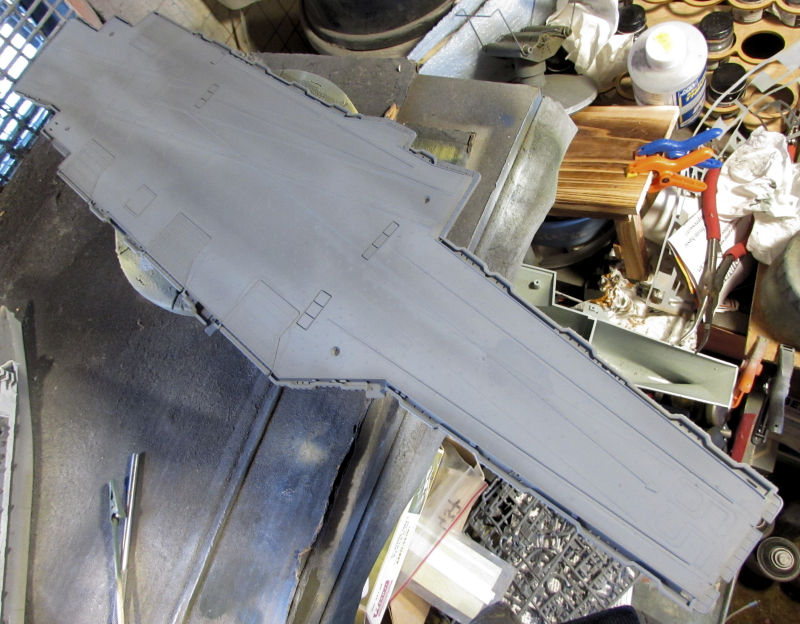
First up, we tried to get a more even coat of grey on the massive Enterprise flight deck. That still eludes us:
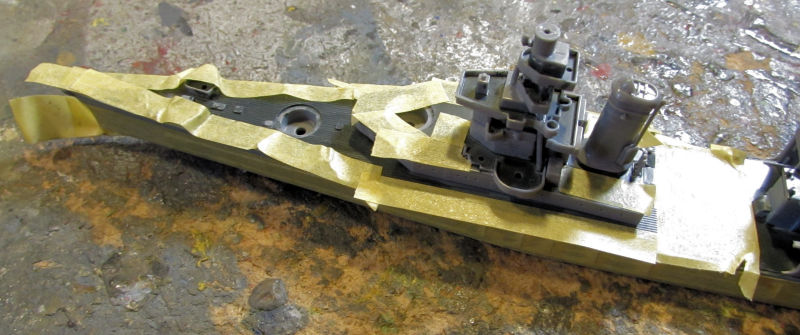
Not much else was attempted on that. However, we did get a lot done on the USS Indianapolis. First, we masked off as much of the deck as possible after masking the lower sides of the hull:
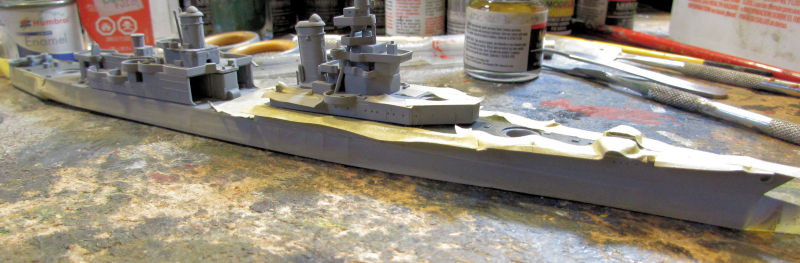
Grey paint was shot on hull and superstructure, aiming slightly upward to help keep as much overspray off the decks as possible:
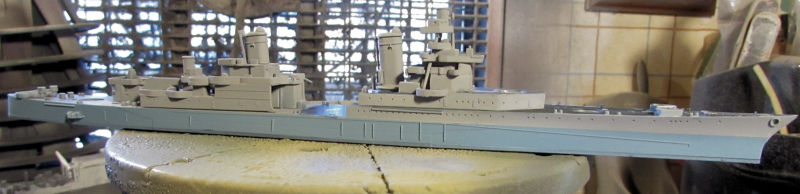
I still had some overspray, but it was easy to touch up. After that dried, the masks came off. Now this was ready for more progress to be done:
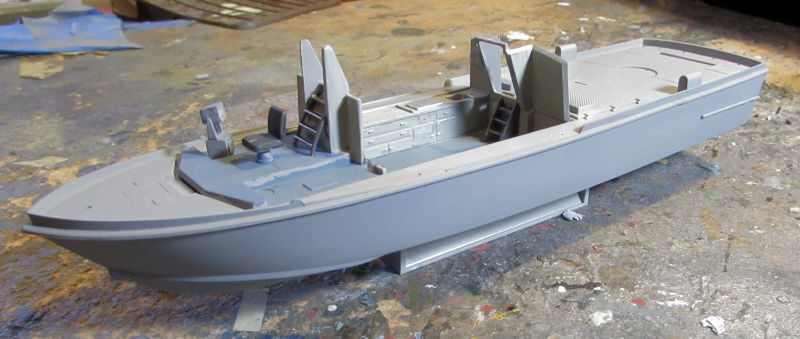
Moving on to one of our smaller slips, we took the time to mask off the upper cabin works and shoot grey paint on the hull of the Swift Boat. Here it is after the masks had been removed:
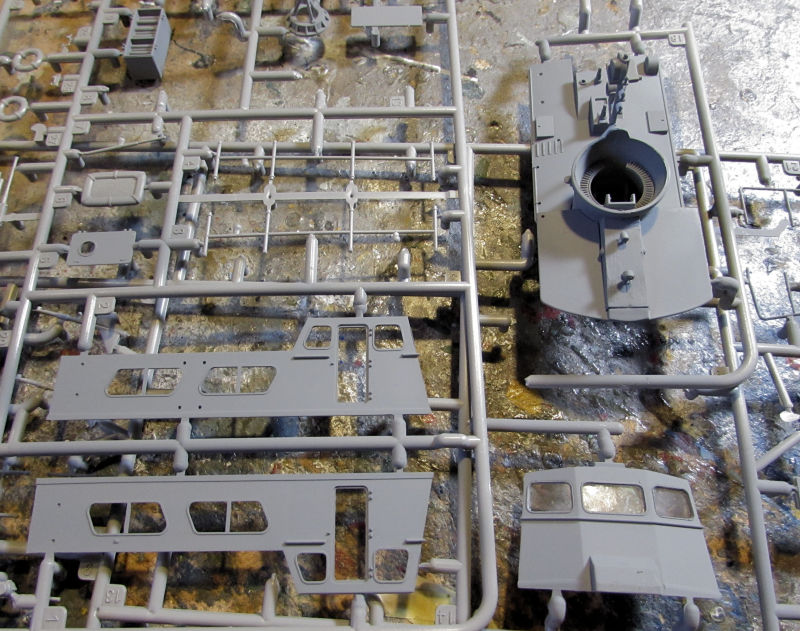
Next we sprayed the cabin exterior while they were still on the sprues, as well as other exterior accessories. This was done before the windows were put in. I remembered to take this pic only after having added the windows to the front of the cabin:
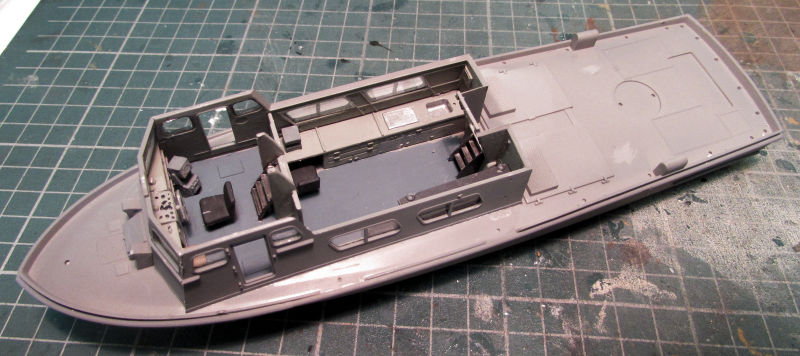
And the cabin is built! All the side walls were installed and adjusted as best as possible, but there are still a few discrepancies:
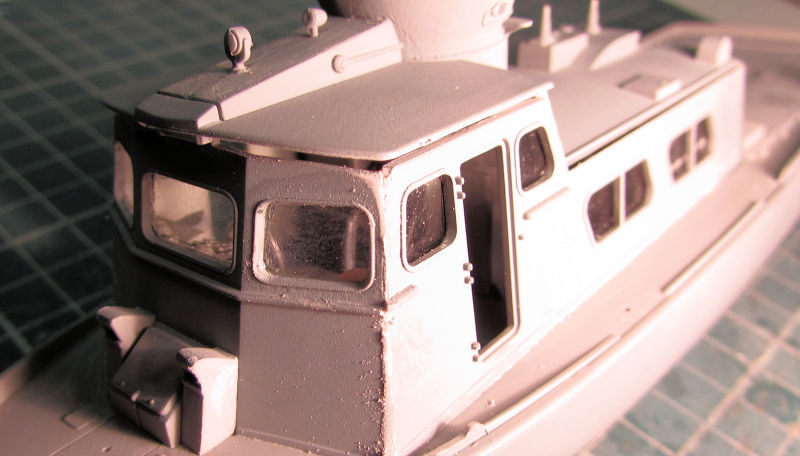
Later we dry-fit the cabin roof to see what fit issues we'd have to deal with. The top gunner's position was also completed, which included the mast already molded to one part of it:

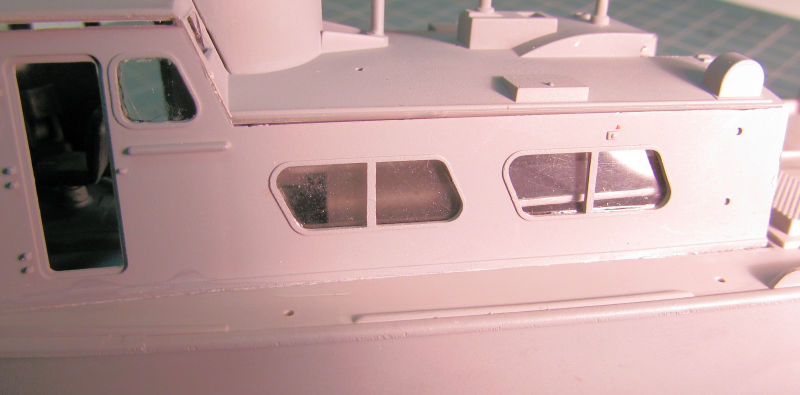
I'm glad we completed the interior and tried to keep the windows as clear as possible. It doesn't show well in these pics, but you can see a lot of the interior through these big windows:
That completes our tour of the Shipyards, let's check in to the Motor Pool...
Here in the Motor Pool, we've been at least as busy as the shipyards were.
The first thing we did was to shoot some base paint on the Geschutzwagen:
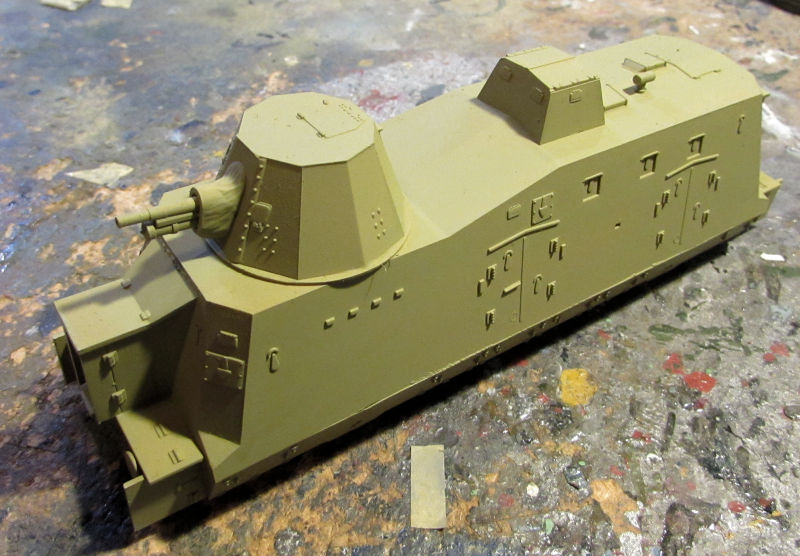
Now to figure out the camouflage....
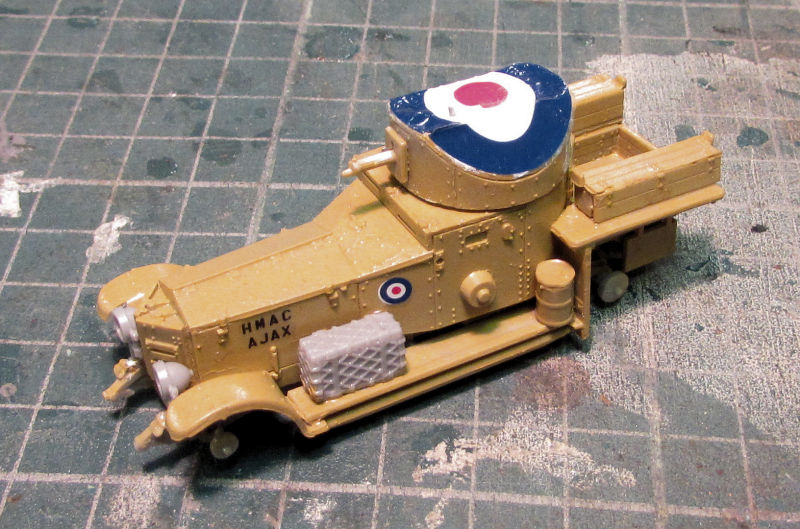
Meanwhile, we tried getting further ahead on the Rolls Royce armored car. We had shot a gloss on this car to prepare for decals. When I looked at the roundel decals that go on top of the turret, I noticed they did not print any white! So, we taped off the sides as best we could and shot some white on top of the turret:
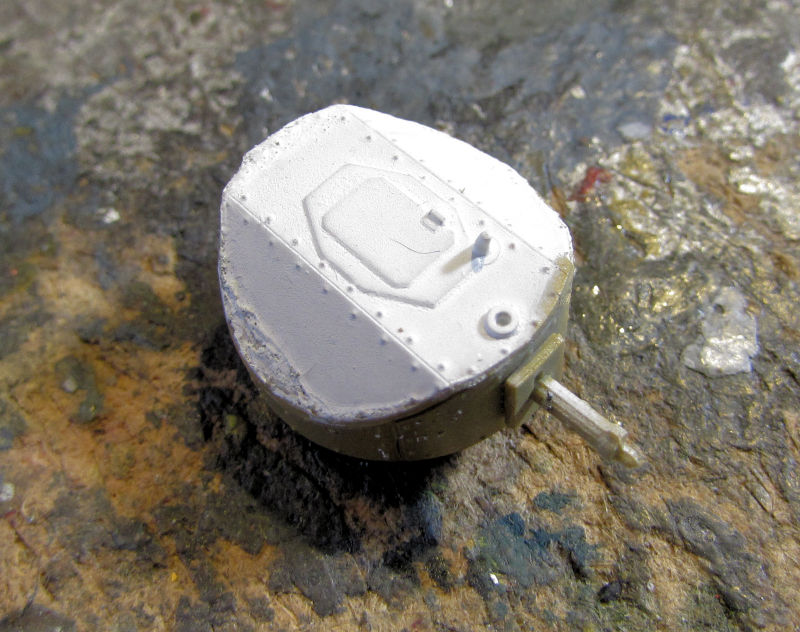
Yeah, parts of it are pretty rough; but after some sanding to smooth it out, it won't be seen under the decal.
While that was drying, we added the markings to the rest of the car:

When the top of the turret was dry, we added the roundel to the top of the turret. In this pic it is still wet with the Solvaset:
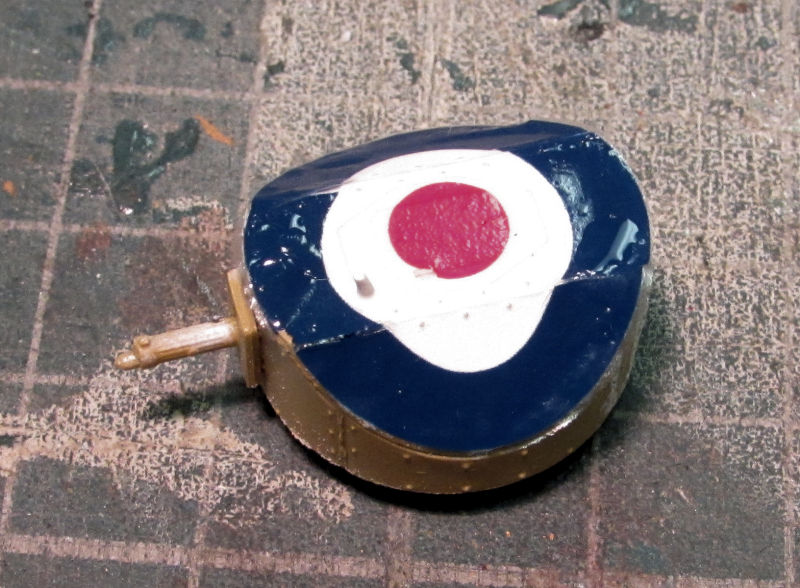
Here it is all mocked up. There's going to be a bit of touch up to do:
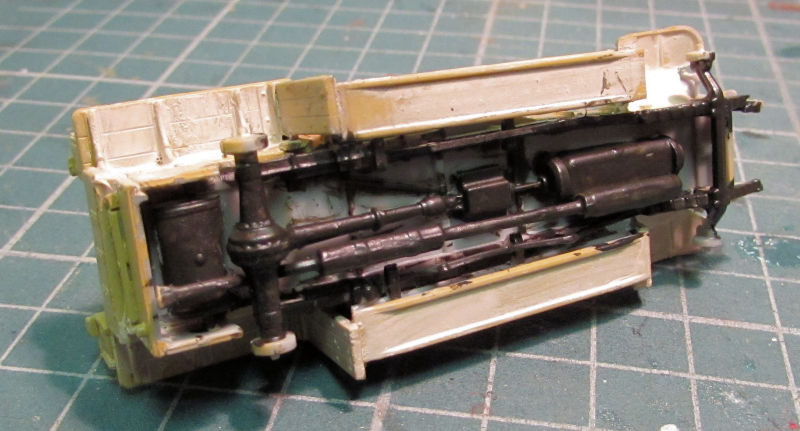
Another thing we did was to paint the underside details with Oily Black just for fun:
Moving on, my Russian tank buildup is moving quite well so far. We'll be showcasing the next three by the steps we took.
First thing was the application of a basecoat of green...
T-54B:
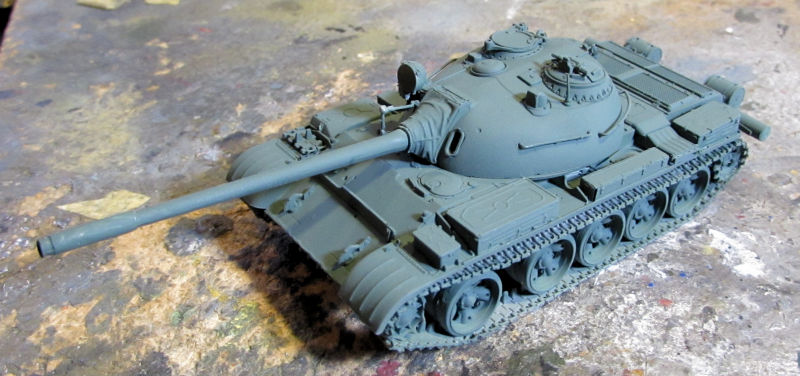
T-55AM:
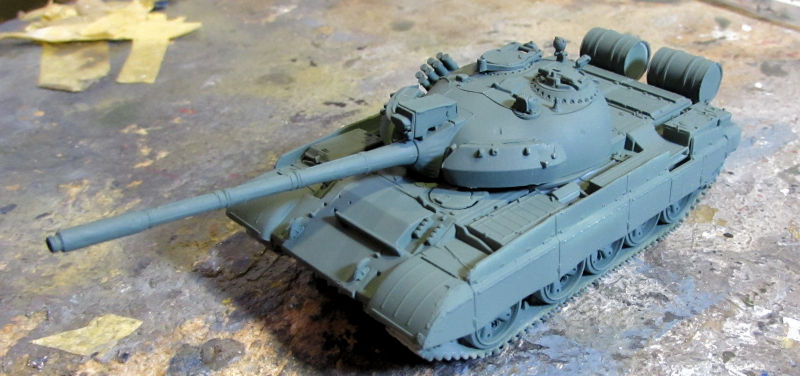
...and the T-80 UE:
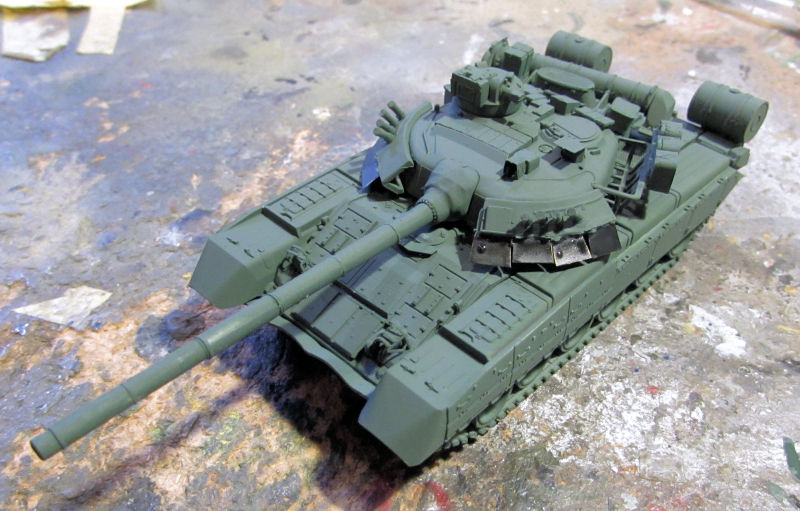
Next step involved coating each of these with gloss for decals and a wash...
T-54B:
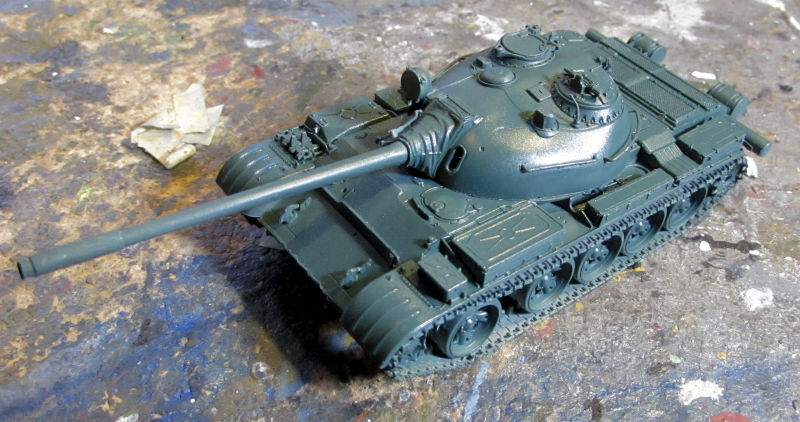
T-55AM:
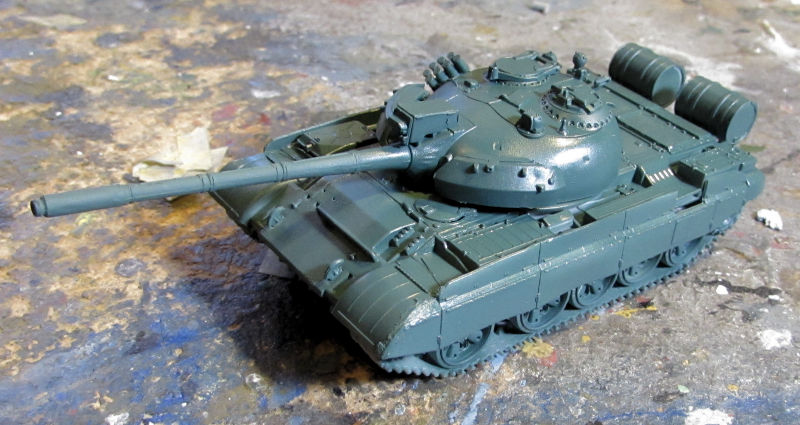
T-80UE:
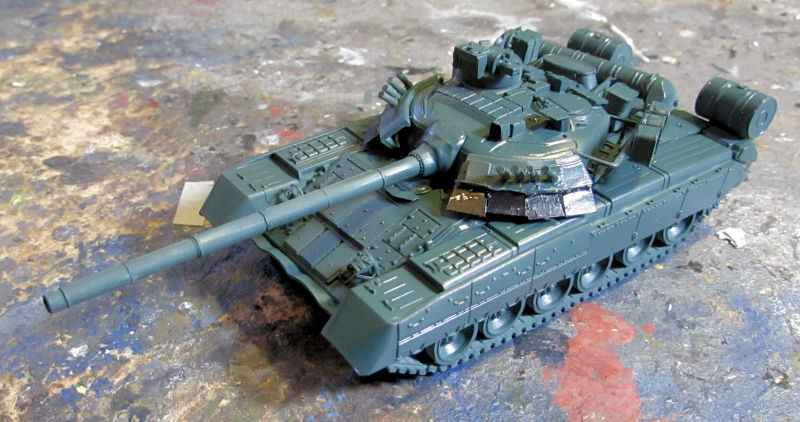
You can see we had a bit of trouble with the black paint on the photo-etch flaps.
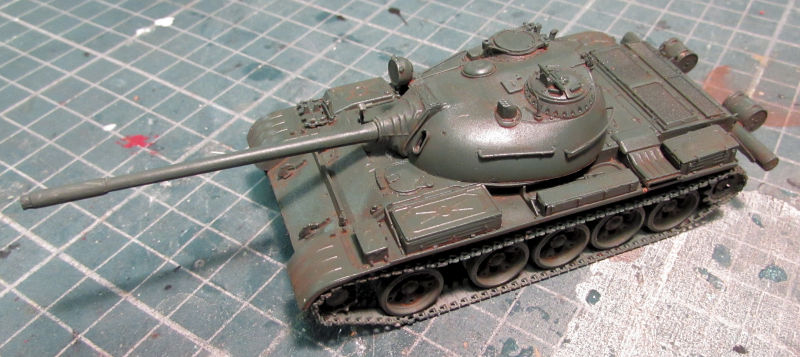
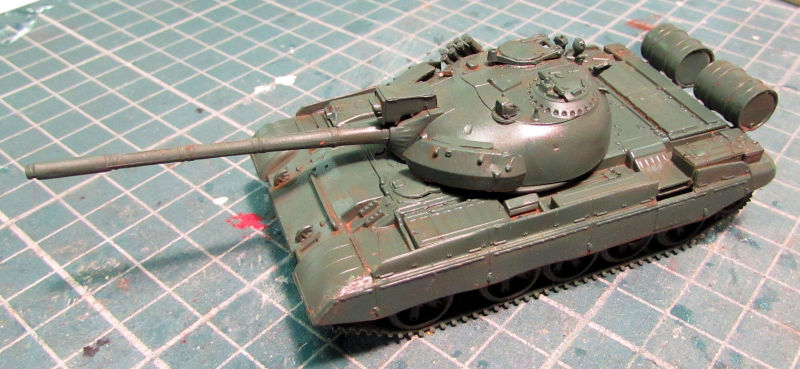
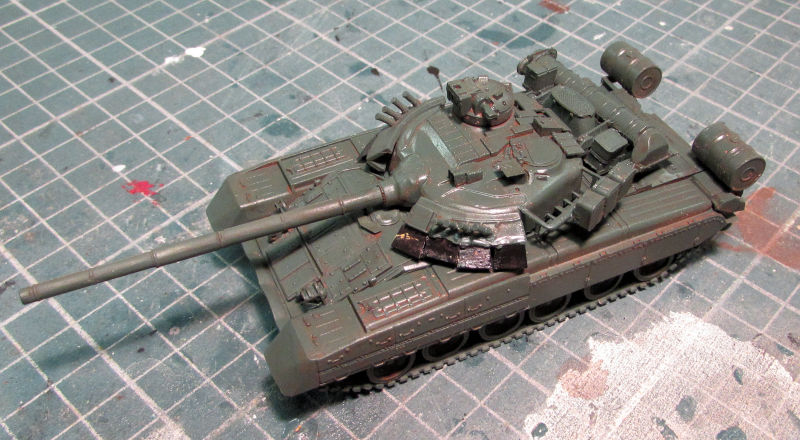
Because the green was not quite the shade of green I wanted; we have added an overall wash of medium dark brown over the whole tank to act as a filter and wash...
T-54B:
T-55AM:
T-80UE:
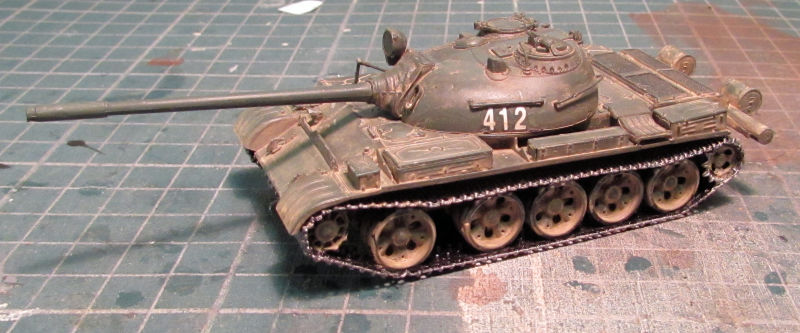
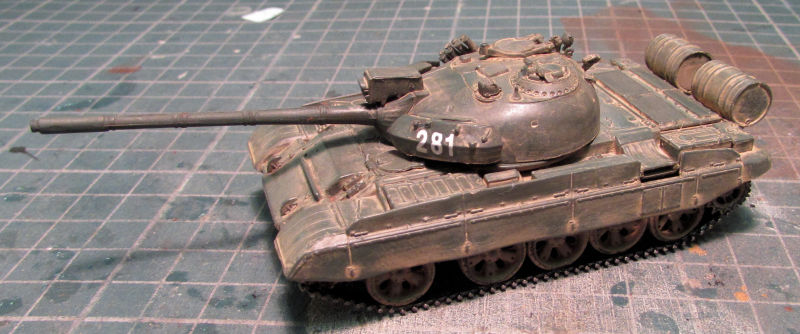
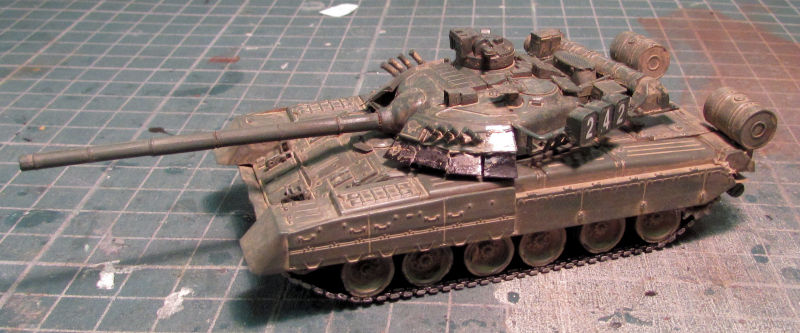
That looked much better in my eyes. so, moving on from here we added the decal markings. So many of these were ridiculously easy. These tanks also all got dusted first before we could take the pics. I think the crews got over eager and took them out for test drives early...
T-54B:
T-55AM:
T-80UE:
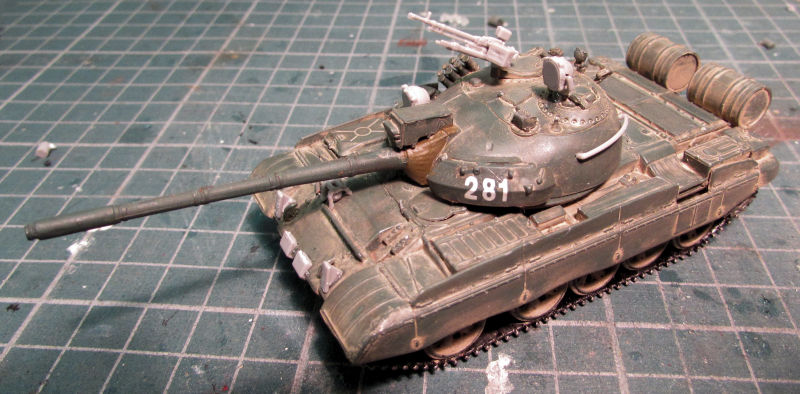
Finally, the last breakable detail parts were added to these tanks...
T-54B:
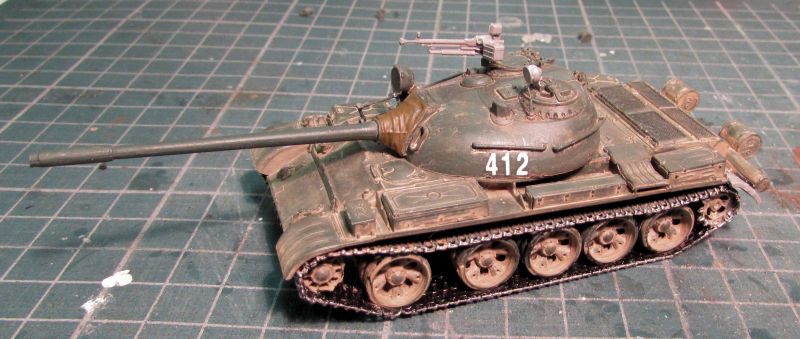
T-55AM:
T-80UE:
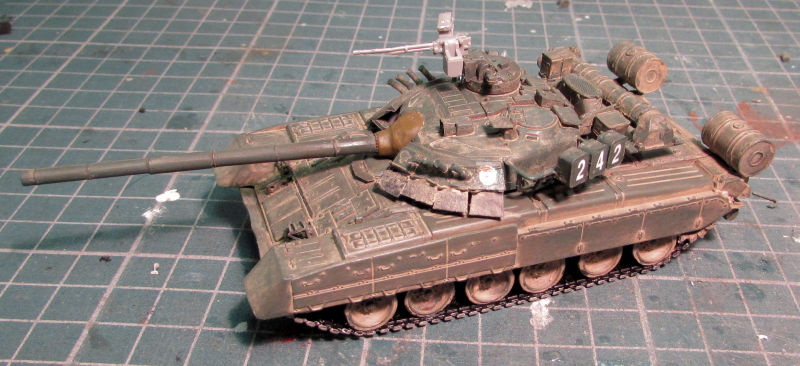
After some detail painting and extra touch ups and enhancements, these beasties will be done!
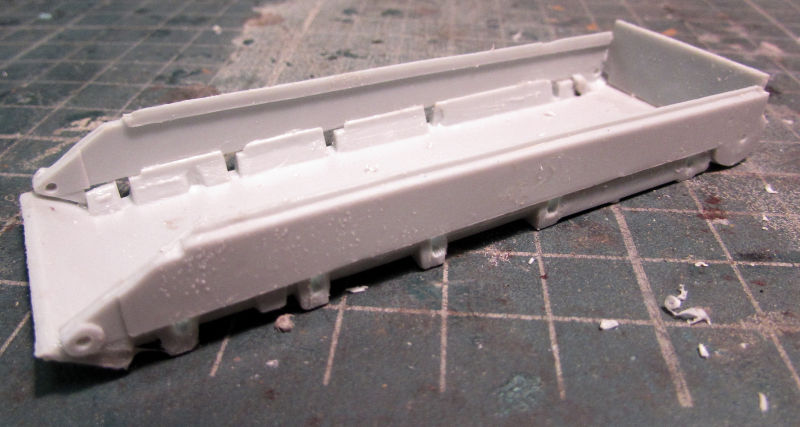
The last projects on this tour of the Motor Pool are the final two Russian tanks I had in my stash. These are both ACE kits; the early ones before they went with the digital design. This first one is the Russian T-62 and we started on the lower hull tub:
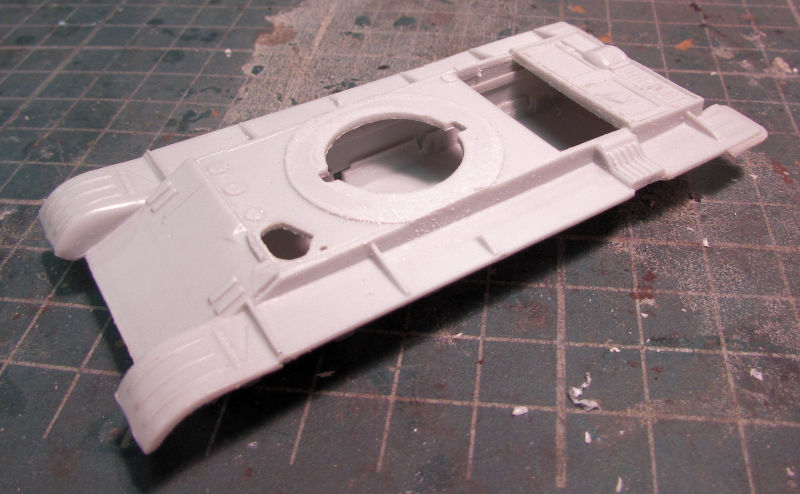
Next we added the upper hull to this to hold everything together:
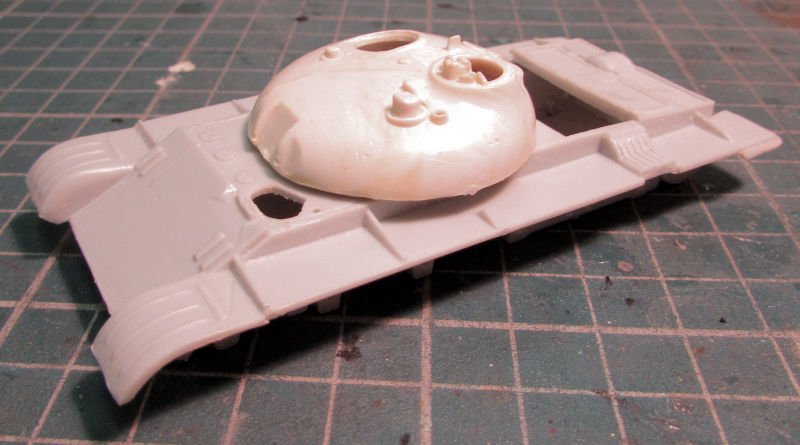
We then assembled the basic turret and used it to be sure the thing turns on the hull before adding any easily breaklable parts to it. After sanding the hull and turret a number of times, we had great movement:
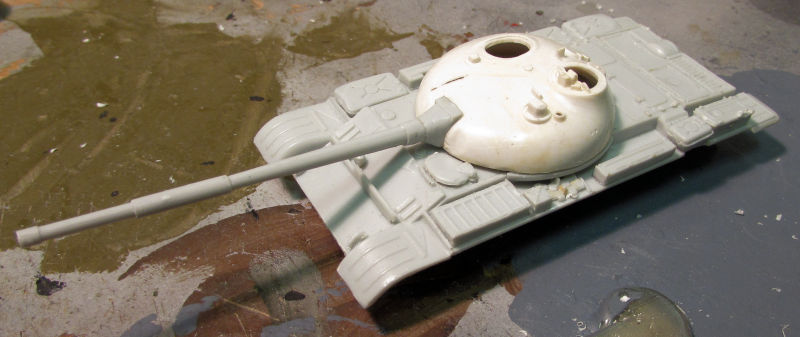
Later we added the containers and boxes to the upper hull and installed the main gun on the turret:
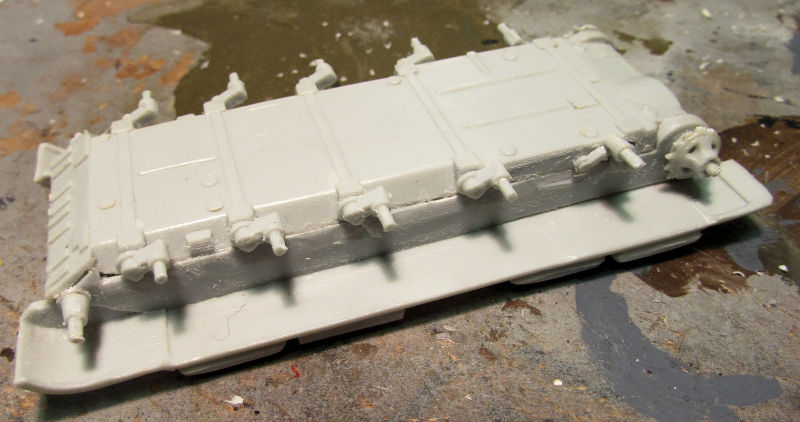
Once that was done, the torsion bars went on:
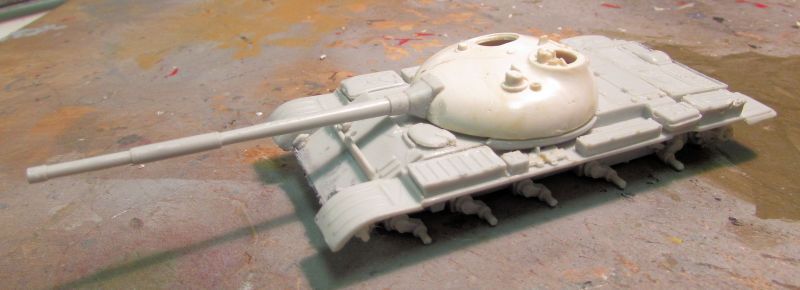
It took some doing, but I believe we have all of them lined up well enough so all the wheels will touch the ground and they will all look straight once they get installed:
This last one is a unique tank that I'd never heard of before ACE brought it out. This is the Drakon IT-1 missile tank. Instead of a standard turret, they took a T-55 and gave it a smaller turret with a missile launching arm on it. After firing the missile, a hatch would open on the top of the turret, the launching arm would tilt up and drop into the turret where another missile would be loaded and the arm would swing back up to level again and fire it off. The Russians built some 100 of these before stopping production to focus on newer tank designs.
As before, the lower hull tub was assembled:
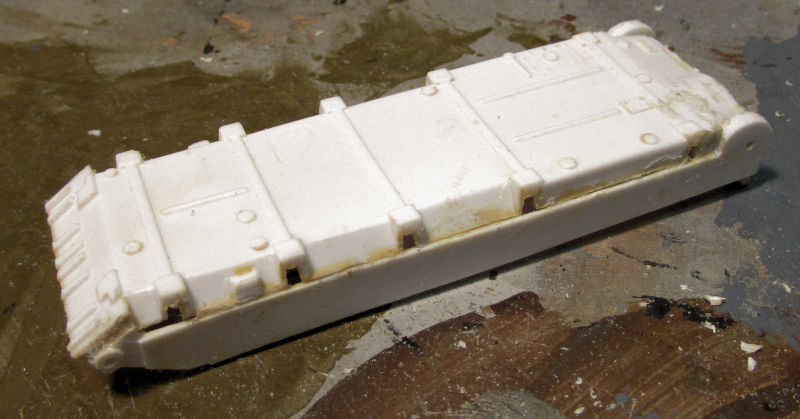
The basic turret was assembled and tested on the upper hull to make sure it turned well too. As before, it took a few sanding sessions to get it to turn smoothly:
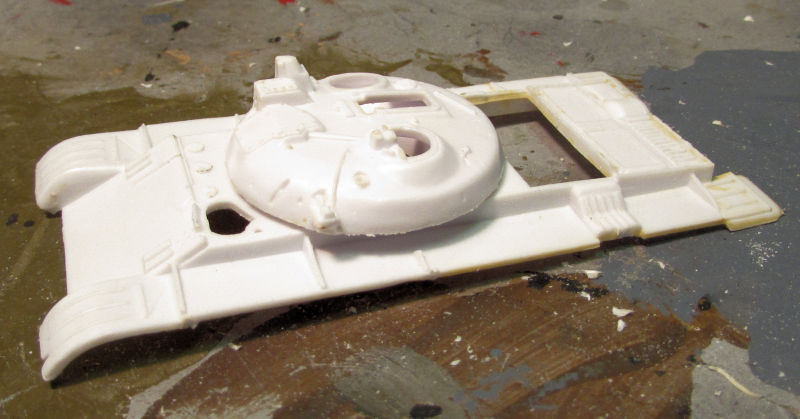
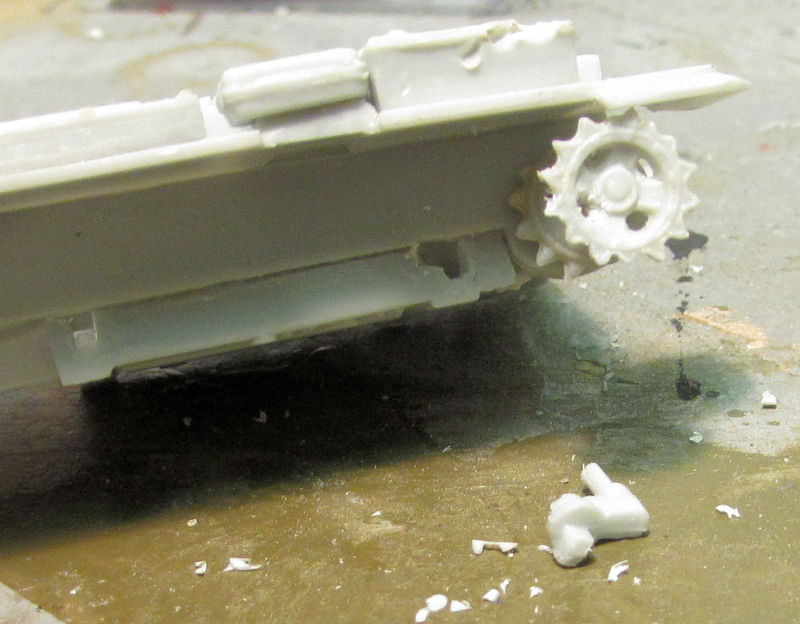
As on the T-62, one of the torsion arms is supposed to be reversed, but the peg on the torsion arm would not allow the arm to fit properly in the hole on the tub. Thus on both tanks, we had to do the following adjustment so it would sit right:
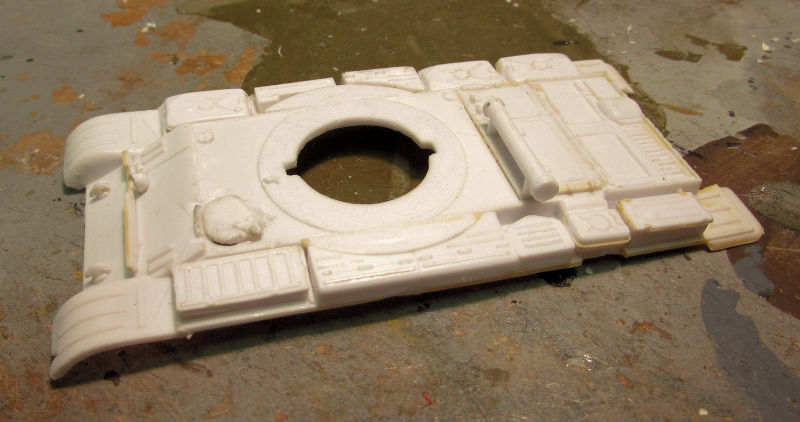
The upper hull was then finished off:
We then added the hatches and the launching arm to the turret:
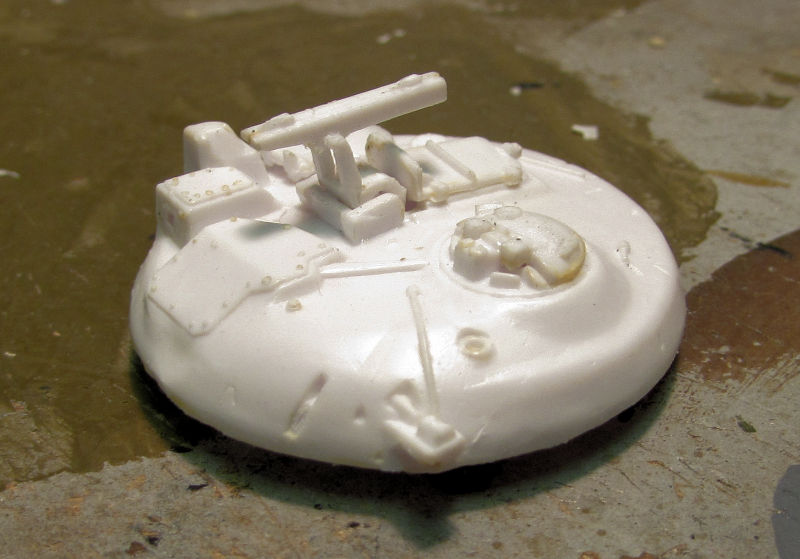
Here is everything mocked up again to see if the turret turned without interference from the cleaning rod holder. The missile it fires is sitting next to this:
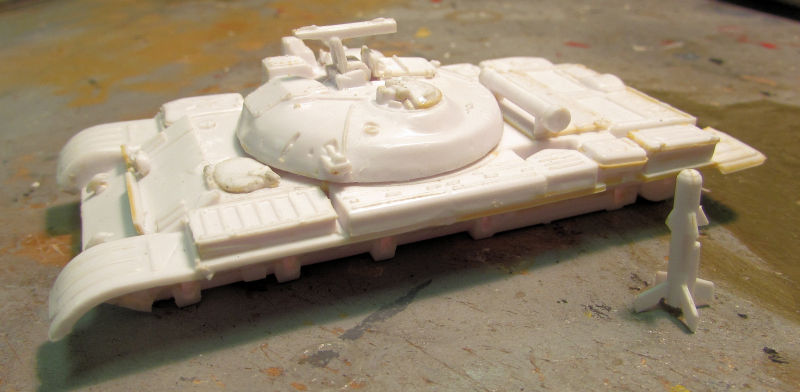
The turret is completed and is shown here in the hull:
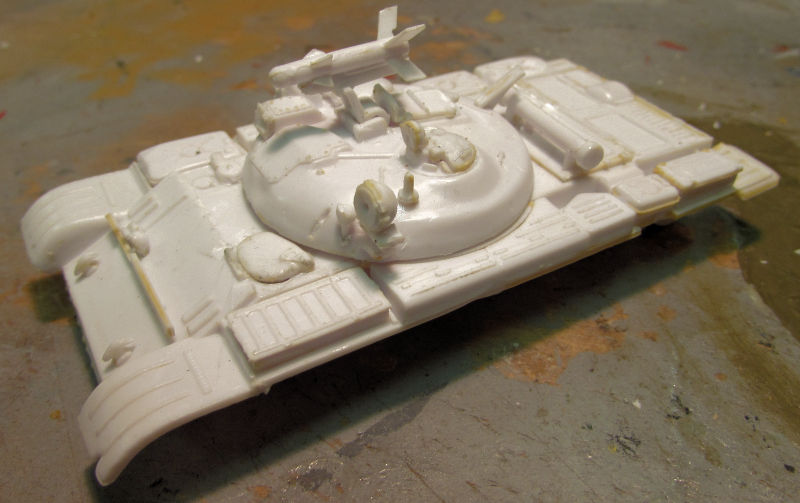
All that's left for these last two tanks is to add the wheels and tracks before we can slap paint on them.
That concludes this tour of the facilities, thank you all for taking the time to tour us here and remember comments are welcome.

