Despite recent issues in life, I managed to slowly get some progress worth showing. I'll start with the An-124.
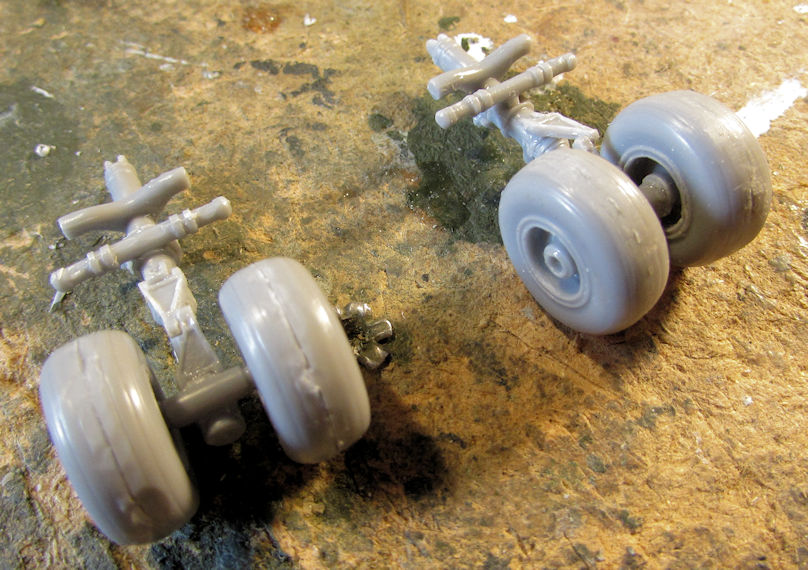
Okay, first off: Hallelujah! I found the second forward landing gear strut and promptly added the wheels to it:
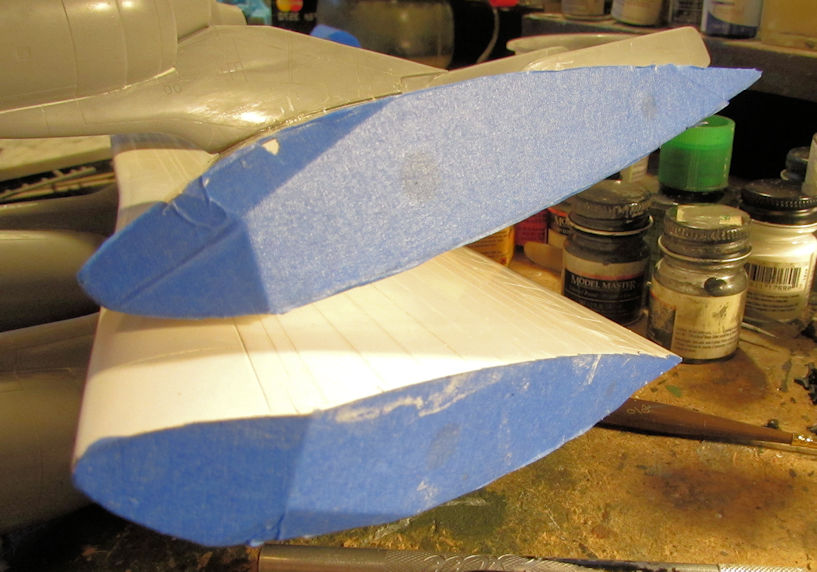
After that, I started to tape off the contact areas on the ends of the wings and tail surfaces.
Horizontal stabilizers:
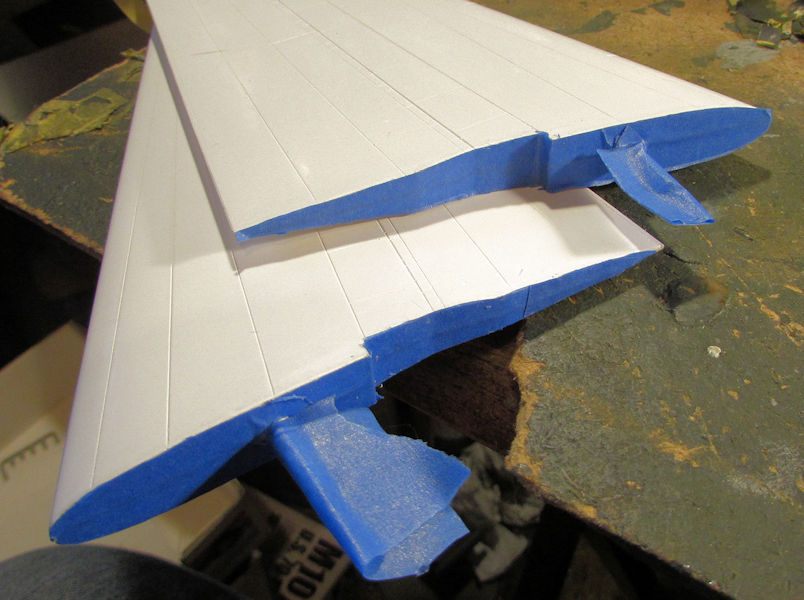
Wings:
And the fuselage:
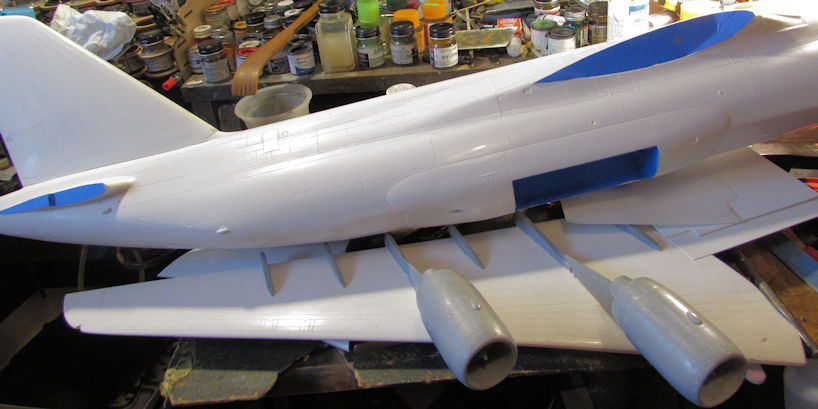
Now they are all ready for paint; at least in the masking department. Still, in order to paint the fuselage, I'll need to close up the nose. In order to do that, I have to glue the cockpit into place; then the canopy shroud, and then close up the nose. These are the preparations I made to do all that. First; the cockpit was glued in using the JB weld shown:
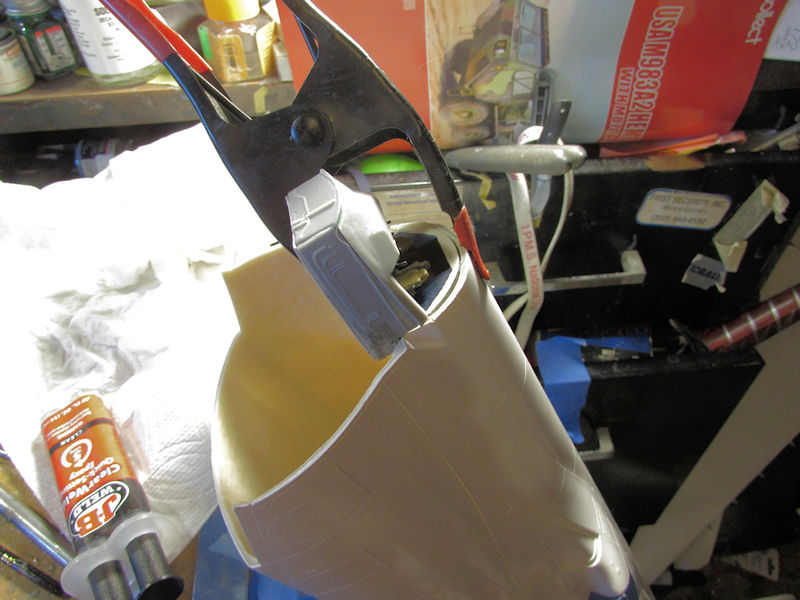
That didn't work. So, I pulled the already loose cockpit out and decided to add a strip of styrene to the underside of the cockpit sub-assembly:
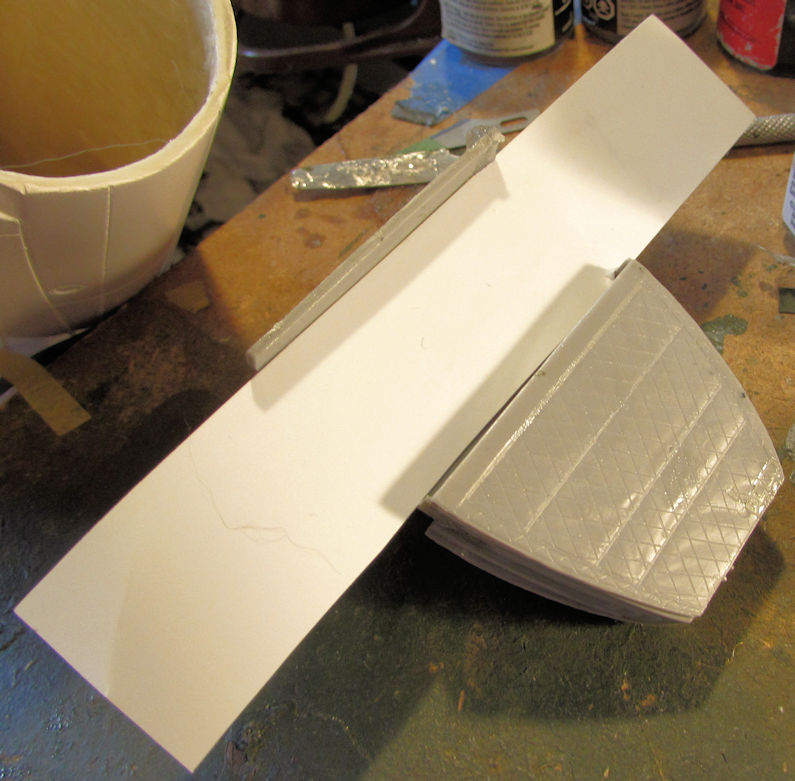
Once that was dry I added some JB Weld to the 'wings' and then clamped them to the insides of the fuselage:
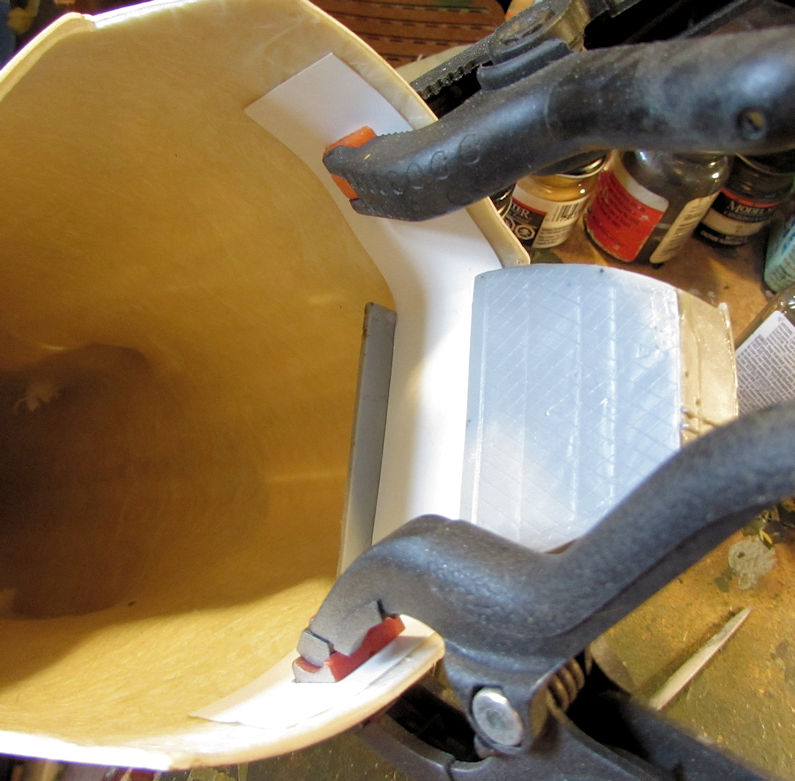
That is still setting now. Afterward, I added some extra reinforcing strips to the sides of the nose to help hold it in place once glued:
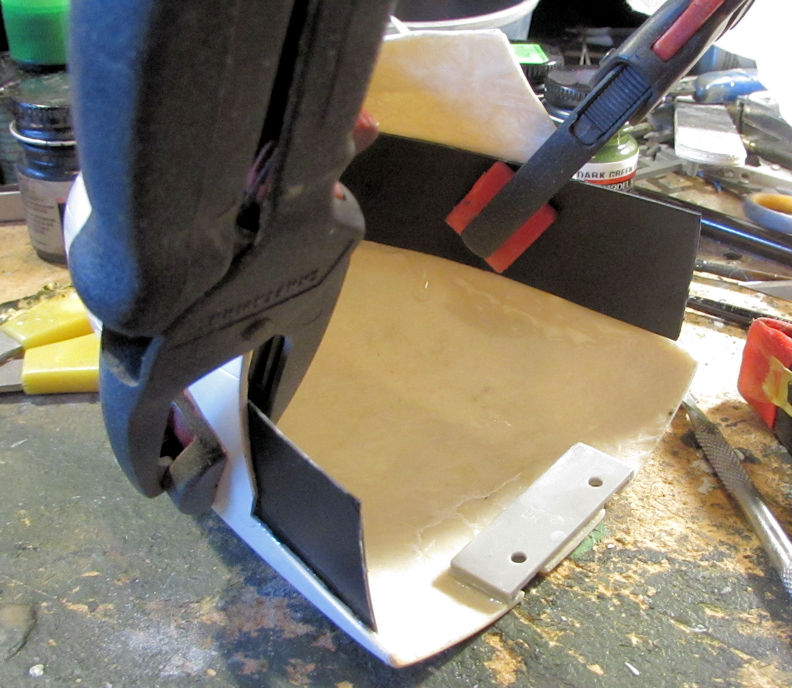
That should hold it better than the butt joint they call for in the instructions.
Oh, and in the middle of all that, I still had to re-glue another engine pod that fell off for the third time. I had glued it with JB Weld twice and I still found it on the ground two days after I'd glued it before. Hopefully the third time is the charm.
Now on to my armor...
So, first in the lineup is the Churchill Mk III AVRE. All I really did here was to apply the decals and add the tracks to this:
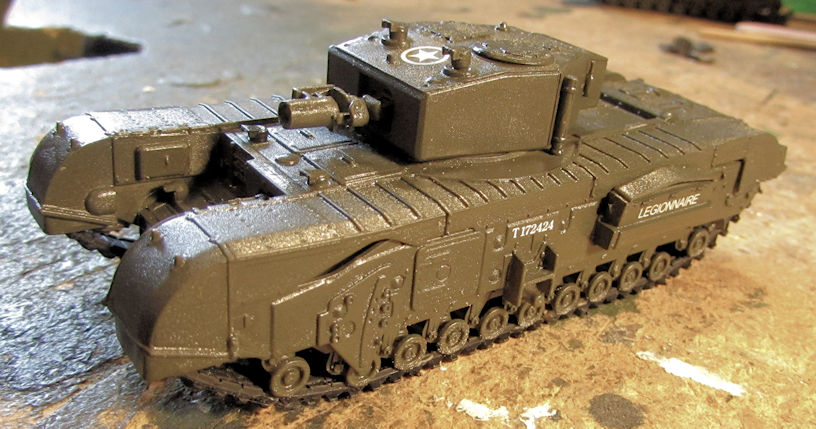
And the same for the Churchill Mk IV:
Both of those have since been shot with a dullcoat. Yep, after weathering these, they will be done!
After that, I decided to work on a Shelf Queen that has been languishing for a couple years while I tried to score another HVSS Sherman kit. Since I got one from the stash sale, it was time to pull it out and get my M-51 Isherman moving again!
As a reminder, this plate was missing; pinged off into the Netherworld years ago:
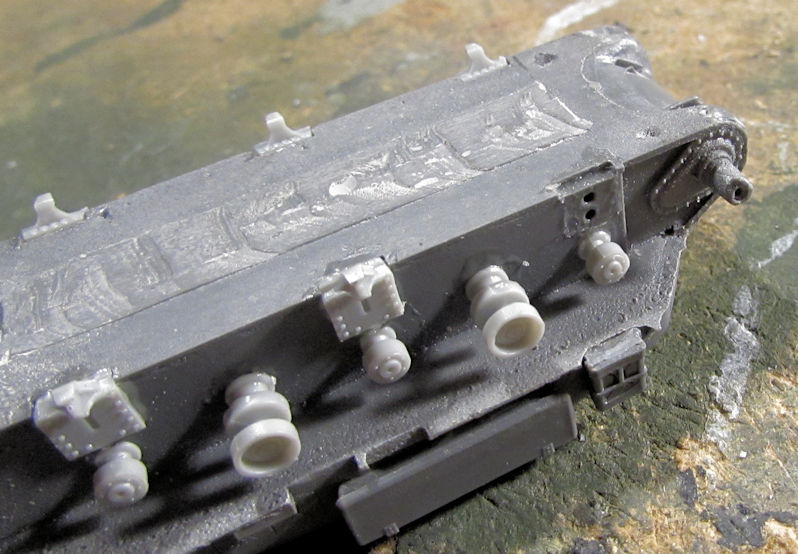
I then installed the last one and then added the idlers and some other detail parts to the hull:
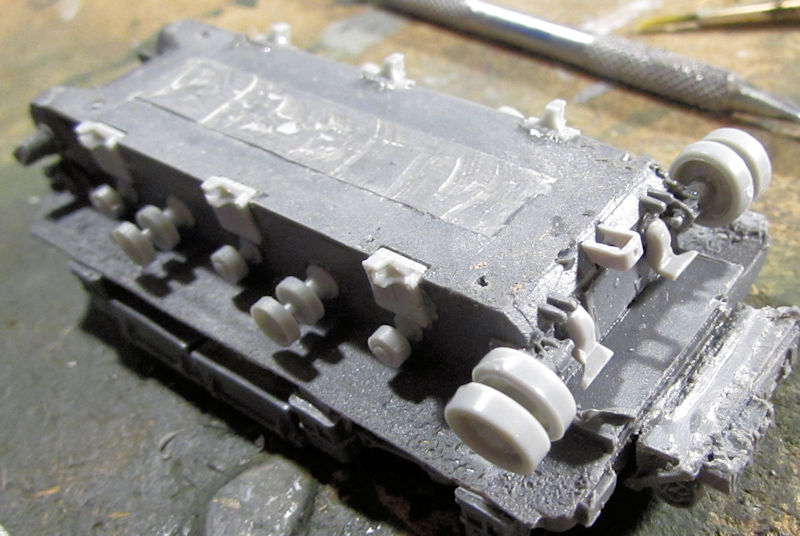
Now I should be able to add the bogies and the drive sprockets to this and then get it painted.
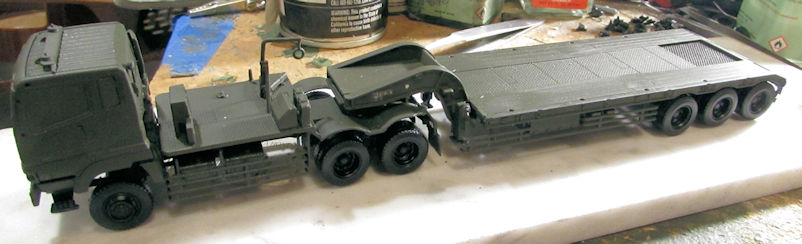
Next up on the tour is the Japanese Type 73 tank transporter. I added the decals to this as well:
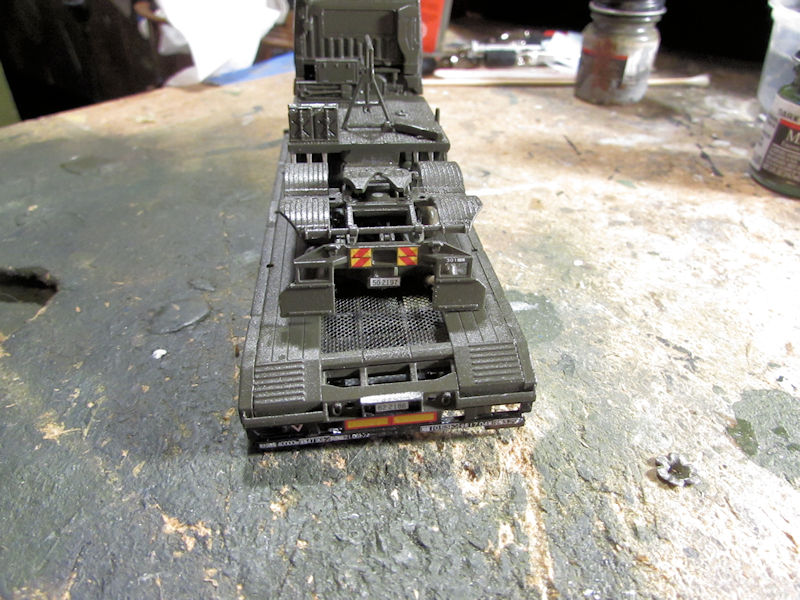
I then installed all the wheels on this:
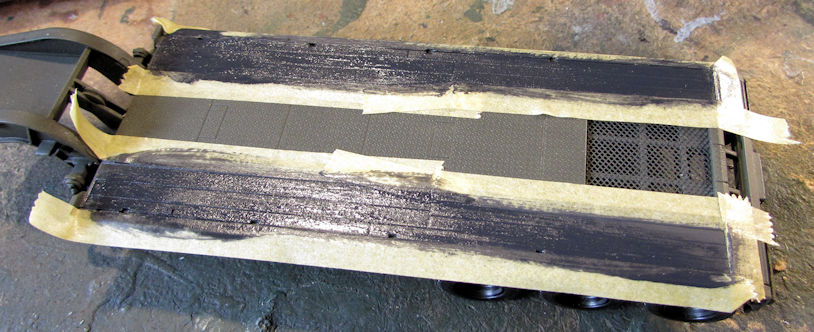
So, I then looked at the instructions and noticed the deck of the trailer needed to be painted. So, I masked off and painted the black wooden planks first:
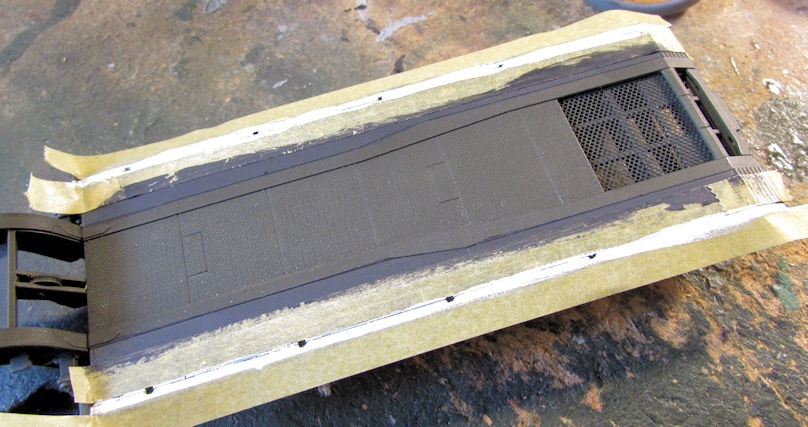
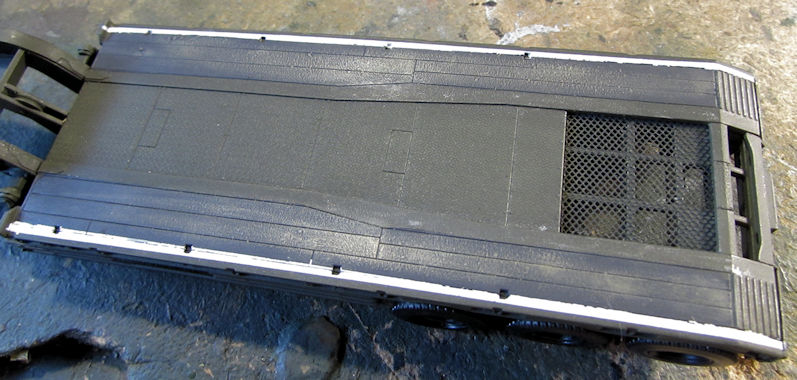
When that was dry, I masked again and added the white guidelines to the sides:
This really looks pretty cool this way!
Next on the tour is my problem project. This HEMMTT tank transporter has been broken and rebuilt at least three times! The first thing to go wrong was the clearcoat wrinkled! So, I shaved off the raised wrinkles and re-painted this:
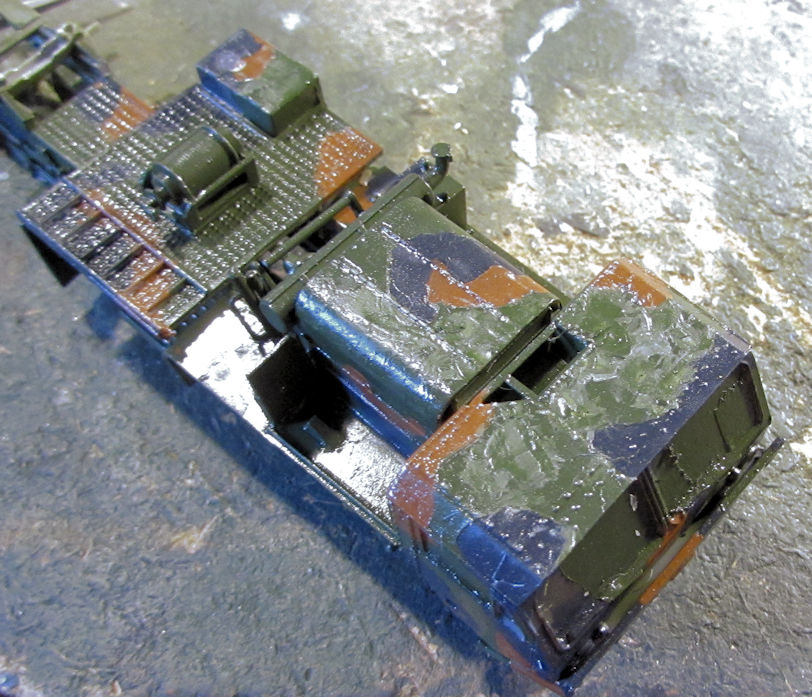
After that I stole a trailer hitch plate from another kit and installed it in the back:
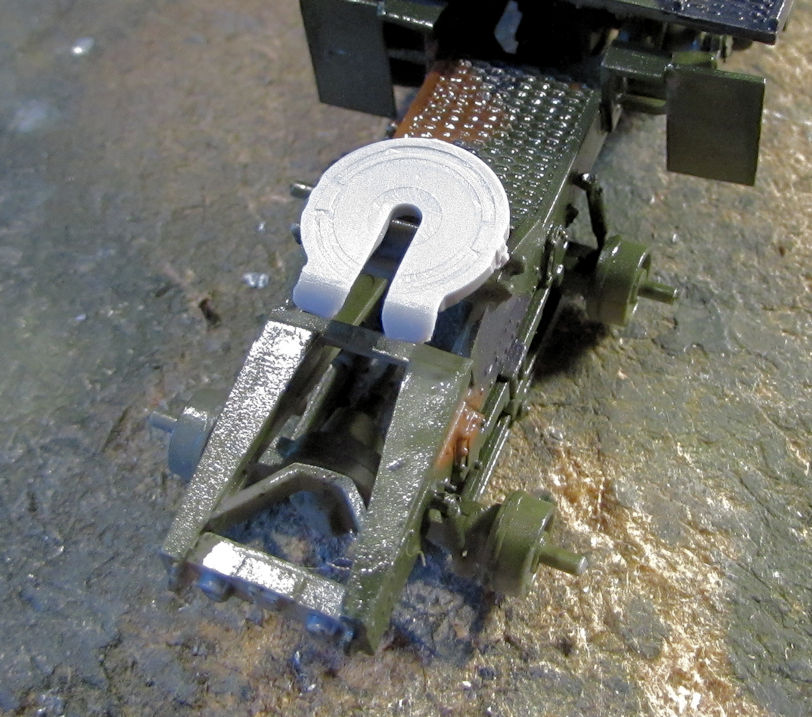
Two days after that happened, I found the original in a spot on the floor that I had looked at at least seventeen times before while searching for this and other lost parts! Needless to say, that is now in my parts box!
This was decaled along with the rest of the models. You can see them just below the angry-looking headlights:
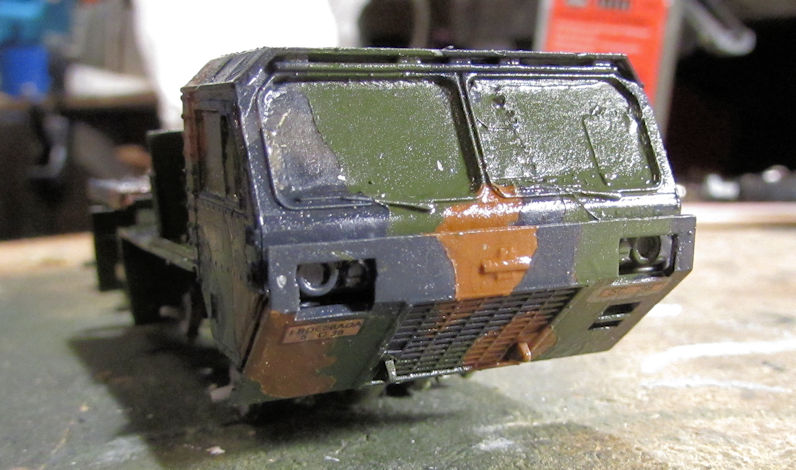
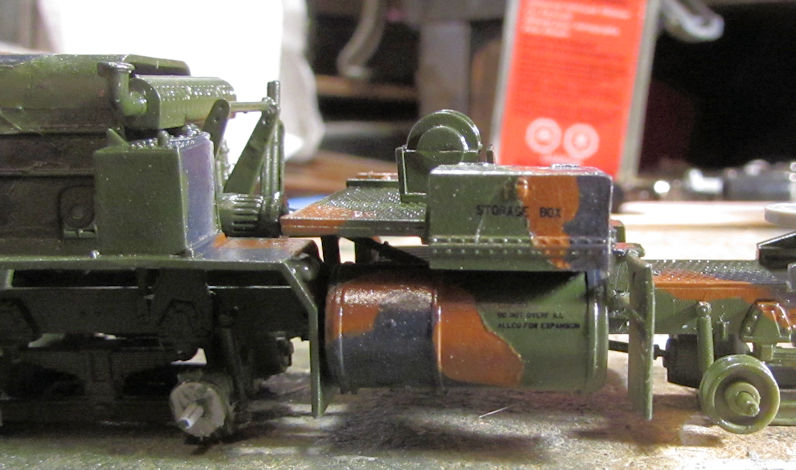
Later I added the wheels to this whole model. The marble strip this is sitting on was used to insure all tires touched the ground:
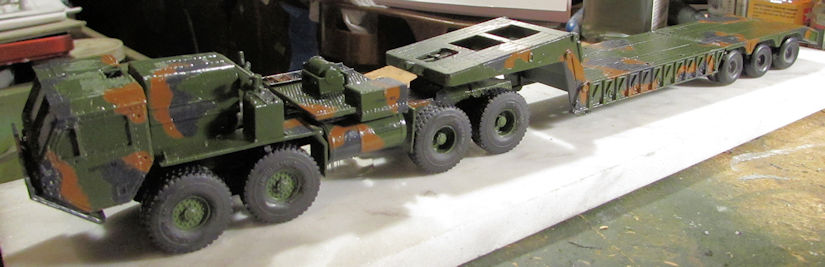
I've since had to repair two of those wheels.... twice each!
This last one is the M-1070 tank transporter and trailer. While decaling everything else, I also decaled this:
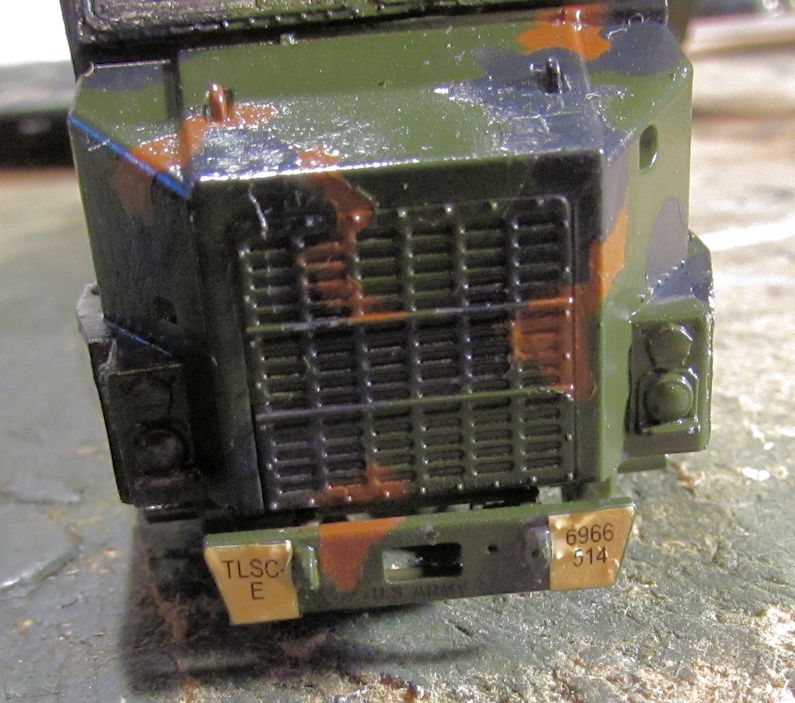
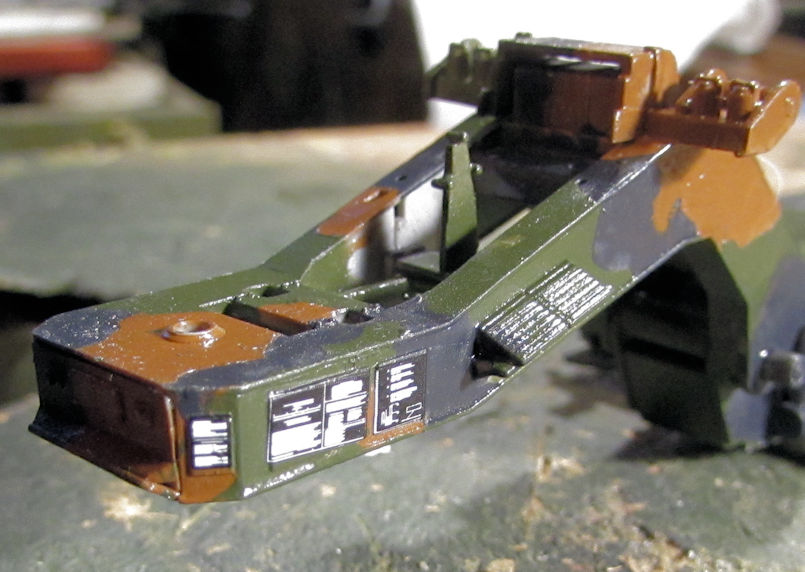
Yeah, that decal is crooked. Nothing I can do about it now. I never did expect this to be an award winning model; I just wanted to build it for my collection. Moving on...
I realized I still hadn't added the ramps to the back of the trailer. Fixed that and started to paint them in this pic:
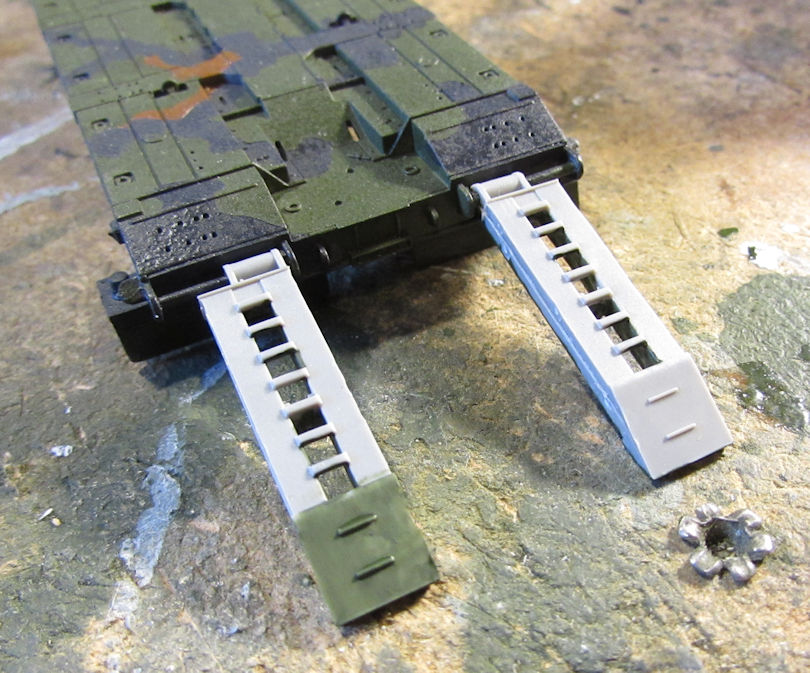
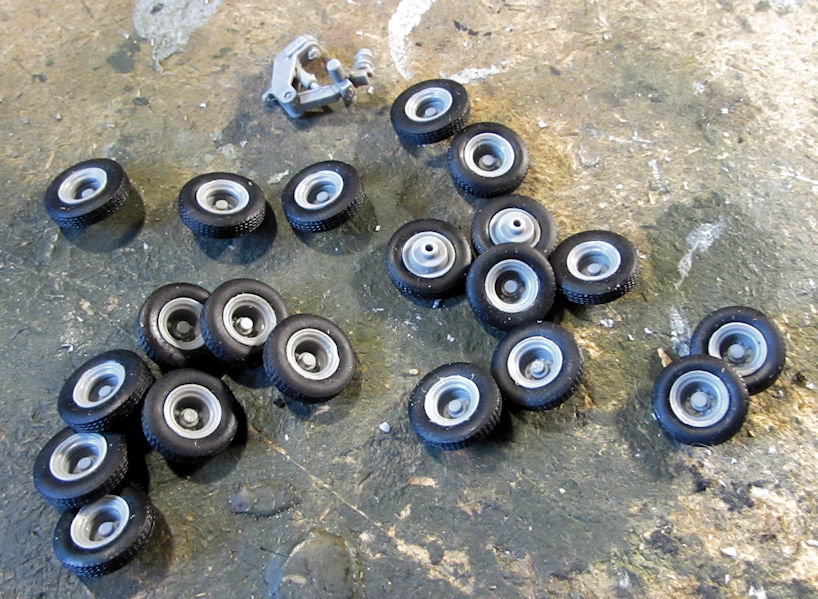
Next it was time for some fun! I assembled all the wheels for the trailer. You can see them all here with one of the trailer axles:
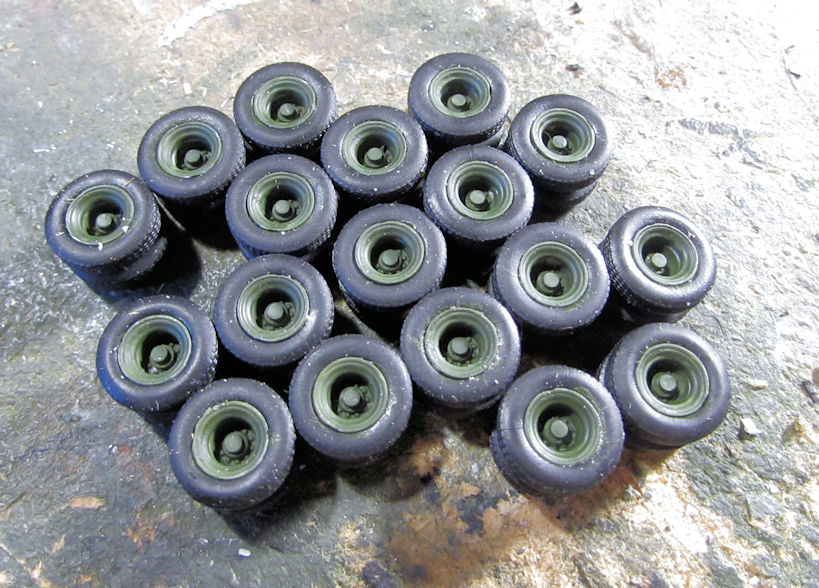
I then painted the hubs:
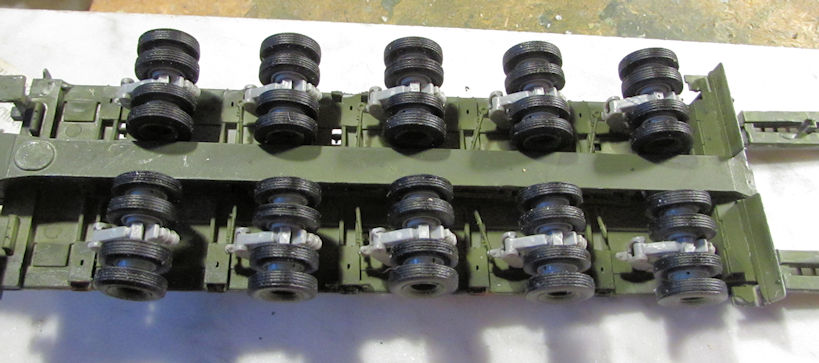
Here they are all installed under the trailer:
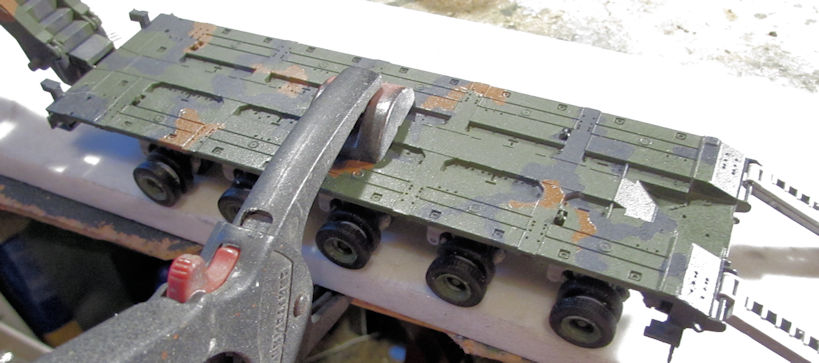
Using an adjustable clamp, I then clamped this to the marble slab to insure all wheels touched:
After that, installing the wheels on the tractor was easy:
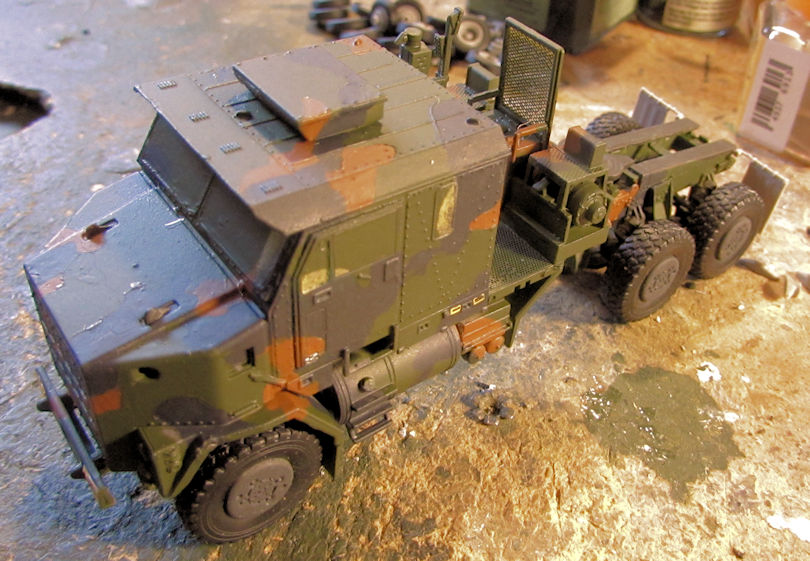
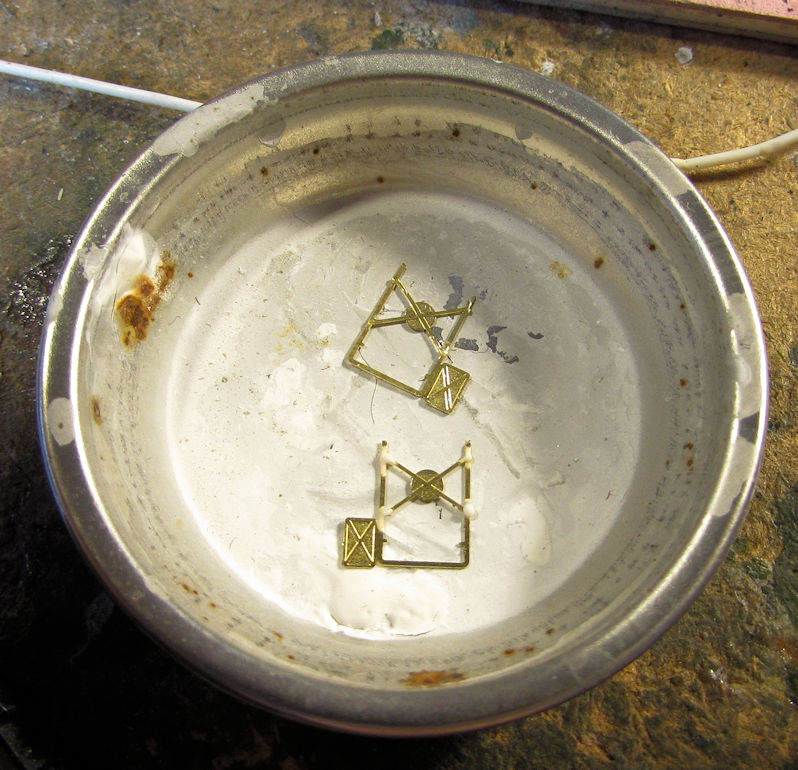
I then started to assemble the P/E rear view mirrors using Gator Grip Glue:
While those are drying, I installed all the final detail parts to the tractor:
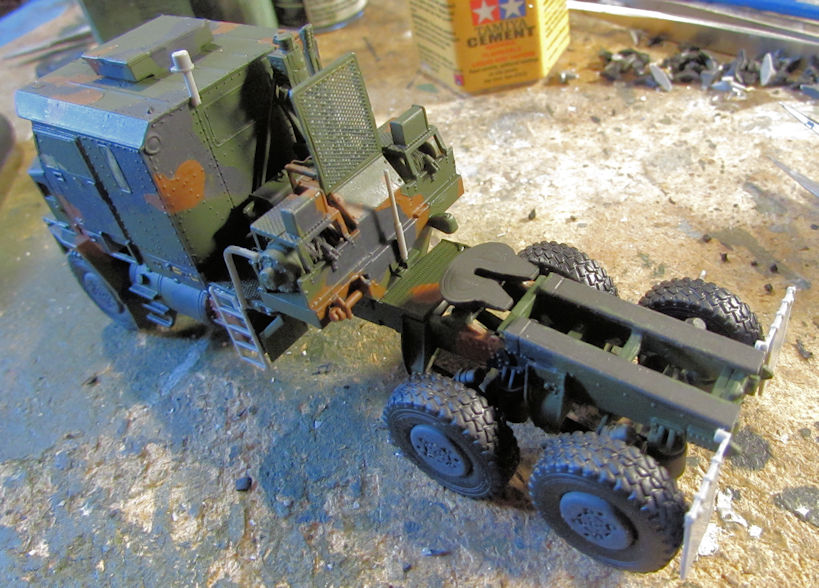
Here she is all assembled wearing her new shoes:
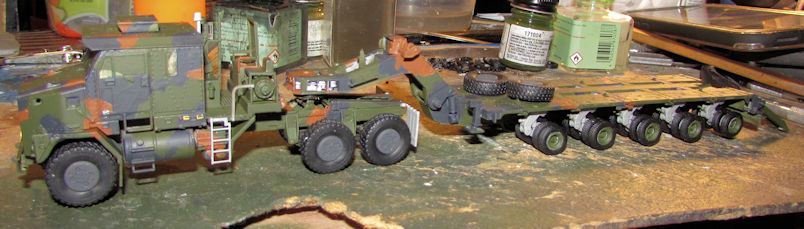
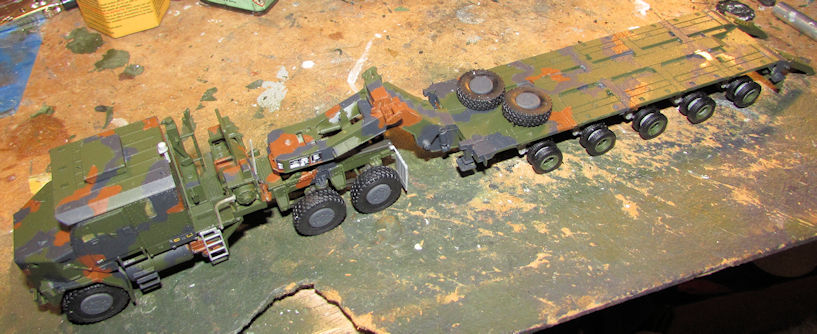
The two wheels on the trailer deck are the last two wheels I'll have to add once I find that lost axle assembly.
Well, that completes this latest tour of Maddog Manufacturing. I hope you enjoyed it. Comments are always welcome. Thanks for riding with us!


 That Anatov is truly one imposing model! I do wish that I would be at the IPMS meeting you will bring it into once completed.