1/32 Special Hobby Hawker Tempest Mk V

Post your work in progress of your aircraft builds in here.
User avatar
Stuart
Elite Member
Posts: 11887
Joined: Sun Apr 06, 2014 1:06 pm
Location: North Wales

Re: 1/32 Special Hobby Hawker Tempest Mk V

Post by Stuart »

That is a stunning bit of cockpit work John, well done! :shoutout: :shoutout: :shoutout:
Stuart Templeton 'I may not be good but I'm slow...'
User avatar
jkim
Elite Member
Posts: 4073
Joined: Mon Apr 10, 2017 4:03 pm

Re: 1/32 Special Hobby Hawker Tempest Mk V

Post by jkim »

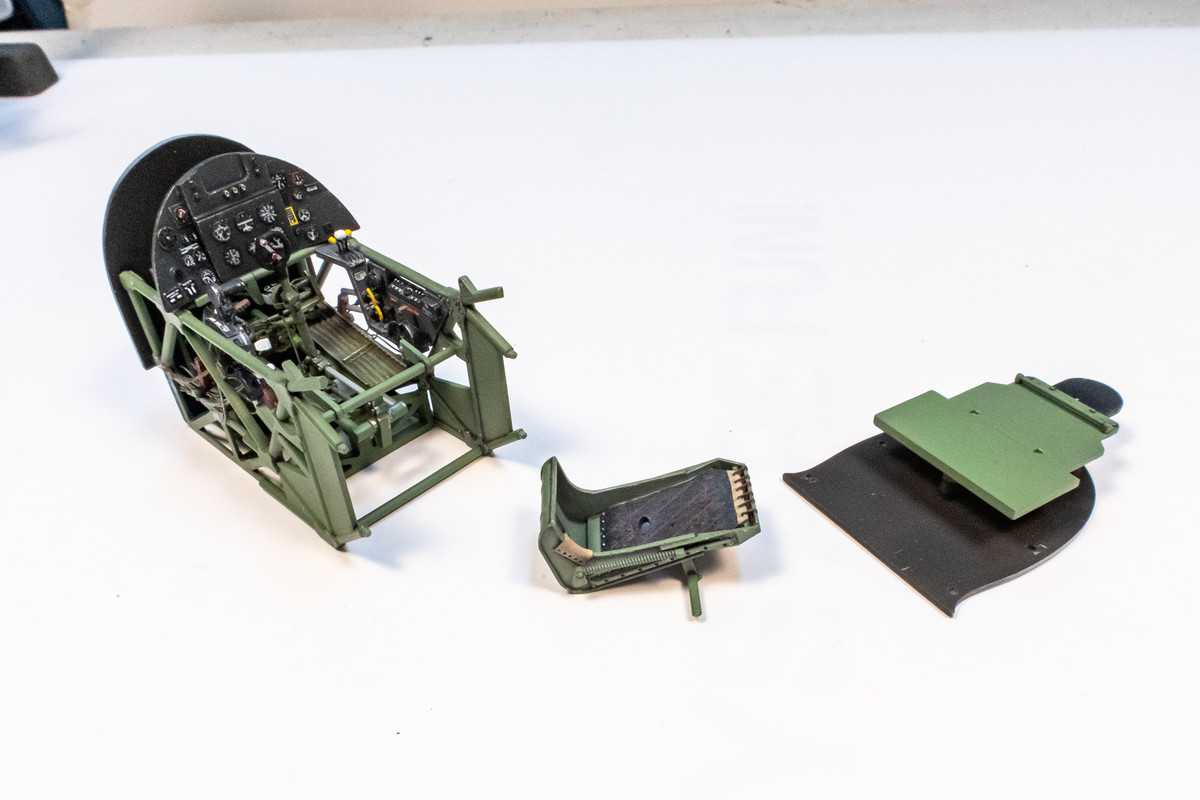
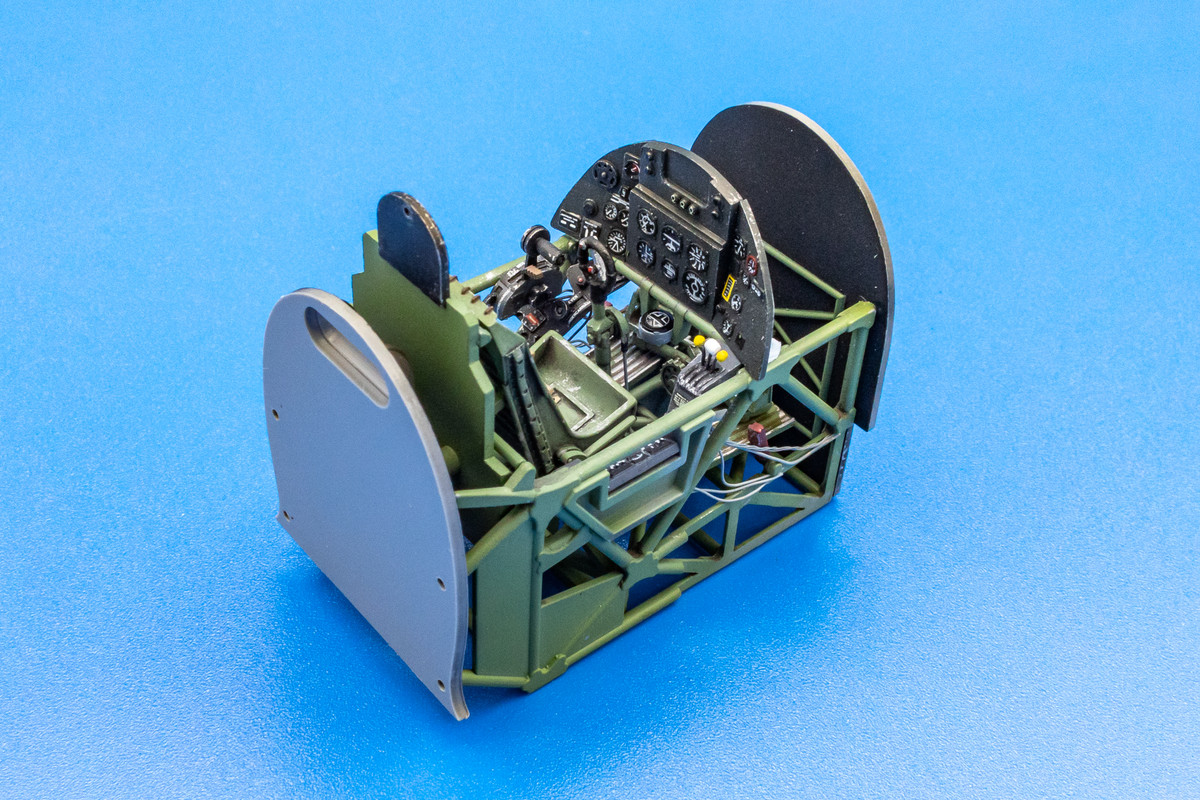
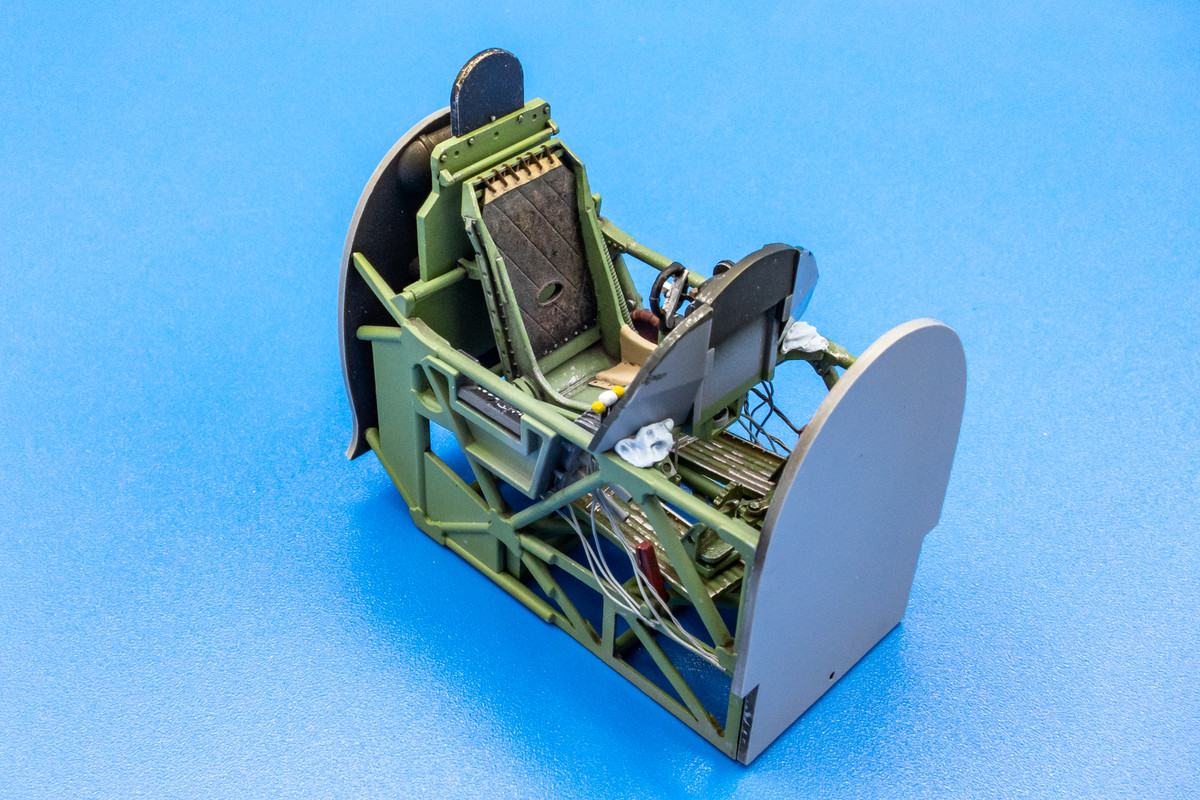
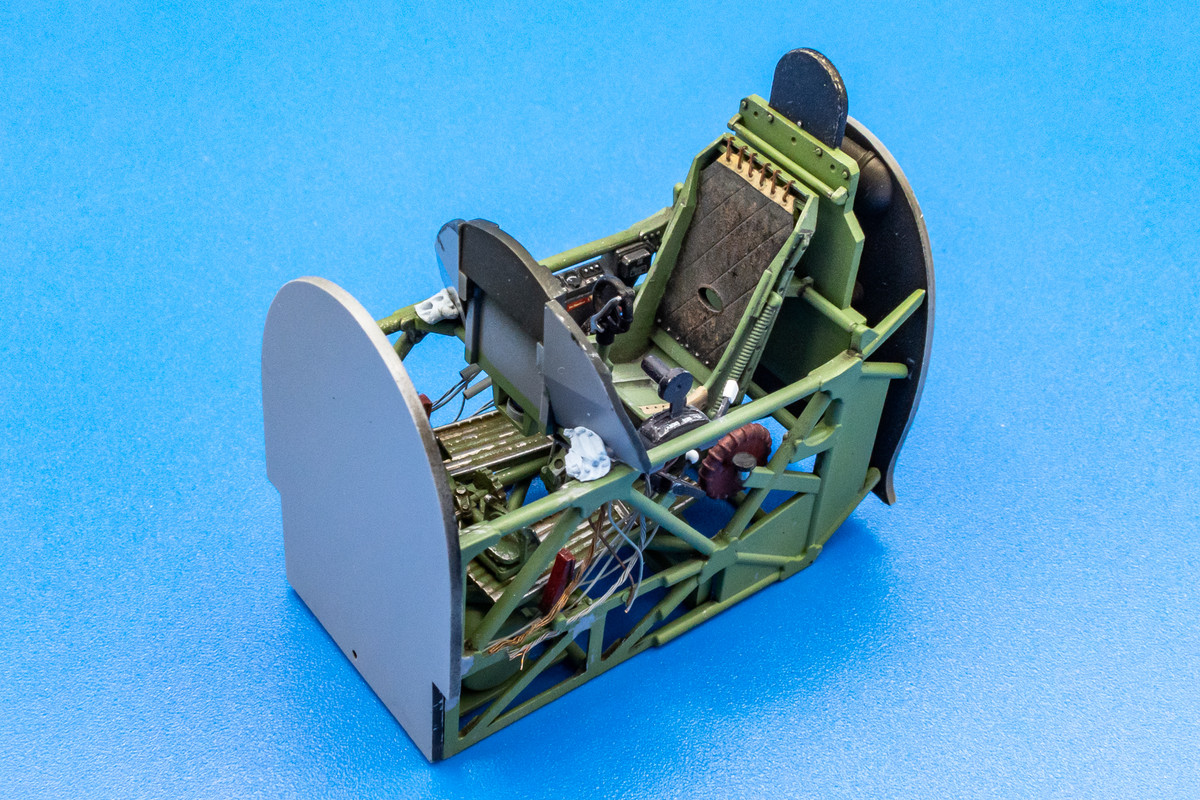
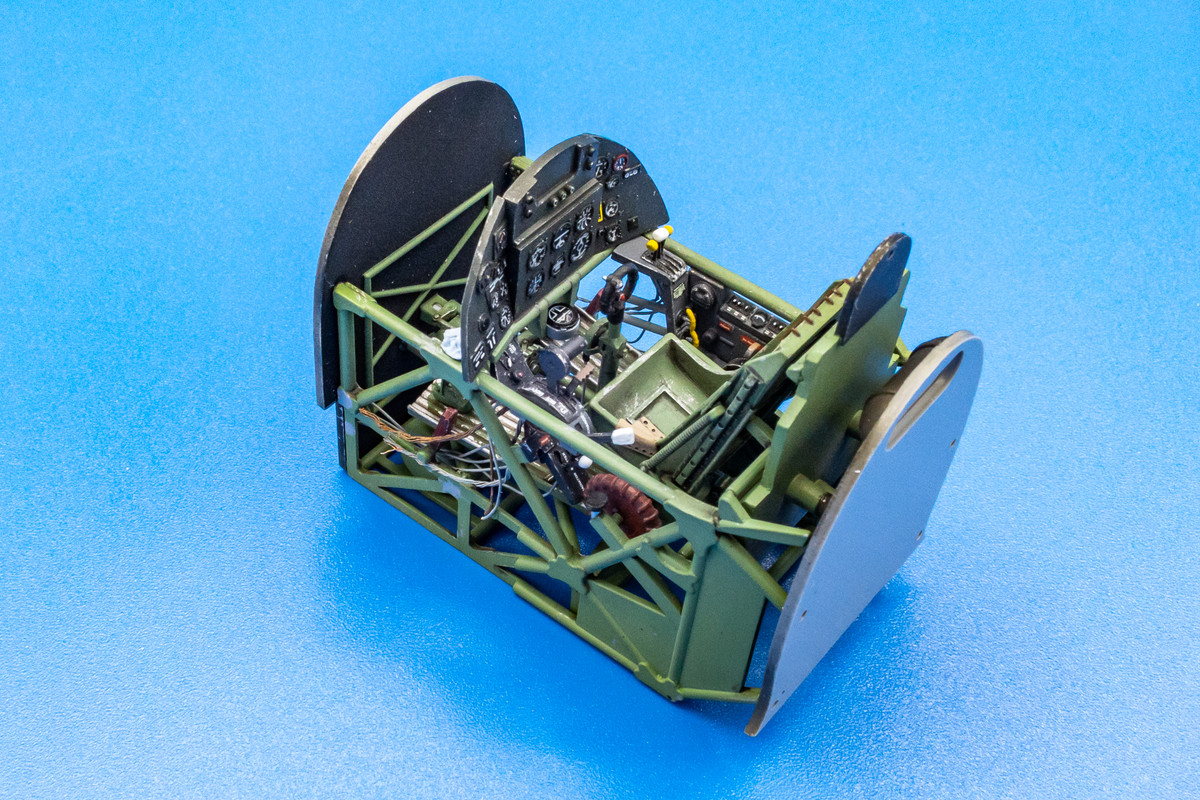
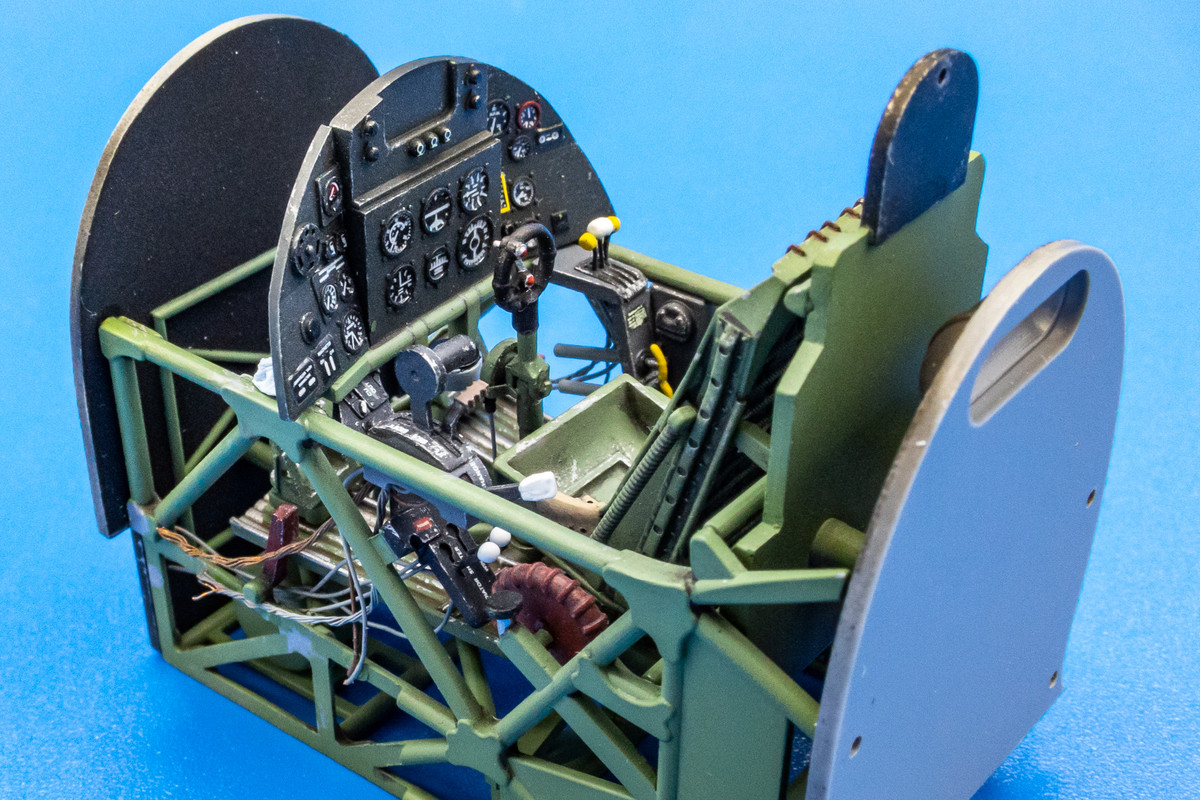
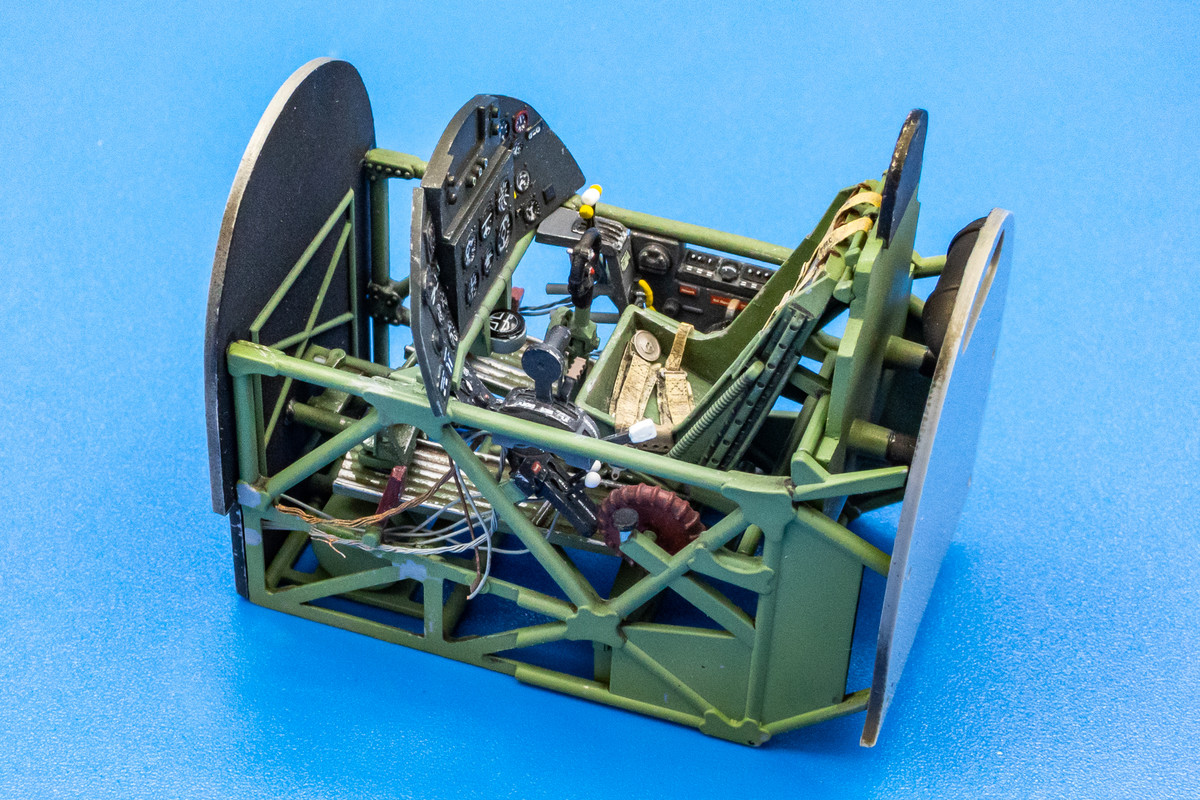
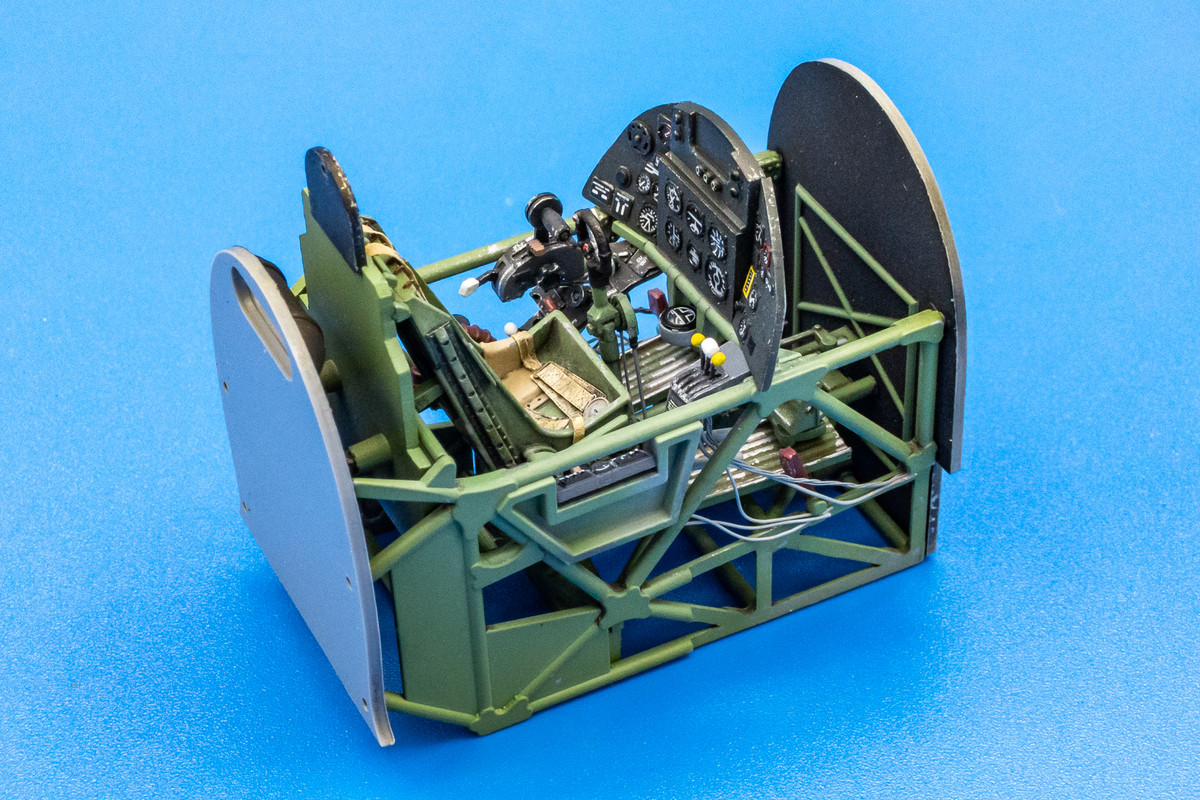
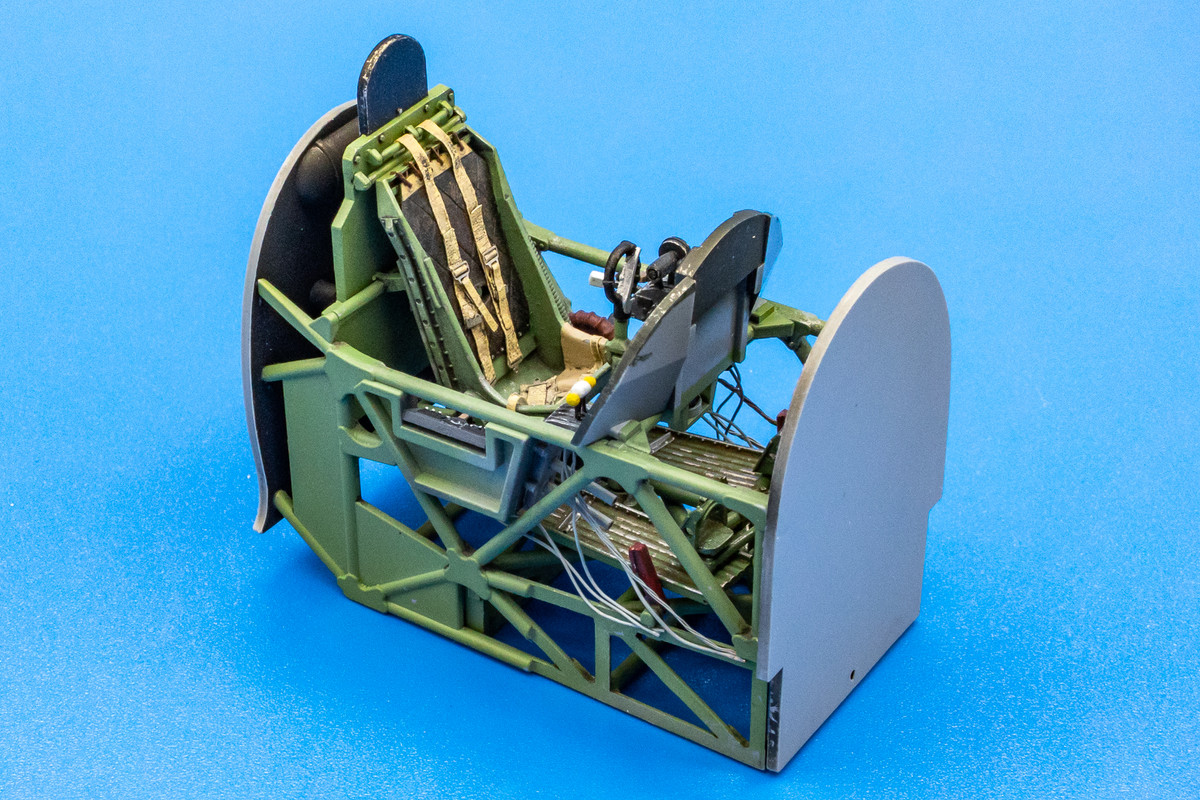
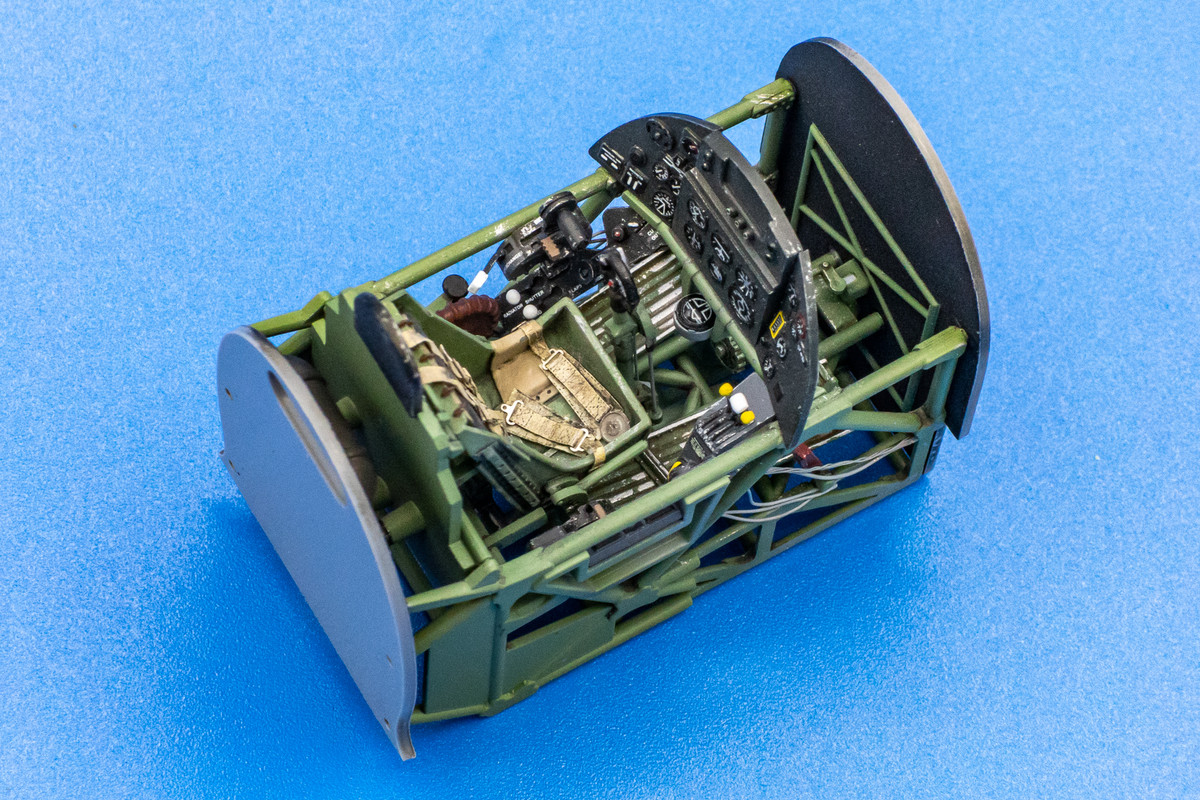
I haven't gotten started on the seat belts yet but since I've got the cockpit cage almost completed, I wanted to test the fit of the rear bulkhead, which includes the pilot seat. Gluing the sides and bottom of the cockpit cage was a good call and it seems to accommodate the fitment of the rear bulkhead and seat without any excess force or bending.

To get the rear bulkhead into place, I glued the bottom mounting frame for the seat into the cockpit cage first while the top mounting frame for the seat has been glued into place into the seat back. The seat can then be guided into place into the cockpit cage and the rear bulkhead can follow. Fit is very good and I recommend this construction sequence for anyone building this kit.
Image

No seatbelts yet but the cockpit assembly is just about done.
Image
Image
Image
Image
Image
Image
John aka JKim
-----------<><
Image
User avatar
jkim
Elite Member
Posts: 4073
Joined: Mon Apr 10, 2017 4:03 pm

Re: 1/32 Special Hobby Hawker Tempest Mk V

Post by jkim »

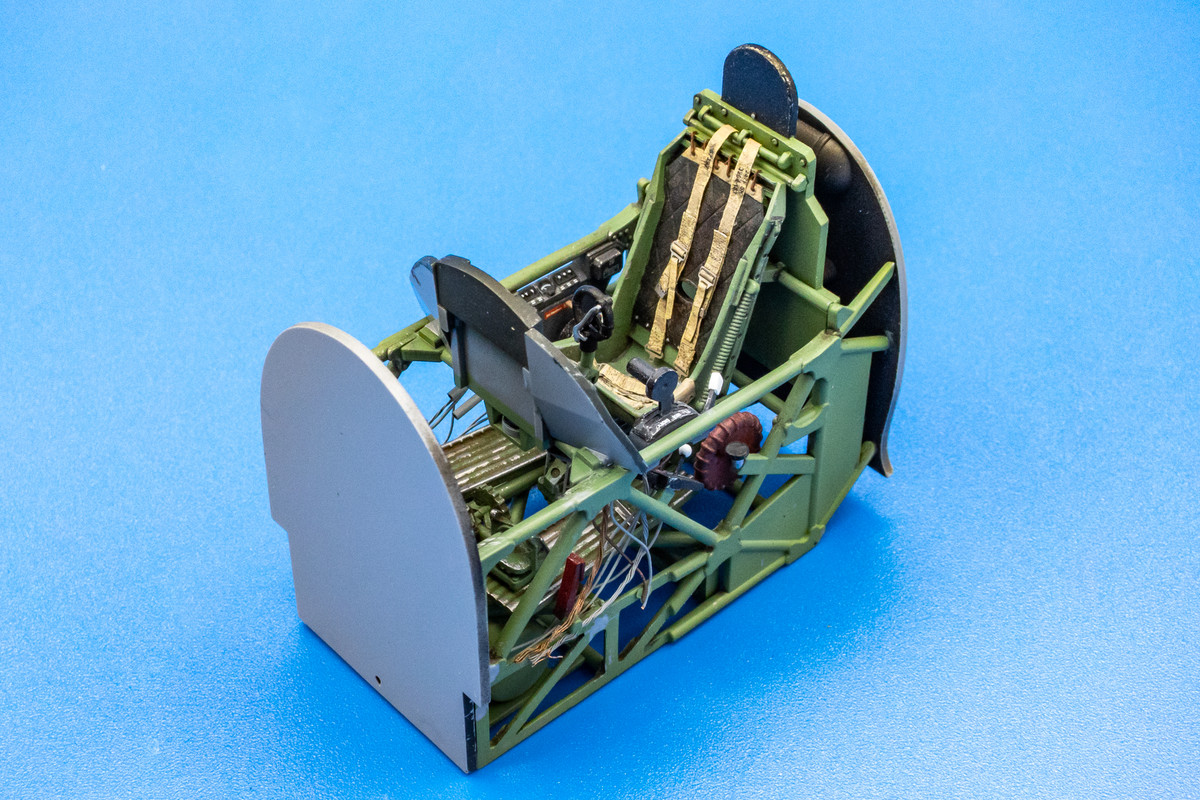
The Special Hobby kit includes HGW harnesses for the Tempest. They can be fiddly to assemble but I'd rate them at the top of the seatbelt choices out there for the modeler.
Image

The HGW belts were assembled and glued into place on the seat. The seat was given a gloss coat and afterwards I applied a brown pastel wash to dirty up the belts. I had to deviate from my previously described construction order since the harness must be looped through the mounting "towel bar" racks on the rear bulkhead. Which meant I had to glue the seat onto the rear bulkhead first. The cockpit tub is now complete.
Image
Image
Image
Image
Image
John aka JKim
-----------<><
Image
User avatar
Stikpusher
Moderator
Posts: 21175
Joined: Sat Apr 05, 2014 8:37 pm
Location: Ceti Alpha 5

Re: 1/32 Special Hobby Hawker Tempest Mk V

Post by Stikpusher »

:hmm: oh yeah! That’s a beautiful cockpit!
"Surely I have made my meaning plain? I intend to avenge myself upon you, Admiral. I have deprived your ship of power, and when I swing 'round, I intend to deprive you of your life."

FLSM
User avatar
BlackSheep214
Elite Member
Posts: 13406
Joined: Sun Apr 06, 2014 8:47 pm

Re: 1/32 Special Hobby Hawker Tempest Mk V

Post by BlackSheep214 »

Ditto on the office! Stunningly gorgeous. :bow: :bow: :bow: :bow: :bow: :bow: :bow: :bow:
“Who controls the skies, controls the fate of this Earth”

Author unknown- 352nd Fighter Group, Blue-Nosed Bastards of Bodney

“Send one plane it’s a sortie; send two planes it’s a flight; send four planes it’s a test of airpower. - Richard Kohn
User avatar
KSaarni
Elite Member
Posts: 5621
Joined: Sun Apr 06, 2014 7:13 am
Location: Gent, Belgium
Contact:

Re: 1/32 Special Hobby Hawker Tempest Mk V

Post by KSaarni »

:that:

What else to say, can simply just agree to Tom!

- Kari
---
On the bench:

MiniArt 1:48 - Junkers F13 Float Plane


https://www.facebook.com/GrundAsk-Scale ... 721218708/
User avatar
jkim
Elite Member
Posts: 4073
Joined: Mon Apr 10, 2017 4:03 pm

Re: 1/32 Special Hobby Hawker Tempest Mk V

Post by jkim »

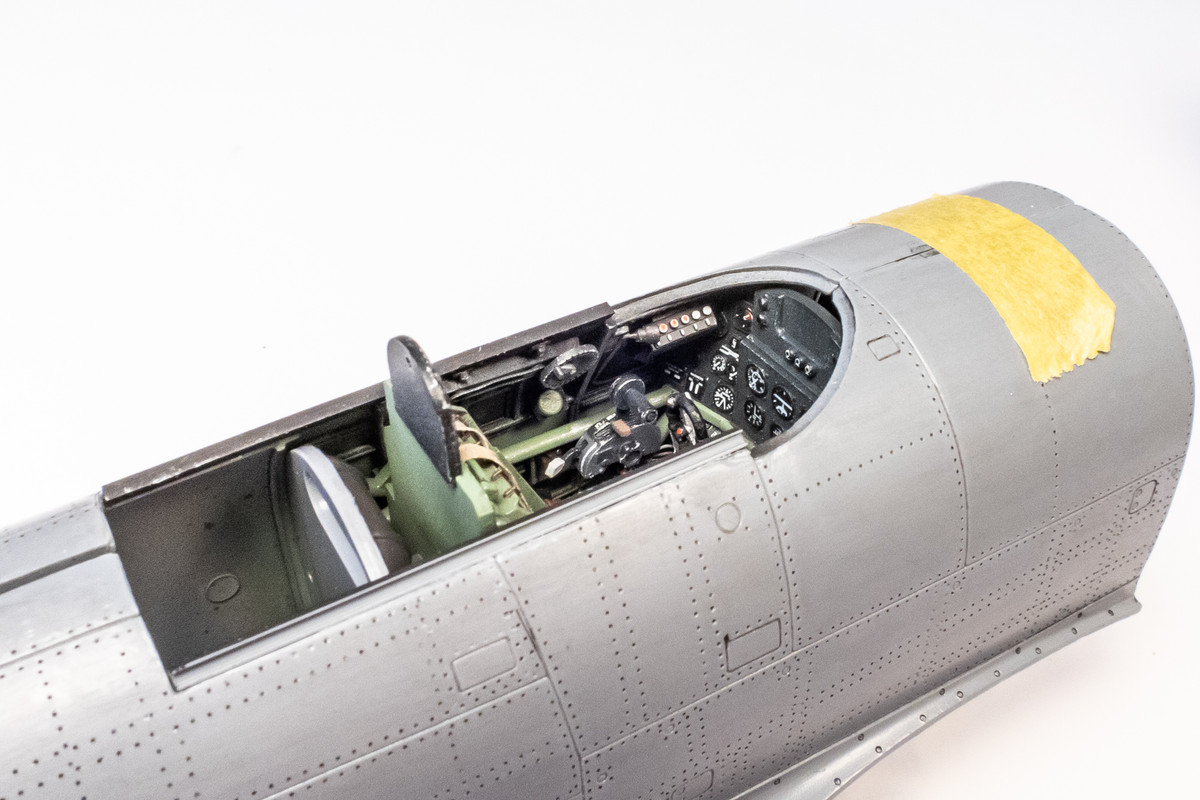
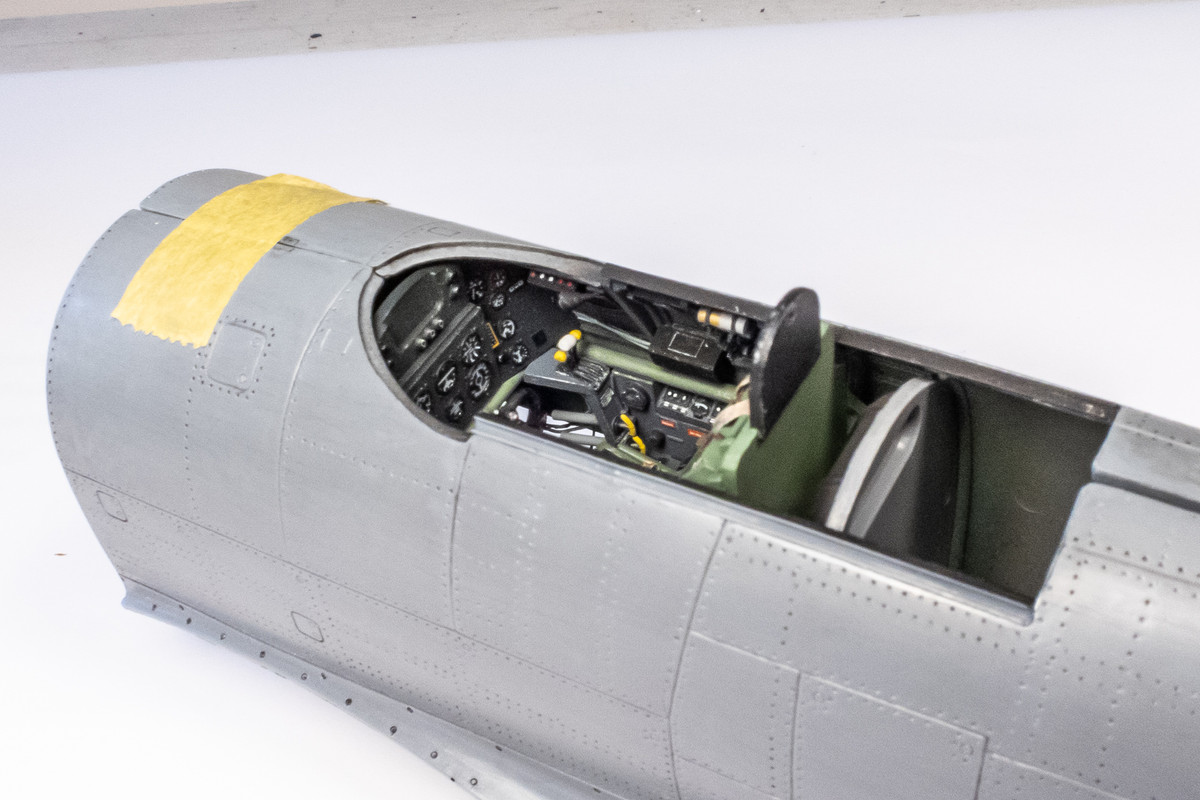
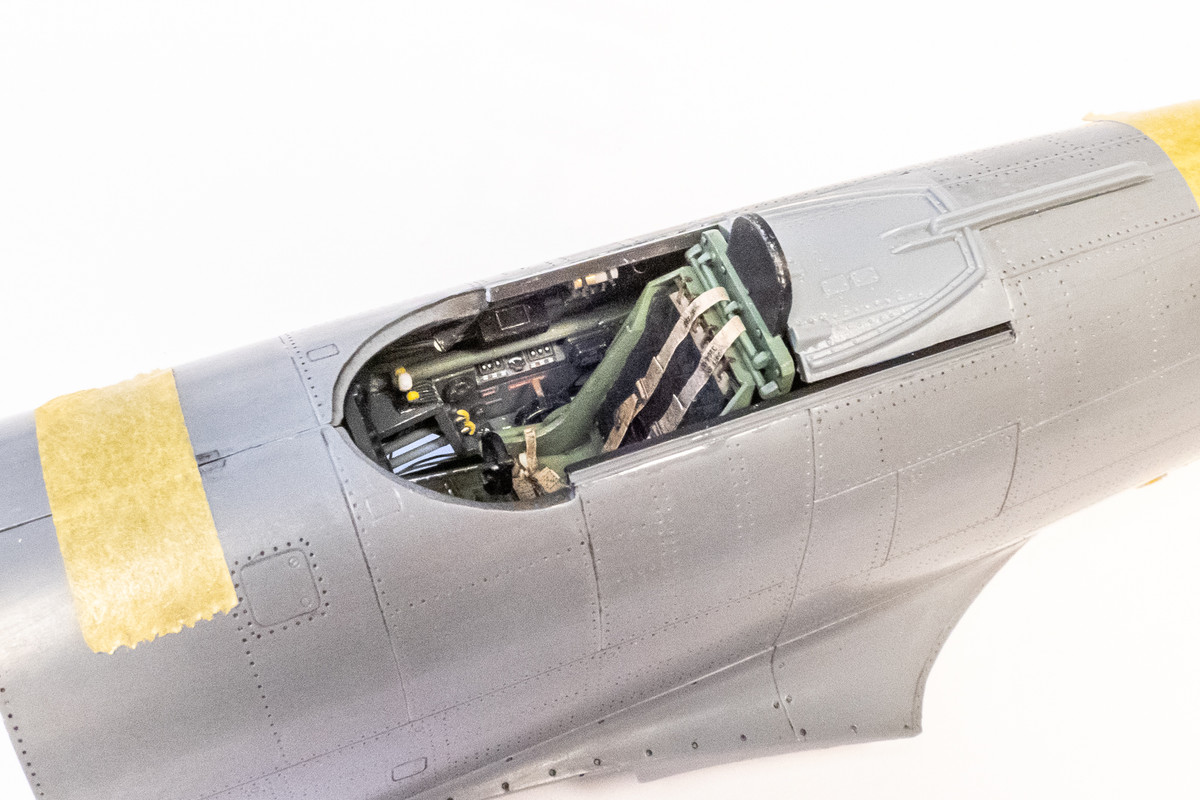
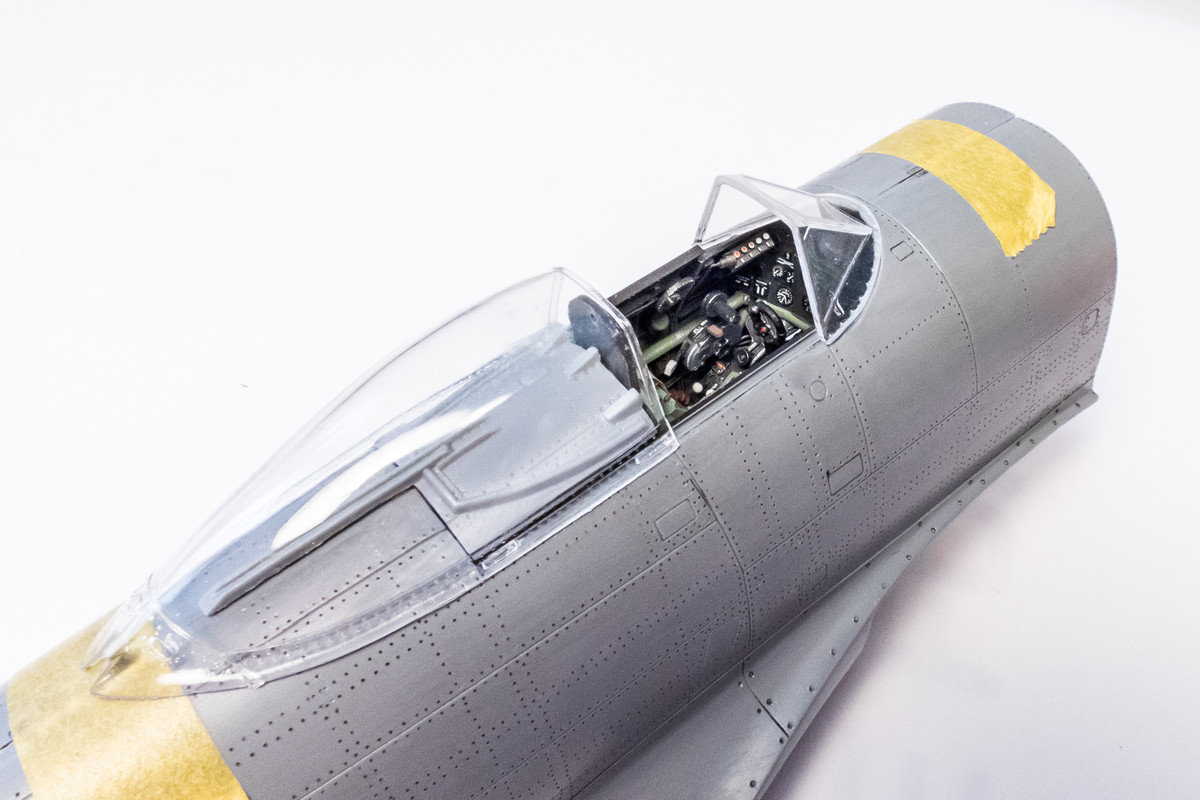
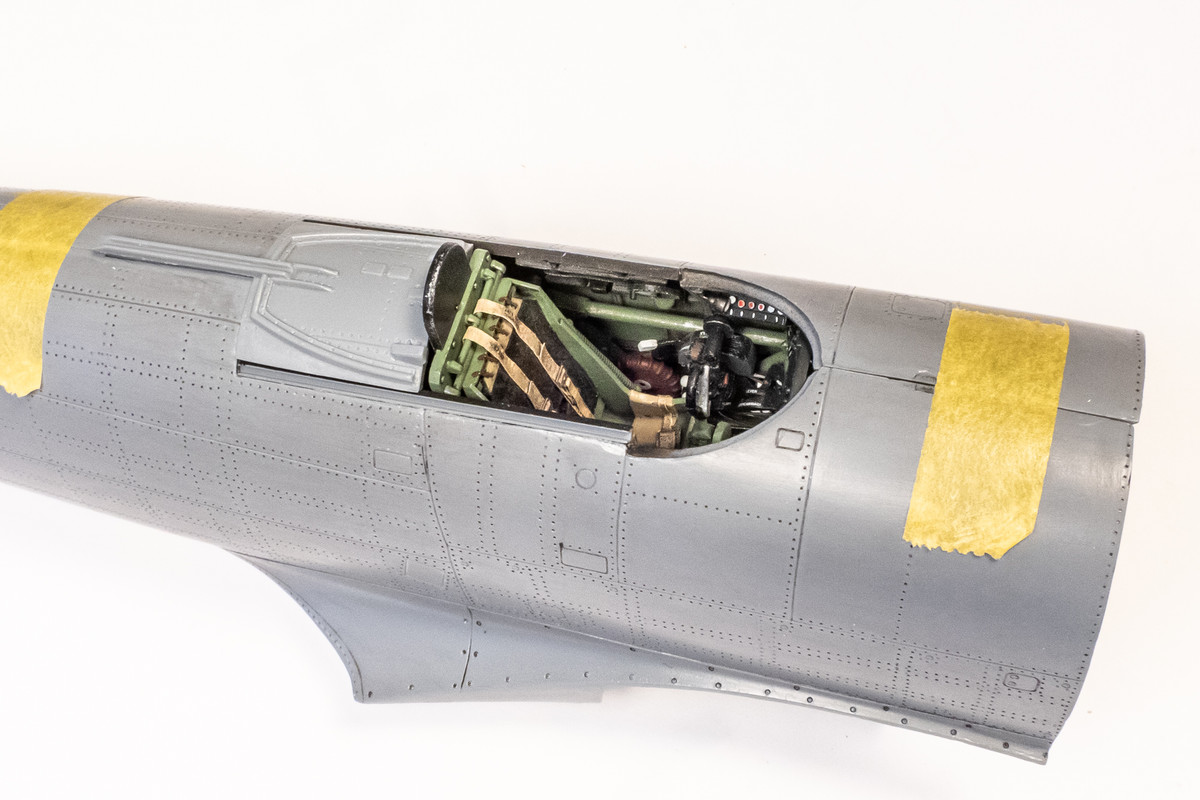
Thanks guys! But unfortunately, like lots of our work, it gets hidden, almost completely, when inserted into the fuselage. The combination of a very large cockpit and very small fuselage opening for the pilot shuts the view down. No door ala Spitfire or Typhoon that I am aware of. I tried lots of different angles, shining multiple desk lamps into the opening and this is the best that I can get...
Image
Image
Image
Image

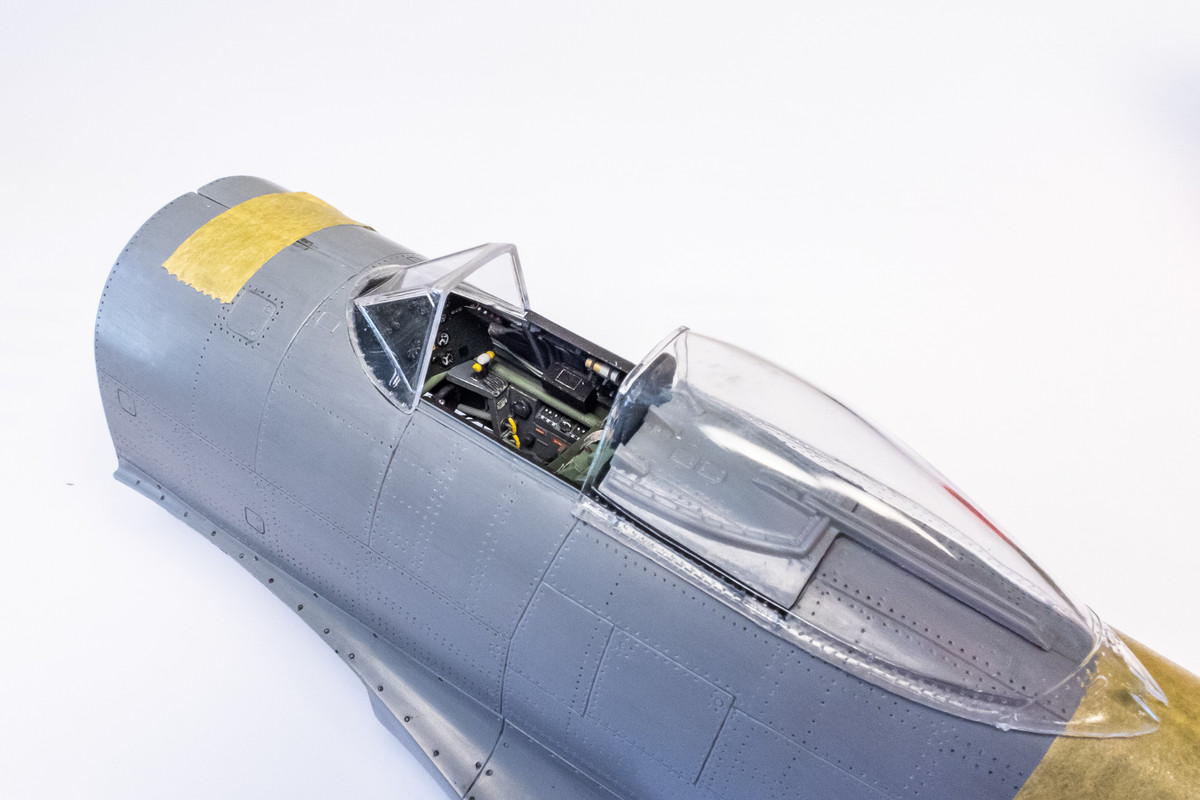
The canopy part rides on rails and I think is meant to be movable. No pesky aerial antenna attached to the clear part like the Dora so I think I'll be able to pose the canopy open on this build.
Image
Image

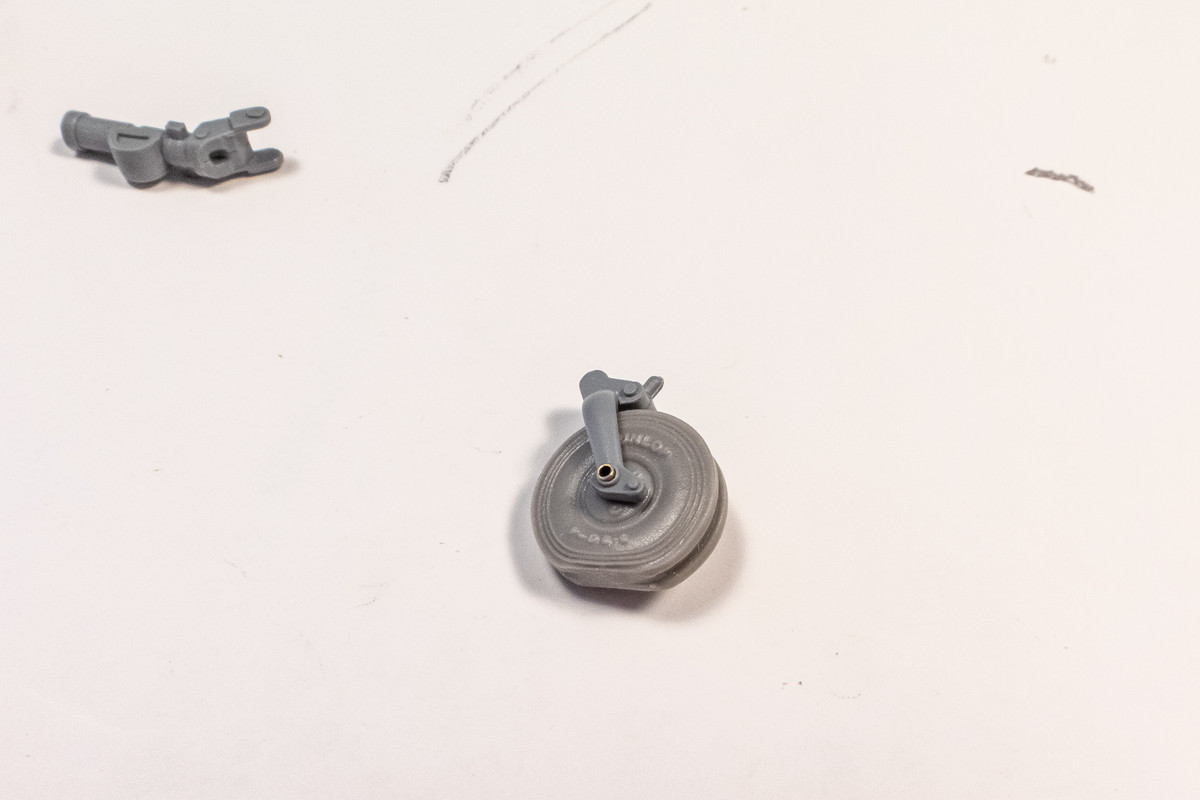
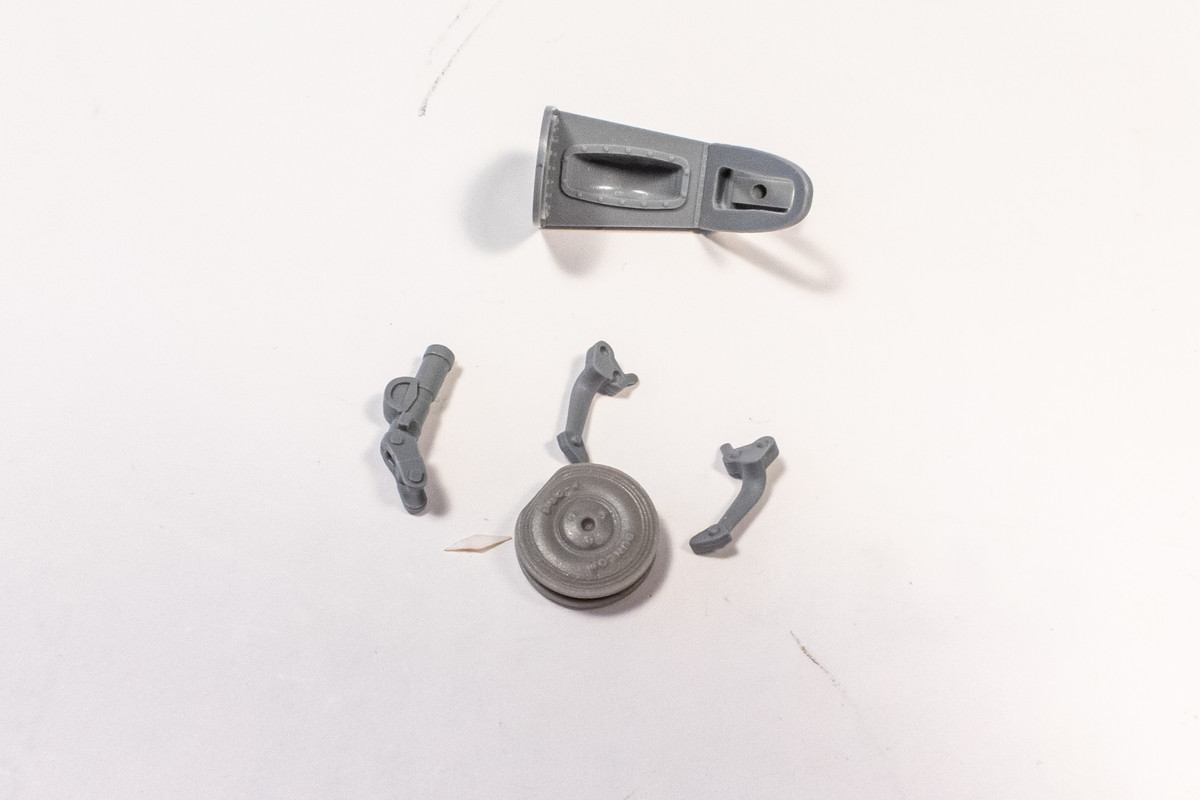
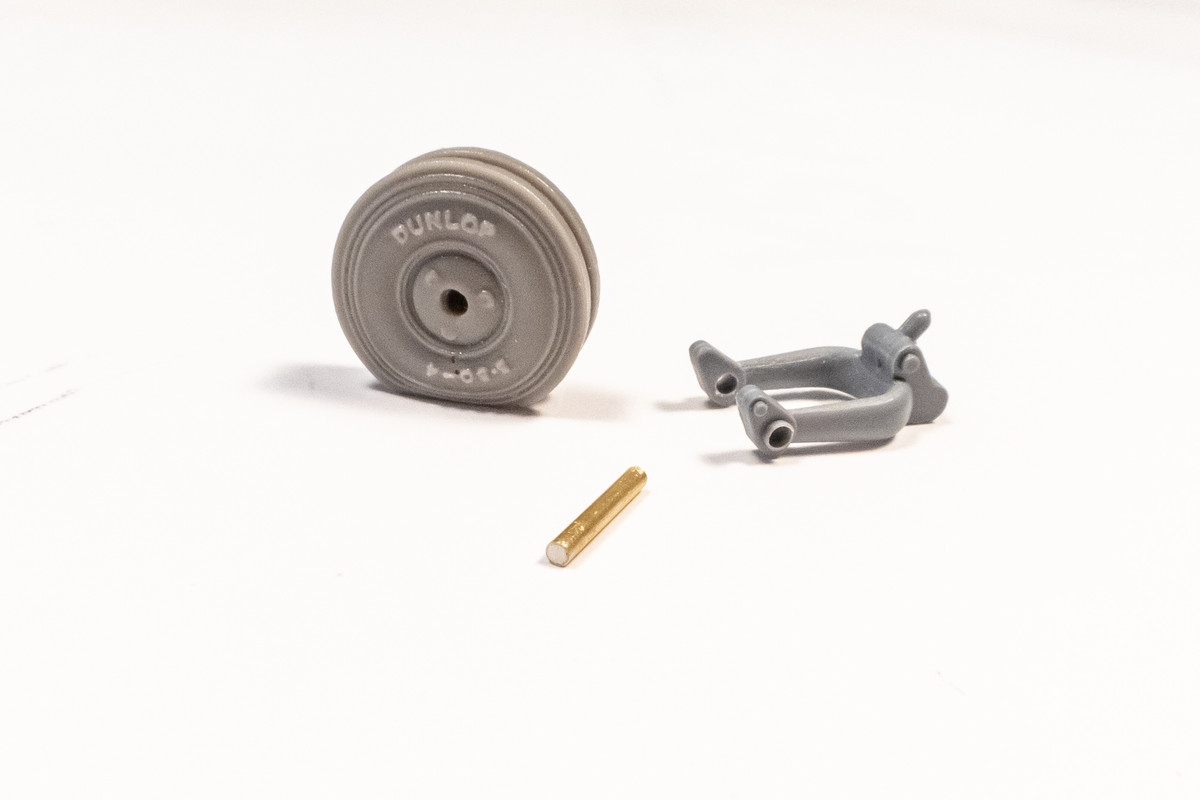
Before the fuselage halves can be glued together, I have to install the tail wheel well. I want to do a little weathering here so I'm taking a look at the tail gear components and trying to figure out what I want to paint, weather, install and in what order.

The wheel well was glued together earlier. The tail gear is comprised of four parts, upper and lower in two halves. The resin wheel is supposed to be trapped between the lower two halves, held together by dimples on the lower half parts. This CAN work but it makes painting a challenge.
Image

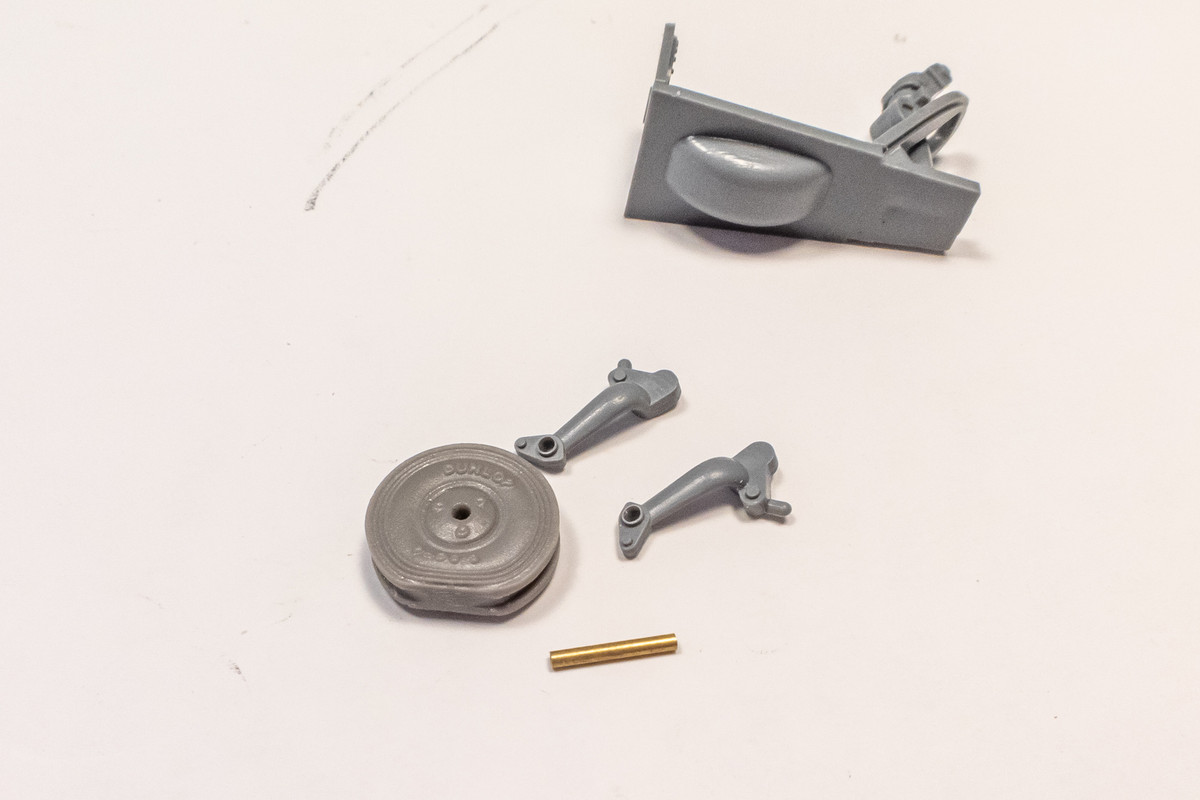
Instead, I'm going to scrape off the dimples, drill holes in the wheel, and two lower half parts and use a piece of brass tube for a proper axle.
Image
Image

The ends of the brass tubing have been filled with Milliput. The wheel and legs can now be painted separately. The wheel will be attached at the last moment and as a bonus, the flat spot alignment is guaranteed because the tail wheel will be free spinning.
Image
John aka JKim
-----------<><
Image
User avatar
Gary Brantley
Elite Member
Posts: 2733
Joined: Tue Apr 08, 2014 9:40 pm
Location: Cameron, Texas

Re: 1/32 Special Hobby Hawker Tempest Mk V

Post by Gary Brantley »

Beautiful work John! You are a true craftsman sir. :bow:
User avatar
Floki
Elite Member
Posts: 3548
Joined: Wed Dec 12, 2018 2:23 am
Location: Muncie, Indiana

Re: 1/32 Special Hobby Hawker Tempest Mk V

Post by Floki »

That's a absolutely beautiful pit! It always hurts to see them get trapped in the fuselage.
March as one, Don't look back
Odin's sons... Attack!
Unleash hell! Do not repent! Warfare grants us no lament
Let your weapons slash and tear This is no place for fear
Hold the lines! Move as one! In unity our victory's won
Our shields will form a mighty wall
United we shall never fall
User avatar
Stuart
Elite Member
Posts: 11887
Joined: Sun Apr 06, 2014 1:06 pm
Location: North Wales

Re: 1/32 Special Hobby Hawker Tempest Mk V

Post by Stuart »

:bow: :bow: :bow: :bow: :bow: :bow:

That's always a problem with a lot of British fighters and their smal cockpits, one the fuselage has been put together almost bugger all can be seen - stunningvwork though John :shoutout:
Stuart Templeton 'I may not be good but I'm slow...'
Post Reply

Return to “Aircraft Work in Progress”