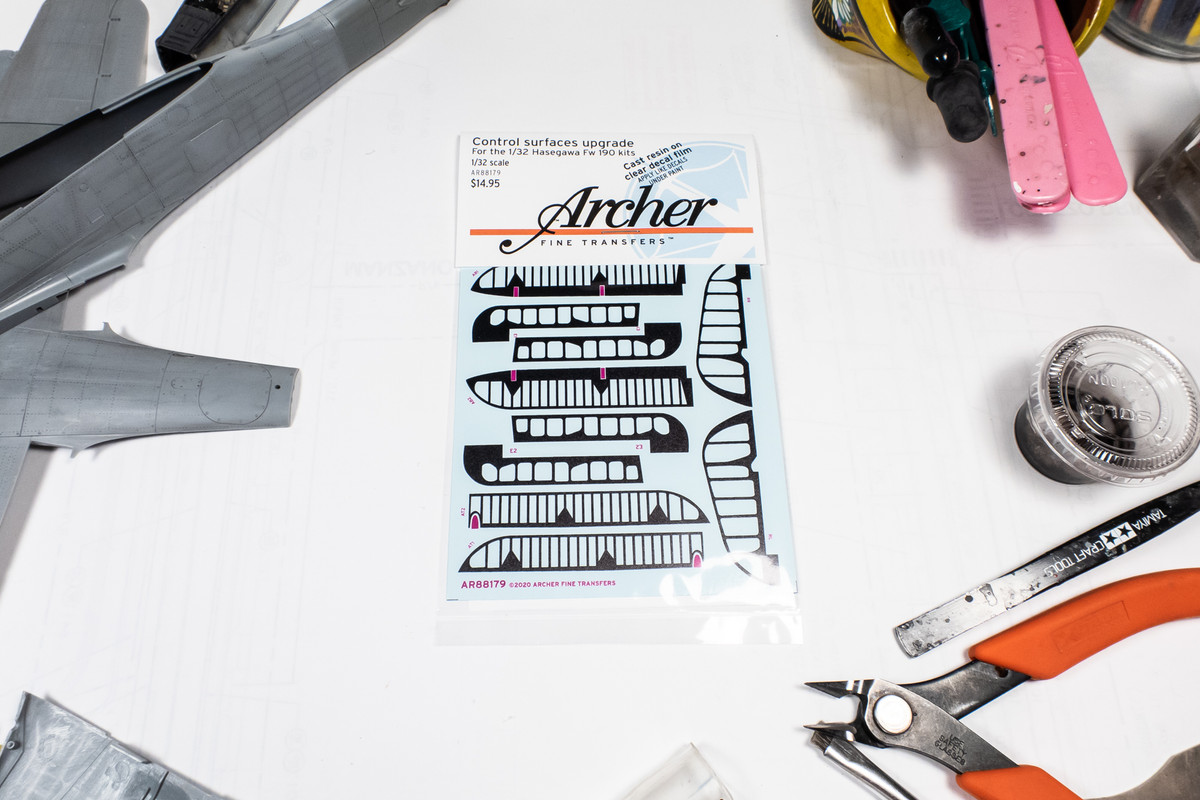
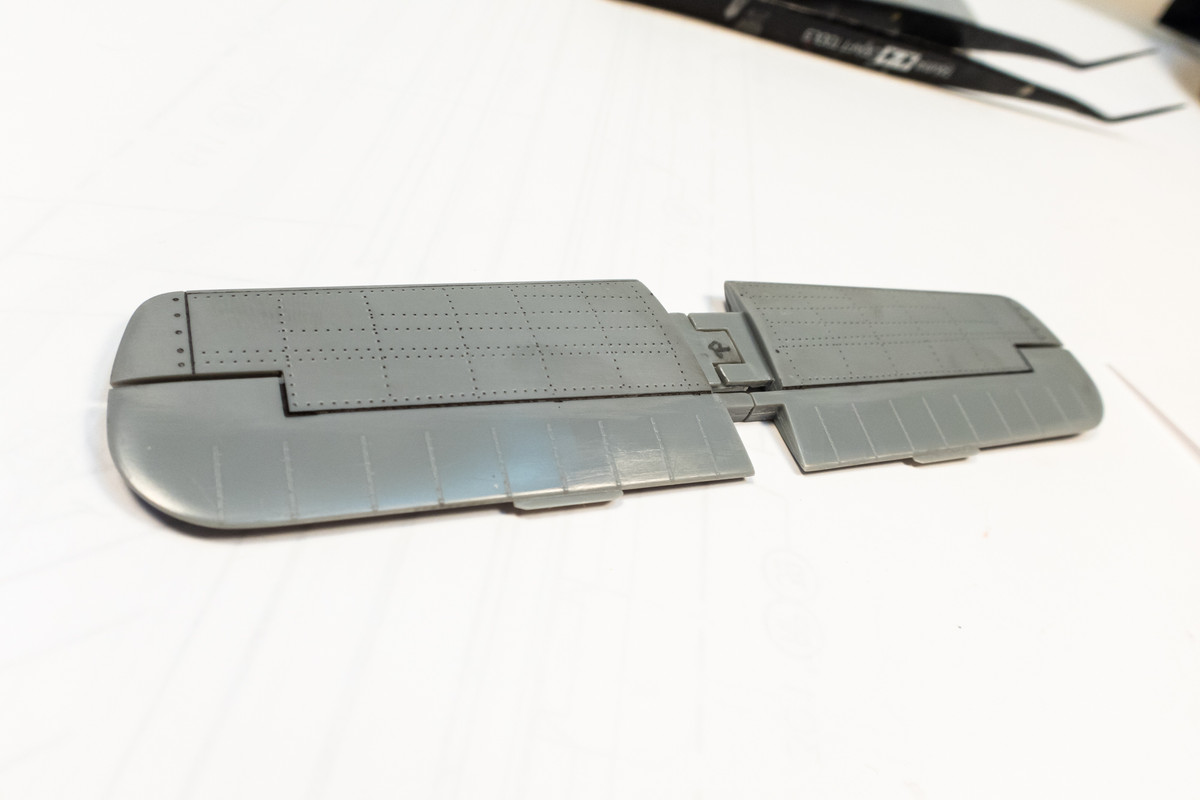
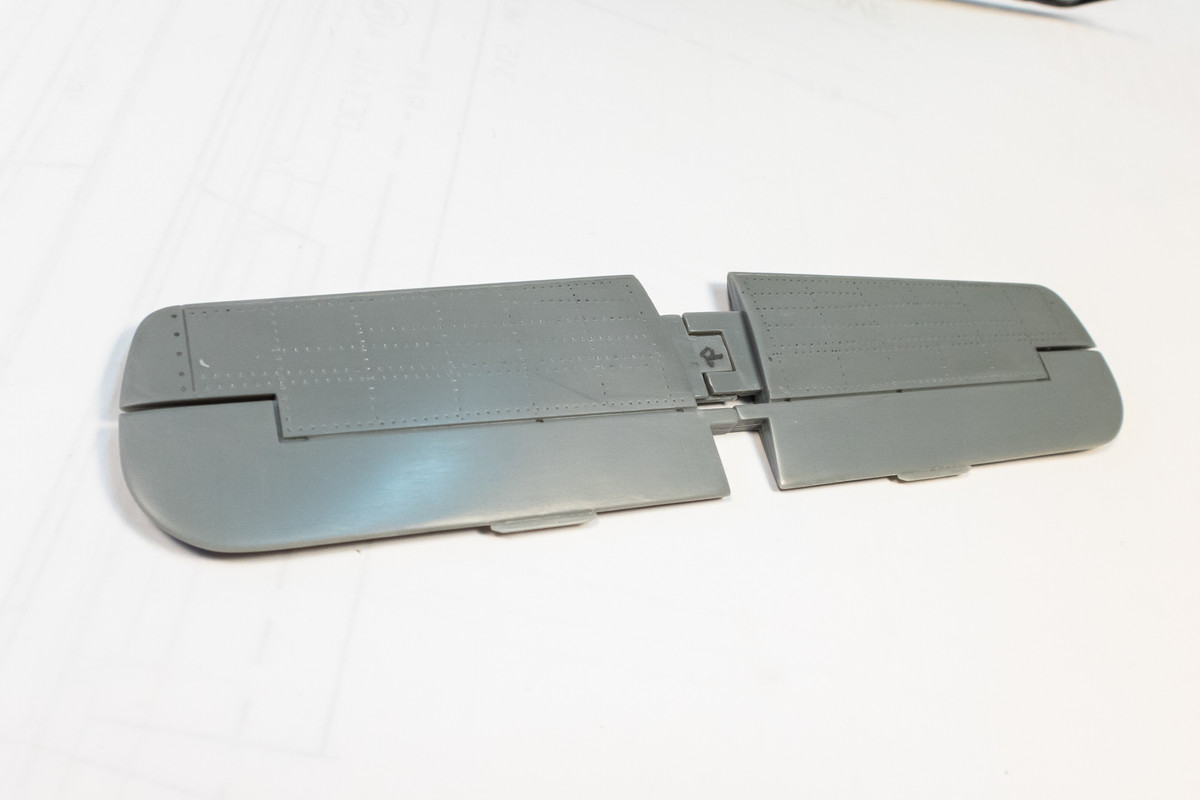
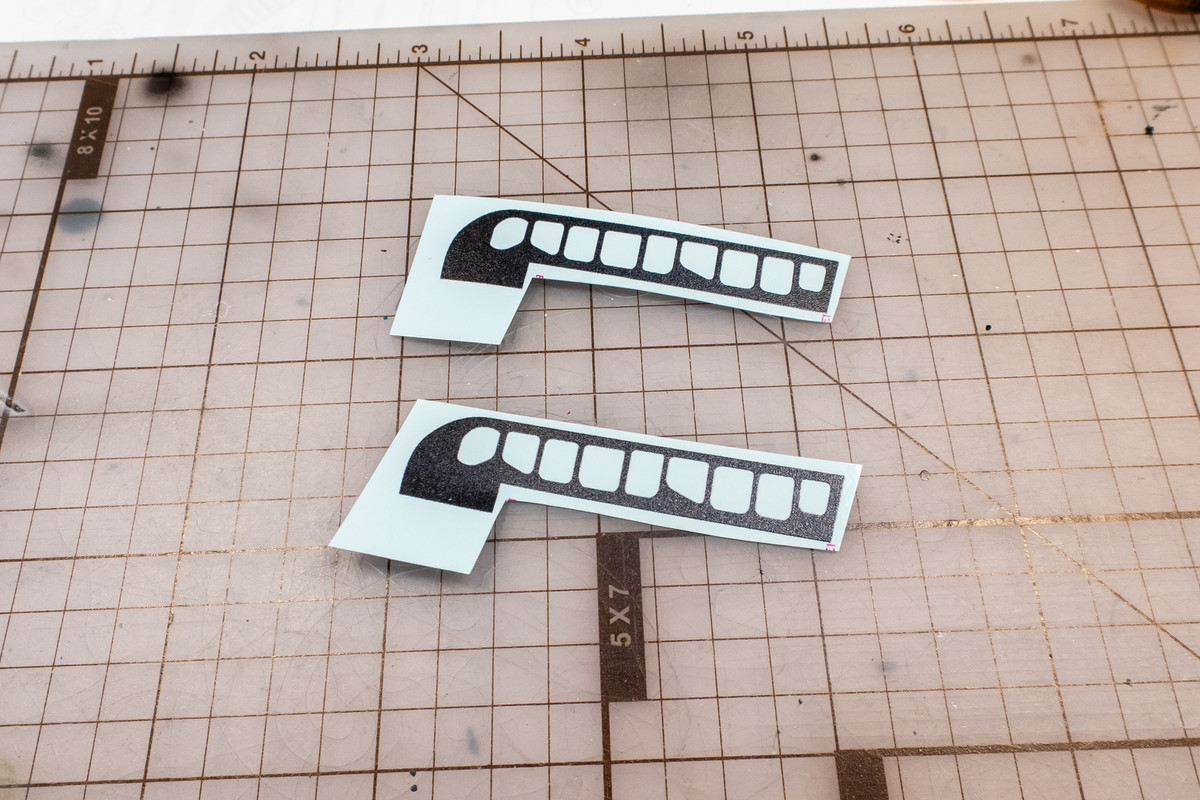
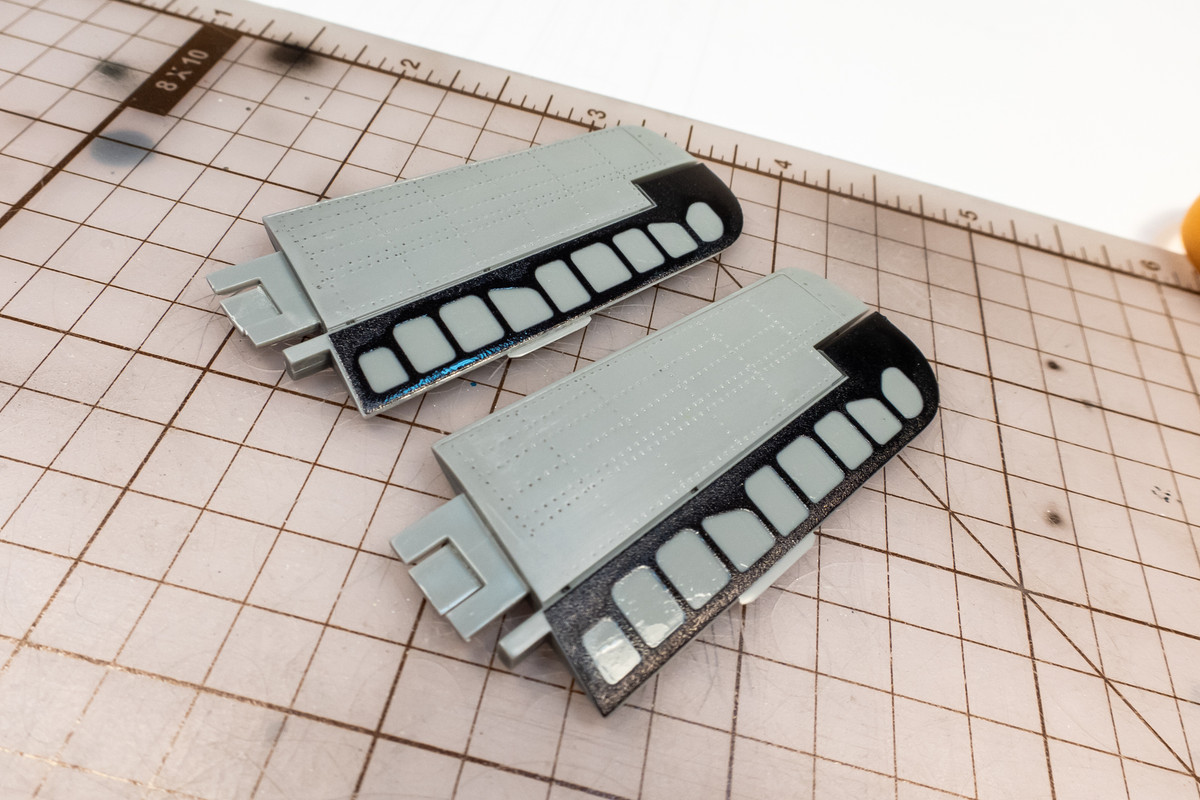
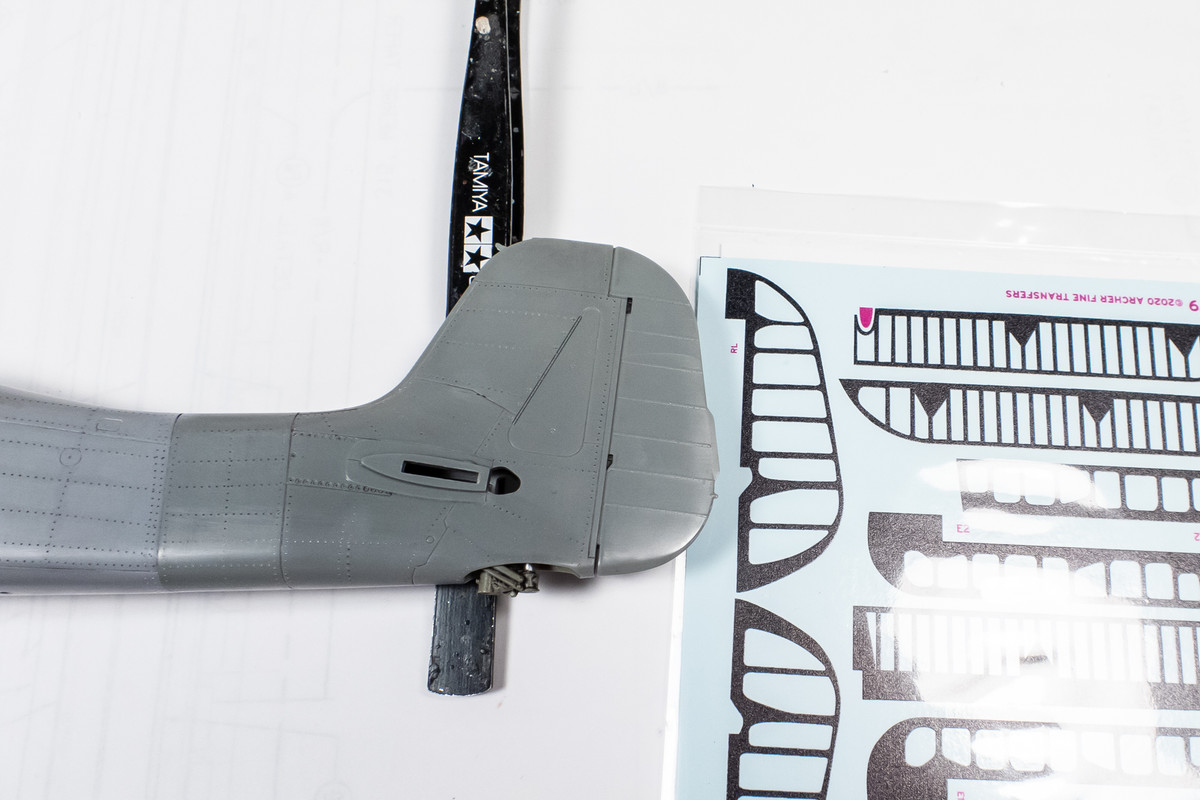
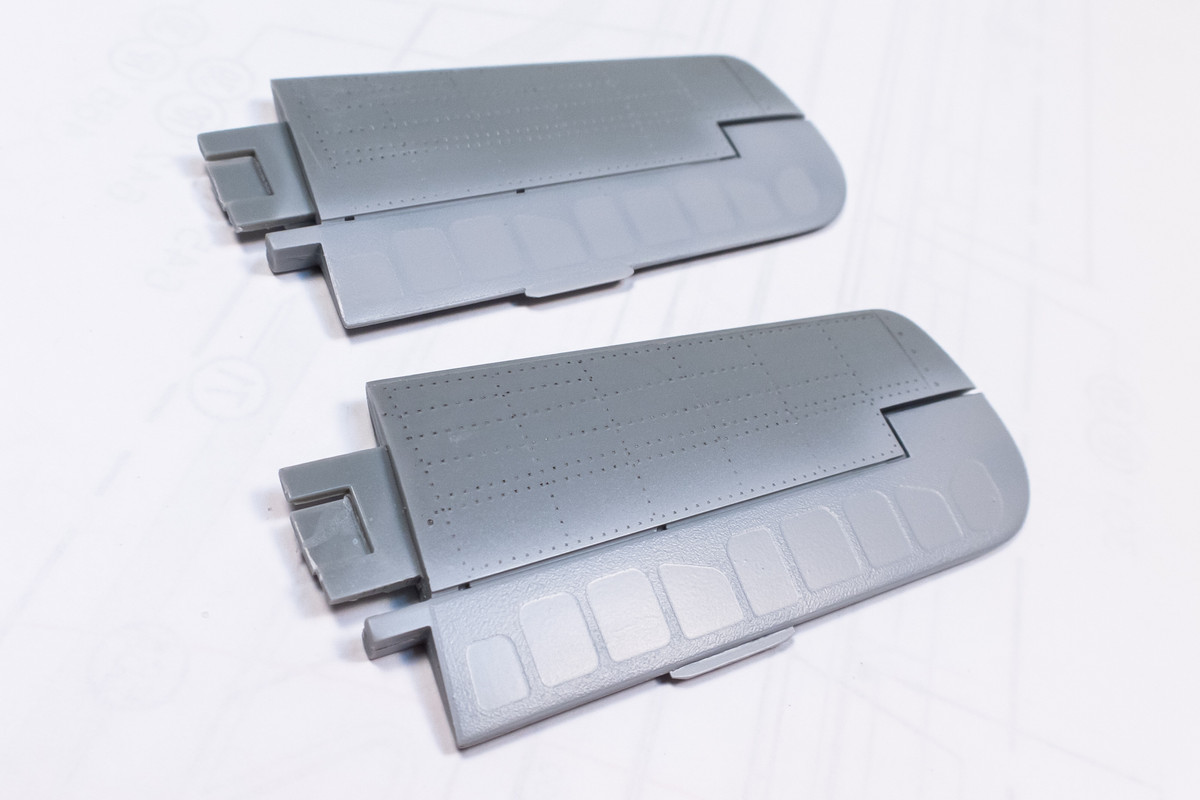
Thanks guys! I've made some progress on this build that I'd like to share. First of all, here is the first set of Archer control surface decals under a coat of primer. It's a pretty subtle effect and I have to take care not to cover it with too much paint.
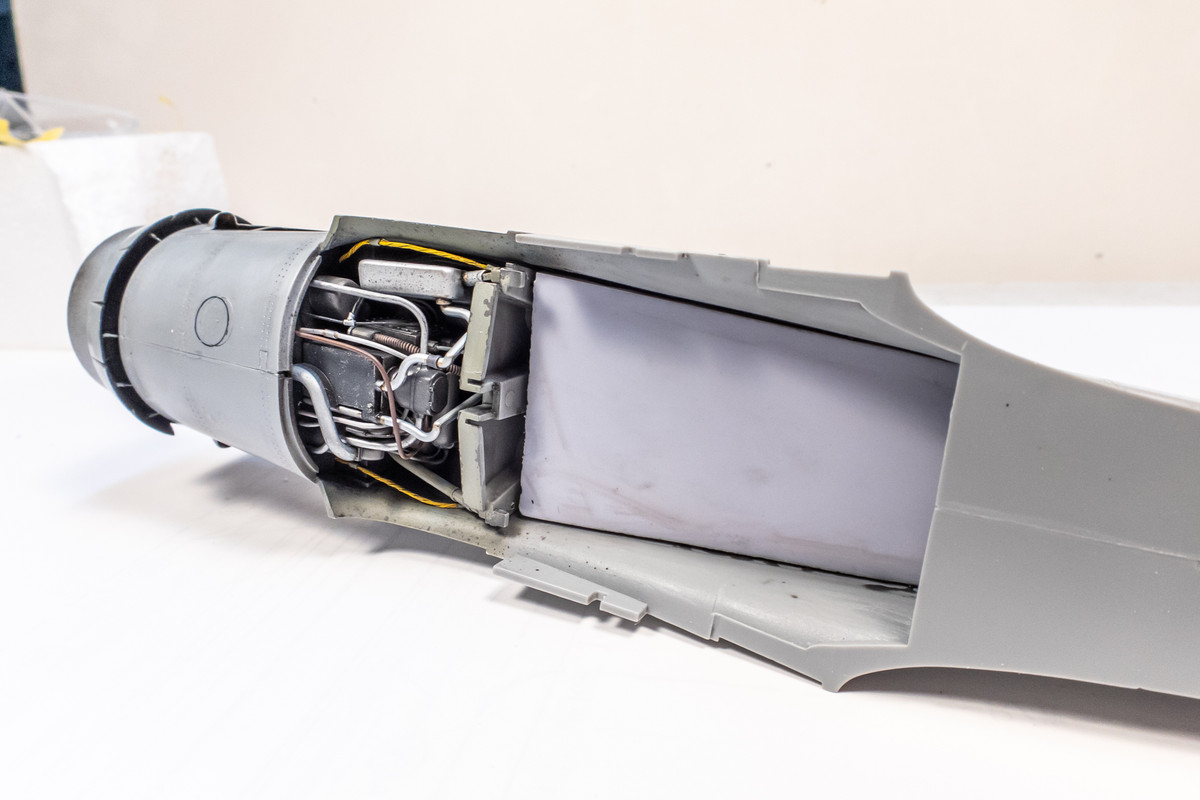
I'm jumping over to the fuselage now and will be attaching the Eagle Editions resin cockpit.
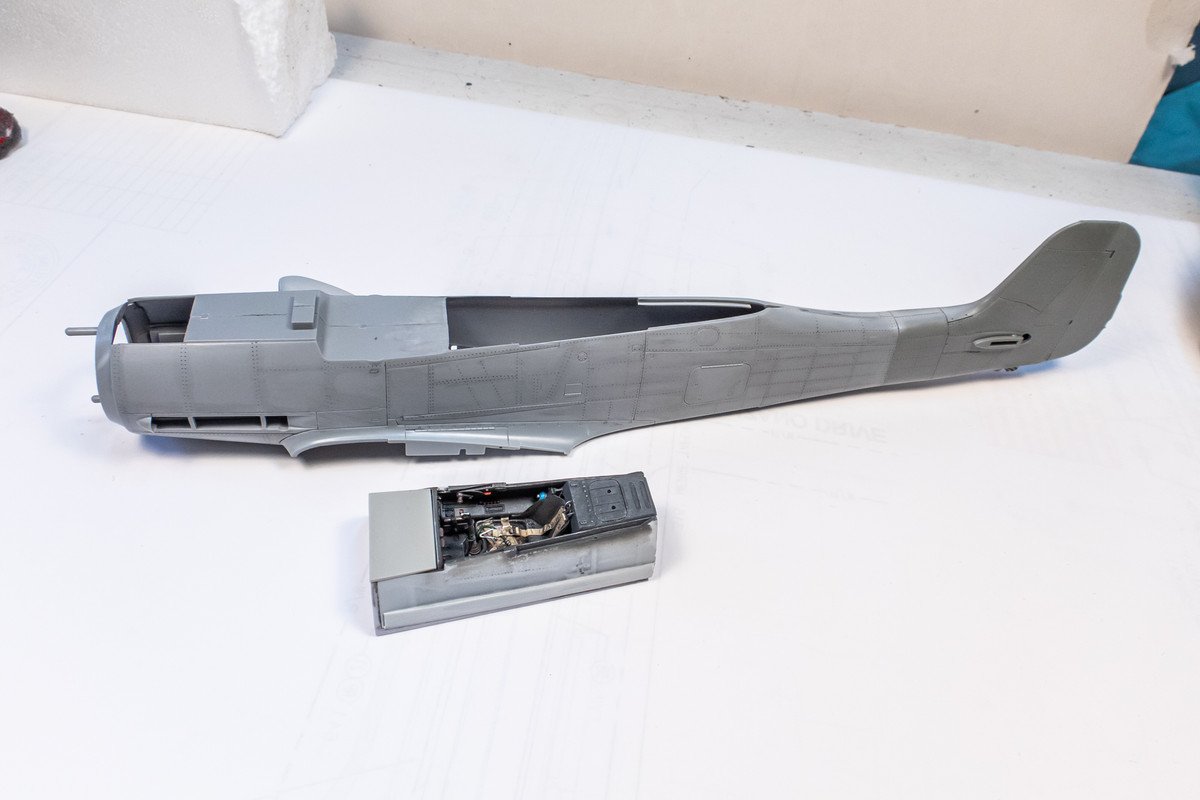
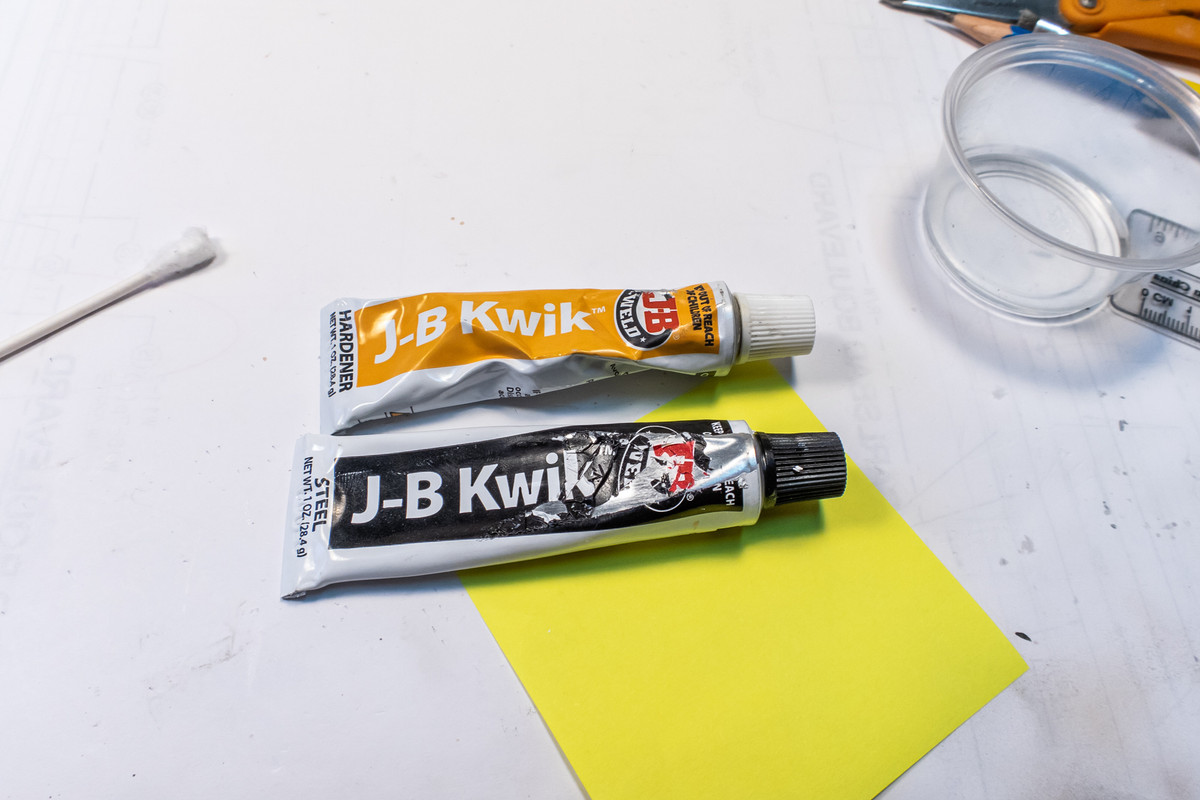
The cockpit tub slides into place from the opening in the fuselage bottom. Since the contact surfaces are inaccessible, I like to use a two-part epoxy, which is nice and thick and will give me about five minutes to set the position of the cockpit correctly before the epoxy starts to harden.
The front edge of the cockpit butts up against the engine bulkhead, which gives solid reference point in the attachment.
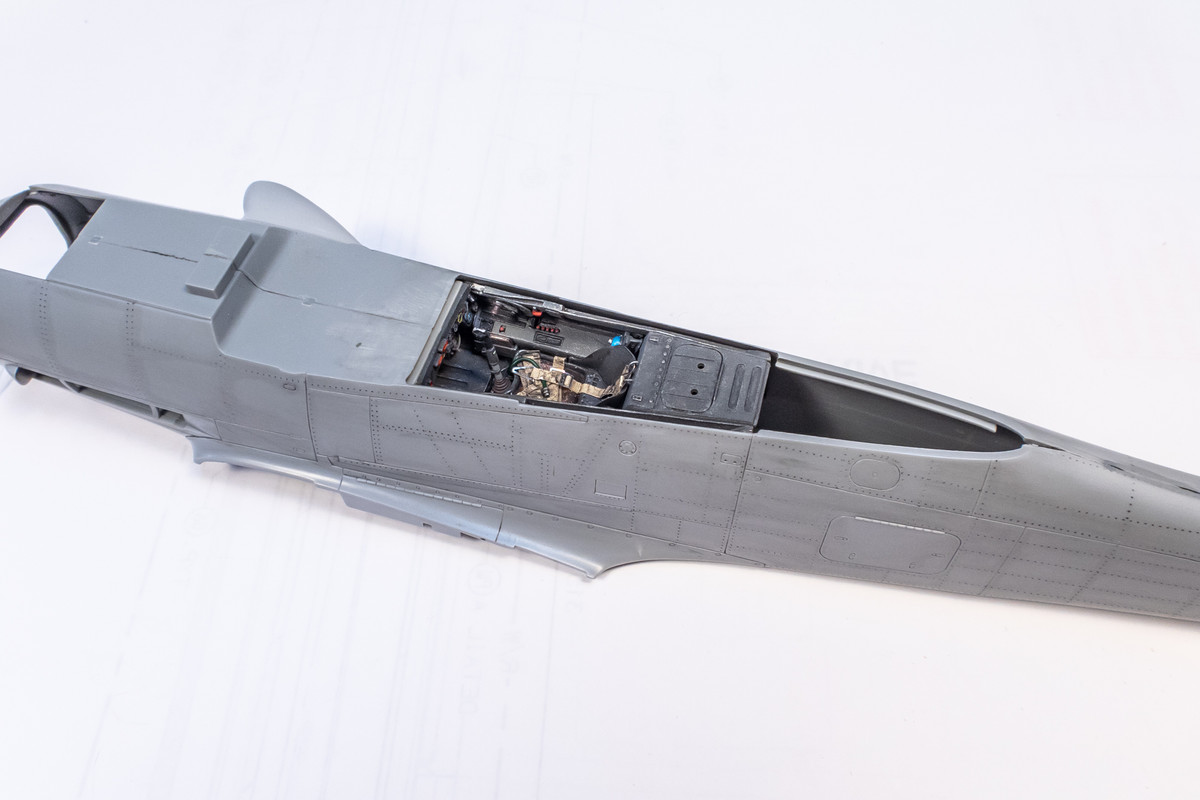
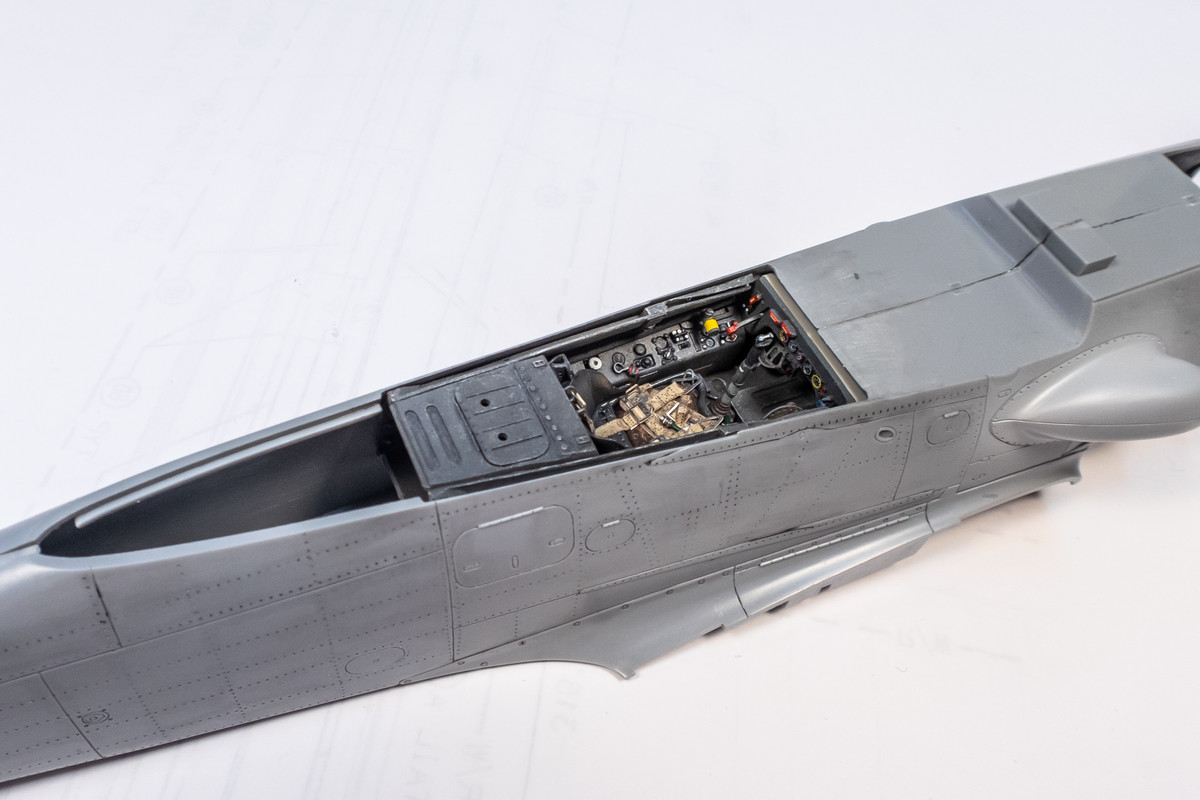
Instead of the thin brass part that the Eagle Editions cockpit set provides, I like to use the rear deck, cut from the kit part as the fit is more positive.
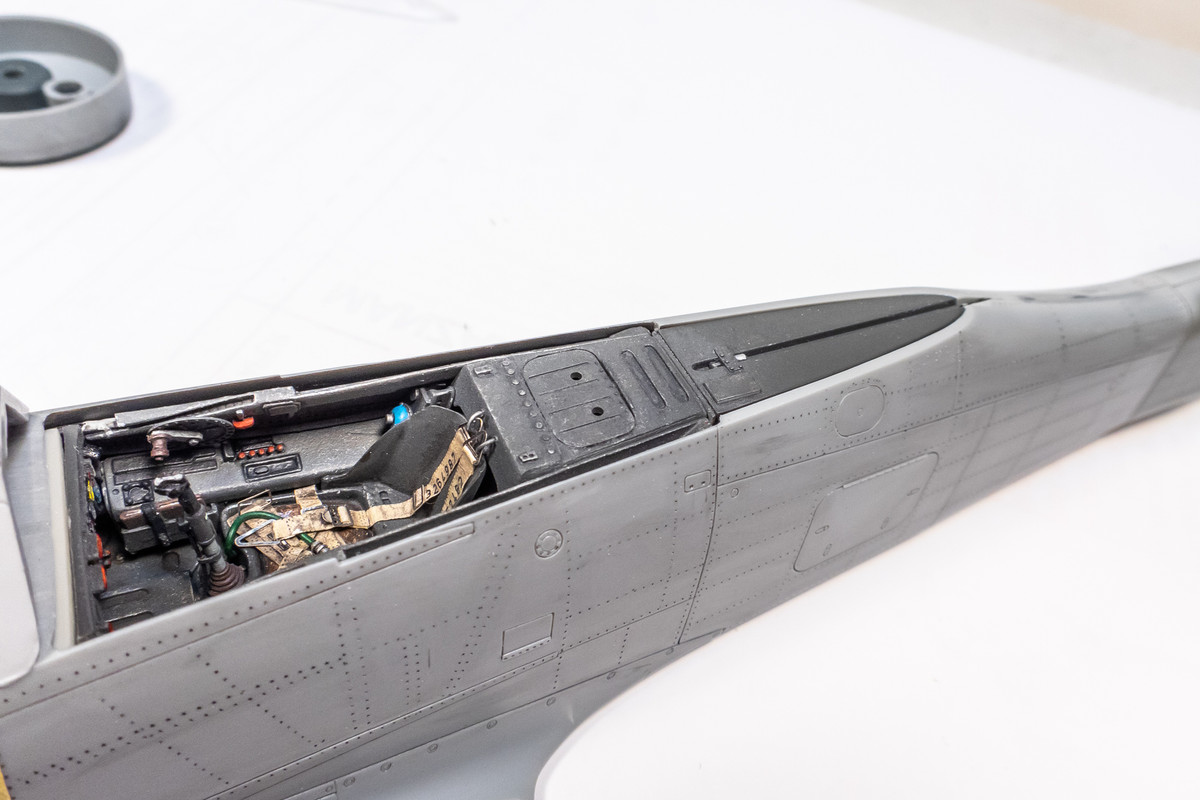
Now that the cockpit is glued into place, I will now start attaching the front cowling pieces. Before I do that, I've prepainted the interior ring on the fuselage front in RLM02. The exhaust recesses have also been painted black.
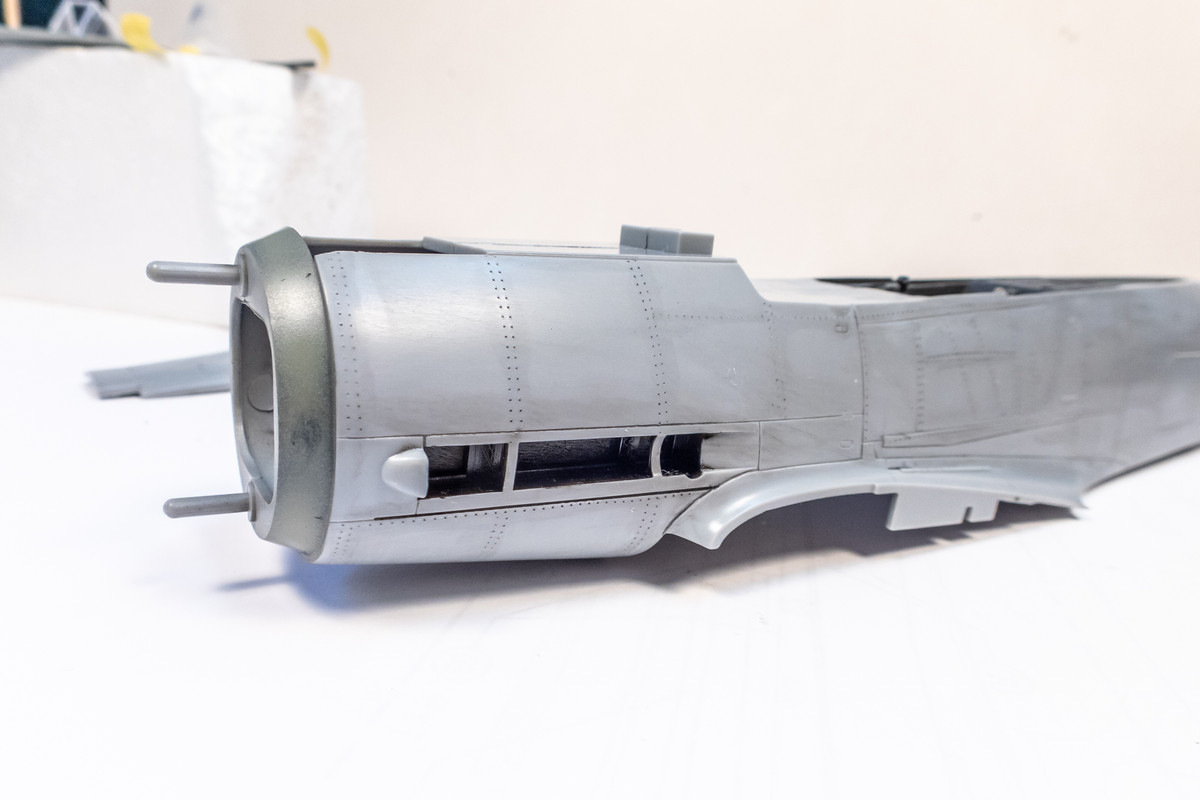
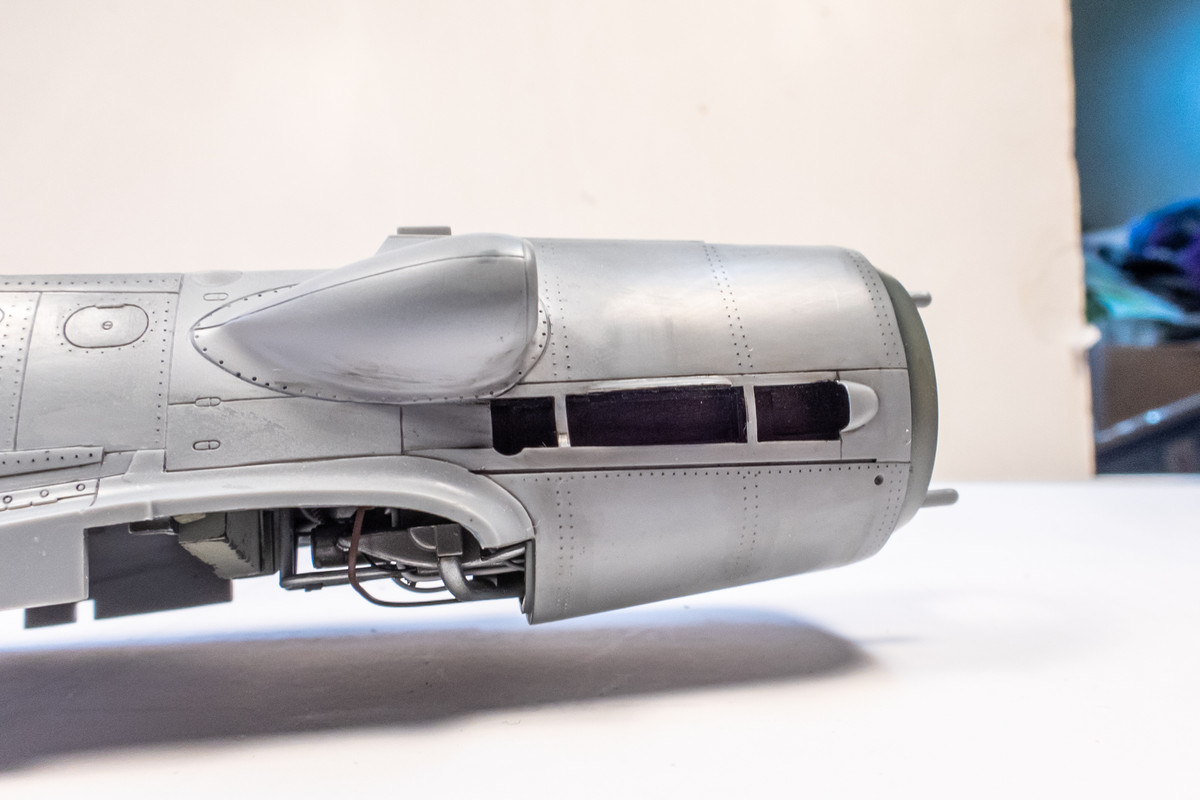
The gun barrels above the engine are glued into place. I'm using the kit parts here with the ends hollowed out. When mounted, they are standing proud of the surrounding gun troughs so they'll be easy to paint afterwards.
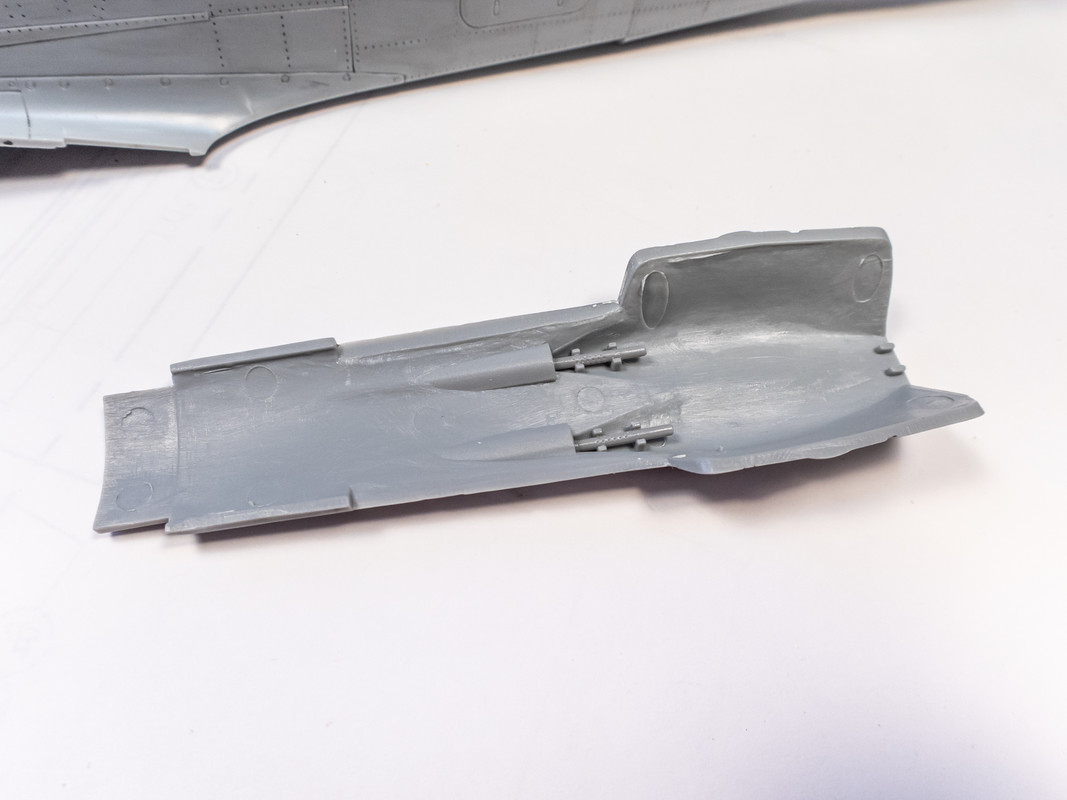
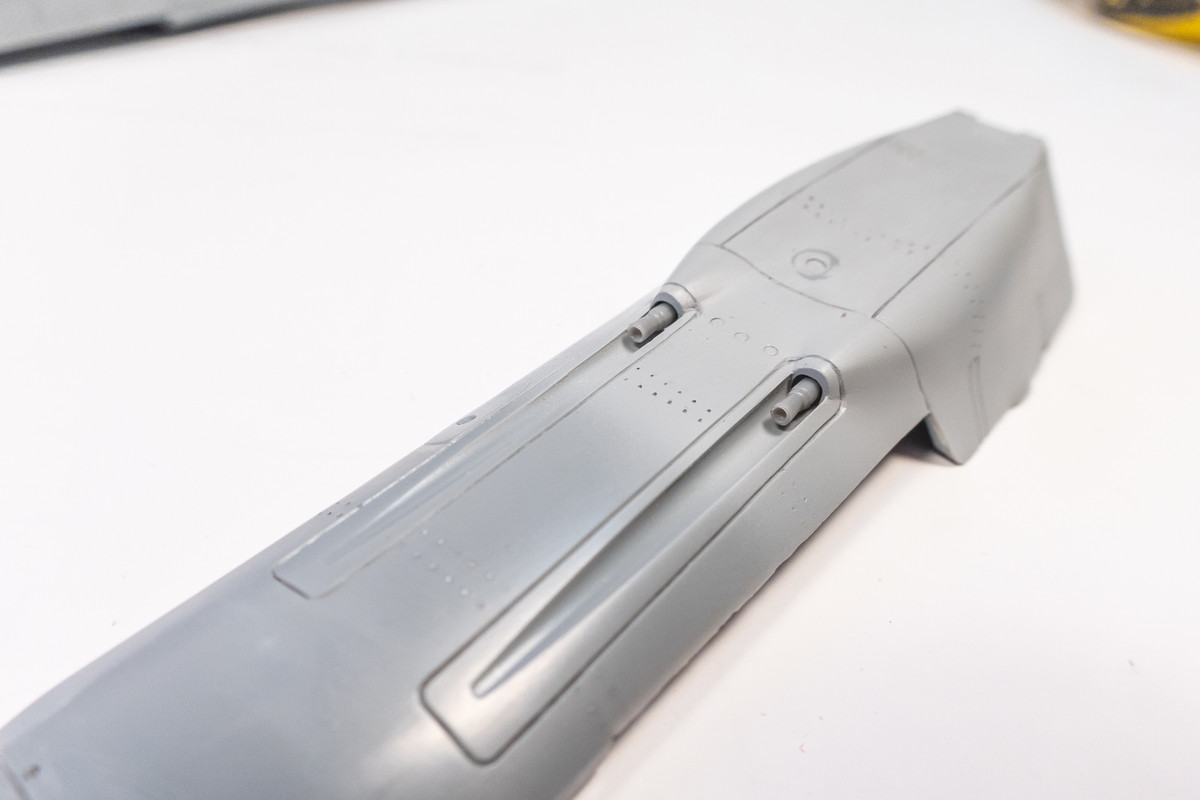
The gun cowling is now glued into place using Tamiya Extra Thin cement. Fit is excellent here.
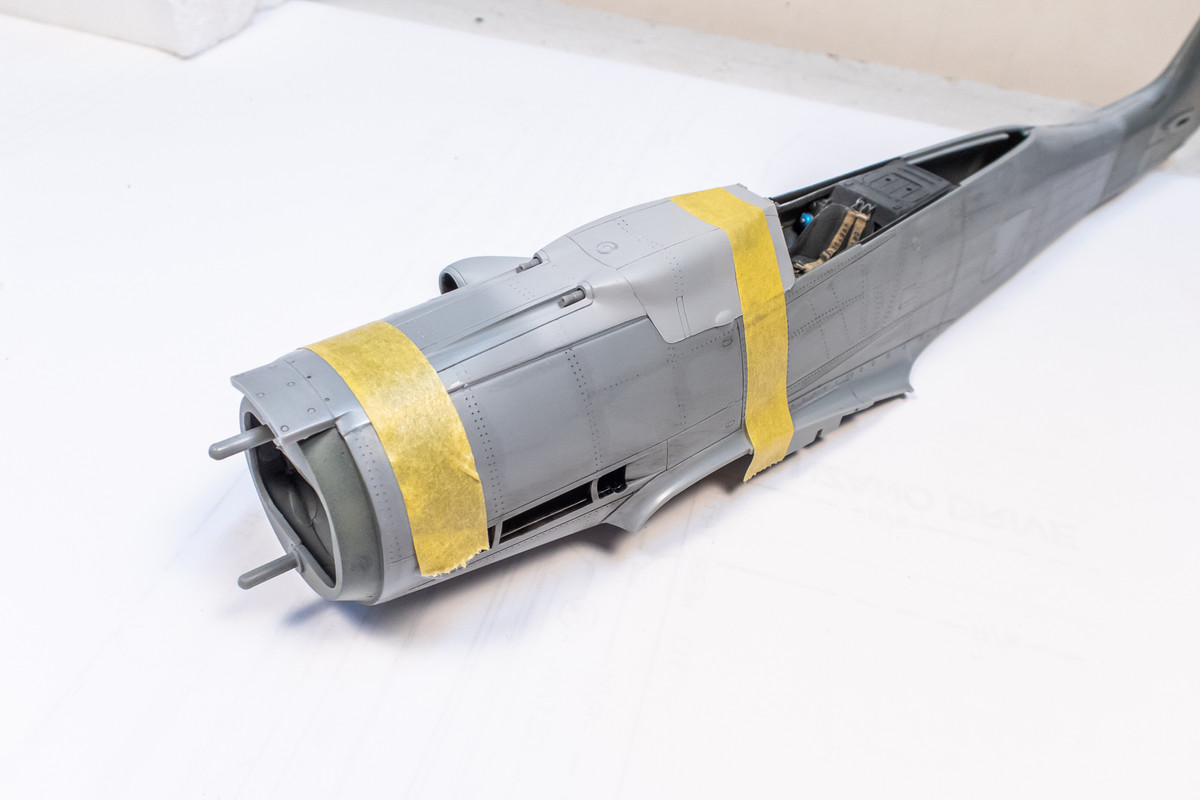
The radiator flaps are glued in next. Remember that the actuating rods were installed and interior of the flaps painted earlier.
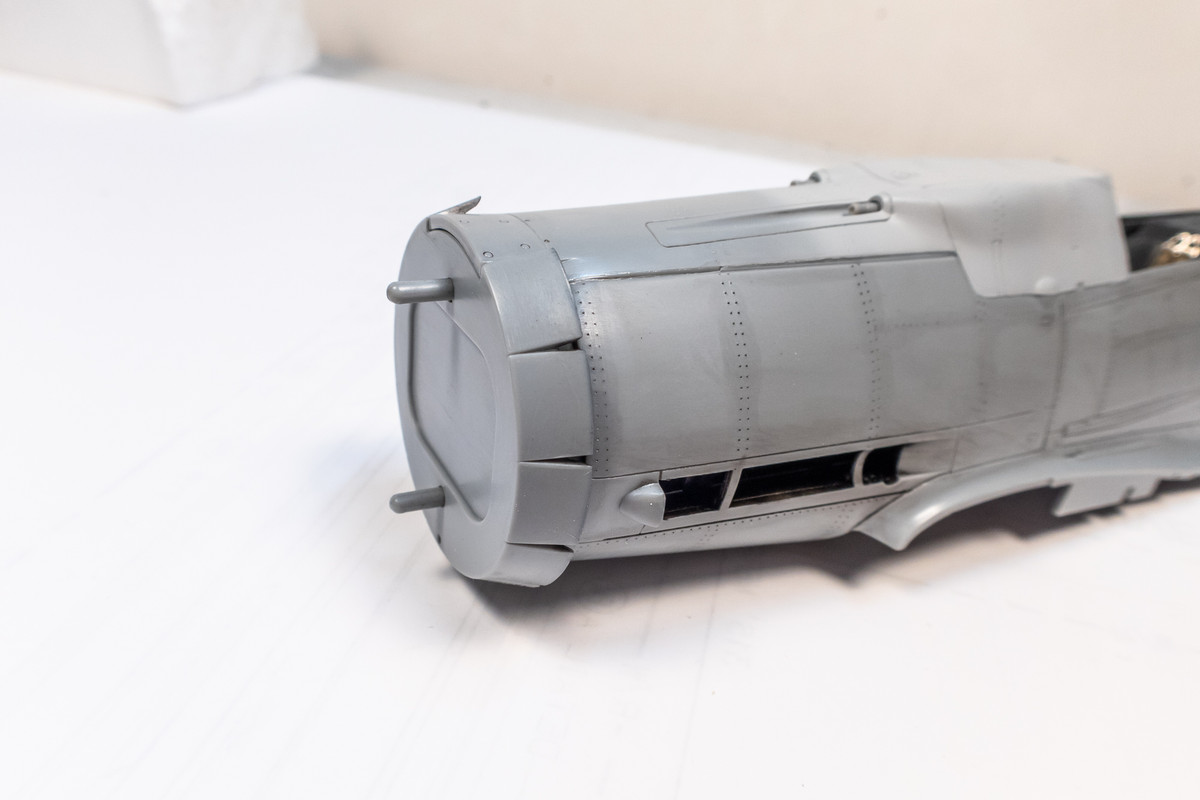
The radiator face is glued onto the cowling flaps.
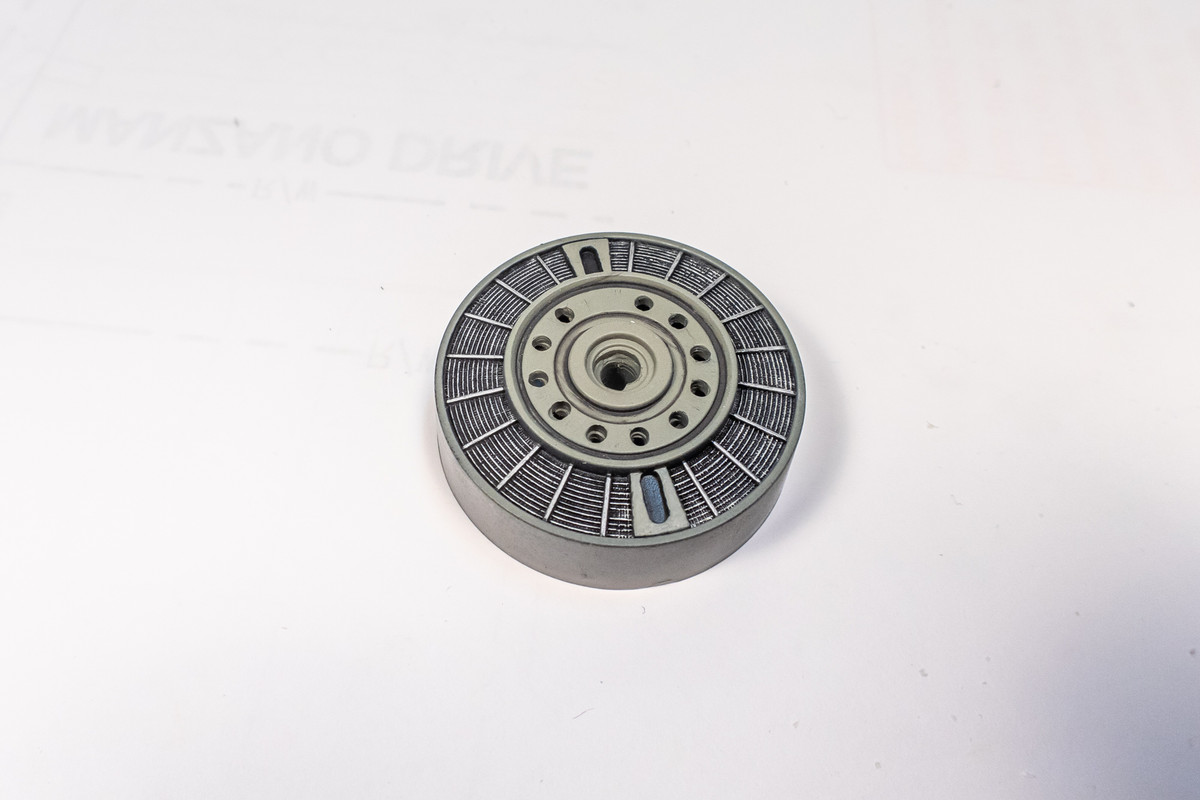
One thing that's always puzzled me is why Hasegawa chose to have this attachment via vinyl poly caps as if this part were meant to be removable. I see no reason to detach the radiator cowling??? Also visible in the photo is the black mounting block for the Henri Daehne prop shaft that I mentioned previously.
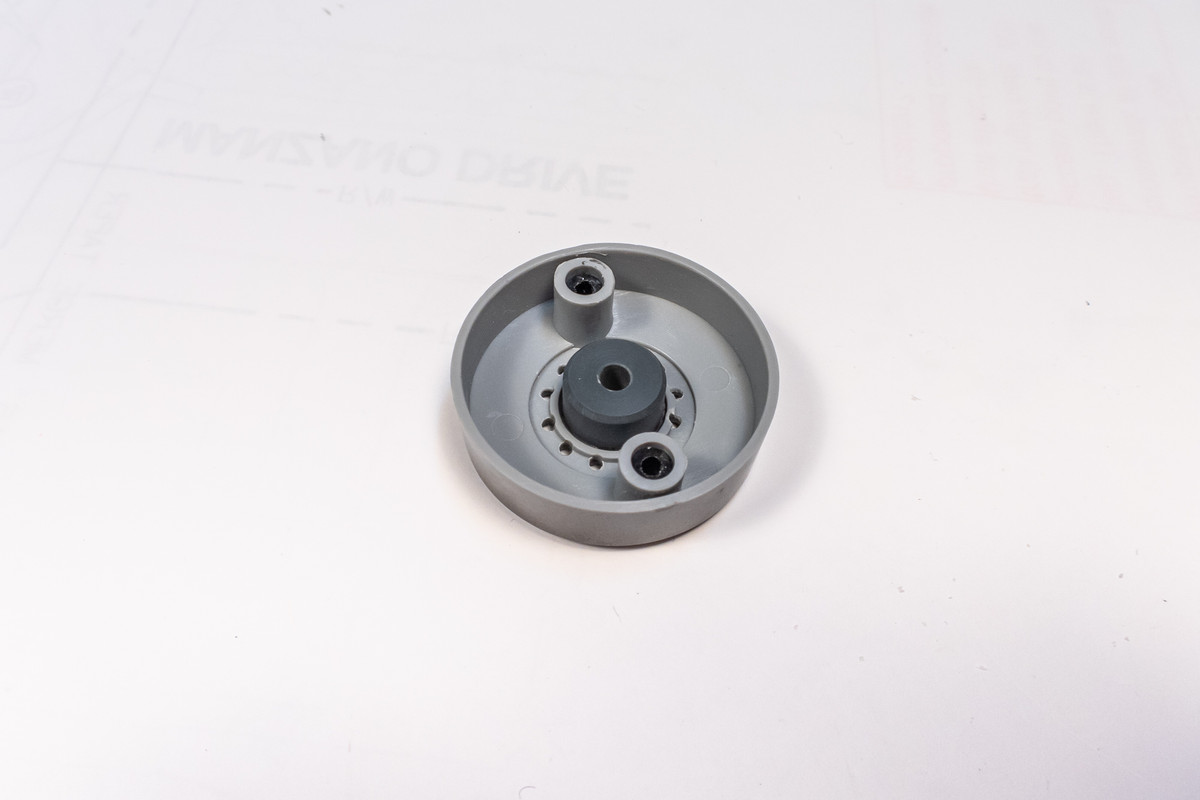
Since the radiator face butts up directly against the cowling flap part, I've run a bead of Tamiya Extra Thin cement around the circumference to permanently attach the radiator face.
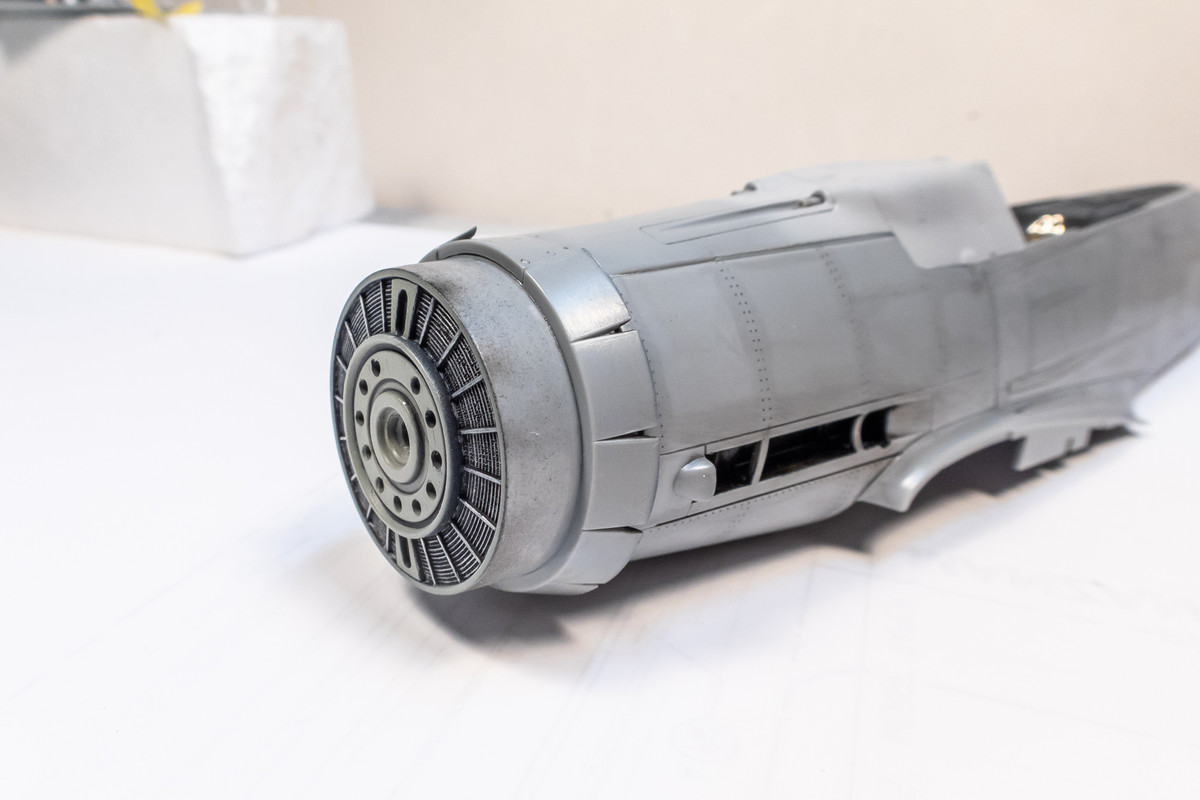
Here's a peak from underneath showing the installed Eagle Editions cockpit tub.
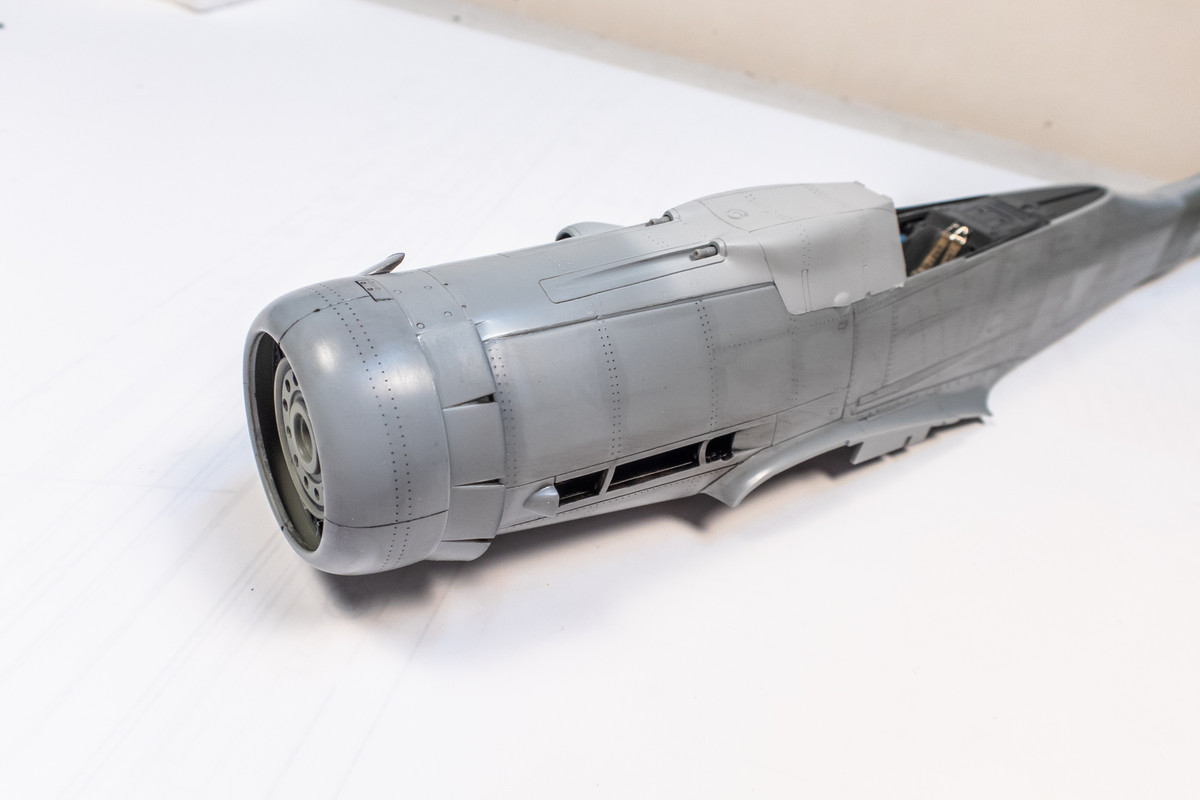
The radiator cowling is glued into place, finishing off the front end. As you recall, one of the first things I did on this build was to re-shape this part.
A bit more to come...
 The detailed appearance is well worth your efforts in the end.