Trumpeter P-47D Razorback "Eileen"
-
jeaton01

- Elite Member
- Posts: 2374
- Joined: Thu Apr 23, 2020 9:20 am
- Location: Northern California
- Contact:
Re: Trumpeter P-47D Razorback "Eileen"
No doubt more perfect than the original.

Re: Trumpeter P-47D Razorback "Eileen"
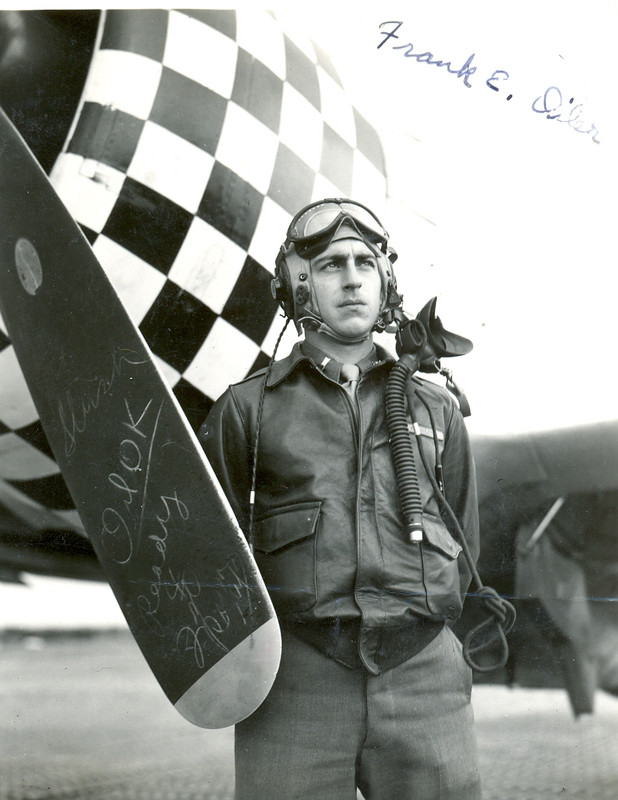
Nope. Based on photos, the real checkerboard patterns were impeccably applied. I consider mine a rough approximation.
John aka JKim
-----------<><

-----------<><
Re: Trumpeter P-47D Razorback "Eileen"
Some major milestones have been reached on this build... the completion of the cockpit, the further (and hopefully, final) detailing of the engine and prop, and the painting of the checkerboard pattern on the nose cowling. Using tape and incorporated magnets, here's a look at the fuselage with those sub-assemblies temporarily attached.
My intention was to have the engine, prop and cowling all removable. But with the breakage of the engine frame and the fact that the engine frame kinda pops into place on the raised ridges of the cowling flaps, I'm very wary of removing the engine from the cowling and will try to minimize my attempts. But here the engine is attached to fuselage without the cowling.
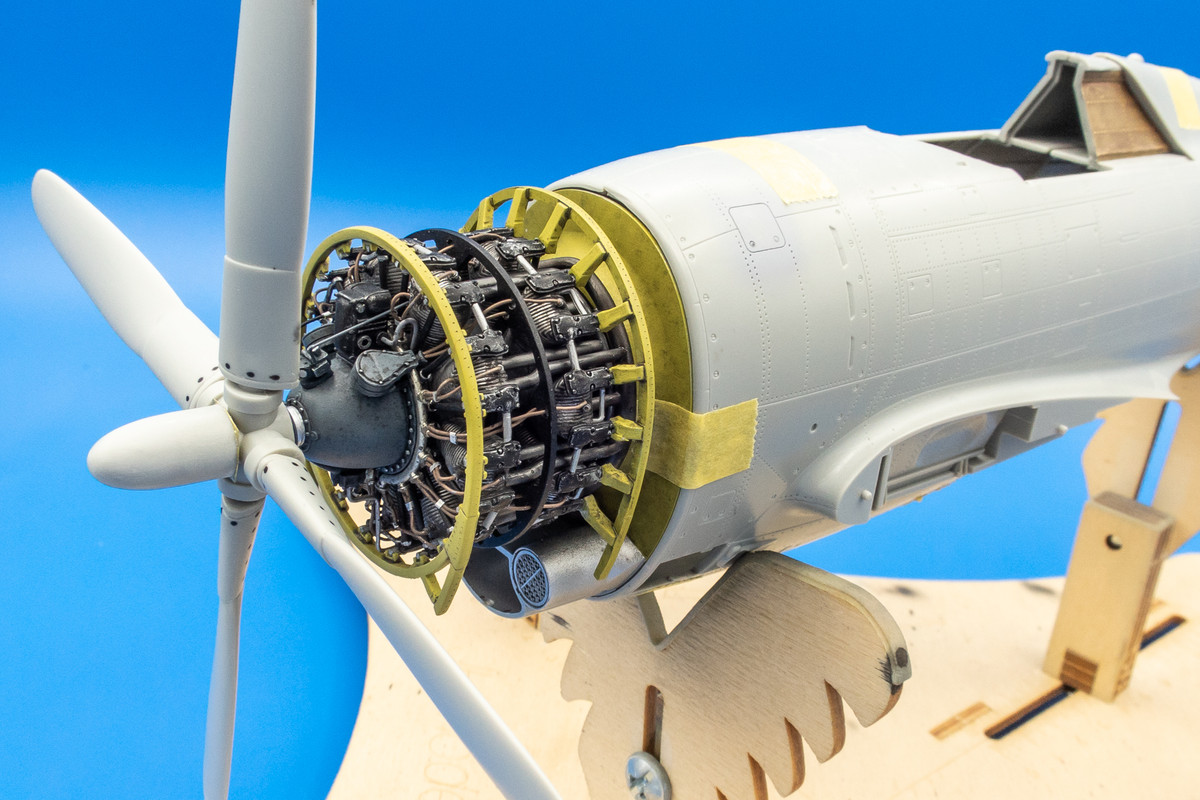
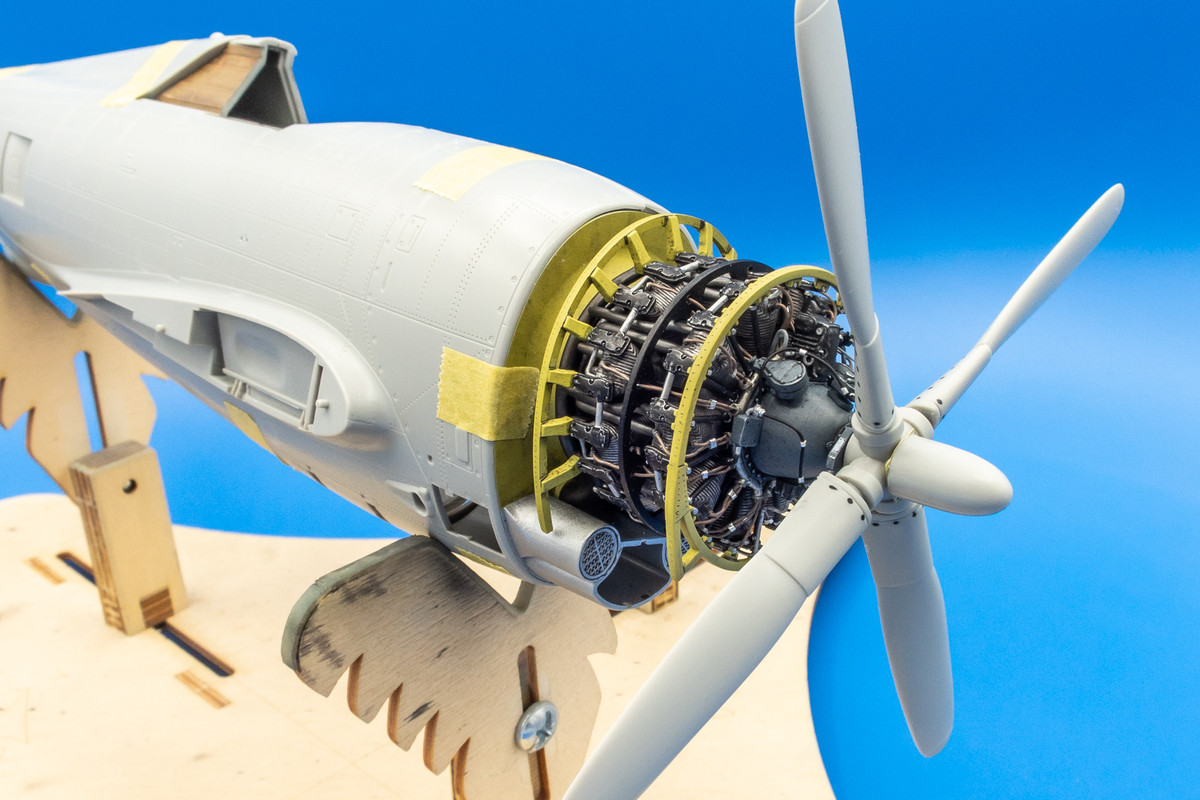
The cowling is nudged into place and we can affirm that the fit and alignment is still very good. The added engine pieces don't interfere with the cowling fit.
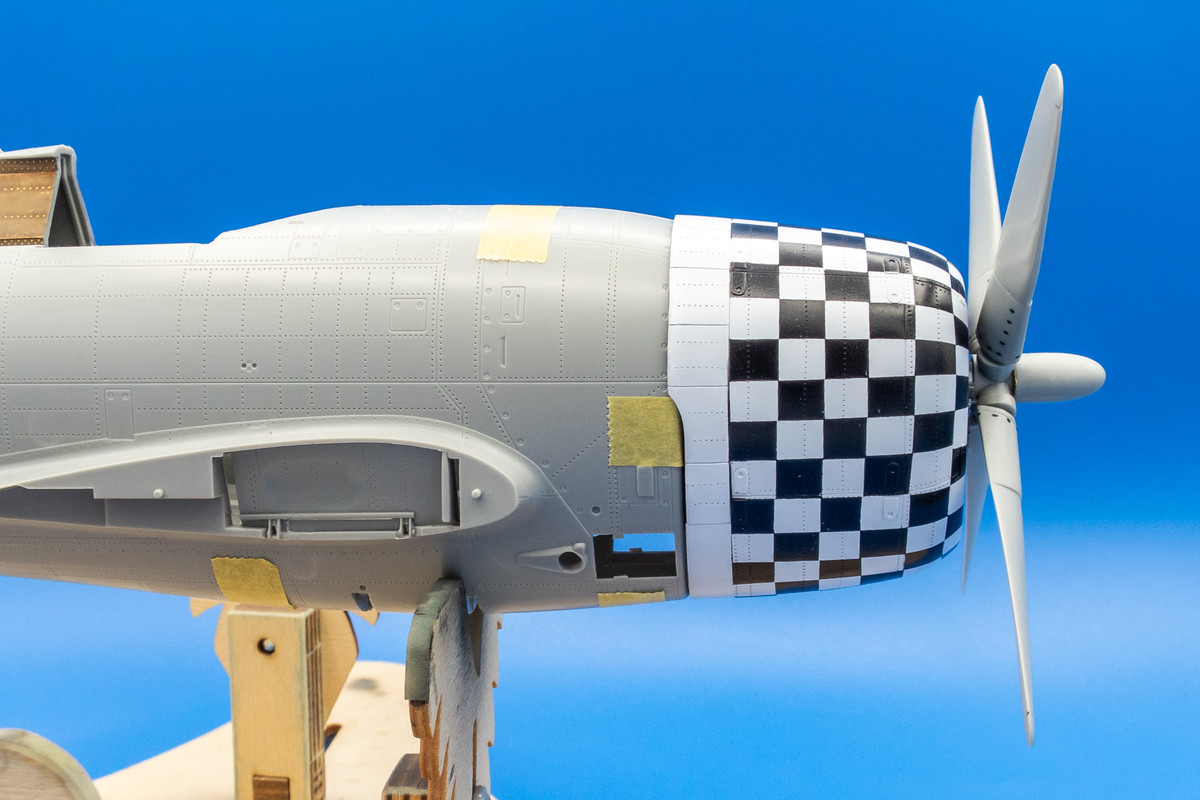

With the cowling in place, the engine is very difficult to see.
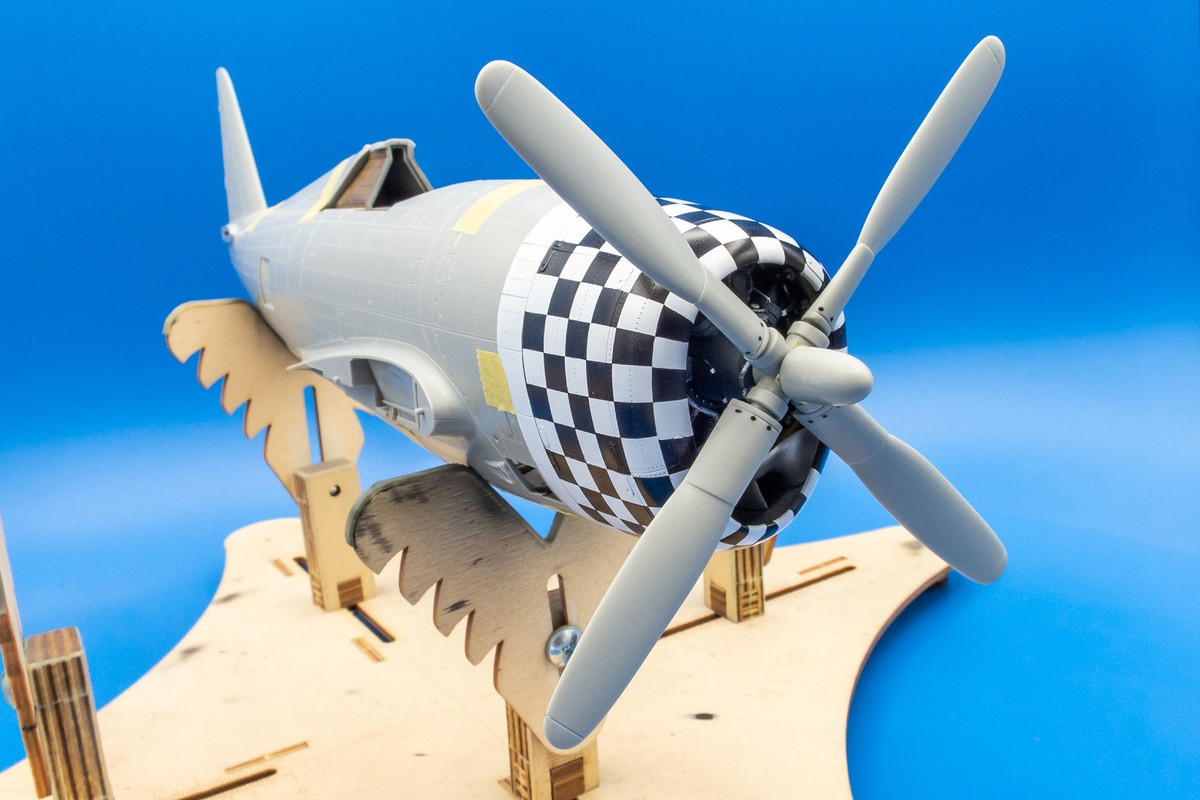
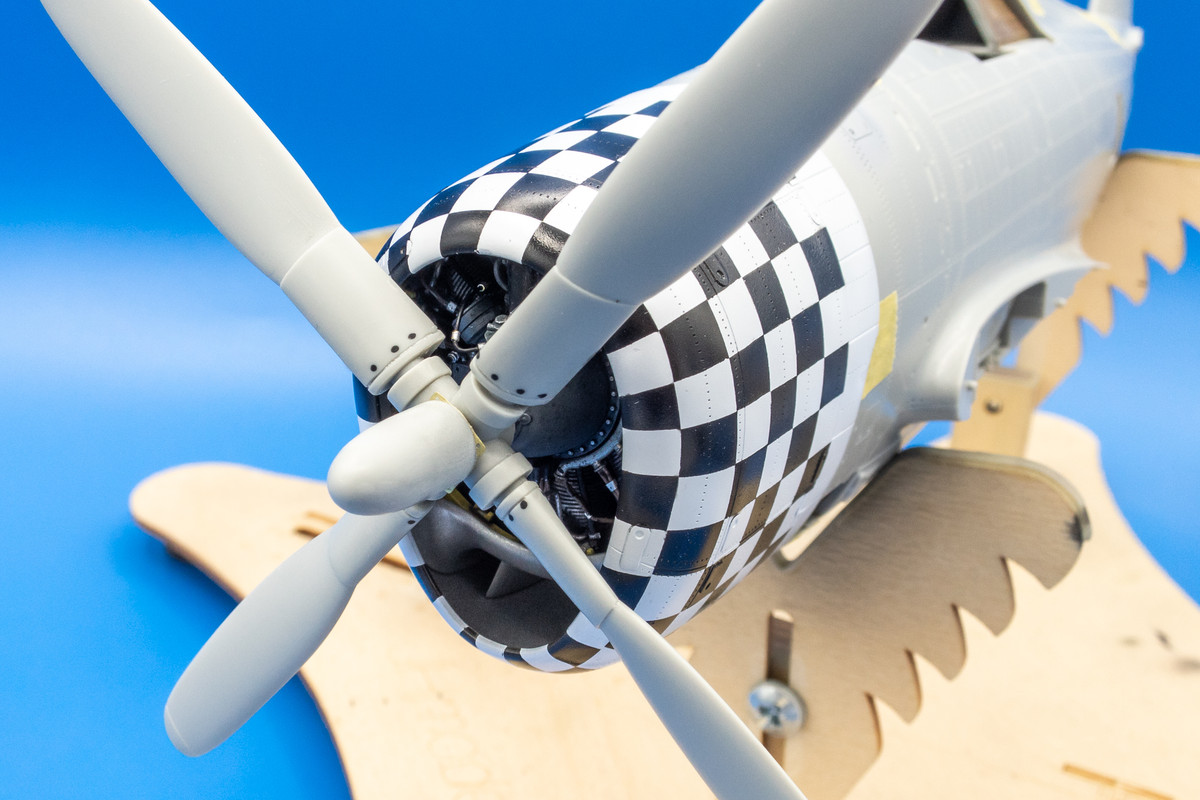
But... we can always remove the prop to get a better view.
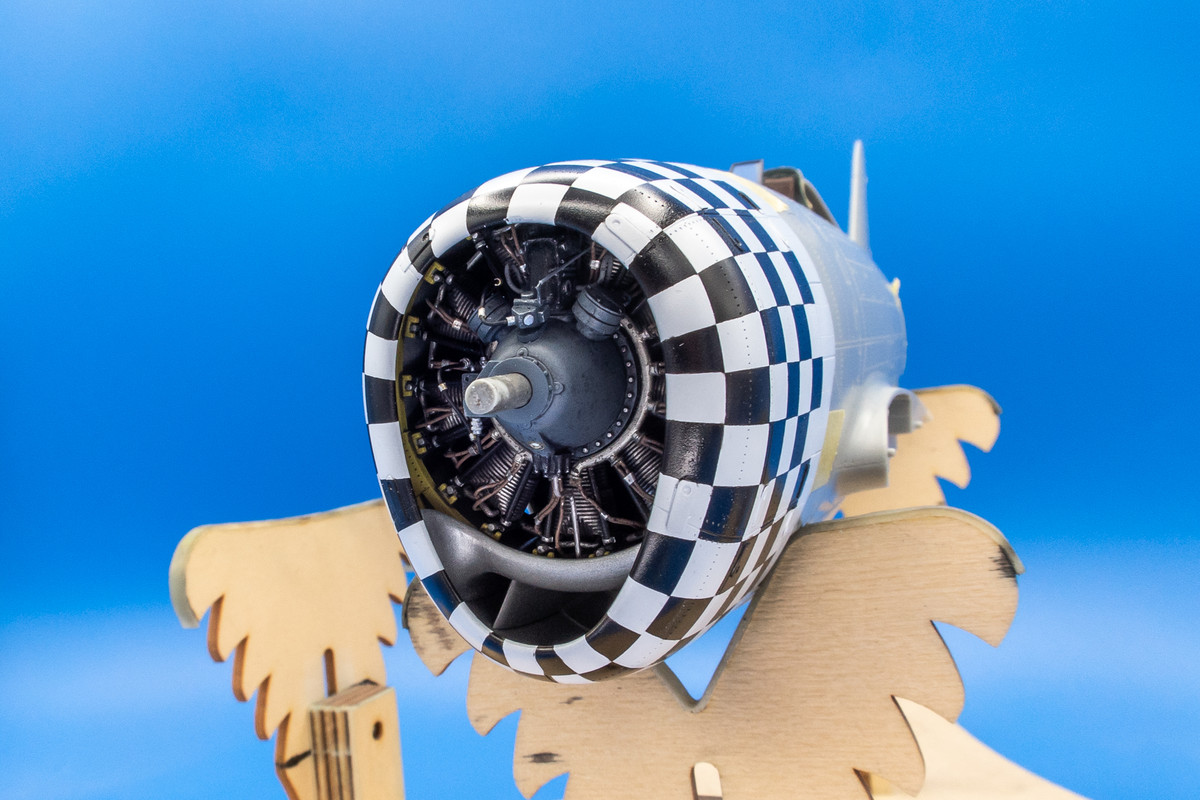
With the cockpit added...
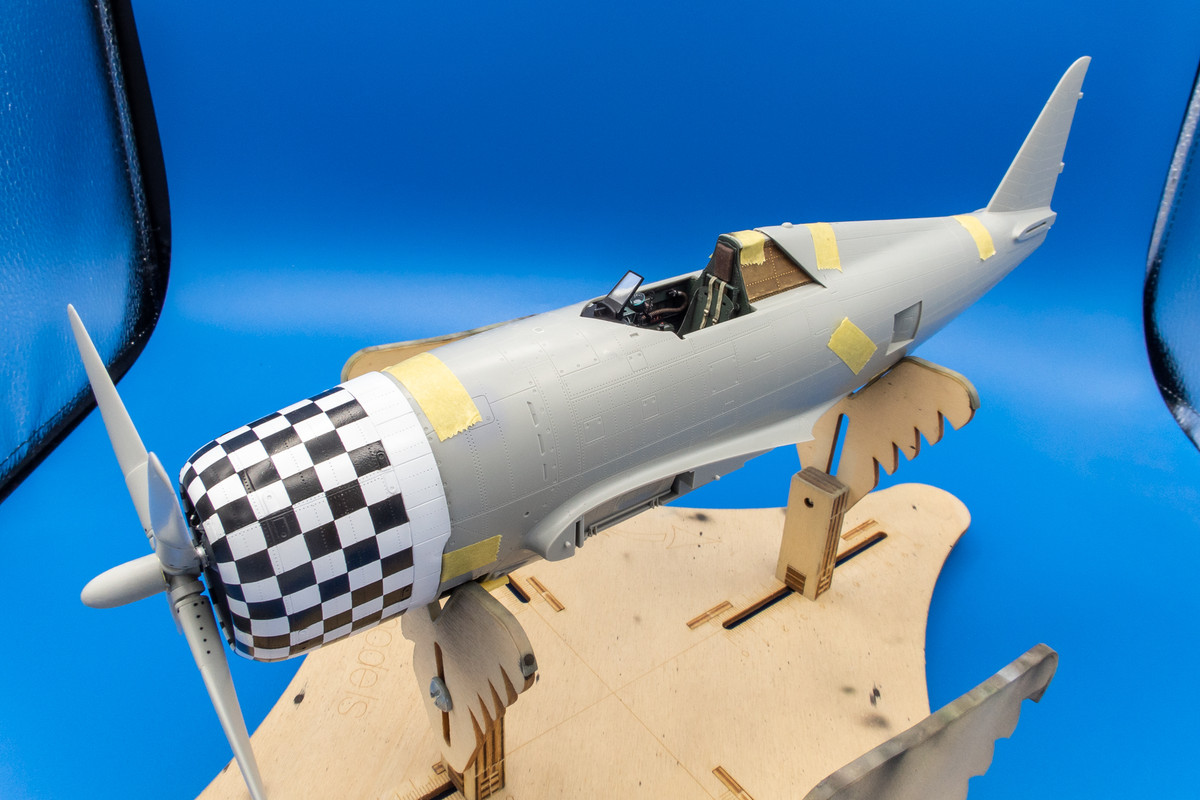
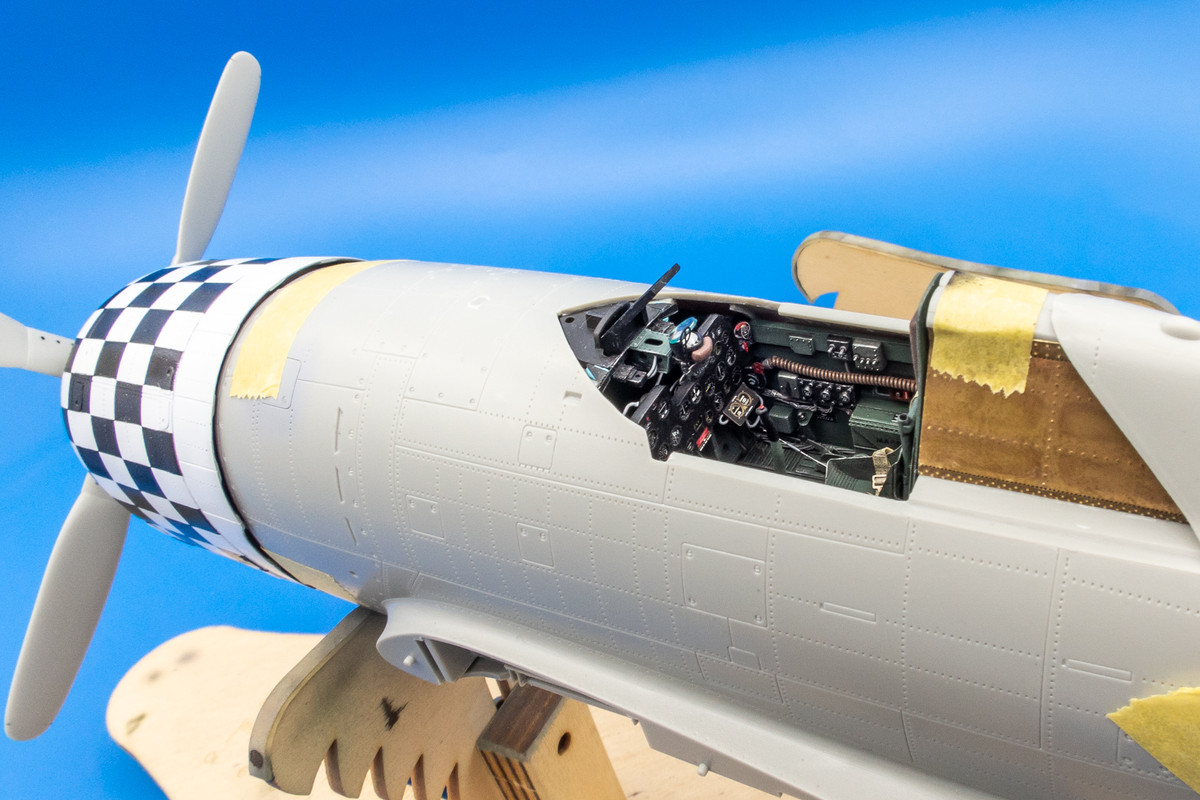

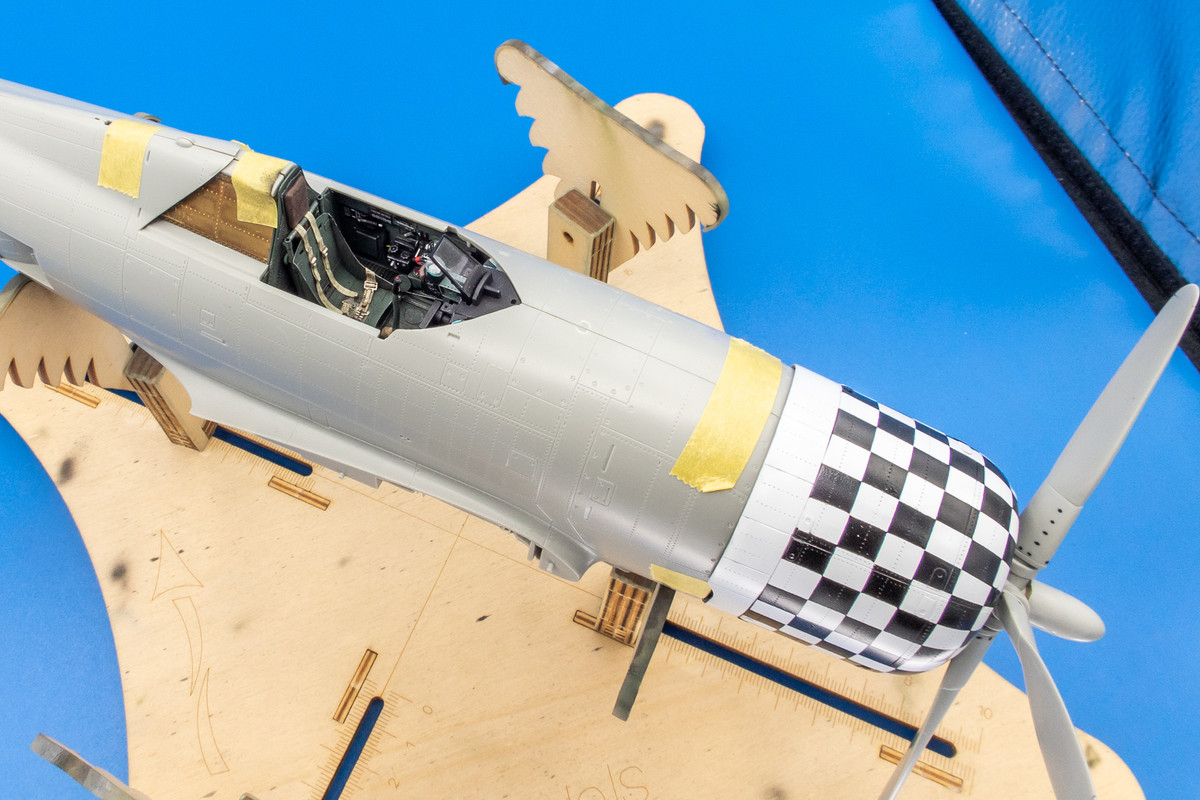
Have a Very Merry Christmas, everyone!
My intention was to have the engine, prop and cowling all removable. But with the breakage of the engine frame and the fact that the engine frame kinda pops into place on the raised ridges of the cowling flaps, I'm very wary of removing the engine from the cowling and will try to minimize my attempts. But here the engine is attached to fuselage without the cowling.
The cowling is nudged into place and we can affirm that the fit and alignment is still very good. The added engine pieces don't interfere with the cowling fit.
With the cowling in place, the engine is very difficult to see.
But... we can always remove the prop to get a better view.
With the cockpit added...
Have a Very Merry Christmas, everyone!
John aka JKim
-----------<><
-----------<><
-
Stikpusher

- Moderator
- Posts: 21383
- Joined: Sat Apr 05, 2014 8:37 pm
- Location: Ceti Alpha 5
Re: Trumpeter P-47D Razorback "Eileen"
Merry Christmas John! All the new work looks great, but the checkered cowling is just so outstanding! Bravo!
"Surely I have made my meaning plain? I intend to avenge myself upon you, Admiral. I have deprived your ship of power, and when I swing 'round, I intend to deprive you of your life."
FLSM
FLSM
-
tempestjohnny

- Elite Member
- Posts: 3825
- Joined: Sat Oct 15, 2016 4:51 am
- Location: Naples. FL
Re: Trumpeter P-47D Razorback "Eileen"
Stikpusher wrote: ↑Sat Dec 24, 2022 11:23 pm Merry Christmas John! All the new work looks great, but the checkered cowling is just so outstanding! Bravo!


Re: Trumpeter P-47D Razorback "Eileen"
tempestjohnny wrote: ↑Sun Dec 25, 2022 4:09 amStikpusher wrote: ↑Sat Dec 24, 2022 11:23 pm Merry Christmas John! All the new work looks great, but the checkered cowling is just so outstanding! Bravo!
To make each build less crappy than the last one. Or, put another way, "Better than the last one, not as good as the next one!"..
-
BlackSheep214

- Elite Member
- Posts: 13596
- Joined: Sun Apr 06, 2014 8:47 pm
Re: Trumpeter P-47D Razorback "Eileen"
Looking pretty fantastic. I love the checkered cowling too.
“Who controls the skies, controls the fate of this Earth”
Author unknown- 352nd Fighter Group, Blue-Nosed Bastards of Bodney
“Send one plane it’s a sortie; send two planes it’s a flight; send four planes it’s a test of airpower. - Richard Kohn
Author unknown- 352nd Fighter Group, Blue-Nosed Bastards of Bodney
“Send one plane it’s a sortie; send two planes it’s a flight; send four planes it’s a test of airpower. - Richard Kohn
Re: Trumpeter P-47D Razorback "Eileen"
John, you are a magician!
You do fabulous explanations and photos to accompany the work.
BUT, I need to (or more politely, would love to see) a video of you doing some of the detail work that you do. You explain it very well, but I guess I am a visual learner.
Merry Christmas, John.
You do fabulous explanations and photos to accompany the work.
BUT, I need to (or more politely, would love to see) a video of you doing some of the detail work that you do. You explain it very well, but I guess I am a visual learner.
Merry Christmas, John.
To make each build less crappy than the last one. Or, put another way, "Better than the last one, not as good as the next one!"..
Re: Trumpeter P-47D Razorback "Eileen"
Thanks guys! Pretty happy with the way that the checkers turned out too.
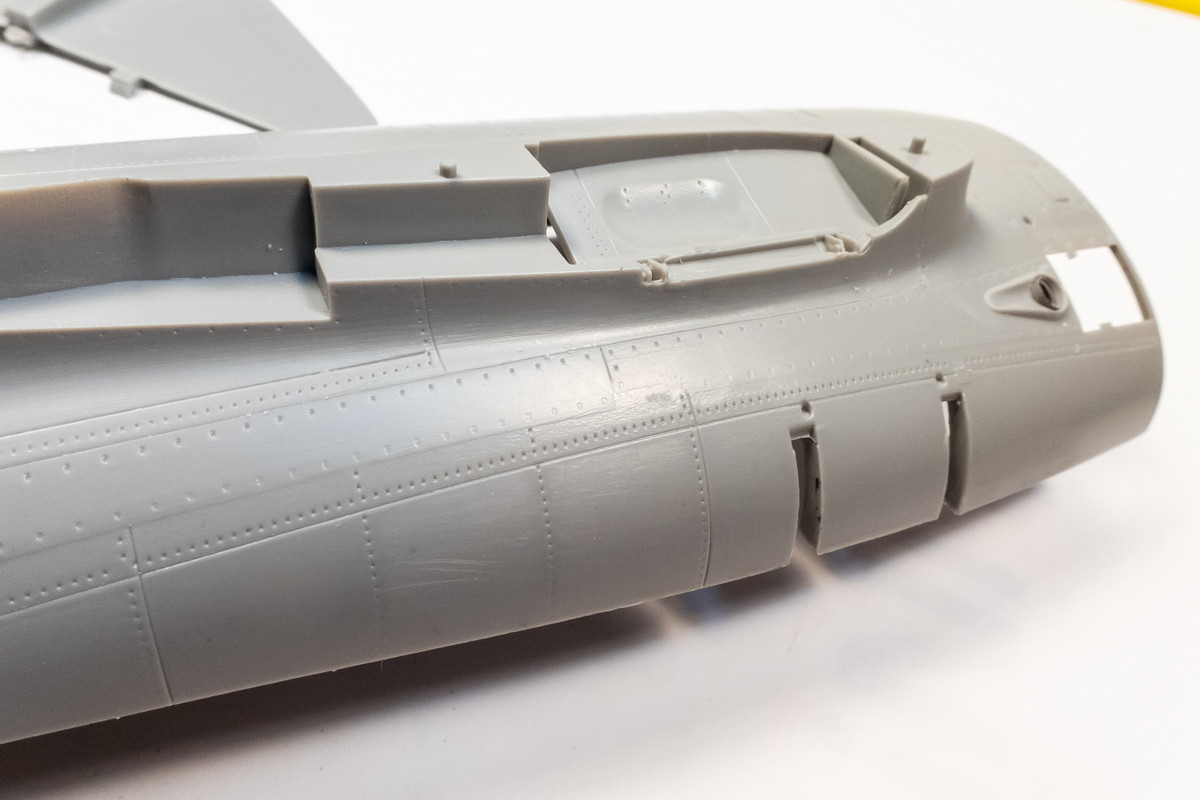
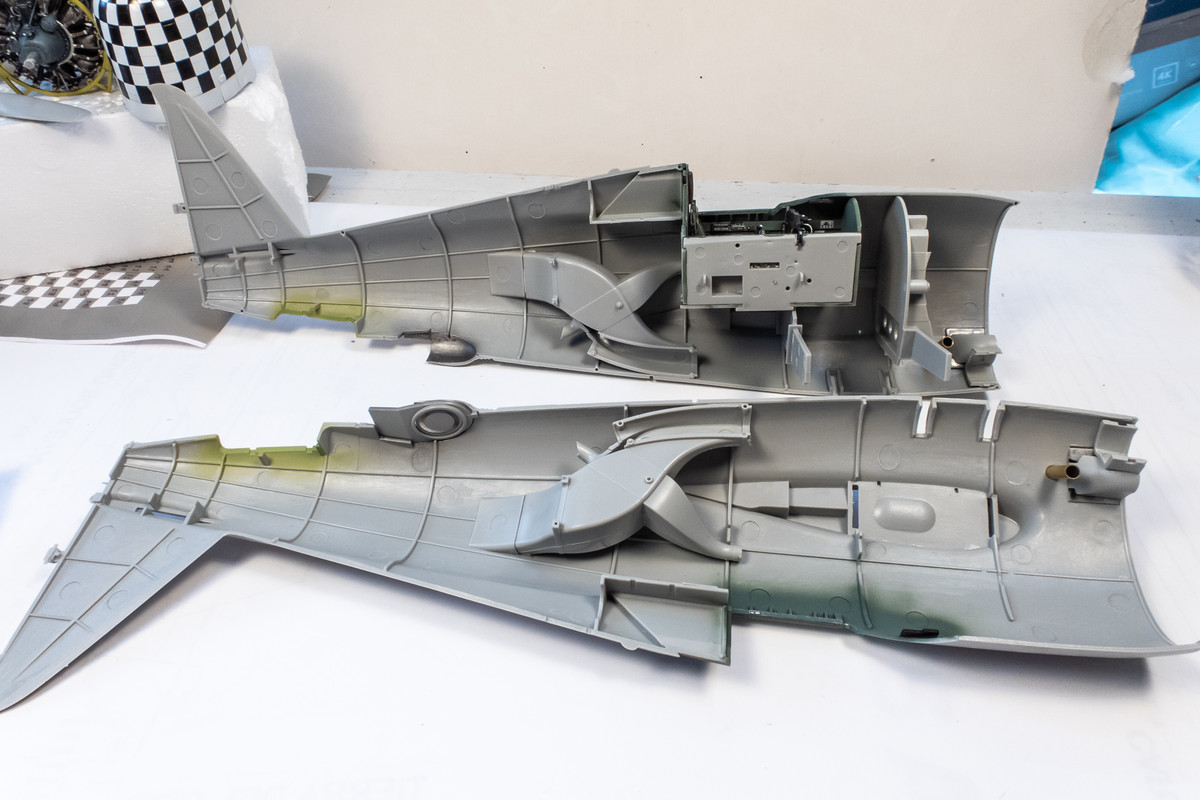
I've been spending most of the last few days working on the fuselage as I prepare to glue the halves together. The exhaust waste gates were fabricated from punched discs of brass sheeting and glued into the open position.

There are some molded details on the fuselage bottom that are not well defined that needed some attention with my scriber and rivet needle.
Here are the internal components that I am going to install within the fuselage.
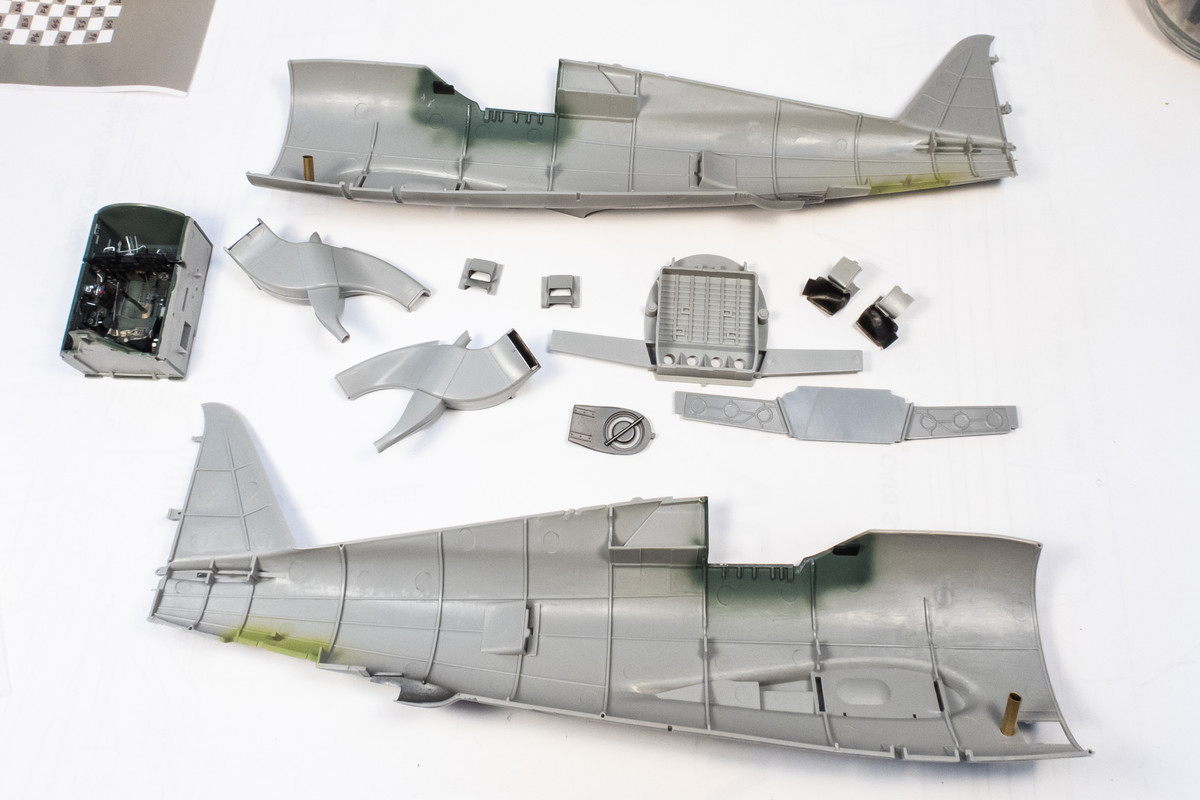
The fuselage is now glued together. Fit is very good!
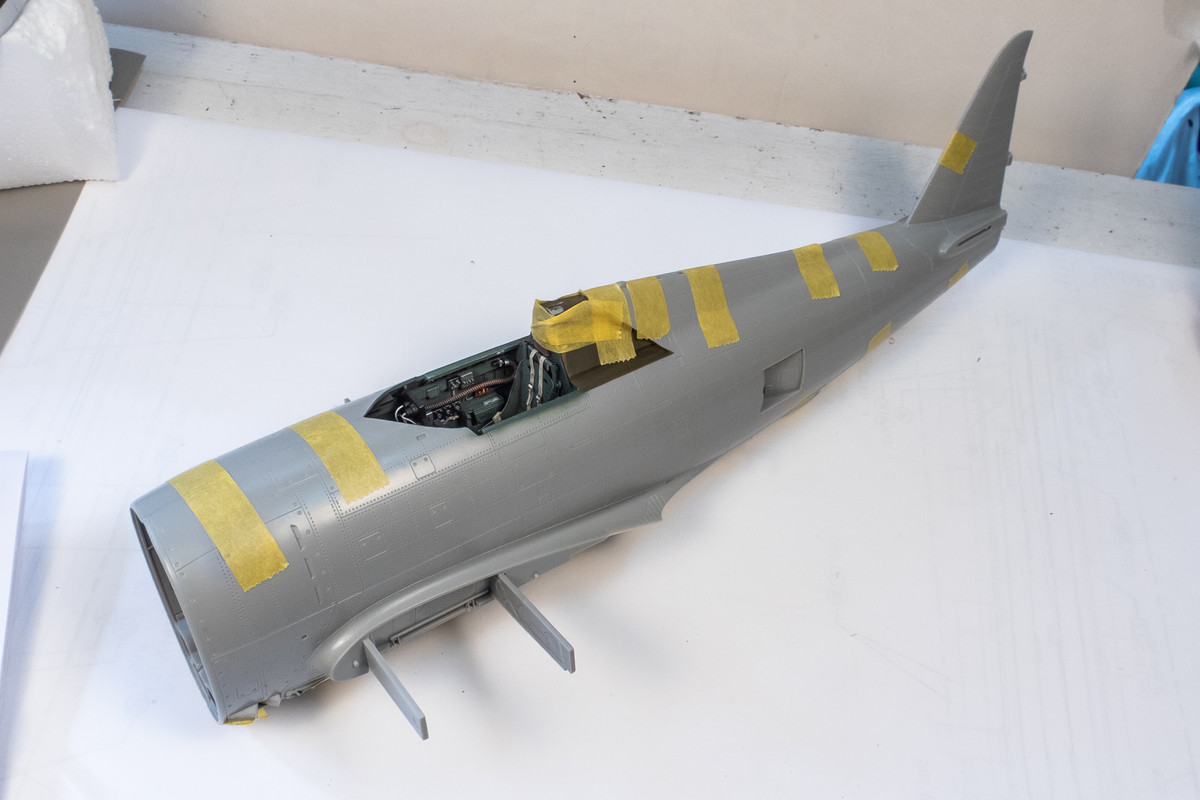
Taking my time cleaning up the fuselage seams
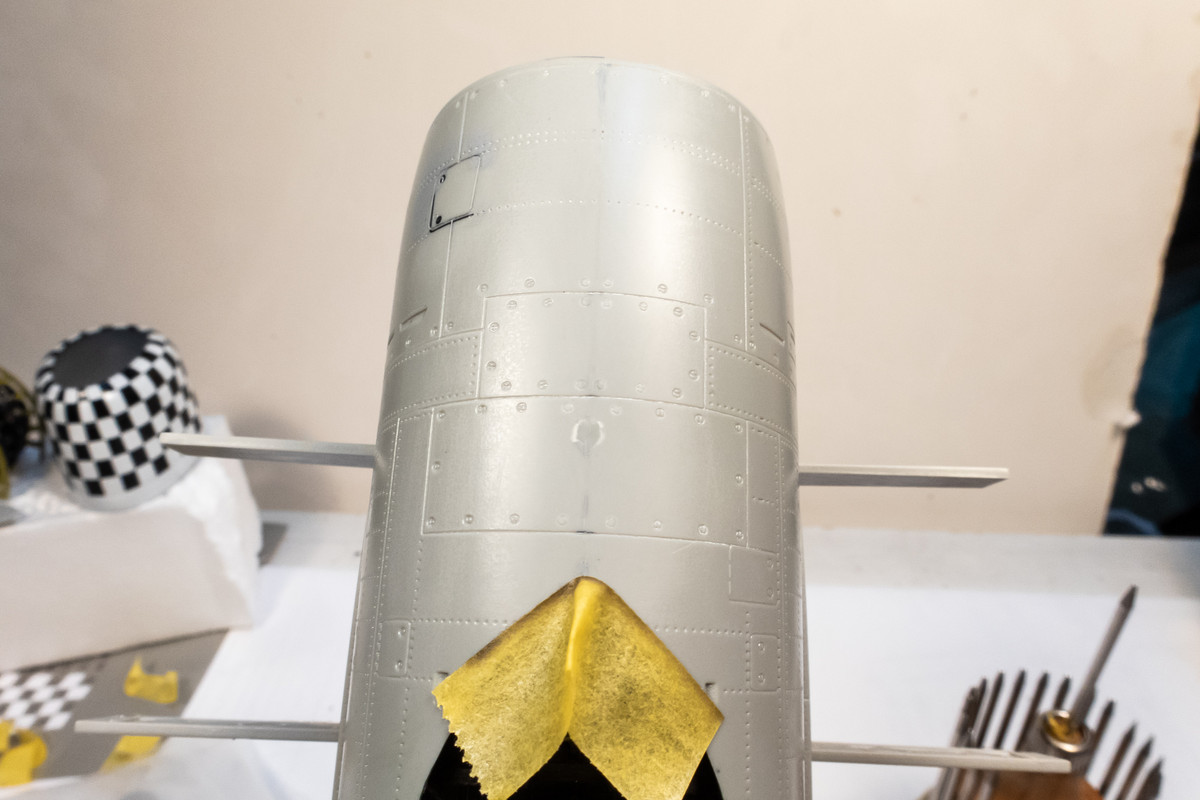
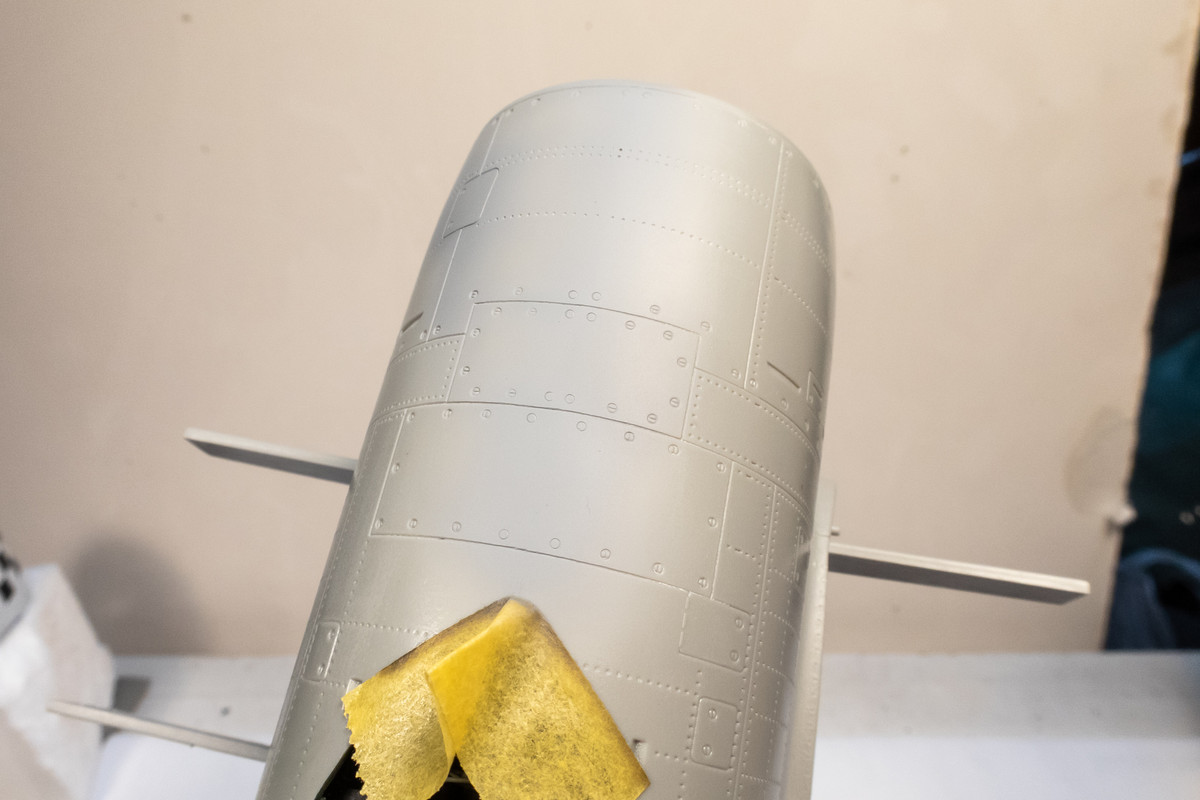
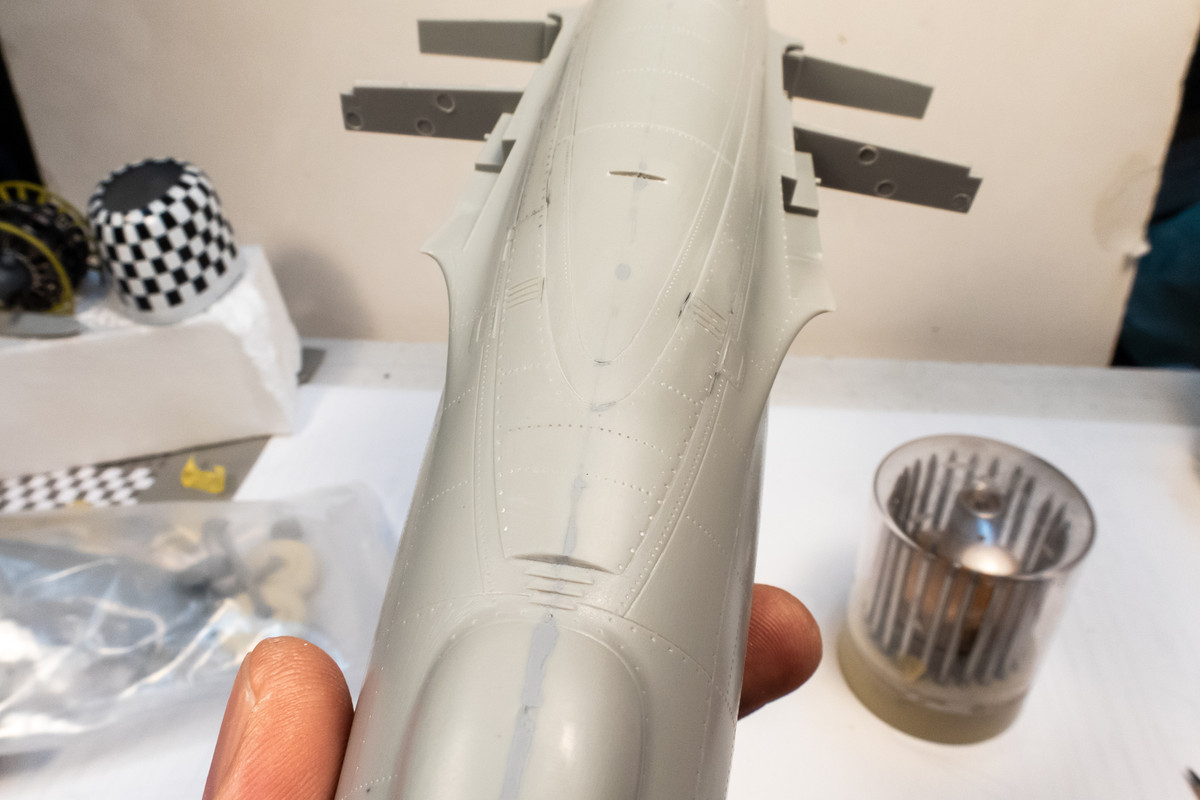
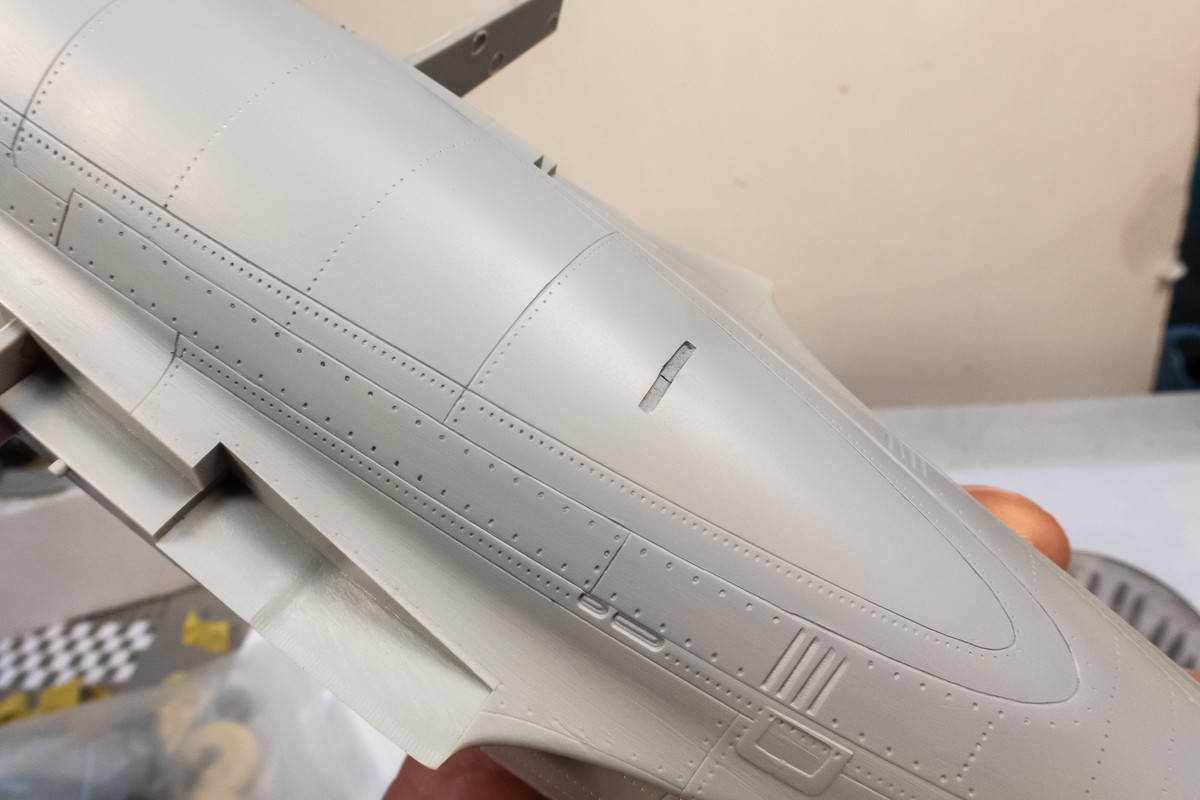
I've been spending most of the last few days working on the fuselage as I prepare to glue the halves together. The exhaust waste gates were fabricated from punched discs of brass sheeting and glued into the open position.
There are some molded details on the fuselage bottom that are not well defined that needed some attention with my scriber and rivet needle.
Here are the internal components that I am going to install within the fuselage.
The fuselage is now glued together. Fit is very good!
Taking my time cleaning up the fuselage seams
John aka JKim
-----------<><
-----------<><
Re: Trumpeter P-47D Razorback "Eileen"
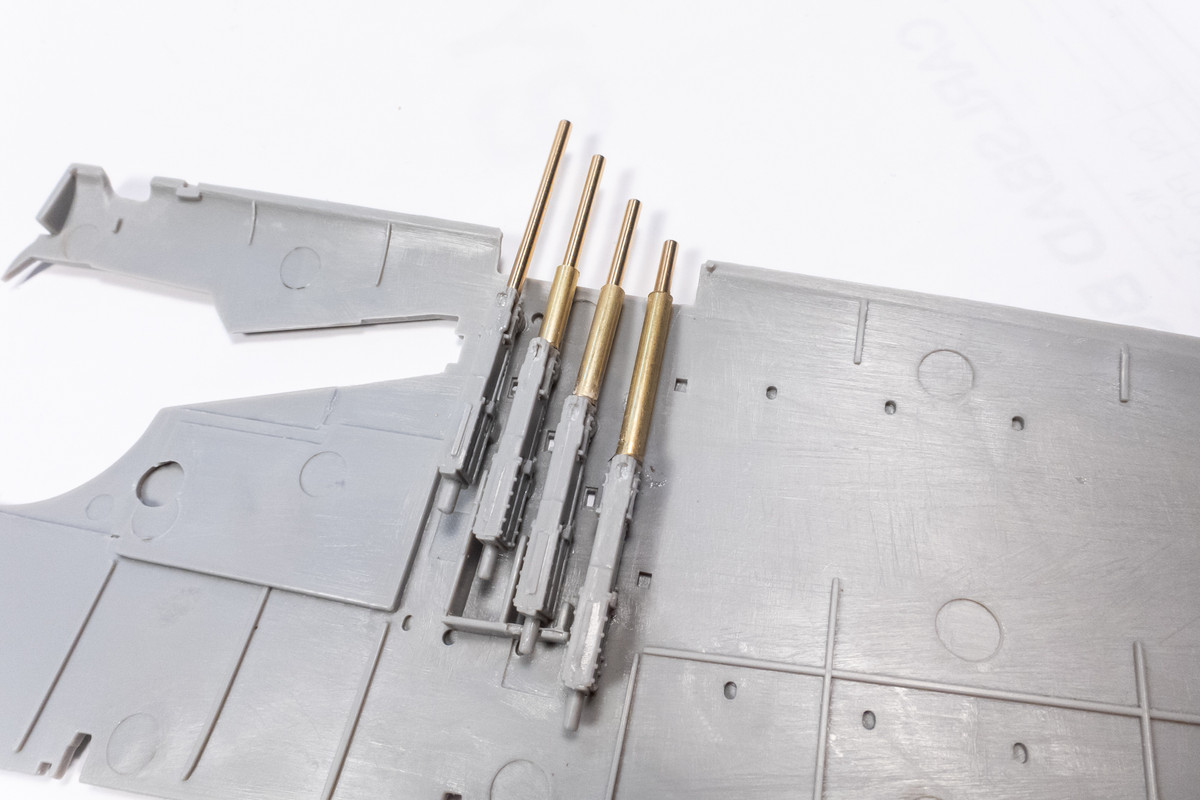
Waiting for the Mr Surfacer to dry on the fuselage gives me an opportunity to look at the wing guns. I want to be able to install the gun blast tubes at the very end. They are designed to be glued into the gun bodies before the wing halves go together, which would make cleaning up the wing seams more complicated and painting the blast tubes a pain. There is a raised ring around the rear end of both the kit and brass tubes that prevent them from being inserted from the outside so these need to be ground off.
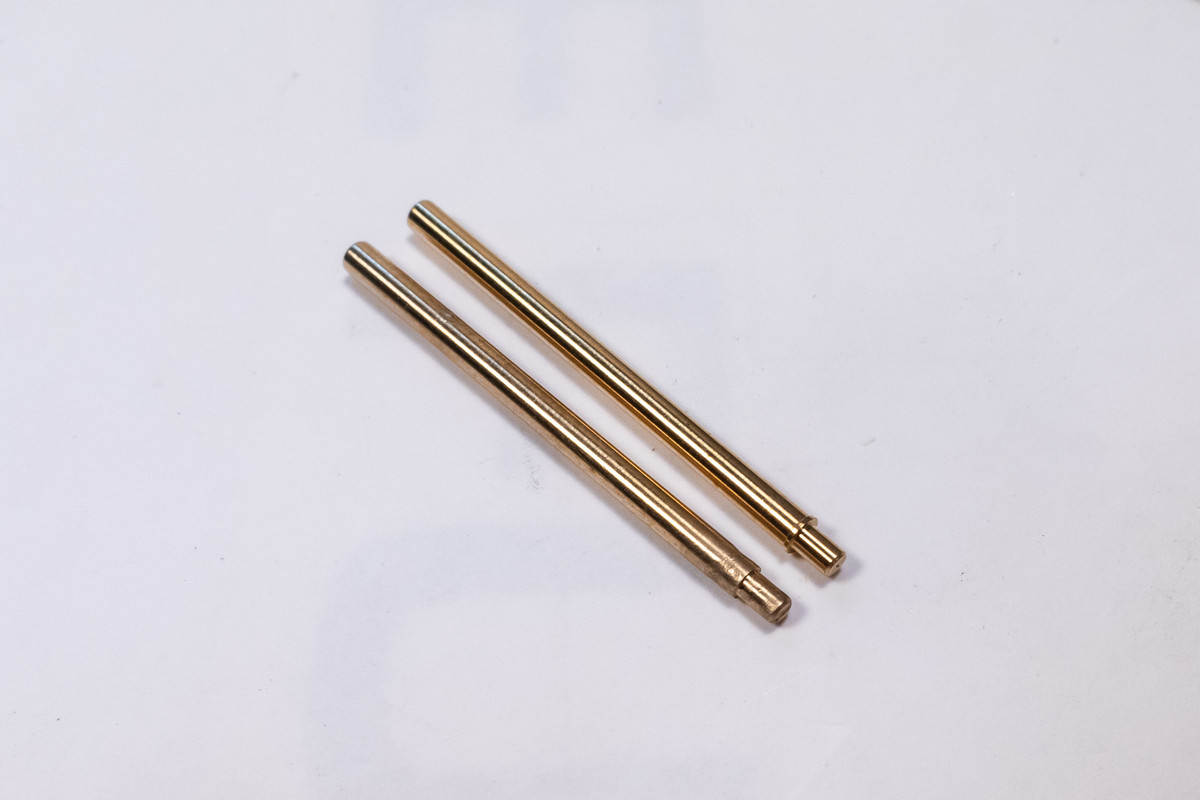
Pushing the blast tubes into into the correct hole in the gun body is difficult, especially for the gun bodies further away from the wing leading edge. So I'm using sections of brass tubing as insertion guides for each blast tube. The innermost gun position doesn't need a guide tube since it is located so close to the leading edge.
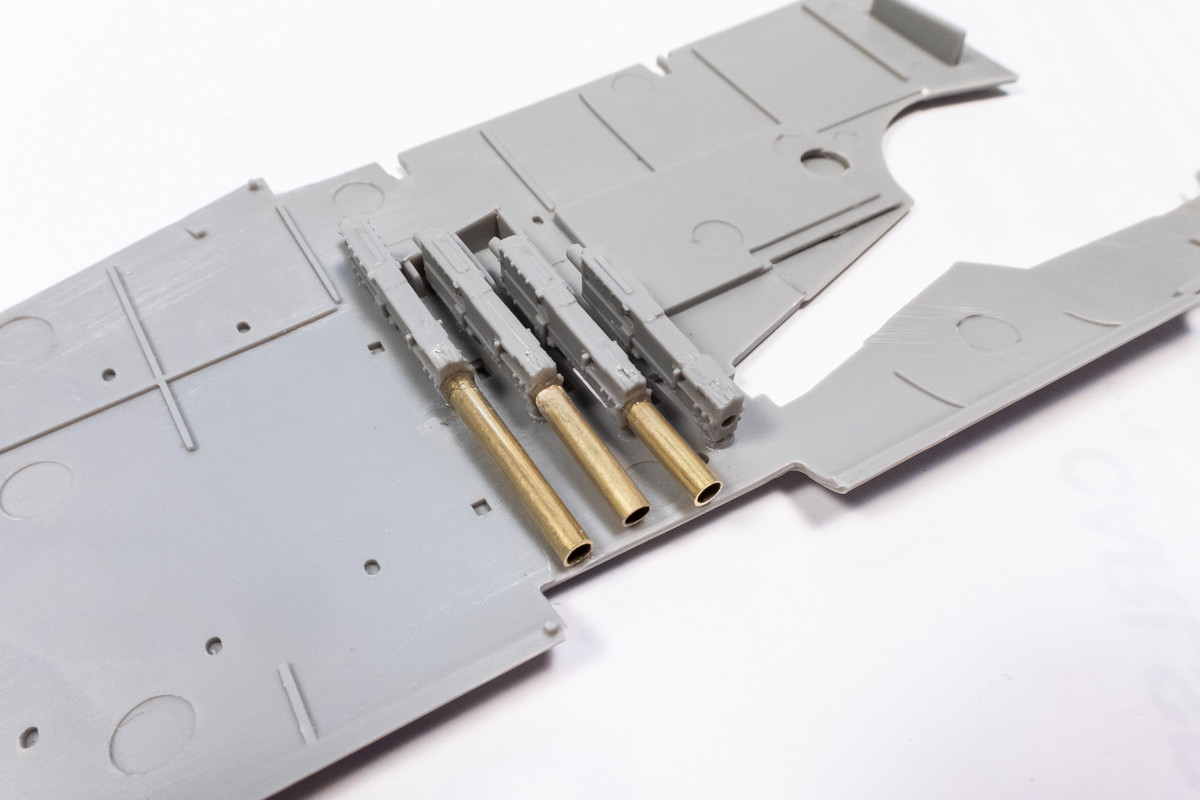
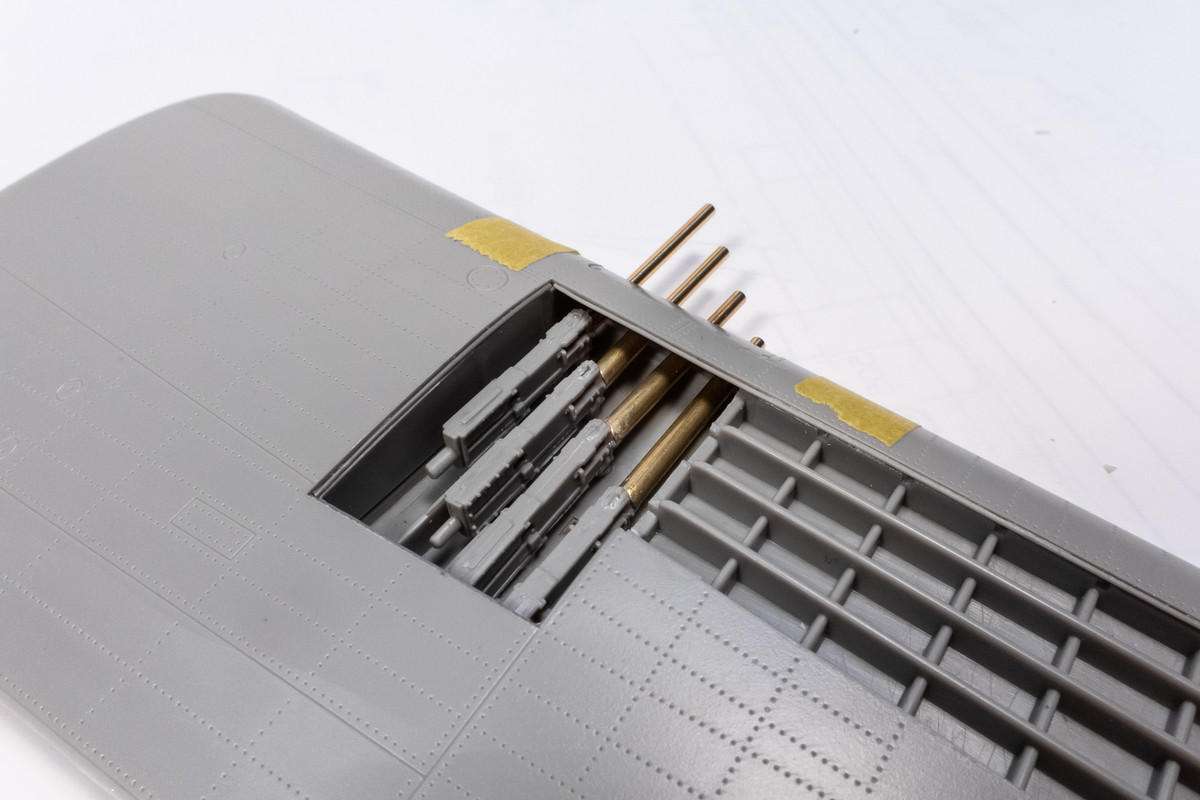
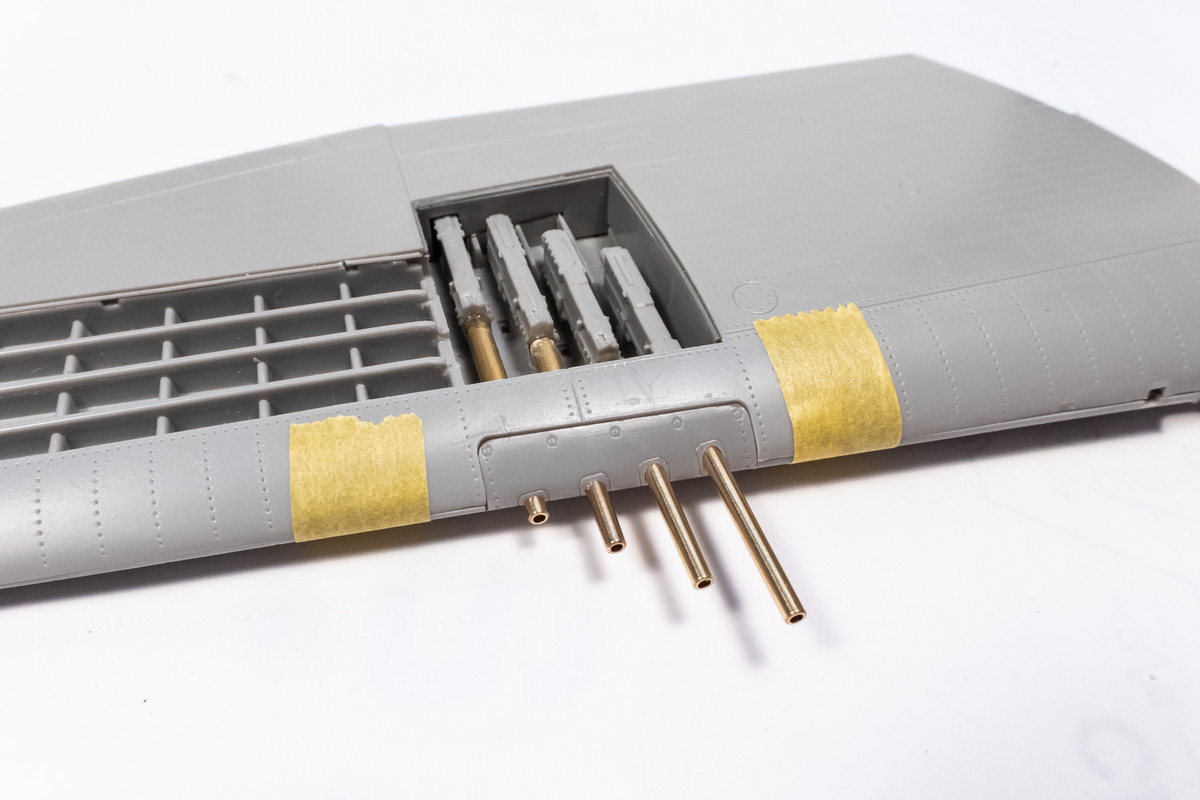
The gun blast tube can now be inserted into place from the outside. I can close up the panels over the gun stations and start thinking about wiring in the wheel wells.
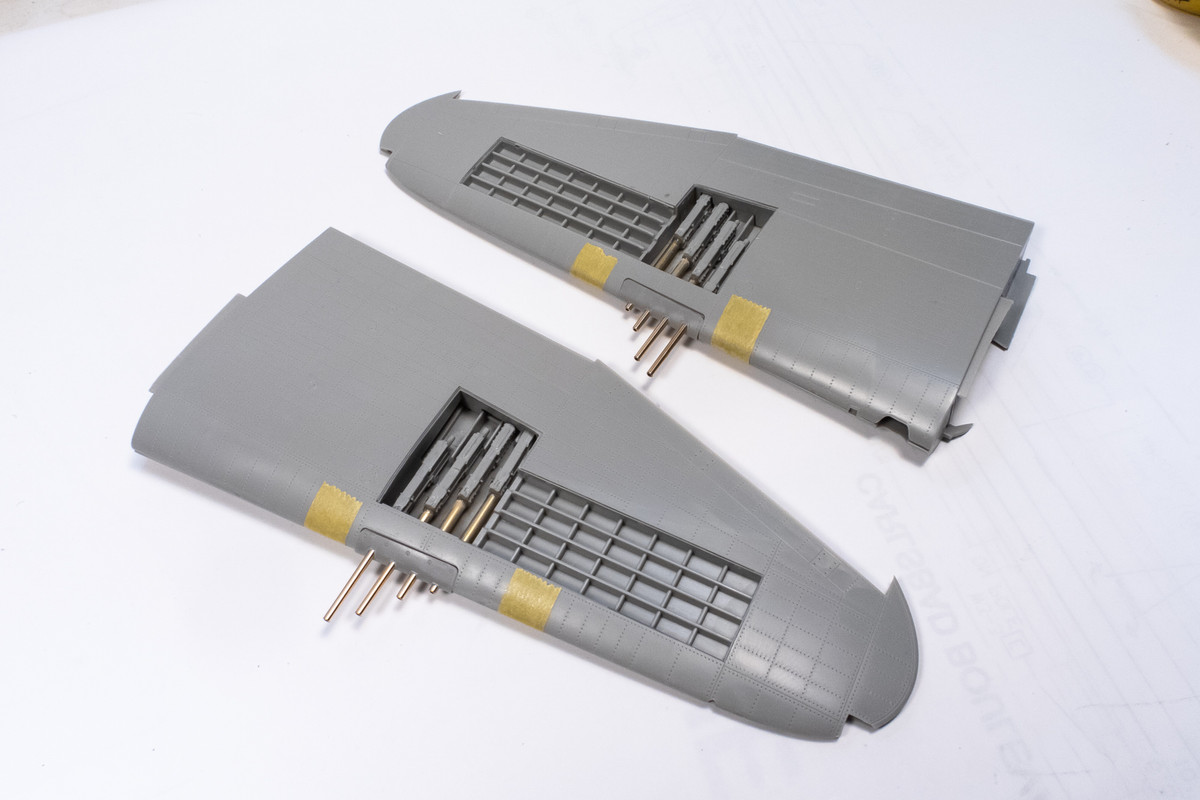
Pushing the blast tubes into into the correct hole in the gun body is difficult, especially for the gun bodies further away from the wing leading edge. So I'm using sections of brass tubing as insertion guides for each blast tube. The innermost gun position doesn't need a guide tube since it is located so close to the leading edge.
The gun blast tube can now be inserted into place from the outside. I can close up the panels over the gun stations and start thinking about wiring in the wheel wells.
John aka JKim
-----------<><
-----------<><