Okay, here's something for HAL to look at!


Now I finally have a bit of time to get some progress posted. It's been Decal Week at Maddog Manufacturing, as it's been too hot to shoot paint.
Here's my aircraft first...
I pulled out the decals for the Boeing 737 and got two thirds of them on. I had a lot of issues, especially since they were so delicate and broke quite a bit, despite my coating them with a couple coats of Liquid Decal Film. You can see where some parts shattered and the seams where they broke. Hey, they are ancient Aurora decals so I went into this with expectations that this would happen. Still, I tried to get these as close to perfect as possible, but I'm gonna have to settle for this as it is. Later I'll try to touch these up with paint:
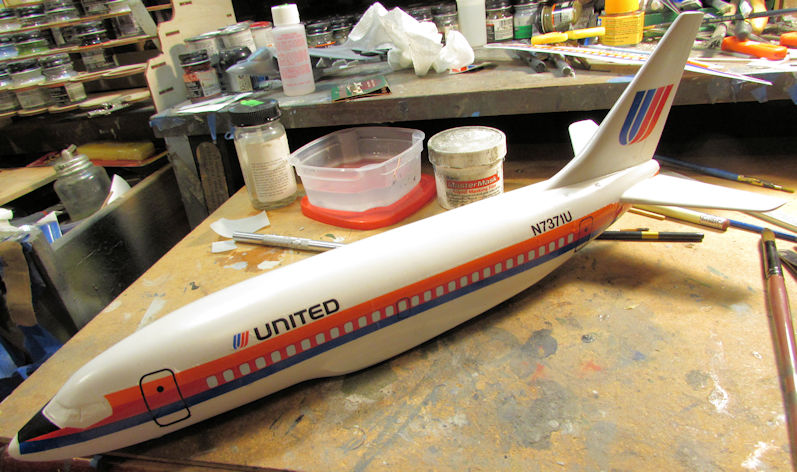
Later I'll get the other side on when I have finished shooting another gloss coat on this to seal these in.
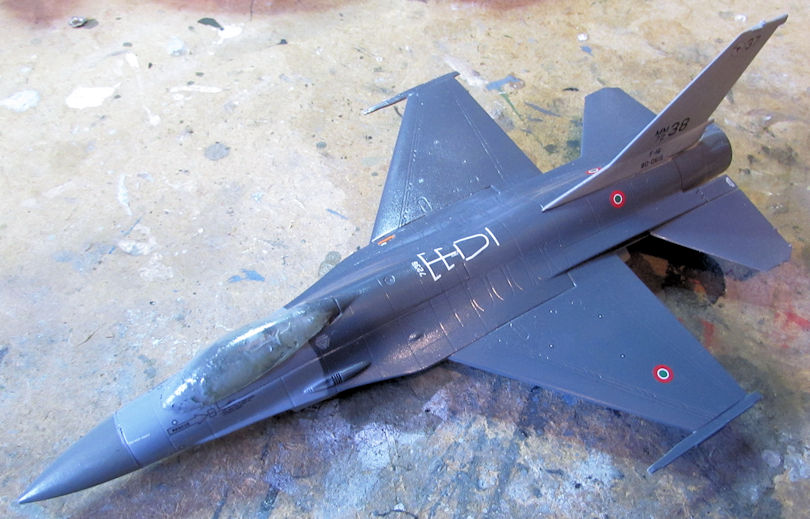
Moving on, I got the decals on my two Italian aircraft. The F-16 was the easiest:
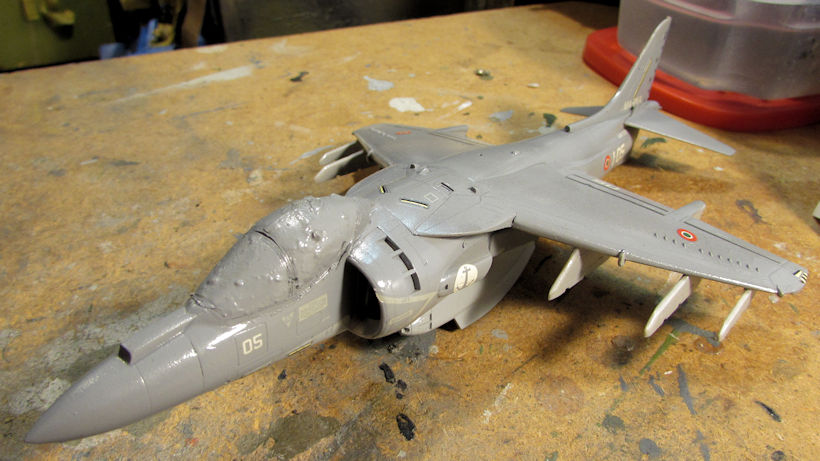
Then I got the decals on the Italian Harrier:
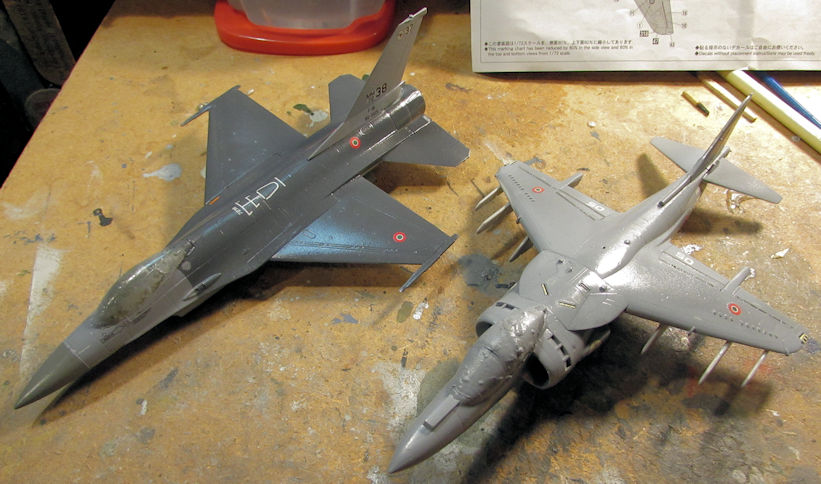
Now I got my two Italian aircraft approaching the finish line....
Next up were a couple helicopters I added decals to. This first helicopter had a total of six (6!) decals just on the nose. These were the first three that I added:
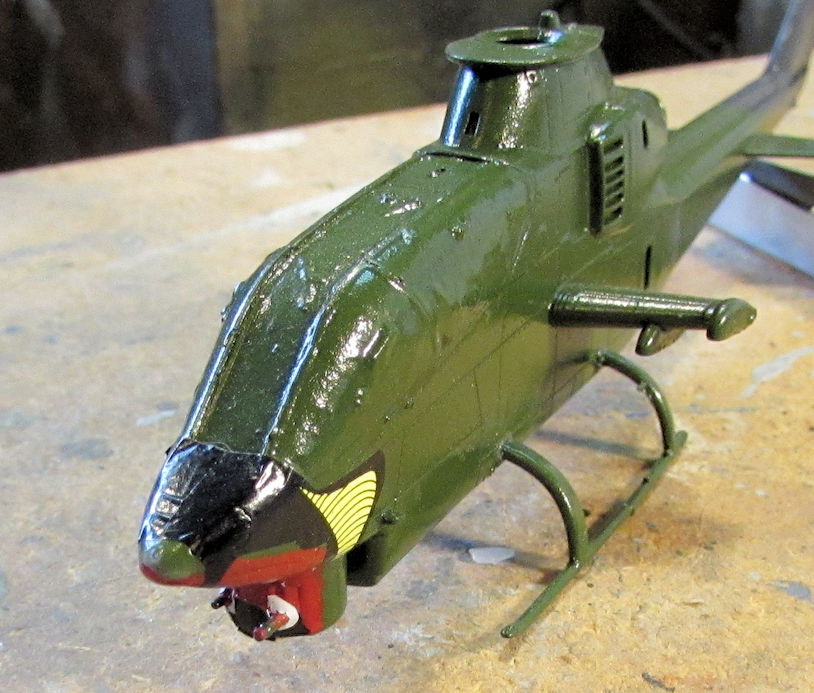
You can see where I had to punch the guns through the bottom one. The next two decals then went on over these:
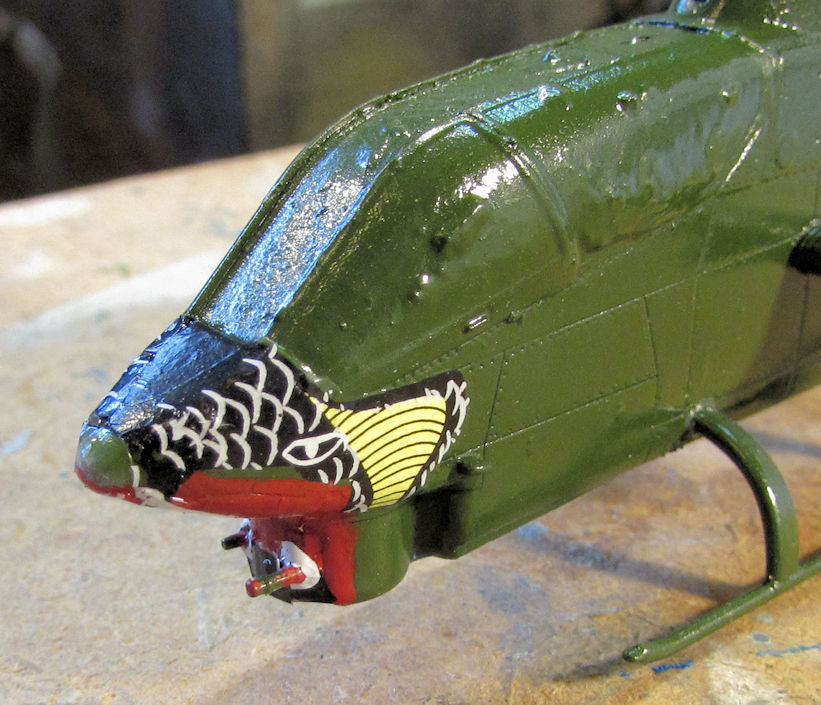
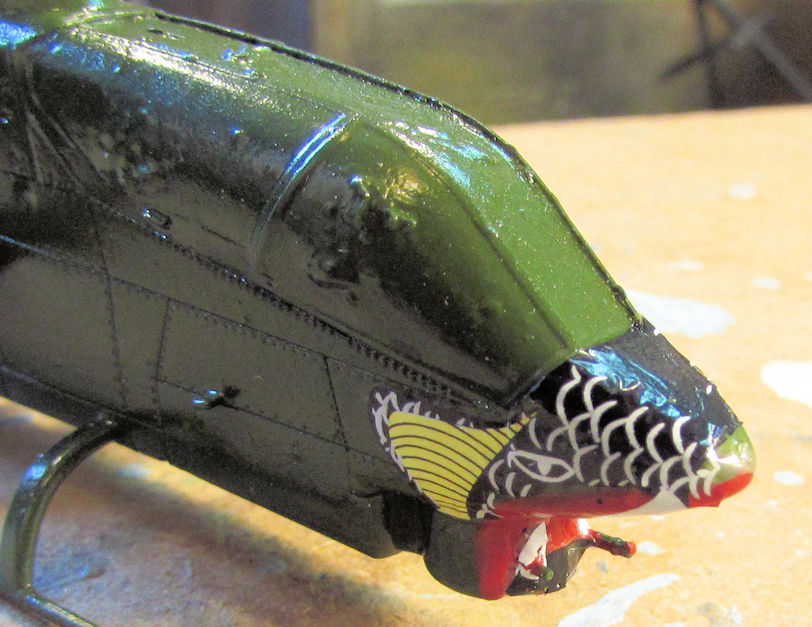
Finally, the last decal was added to the top of the nose:
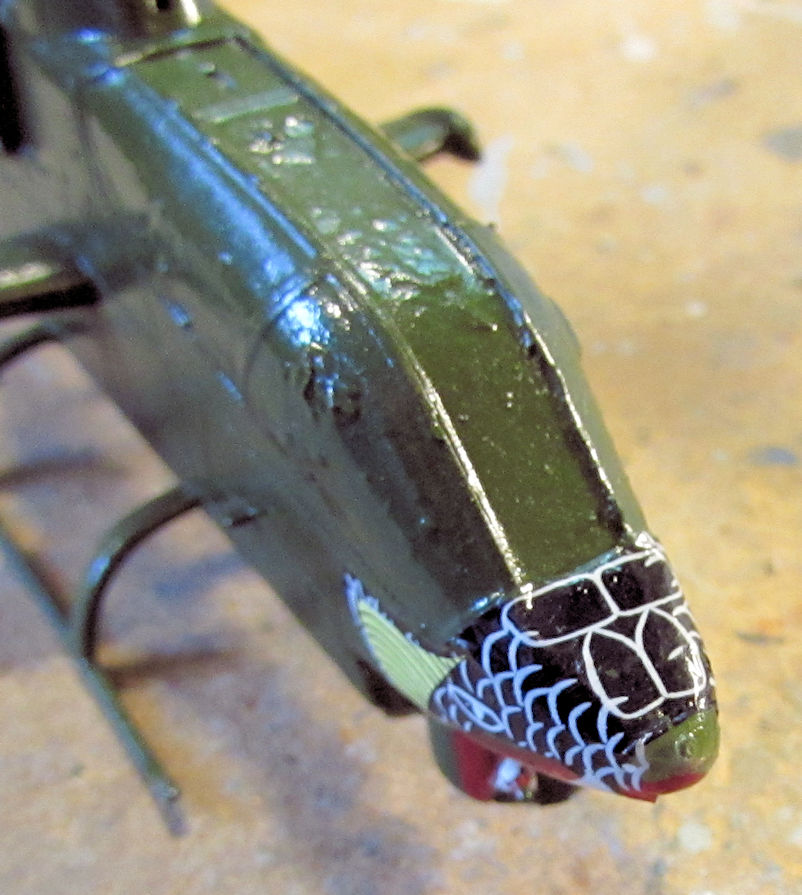
I went on to complete the decals for this helicopter, but apparently forgot to take the pics of the fully decaled bird. Next update.....
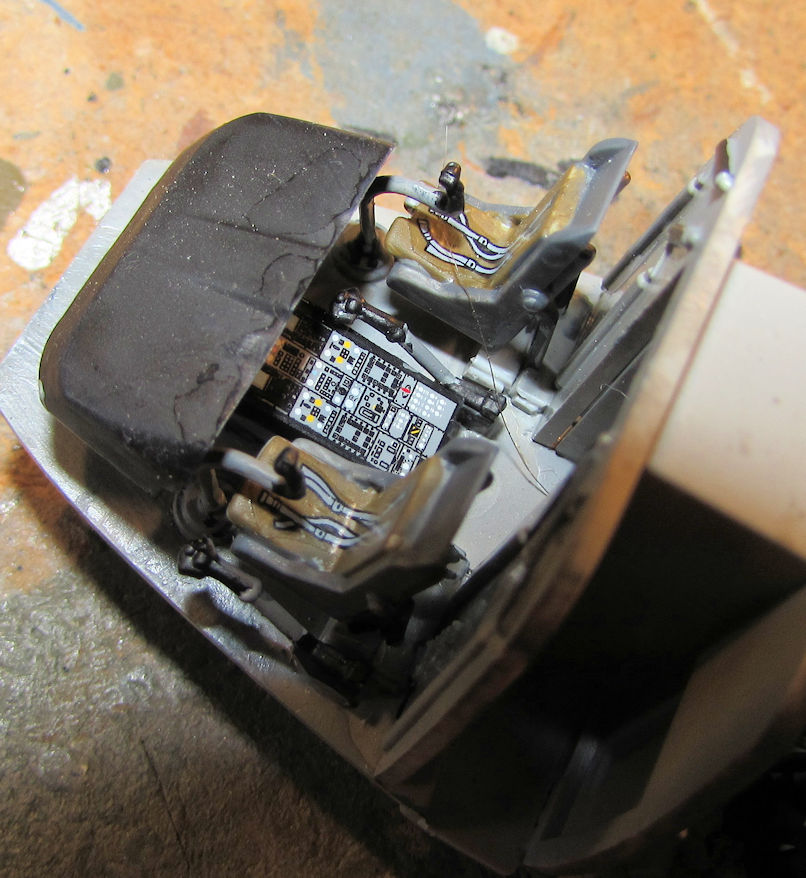
The second helicopter is my EH-101 Merlin that I finally added the interior decals to. There were a lot and I like how they look. First is the seatbelts and center console on the cockpit:
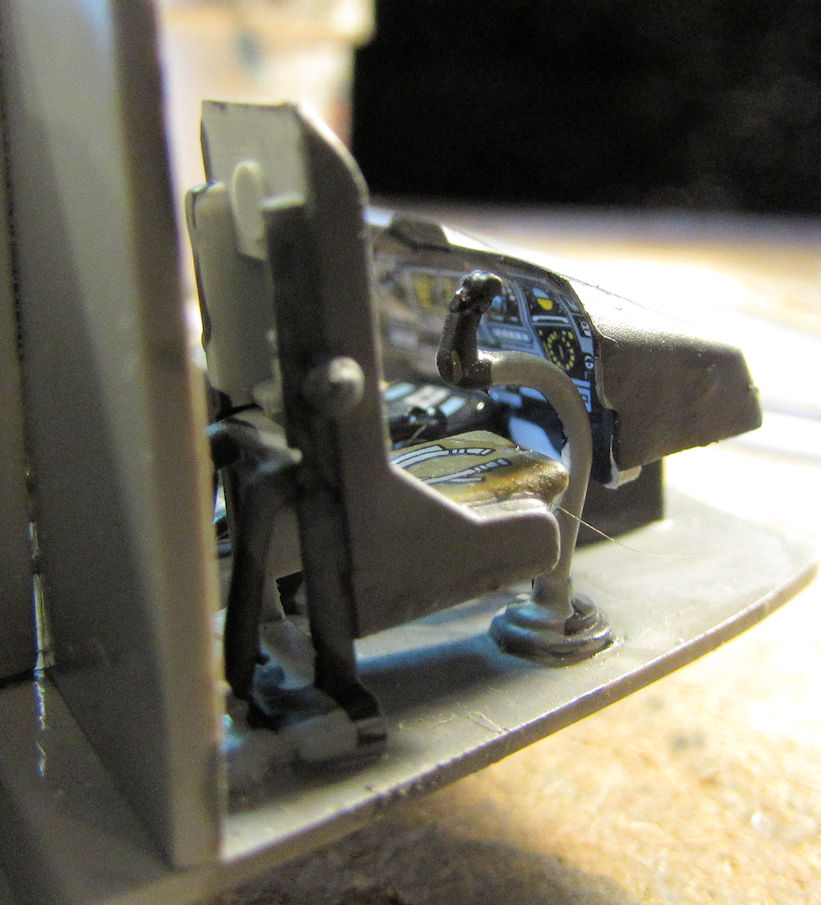
Then I added the main instrument panel to the front. It was tough getting it in there, but I succeeded:
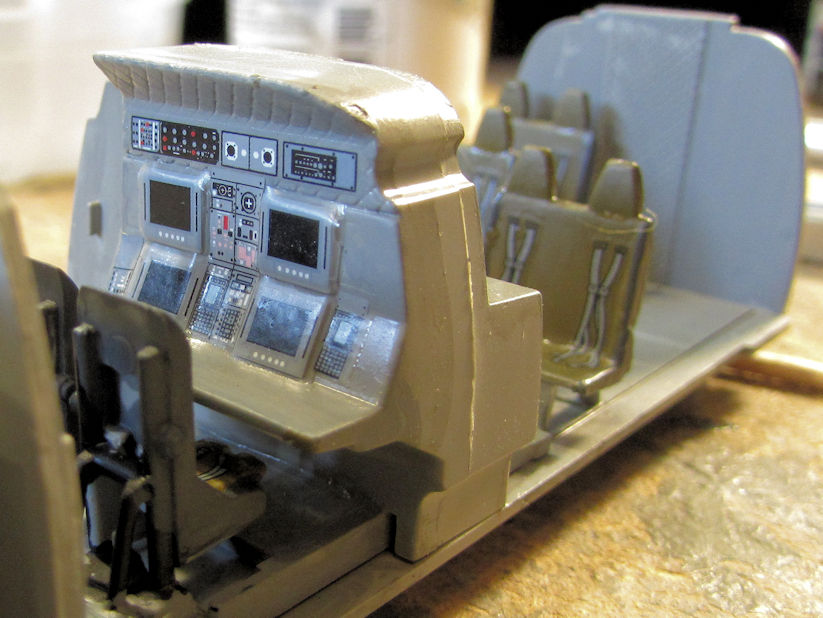
Next up was the anti-submarine operator's panels and the seatbelts for their chairs as well as the passenger chairs:
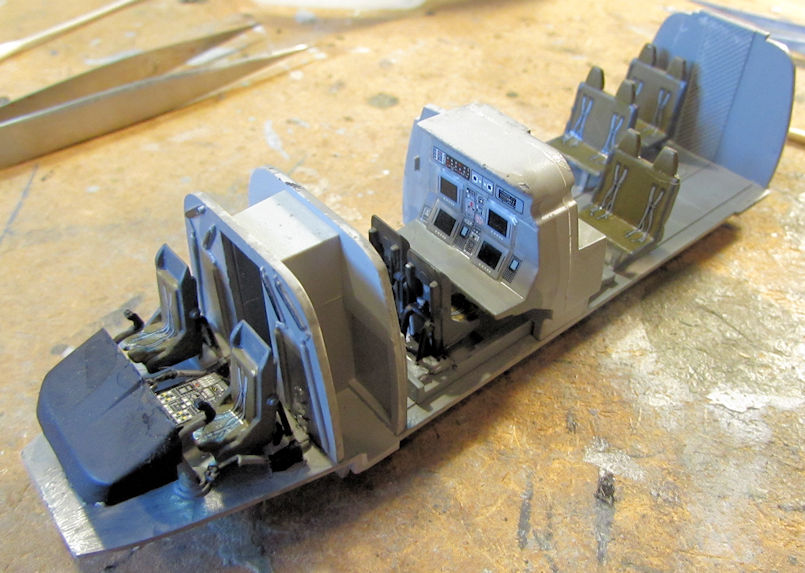
Finally, here's an overhead shot of the whole interior:
Now I've already added the windows to the fuselage halves and now I can close this up inside. Yes, I will leave some of the doors open to show some of this incredible interior.
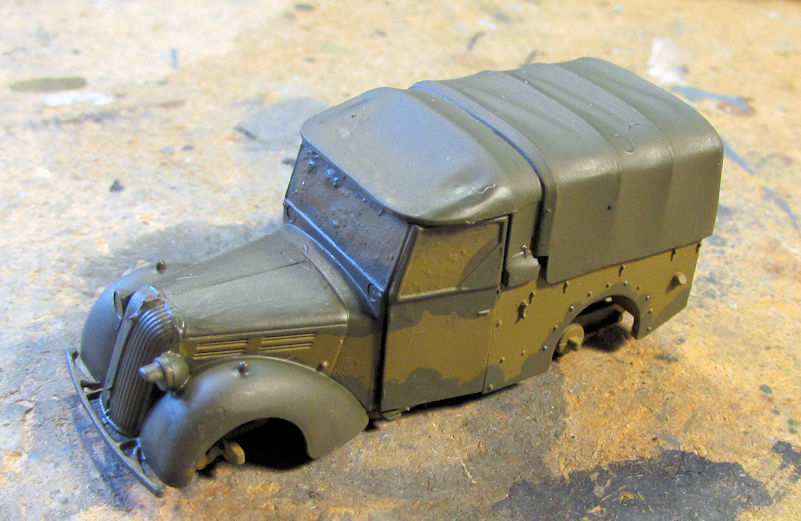
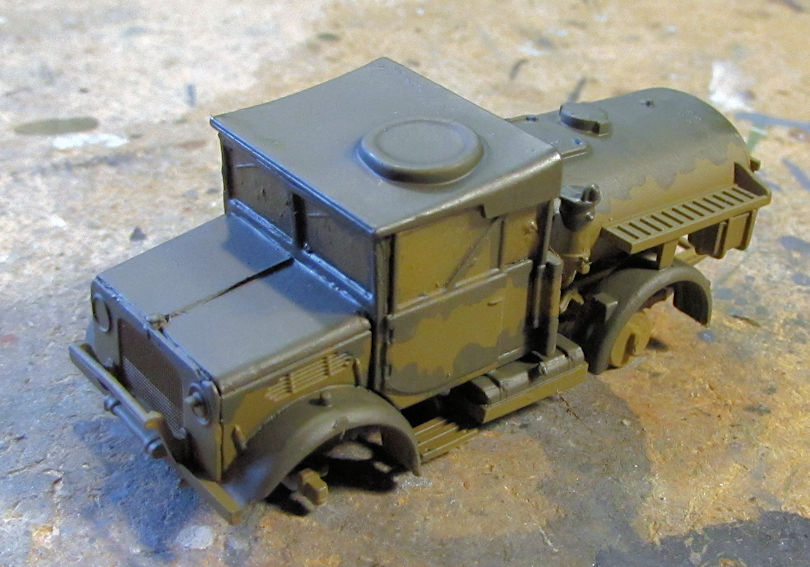
Moving on to my armor, I managed to get some brush painting done on my RAF Airfield vehicles. It was easier to brush paint the darker camo pattern on these instead of masking and spraying.
First the Tilly:
Then the Bedford tanker:
On the rest of my vehicles I got all of the decals done. I now have at least three armor/vehicle models approaching the finish line.
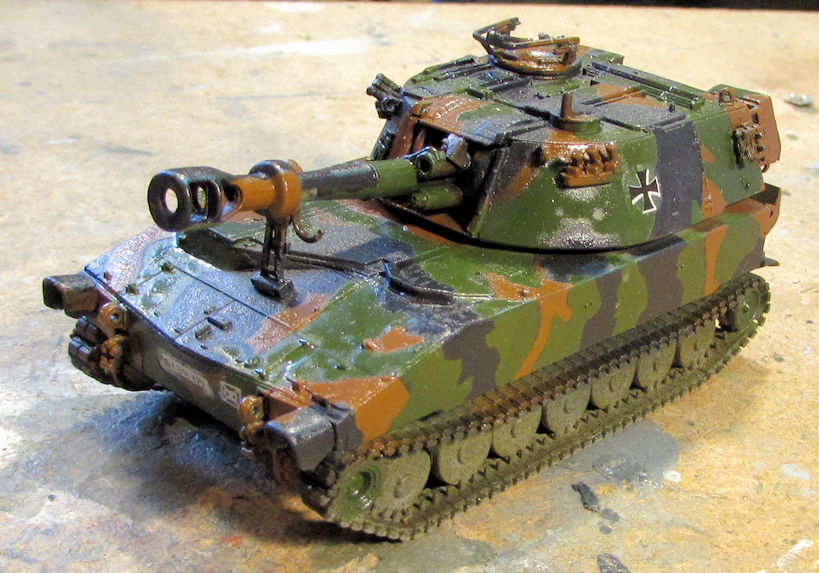
First off, I got the decals on my German M-109. They aren't accurate as I had to steal them from an old decal sheet from an M-113 APC model I'd built a couple decades ago. I'd lost the decal sheet to this model and; instead of trying to contact Revell of Germany during their transition, or search forever trying to find them, I just moved on as best I could. I'm so tired of being delayed by such crappy, avoidable setbacks!
Here it is looking acceptable enough:
Next I added the decals to the German MAN truck. They only went on the front and back:
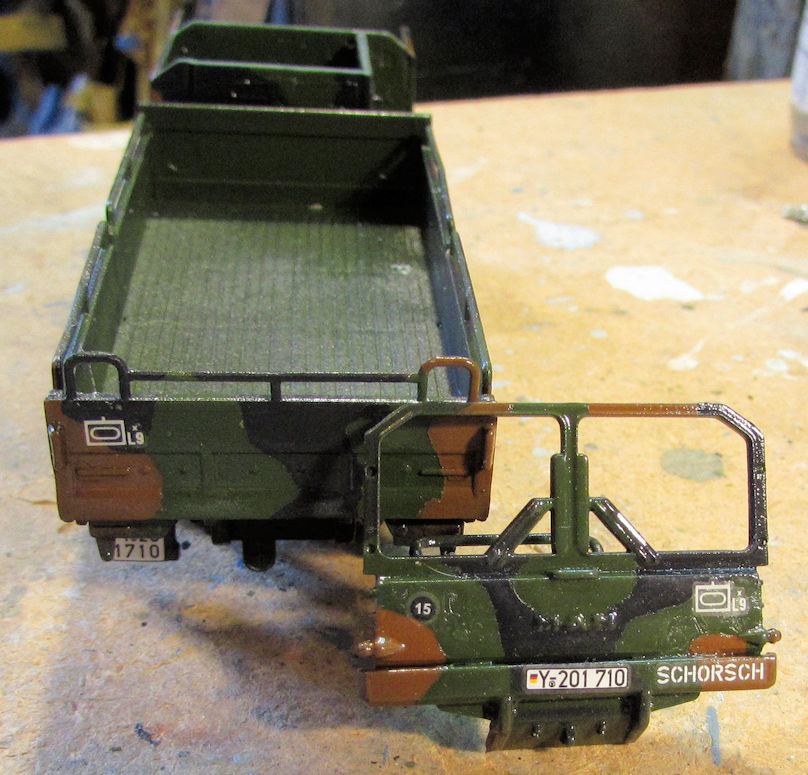
I already fixed that decal that silvered....
Finally the British Vauxhall ambulance got all the decals applied to this model:
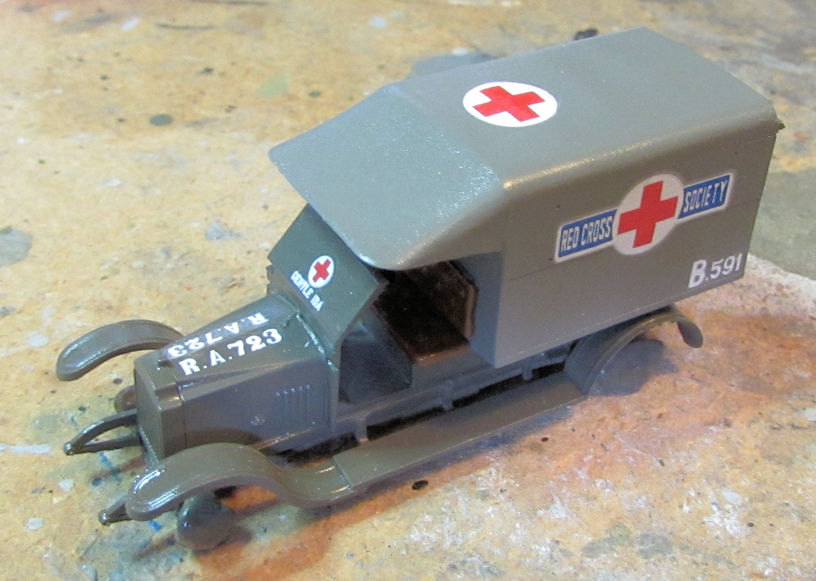
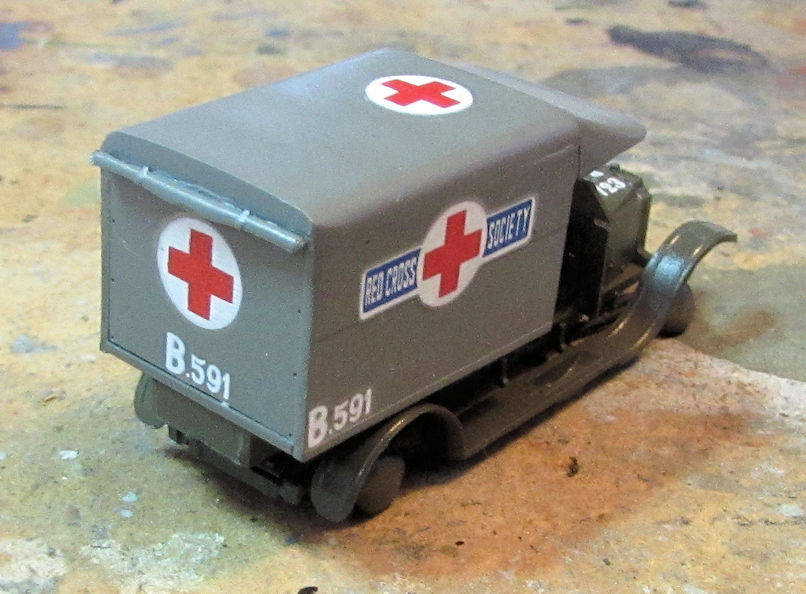
That is now ready for the final detail parts and painting do be done. I might even have a few of these ready for Phoenix!
That's as far as I got so far this week. Next week might be a non-working week as I'll be heading out to the San Diego Comicon for almost all next week. I'm so glad it's all been paid for already! After I get back from that, I will try to dedicate some time to finishing off all these that are so close to being done.
Thanks all for looking in, comments are welcome. Even yours HAL!


