Re: 1/32 Hasegawa Fw190D-9 Red One
Posted: Sat Jun 09, 2018 1:28 pm
Thanks for the kind words everyone! I assume that we all go through this funk at times. For me, just talking about it really helps so I am grateful for the supportive conversation. Yesterday was my daughter's birthday. She spent it mostly with her friends so today we're going out to lunch and then buy her a new iPhone 8 as a b-day gift. I was going to go fishing this morning but my other daughter needed the car so I tentatively stepped into the modeling room for a few hours.
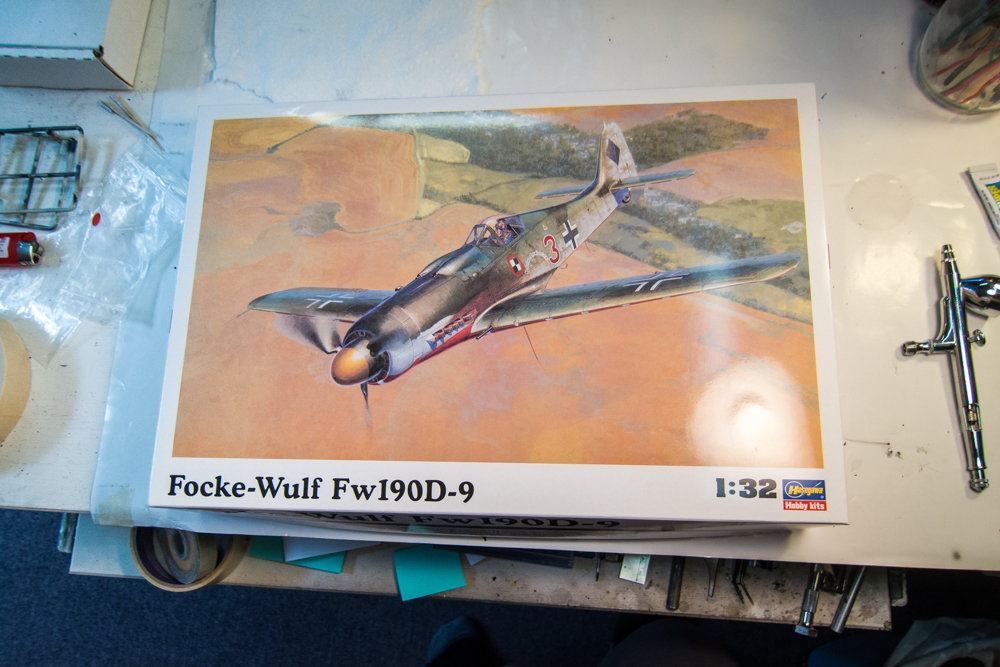
Both the Trumpeter 262 and Hasegawa 190D-9 kits have been boxed up. I opened the Dora kit just to have a look. One thing that had been a minor nag on my mind was the radiator cowling. As you recall, the Quickboost resin replacement was too small and I took the sand paper to the kit cowling to try and replicate the corrected cowl's profile. Did it make any difference?
Original kit (Left) vs Modified kit (Right)

Quickboost (Left) vs Modified kit (Right)

In person, I could see the differences more readily but when I tried to photograph it, the differences seem to shrink away. I've already re-scribed the panel lines and I think I'm satisfied with the changes.
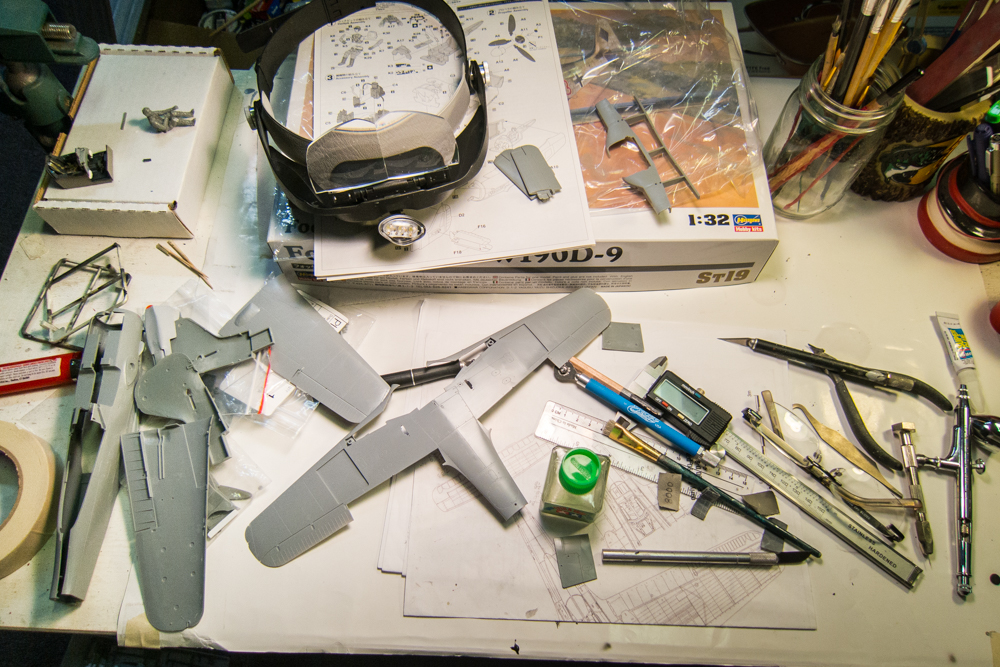
I taped together some of the fuselage components... the modified radiator cowling... the re-shaped gun cowling ... the thinned cowl flaps... and the clear canopy parts. All of the panel lines have been re-scribed in advance of the sanding that will be involved as part of the riveting process. Excellent fit all the way around... looking at this stokes up the desire a bit. The Dora has such a bad-ass shape, don't you think?

Another small issue that I wanted to correct involved the Eagle Editions tail wheel. The wheel and the tail strut are separate, which is great. But popping the wheel onto the strut resulted in scratching of the painted tire on my last build.

So I thought I would replace the mounting posts with a piece of brass tube.

I cut off the mounting posts and cleaned up the strut. Holes were drilled in the strut and through the tire to accept the new brass axle.

I can now mount the tail tire onto the strut without scratching the tire. Aligning the flat spot with the ground will also take care of itself since the tail wheel is free-spinning.


Both the Trumpeter 262 and Hasegawa 190D-9 kits have been boxed up. I opened the Dora kit just to have a look. One thing that had been a minor nag on my mind was the radiator cowling. As you recall, the Quickboost resin replacement was too small and I took the sand paper to the kit cowling to try and replicate the corrected cowl's profile. Did it make any difference?
Original kit (Left) vs Modified kit (Right)
Quickboost (Left) vs Modified kit (Right)
In person, I could see the differences more readily but when I tried to photograph it, the differences seem to shrink away. I've already re-scribed the panel lines and I think I'm satisfied with the changes.
I taped together some of the fuselage components... the modified radiator cowling... the re-shaped gun cowling ... the thinned cowl flaps... and the clear canopy parts. All of the panel lines have been re-scribed in advance of the sanding that will be involved as part of the riveting process. Excellent fit all the way around... looking at this stokes up the desire a bit. The Dora has such a bad-ass shape, don't you think?
Another small issue that I wanted to correct involved the Eagle Editions tail wheel. The wheel and the tail strut are separate, which is great. But popping the wheel onto the strut resulted in scratching of the painted tire on my last build.
So I thought I would replace the mounting posts with a piece of brass tube.
I cut off the mounting posts and cleaned up the strut. Holes were drilled in the strut and through the tire to accept the new brass axle.
I can now mount the tail tire onto the strut without scratching the tire. Aligning the flat spot with the ground will also take care of itself since the tail wheel is free-spinning.






 Seriously John, it's really good to see you back in here again and building on an outstanding aircraft!
