1/32 Special Hobby Hawker Tempest Mk V

Post your work in progress of your aircraft builds in here.
User avatar
jkim
Elite Member
Posts: 4073
Joined: Mon Apr 10, 2017 4:03 pm

Re: 1/32 Special Hobby Hawker Tempest Mk V

Post by jkim »

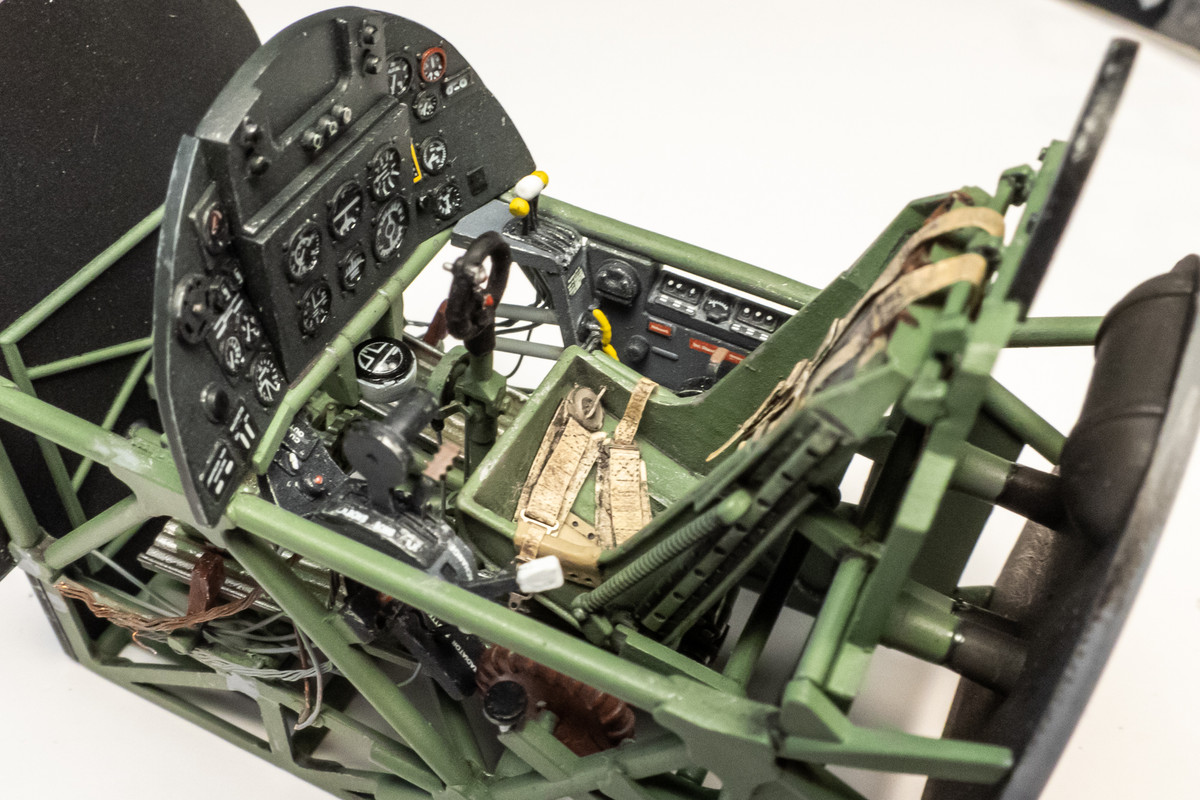
Thanks guys! It's unfortunate that things get covered up but I'm ok with it as I've got a good photo record of the cockpit. This eventuality doesn't stop me from doing what I like to do and that may mean adding detail that won't be seen or noticed. Like this tiny knob on the lap harness, which I forgot to put on but felt compelled to do so now.
Image
Image

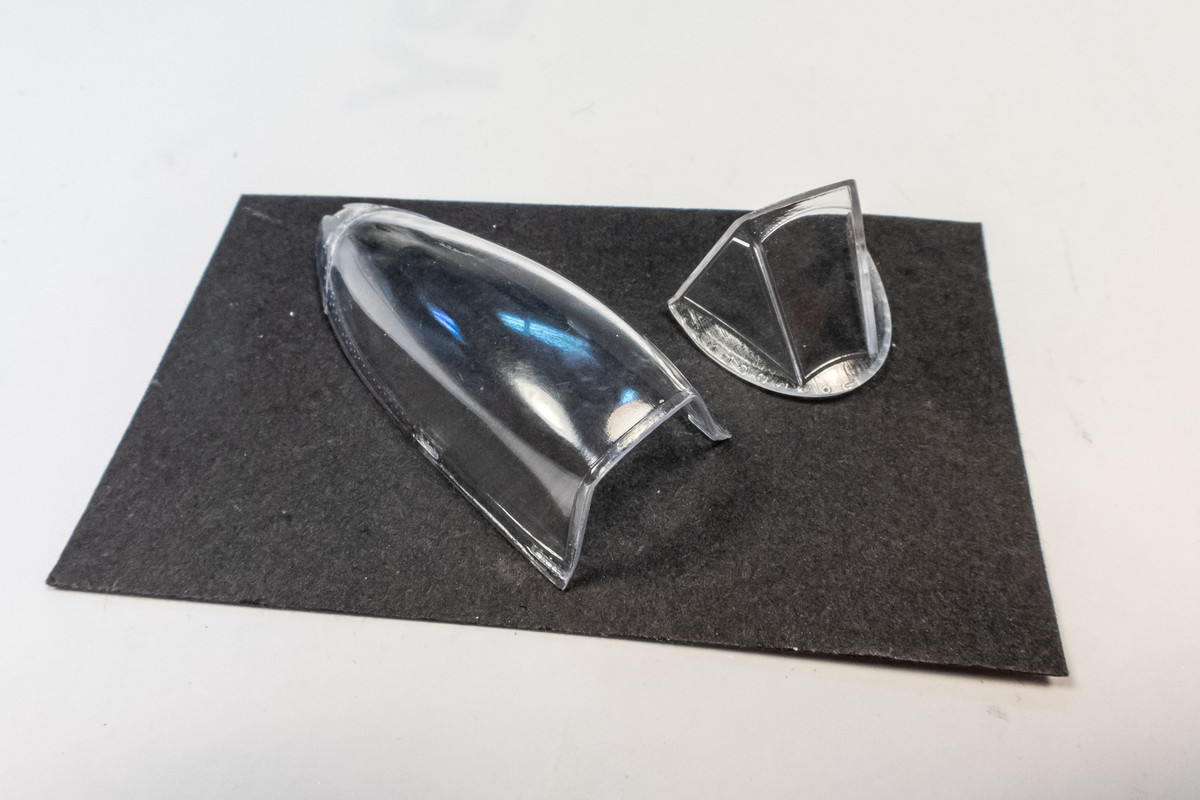
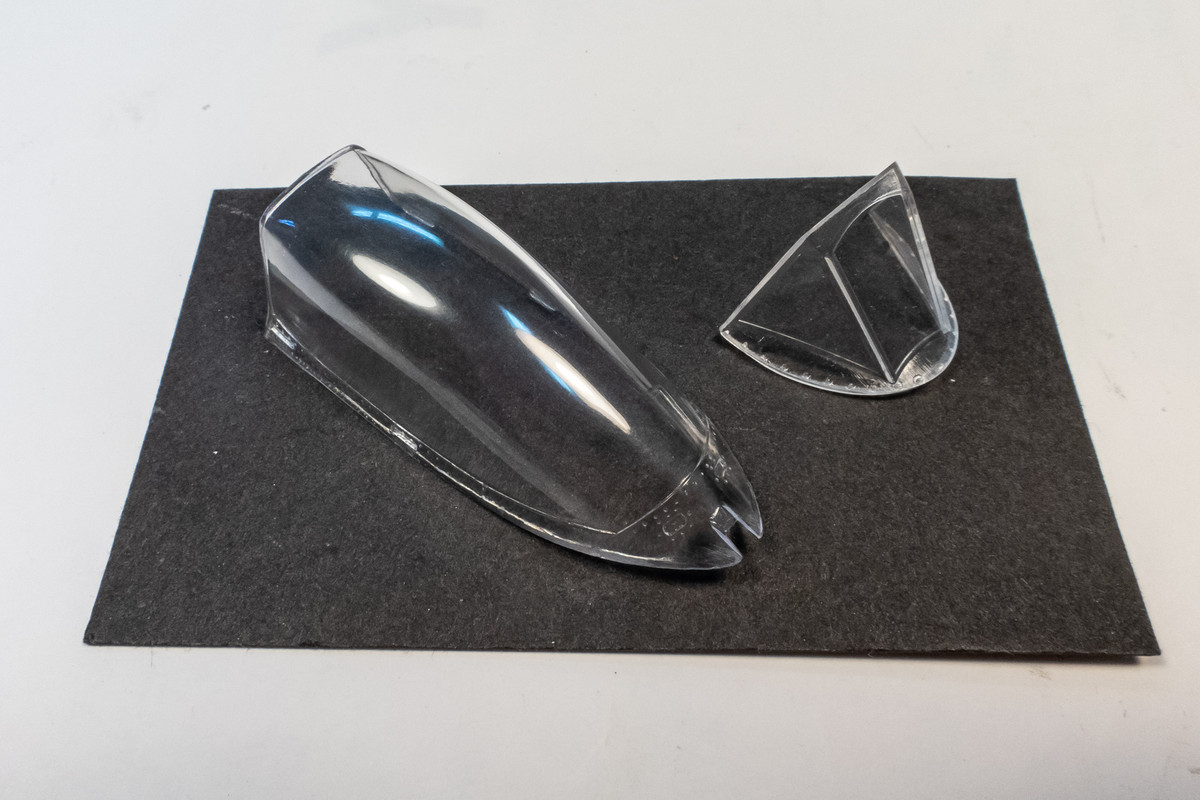
The clear parts had some scuff marks so I took some time today to polish them out. I use the Novus set of plastic polishes for this.
Before...
Image

After...
Image

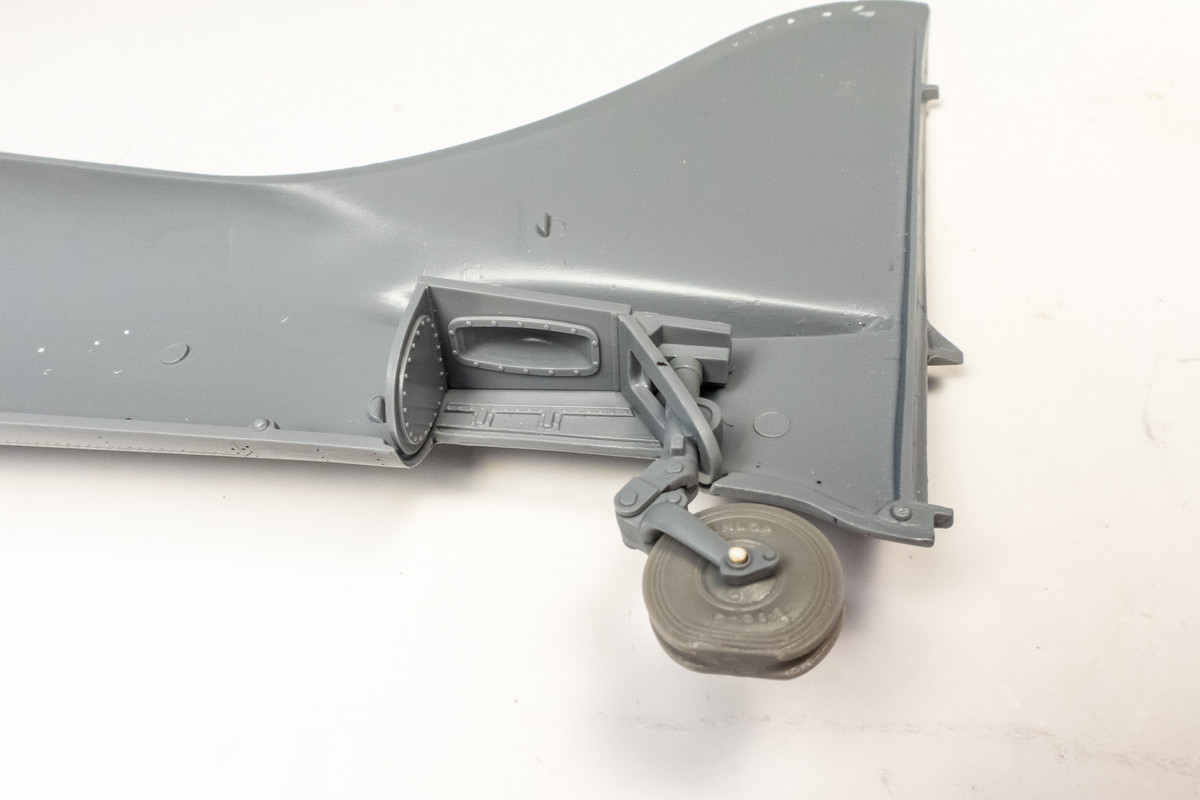
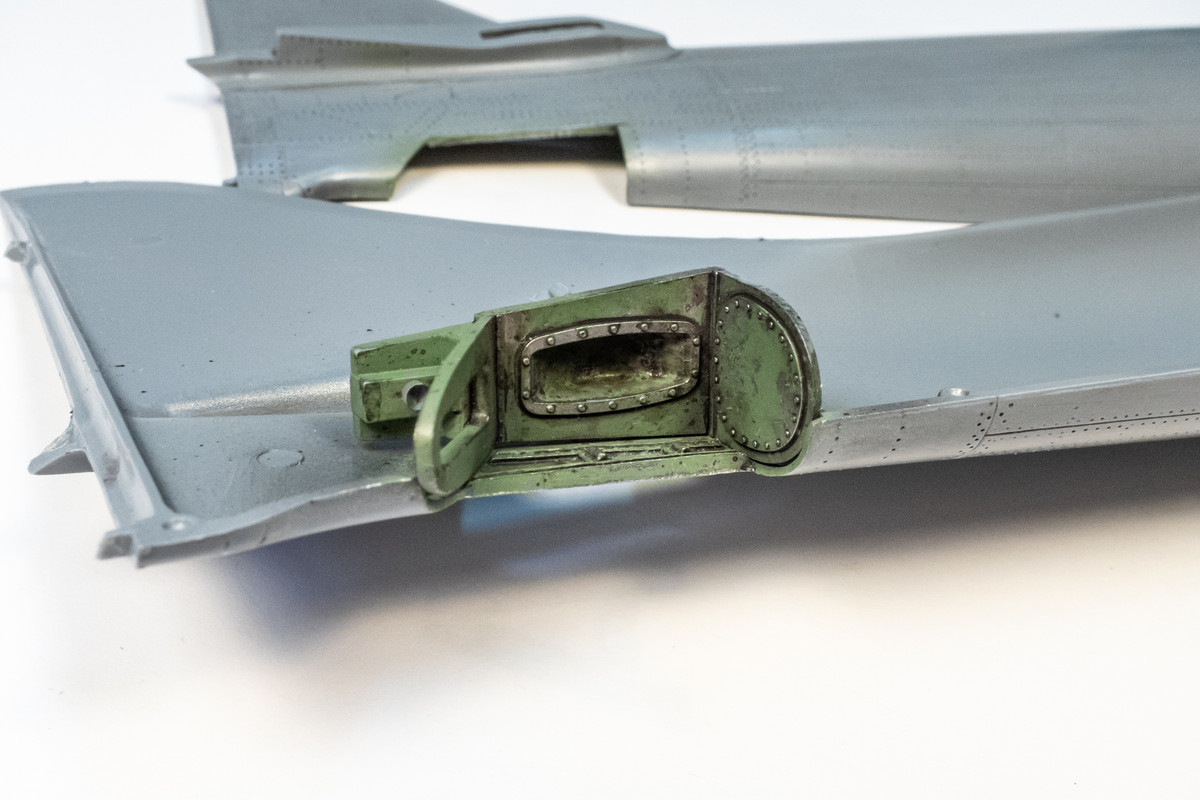
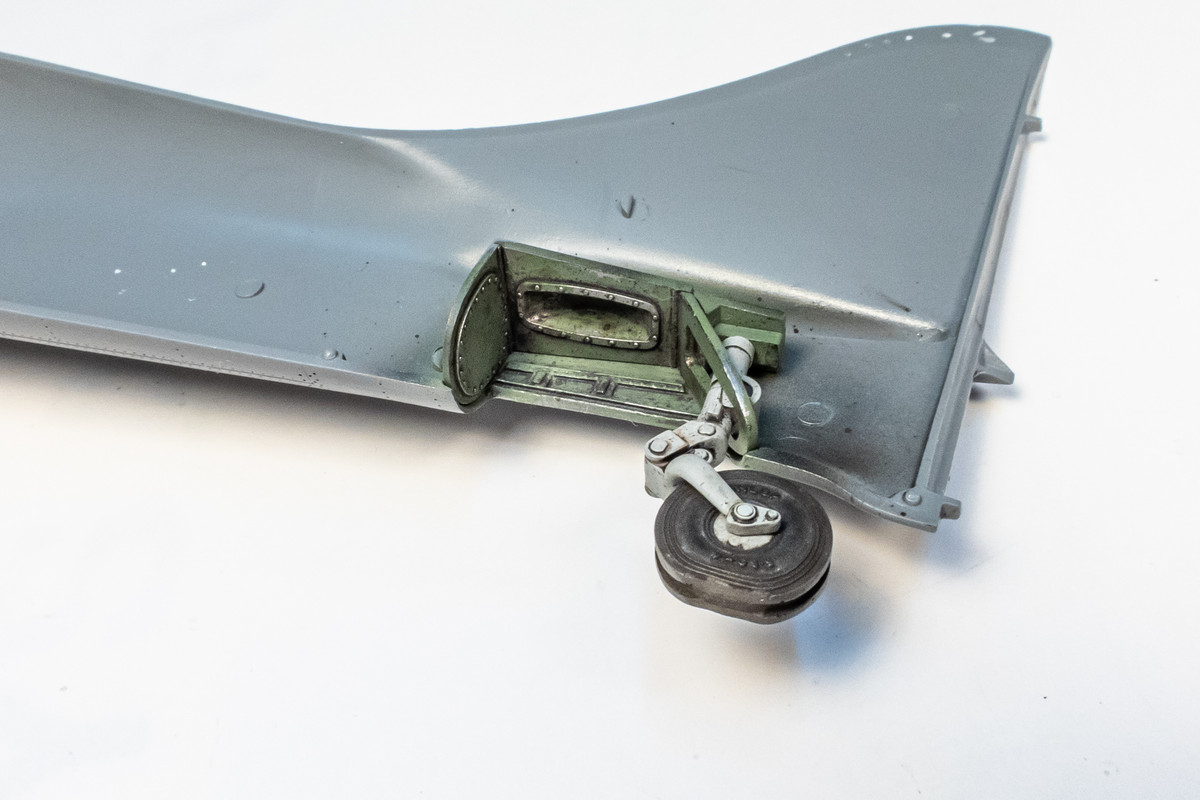
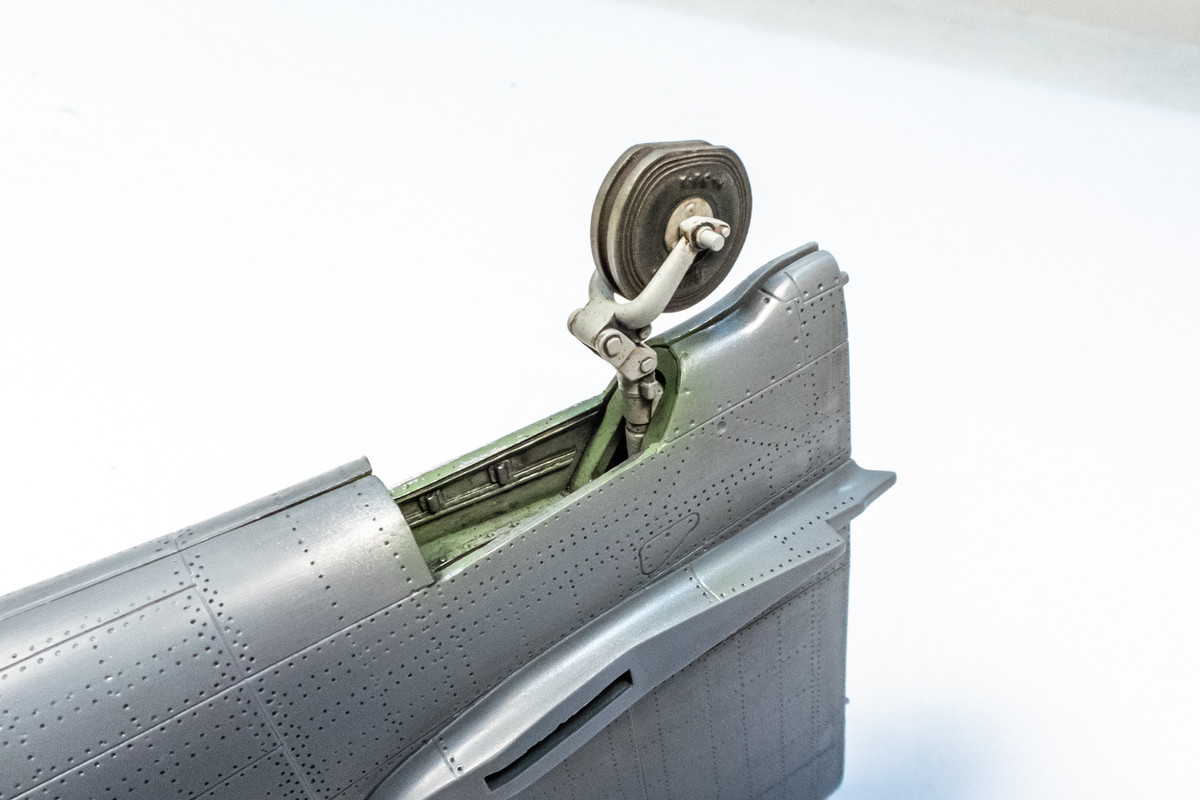
Here's the tail wheel assembly fit into one of the fuselage sides. After I verified the fit of the components, I painted each separately.
Image

The wheel well floor, as well as the fuselage sides, were painted the same green as the cockpit. I performed some hairspray chipping and a fairly heavy dose of pastel wash weathering. This will be significantly dirtier than the main wheel wells. I figure that tail well is small and hard to get to and probably didn't receive as much maintenance attention as the main wheel wells.
Image

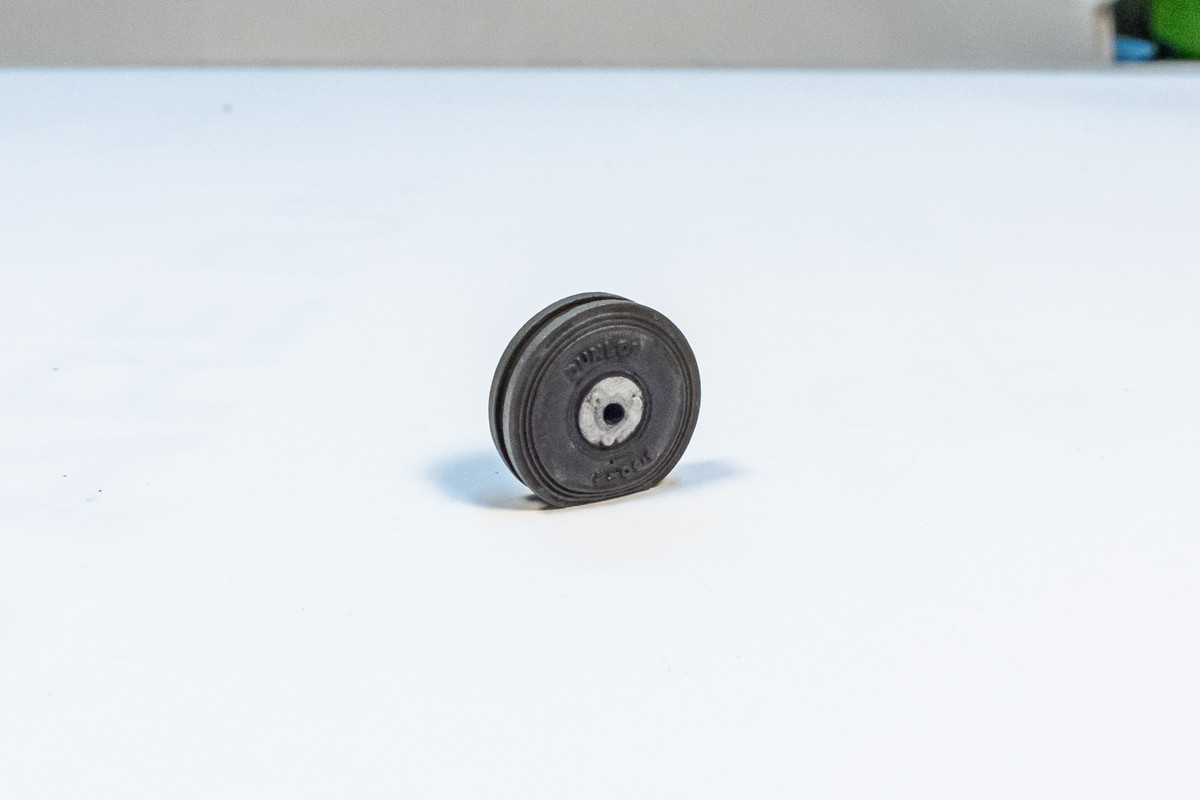
The tail wheel has been painted with a base of dark brown/black and weathered with different color chalk pastels.
Image

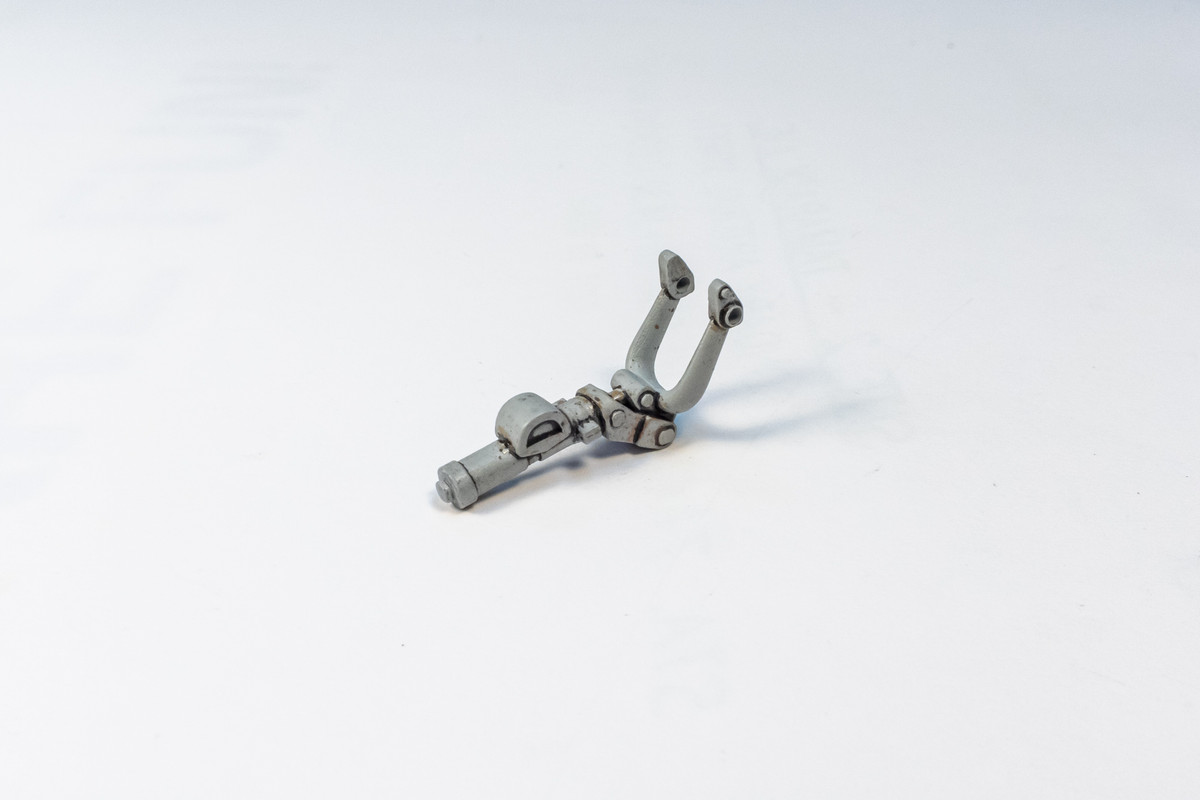
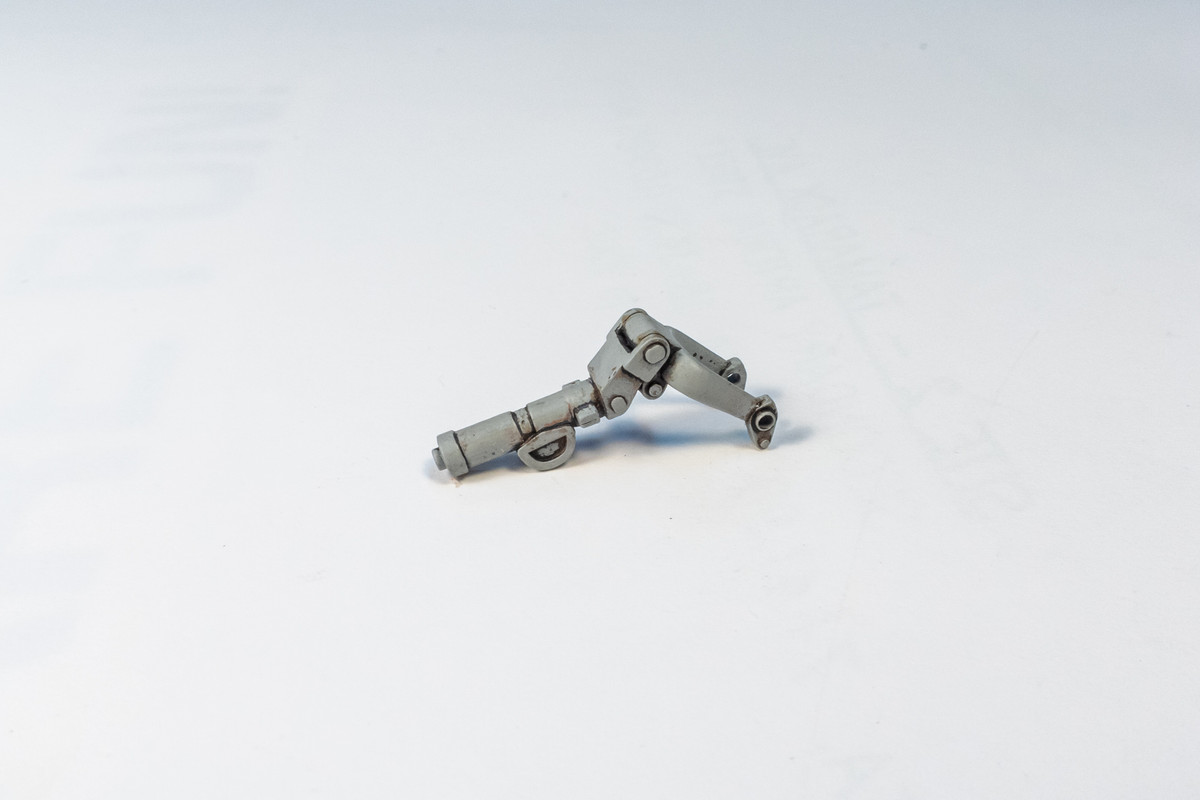
The tail wheel strut has also been painted. I've elected to portray the landing gear legs as light grey. The tail wheel strut may be given a little more weathering than what is shown here.
Image
Image

I'm going to glue the tail wheel floor into place prior to attaching the two fuselage sides together. The tail strut and wheel will be kept off until the beast is painted.
Image
Image
Last edited by jkim on Fri May 13, 2022 12:29 pm, edited 1 time in total.
John aka JKim
-----------<><
Image
User avatar
LyleW
Admin
Posts: 15035
Joined: Fri Dec 13, 2013 7:25 am
Location: Mt. Washington KY

Re: 1/32 Special Hobby Hawker Tempest Mk V

Post by LyleW »

That is terrific work! Well done, John, well done.
To make each build less crappy than the last one. Or, put another way, "Better than the last one, not as good as the next one!"..
User avatar
Floki
Elite Member
Posts: 3548
Joined: Wed Dec 12, 2018 2:23 am
Location: Muncie, Indiana

Re: 1/32 Special Hobby Hawker Tempest Mk V

Post by Floki »

Very well done John! Wish I had more to add or ask you about but you document and describe everything you're doing so well that I find it hard to ask anything
March as one, Don't look back
Odin's sons... Attack!
Unleash hell! Do not repent! Warfare grants us no lament
Let your weapons slash and tear This is no place for fear
Hold the lines! Move as one! In unity our victory's won
Our shields will form a mighty wall
United we shall never fall
User avatar
jkim
Elite Member
Posts: 4073
Joined: Mon Apr 10, 2017 4:03 pm

Re: 1/32 Special Hobby Hawker Tempest Mk V

Post by jkim »

Thank you Lyle and Clint! I try to be as complete as possible when describing the build process without it being tedious. Although it may be repetitious, I want each build log to be independent of previous builds as much as possible.

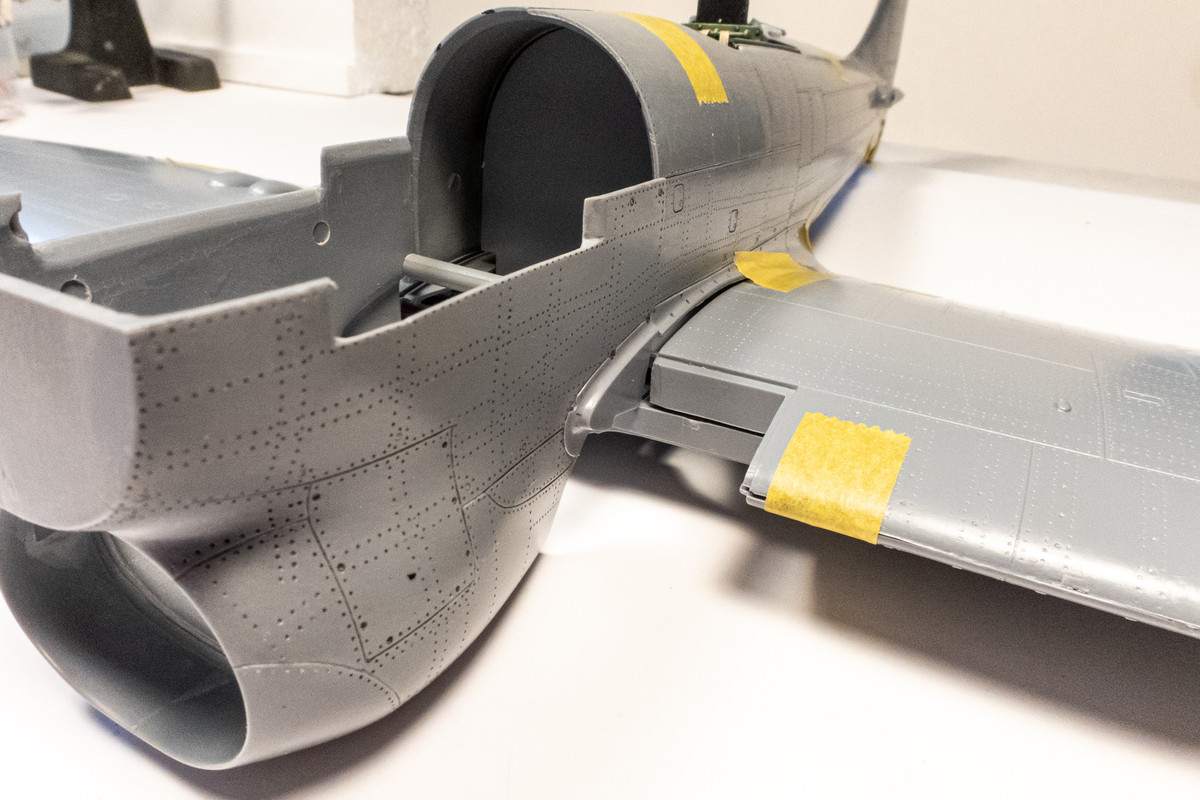
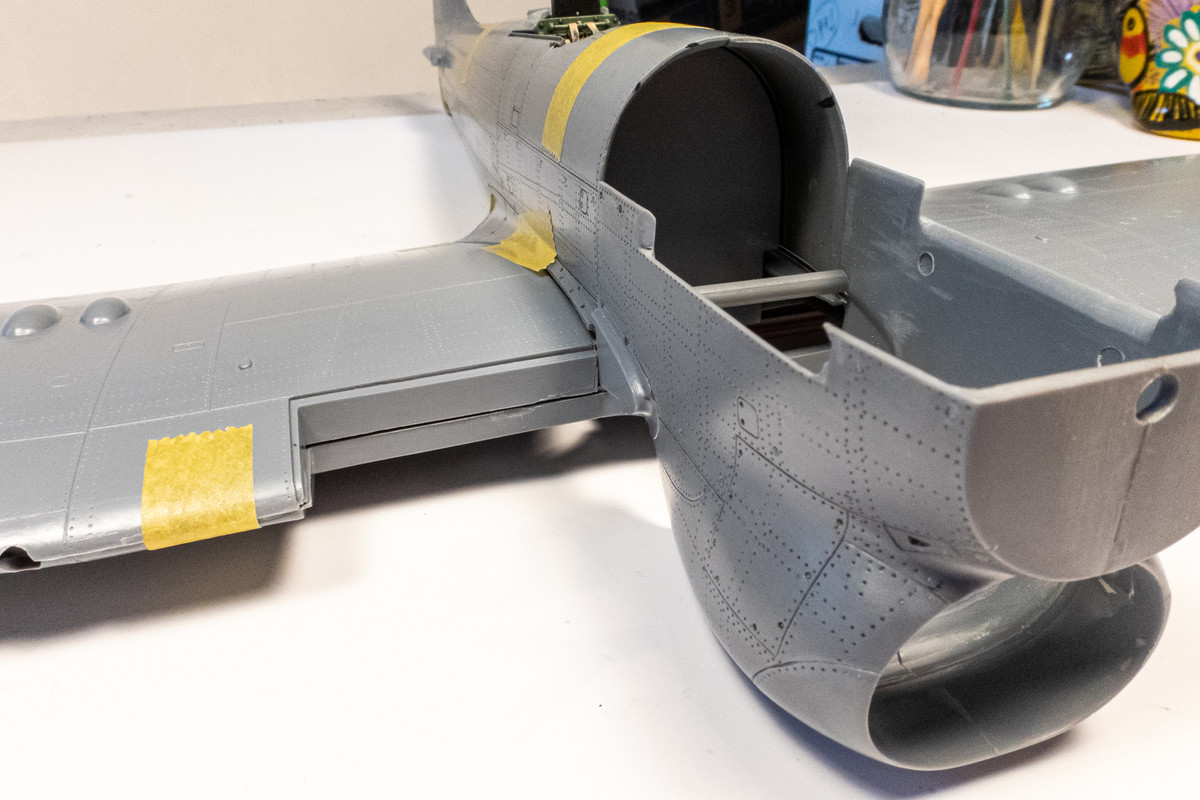
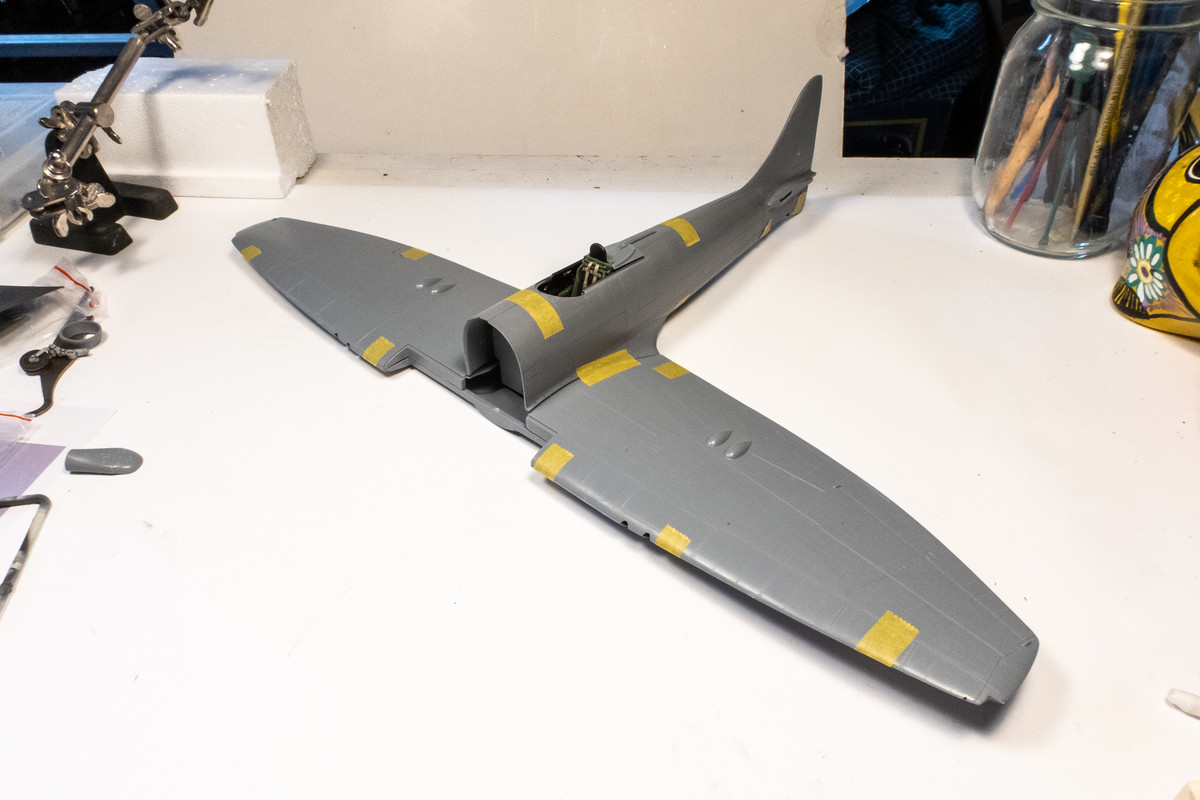
With the cockpit tub being complete, I started doing some major component dryfitting with the cockpit in place. I've read other builds of this kit having an issue with the cockpit being too wide and not allowing the fuselage sides to close completely. To this end, I made sure that the cockpit frame was glued as tightly together as possible, especially when it came to overall dimensions. Fit is VERY precise on this kit and alignment pins and holes need to be inspected and adjusted as necessary, especially after painting, to ensure a flush fit.

Even with this precaution, I found that the both the front and rear of the cockpit bulkheads appeared to be too wide and were shaved down to get the fuselage sides to close without forcing seams shut. With the fuselage buttoned up with tape, I was able to slide the fuselage onto the wings, from back to front, without having to trim the outer edges of the cockpit cage. This may change when the wheel well parts go in but for now, the fuselage to wing fit seems ok.
Image

Another issue with the cockpit forcing the fuselage halves apart is that it may throw off the wing alignment, pushing center wing portion into an anhedral position when it should be flat. I don't seem to having that problem as of now.
Image

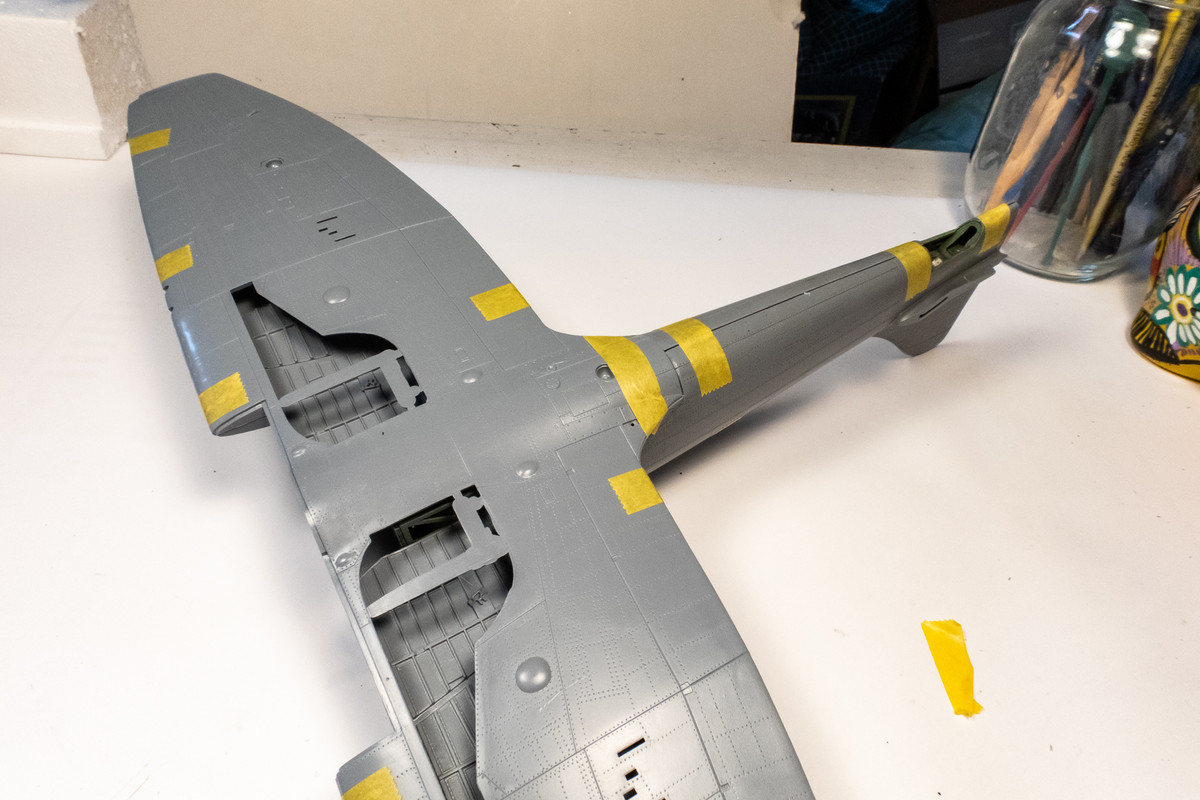
The bottom wing to fuselage joint doesn't look great so we'll have to keep an eye on this area. Shims might help.
Image

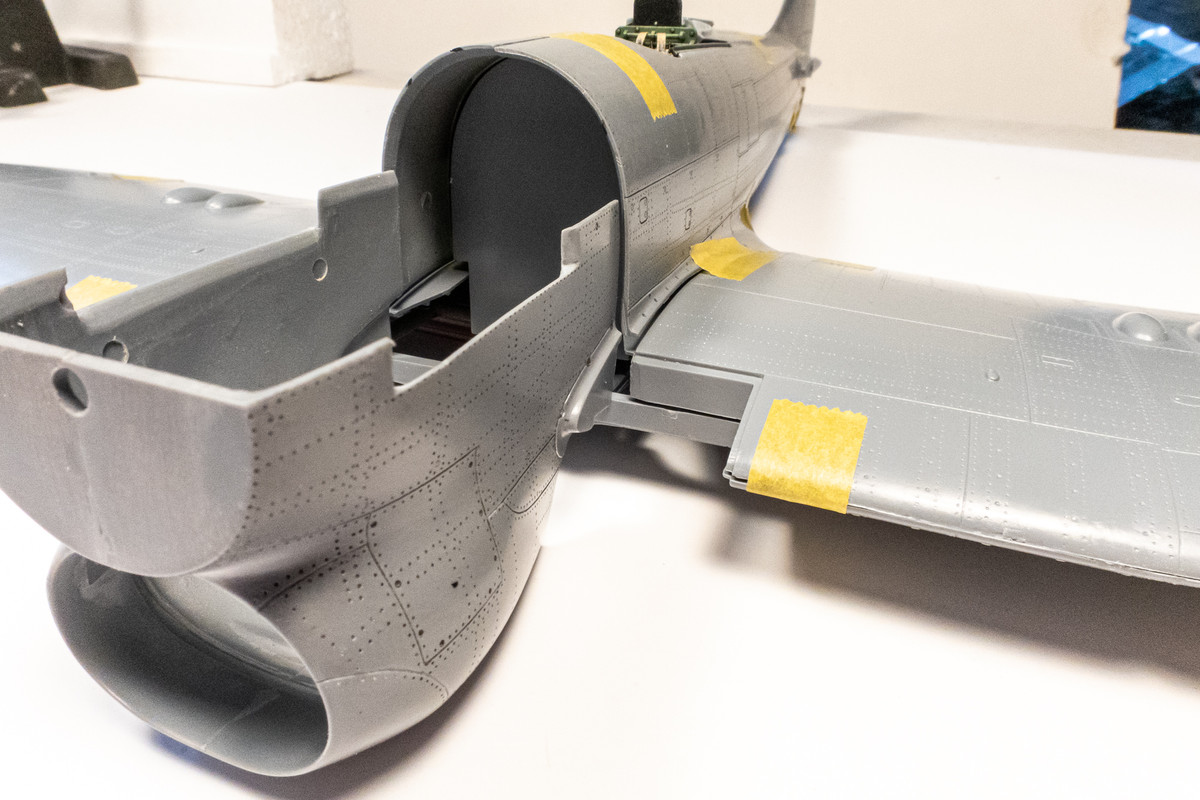
The two nose halves have been glued together a long time ago. With the top half sawed off to accept the resin engine, the joints that hold the two parts together are confined to the front and bottom. This has left the rear to be noticeably narrower than the fuselage. Keep in mind that there are some internal parts in the nose that may help to spread this apart. Or I may have to consider shims here too.
Image
Image

A test with a temporary spreader bar to see if a fix was possible and it seems to be fixable.
Image
Image
Image

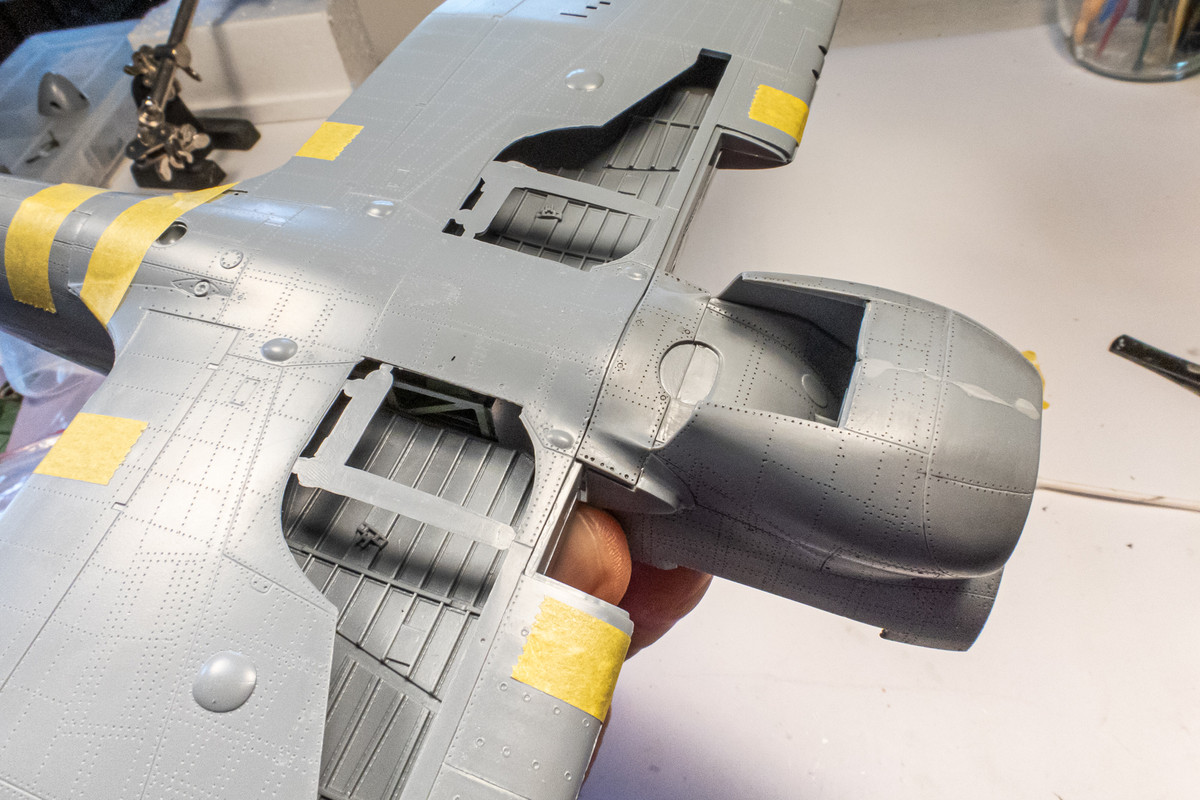
The internal parts within the nose seemed to help but not completely cure the issue. The bottom joint looks ok though.
Image

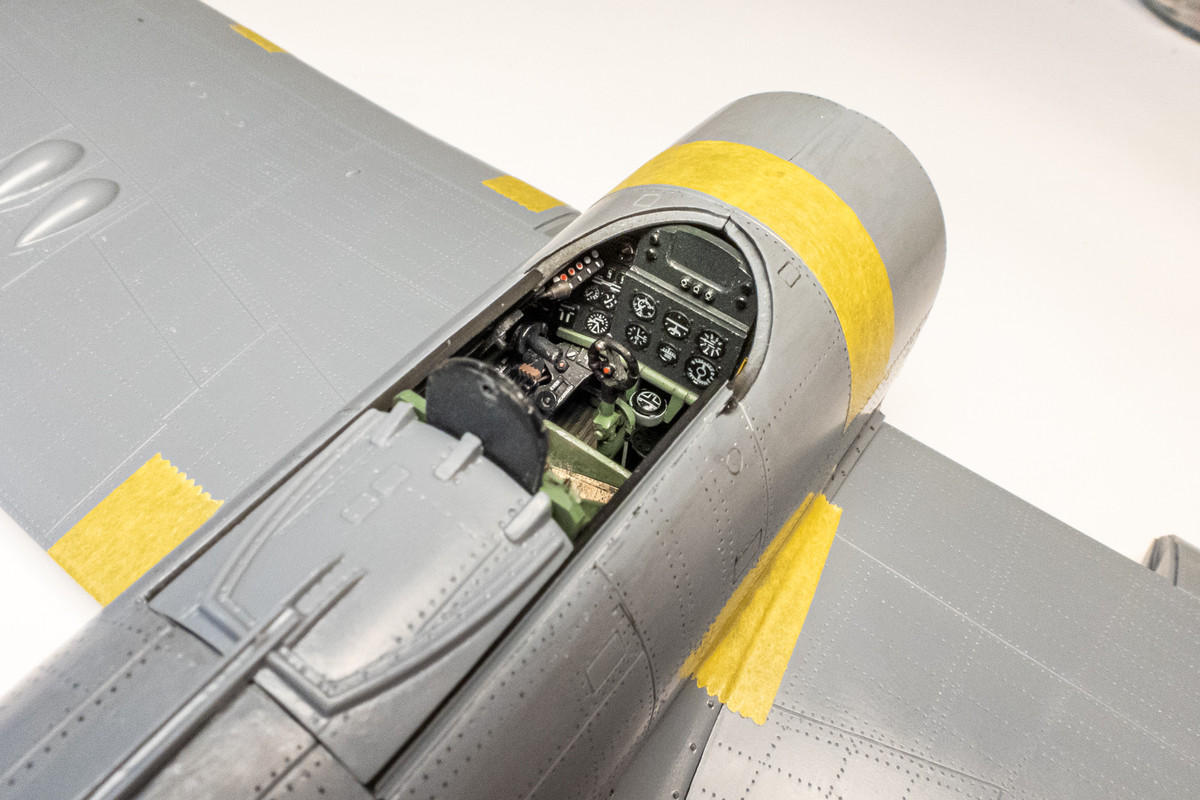
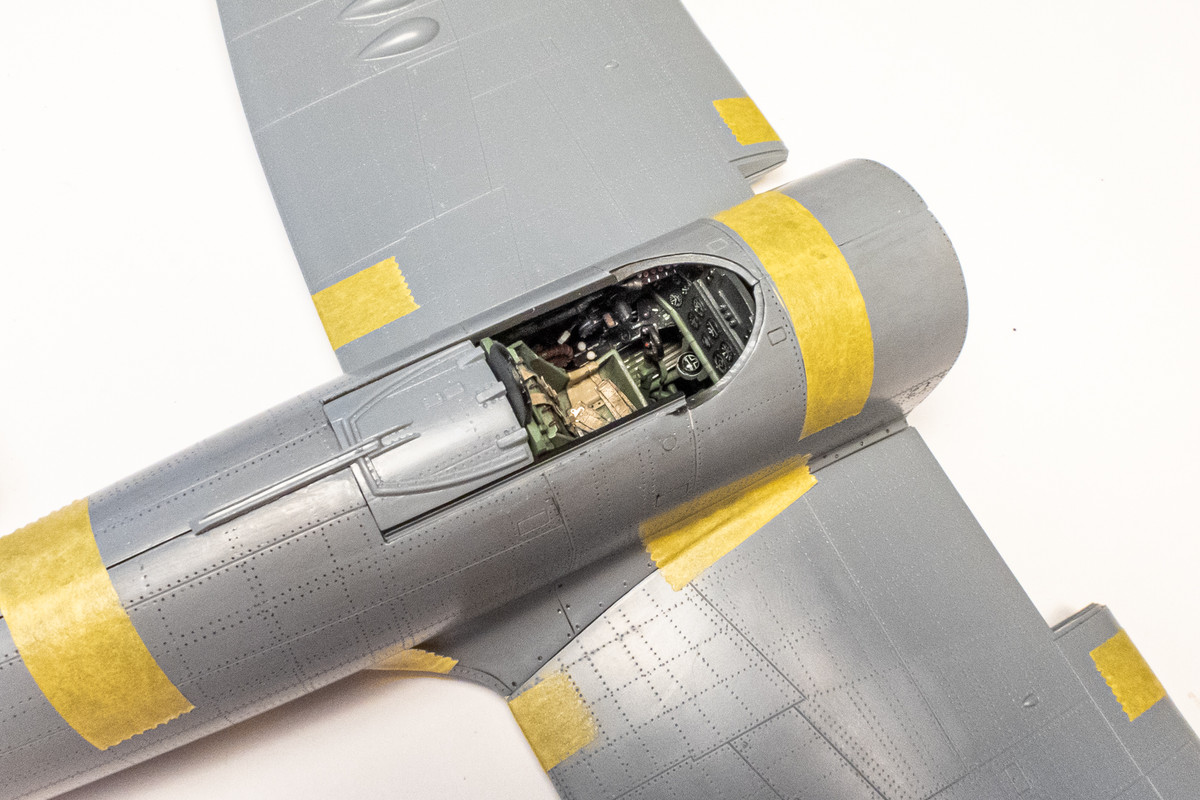
A few more peaks at the cockpit through the fuselage opening. One thing that is puzzling me is the blank rectangular section on the top center of the instrument panel. I've seen some builds where this has been cut out and other builds that have left it in. It is full width plastic so it will take some effort to saw it out plus the complication that the IP has already been glued into place. The gun sight and mounting frame will probably hide most of it so I'm leaning on just leaving it alone.
Image
Image
John aka JKim
-----------<><
Image
User avatar
BlackSheep214
Elite Member
Posts: 13405
Joined: Sun Apr 06, 2014 8:47 pm

Re: 1/32 Special Hobby Hawker Tempest Mk V

Post by BlackSheep214 »

I quit...... :whiteflag: :whiteflag: :whiteflag: :whiteflag: :whiteflag: :whiteflag:

Incredible mastery going on there. :bow: :bow: :bow: :bow: :bow:
“Who controls the skies, controls the fate of this Earth”

Author unknown- 352nd Fighter Group, Blue-Nosed Bastards of Bodney

“Send one plane it’s a sortie; send two planes it’s a flight; send four planes it’s a test of airpower. - Richard Kohn
User avatar
Stikpusher
Moderator
Posts: 21175
Joined: Sat Apr 05, 2014 8:37 pm
Location: Ceti Alpha 5

Re: 1/32 Special Hobby Hawker Tempest Mk V

Post by Stikpusher »

Yeah, we all know who the master of 1/32 aircraft is here… :wink: John sets the example for us to reach for.
"Surely I have made my meaning plain? I intend to avenge myself upon you, Admiral. I have deprived your ship of power, and when I swing 'round, I intend to deprive you of your life."

FLSM
User avatar
jkim
Elite Member
Posts: 4073
Joined: Mon Apr 10, 2017 4:03 pm

Re: 1/32 Special Hobby Hawker Tempest Mk V

Post by jkim »

Thanks guys! Really enjoying this build as I find this kit very interesting to work on.

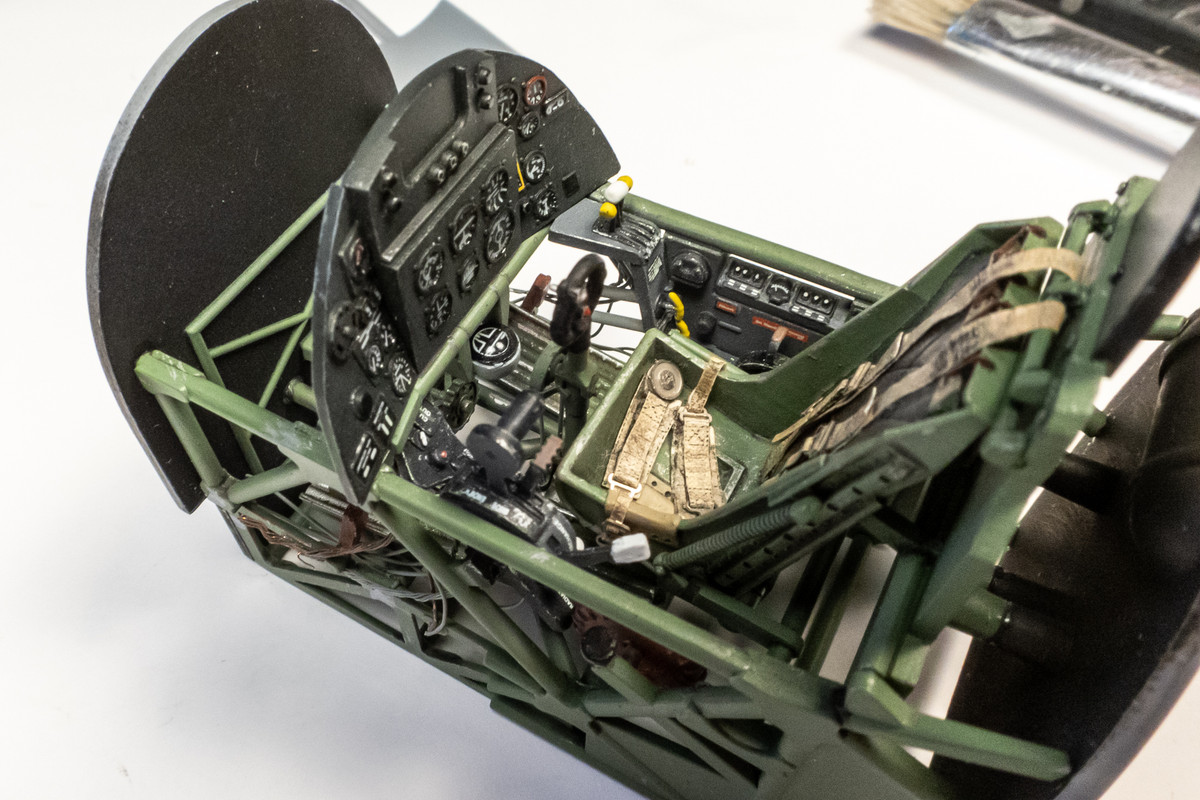
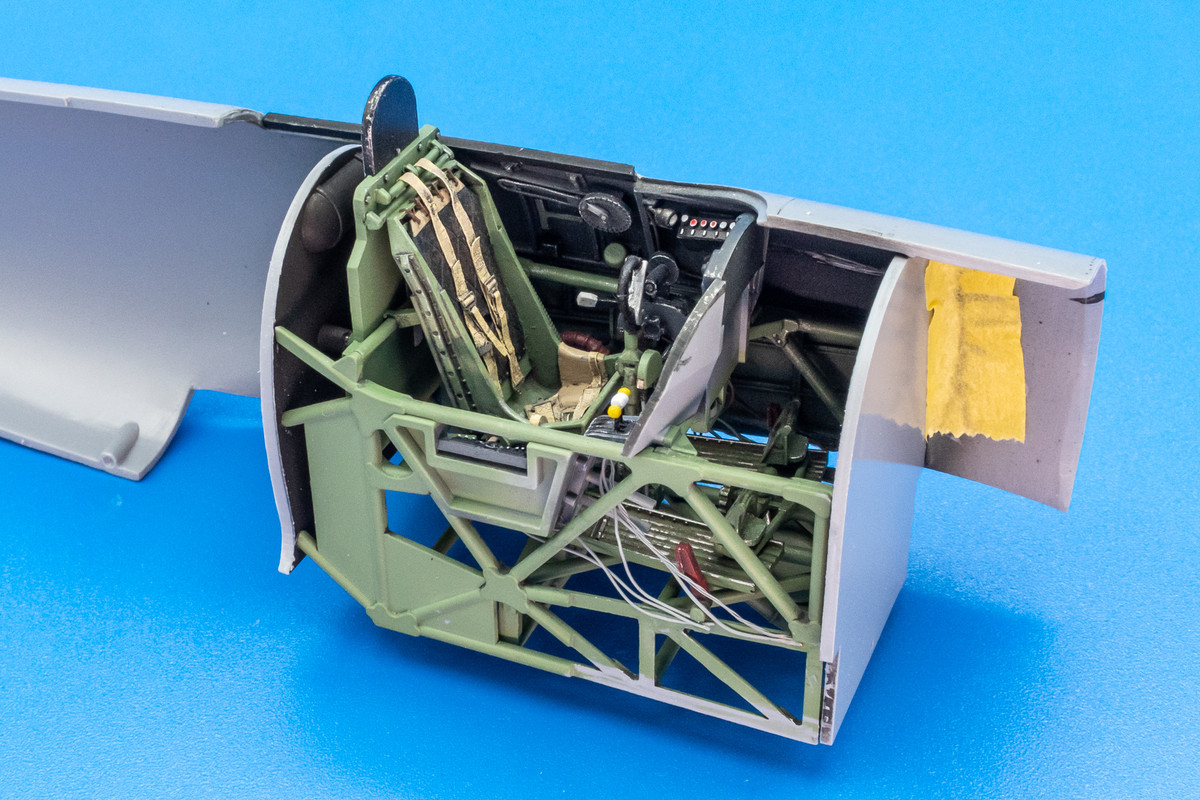
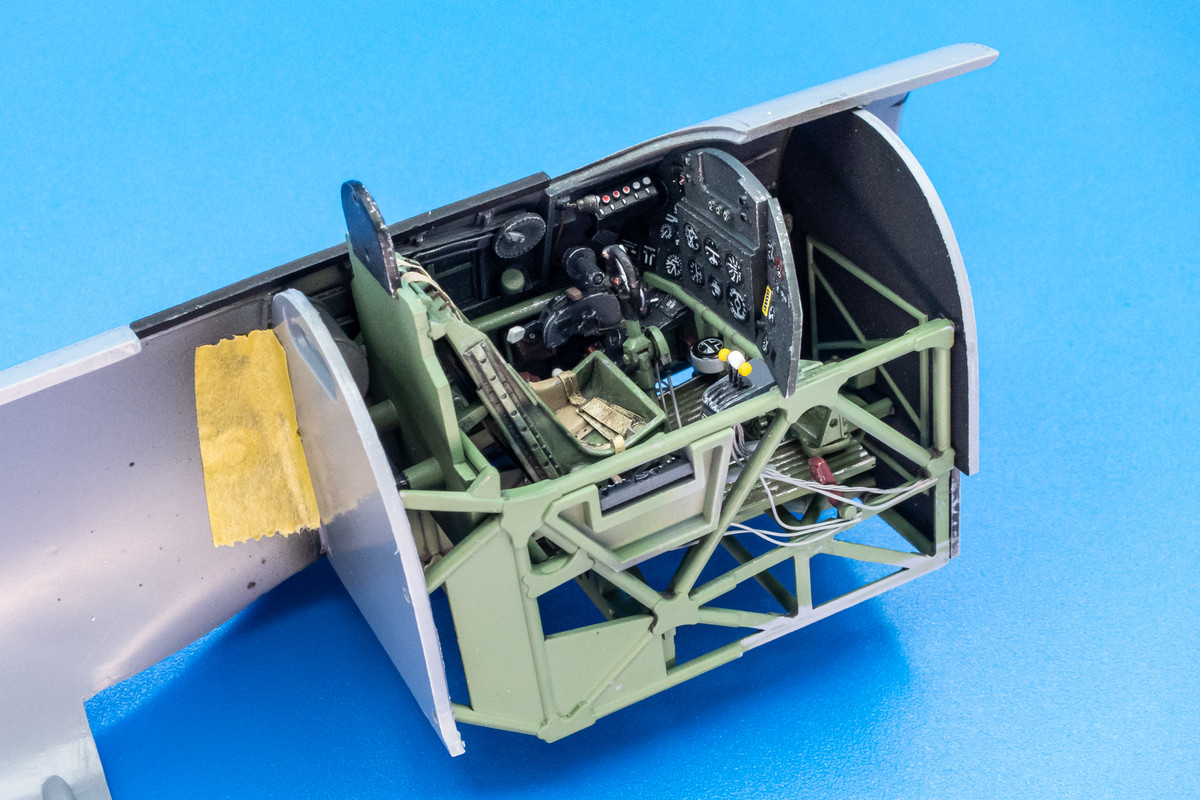
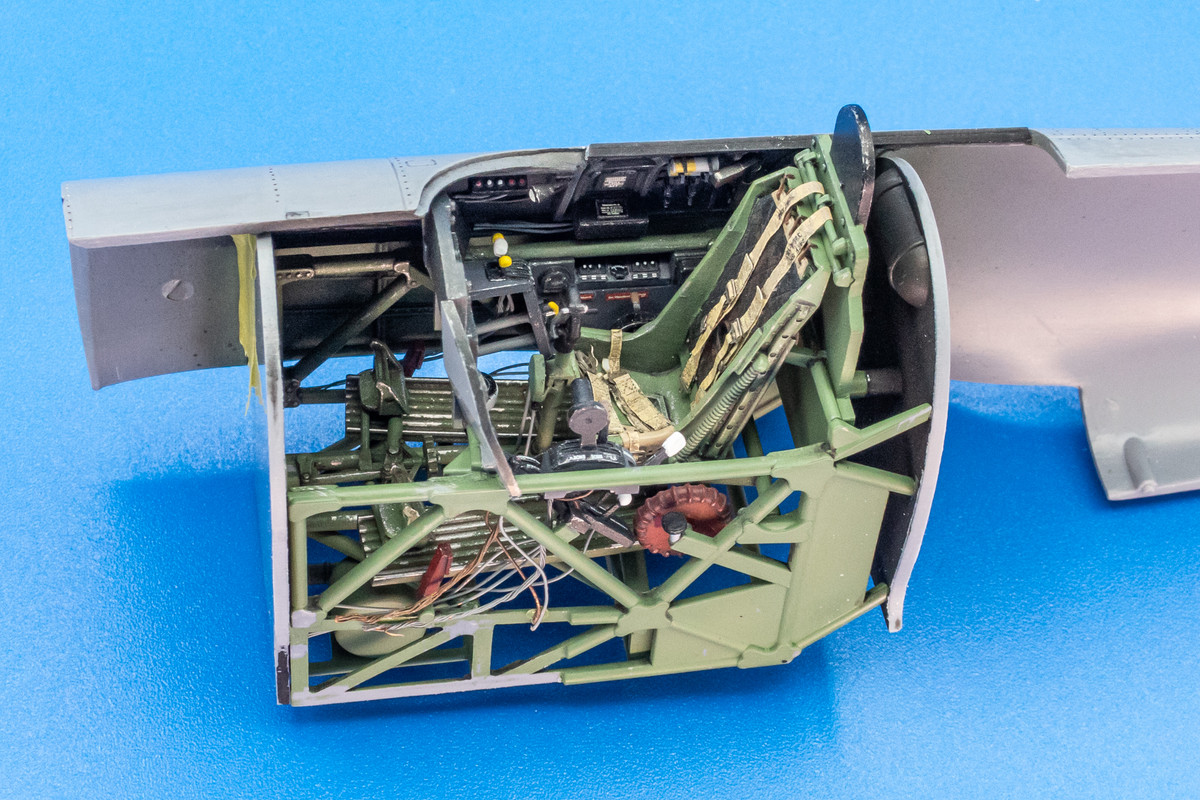
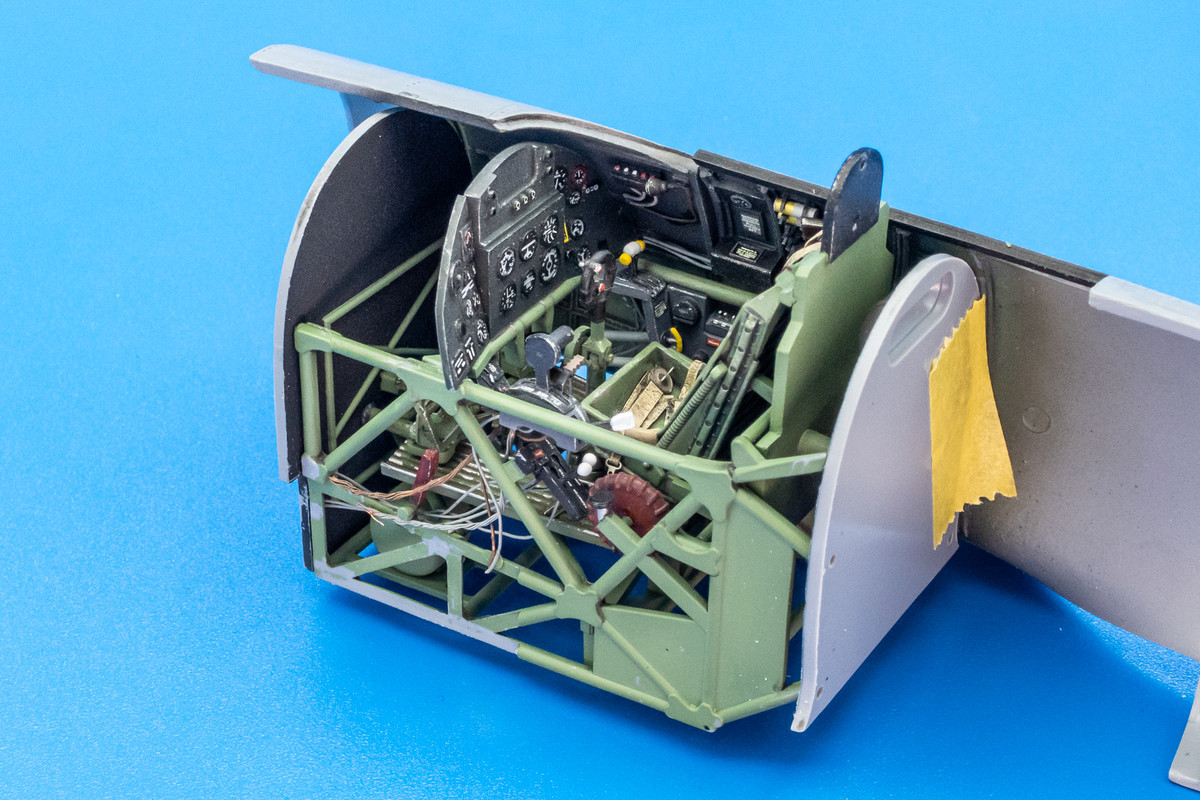
A final long goodbye to the cockpit from a slightly different perspective...
Image
Image
Image
Image

I'm just about ready to secure the cockpit in place and glue the fuselage halves together.
John aka JKim
-----------<><
Image
User avatar
jeaton01
Elite Member
Posts: 2374
Joined: Thu Apr 23, 2020 9:20 am
Location: Northern California
Contact:

Re: 1/32 Special Hobby Hawker Tempest Mk V

Post by jeaton01 »

Nice work, John!

I was looking back further and the tailwheel tire seems rather under inflated. Those tires tend to be pretty stiff, the point of the tunnel in the middle was to keep the loads on the outside edges. The shape helps prevent shimmying which is a common problem on many taildraggers, and also on some nosewheels.
My modelling website, with build logs.

http://goldeneramodel.com/mymodels/mymodels.html
User avatar
Stikpusher
Moderator
Posts: 21175
Joined: Sat Apr 05, 2014 8:37 pm
Location: Ceti Alpha 5

Re: 1/32 Special Hobby Hawker Tempest Mk V

Post by Stikpusher »

:hmm: nice… VERY nice!
"Surely I have made my meaning plain? I intend to avenge myself upon you, Admiral. I have deprived your ship of power, and when I swing 'round, I intend to deprive you of your life."

FLSM
User avatar
jkim
Elite Member
Posts: 4073
Joined: Mon Apr 10, 2017 4:03 pm

Re: 1/32 Special Hobby Hawker Tempest Mk V

Post by jkim »

jeaton01 wrote:Nice work, John!
First of all, thanks John!
jeaton01 wrote:I was looking back further and the tailwheel tire seems rather under inflated. Those tires tend to be pretty stiff, the point of the tunnel in the middle was to keep the loads on the outside edges. The shape helps prevent shimmying which is a common problem on many taildraggers, and also on some nosewheels.
The flat spot was not my modification and was cast into the resin tire by Special Hobby. Look closely and you'll see the ribbing on the tire following the flat spot.
Image

Not saying that Special Hobby is infallible but here is a Typhoon, which used a similar tailwheel, showing a pretty similar flat spot.
Image

Are we good now?
John aka JKim
-----------<><
Image
Post Reply

Return to “Aircraft Work in Progress”