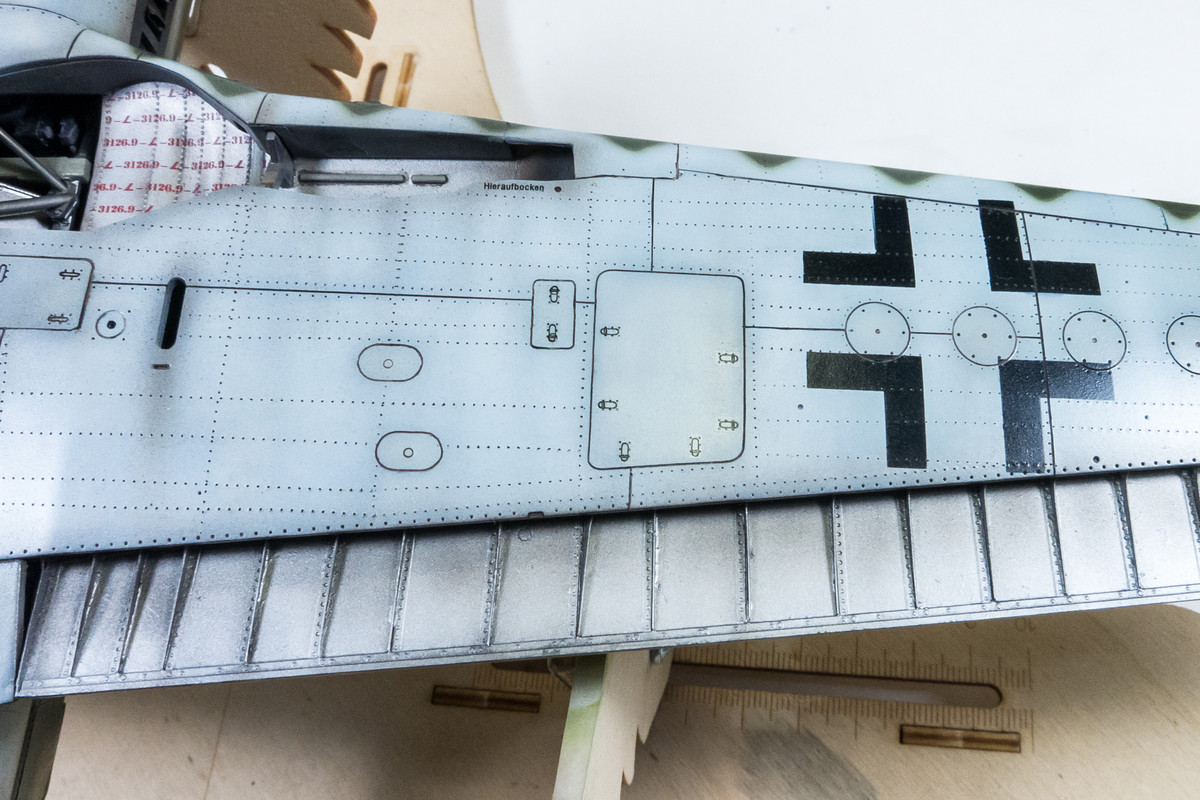
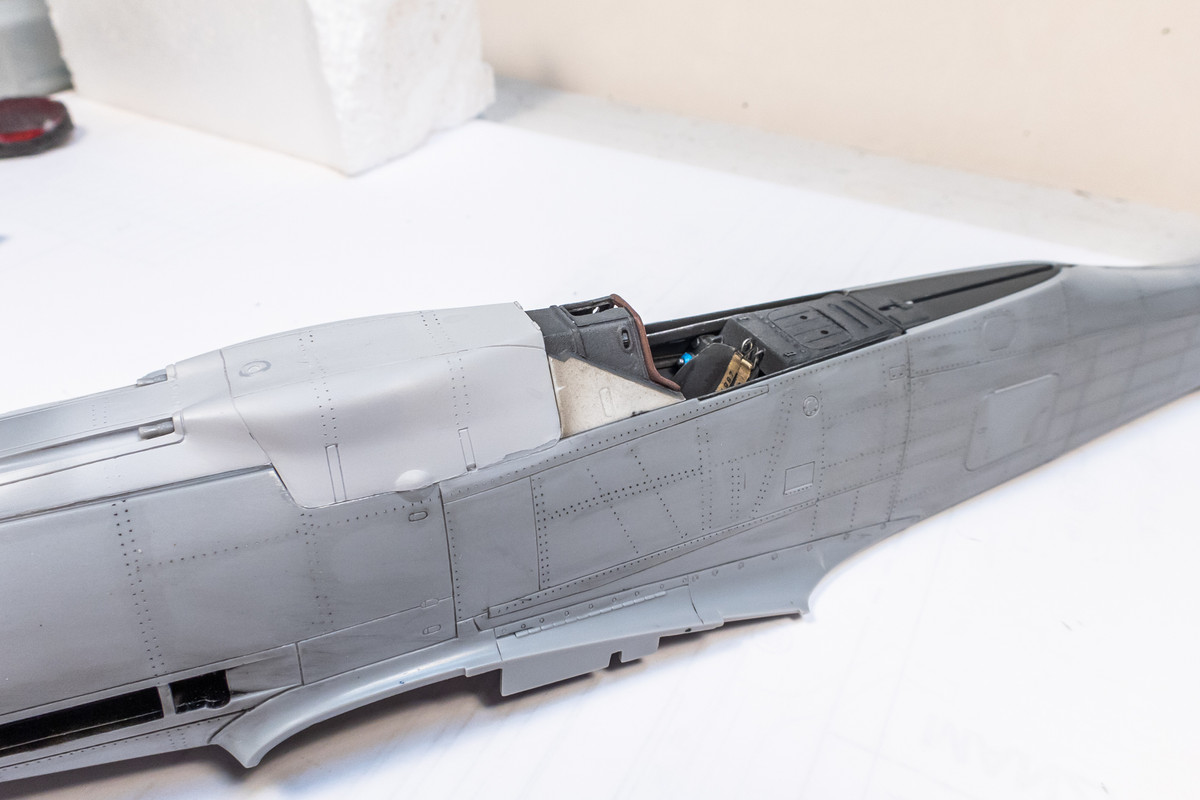
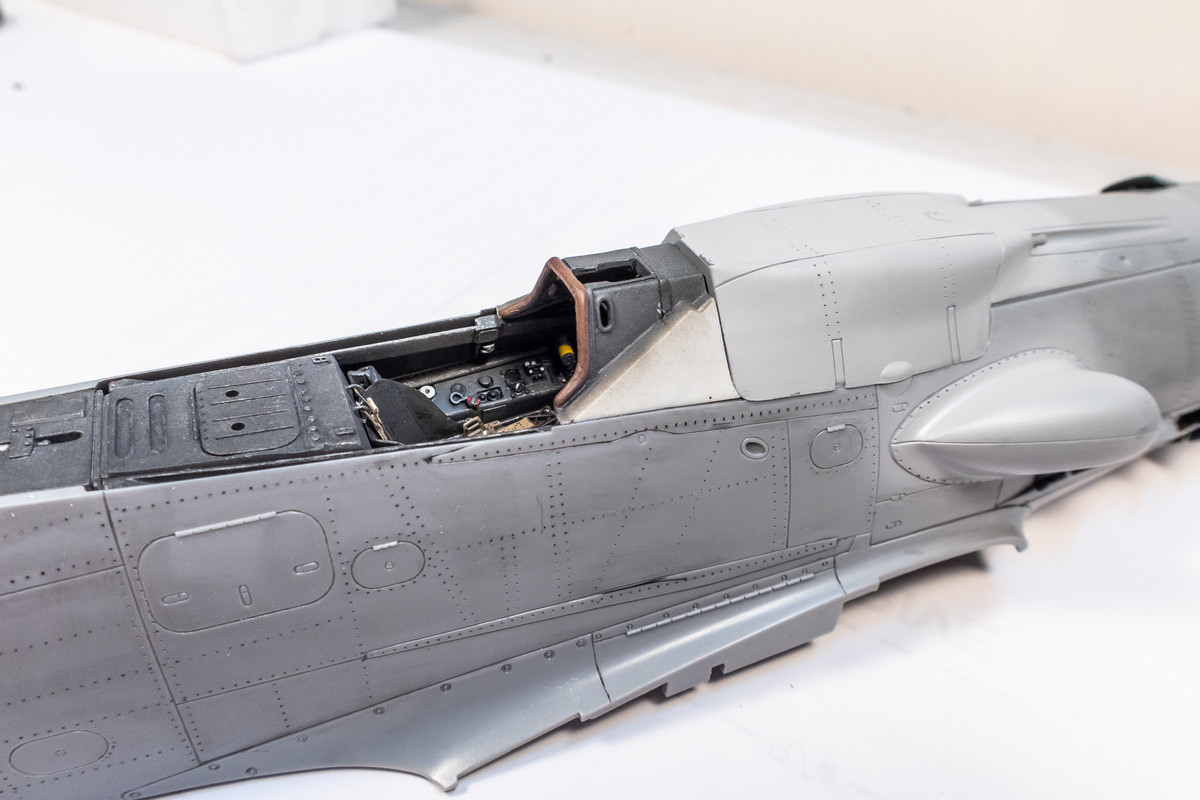
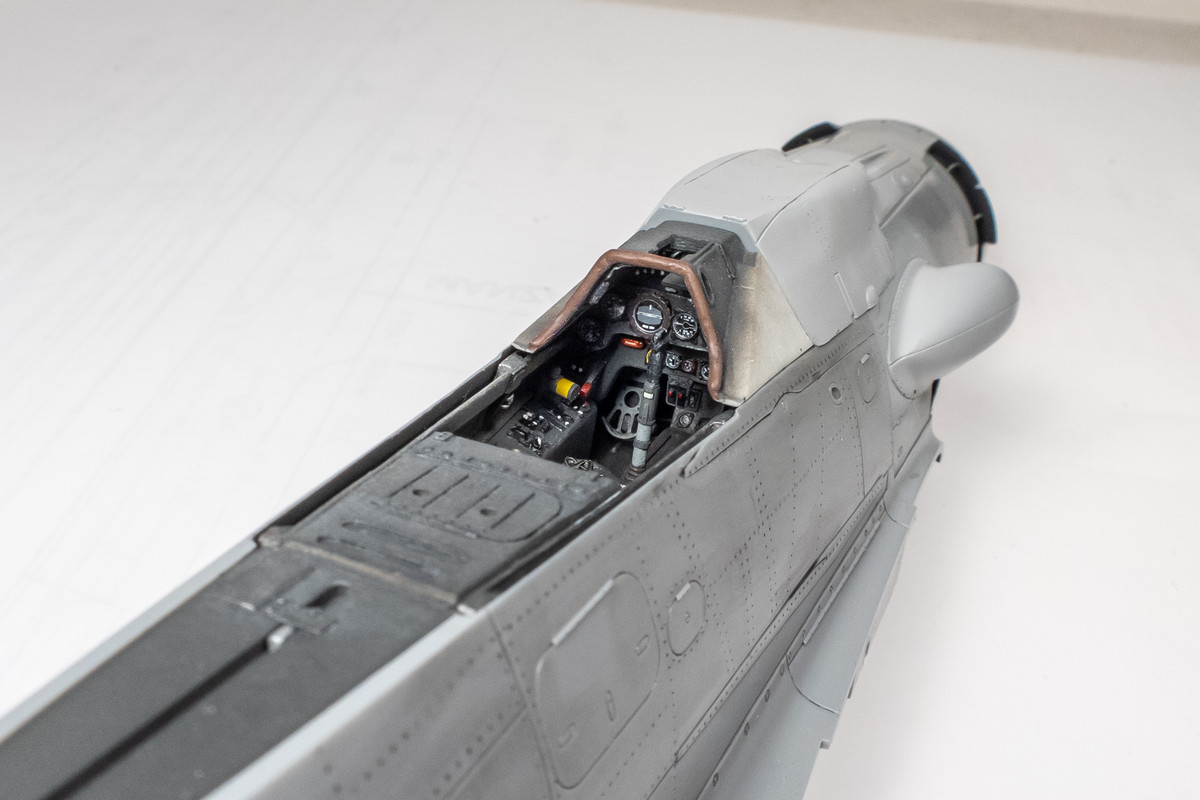
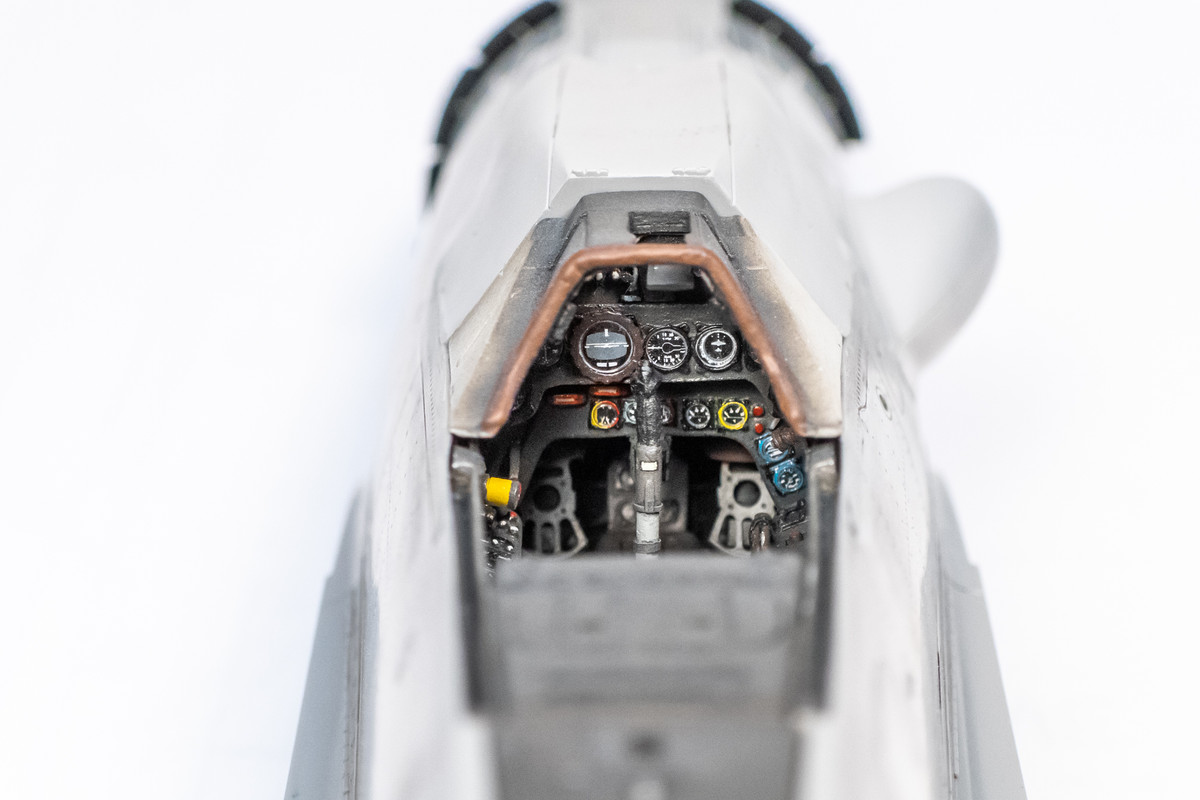
mustang1989 wrote:Those control surface transfers really made all the difference. Looks to be a good call on the internal ribbing removal as well. These 190 pits need all the help they can get in terms of IP visibility when everything is all buttoned up.
Thank you sir! Archer Fine Transfers is probably best known for their raised rivet decals but Woody has developed a wide range of decal-based products in his catalog... worth checking out. If you recall, he created a set of Luftwaffe latch decals for me when I had trouble trying to scribe them on my Ta152H build.

BlackSheep214 wrote:Man... they look so real. Can I sit in the cockpit?

Thank you! I guess familiarity with a model can lead to a certain level of competence.
Greg wrote:I'm way late to this thread. This is some seriously fine workmanship you have going here.
Thank you and never too late! I'm probably less than halfway through this build so please keep following if you find it interesting!
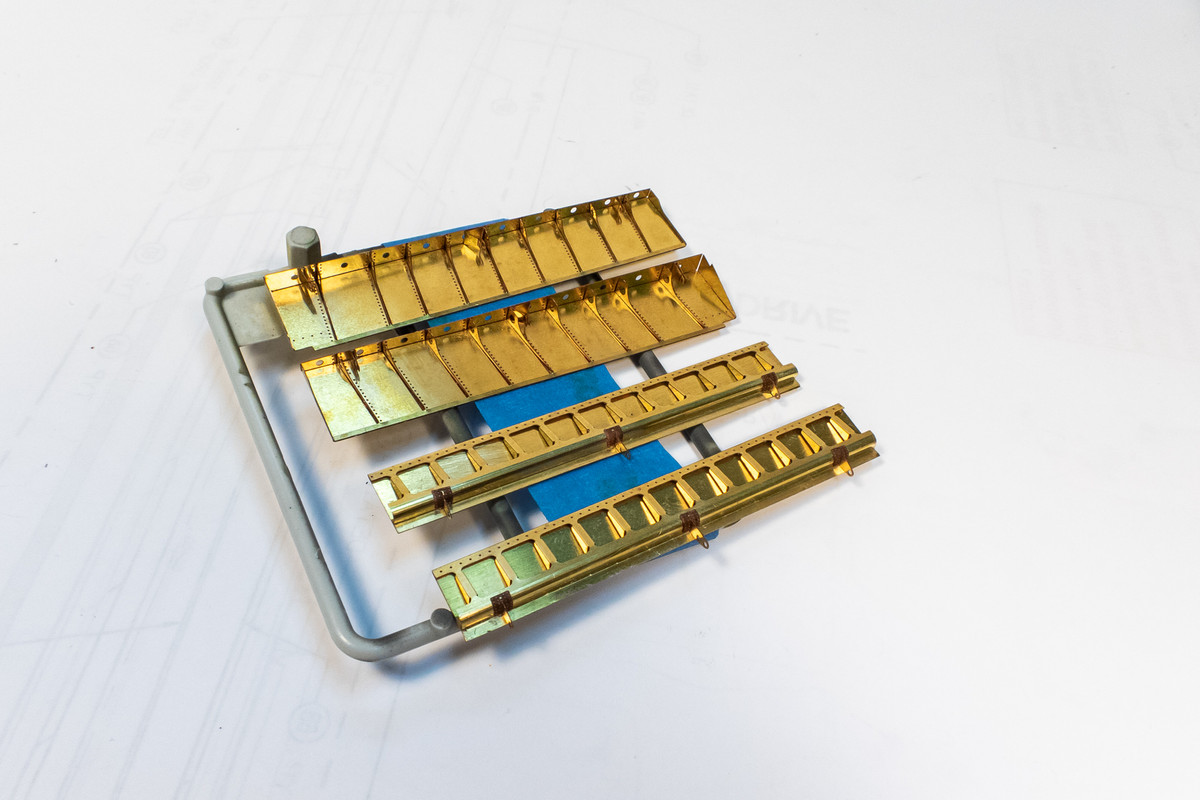
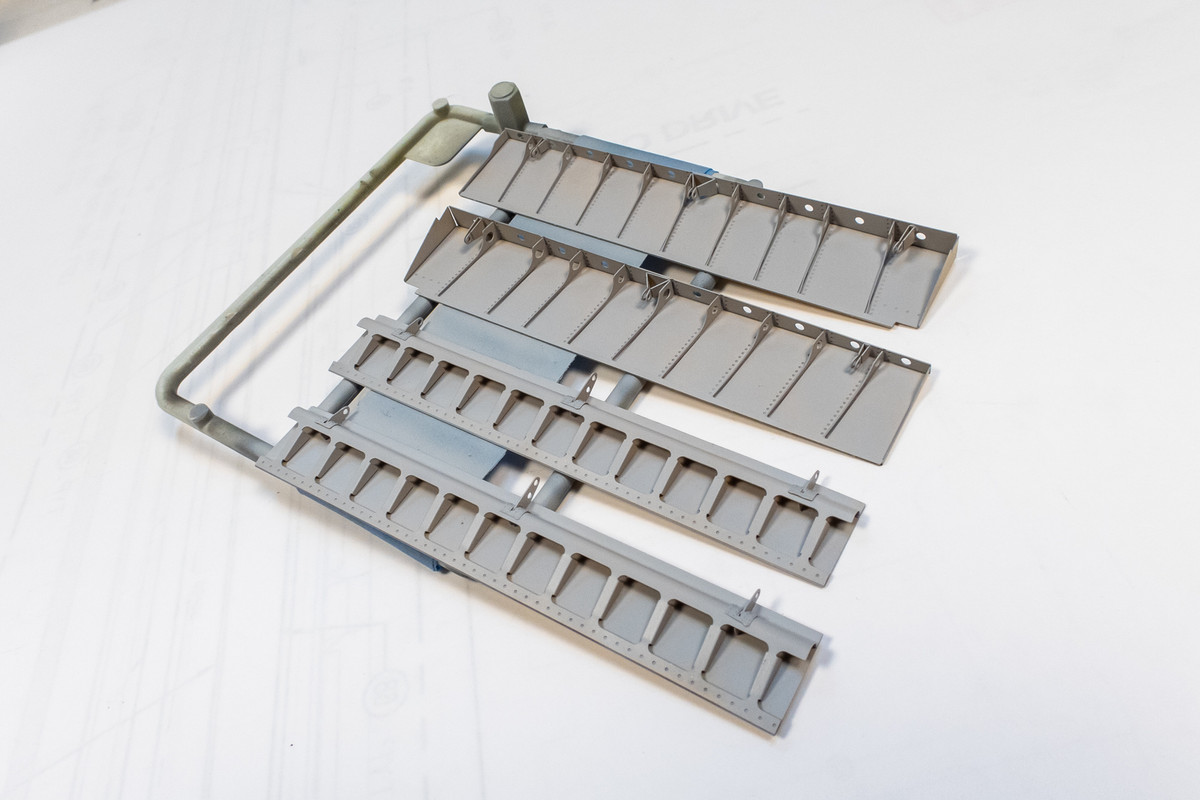
I've gone ahead and given the brass flaps a coat of primer... Mr Primer Surfacer 1000, thinned with Mr Leveling Thinner, and shot through the airbrush. Based on my experience with the Special Hobby Tempest build, I'm not going to paint the flap bays until after the camo painting. This will save on some time as it is much easier to mask the rectangular opening for painting rather than trying to mask and protect the painted flap bays in place.
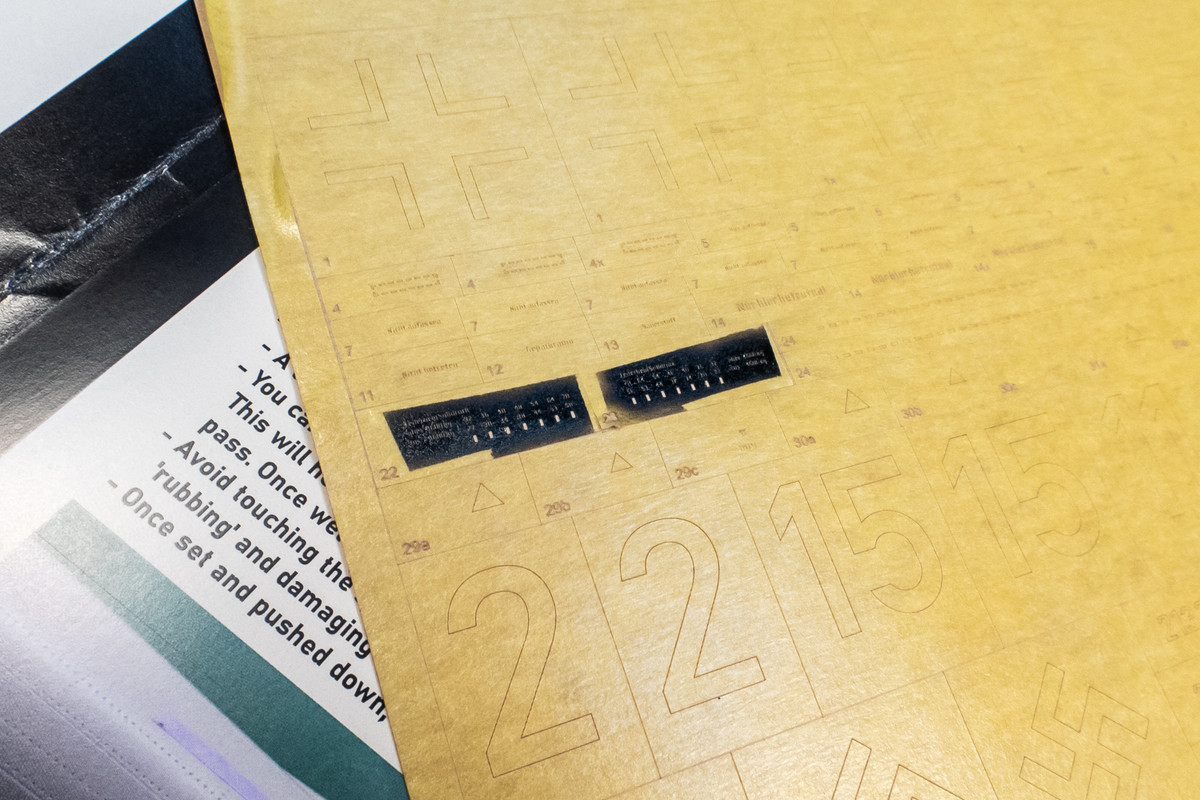
Another new product to introduce... 1ManArmy's stencil masks! I saw a review on The Modeling News website and when I learned that they had a set available for the Hasegawa Fw190D-9 kit, I thought I'd given them a try.
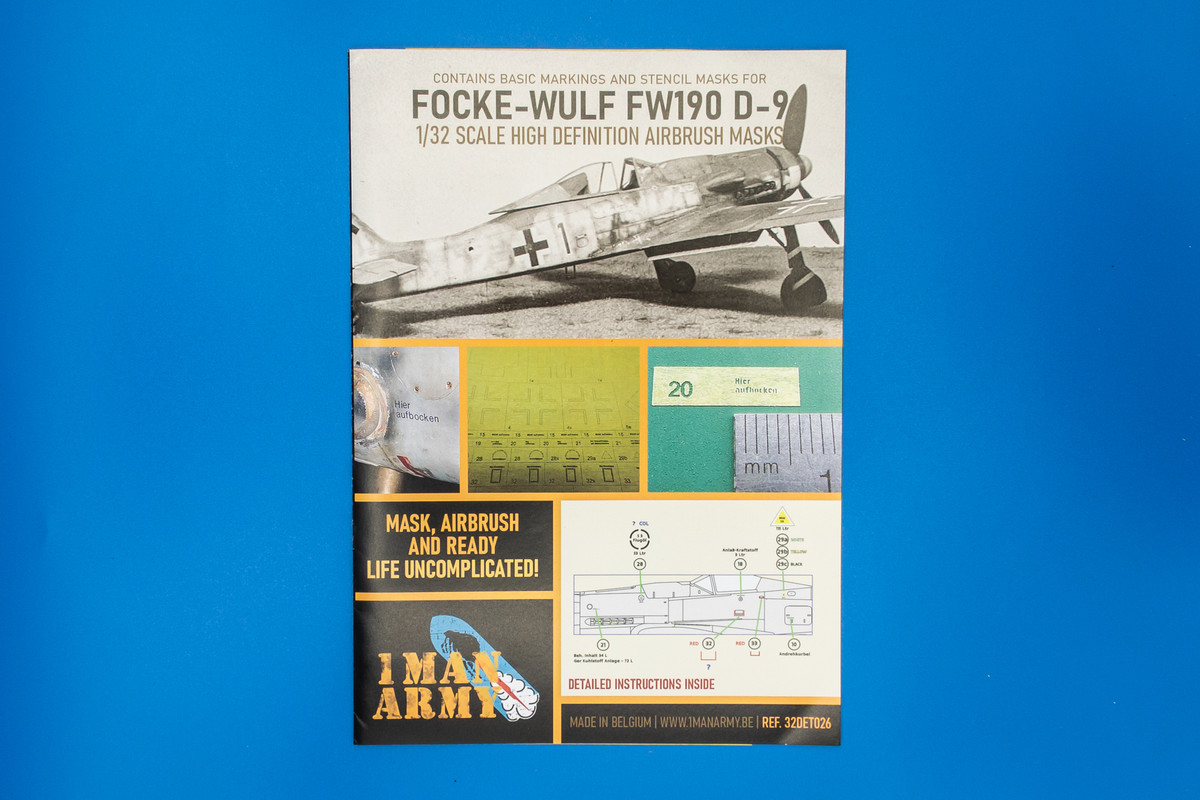
They are essentially paint masks for aircraft data stenciling to replace decals. I guess this is the next logical step in my progression from using decals to buying Montex masks for the larger insignias and then buying a Silhouette Portrait craft cutter to create my own masks. Data stencils on 1/32 aircraft are beyond the resolution of the knife-based craft cutter and 1ManArmy employs some sort of laser-cutting process to make these incredibly fine masks.
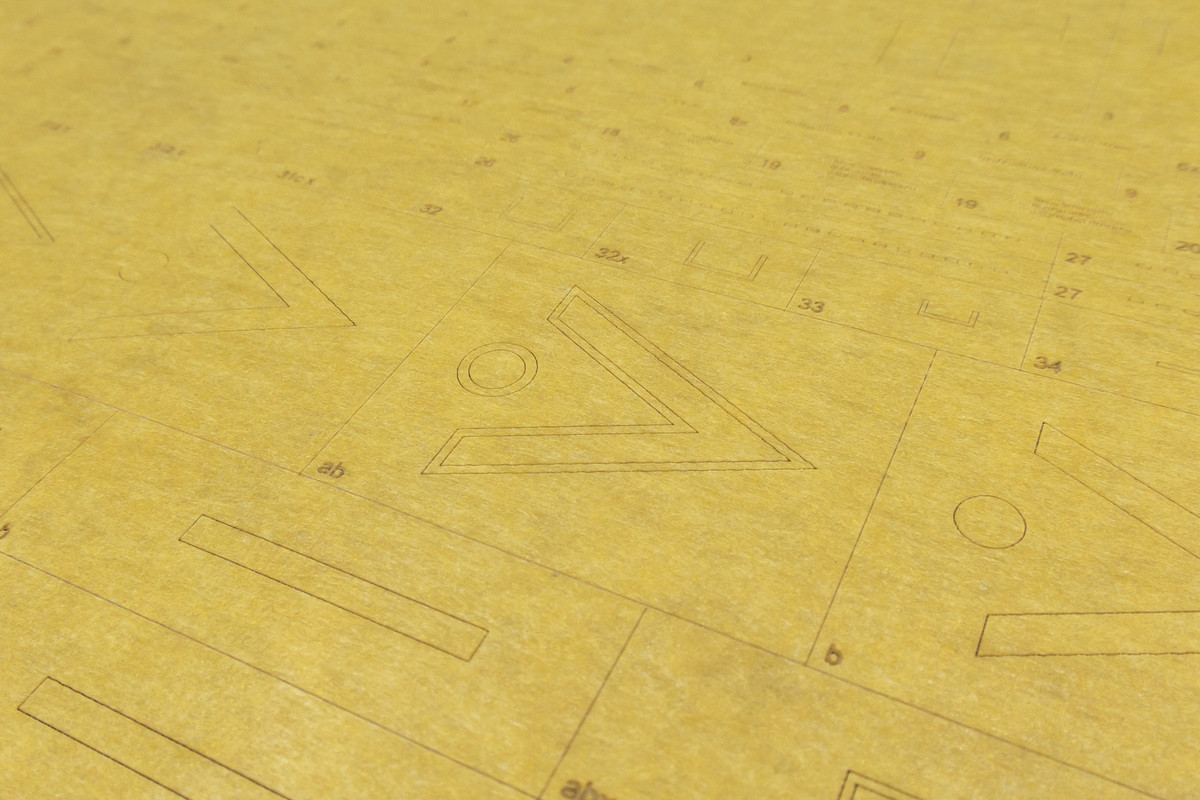
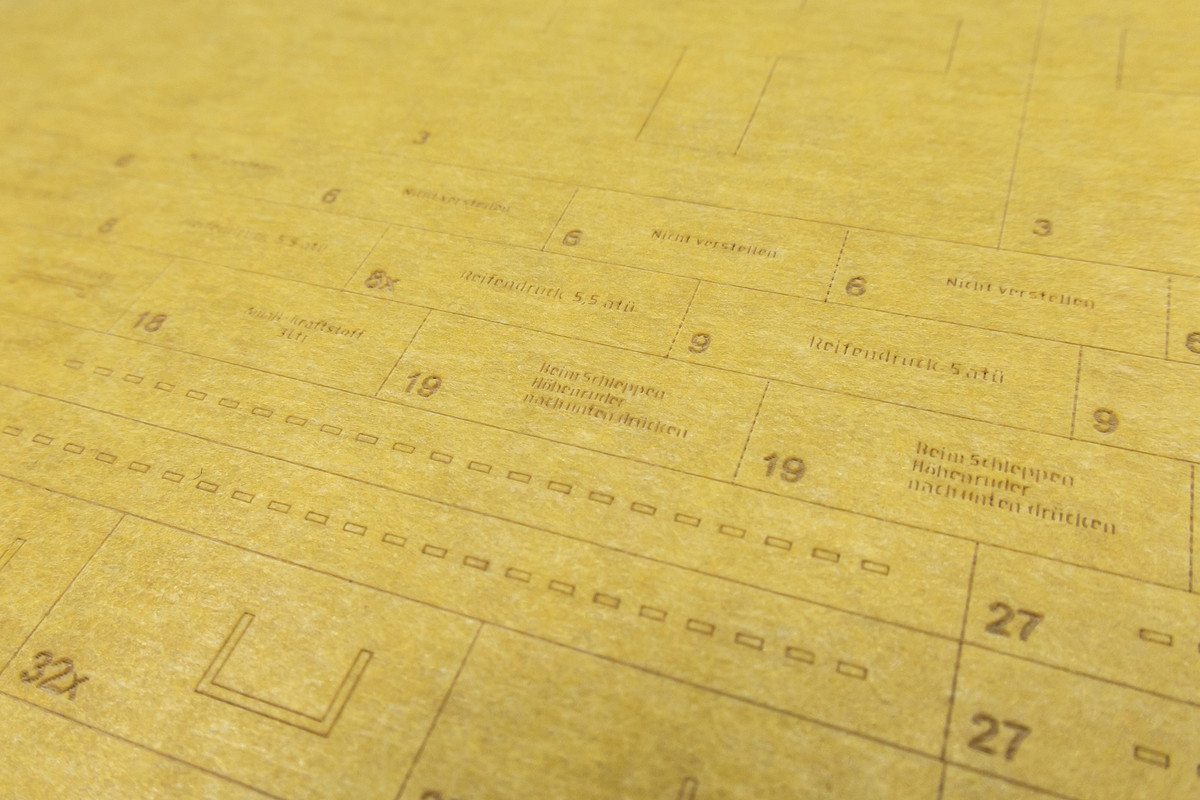
A complete set of data stencils is provided as well as a few generic larger markings with a detailed set of placement instructions.
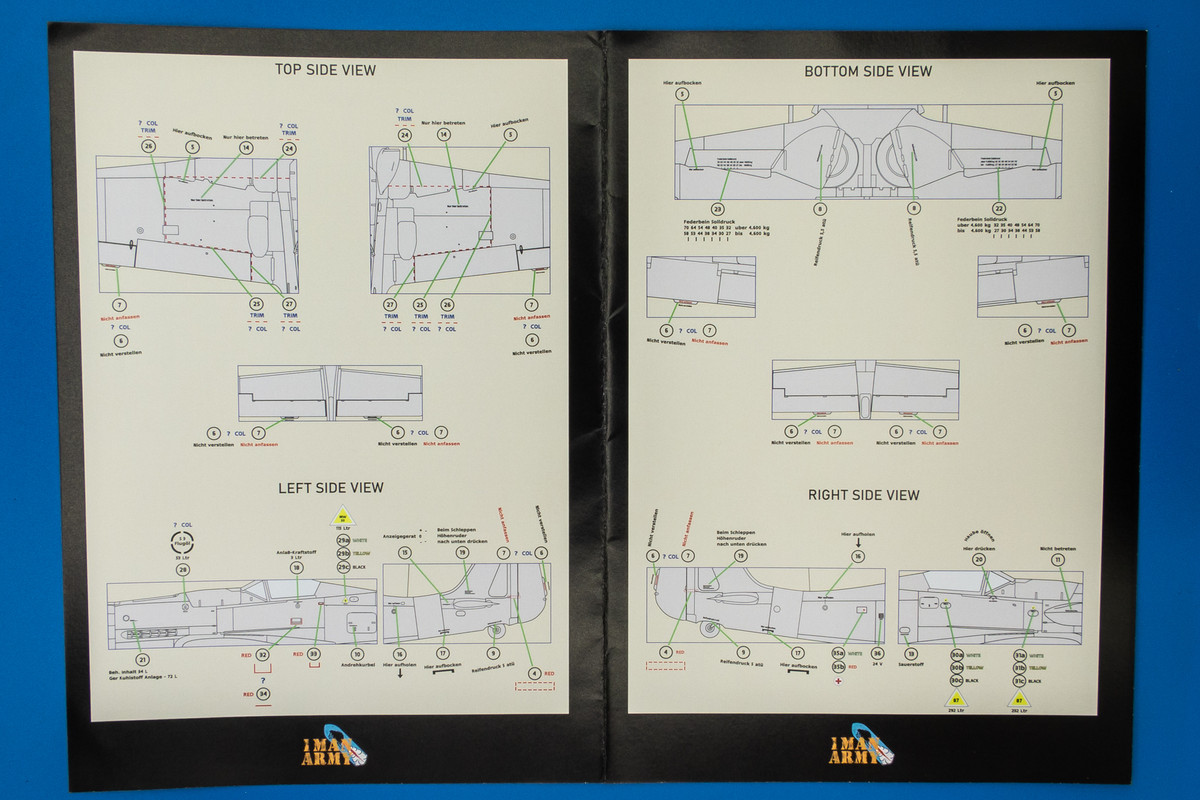
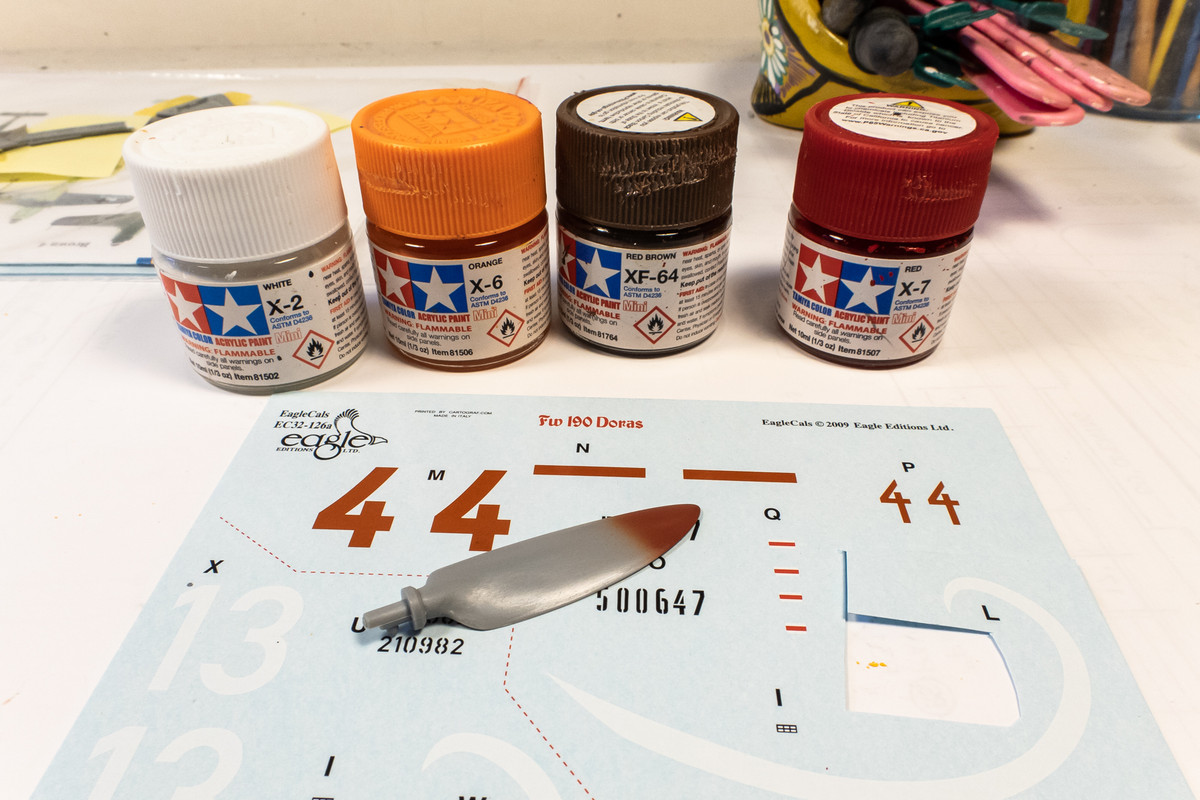
I am going to test these masks on the landing gear covers, which I've painted in RLM 74 Dark Grey. But before the data stencils, I'm going to paint the Brown 4 using custom masks from my cutter. I used a 1:1:1:1 mix of Tamiya White, Orange, Red Brown and Red to match the color on the Eagle Editions decal sheet.

The laser process seems to have burned away most of the smaller, free-floating pieces of the mask, which is a very good thing. On a similar mask from the craft cutter, you'd have to manually pick away these bits from the mask, which can be tedious.
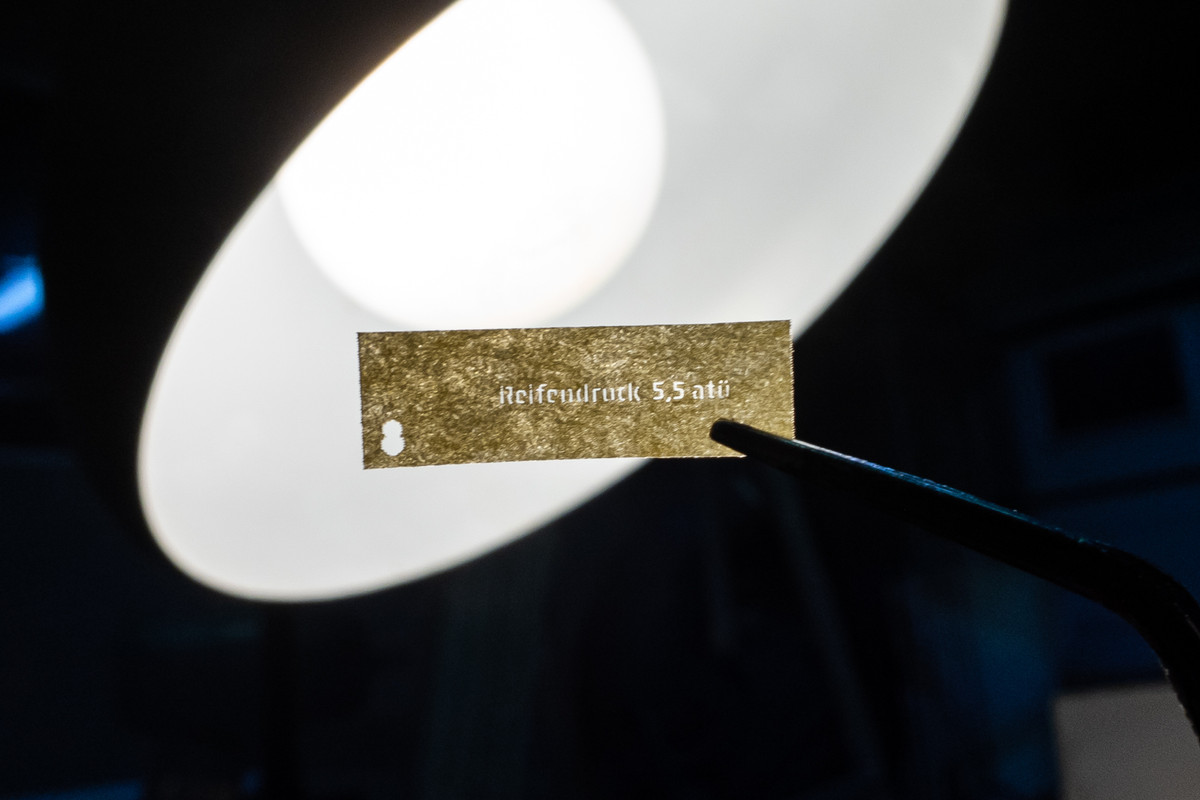
One drawback to these masks is accurate placement. It can be tricky to do since the yellow masking material is opaque and not see-through.
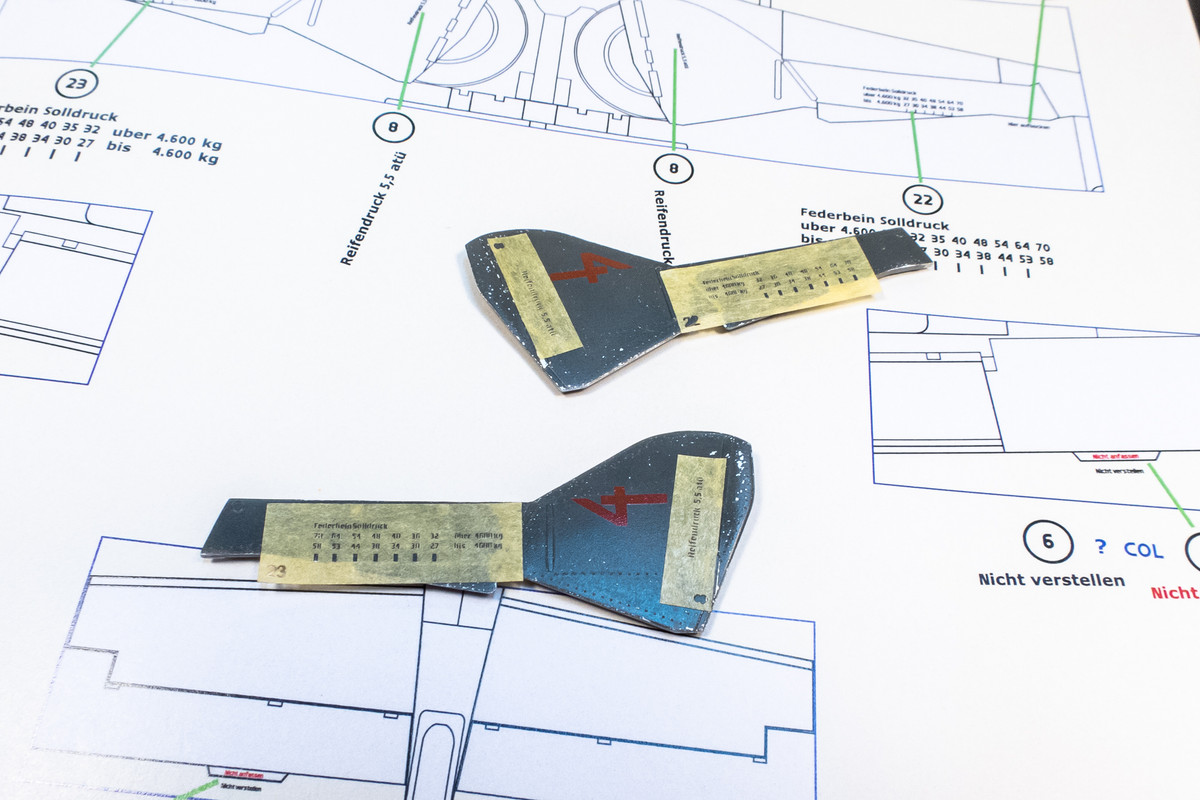
Additional masking is another drawback... you have to protect the areas outside of the small masks from overspray.
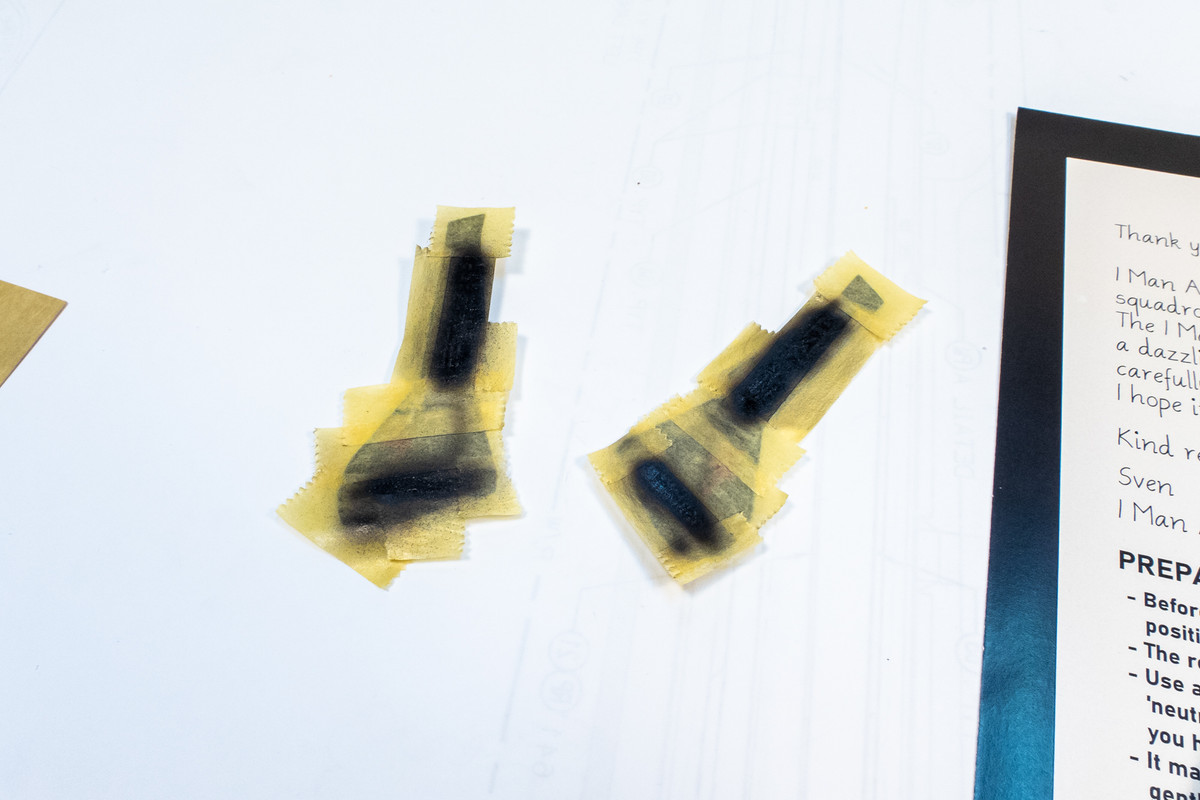
But the result is impressive! It's difficult to make out the black from the dark grey background but the masks work as advertised.

However, I made the mistake of spraying gloss thinned with Mr Leveling Thinner to seal the paint job on the gear covers. DON'T use MLT over an area treated with hairspray or else you may get the weird spider-web effect that I got on my gear covers.
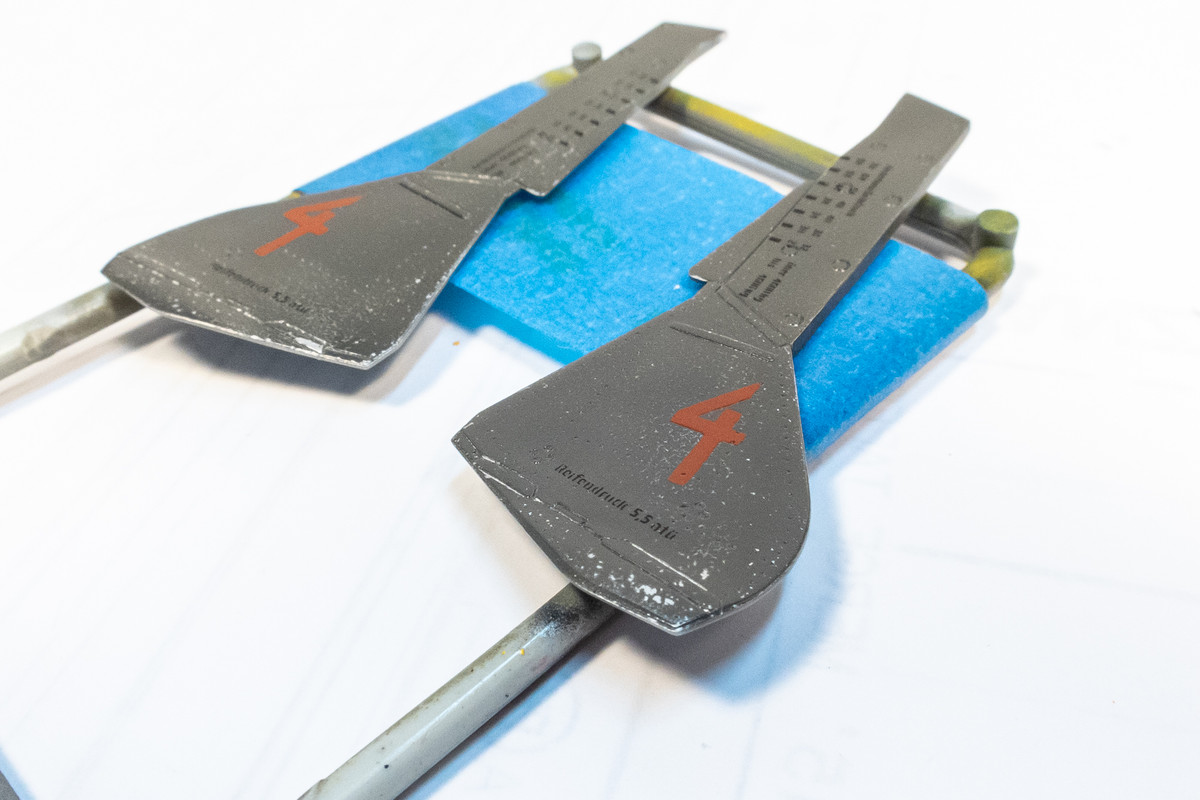
I'm not sure I liked how the hairspray chipping worked out anyway so I'll probably be wiping these clean and doing it all over again. And I'm going to test the idea of re-using the 1ManArmy masks as I've carefully saved the ones I've used.
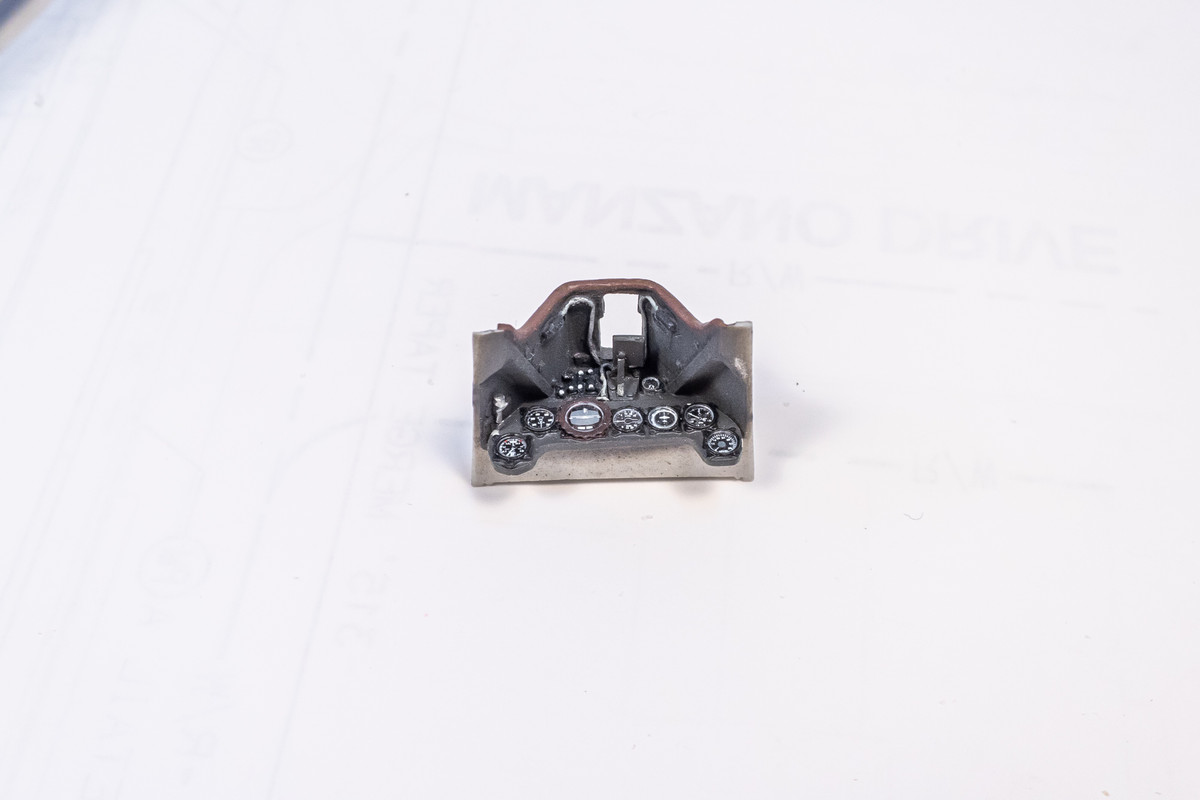
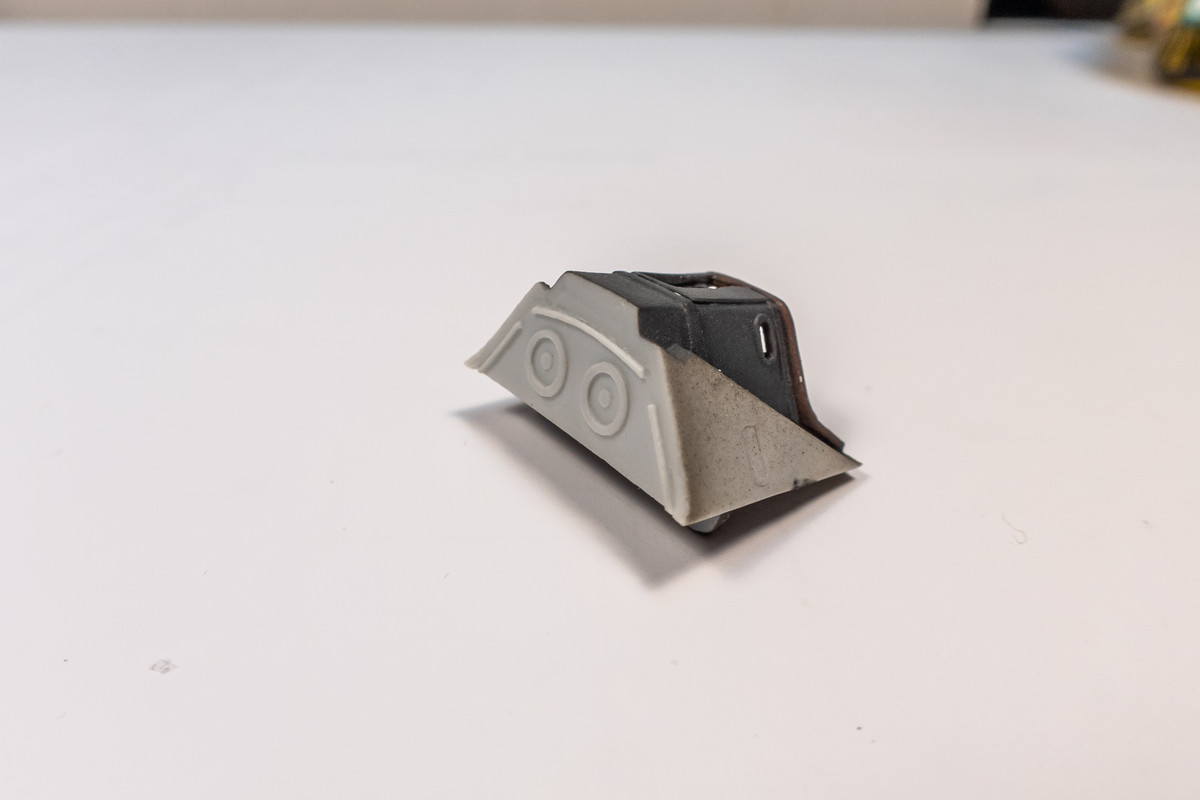
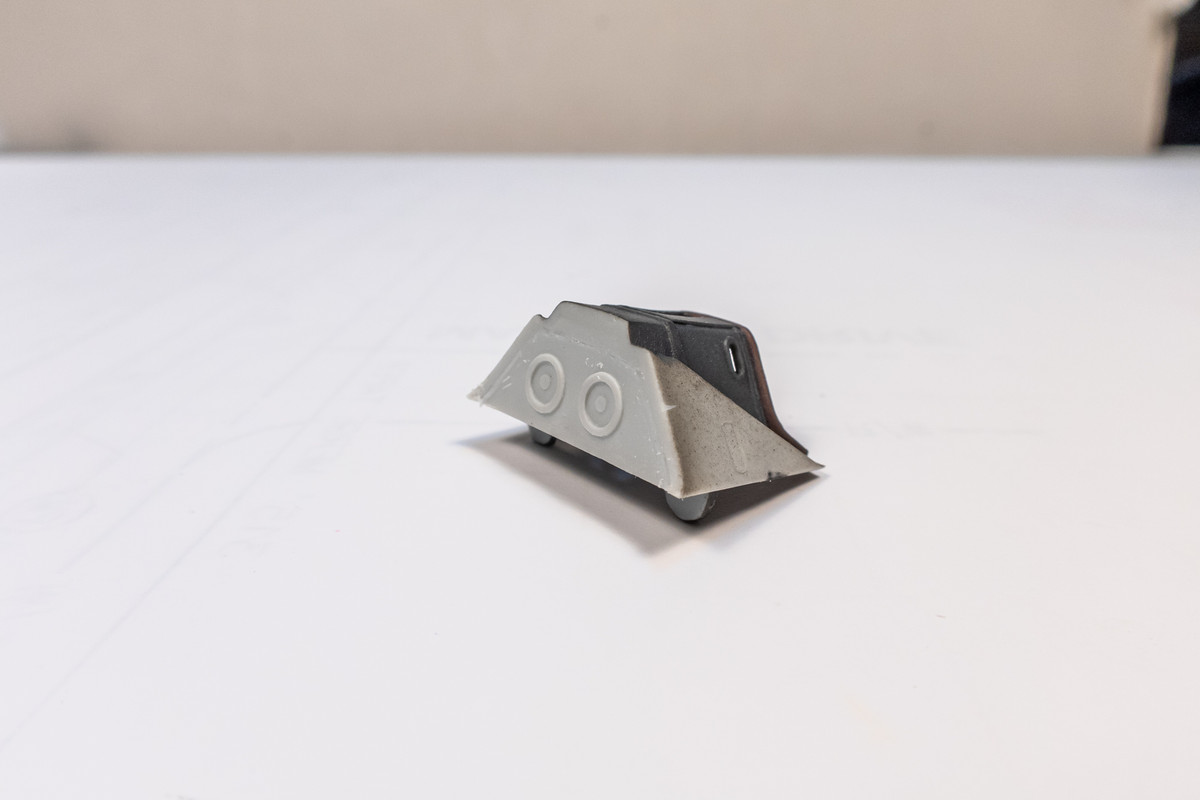
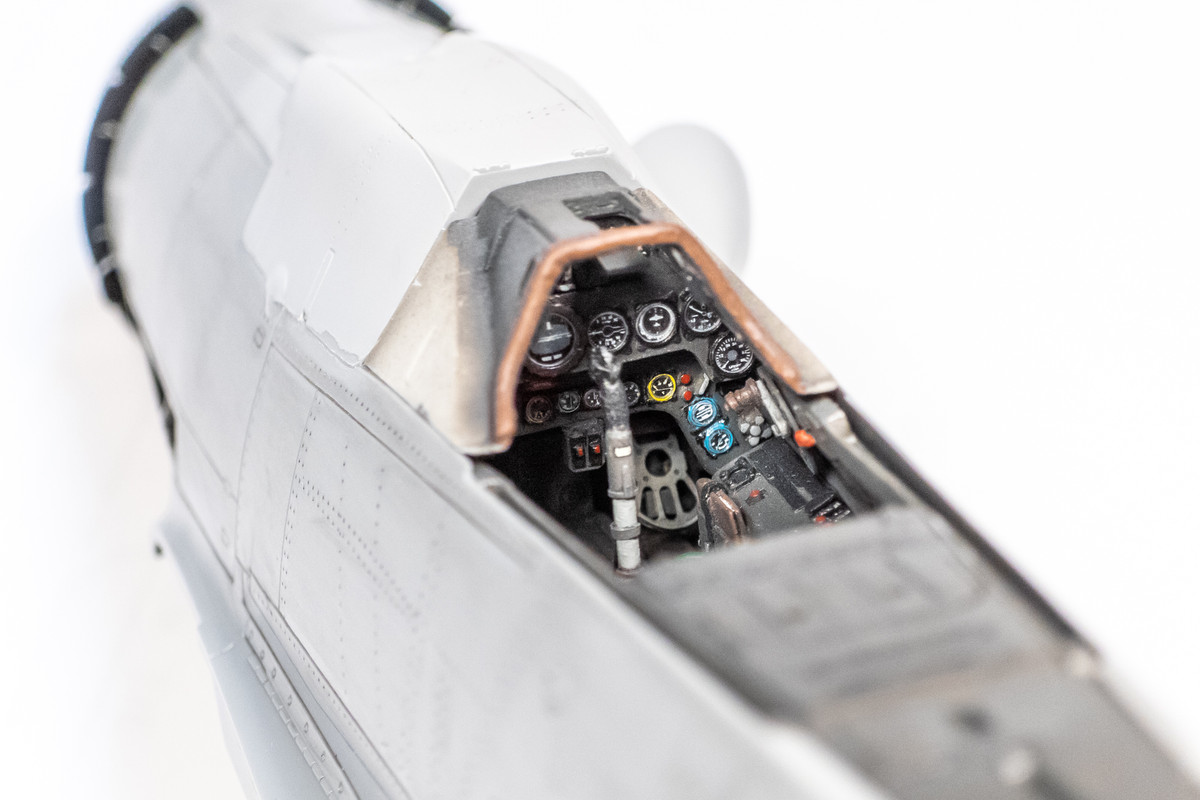
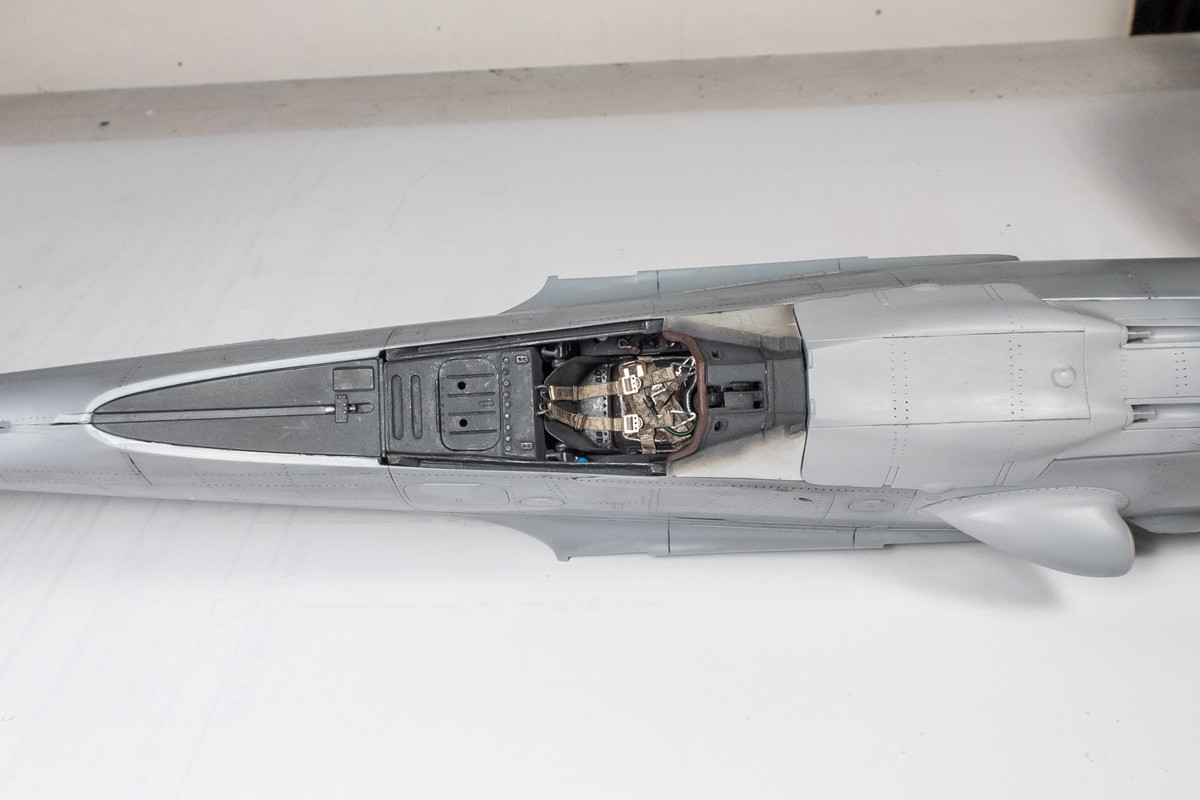
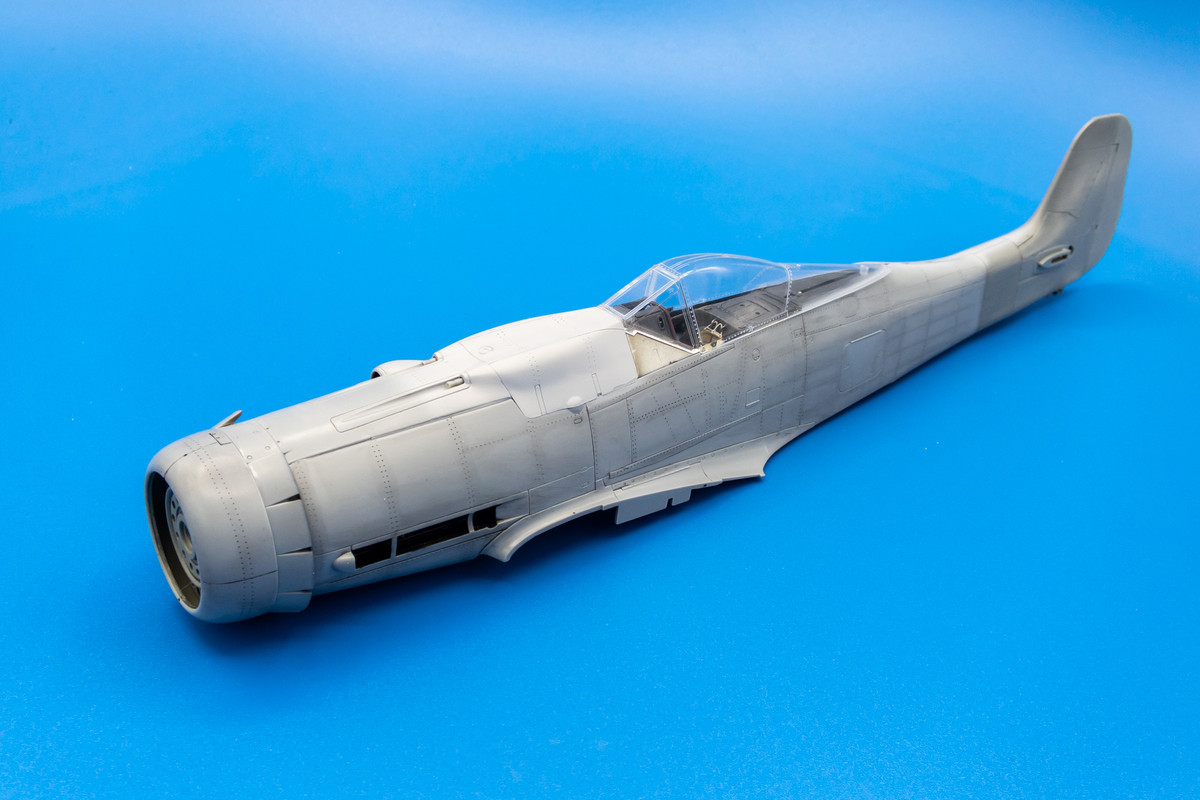
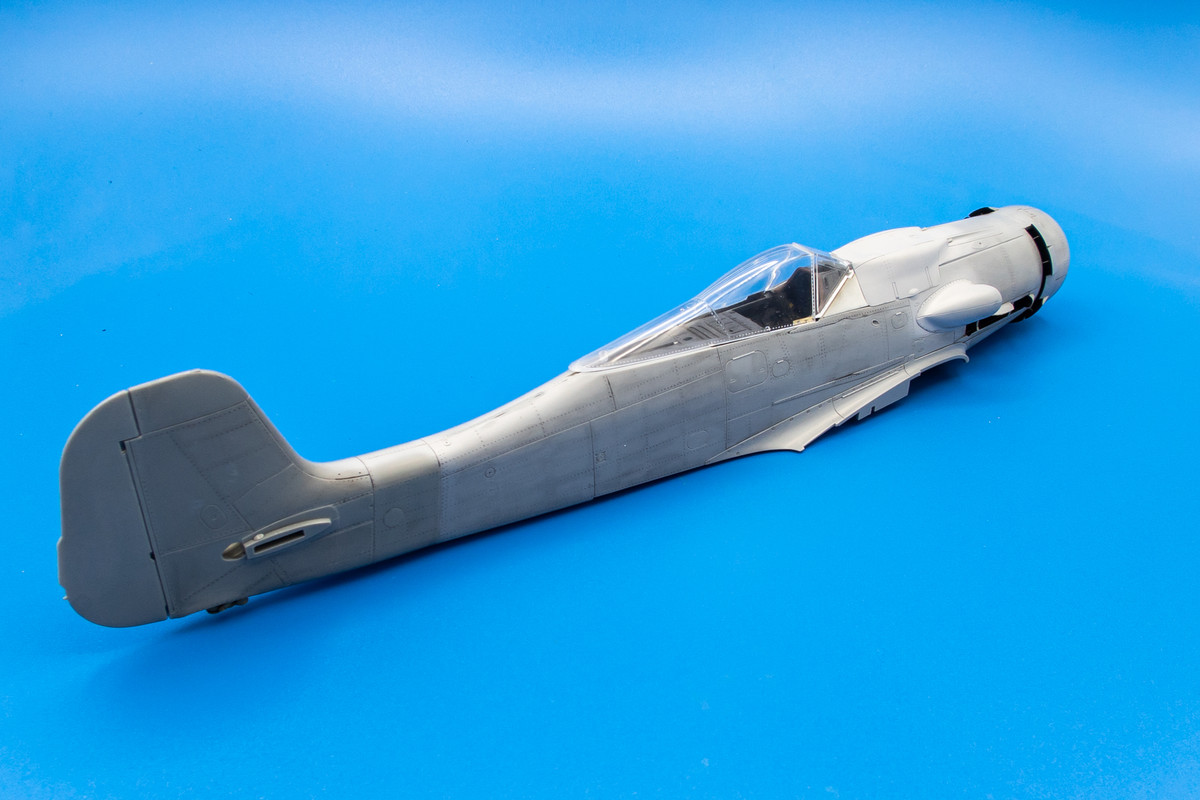
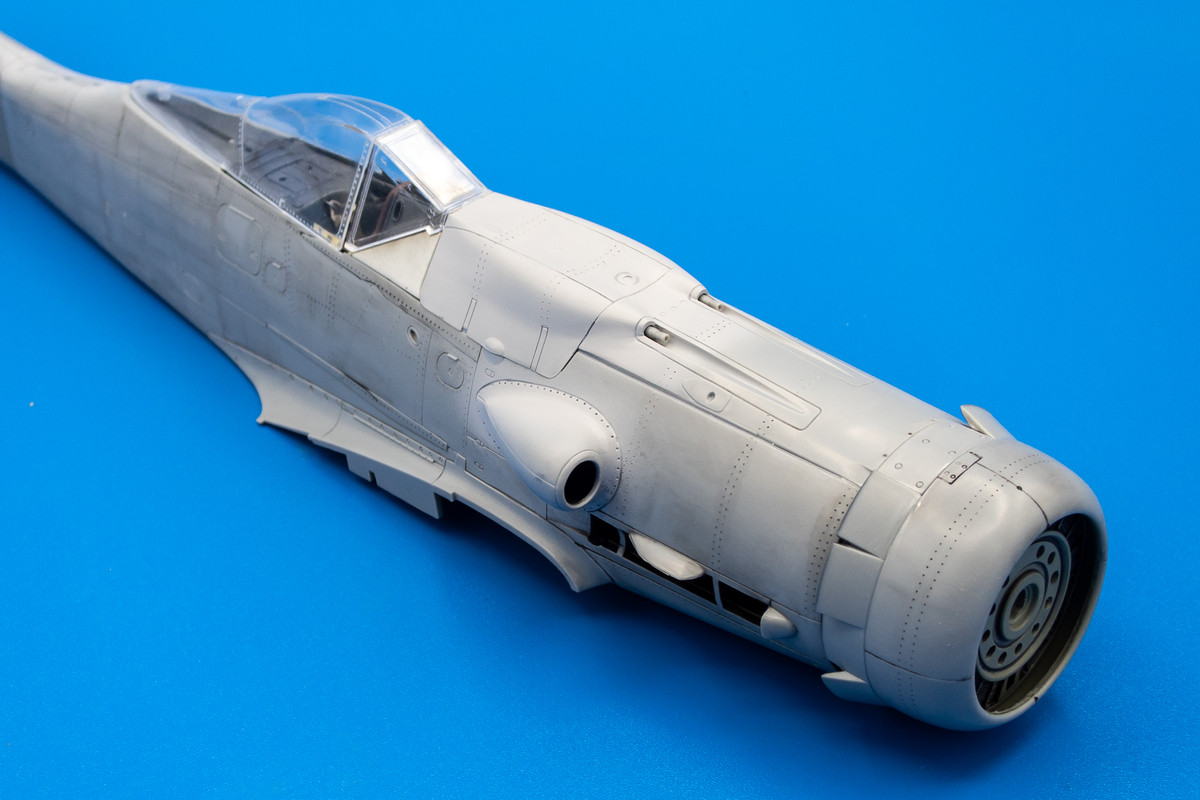
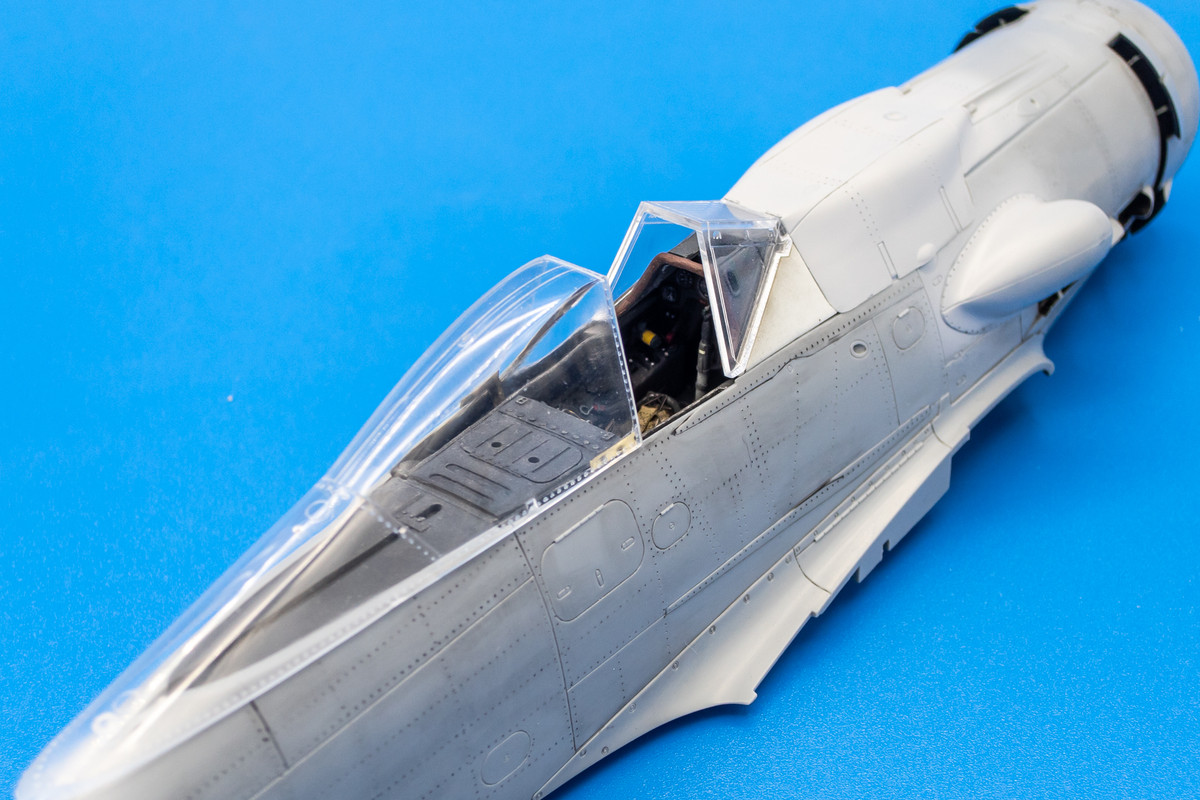
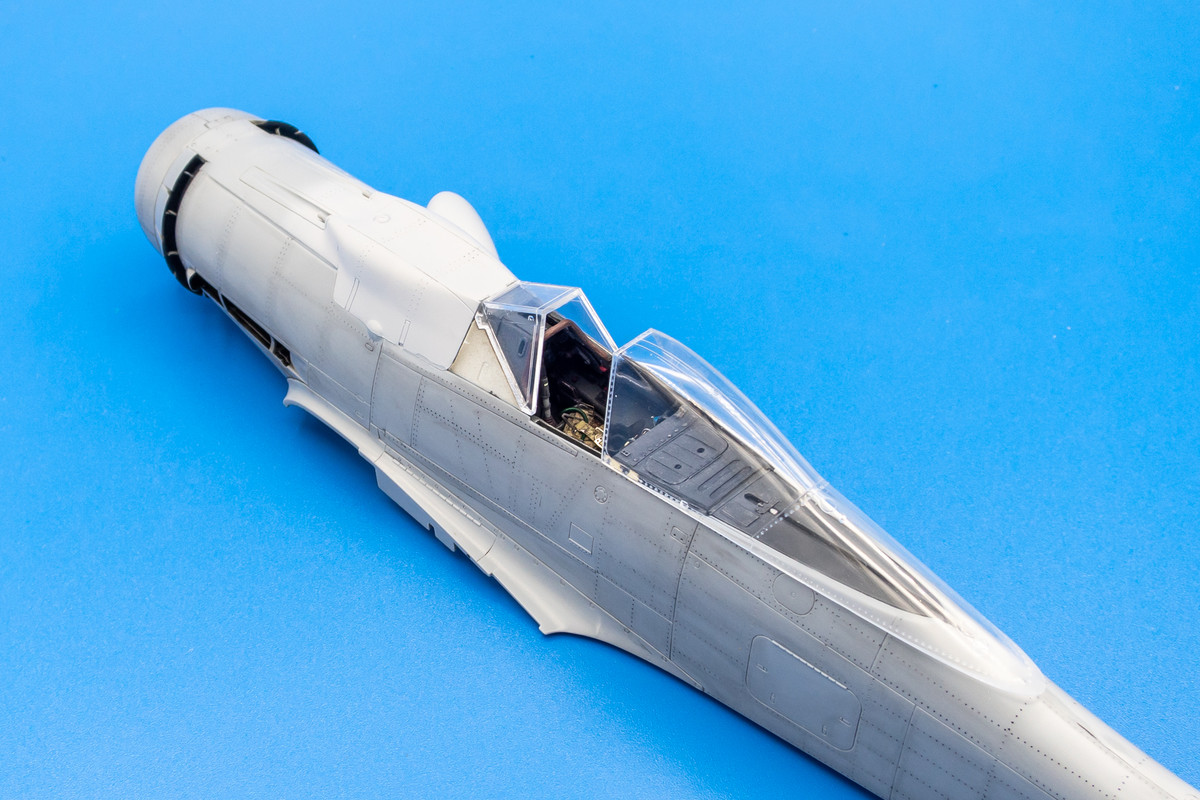
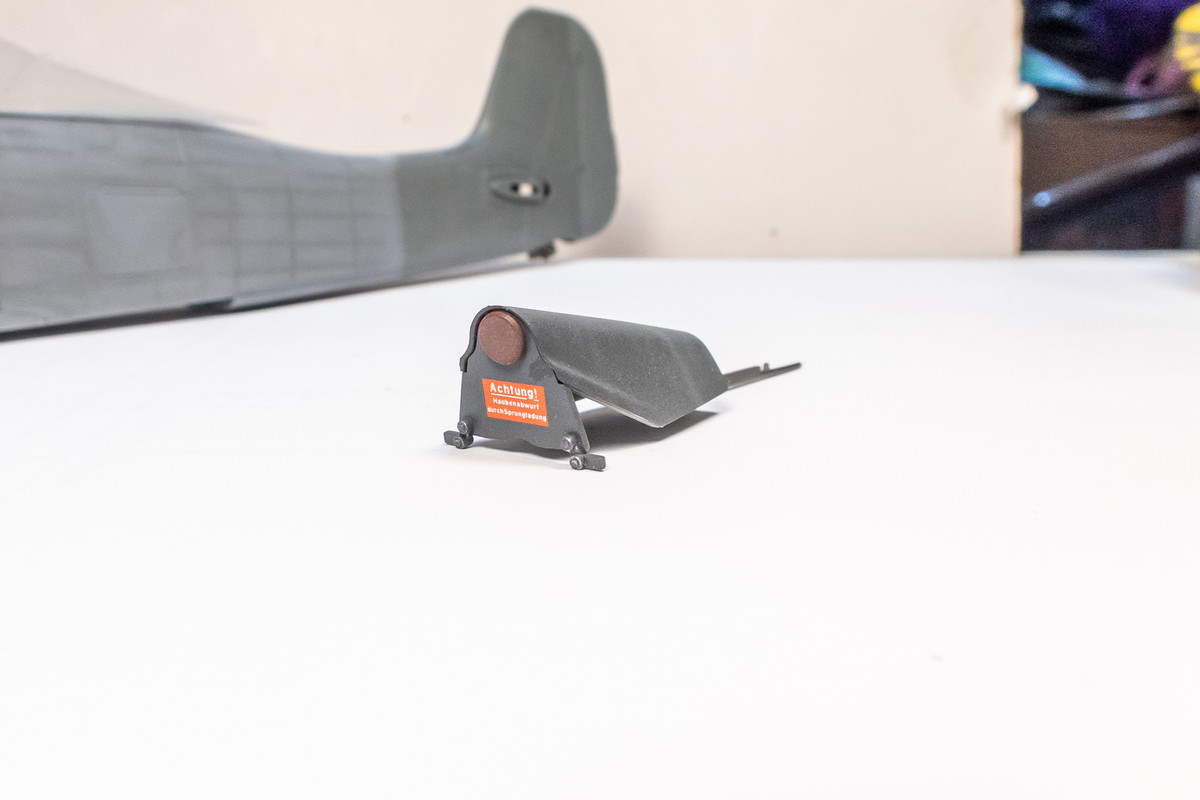
 Stencil masks… very impressive!