Page 15 of 52
Re: 1/32 Tamiya F4U-1a Corsair - Boyington 17740
Posted: Mon Mar 25, 2019 10:29 am
by speedgraflex
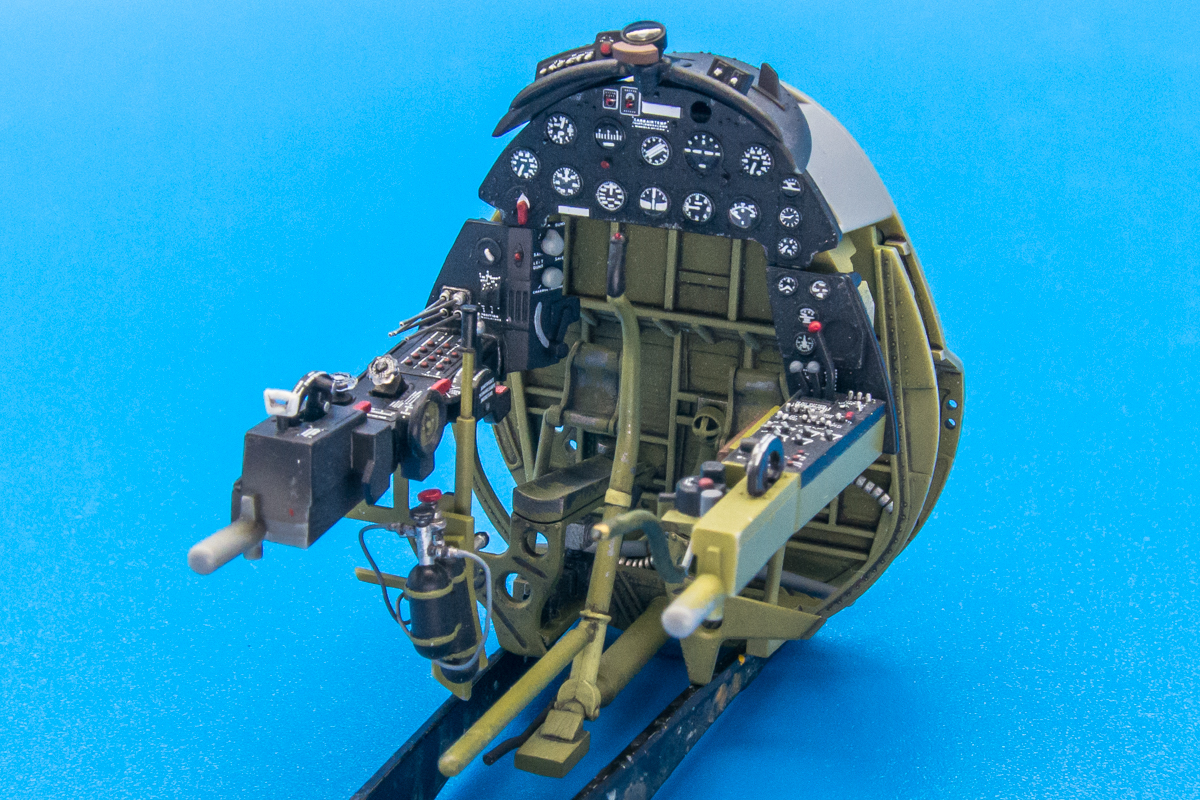
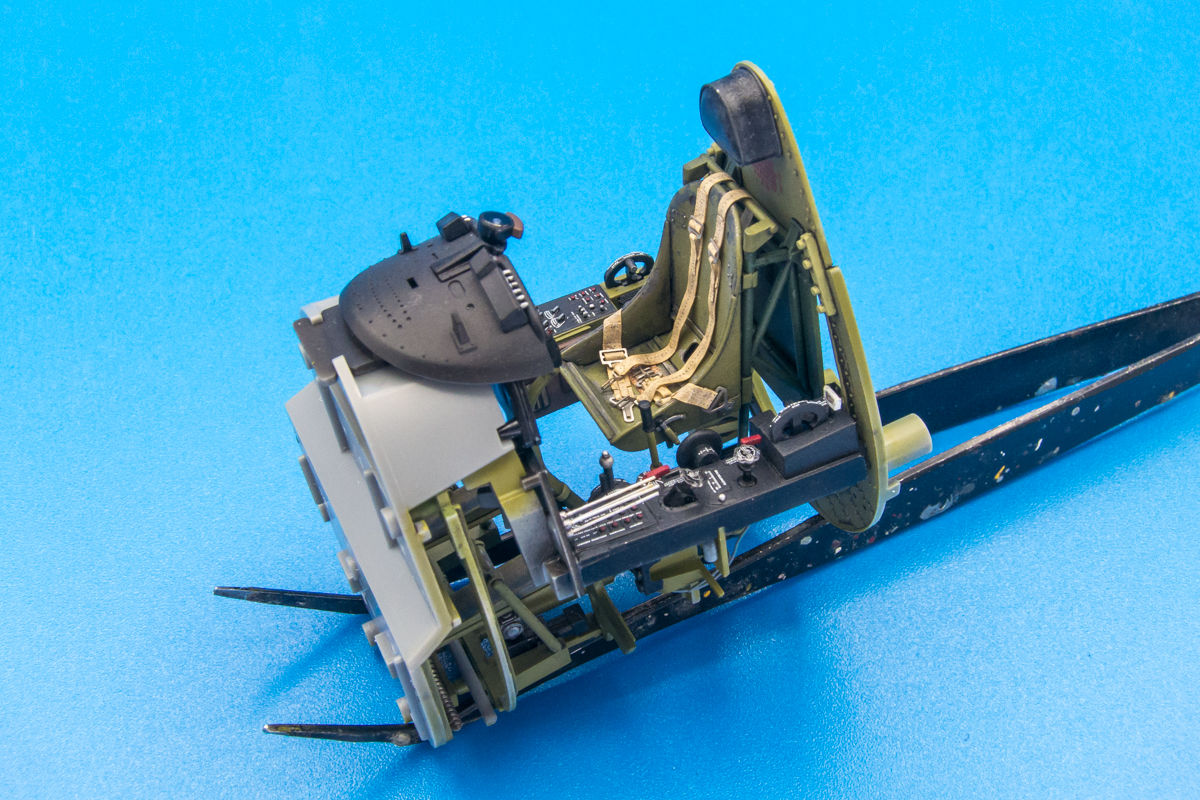
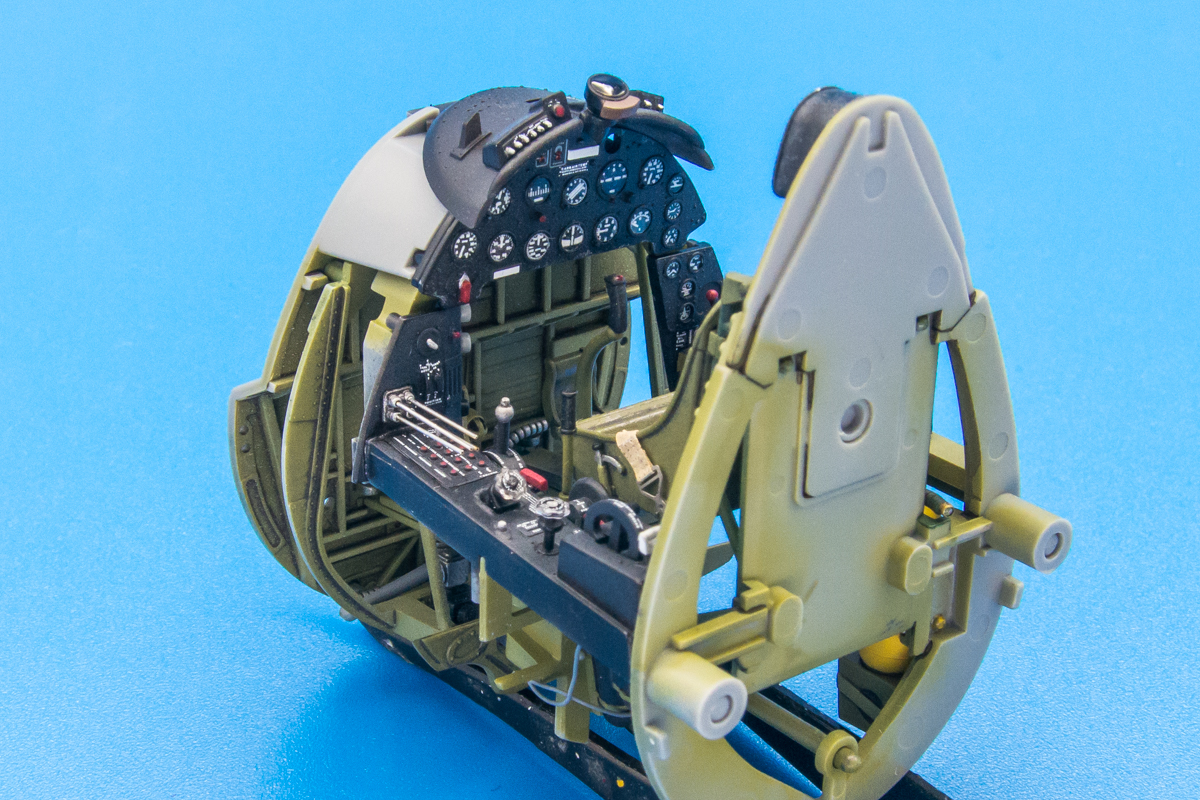
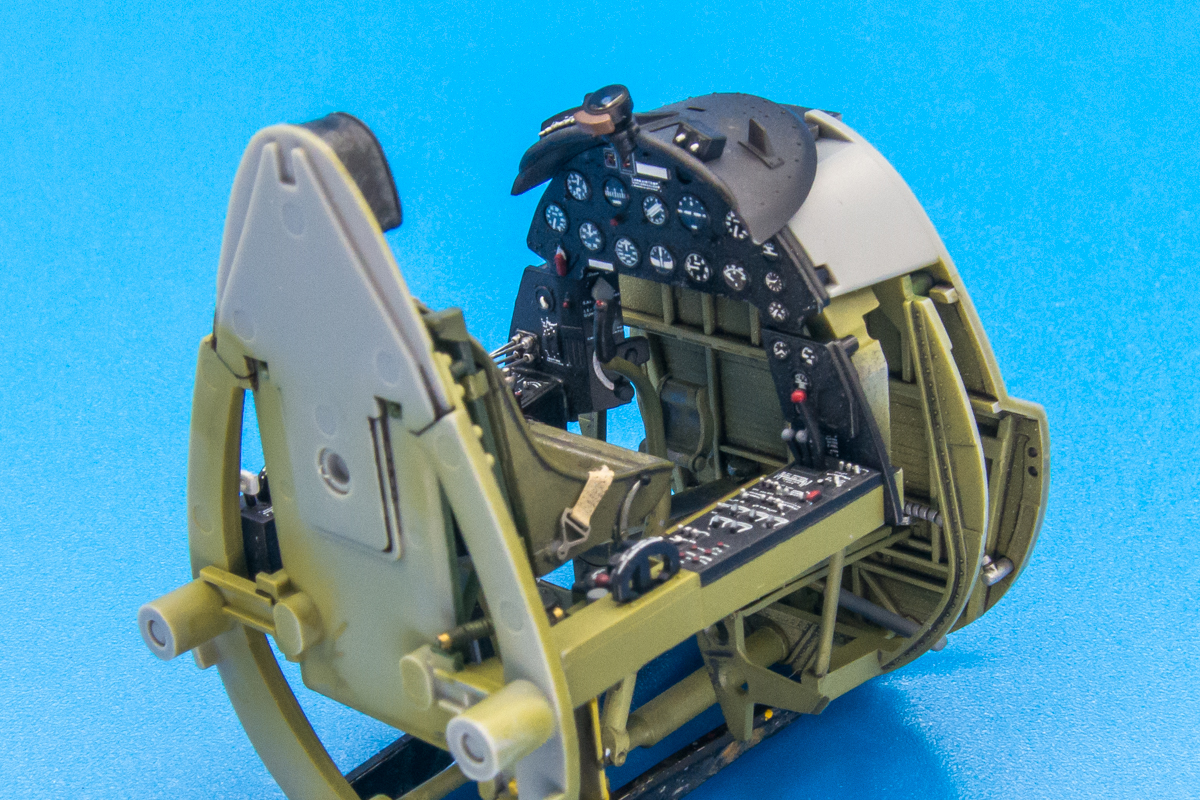
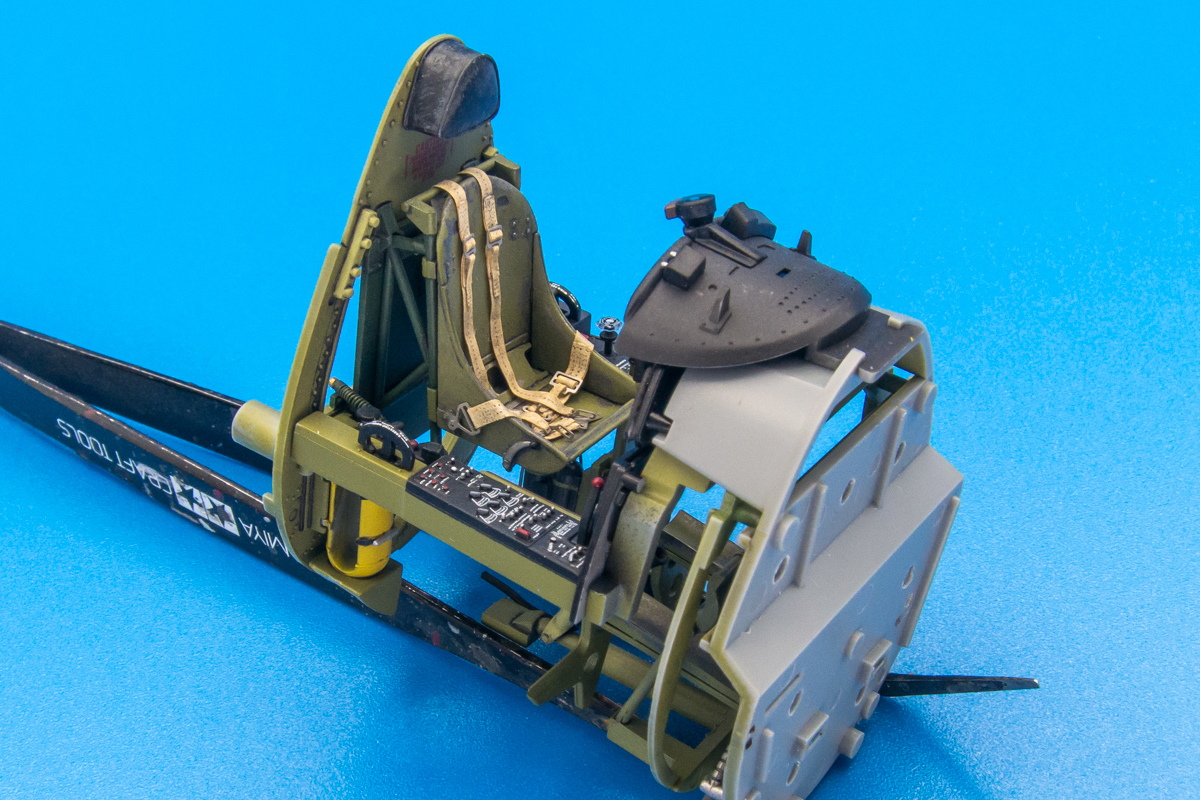
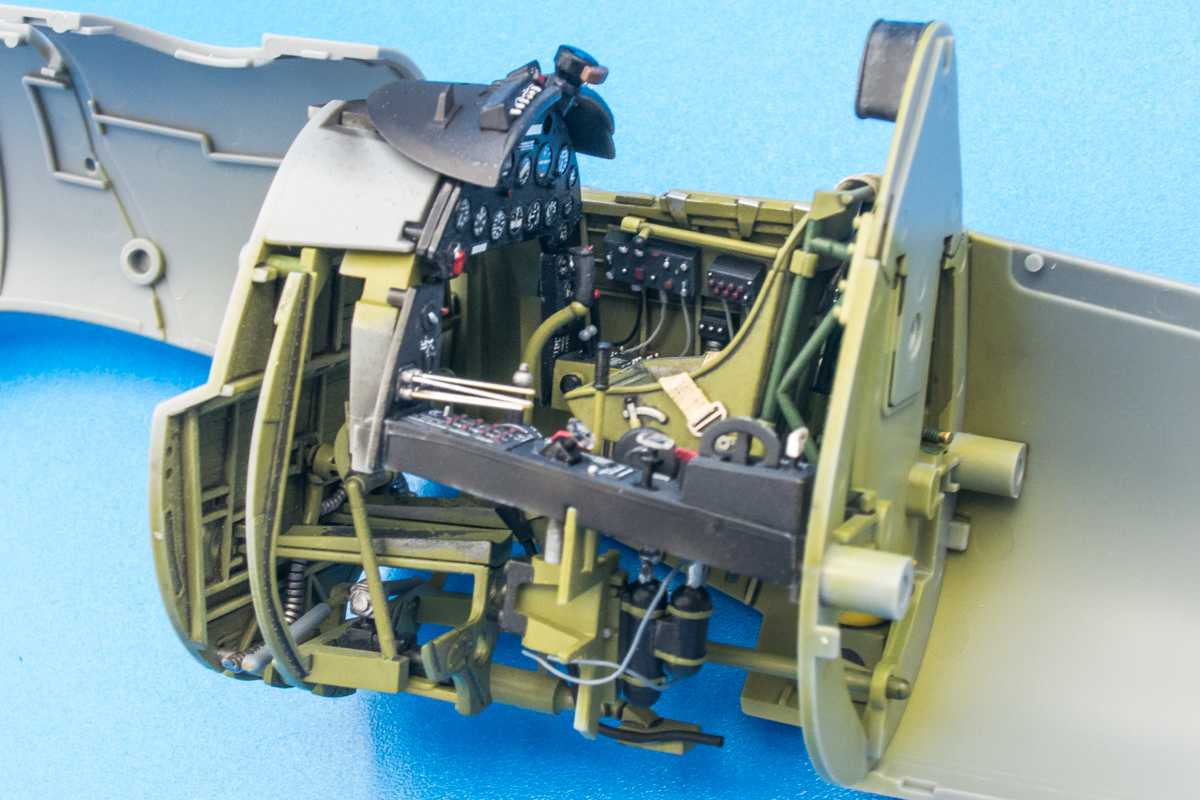
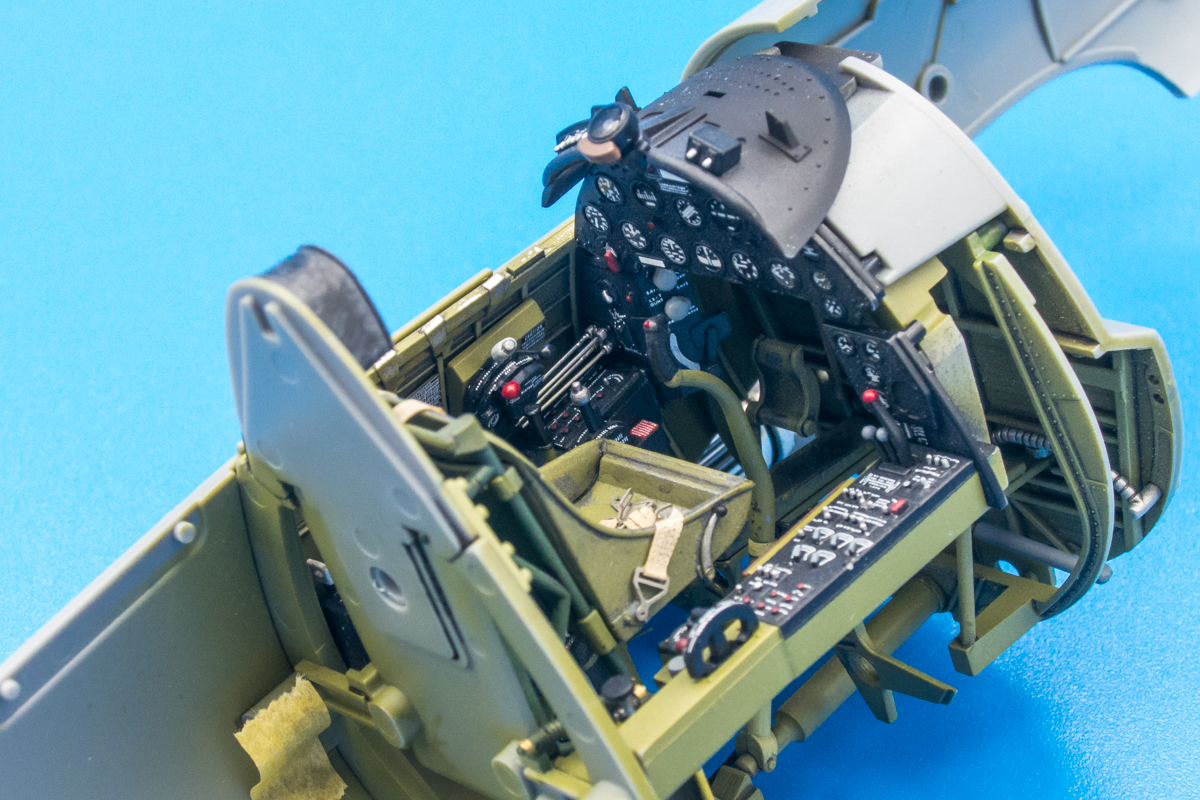
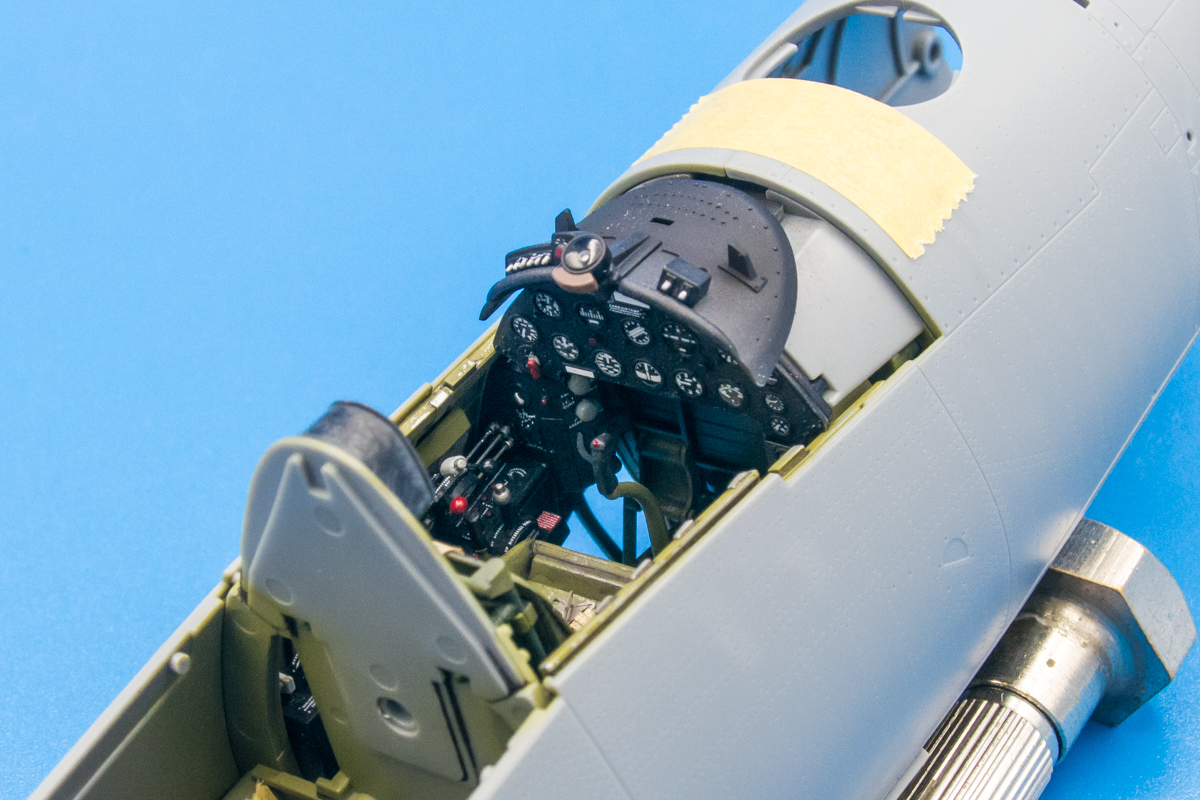
Great throttle linkages, John. Your detail work is absolutely outstanding. I greatly appreciate the way you position the cockpit on modeling tools when photographing these stages. By using these tools you not only support the assemblage you provide a sense of scale. Bravo!
Re: 1/32 Tamiya F4U-1a Corsair - Boyington 17740
Posted: Mon Mar 25, 2019 4:44 pm
by jkim
That cockpit assembly rolls around like an egg so I had to use a prop to keep it from weebling over on its side!
Re: 1/32 Tamiya F4U-1a Corsair - Boyington 17740
Posted: Tue Mar 26, 2019 12:31 am
by jkim
Re: 1/32 Tamiya F4U-1a Corsair - Boyington 17740
Posted: Tue Mar 26, 2019 1:04 am
by Floki
Watching you build this makes me wish I had enough room to start building in 1/32, I am going to get ZMs Uhu but that's all that I'll have room for in that scale. A friend of mine just bought the 1/32 Tamiya birdcage, I'm going to tell him to check this build of yours out next time I see him.
Re: 1/32 Tamiya F4U-1a Corsair - Boyington 17740
Posted: Tue Mar 26, 2019 11:17 am
by Medicman71
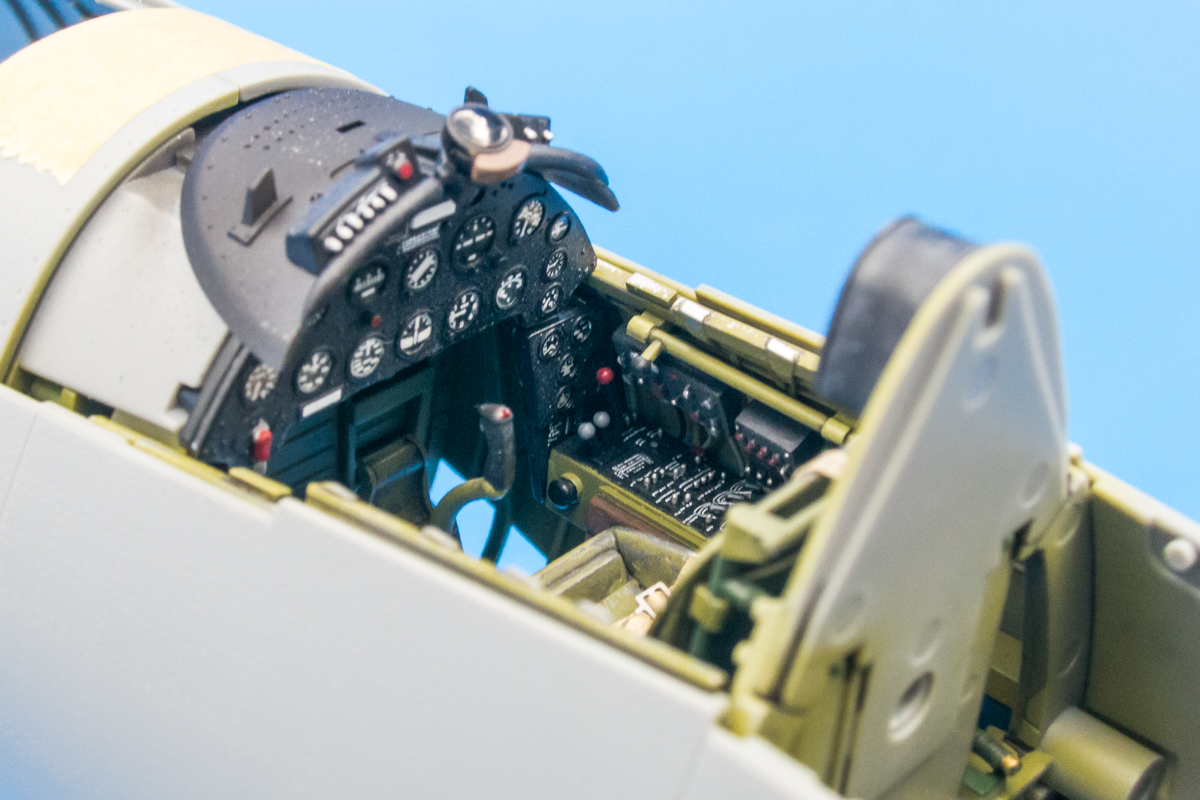
That cockpit looks incredible!!
Re: 1/32 Tamiya F4U-1a Corsair - Boyington 17740
Posted: Tue Mar 26, 2019 11:10 pm
by jkim
Re: 1/32 Tamiya F4U-1a Corsair - Boyington 17740
Posted: Tue Mar 26, 2019 11:39 pm
by Floki
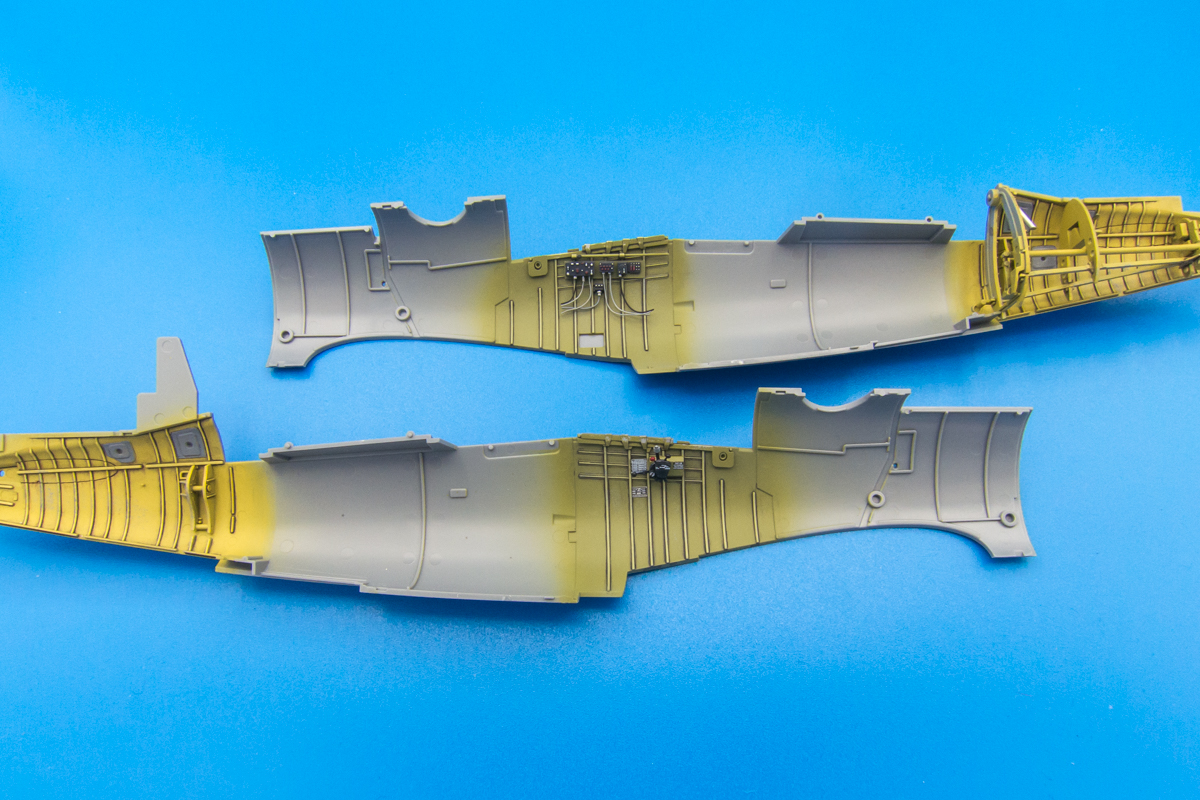
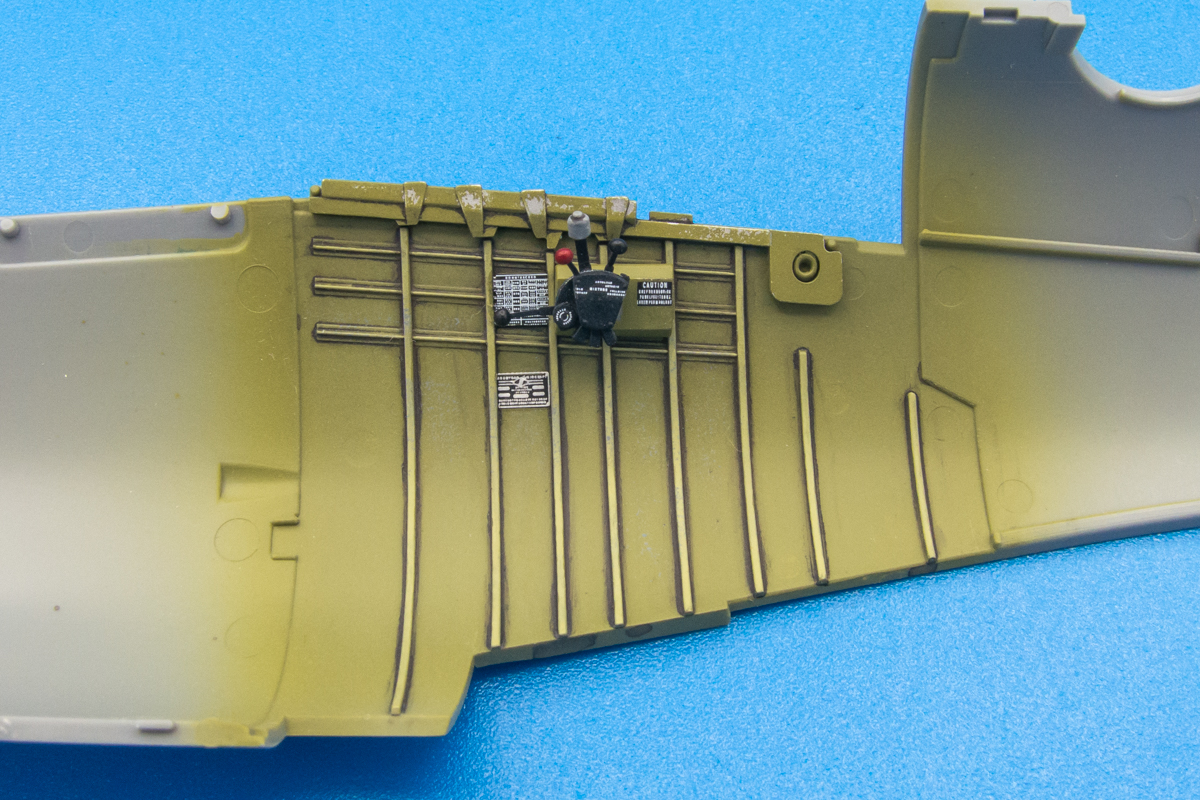
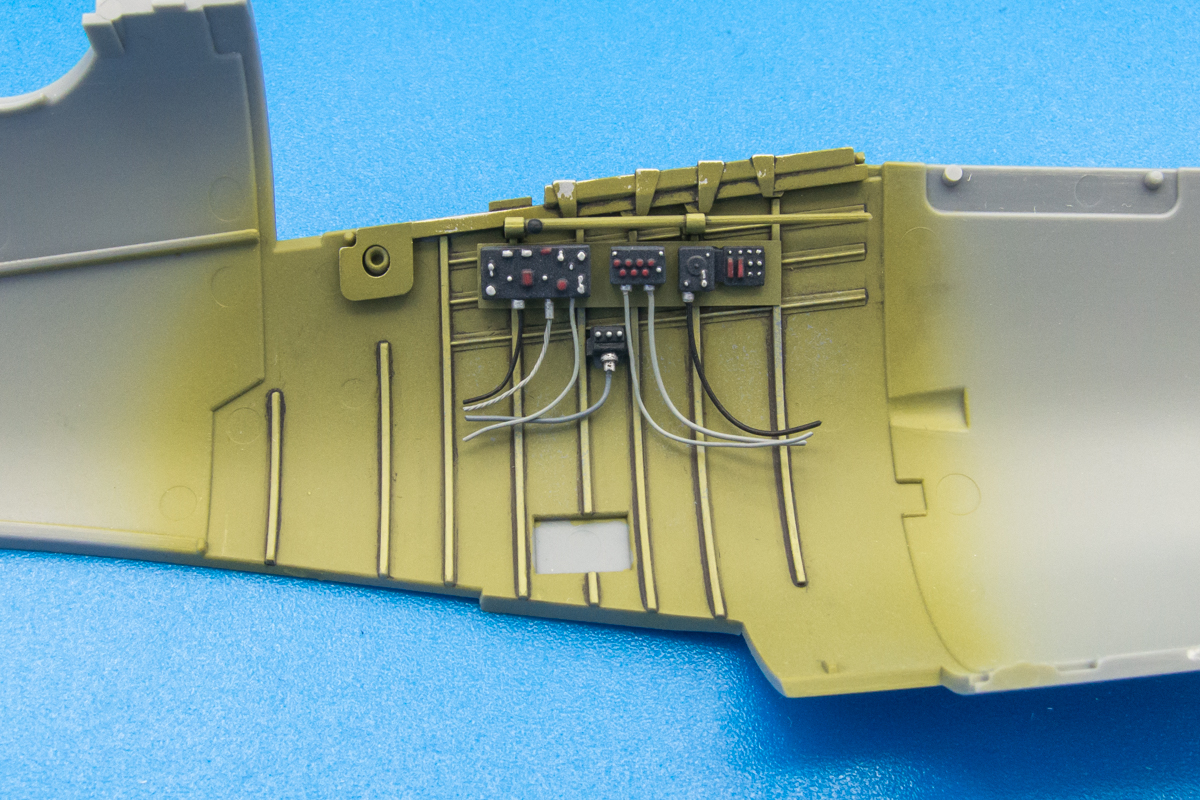
Looks amazing. So much of that pit is going to be visible after the sides are joined so all this extra detail you've put in will be well worth it.
Re: 1/32 Tamiya F4U-1a Corsair - Boyington 17740
Posted: Wed Mar 27, 2019 7:19 am
by silentbob33
Wow...just, wow

Re: 1/32 Tamiya F4U-1a Corsair - Boyington 17740
Posted: Wed Mar 27, 2019 8:46 am
by LyleW
I think I'll just get a dumpster and fill it with my stuff. I second what Silentbob said....
Re: 1/32 Tamiya F4U-1a Corsair - Boyington 17740
Posted: Wed Mar 27, 2019 11:17 am
by speedgraflex
I am on a break, and wanted to simply spend time here to congratulate you on your progress. I have seen a lot of Tamiya 1/32 builds, but this is simply on a different level even from those. I have a couple of questions about adding hoses and such—because I struggled with simply adding one cable to the control stick and I would like to add more wiring and plumbing details, in the future... I hope you don’t mind. How do you measure the piece of cable and how do you secure the cable in place? What kind of adhesive? Mainly I was curious about how you fit your pieces. Do you take a longer piece then mark the amount needed?
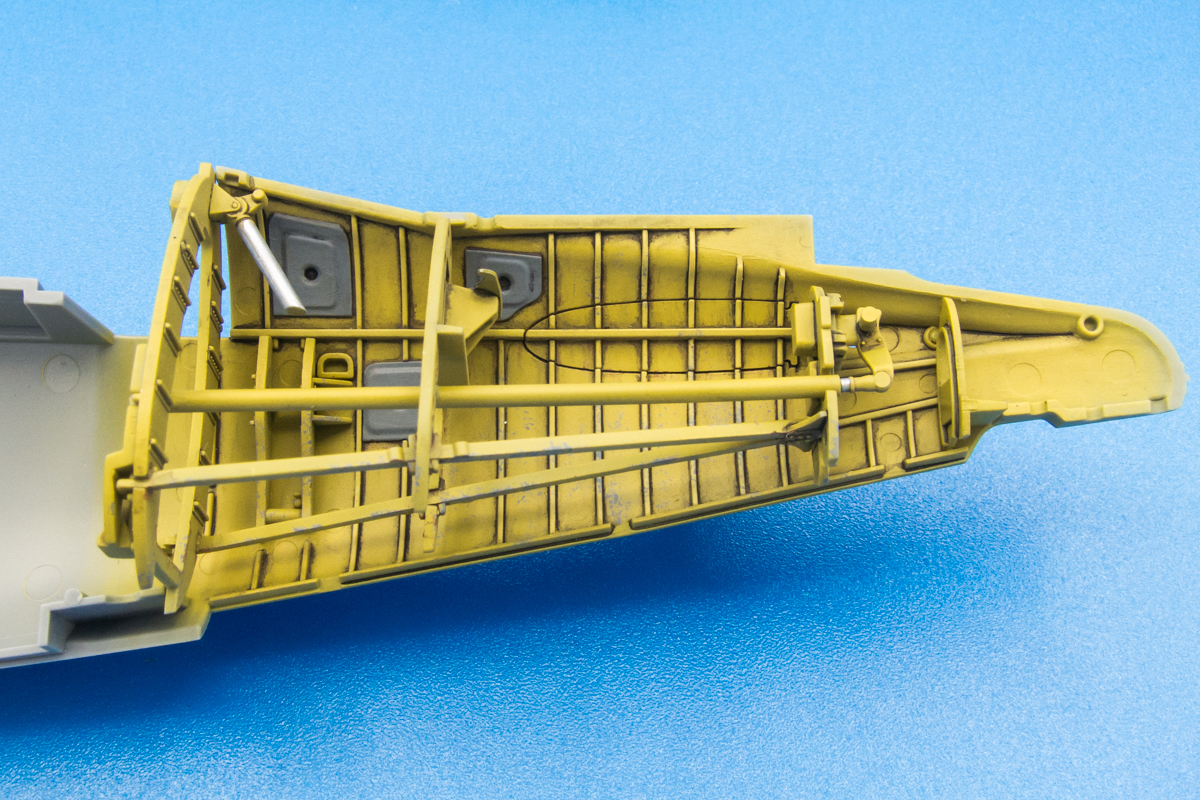
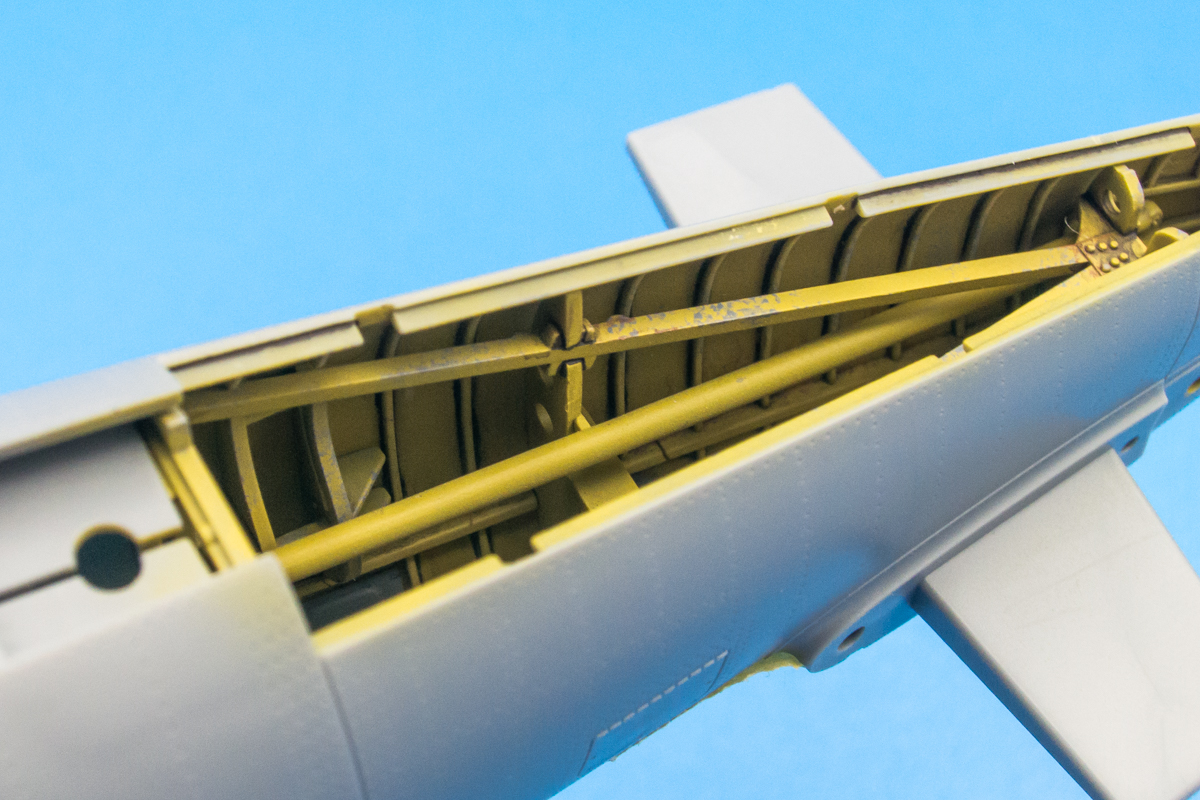
I do think the tail wheel well is extraordinary! Just beautifully presented painting details! I assume the bolt head weathering is a pastel wash effect. That is just superb.
Last but really first—your airbrush work is masterful. I always look at the fade lines and these are exceptionally fine and done with exquisite control. One little thought—have you chosen areas for spills and leaks? Maybe that comes last or mainly around the engine and front gear? I think the contrast between wet and dry effects in your hands is what I have always admired. I still have the copies I made of your ZM 1/48 Ta-152 engine which is a little symphony of wet and dry effects—and I recall you wrote at the time you held back!
I will also second or third or fourth what everyone write! Truly!