Page 15 of 16

Re: 1/32 Revell Bf109G-6/AS Hohenjager

Posted: Sat Apr 11, 2020 1:12 pm
by BlackSheep214
It’s always a joy to watch your progress and learn your methods. You make it look to easy yet I’m intimidated to try it on my own kits out of fear of screwing it up. Well done! :shoutout: :shoutout: :shoutout: :shoutout:

Re: 1/32 Revell Bf109G-6/AS Hohenjager

Posted: Sat Apr 11, 2020 3:35 pm
by jkim
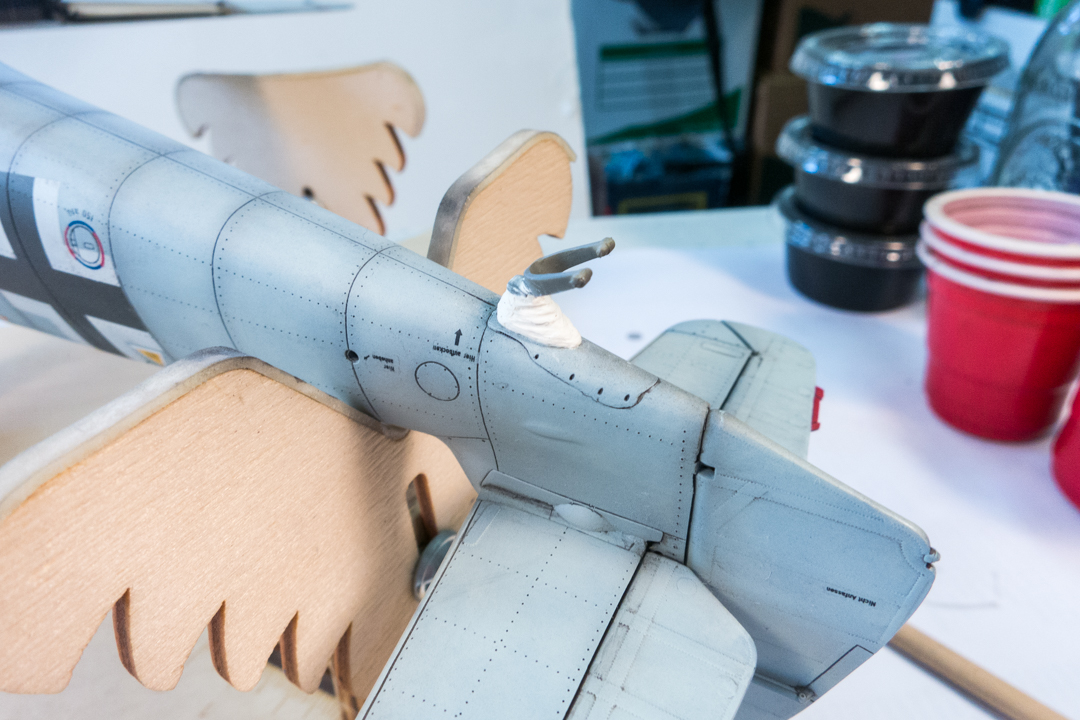
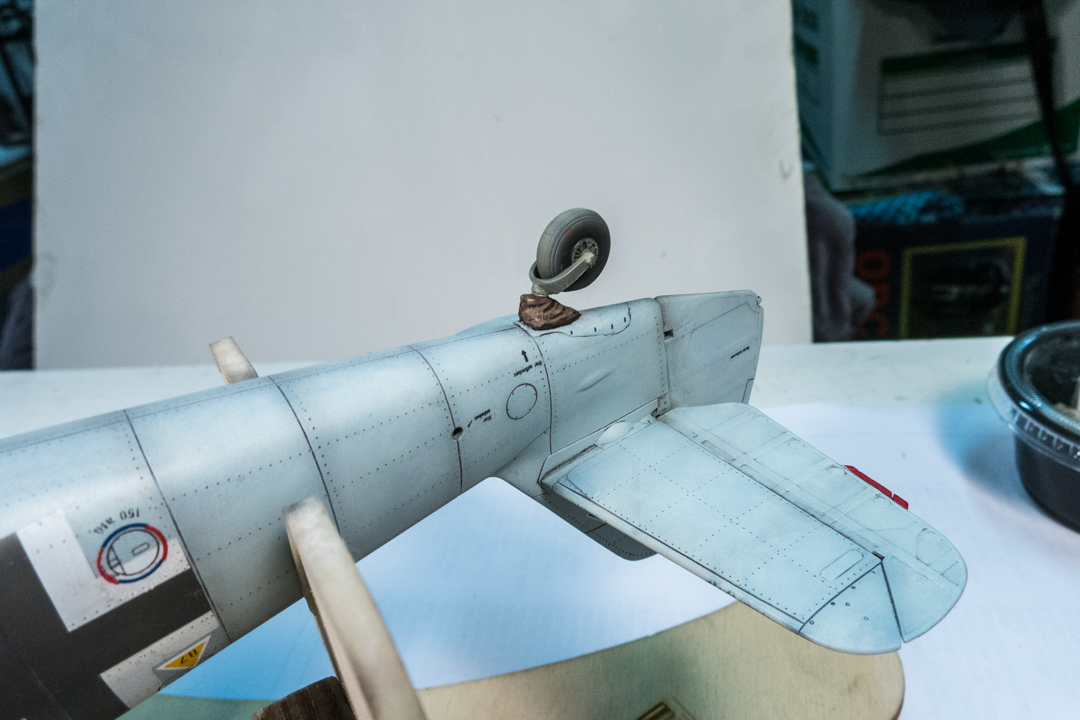
The tail wheel strut doesn't come with the fabric boot that was common on many G-6's. So I decided to sculpt a simple boot using Milliput.
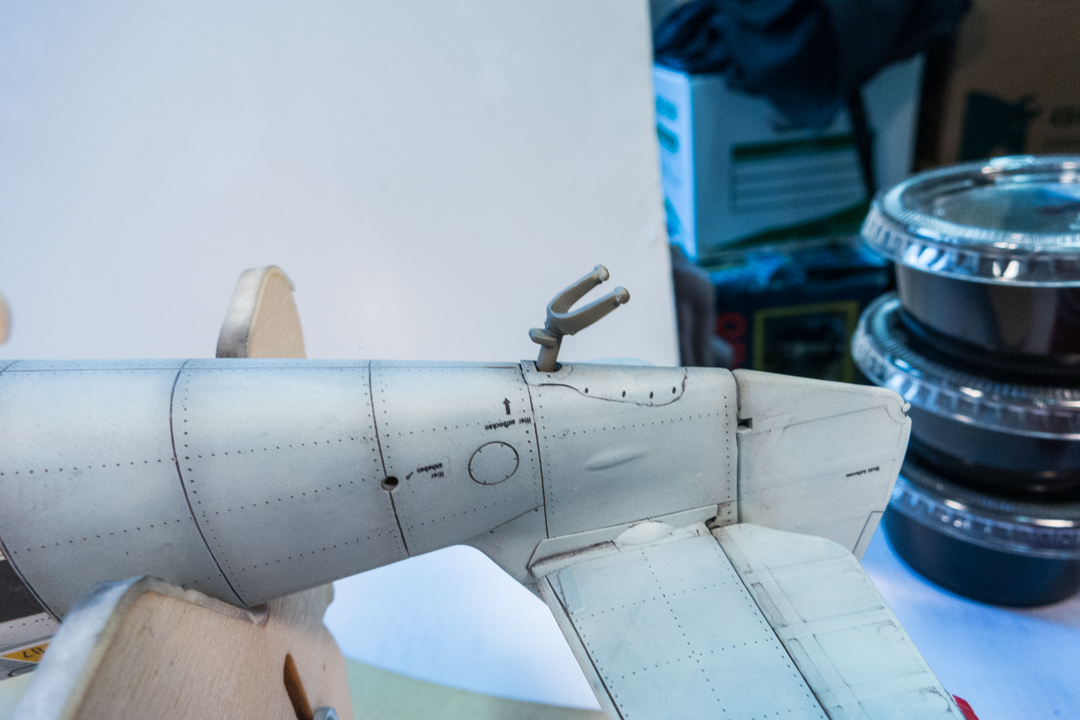
Image
Image

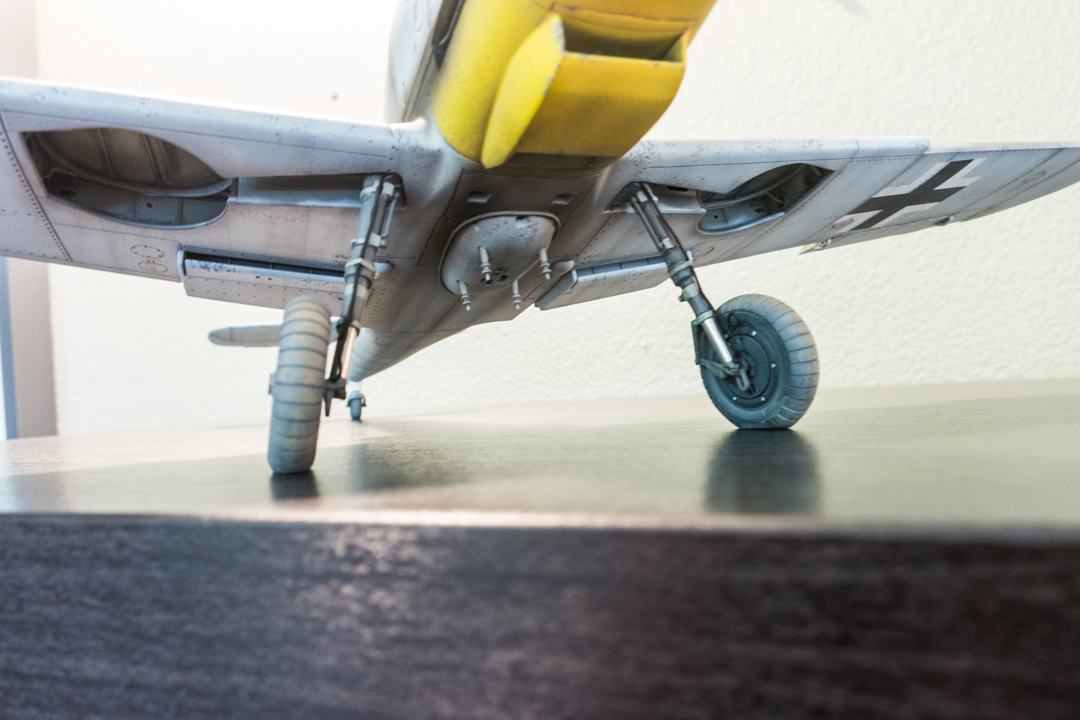
I've finished painting the wheels...
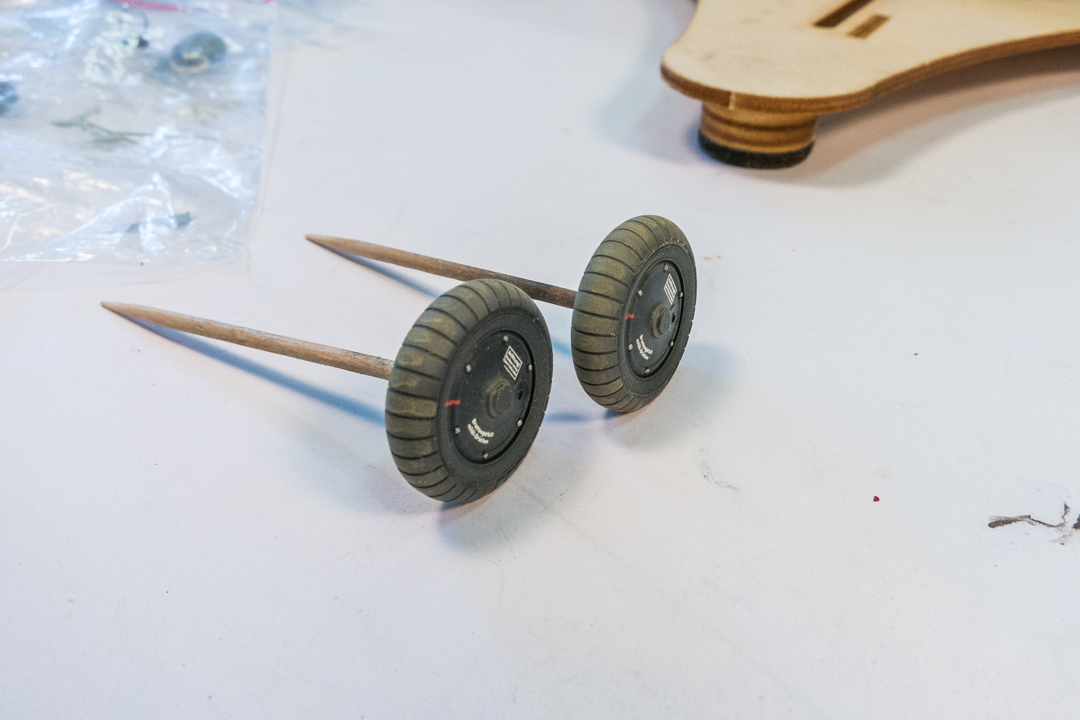
Image

The landing gear legs from Synthetic Ordnance Works have been glued into place.
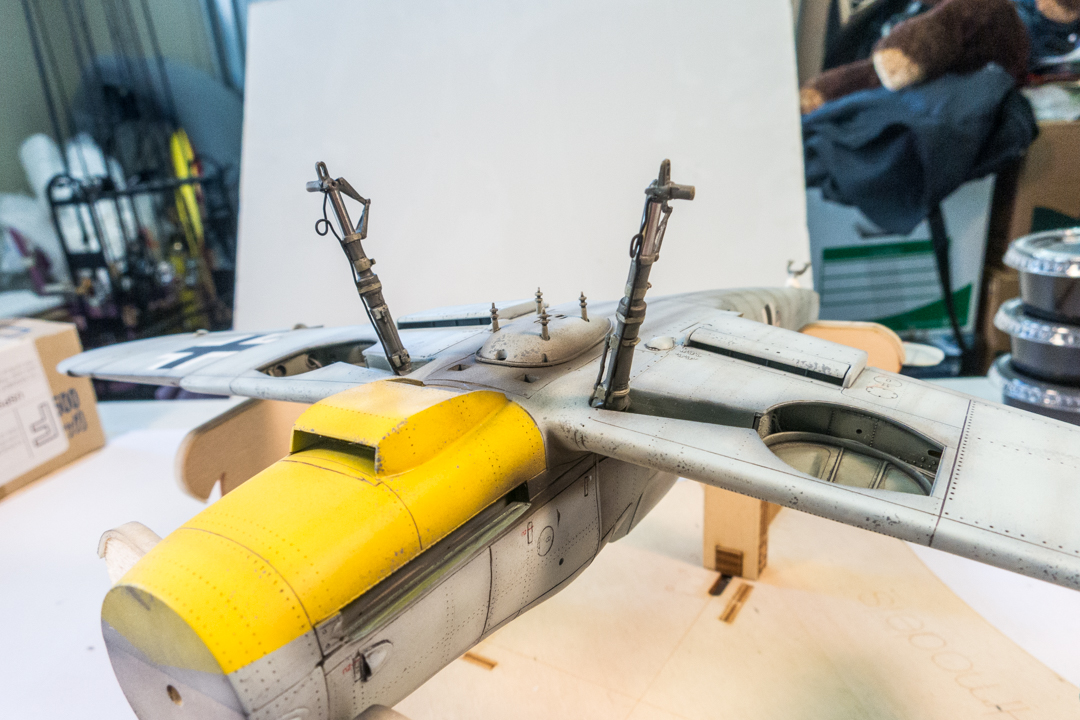
Image

Re: 1/32 Revell Bf109G-6/AS Hohenjager

Posted: Sat Apr 11, 2020 3:37 pm
by jkim
BlackSheep214 wrote:It’s always a joy to watch your progress and learn your methods. You make it look to easy yet I’m intimidated to try it on my own kits out of fear of screwing it up. Well done! :shoutout: :shoutout: :shoutout: :shoutout:
Thank you! Most of the weathering stuff I do is on the subtle side so its really easy to try out. For example, I actually did a second round of salt fading on the wings and again... it didn't register visually.

Re: 1/32 Revell Bf109G-6/AS Hohenjager

Posted: Sat Apr 11, 2020 10:57 pm
by jkim
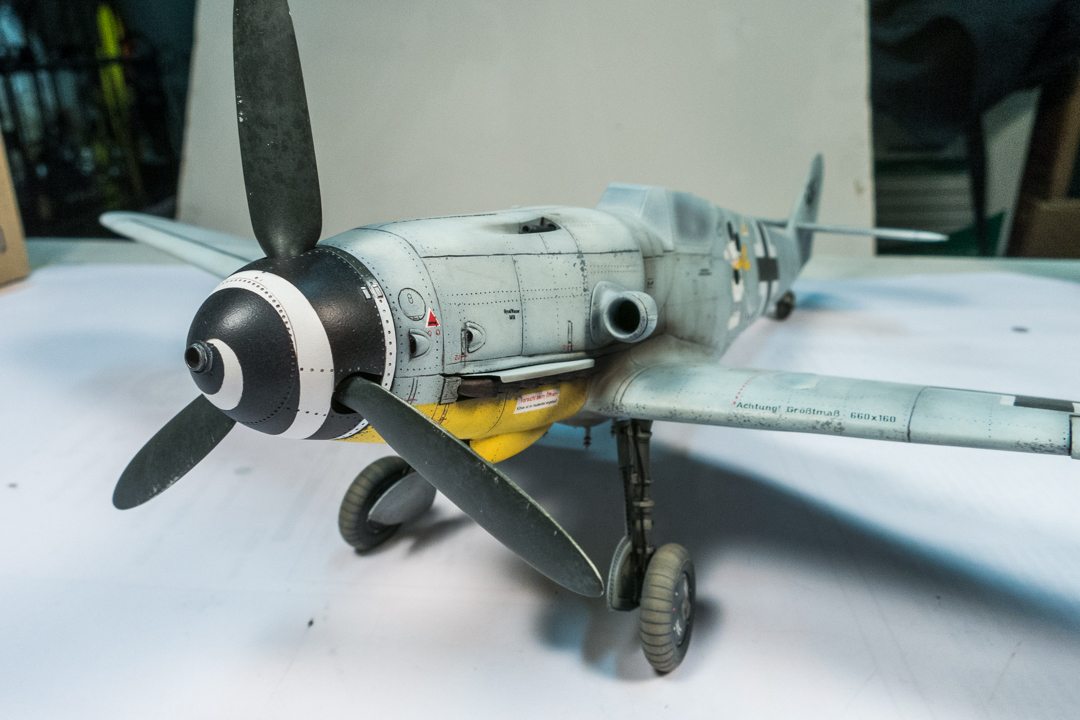
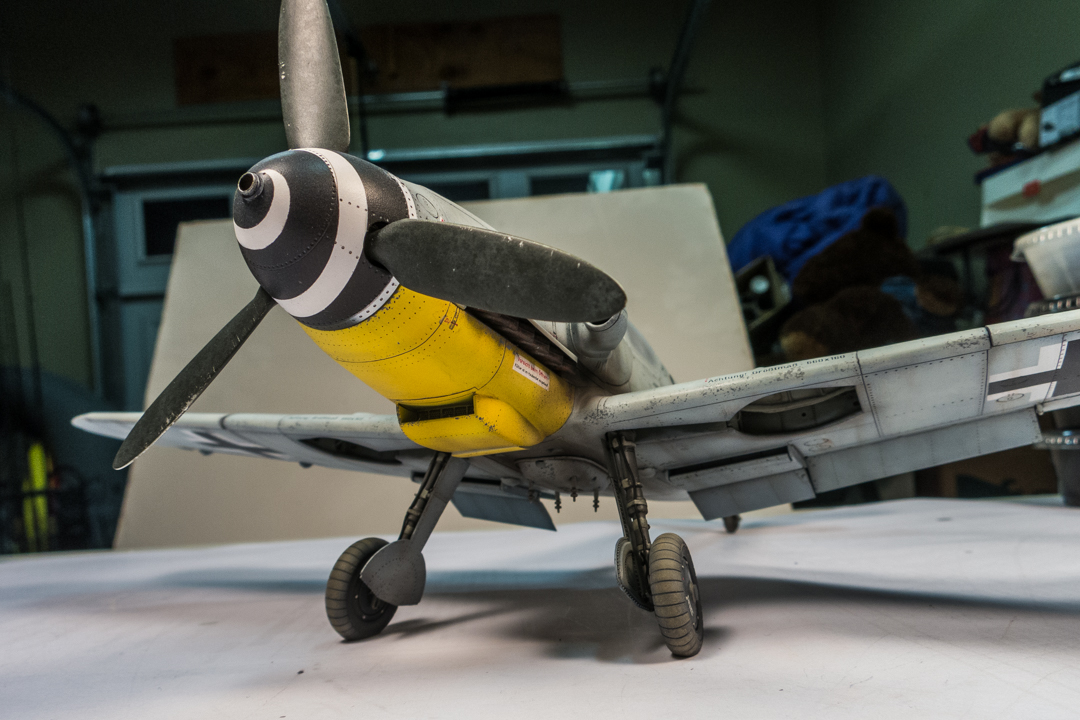
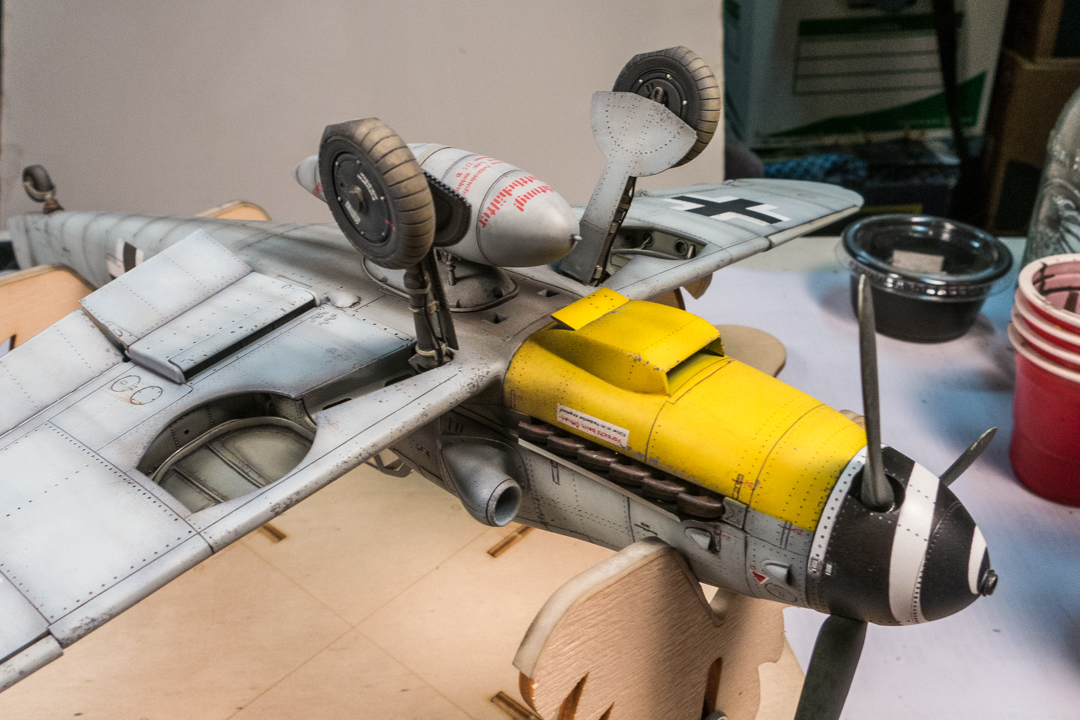
I think I'm approaching the finish line for the Hohenjager. With the SAC landing gear legs firmly glued into place, I've attached the Barracuda wheels using JB Kwik Weld to make sure the flat spots connect with the ground.
Image

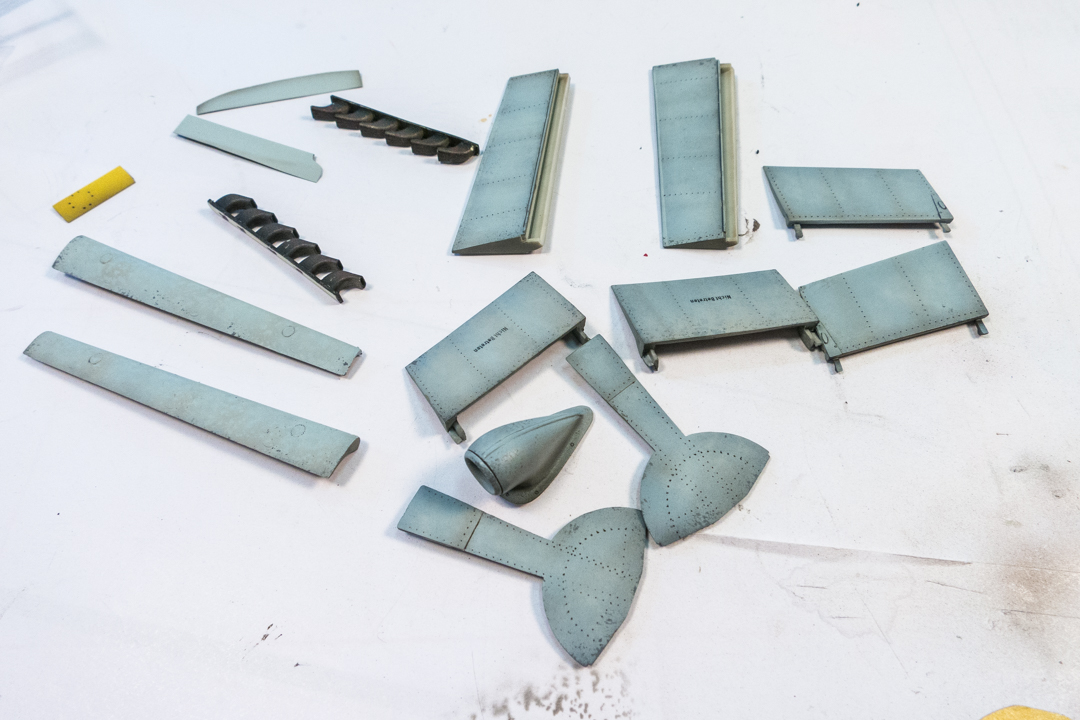
All of these bits need to be attached now.
Image

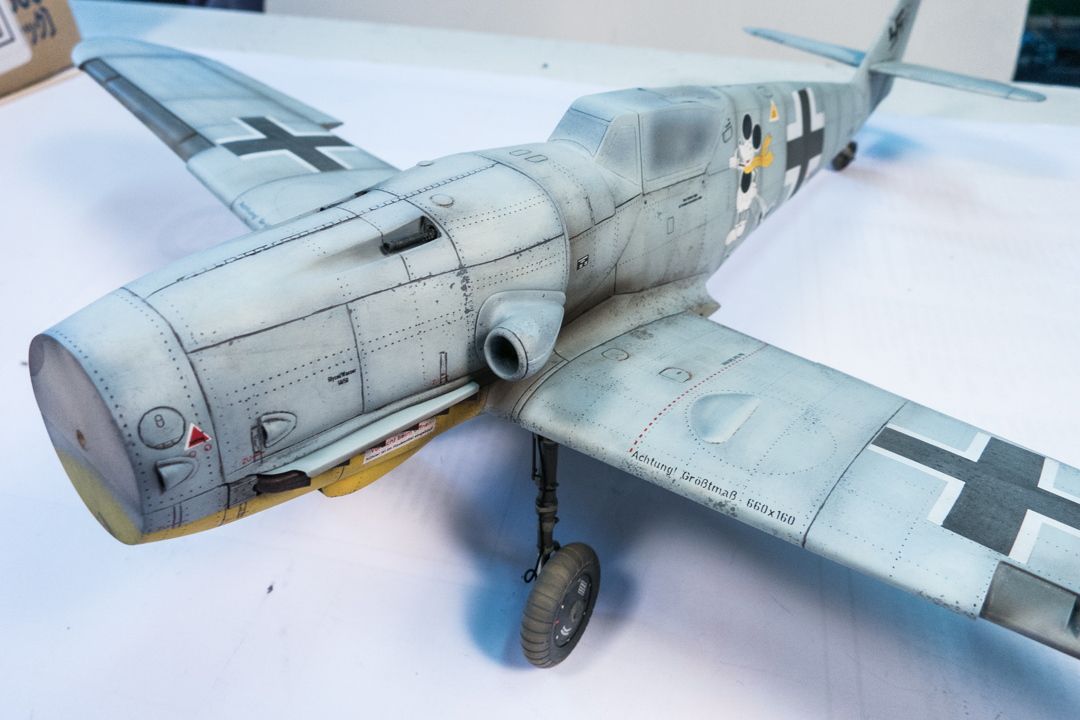
The AMUR Reaver supercharger, the Barracuda exhausts and the brass sheet exhaust deflectors are glued into place.
Image

The lower inner flaps are put on first and the other control surfaces follow. The middle elevators are still poseable per Revell's instructions but the rest of the control surfaces have been glued.
Image
Image
Image
Image

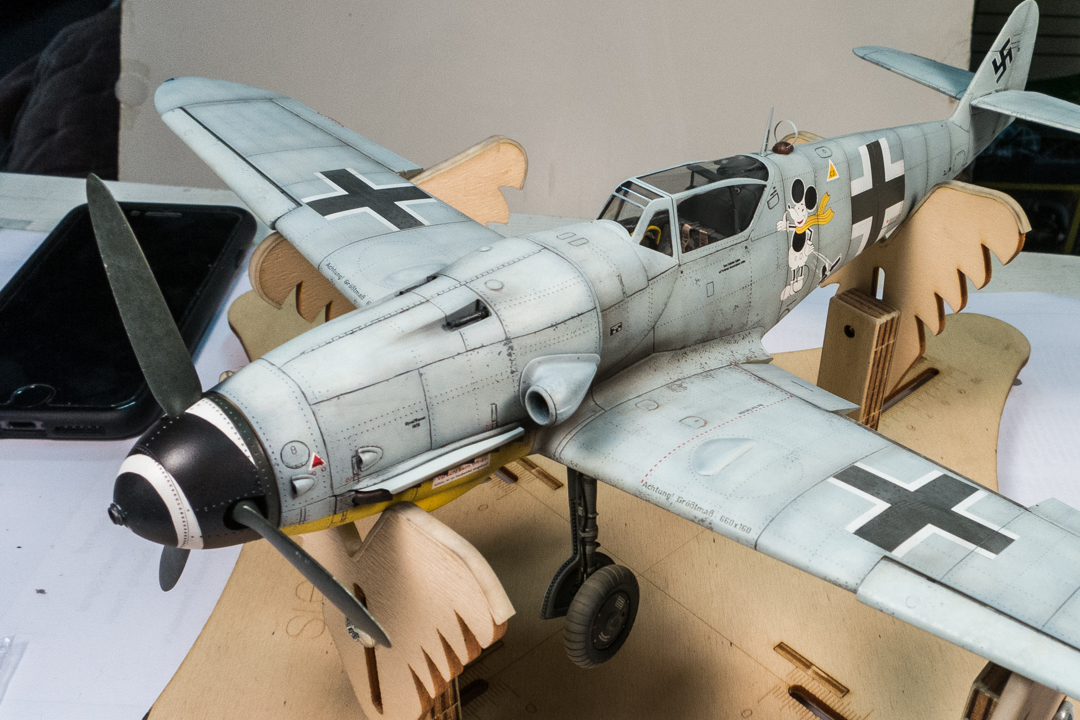
Let's stick the Barracuda prop assembly on and she how she looks.
Image
Image

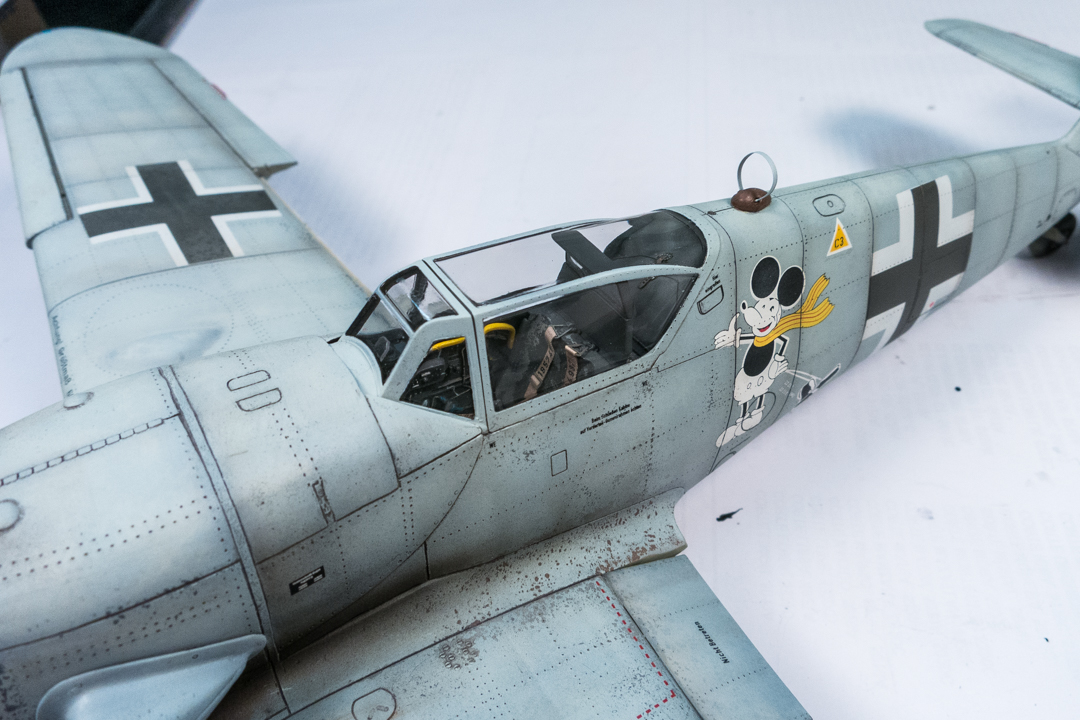
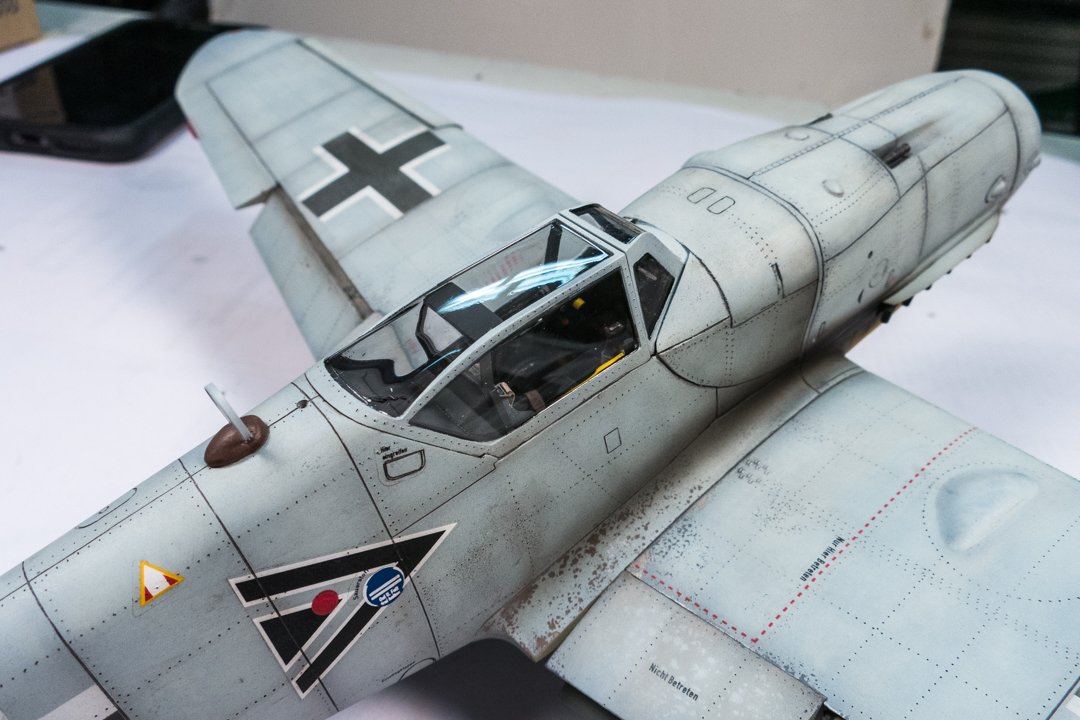
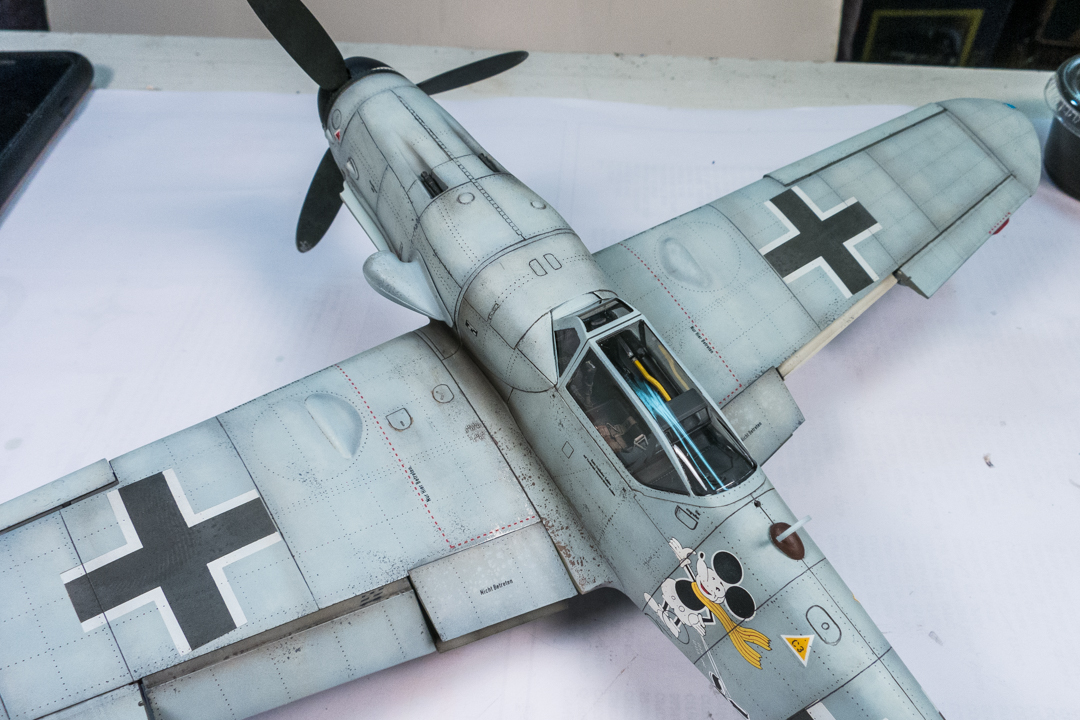
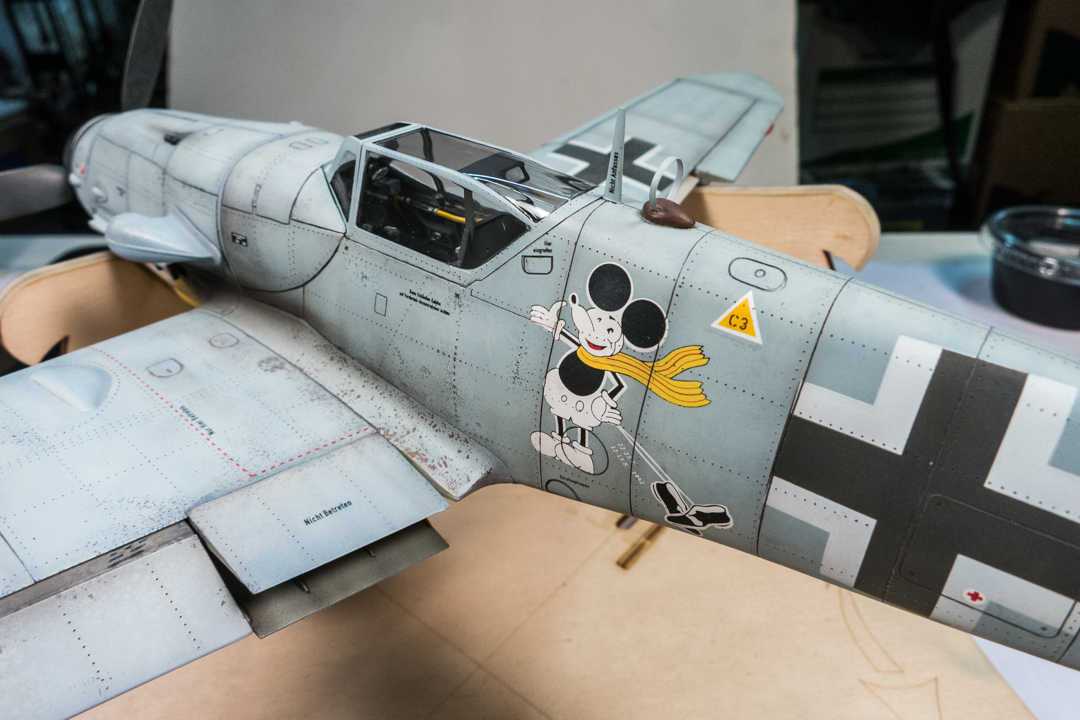
All of the spray work is done so I can finally take off the canopy masks. Always a nerve-racking reveal at this stage.
Image
Image
Image
Image

The sculpted boot on the tail wheel is painted.
Image

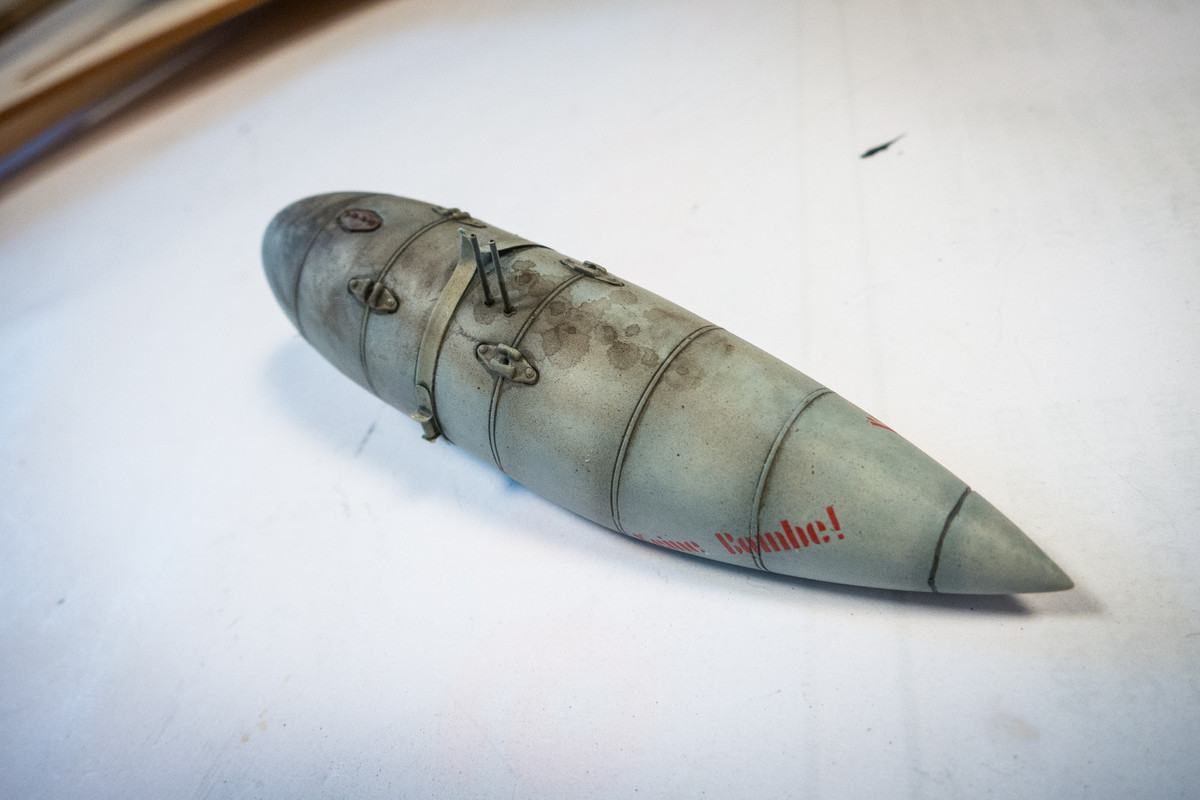
The drop tank has not yet been attached. I'm still deciding whether or not to add some more stains to it.
Image

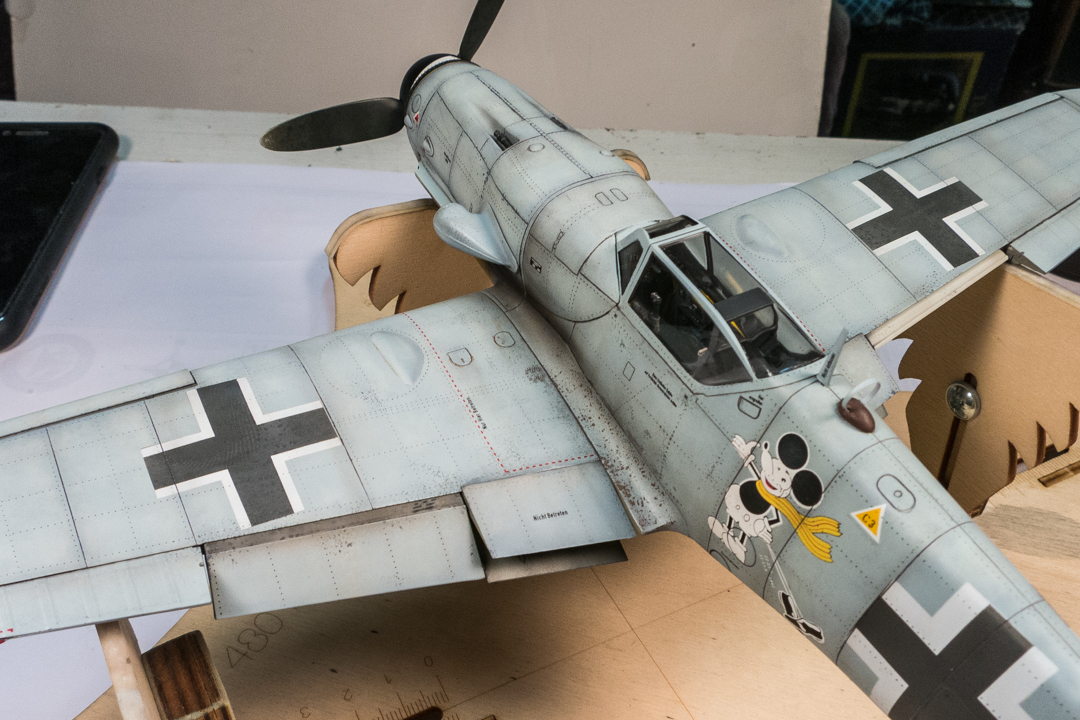
You know you're close to the finish when you see the antenna mast and loop antenna attached.
Image
Image
Image

The only things remaining are the small antenna on the bottom of the fuselage, the aileron balancers and the antenna aerial.

Re: 1/32 Revell Bf109G-6/AS Hohenjager

Posted: Sun Apr 12, 2020 12:52 am
by Floki
With the supercharger and prop in place she sure does look mean! Always a good feeling to remove the canopy masks and find that everything is how you left it. Not much more to go now.

Re: 1/32 Revell Bf109G-6/AS Hohenjager

Posted: Sun Apr 12, 2020 7:26 am
by LyleW
That is a masterpiece! I am awestruck by the crisp masking and clarity on the canopy. You are a wizard!

Re: 1/32 Revell Bf109G-6/AS Hohenjager

Posted: Sun Apr 12, 2020 8:49 am
by BlackSheep214
LyleW wrote:That is a masterpiece! I am awestruck by the crisp masking and clarity on the canopy. You are a wizard!
:that: :beau:

Re: 1/32 Revell Bf109G-6/AS Hohenjager

Posted: Sun Apr 12, 2020 1:34 pm
by Stikpusher
Floki wrote:With the supercharger and prop in place she sure does look mean! Always a good feeling to remove the canopy masks and find that everything is how you left it. Not much more to go now.

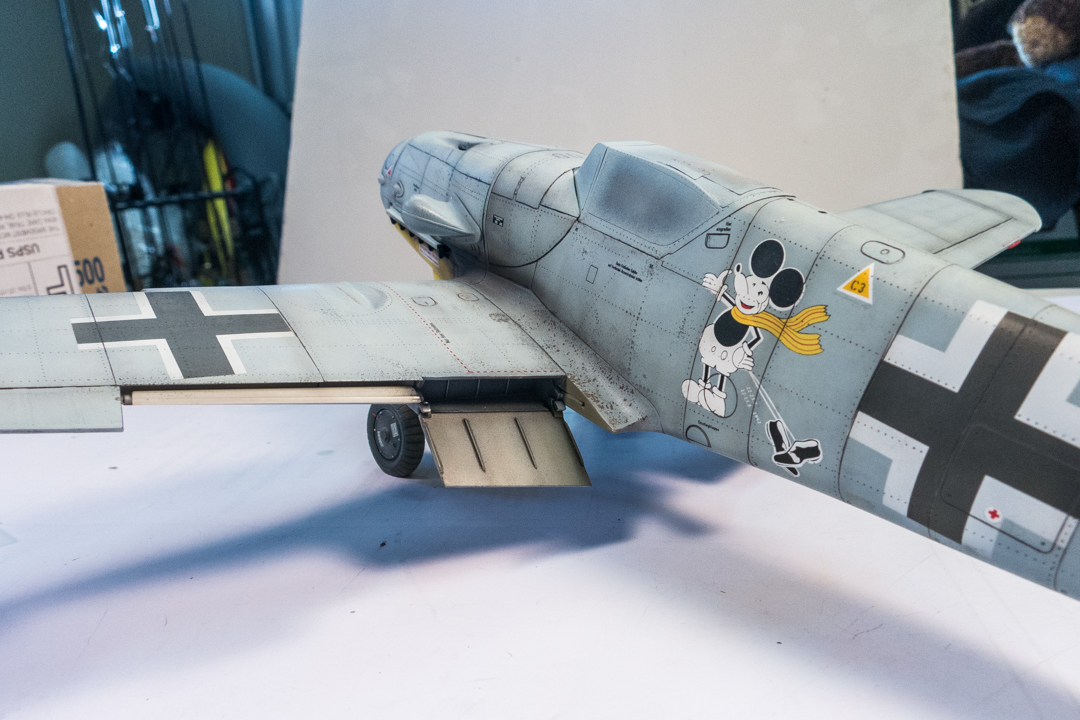
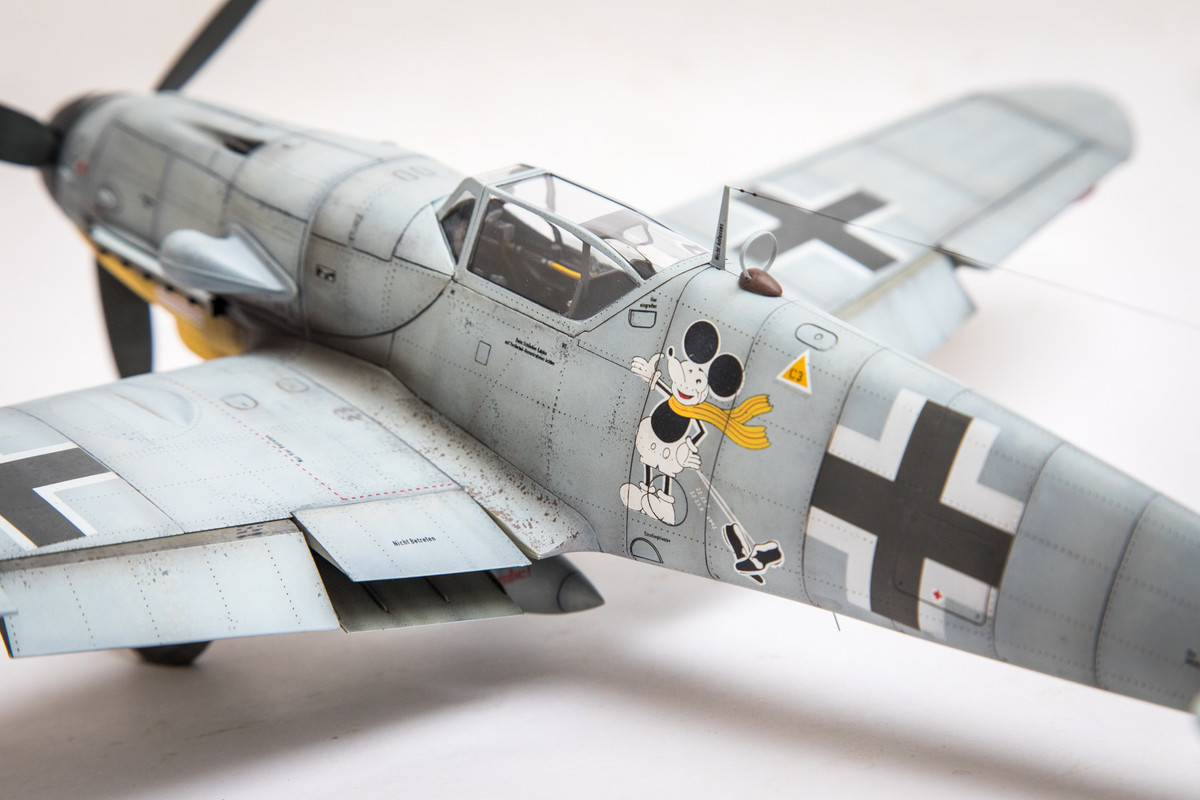
It looks like Mickey is presenting the newly revealed cockpit!

And yes, this looks gorgeous!

Re: 1/32 Revell Bf109G-6/AS Hohenjager

Posted: Sun Apr 12, 2020 2:29 pm
by speedgraflex
Exquisite work!!

Re: 1/32 Revell Bf109G-6/AS Hohenjager

Posted: Sun Apr 12, 2020 3:51 pm
by jkim
Thanks guys! The G-6/AS is wrapping up. I've added some additional weathering to the drop tank, which you won't be able to see since it will be on the top side. Experimenting with intentional pastel wash staining on a matt surface...
Image

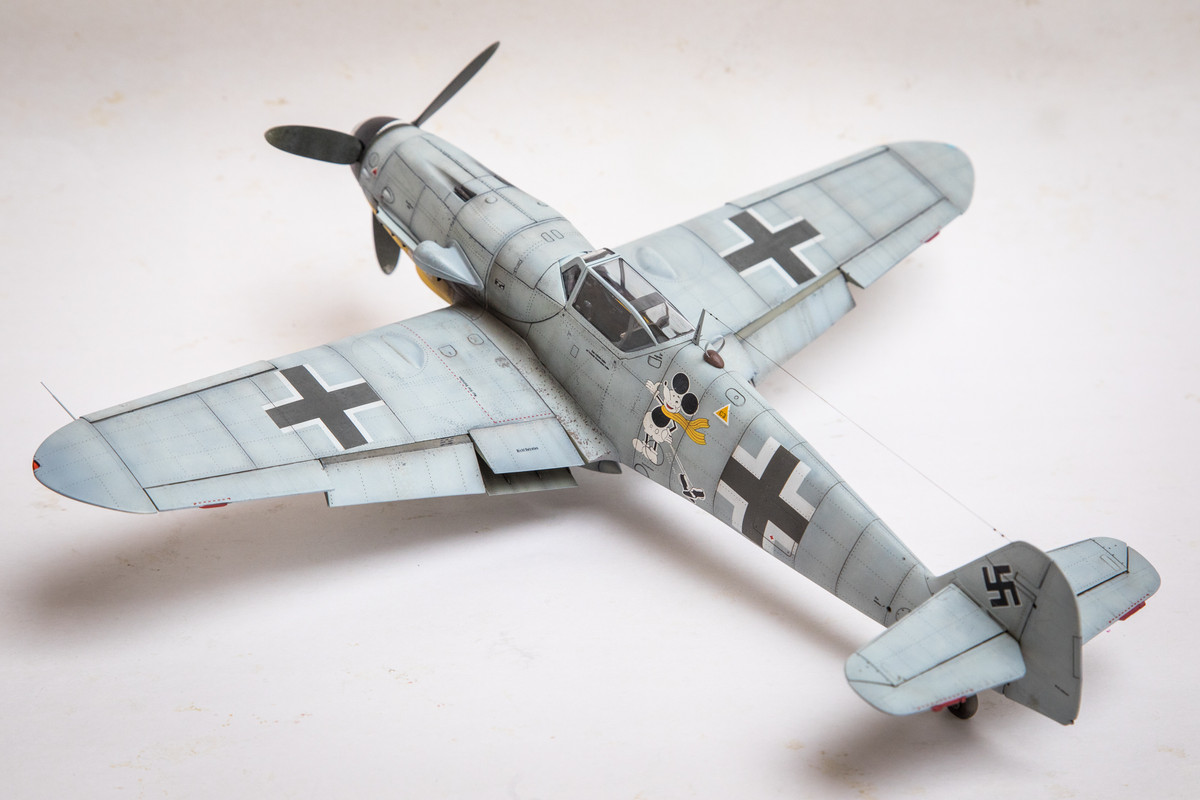
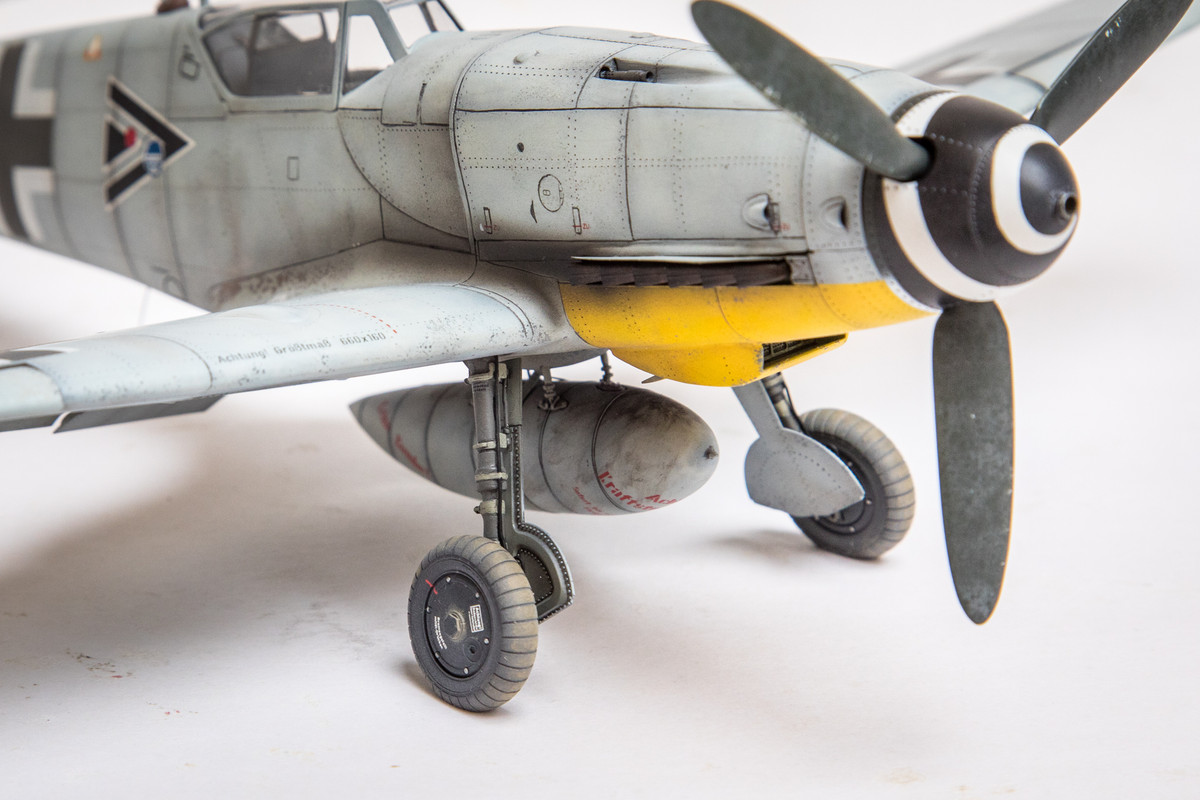
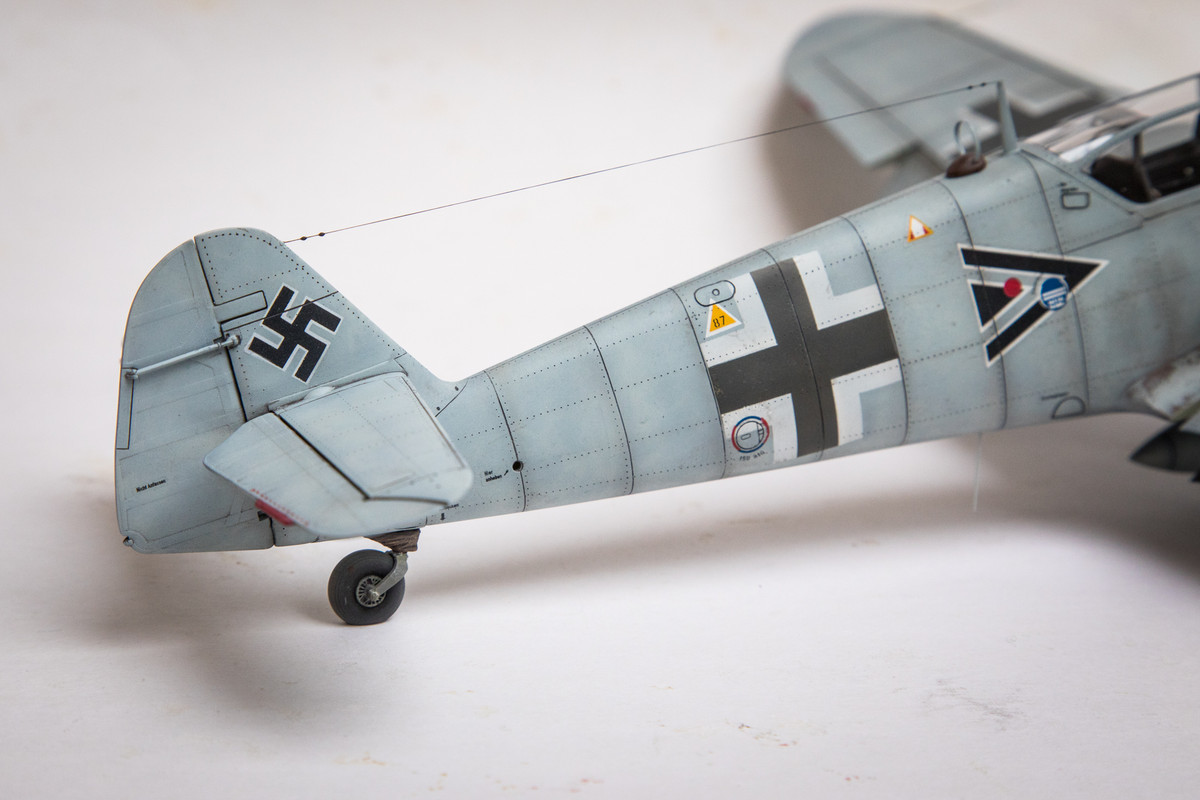
The drop tank is the last significant hardware to be added to the G-6. The pitot tube, which was built out of brass tubing, is added and the aerial, using Uschi's elastic thread is the final touch.
Image
Image

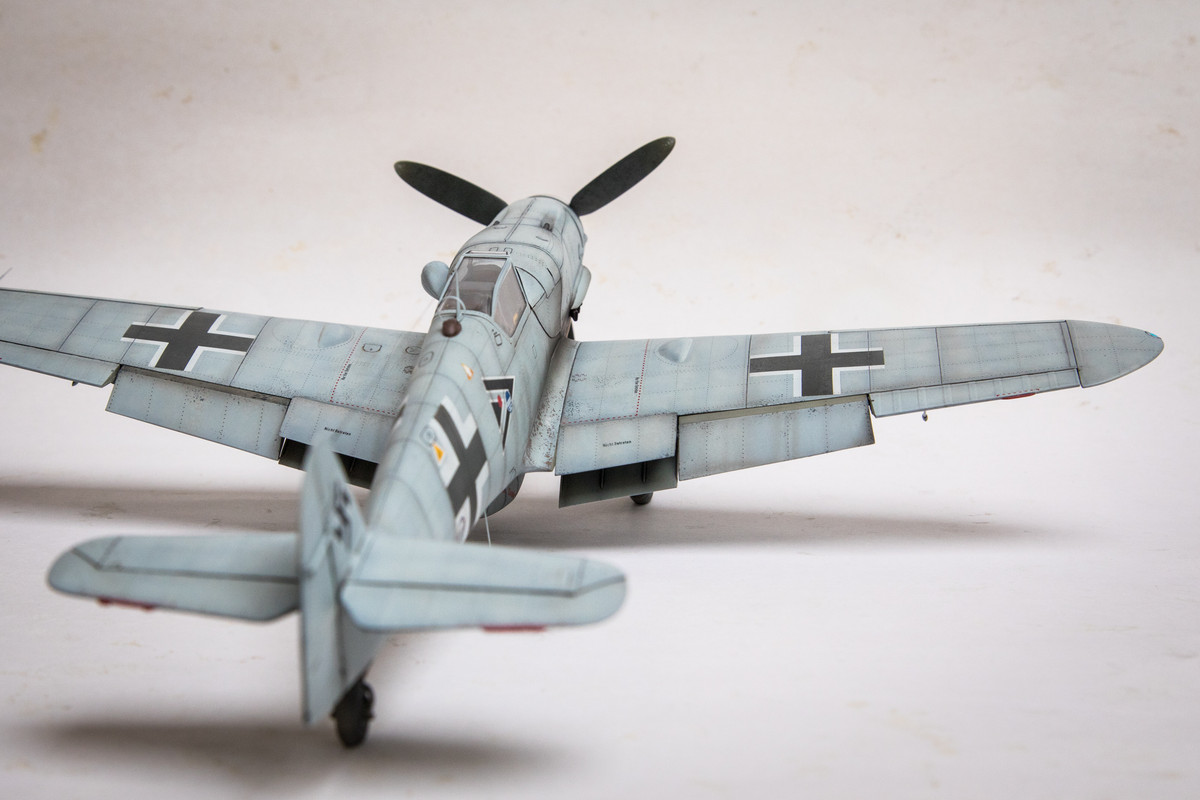
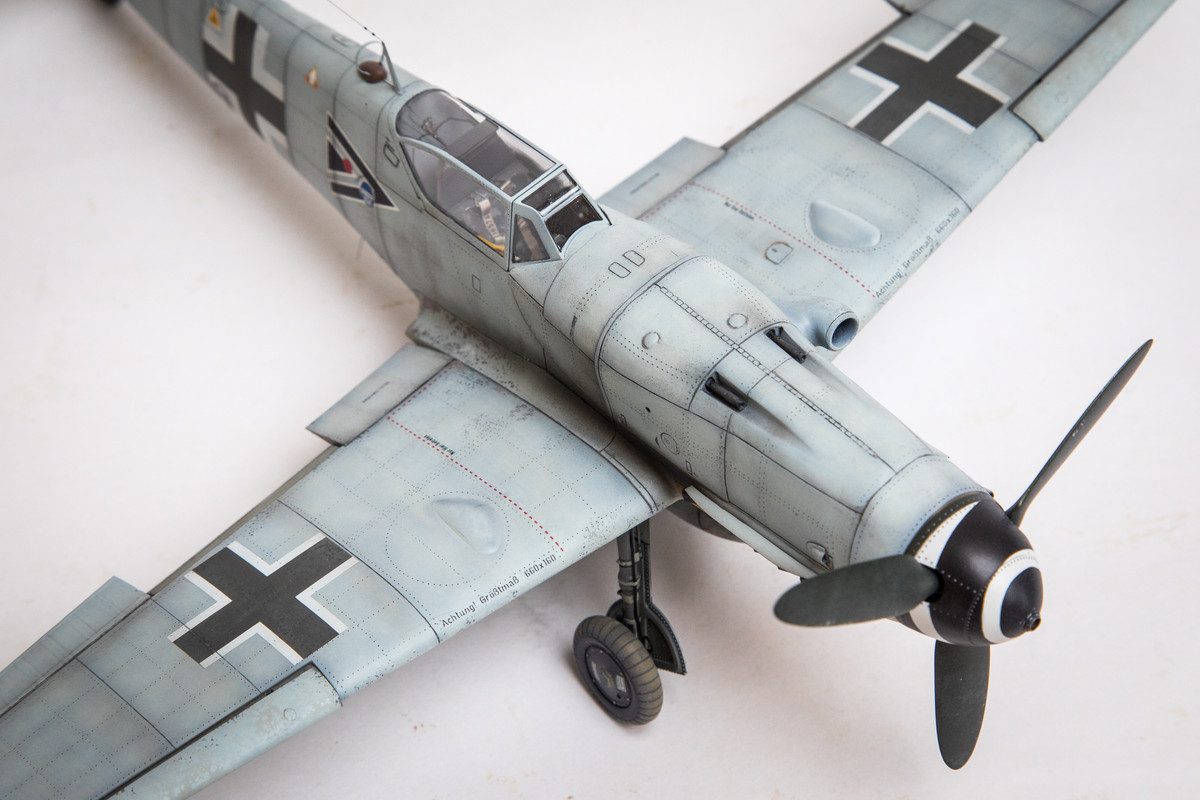
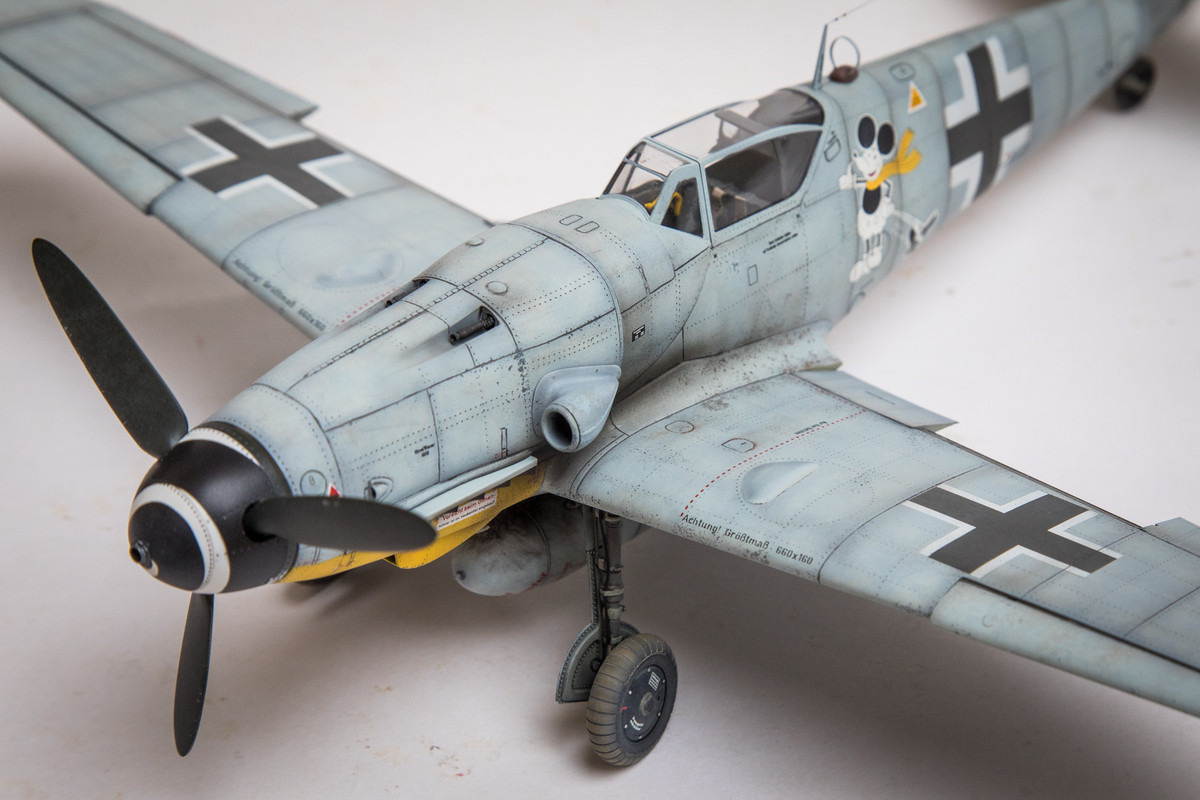
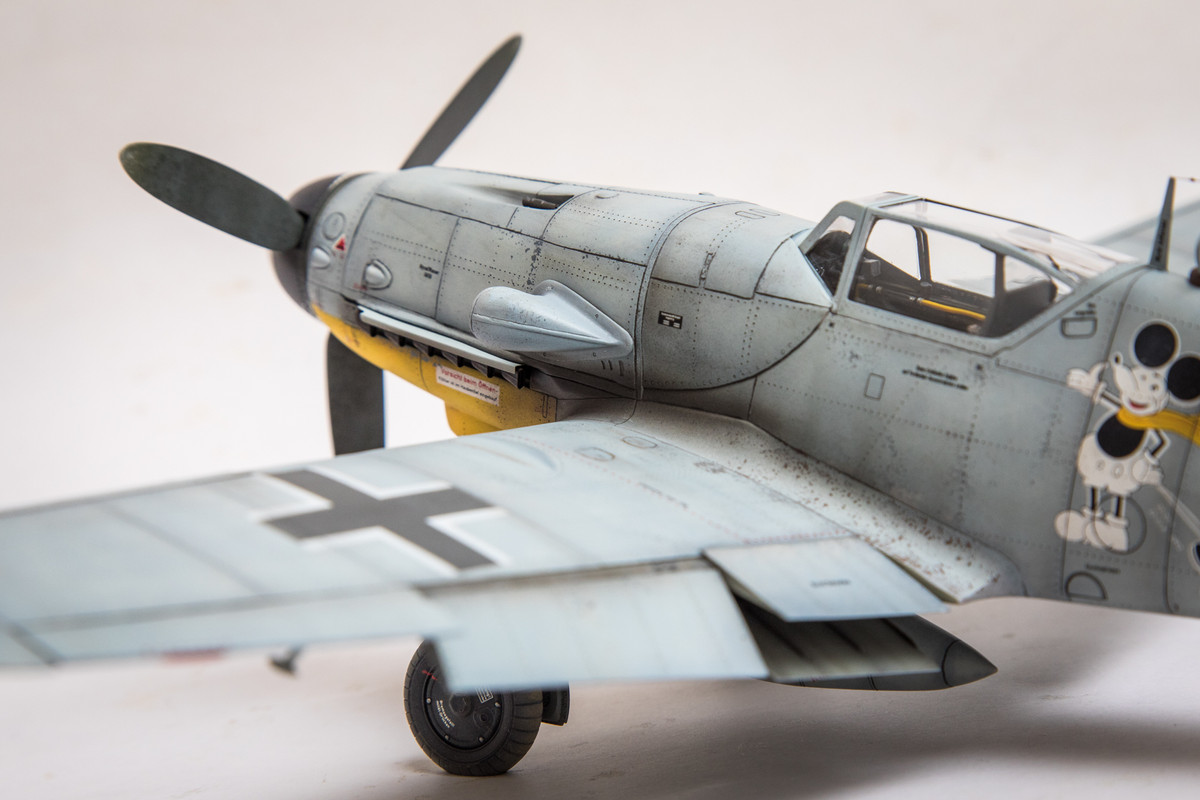
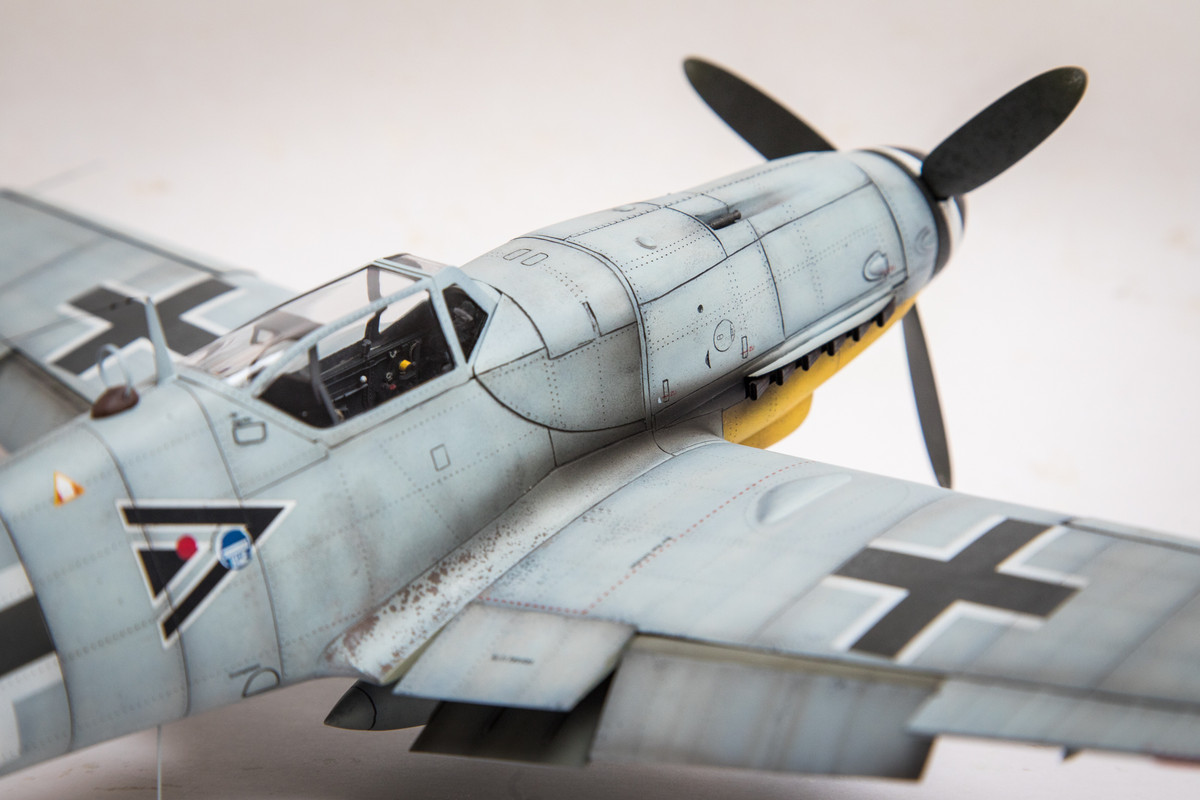
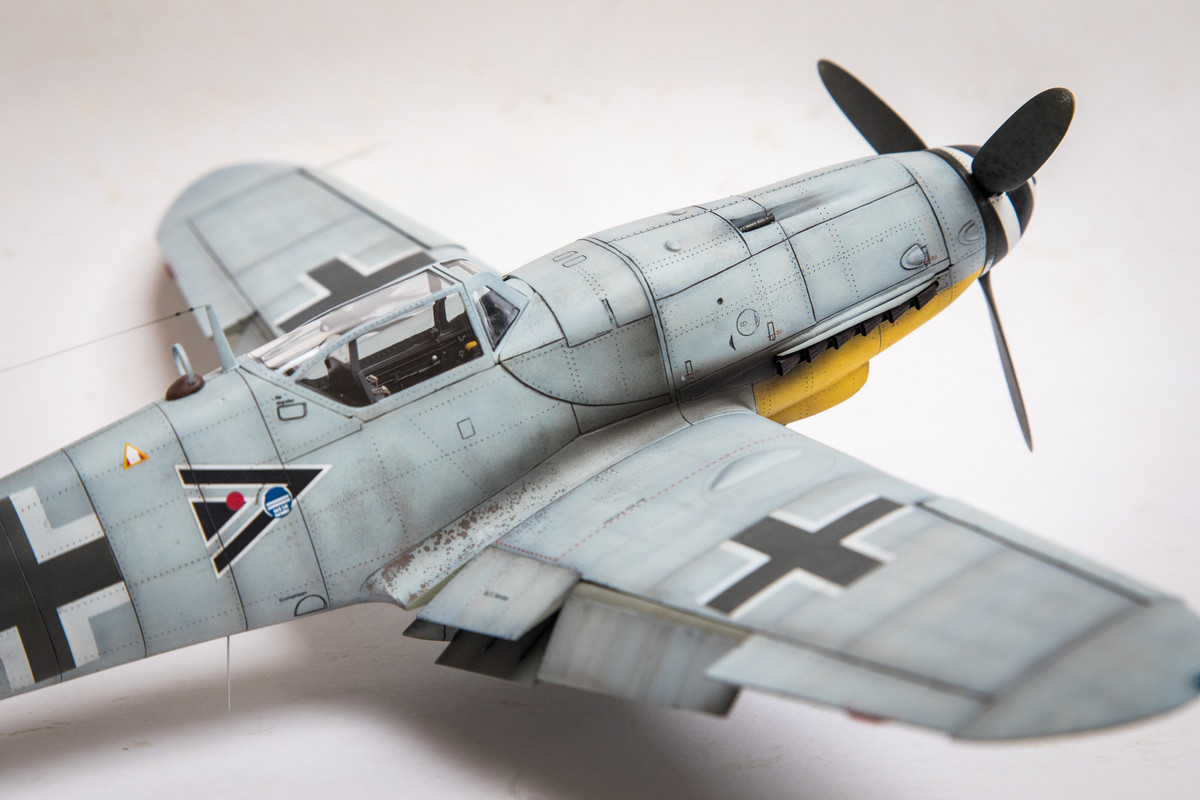
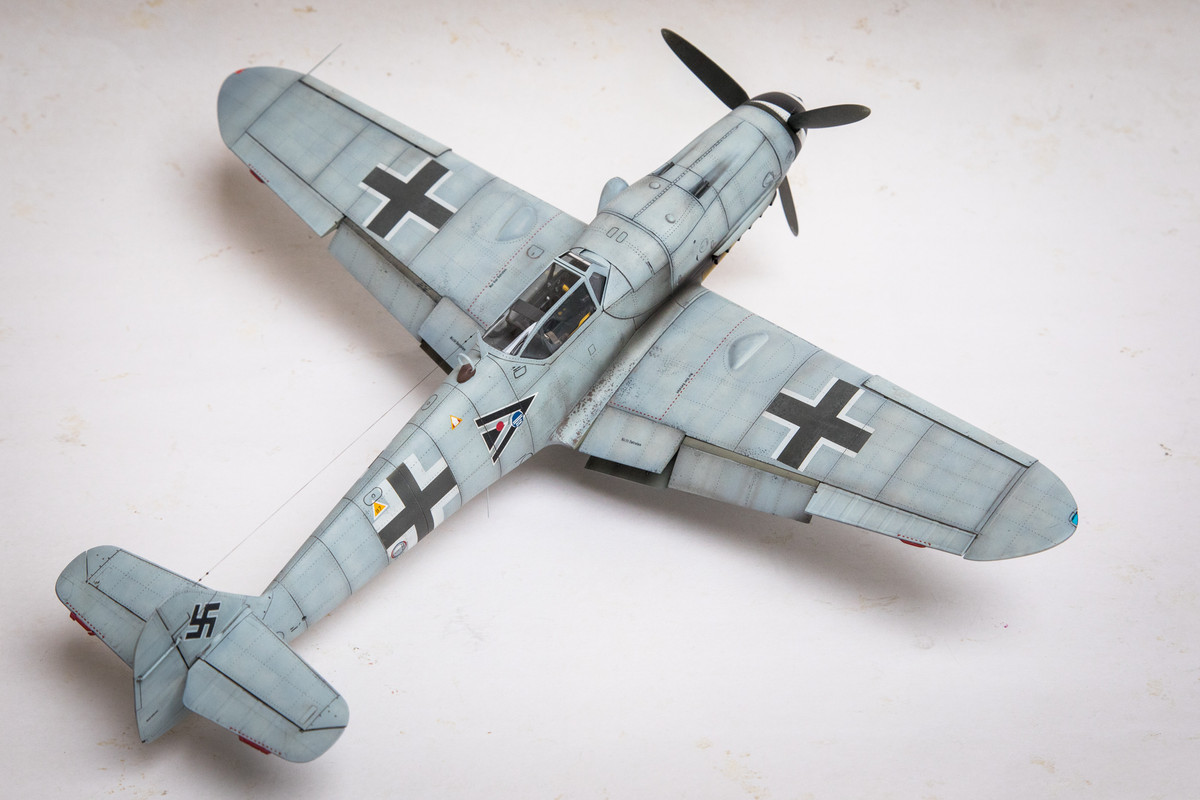
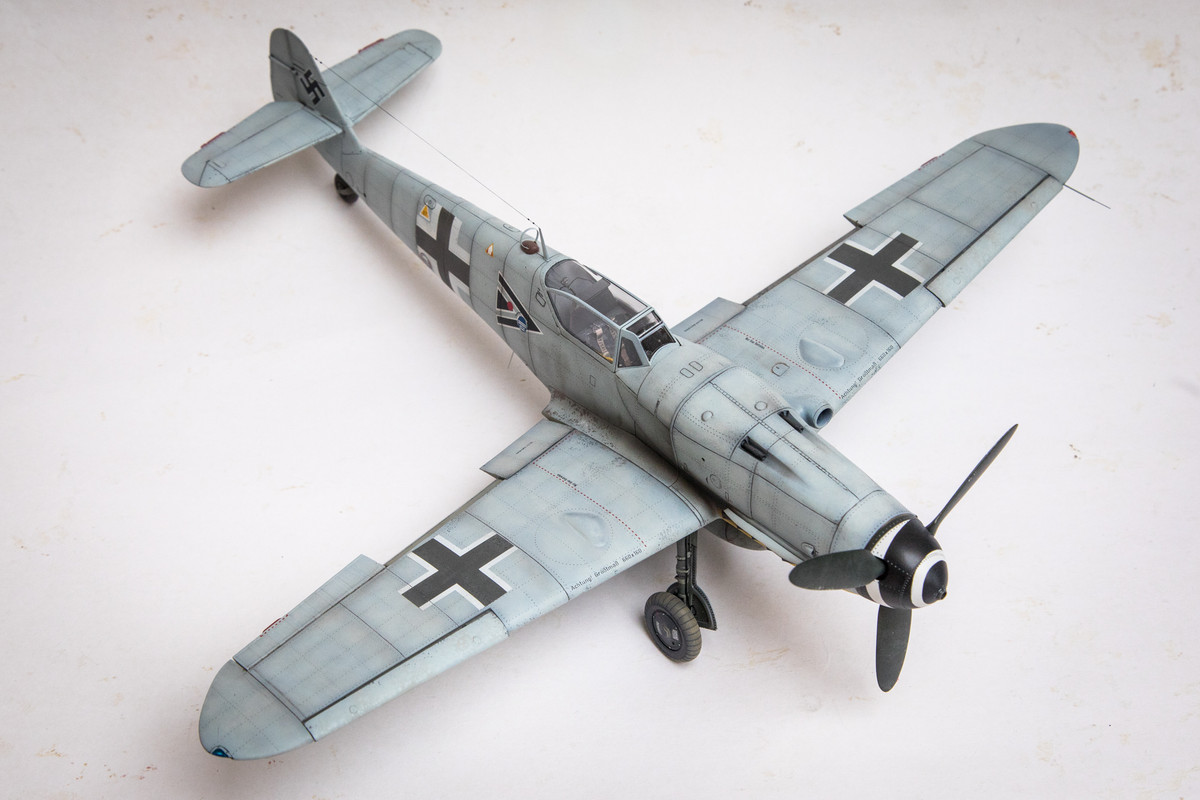
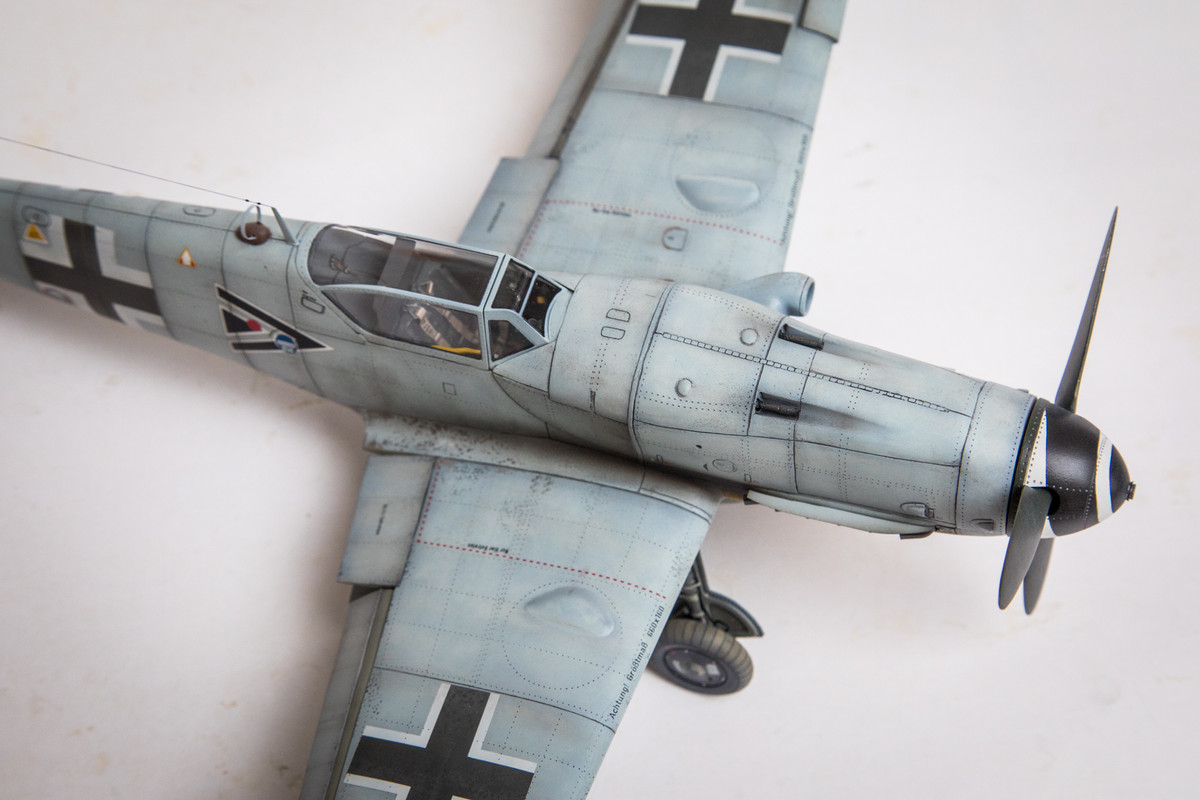
The Bf109G-6/AS is complete! The clouds started gathering again here in SoCal so I rushed some outdoor shots with the DSLR before the rain comes again. I'll probably re-do the final shots when there is some ambient sunlight but here are some pics with the good camera...

Image
Image
Image
Image
Image
Image
Image
Image
Image
Image
Image
Image
Image
Image