Page 15 of 30
Re: 1/32 Hasegawa Fw 190D-13 Yellow 10
Posted: Wed Feb 17, 2021 10:29 pm
by jkim
Re: 1/32 Hasegawa Fw 190D-13 Yellow 10
Posted: Thu Feb 18, 2021 1:57 am
by Floki
Looks really good! I would be scared to try that freehand
Re: 1/32 Hasegawa Fw 190D-13 Yellow 10
Posted: Thu Feb 18, 2021 7:05 am
by LyleW
Well done! That is super.
Re: 1/32 Hasegawa Fw 190D-13 Yellow 10
Posted: Thu Feb 18, 2021 1:21 pm
by Duke Maddog
Well, you definitely have a steady hand! Way to go!

Re: 1/32 Hasegawa Fw 190D-13 Yellow 10
Posted: Thu Feb 18, 2021 6:42 pm
by jkim
Thanks guys! I just decided to go for it. The putty around the base is on the soft side so you can use that to your advantage in this situation by using the hard edge of the resin as a physical guide around the base as you cut through the soft putty and also by being able to push slightly errant sections into place. And being an undefined curve made things a little easier. There are some visible bobbles but I should be able to clean it up quite nicely.
Re: 1/32 Hasegawa Fw 190D-13 Yellow 10
Posted: Fri Feb 19, 2021 2:36 am
by jkim
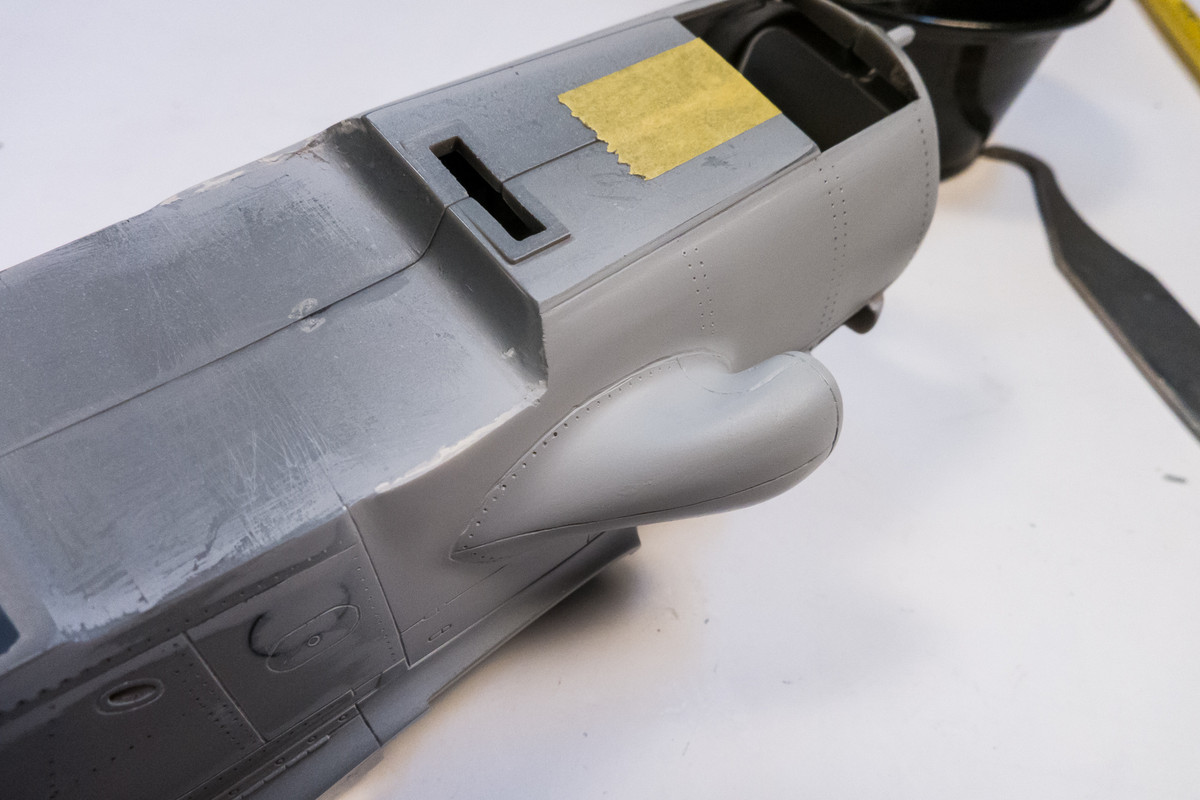
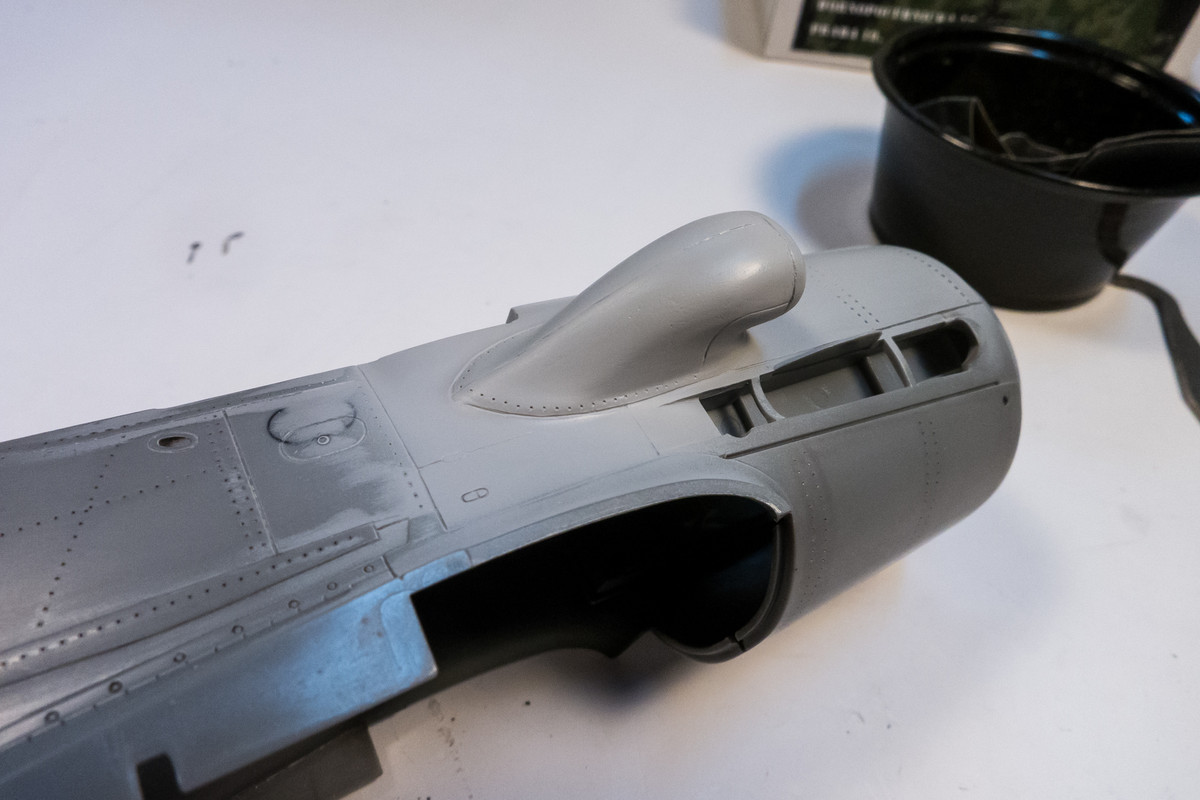
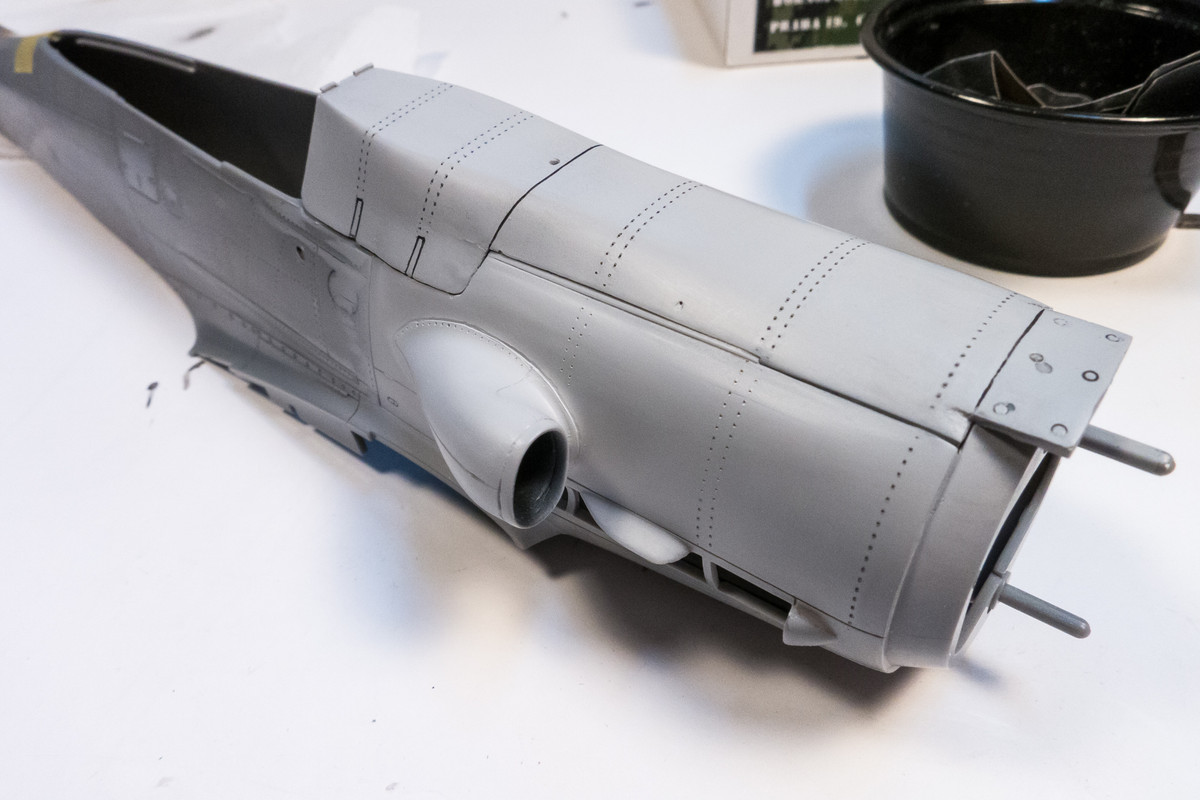
The intake after a little bit of clean up...
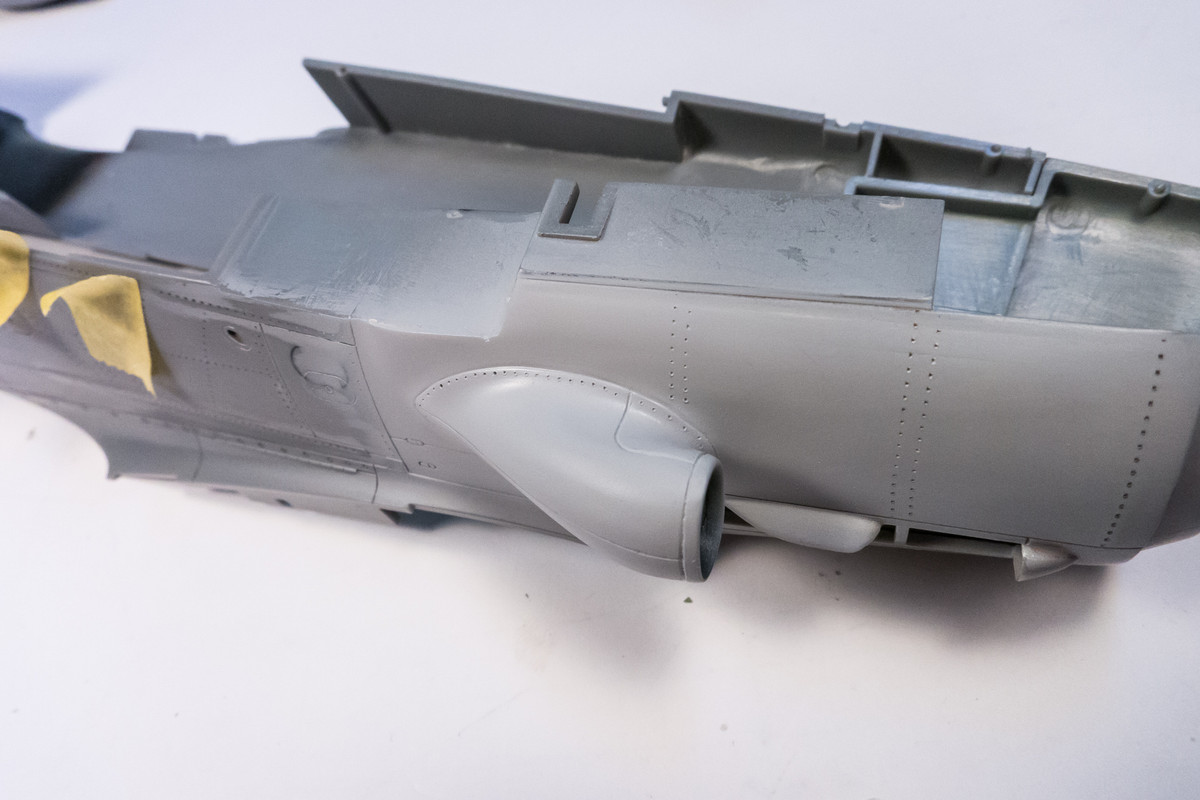
Spread some pastel wash around to double check my work.
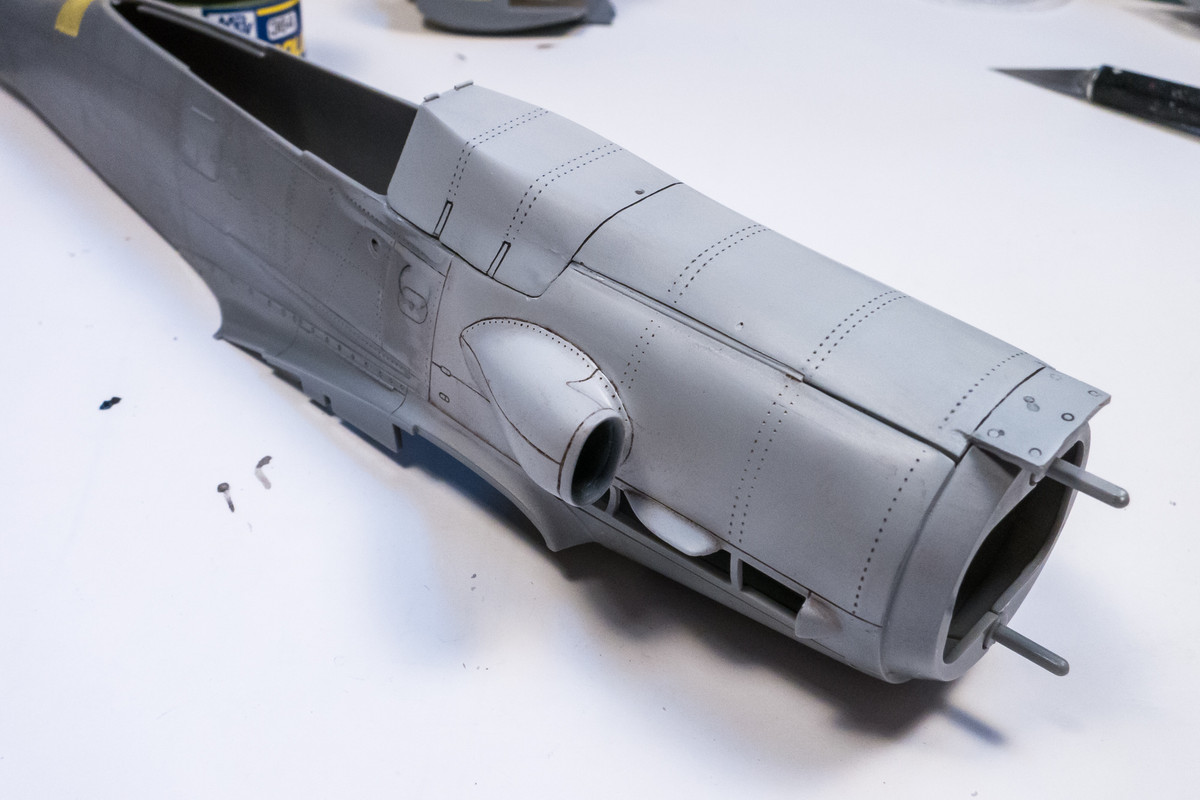
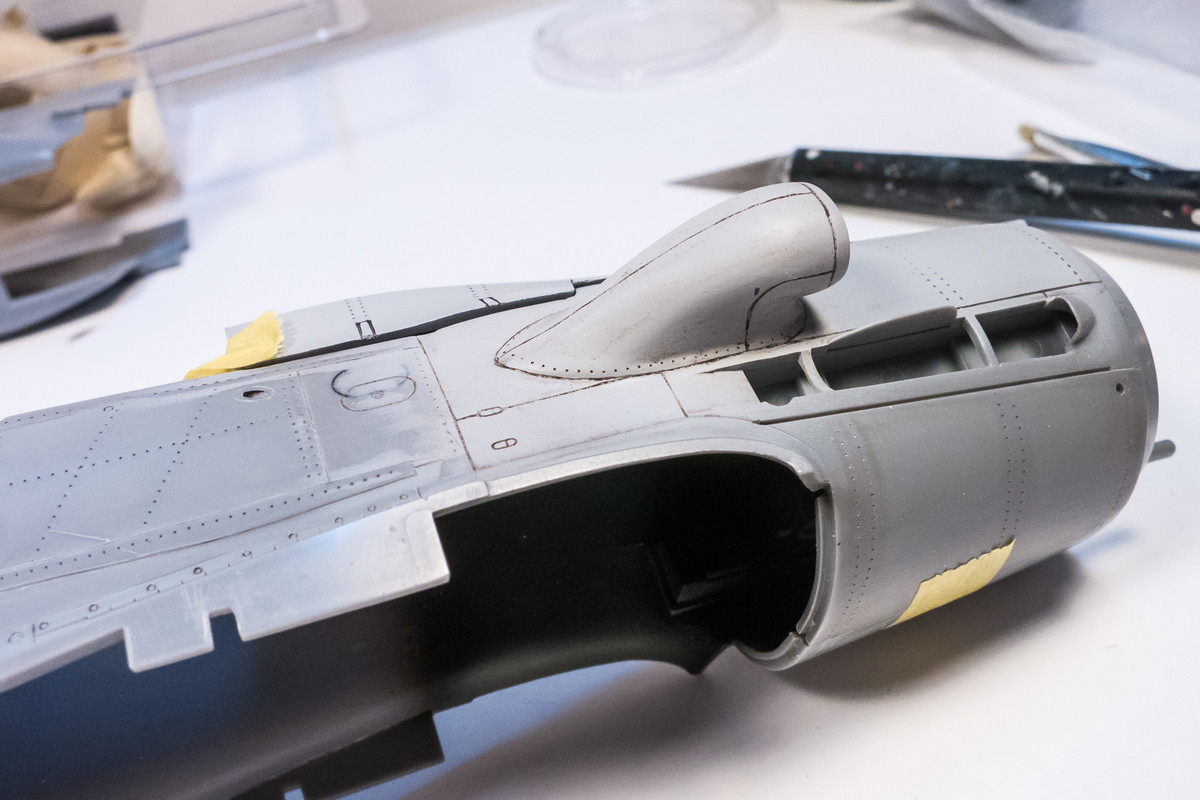
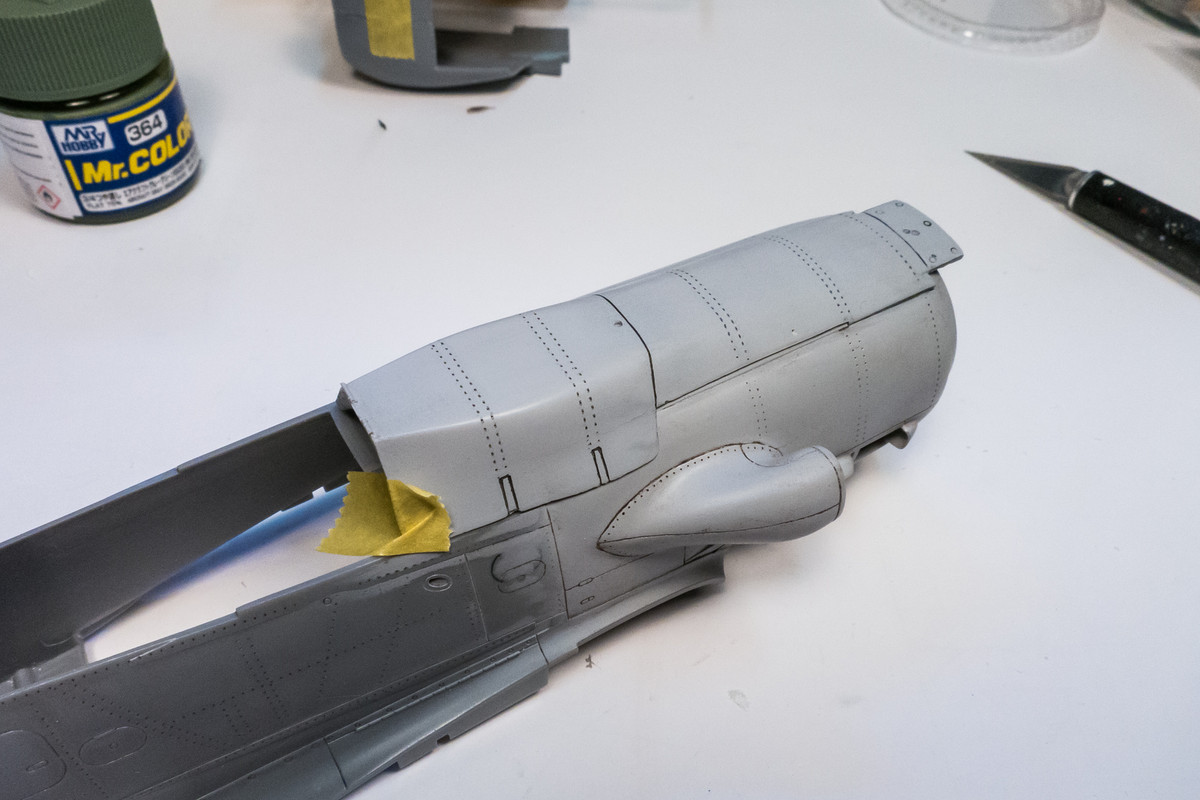
I think we are looking pretty good as far as the supercharger intake goes. To be totally honest, I am very happy with this progress. It was the one thing that I didn't think I could replicate from the Grey Matter resin fuselage.
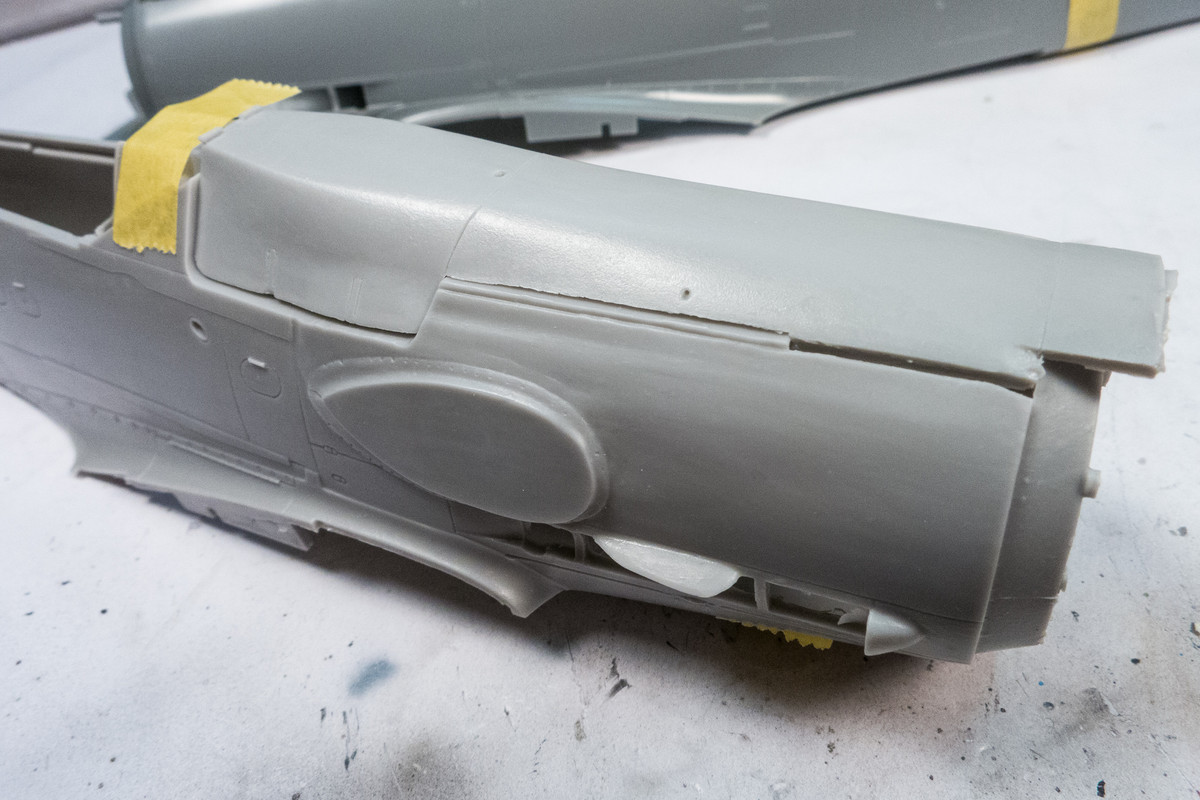
I'm going to paint the tail wheel components and then I think I'll be ready to put the fuselage halves together.
Re: 1/32 Hasegawa Fw 190D-13 Yellow 10
Posted: Fri Feb 19, 2021 5:47 pm
by jkim
Before I went any further, I took the fuselage halves and scrubbed them in the kitchen sink with a soft toothbrush to remove as much of the sanding dust and pastel wash from the panel lines and rivets.
The Eagle Editions resin tail assembly has been painted. I previously drilled out holes to accommodate a brass tube axle so that I can mount the tail wheel later.
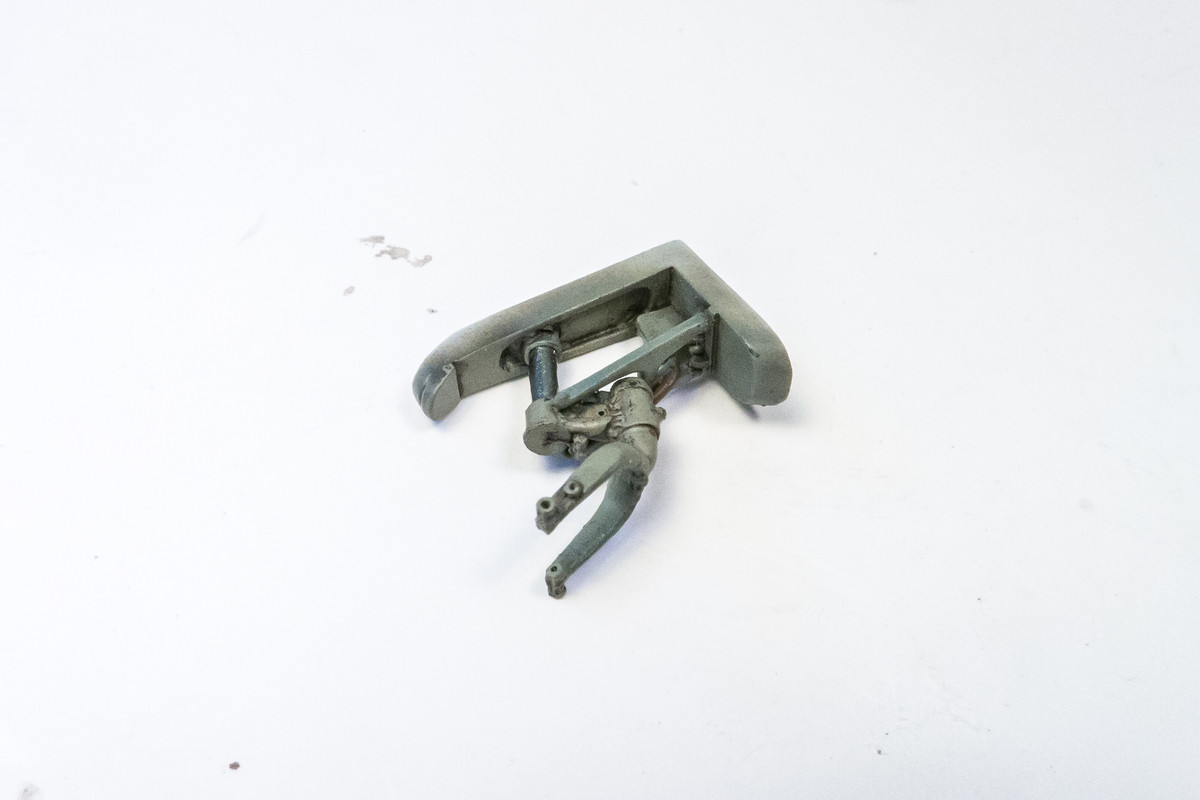
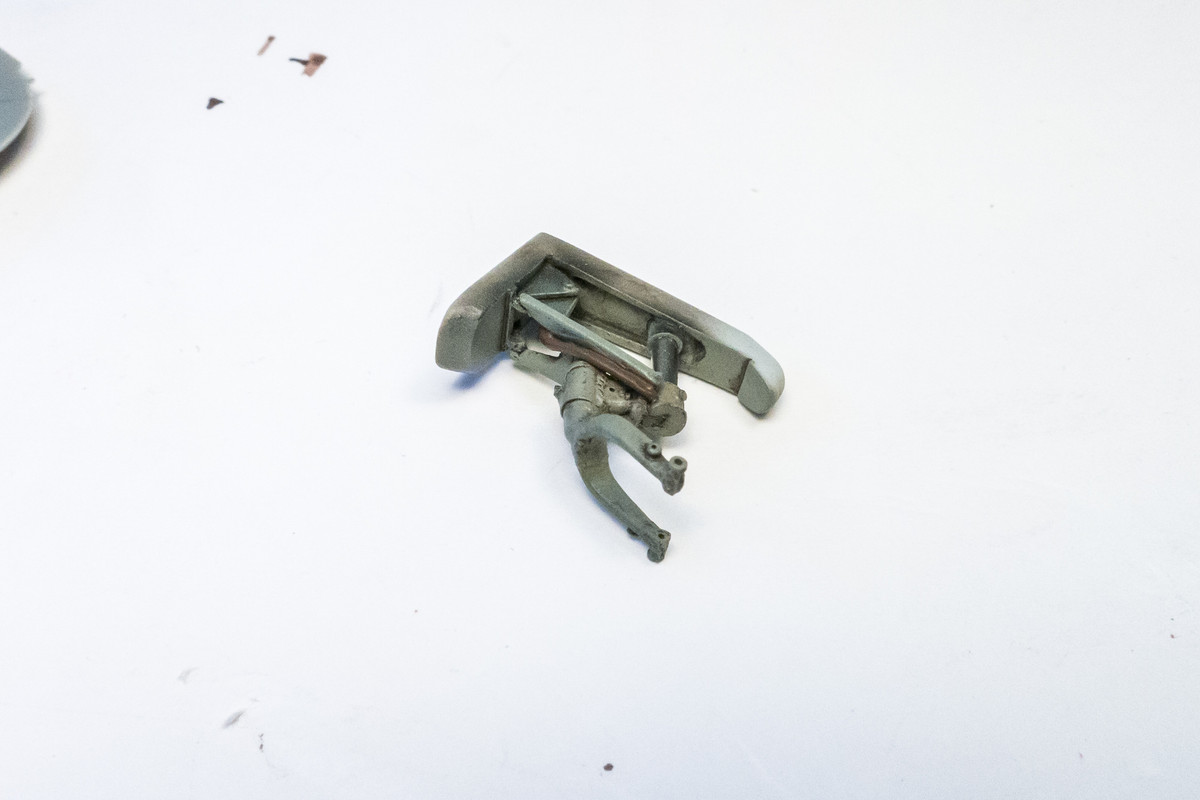
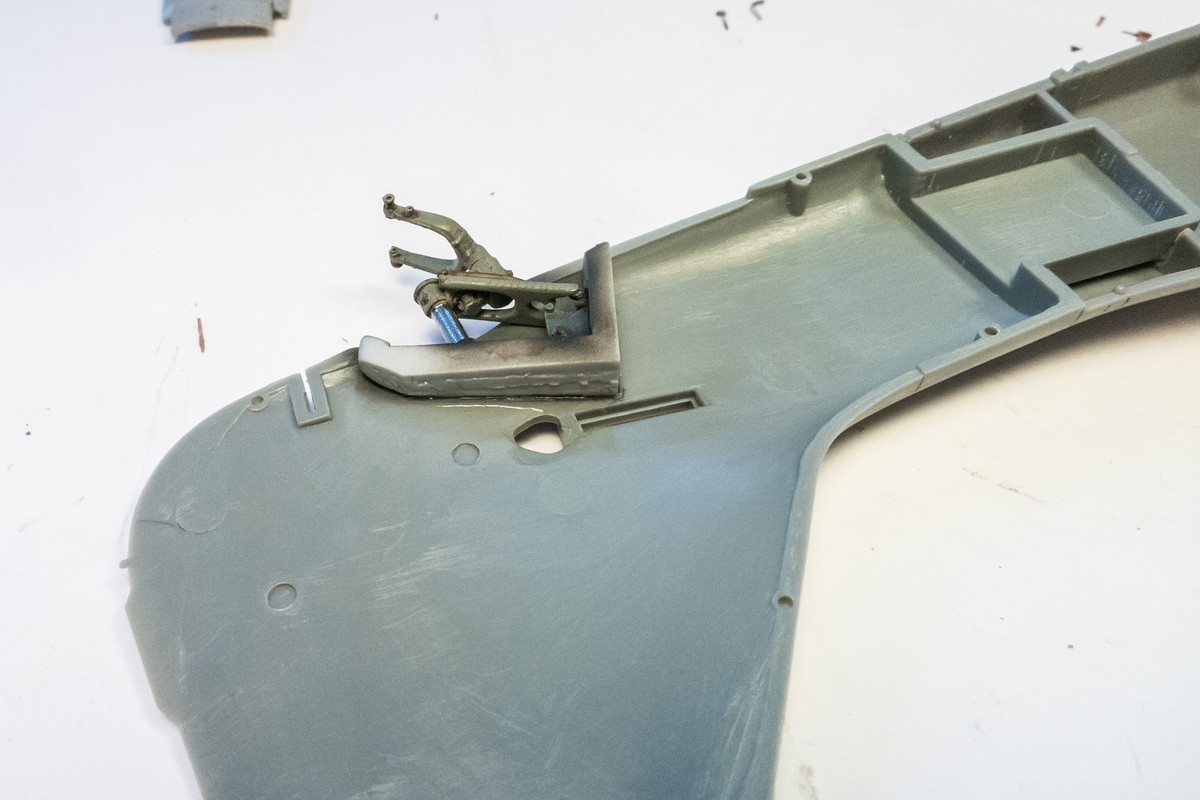
The tail wheel bay is glued into place with CA glue. The position was pre-marked with a pencil.
Before gluing the fuselage halves together, I performed one more dry fit check to make sure that the engine assembly and cockpit tub fit okay.
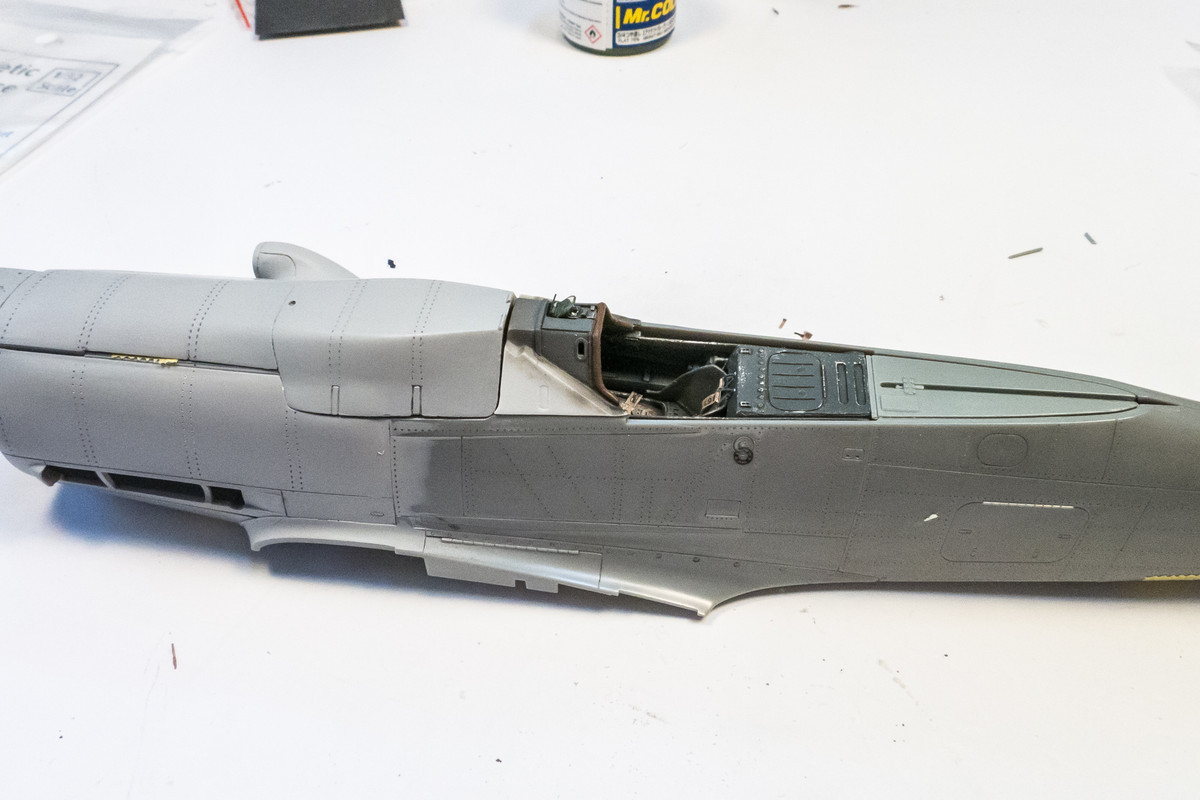
The wing was fitted into place to verify that everything goes together ok. Again, I am using the kit wheel wells since they are easier to dry fit than the Aires set, which has been cut into multiple pieces. The bottom wing center piece, which is from the Grey Matter resin D-13 conversion set, seems to fit well.
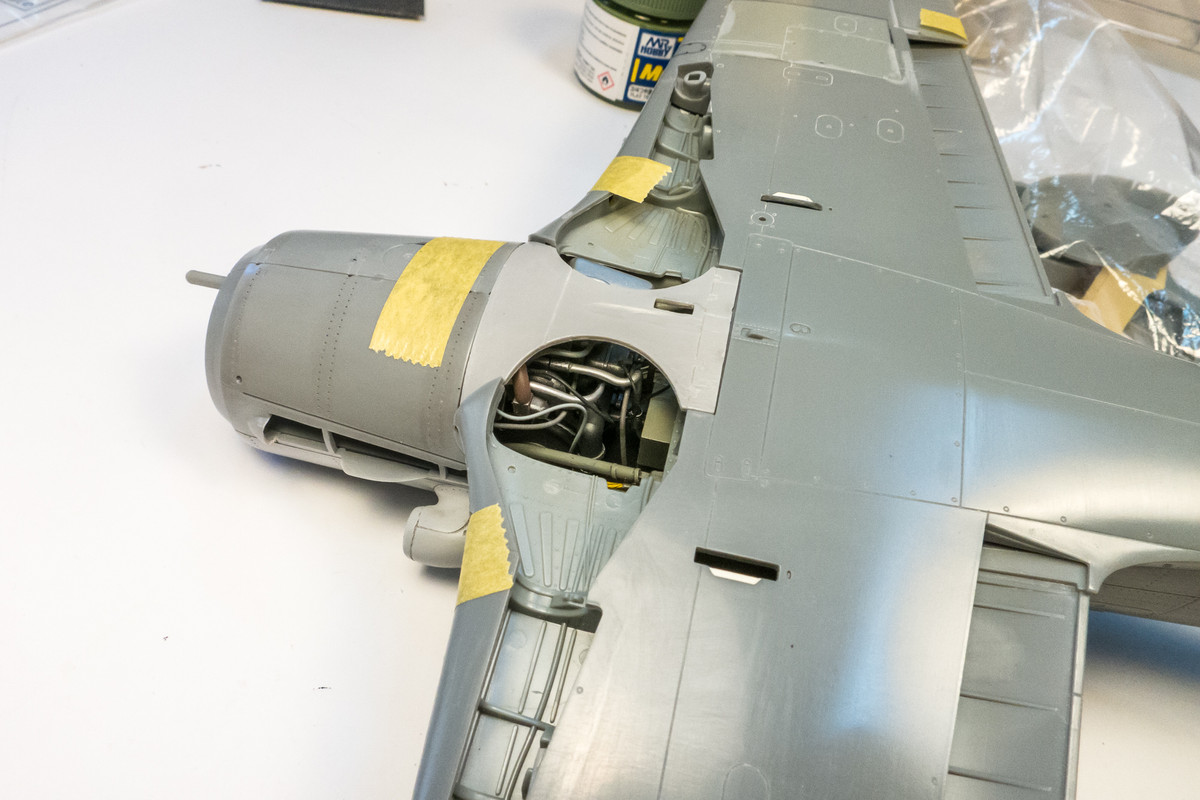
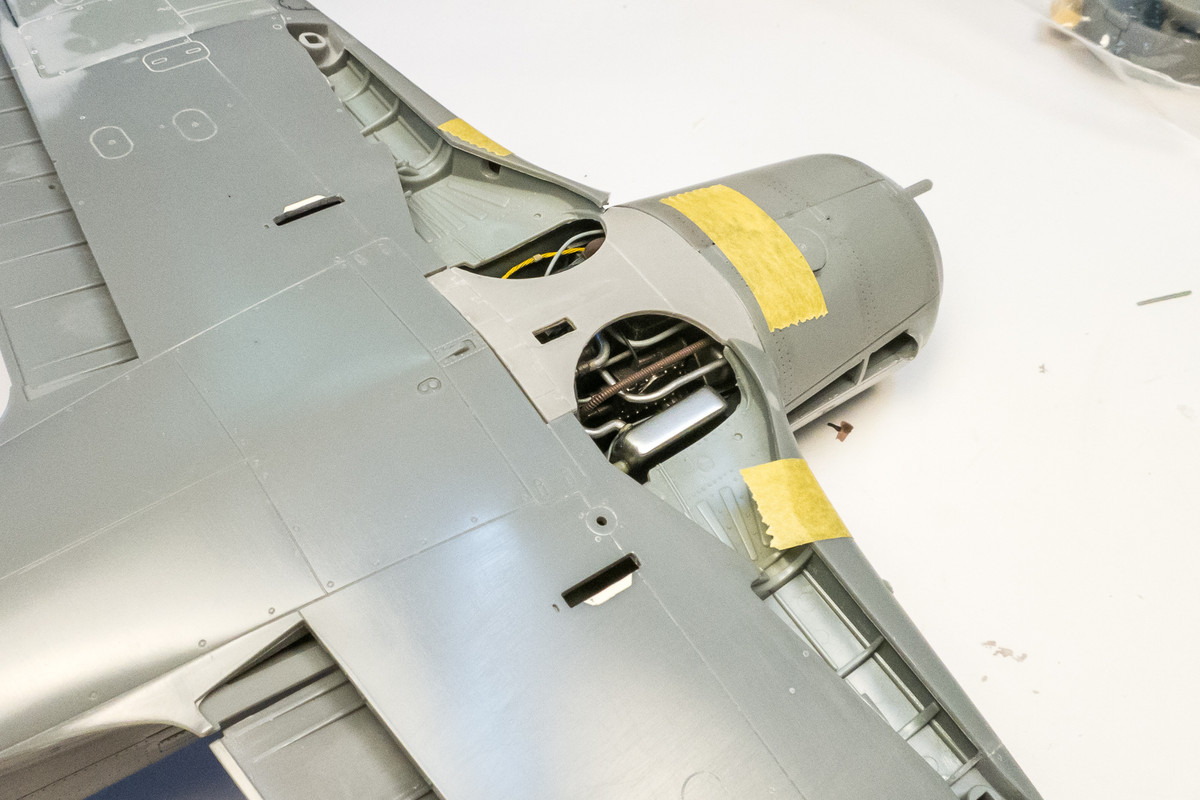
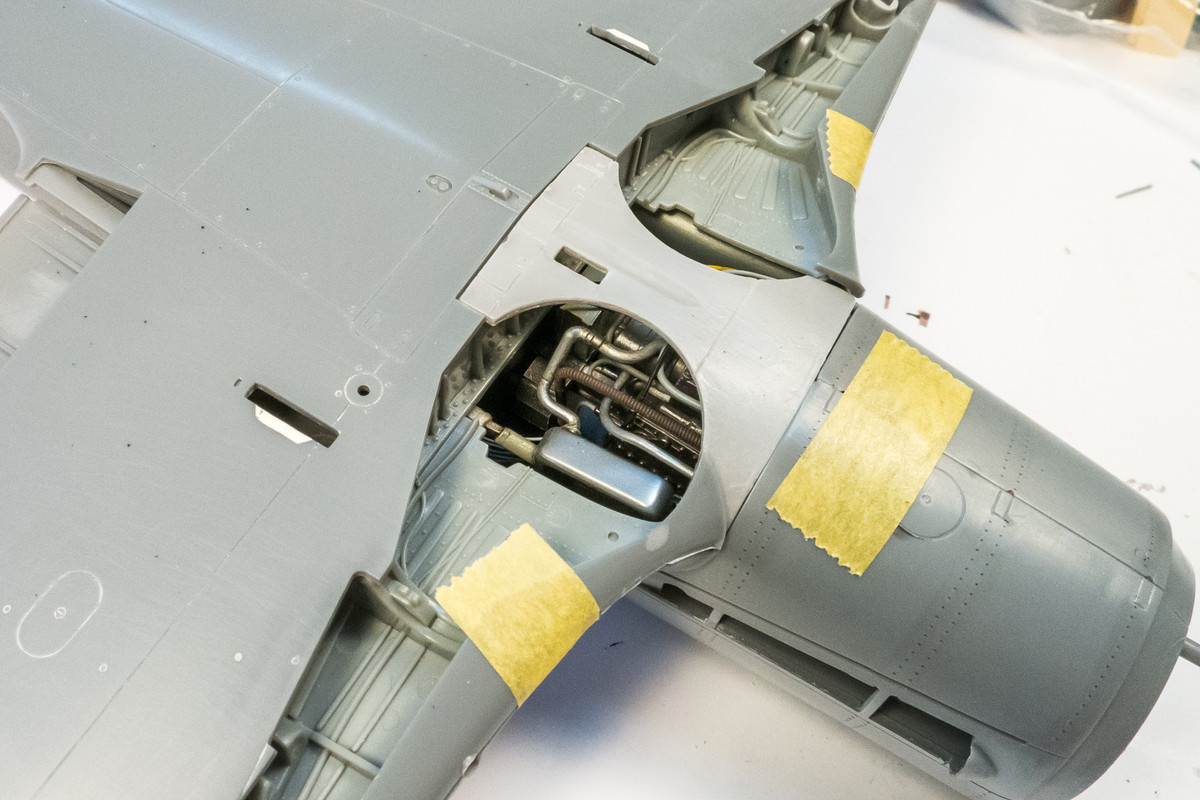
Everything checked out ok so I started to glue the fuselage halves together working from the tail and moving forward, welding sections together using Tamiya Extra Thin cement.
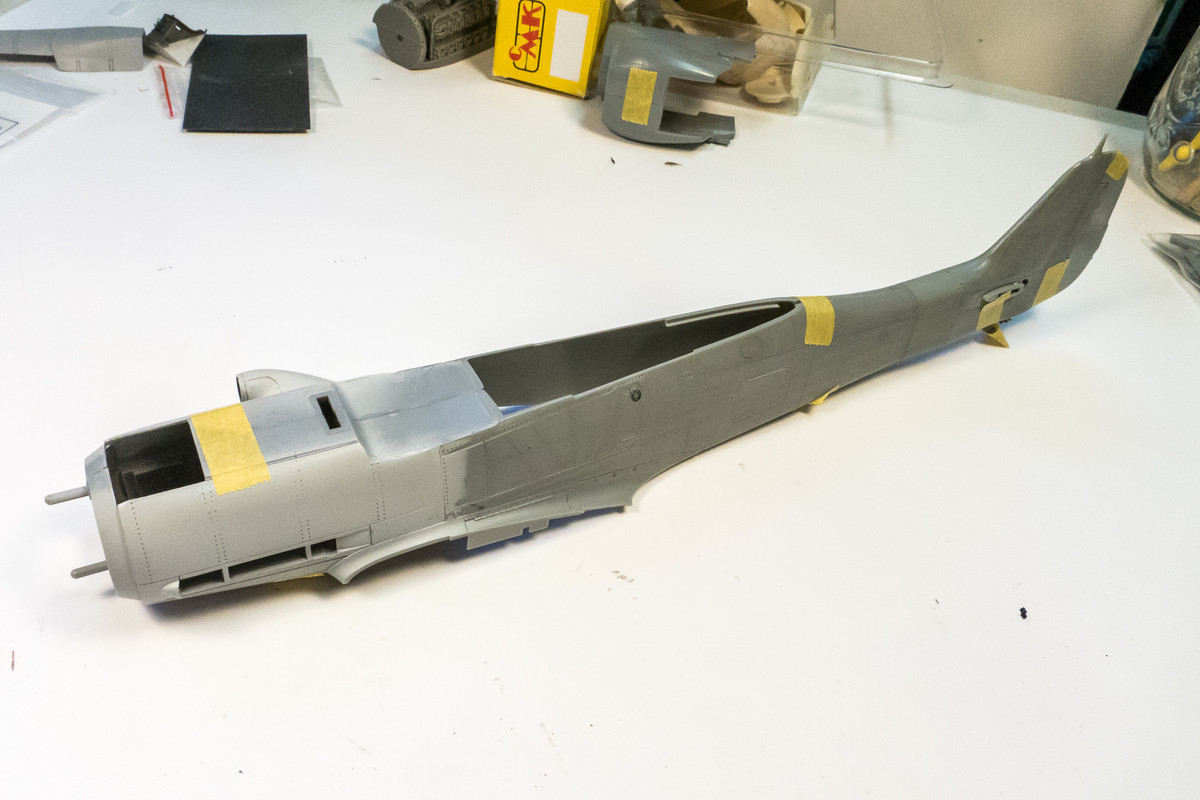
Prior to gluing the forward section of the fuselage together, I inserted the engine assembly with a bead of tube glue on the forward bulkhead where there would be a plastic-to-plastic connection.
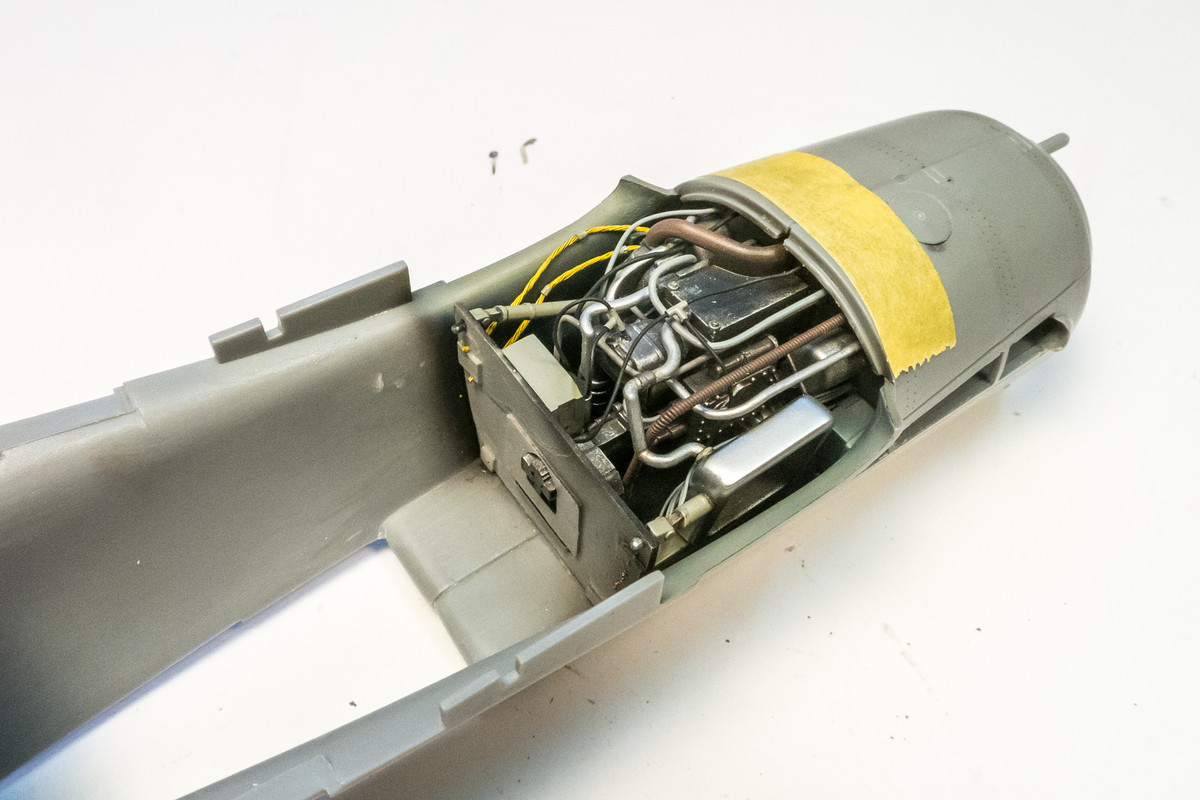
The rear bulkhead was secured to the fuselage using a bead of CA glue. You can just make out in the last two photos where the thin resin bulkhead (from the Grey Matter set) snapped off when I was pushing it into place. Luckily, the braided wire runs and the bulkhead attachment strut helped keep the broken piece in place and made it easy to repair.
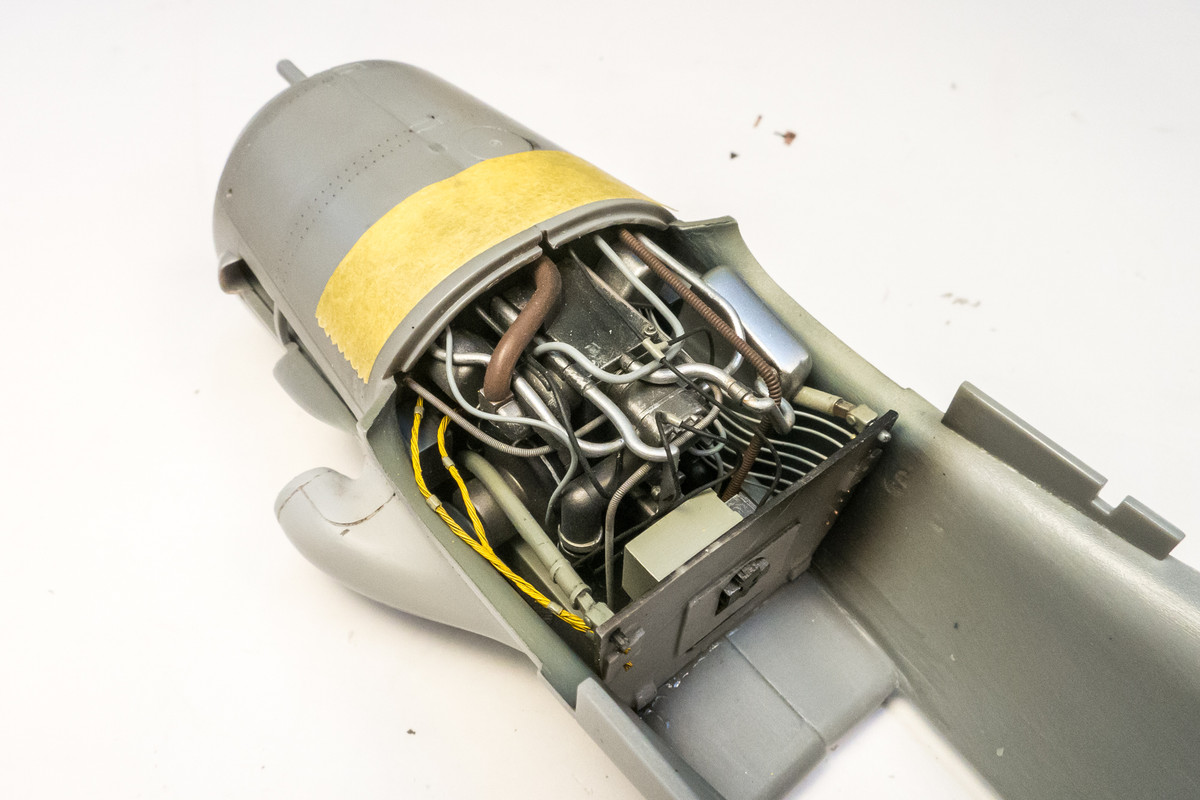
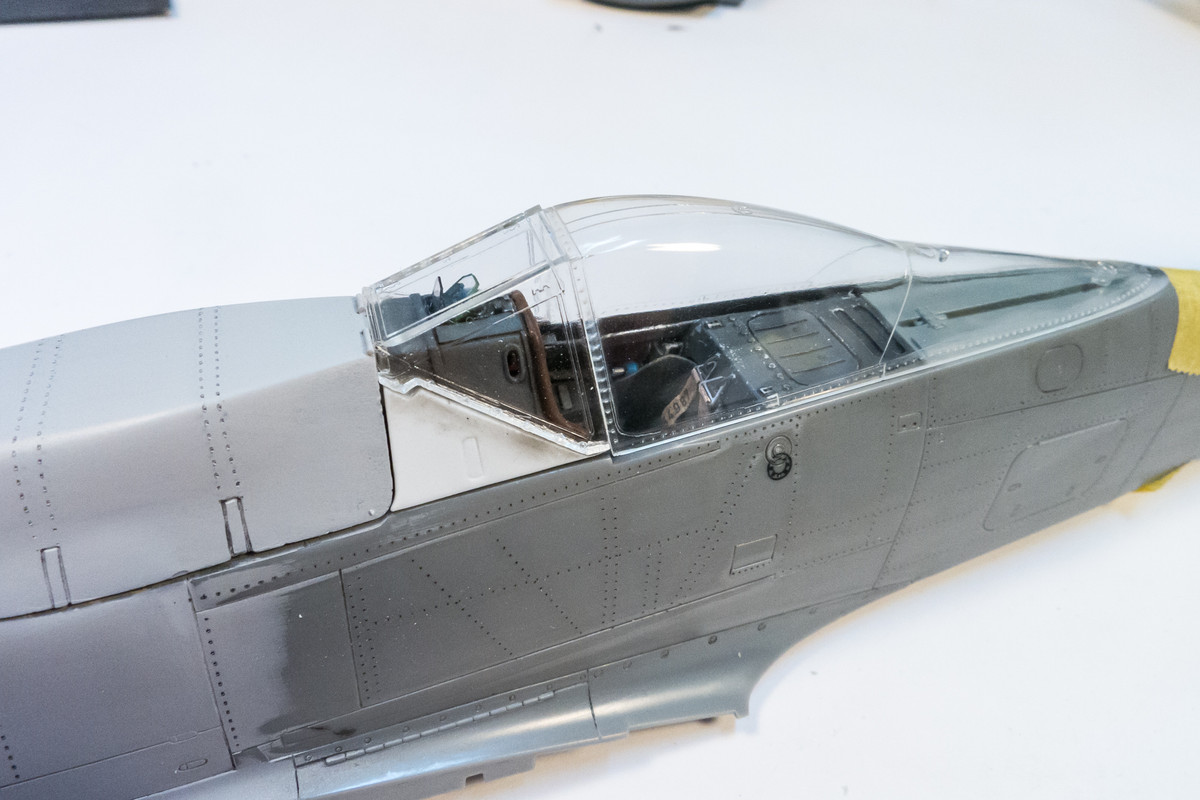
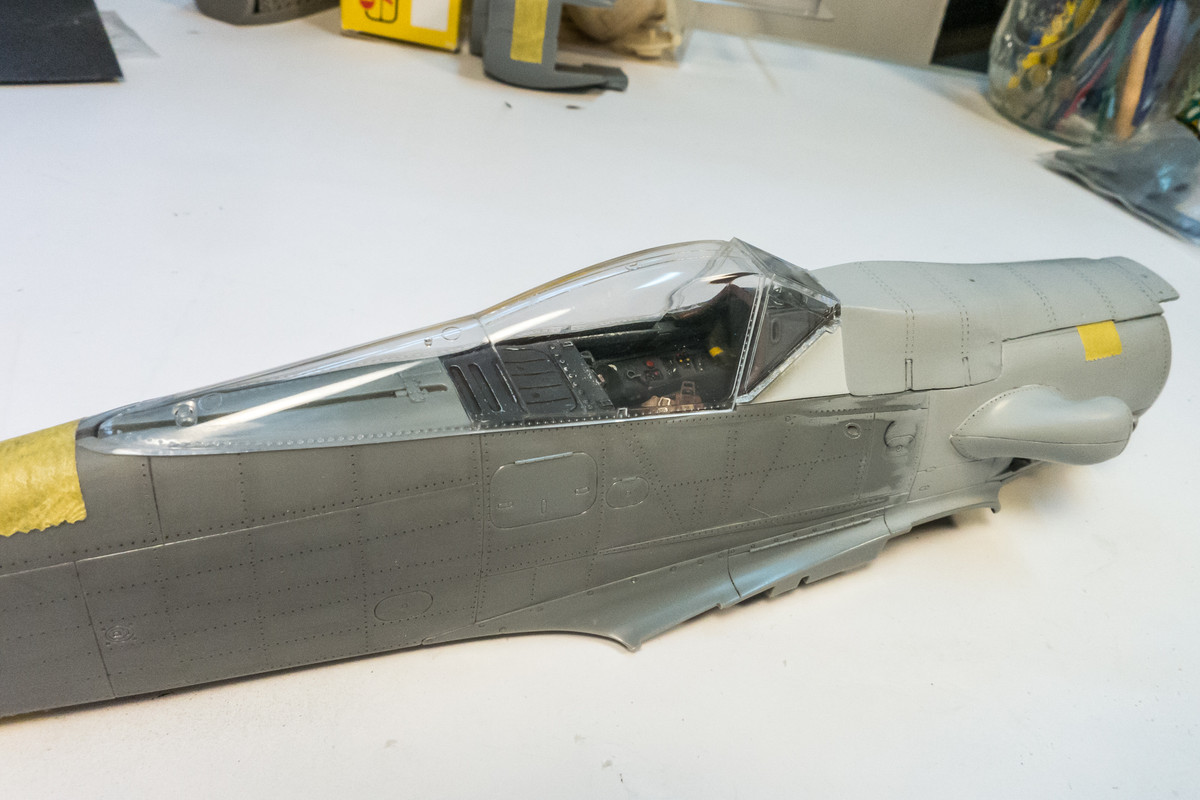
After the engine assembly was secured into place, the rest of the fuselage joints were fused using Tamiya Extra Thin cement. Placing the clear parts in position revealed a slight overhang between the windshield and sliding canopy that I'll need to keep an eye on. Yes, I riveted the frame on the sliding canopy!
Re: 1/32 Hasegawa Fw 190D-13 Yellow 10
Posted: Fri Feb 19, 2021 6:54 pm
by Paul
That looks a trick, John.
Re: 1/32 Hasegawa Fw 190D-13 Yellow 10
Posted: Fri Feb 19, 2021 8:58 pm
by Stikpusher
Man I do like what you did in the rear engine area John. That looks fantastic with all that intricate detailing.
Re: 1/32 Hasegawa Fw 190D-13 Yellow 10
Posted: Sat Feb 20, 2021 5:02 am
by Stuart
Beautiful work as ever John, and you did a fine job of rescribing around that intake, I thought when I read you were doubting if you could do it that you could - and I was right - excellent stuff!