Page 15 of 34

Re: 1/32 Revell Me262B-1/U1 Nachtjager

Posted: Tue Dec 15, 2020 2:24 pm
by Medicman71
Nice work on the clean up of those tanks! I'd so screw that up. :giggles:

Re: 1/32 Revell Me262B-1/U1 Nachtjager

Posted: Wed Dec 16, 2020 1:55 pm
by Duke Maddog
John, I HATE that when sprue attachment points cross a right angle like that! It happens so incredibly frequently in my scale and is a real bear to fix sometimes. Glad to see you got it worked out and so well too.

Re: 1/32 Revell Me262B-1/U1 Nachtjager

Posted: Wed Dec 16, 2020 3:18 pm
by jkim
Generally speaking, it SEEMS like Revell actually put some thought in where the sprue attachments and ejector pin marks were located. This is one of the few areas that they missed.

Re: 1/32 Revell Me262B-1/U1 Nachtjager

Posted: Wed Dec 16, 2020 6:26 pm
by speedgraflex
John, the work - and now the redo of the seams - of the nose section illustrates superbly how well you visualize and set a goal. I have always been let down by the majority of Schwalbe kits both in 1/32 and other scales because the nose section has a very specific profile. Yours certainly does have the appropriate series of concentric circles - if we X-rayed your work it would be a close match to the real design. Bravo.

Why did you choose a muted green on the nose of the jet engines? Was that based on something from research or a gut feeling that the actual color was not a bright green?

Also, how do you mask so cleanly for bright metal hydraulic posts?

Do you know I still have the prints I made of your Ta-152 photos? I should have them framed. Beautiful photography.

Thank you in advance!

Re: 1/32 Revell Me262B-1/U1 Nachtjager

Posted: Wed Dec 16, 2020 8:13 pm
by jkim
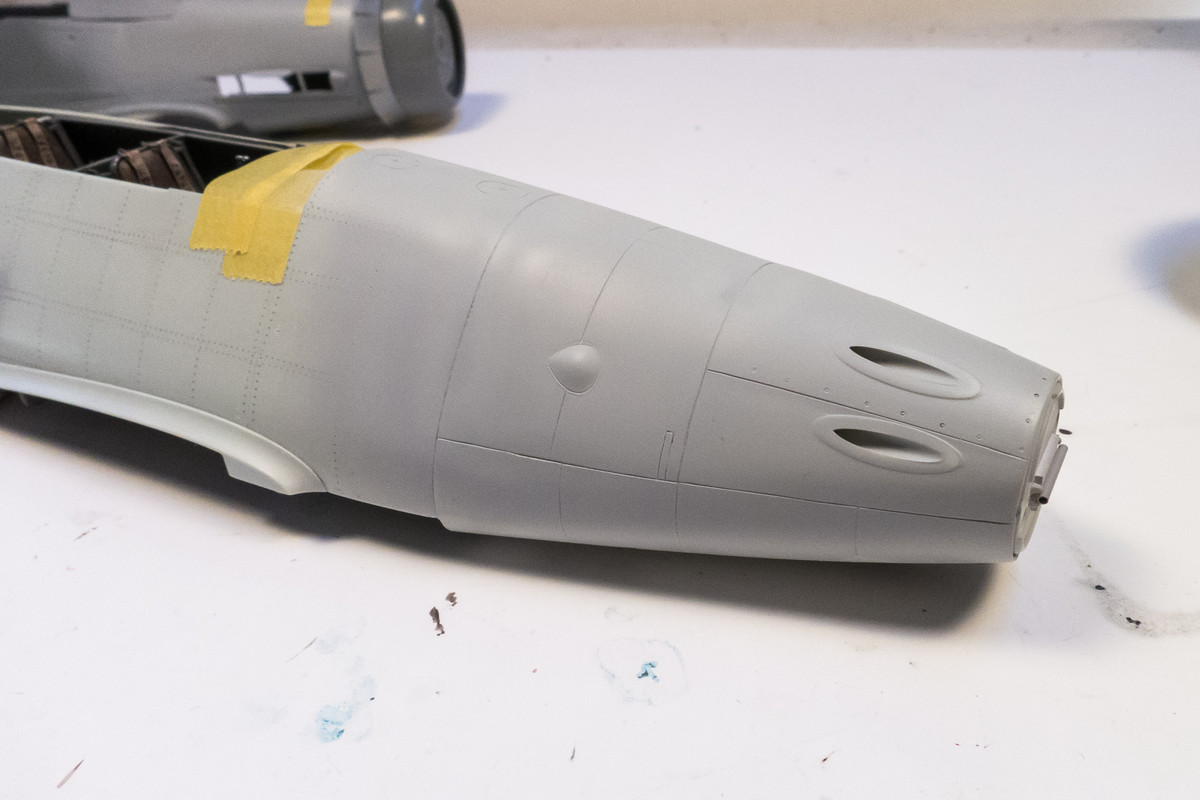
Thanks Bruce! In trying to smooth out the glue joints, I managed to flatten out the port side of the fuselage under the cannon openings. In order to restore that curvature and get rid of the flat spot caused by sanding, I build up the area using CA glue and then Mr Surfacer. It's not perfect but I managed to remove the visible edges of the flat spot, which was bugging me.

The nose cones could've been bright green but I just didn't like the thought of it. RLM 02 Grey Green is a safe choice given that much of the interior outside of the cockpit utilized this color. A natural metal color would be another decent alternative. Usually somebody over at LSP corrects me if I make an erroneous color choice.

Masking was simple for the shiny struts. Yellow Tamiya tape wrapped around the oleo... not much else to it except making sure the Alclad Chrome was cured before putting the tape on. Keep the tape on until the final flat coat is established.

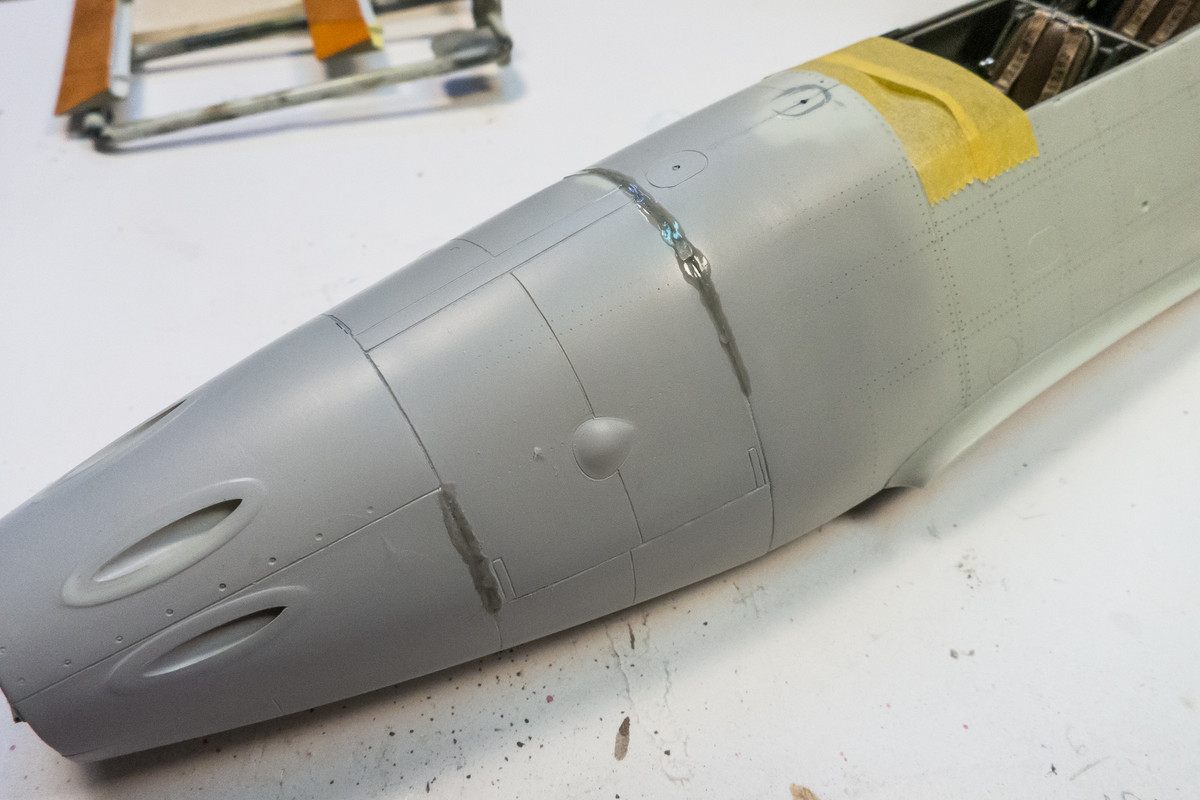
I finally made some progress on the nose of the 262. After the joint pop, I gouged out the seam a little bit and applied plastic sprue goop to (a) establish a better bond and (b) give me a more consistent base for re-scribing. I let that dry for a couple of days before sanding.
Image

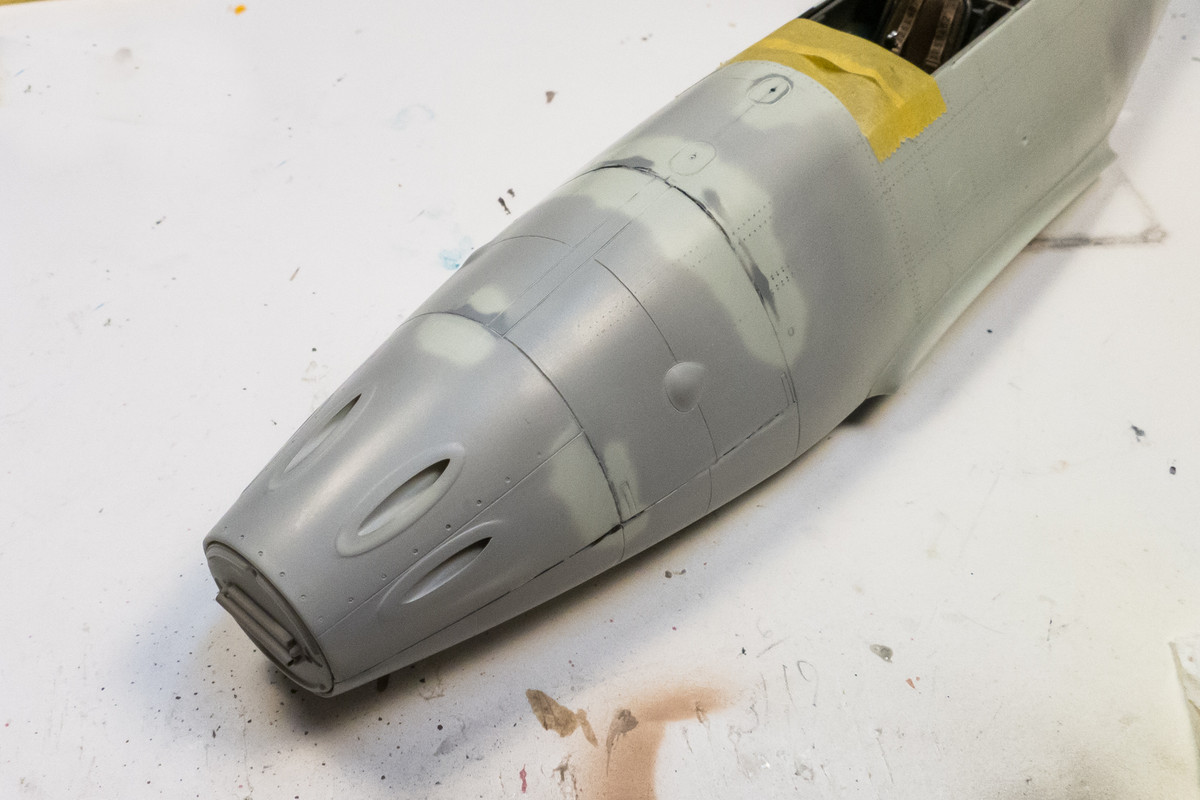
After that repaired joint was re-scribed, I was just about ready to call the clean-up work finished.
Image

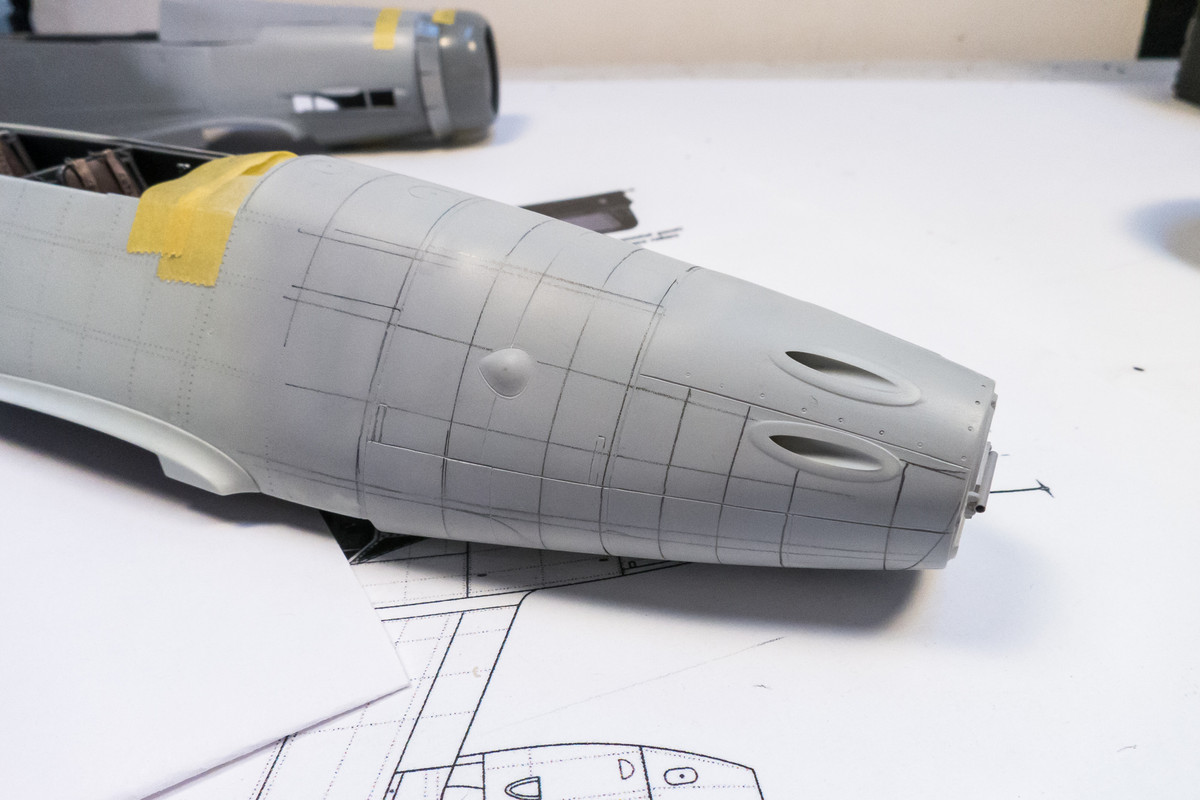
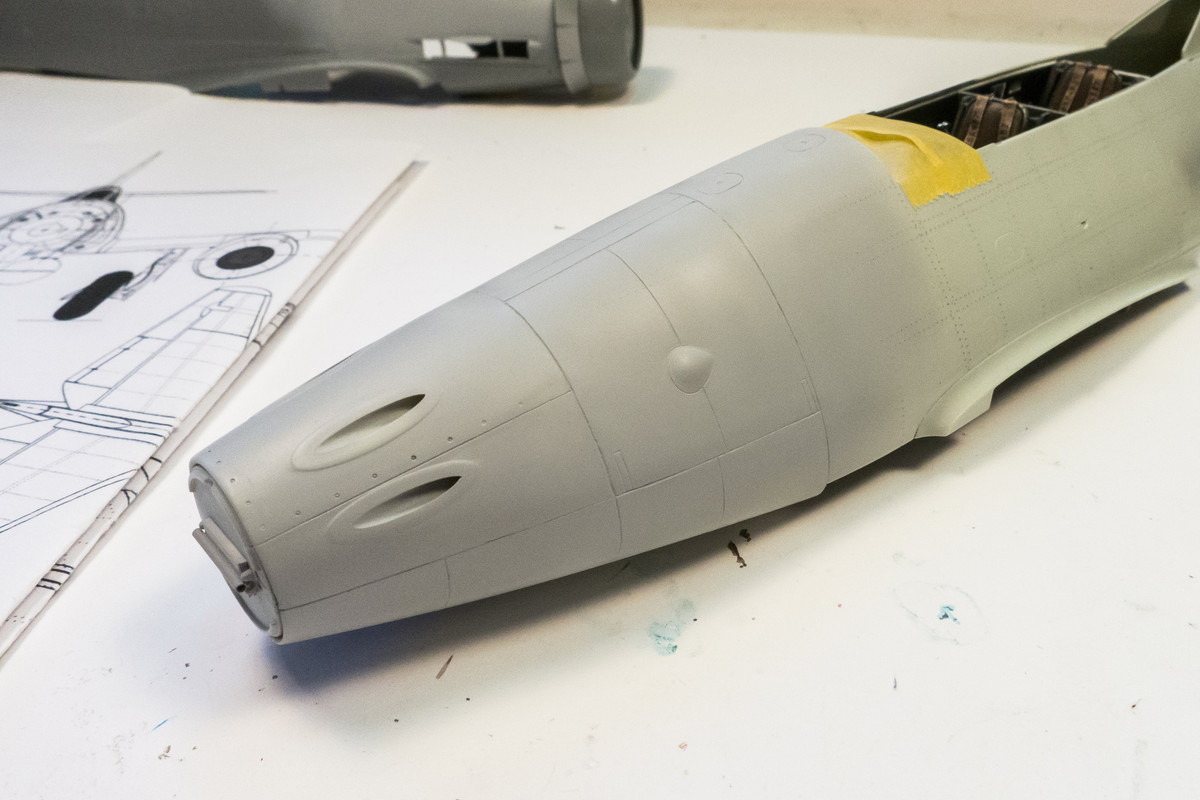
Far from perfect, the panel lines have some unevenness due to the scriber having trouble going through hard CA glue and soft putty with the same consistency. But I'm ready to apply the rivets.
Image
Image

A plastic straight edge, even a flexible one, is pretty useless when applied to his much curvature. And Dymo tape is too stiff. White Tamiya flexible tape fills the gap between the two very nicely, especially for the concentric rows of rivets around the cross-section.
Image
Image
Image

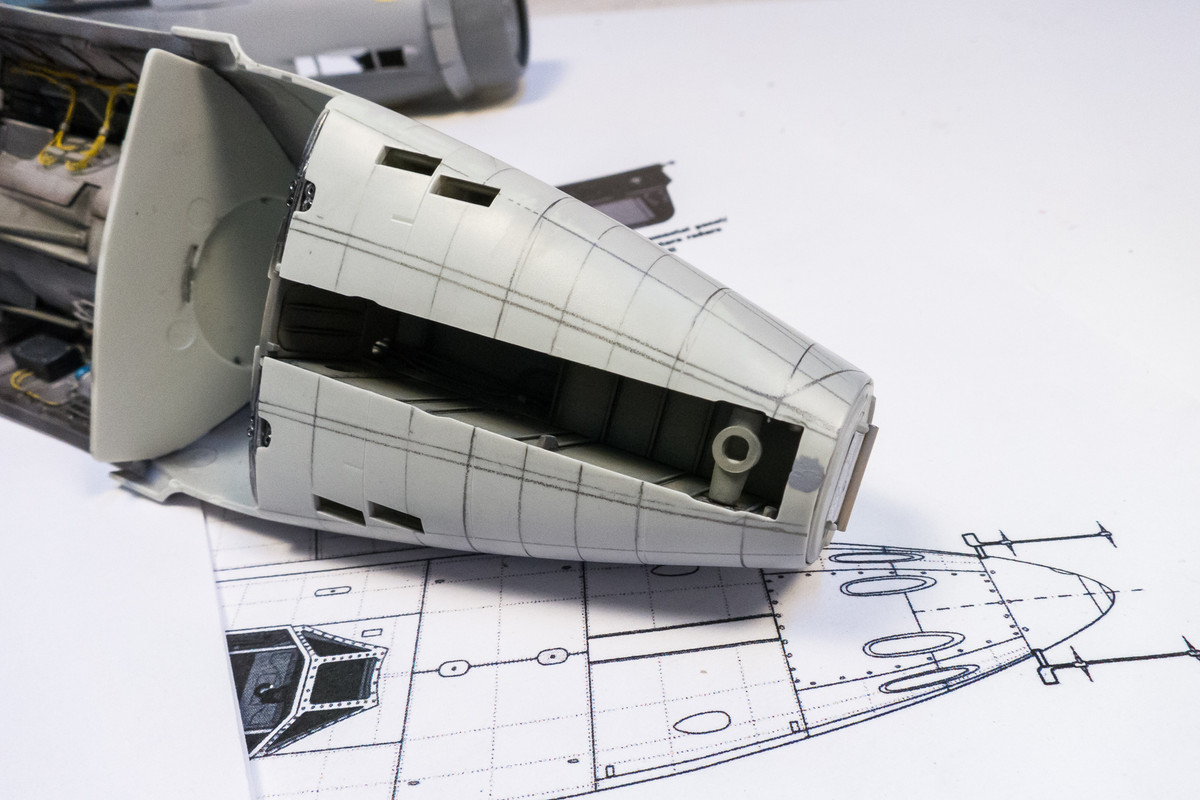
Cognizant of possible weak joints between the nose cowlings, I riveted very carefully but still heard some joints pop open. In particular, the joint between the gun barrel openings and the removable gun cowling came loose but the results weren't too visible.
Image

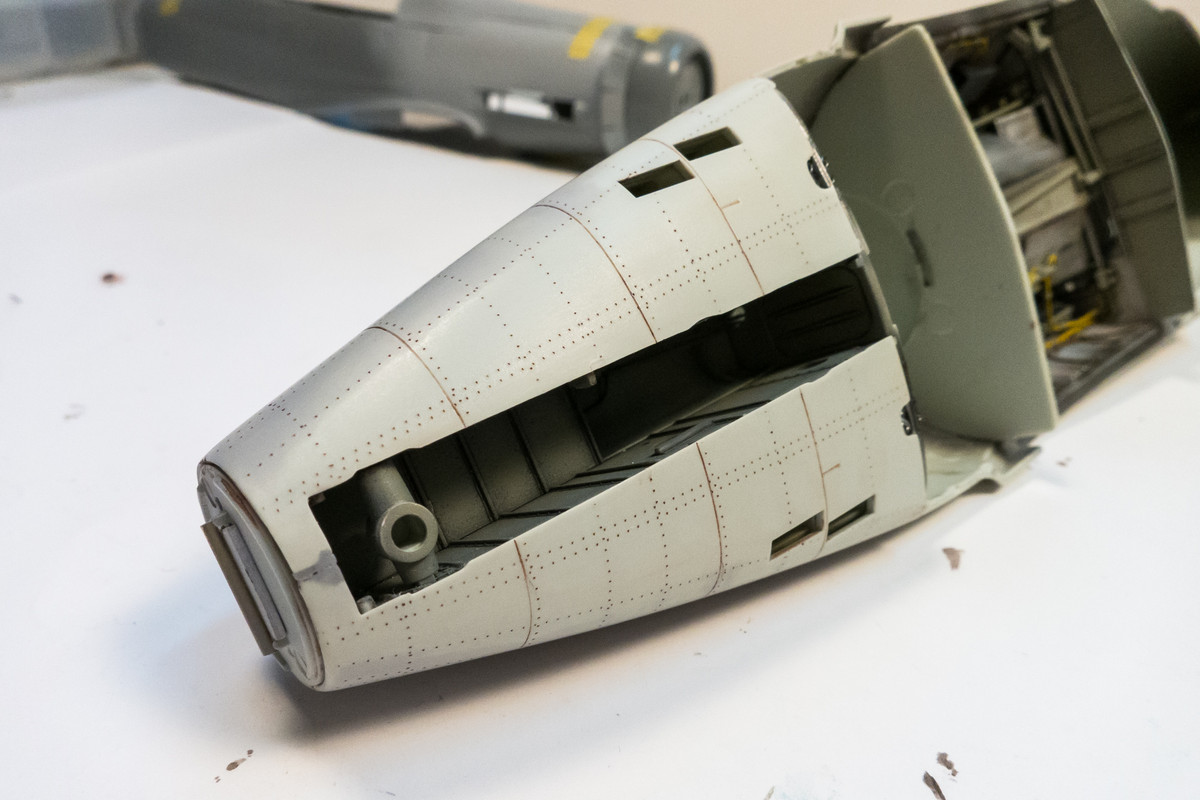
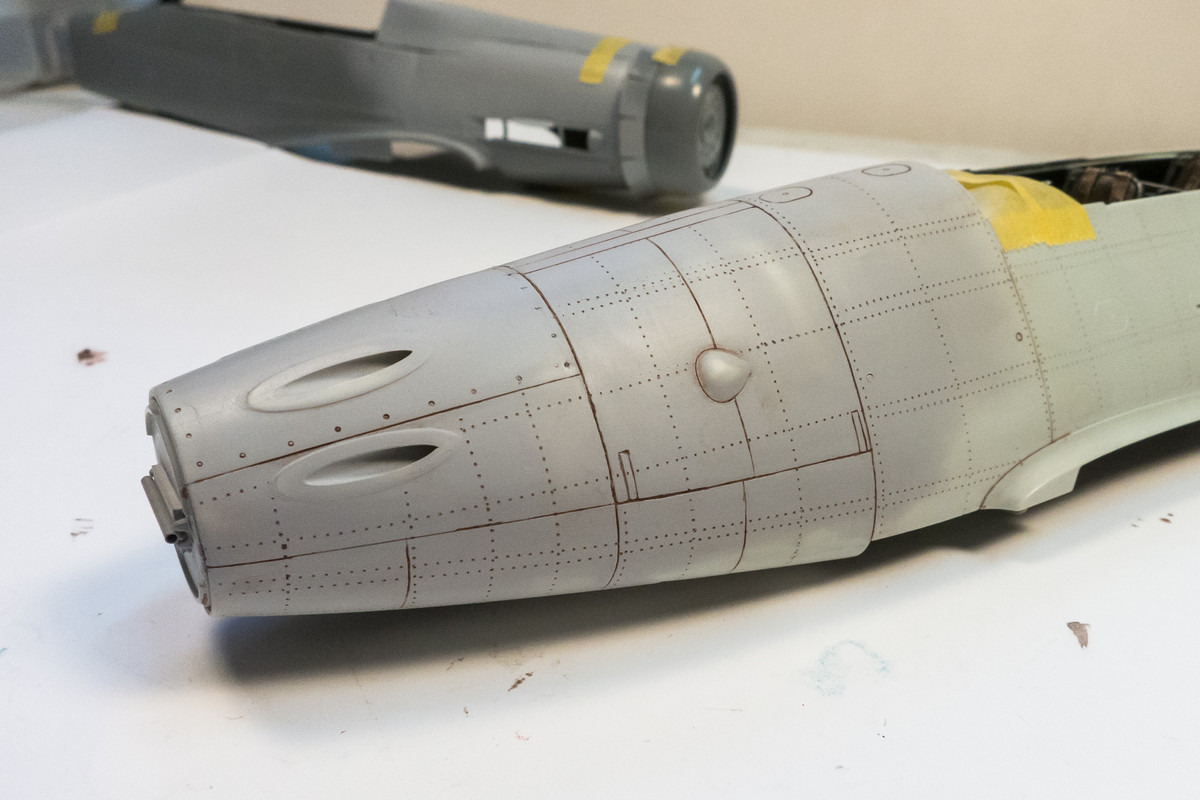
The pencil marks were wiped off using Windex and the nose area was sanded down to remove the raised dimples around all of the new rivets. The nose was then given a temporary brown pastel wash to check the scribing and riveting work. I was generally pleased with the result. Lines that didn't hold the wash were lightly re-scribed and some missing fasteners and larger rivets were added.
Image
Image

Things were going smoothly until I started to replace the larger rivets along the newly-popped joint. I knew the edges of this part were very thin and I had originally applied the rivets set back from the edge to avoid the thinner plastic. The sanding to fair this panel into the nose eradicated these rivets and they had to be re-applied. I skirted too close to the edge where the plastic was thin AND where the joint was compromised... and I punched a hole right through!
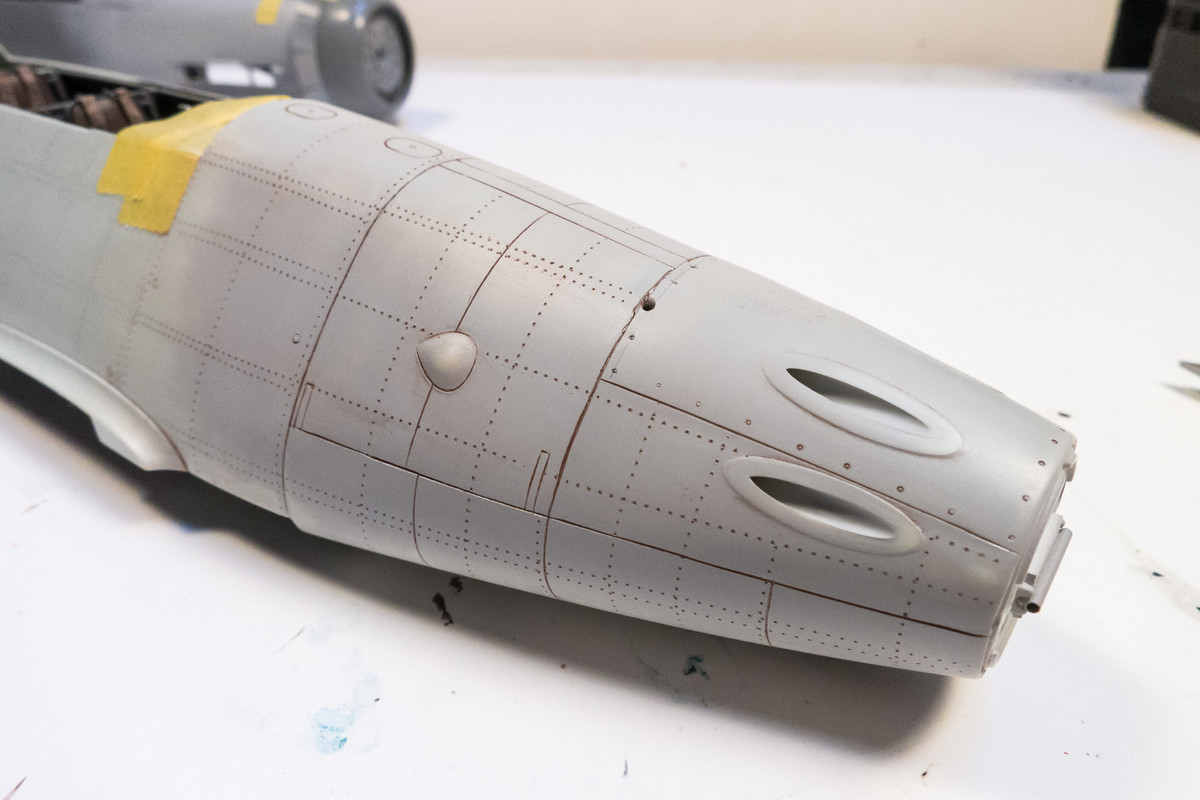
Image

Other than that hole, I like how the nose looks overall. The stress of riveting is over so I used some Tamiya Extra Thin cement to re-establish the glue join and stuck a piece of sprue into the hole, welded into place with more Tamiya Extra Thin.
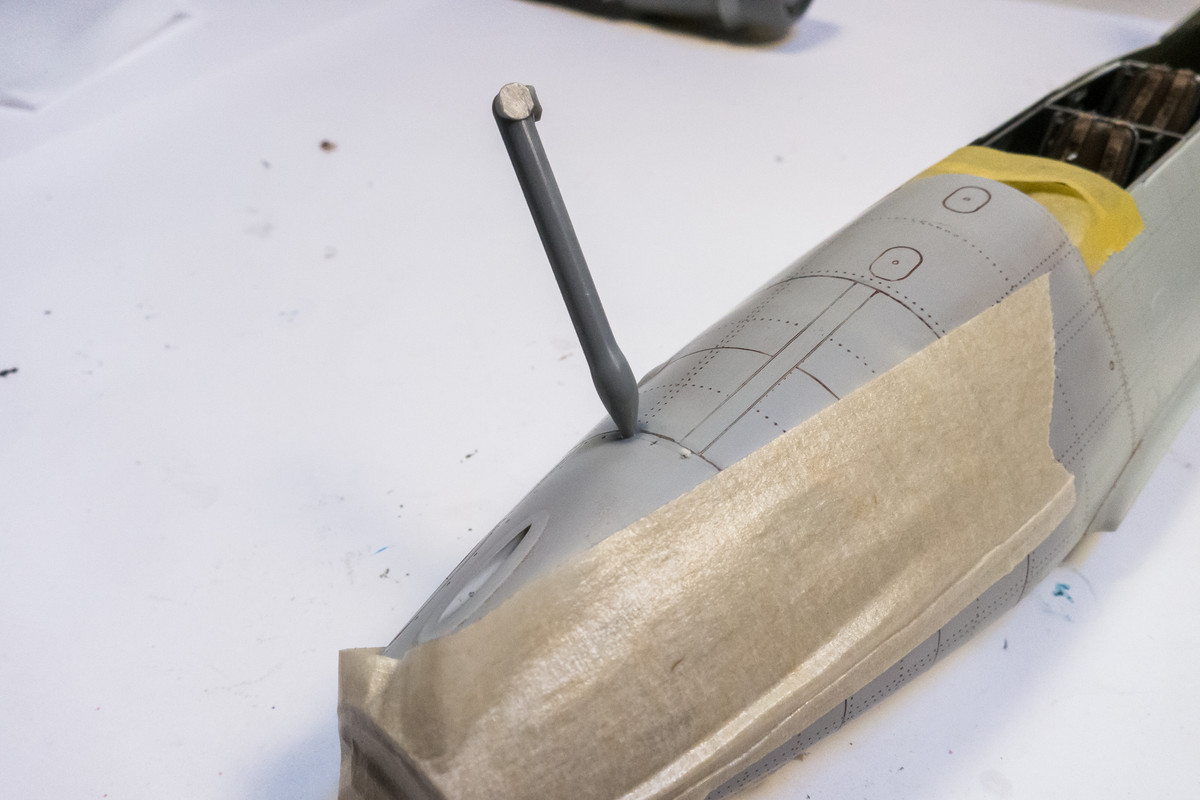
Image

Re: 1/32 Revell Me262B-1/U1 Nachtjager

Posted: Thu Dec 17, 2020 2:03 am
by KSaarni
Wonderful work John,

a quick question regarding your "CA Surfacer" mixture. So you
- add first one layer of CA and then Mr Surfacer and repeat the process until you are satisfied or
- mix the CA with Mr Surfacer and then use it ?

- Kari

Re: 1/32 Revell Me262B-1/U1 Nachtjager

Posted: Thu Dec 17, 2020 4:31 am
by Stuart
I think you've about nailed that nose John, it looks great. I do wish they wouldn't give these multi-part main pieces as the only option - it's a bloody pain if you don't want to have internal detail on display! .

Re: 1/32 Revell Me262B-1/U1 Nachtjager

Posted: Thu Dec 17, 2020 4:32 am
by mustang1989
The "master" at work again. Very good repair, seam filling and work on the rescribing. :shoutout:

Re: 1/32 Revell Me262B-1/U1 Nachtjager

Posted: Thu Dec 17, 2020 4:02 pm
by jkim
KSaarni wrote:Wonderful work John,

a quick question regarding your "CA Surfacer" mixture. So you
- add first one layer of CA and then Mr Surfacer and repeat the process until you are satisfied or
- mix the CA with Mr Surfacer and then use it ?

- Kari
Ah sorry for the confusion! They are used separately. The CA glue is used to fill in the larger gaps. Once that is sanded down, I apply Mr Surfacer over the area and then sand that down to its final level. I find it easier to achieve seamless feathering between CA glue/plastic and Milliput/plastic with Mr Surfacer. Many times my panel line will run through a mixture of the different materials and that's what is giving me the problems when trying to re-scribe. Ideally, I need to identify a more consistent and thorough method to seal these specific areas and it would help to have a fill material that was softer than CA but harder than Mr Surfacer. I may play around with sprue goo one more time. The last time, I used Evergreen sheet plastic, which is known to be very soft. Maybe I would get better results with harder polystrene sprues. I got decent results doing spot repairs this way.

Re: 1/32 Revell Me262B-1/U1 Nachtjager

Posted: Thu Dec 17, 2020 4:11 pm
by KSaarni
Many thanks John for the clarification, now it makes much more sense!

I was already thinking how CA and Mr surfacer would react when mixed! :-D

- Kari