Well, it has been quite some time since I've had the chance to update this, much less build anything. With Comicon and the IPMS Nationals as well as other issues, I barely had any time to do anything until recently. When I finally got some time, I went full bore to try and finally finish all these models that were inches from being done.
Here is that update now. I'll start with the aircraft, or rather, my helicopters.
This is my Marine AH-1G that I've been trying to finish. When I picked it up to put the final parts on (weapons load) everything started to fall apart once again! See here:
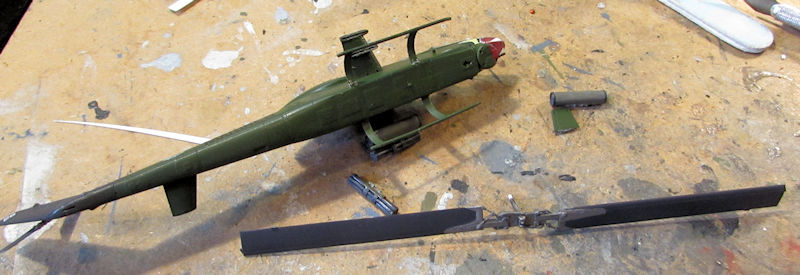
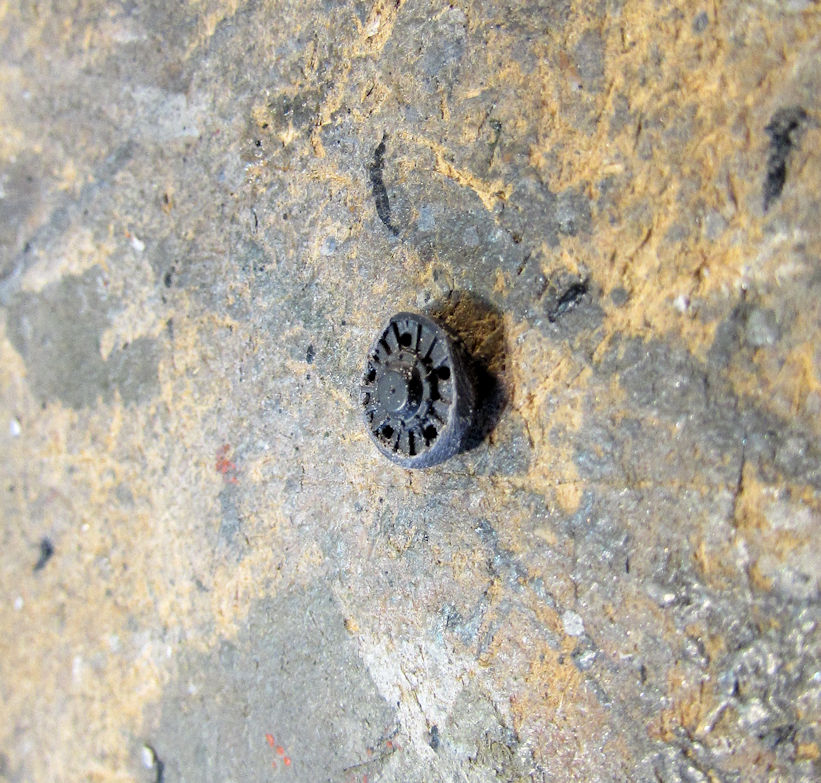
What you don't see is one of the skids also came off, but I'd already glued it back on. Then all these parts came off as I was putting the last weapon pod on. The main rotor broke and the main disk that holds it to the fuselage disappeared. So, I used an old T-34 idler wheel to replace it. It was the right size and so I sanded the bevel into it before drilling it out. Here it is partially sanded, showing the bevel I was adding:
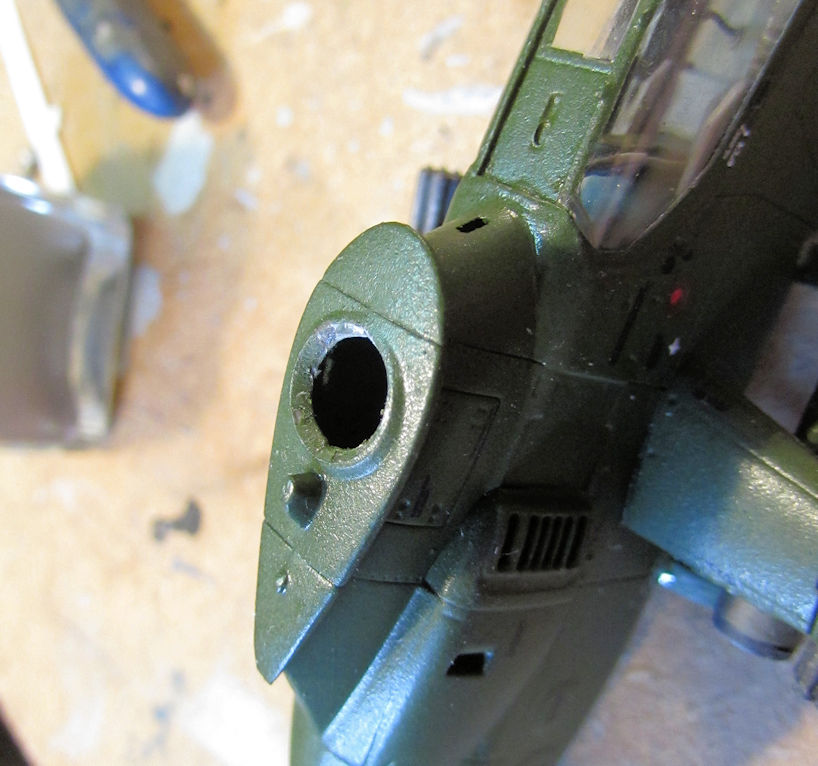
Here is the beveled hole it is supposed to go into:
Needless to say, I got it repaired, added all the weapons pods to this and now it is finished.
I also fixed the ruined skid on the British Gazelle but didn't get pics. It is now finished as well.
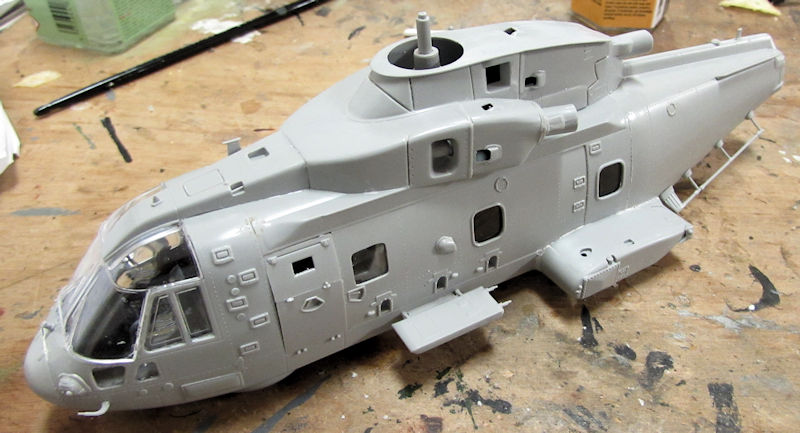
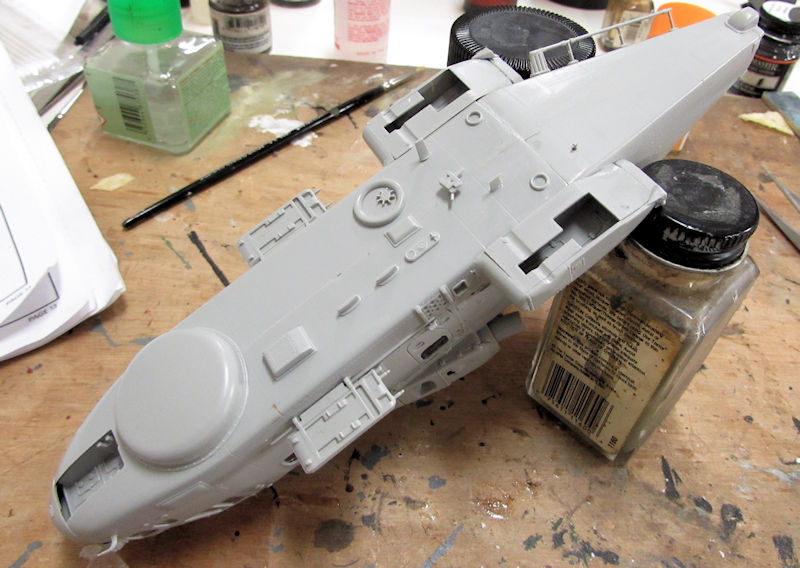
One other helicopter I worked on was my EH-101 Merlin. I finally added all the bits and bobs that I could that would not break off during handling (if I'm careful!). This bird is now ready for paint once I mask off all the windows and canopy:
Moving along, I painted the interior of the Italian Falcon's wheel wells and prepared the wings for the weapons pylons:
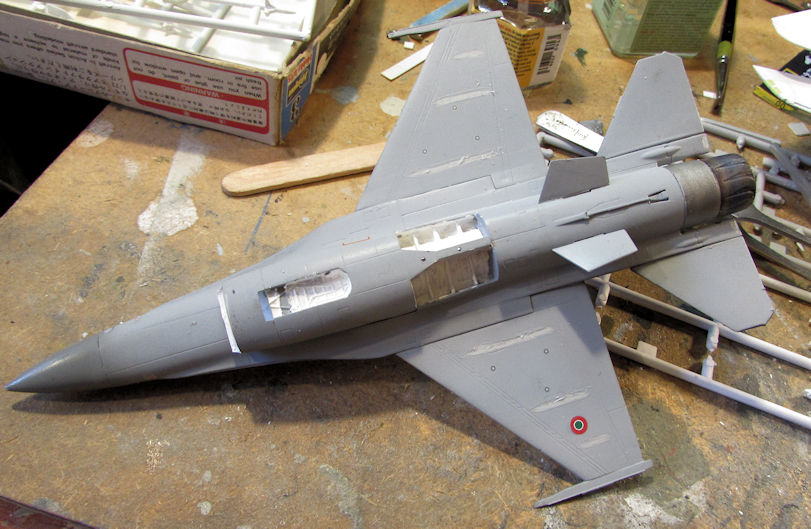
Later I added the landing gear and let it dry:
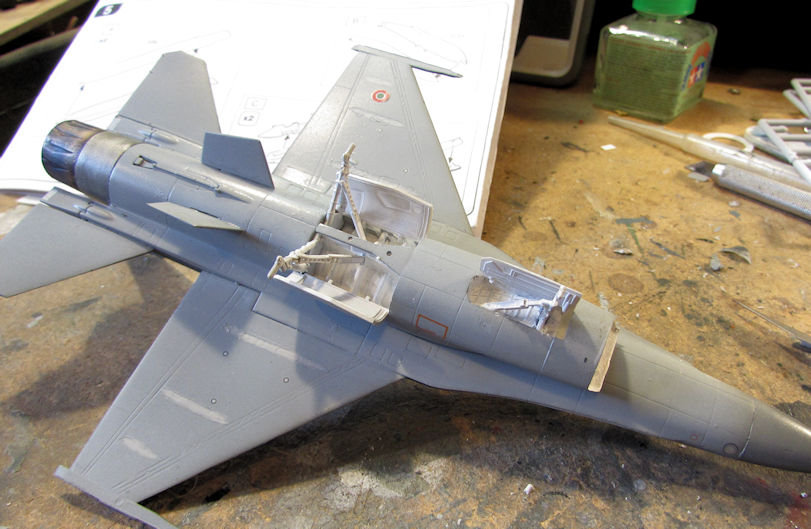
Then I added the pylons:
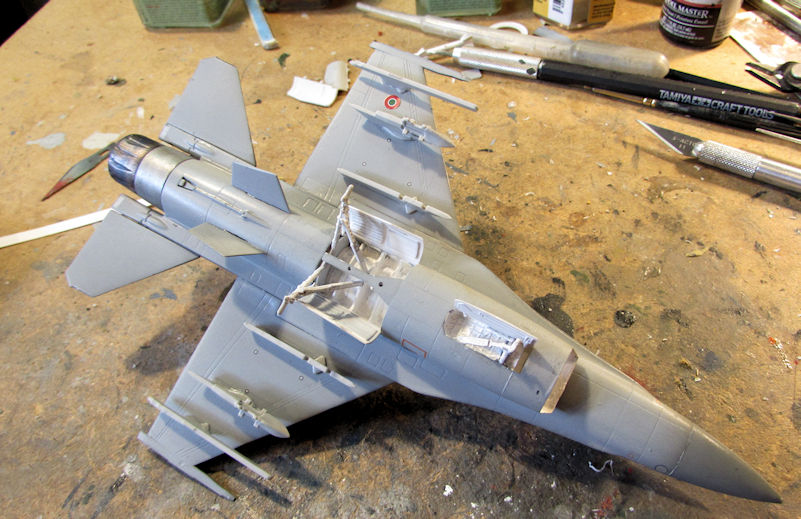
Finally, I added the wheels to the landing gear:
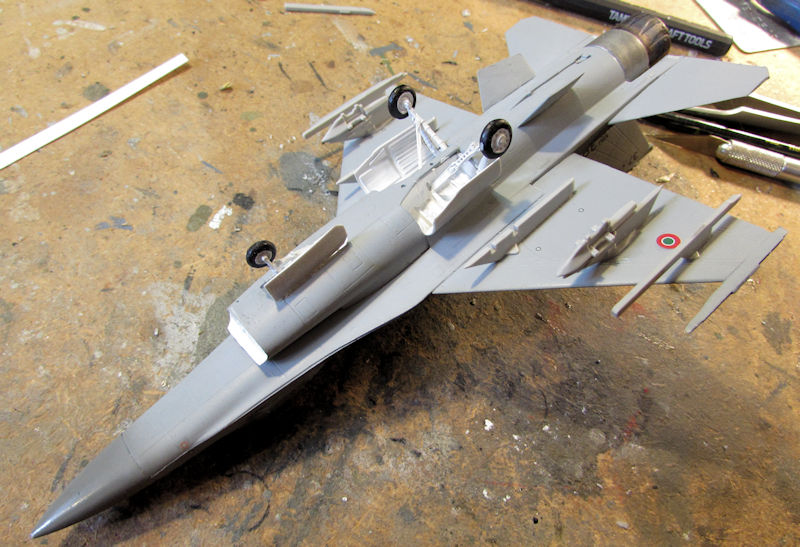
Finally, I added the ordinance and when it was dry, I moved this to the finished shelf.
I had also added the ordinance to the Italian Harrier and it is sitting on the shelf next to the Falcon.
Finally, I managed to get more done on the two F-14 Tomcats I was working on for my review on here. I started by removing all the Silly Putty from the wheel wells of both aircraft. I'm only showing one aircraft here:
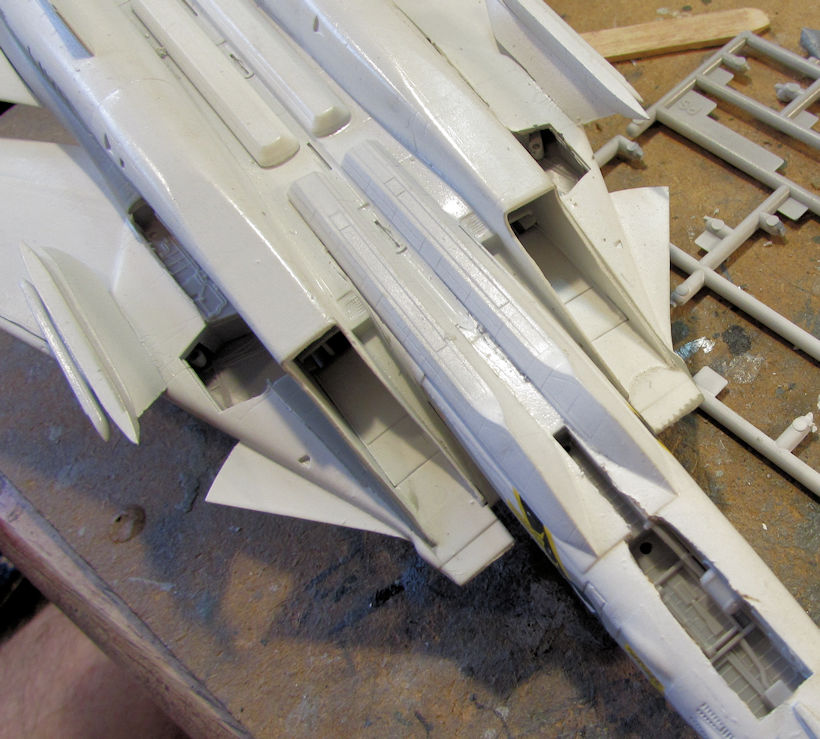
Next I added the landing gear and wheels:
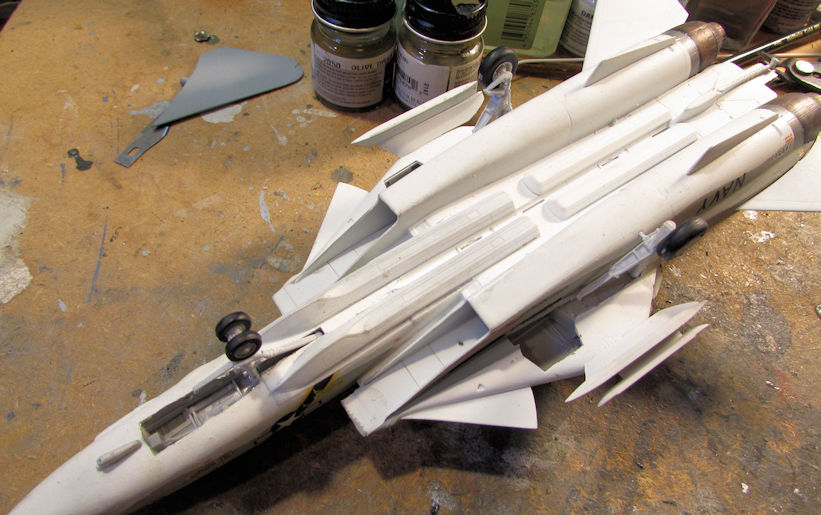
On the F-14B I also added the weapons pylons and targeting pod on the underside along with the landing gear:
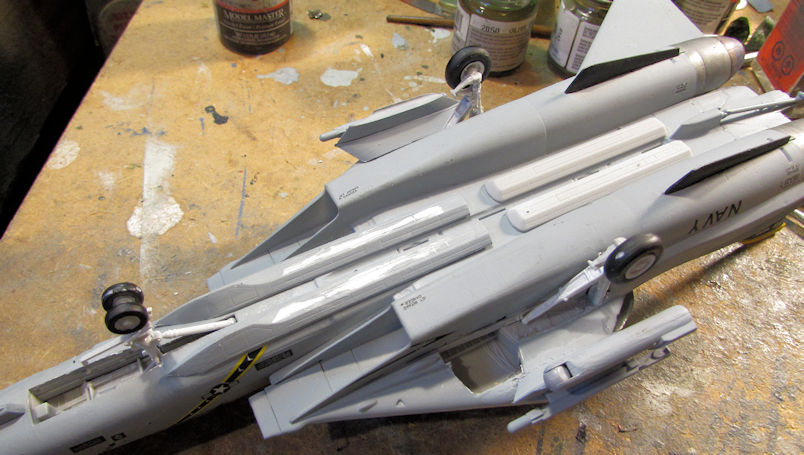
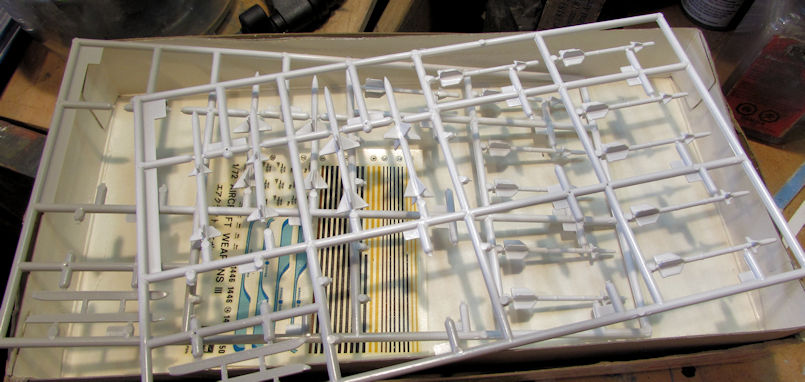
Later I added the landing gear doors to both of these and set everything aside to dry while I went to work on the ordinance. As mentioned, these did not come in the kit but the instructions mentioned using their aftermarket weapons sets. I pulled out two sets I had, one air-to-air, one air-to ground. I started on the air-to-air weapons first:
The Sparrows and Sidewinders:
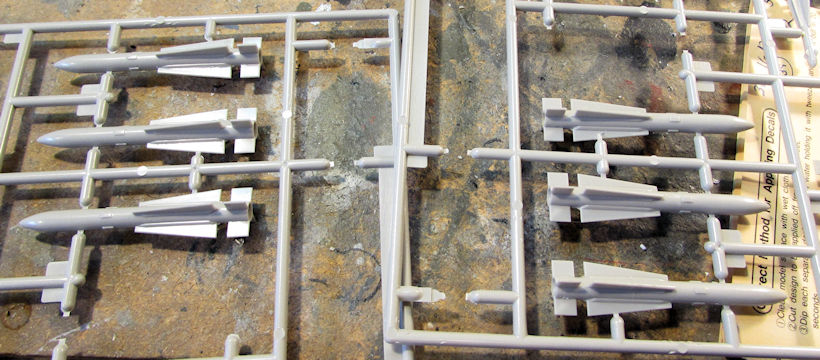
The Phoenixes:
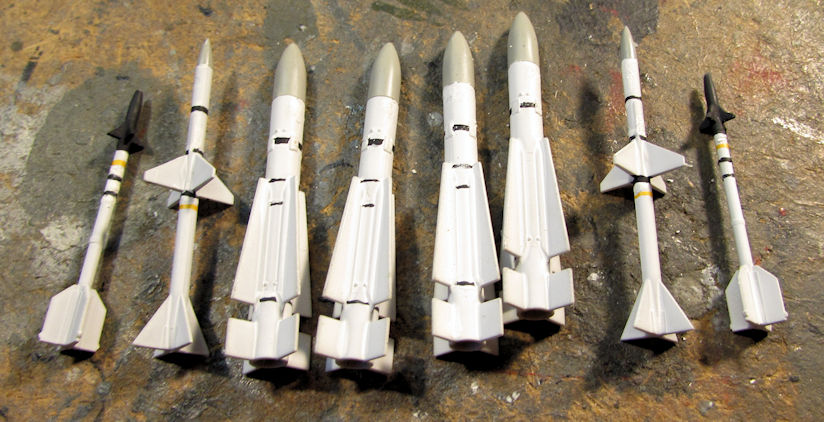
After painting them up. I had a full weapons load out for the F-14A:
I had also pulled out the air-to-ground ordinance and chose four Mk 84 2000lb bombs for the F-14B. After painting them up, I had my load out ready:
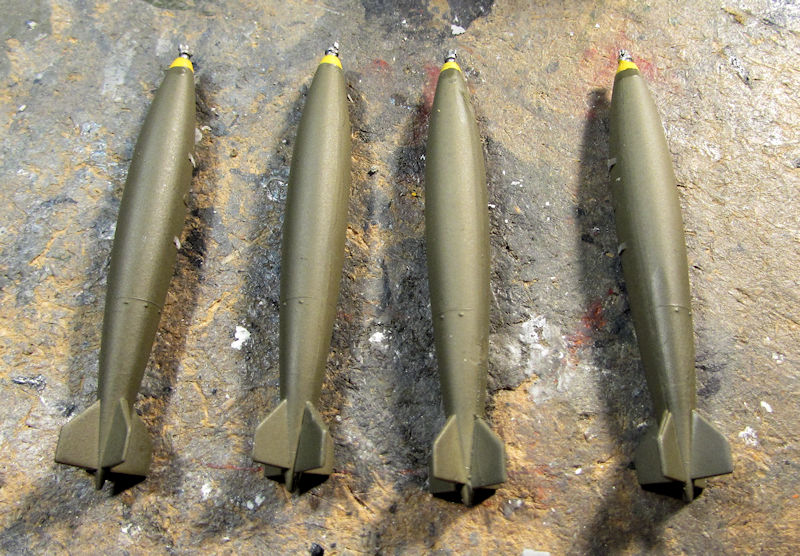
Once these all went on the Tomcats, I was able to declare them finished.
Moving along to my armor, I was able to get four of them done. This is the progress I was able to show on three of them. The fourth one was so close all I had to do was touch up and weather it, so I didn't shoot pics of it in progress.
I'll start with my German MAN truck. I installed the wheels on this. I had also removed the window masking early so it went back on so I could shoot the dullcoat on it:
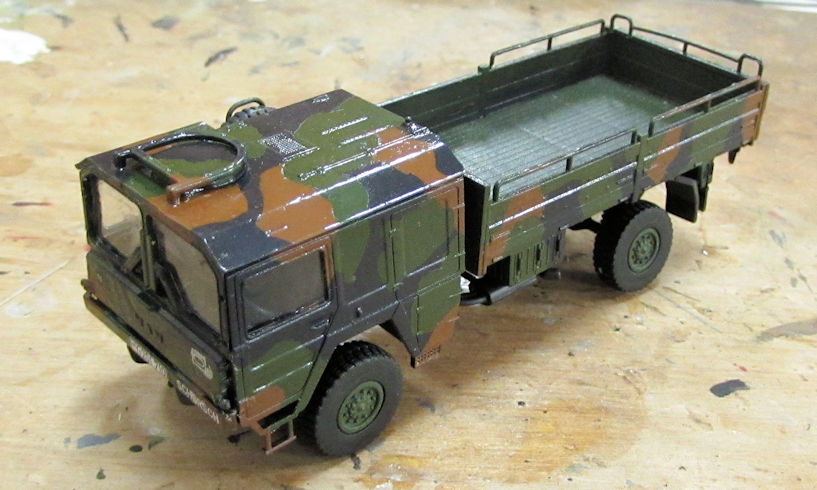
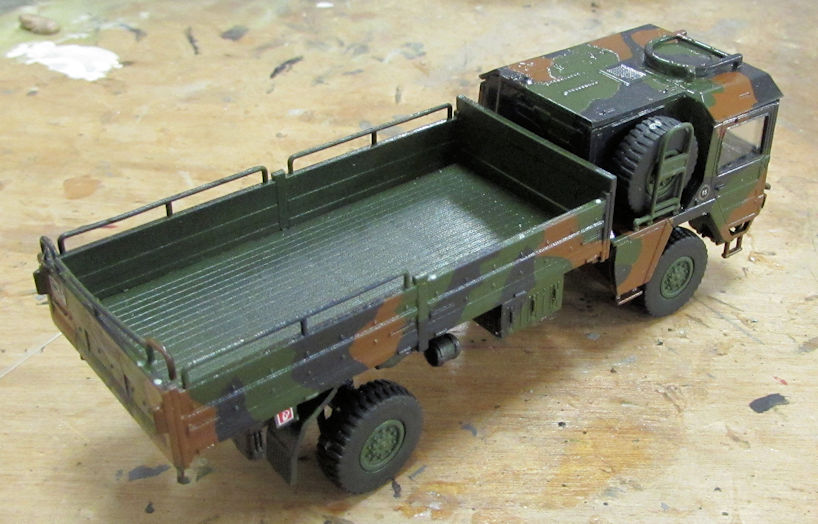
Later, I dullcoated this and then weathered it. I was finally able to call this one done.
Moving on, I also added the outer road wheels to the German M-109:
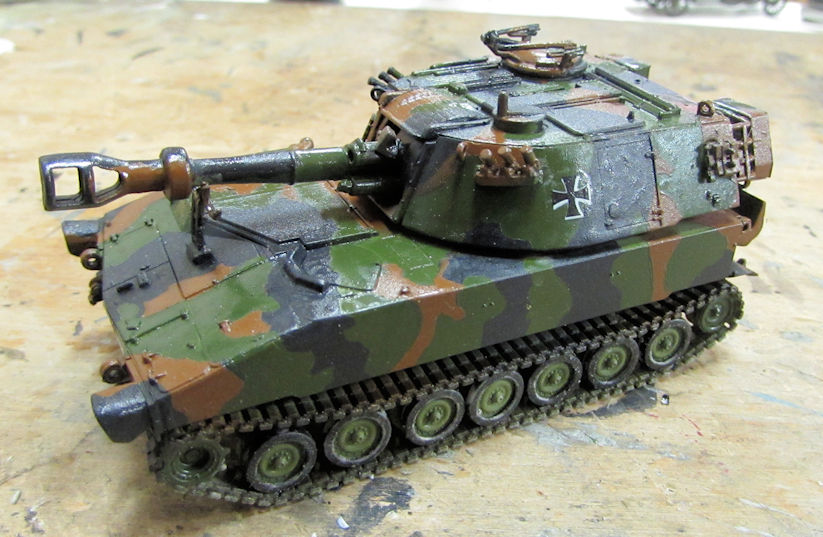
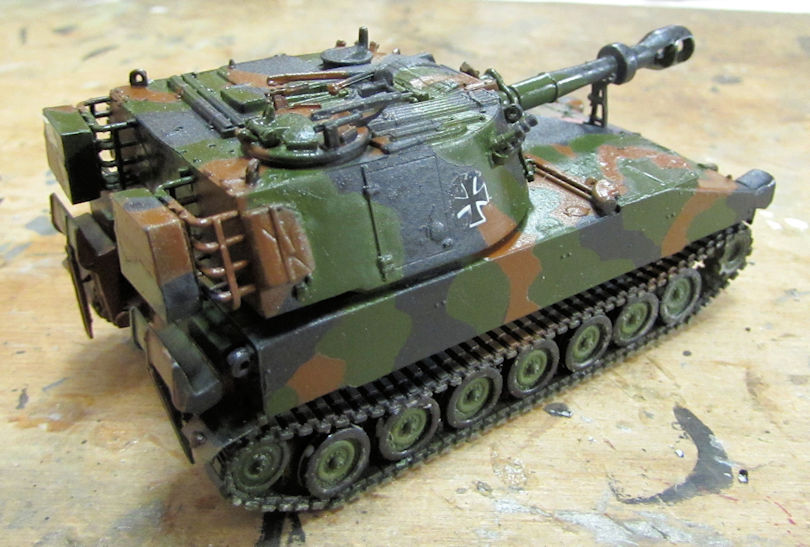
I had then added a couple extra missing parts to this:
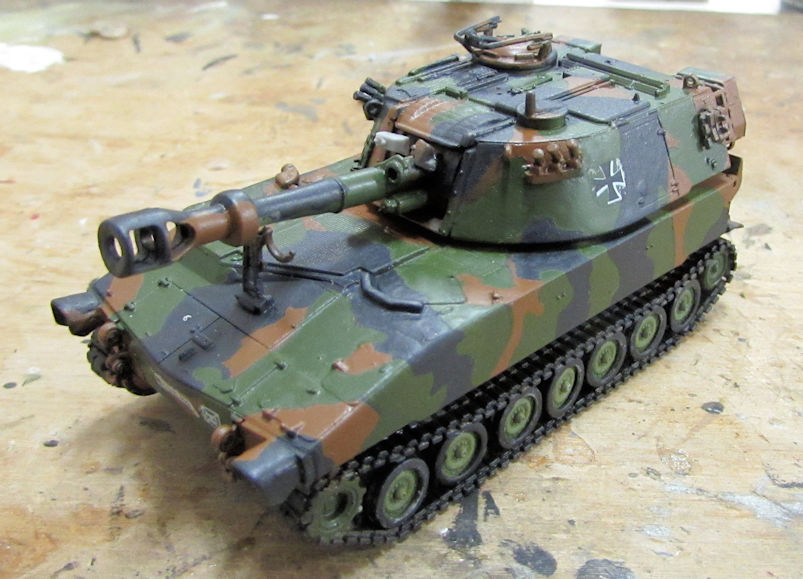
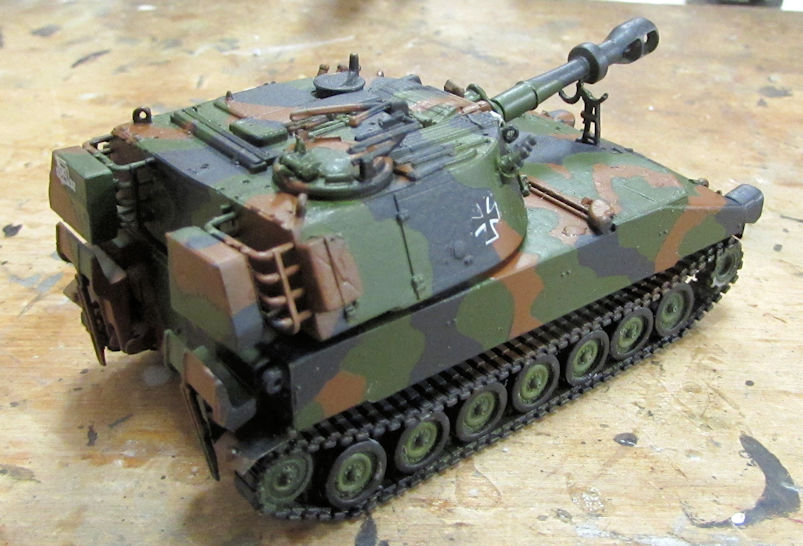
After this, I dullcoated this and added the tools and tow cables before weathering it. Now it sits on my shelves.
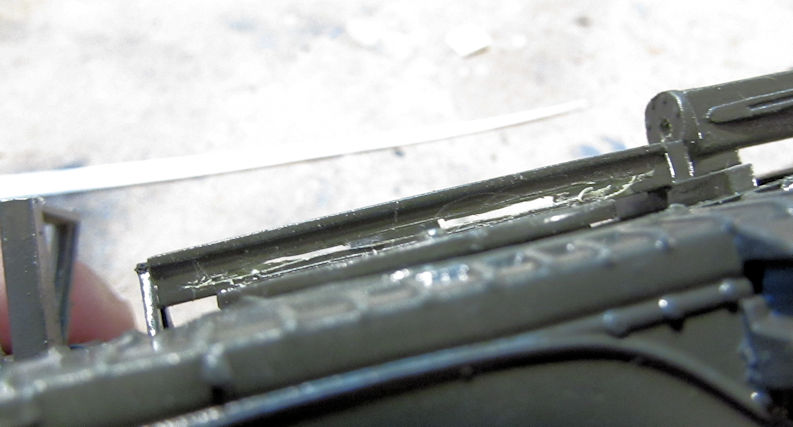
Next up, I worked some more on my British Churchill since it has been giving me problems. The bar broke out again so I had to reinstall it with a more reinforced box. Here it is all roughed out so far:
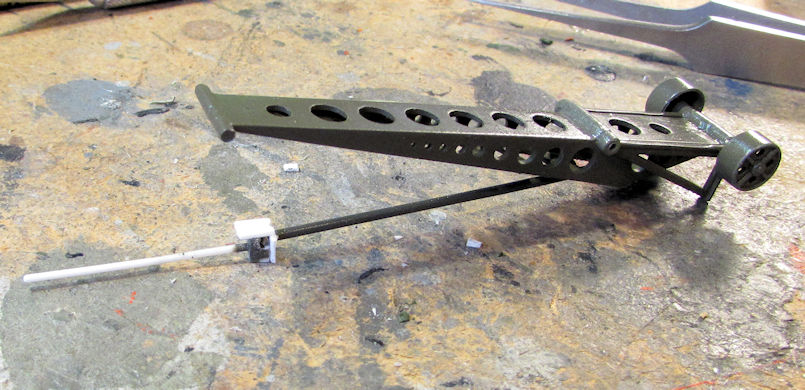
Since this kept popping out of the track, I decided it was time to add some slots to the base of this track:
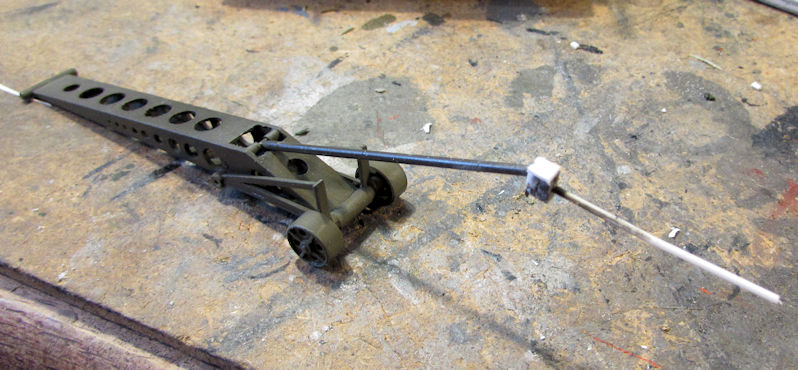
Later, I refined the box and got it ready to put back on the model:
Now it is installed with a plate underneath which keeps it inside the track and allows it to move properly:
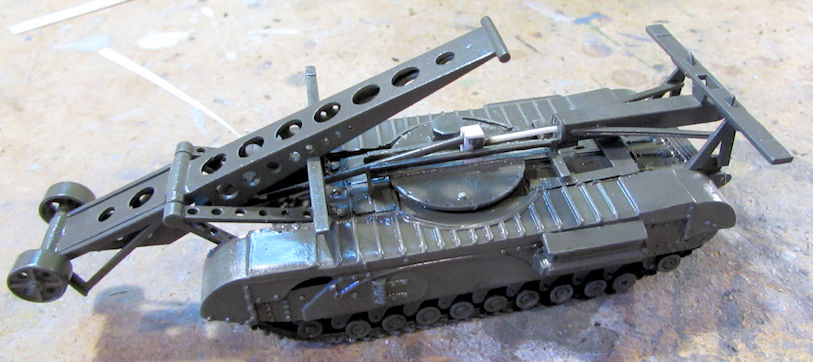
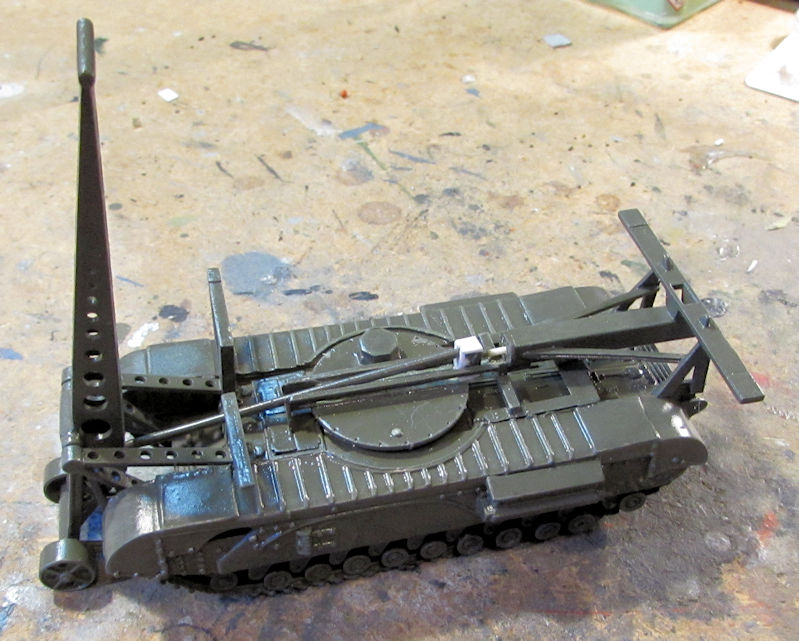
Now to move on and get this finished....
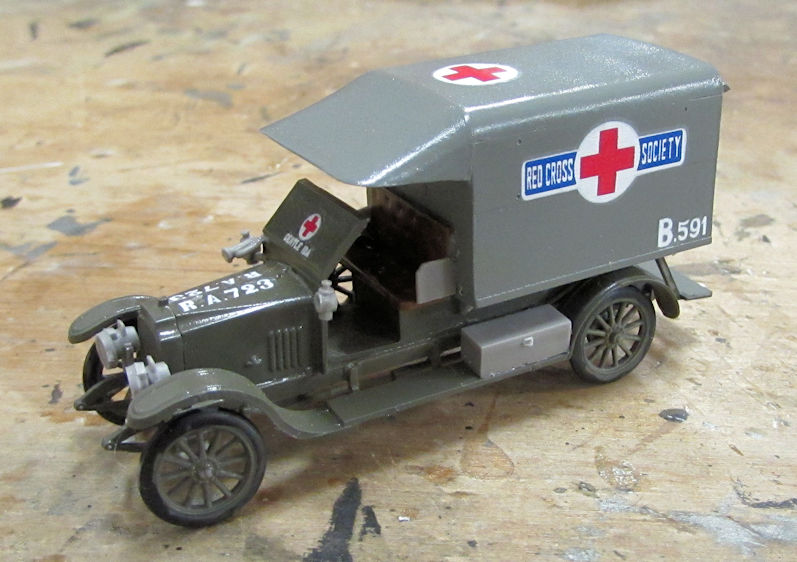
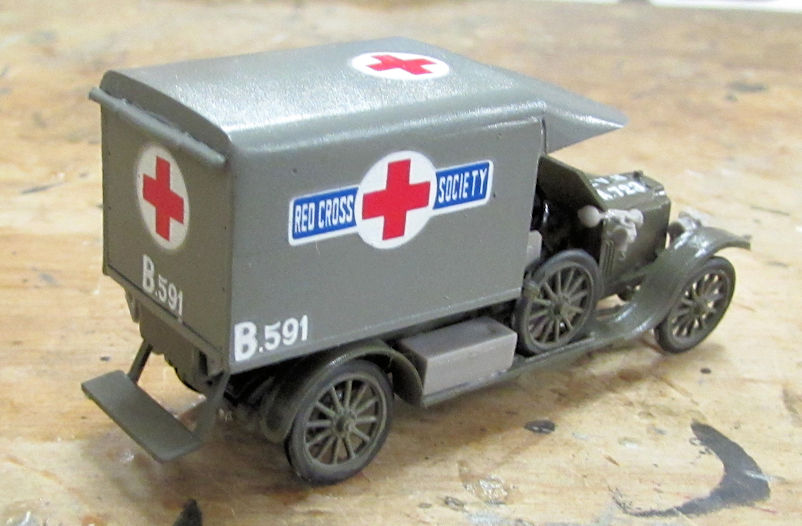
Finally, I was able to finish my British Vauxhall Ambulance. First I added the wheels and other additional parts I forgot earlier:
Next I painted the details and newest parts and then dullcoated this:
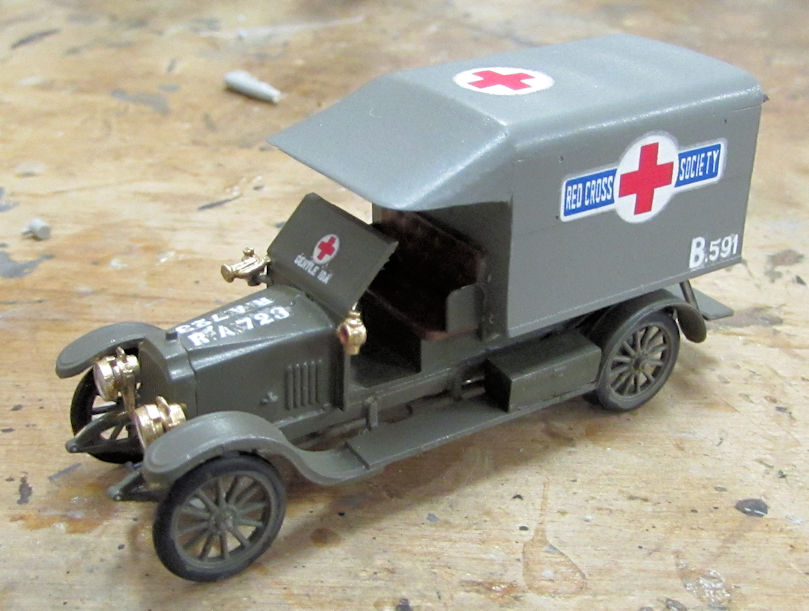
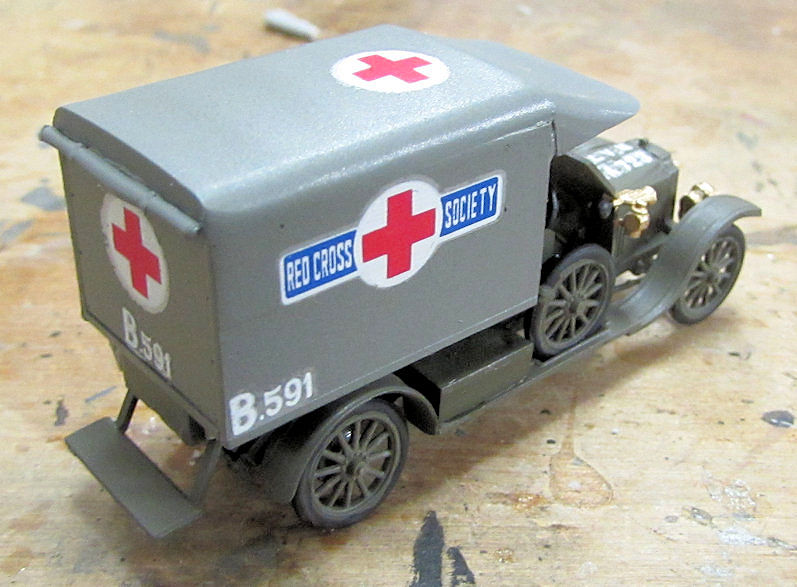
Now for the great Mystery of Life: I have no idea why those decals remain silvered. I punctured them with a brand new Exacto blade, added a half gallon of Micro Sol and let it dry. When that didn't work, I punctured them again and used a half gallon of Solvaset this time. They are still silvered for some unknown reason. I'm stumped....
Anyway, that Ambulance is also sitting on my finished shelf.
There you have it, my modeling work from the last week and a half. My final progress that allowed me to finish another ten models this past week. Feel free to check them out in their respective sub-forums. Meanwhile, thanks for looking in, comments are welcome.