1/32 Tamiya F4U-1a Corsair - Boyington 17740

Post your work in progress of your aircraft builds in here.
User avatar
jkim
Elite Member
Posts: 4073
Joined: Mon Apr 10, 2017 4:03 pm

Re: 1/32 Tamiya F4U-1a Corsair - Boyington 17740

Post by jkim »

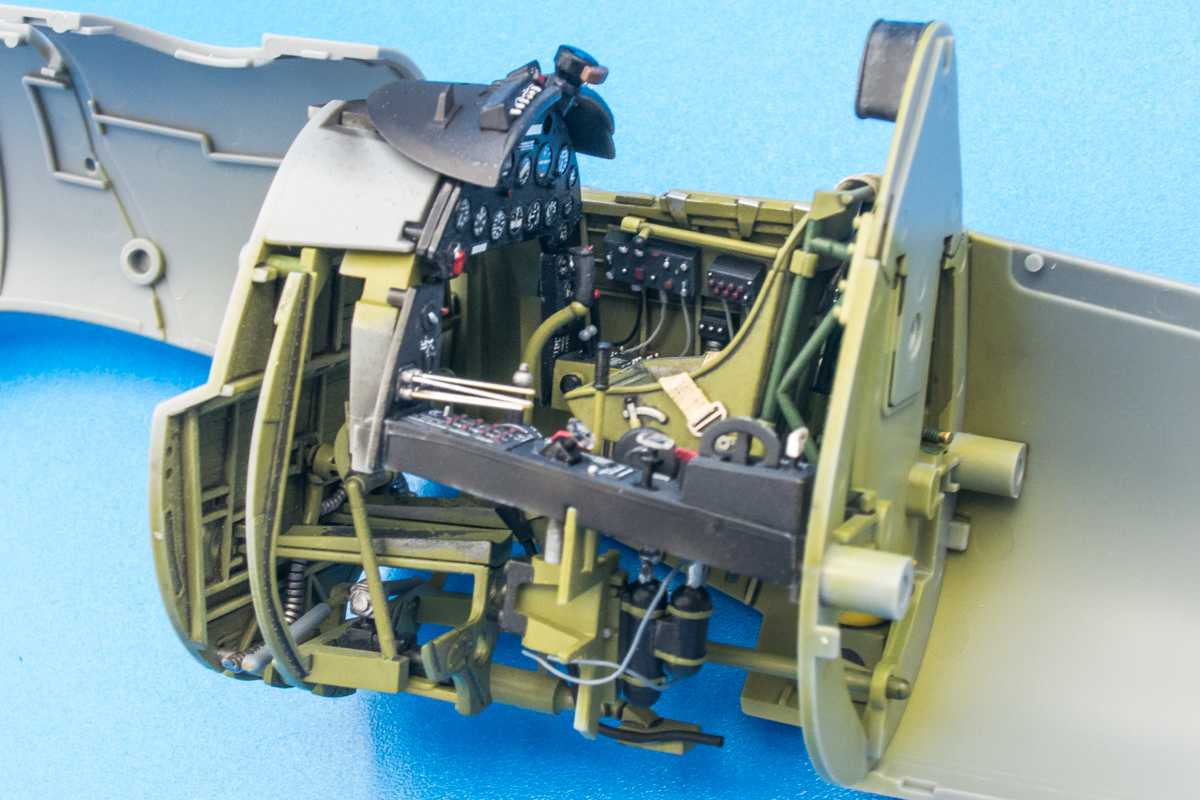
Thanks guys! Honestly, most of this is just careful painting. Tamiya has supplied a wonderful cockpit that can stand on its own without any additions. The Barracuda placards do add some great details but I can't really take credit for that.
speedgraflex wrote:I am on a break, and wanted to simply spend time here to congratulate you on your progress. I have seen a lot of Tamiya 1/32 builds, but this is simply on a different level even from those. I have a couple of questions about adding hoses and such—because I struggled with simply adding one cable to the control stick and I would like to add more wiring and plumbing details, in the future... I hope you don’t mind. How do you measure the piece of cable and how do you secure the cable in place? What kind of adhesive? Mainly I was curious about how you fit your pieces. Do you take a longer piece then mark the amount needed?

I do think the tail wheel well is extraordinary! Just beautifully presented painting details! I assume the bolt head weathering is a pastel wash effect. That is just superb.

Last but really first—your airbrush work is masterful. I always look at the fade lines and these are exceptionally fine and done with exquisite control. One little thought—have you chosen areas for spills and leaks? Maybe that comes last or mainly around the engine and front gear? I think the contrast between wet and dry effects in your hands is what I have always admired. I still have the copies I made of your ZM 1/48 Ta-152 engine which is a little symphony of wet and dry effects—and I recall you wrote at the time you held back!

I will also second or third or fourth what everyone write! Truly!
Thanks Bruce! The wiring from the starboard junction boxes are simply hung from the bottom of the boxes with CA glue and are not attached to the fuselage sides. Tamiya molded the little receptacle plugs on the bottom of the boxes to make this a little easier. I simply drilled little holes into the tips of the plugs and inserted different gauges of lead wire into the holes. Initial length was estimated based on the distance of boxes to the sidewall consoles. I decided to terminate them at the sidewall for the sake of simplicity. After the boxes were glued into the fuselage, I dry-fitted the cockpit and bent the wires... some going forward and some going back. Then I trimmed the wires to ensure that the cockpit sat flush with the starboard fuselage side. The boxes were painted before gluing and the wires were painted after. As you can see from the cockpit photos, only a short section of the wiring is visible... they appear to hang straight down so even shorter lengths could've been used.

The tail wheel well looks a little plain... a little too monochrome for me but I'm not going to spend too much time since it gets hidden. I may add a few more dirty streaks. The bolt head weathering is a second application of the pastel wash PLUS a little scribbling with a brown watercolor pencil to give a hint of rust at the plate joint. The chipping was accomplished using a fine sponge and Neutral Grey paint... chips don't always have to be metallic.

I am holding back on gluing the fuselage halves together before getting the Dana Bell book, which is still enroute. Just in case there is something in that reference that I want to incorporate into the interior. But I can start on the engines soon. I have some thoughts on what I'm going to do and it will be similar to what I've done in the cockpit. Which is, to try to and treat each separate component as a model onto itself. I want each component to have its own look but at the same time, tying it together to make it appear as a functional unit. That's the plan anyway. Wet effects are not my specialty but I'm going to arm myself with some new weathering products to play with.

John aka JKim
-----------<><
Image
User avatar
speedgraflex
Moderator
Posts: 11358
Joined: Fri Feb 10, 2017 11:08 pm
Contact:

Re: 1/32 Tamiya F4U-1a Corsair - Boyington 17740

Post by speedgraflex »

What a fantastic description of your techniques, John! I really appreciate your details. Those are just about the best combination of production techniques I have seen.... I also sincerely appreciate your description of how you finished the bolt heads with applications of washes as well as pencils. The results are so good—subtle and realistic!
Make more models!
User avatar
Stikpusher
Moderator
Posts: 21183
Joined: Sat Apr 05, 2014 8:37 pm
Location: Ceti Alpha 5

Re: 1/32 Tamiya F4U-1a Corsair - Boyington 17740

Post by Stikpusher »

Between your photos and thorough descriptions, there are always plenty of novel (for myself) things to see and hopefully remember to try on some future project.
:writing:
"Surely I have made my meaning plain? I intend to avenge myself upon you, Admiral. I have deprived your ship of power, and when I swing 'round, I intend to deprive you of your life."

FLSM
User avatar
KennyX
Elite Member
Posts: 2631
Joined: Sun Dec 24, 2017 11:19 am

Re: 1/32 Tamiya F4U-1a Corsair - Boyington 17740

Post by KennyX »

Image

This cockpit is absolutely beautiful. I really like what you’ve done with it. It’s like you zapped the real thing with a shrink ray.
Kenny X
Head Mother Trucker In-Charge @ Kenny X’s Reichs Winzigkleines Flugzeugewerks *and now* Airboat Records, too!
User avatar
LyleW
Admin
Posts: 15035
Joined: Fri Dec 13, 2013 7:25 am
Location: Mt. Washington KY

Re: 1/32 Tamiya F4U-1a Corsair - Boyington 17740

Post by LyleW »

Every time I look at these, I see more detail. Utterly amazing work!
To make each build less crappy than the last one. Or, put another way, "Better than the last one, not as good as the next one!"..
User avatar
jkim
Elite Member
Posts: 4073
Joined: Mon Apr 10, 2017 4:03 pm

Re: 1/32 Tamiya F4U-1a Corsair - Boyington 17740

Post by jkim »

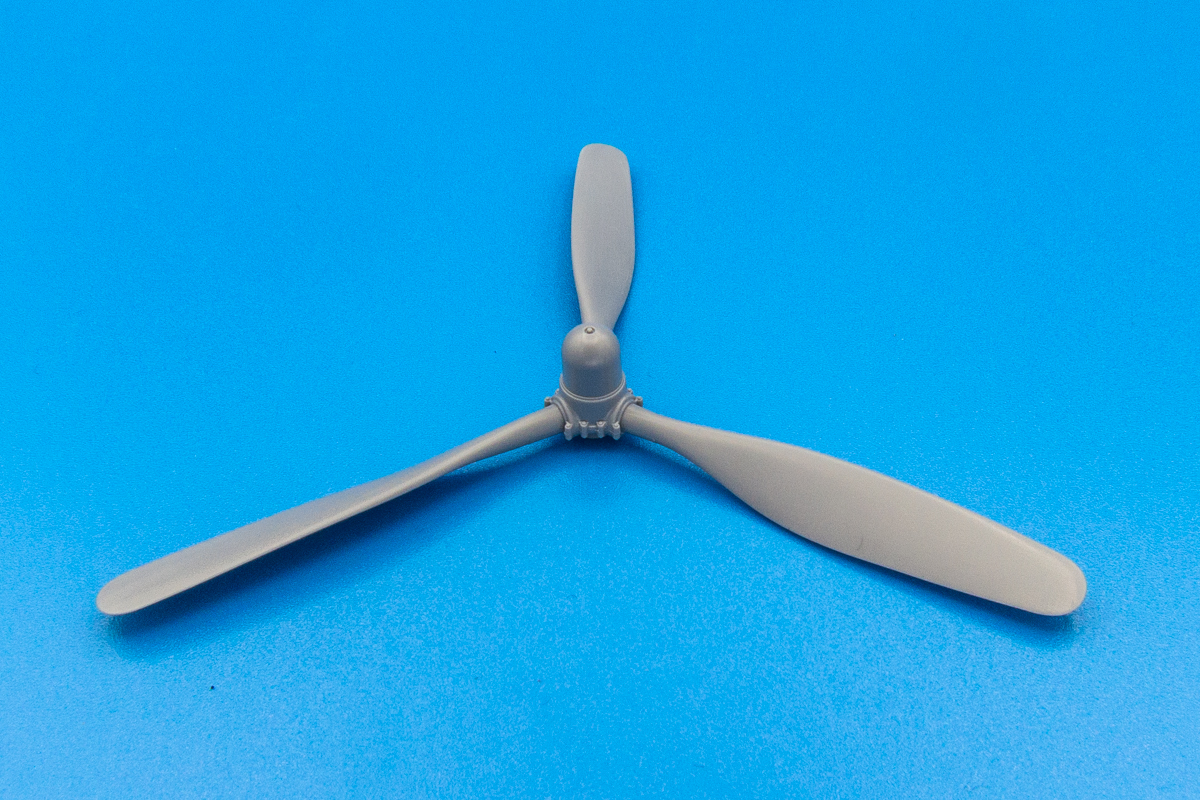
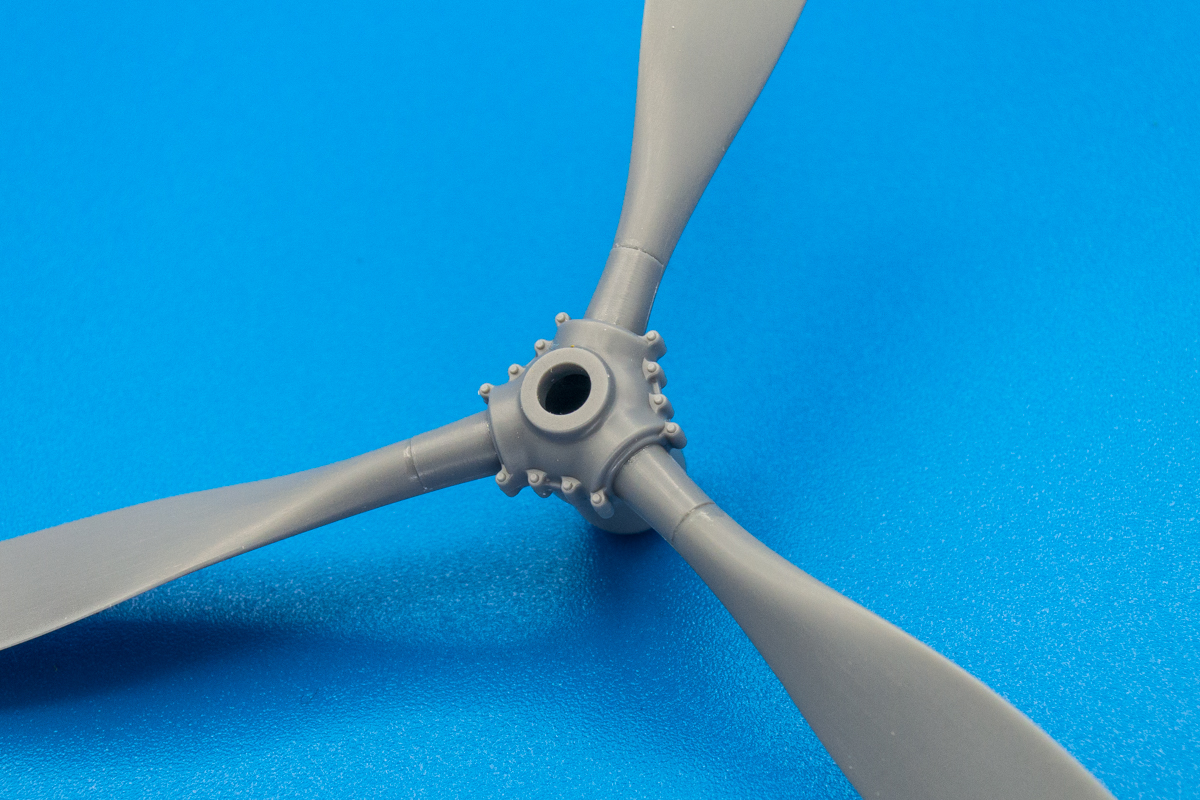
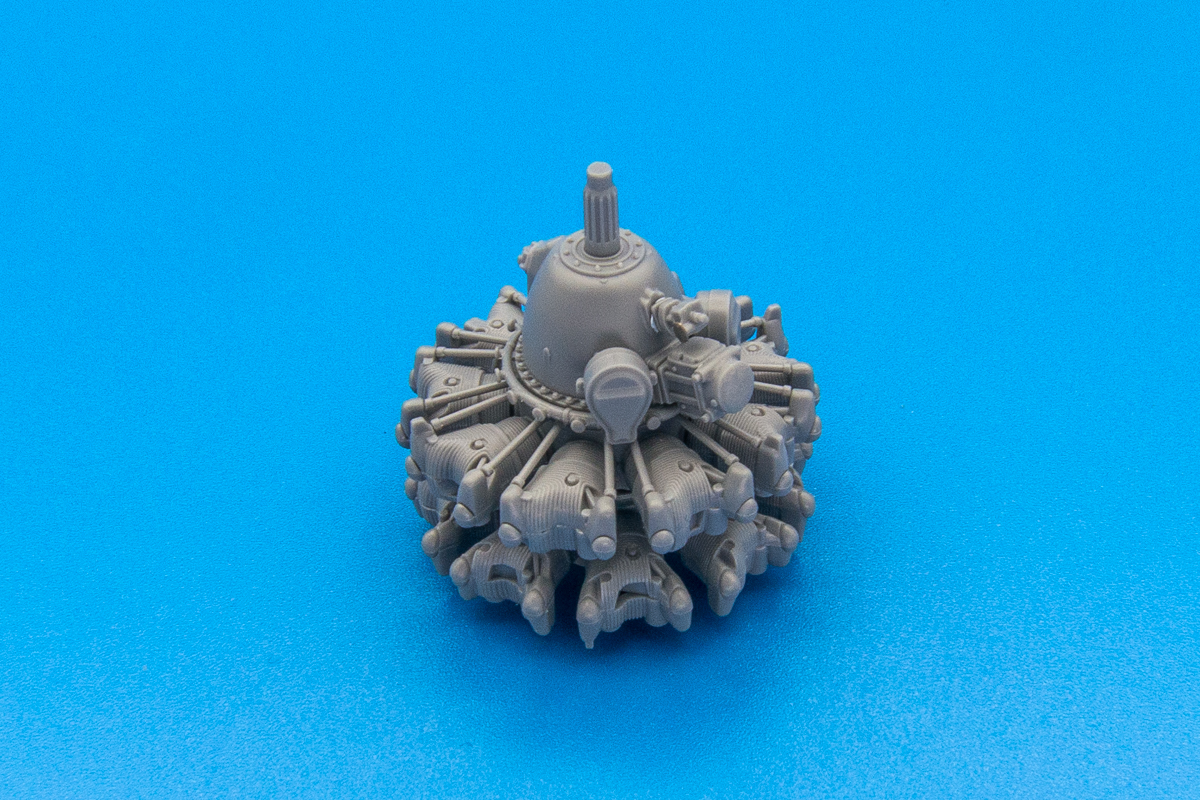
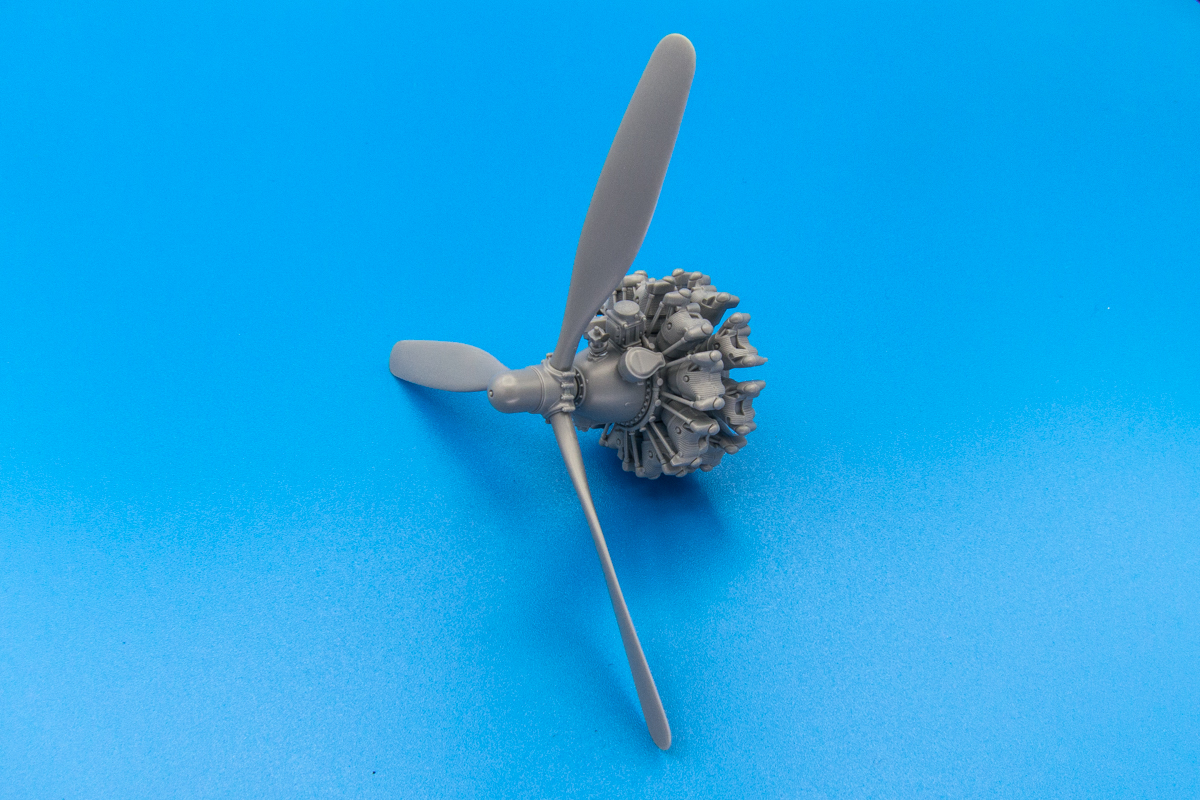
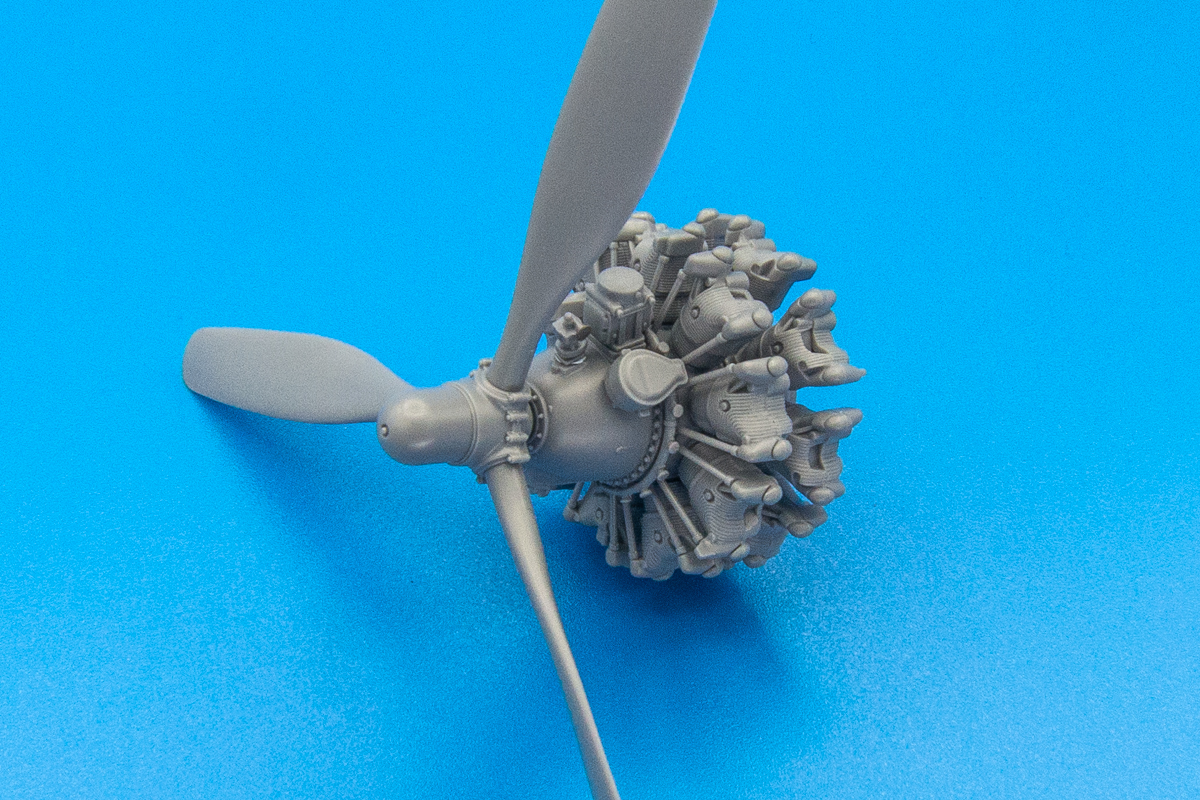
Thanks guys! Leaving the cockpit and fuselage aside for a moment, I moved over to the prop and engine. The prop is comprised of three parts for the hub and three separate prop blades. To take advantage of the 2,000 horses provided by the Pratt & Whitney radial engine, it's a big a$$ prop and undoubtedly would be carving a trench in the carrier deck without those gull wings to lift it higher.
Image

There is a join on the back of the prop blades that needs to be taken care of.
Image

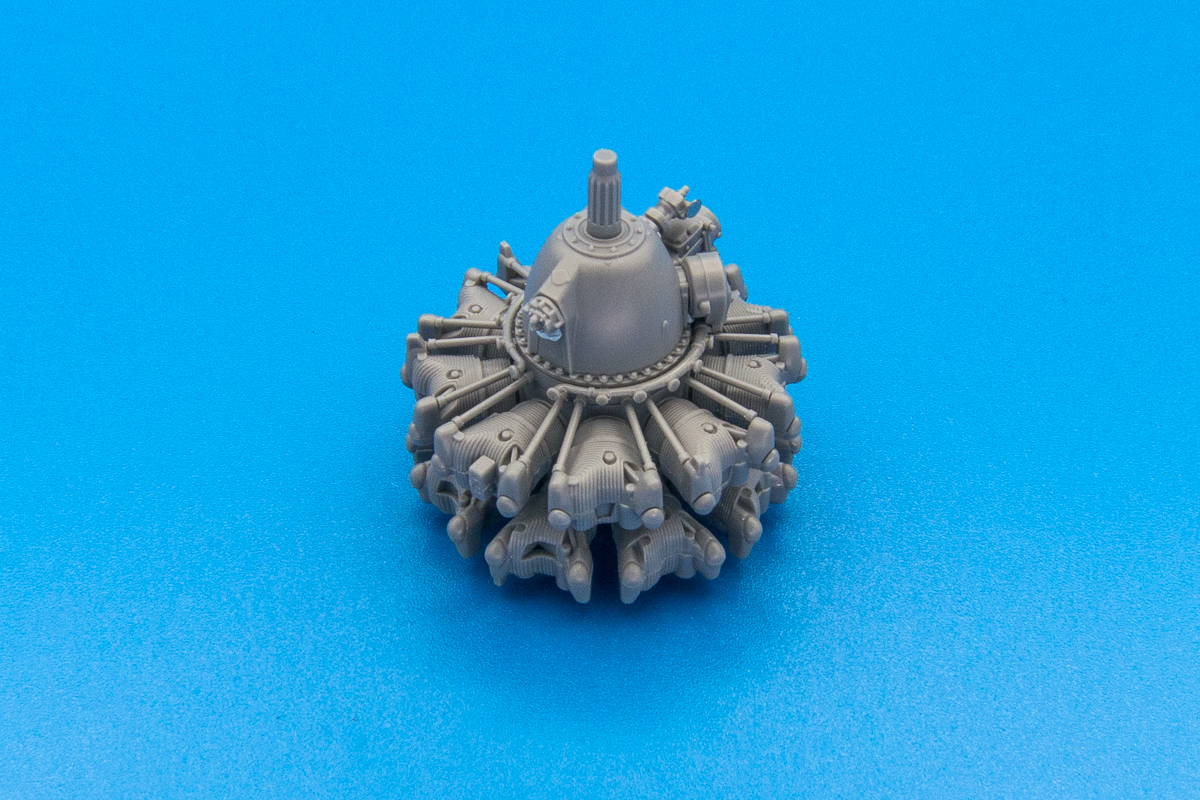
Here is a dry-fit of the major engine components just to get a feel for what I'm working with.
Image
Image

After I fix the joints on the prop, I will paint it before moving on to the engine. I still need to figure out the wiring.
Image
Image
John aka JKim
-----------<><
Image
User avatar
Floki
Elite Member
Posts: 3548
Joined: Wed Dec 12, 2018 2:23 am
Location: Muncie, Indiana

Re: 1/32 Tamiya F4U-1a Corsair - Boyington 17740

Post by Floki »

Tamiya molded a beautiful engine that's for sure, looking forward to see what you do with it.
March as one, Don't look back
Odin's sons... Attack!
Unleash hell! Do not repent! Warfare grants us no lament
Let your weapons slash and tear This is no place for fear
Hold the lines! Move as one! In unity our victory's won
Our shields will form a mighty wall
United we shall never fall
User avatar
Stikpusher
Moderator
Posts: 21183
Joined: Sat Apr 05, 2014 8:37 pm
Location: Ceti Alpha 5

Re: 1/32 Tamiya F4U-1a Corsair - Boyington 17740

Post by Stikpusher »

Floki wrote:Tamiya molded a beautiful engine that's for sure, looking forward to see what you do with it.
:P1:

Indeed. No guesswork as to where to drill for the wiring...
"Surely I have made my meaning plain? I intend to avenge myself upon you, Admiral. I have deprived your ship of power, and when I swing 'round, I intend to deprive you of your life."

FLSM
User avatar
Medicman71
Elite Member
Posts: 11299
Joined: Mon Apr 07, 2014 9:32 am
Location: Houston, Tx

Re: 1/32 Tamiya F4U-1a Corsair - Boyington 17740

Post by Medicman71 »

LyleW wrote:I think I'll just get a dumpster and fill it with my stuff. I second what Silentbob said....
:that:
Mike

Sponsored by Boeing, Lockheed Martin, Northrop Grumman, Saab, BAE, and Dassault
User avatar
speedgraflex
Moderator
Posts: 11358
Joined: Fri Feb 10, 2017 11:08 pm
Contact:

Re: 1/32 Tamiya F4U-1a Corsair - Boyington 17740

Post by speedgraflex »

That simply is exquisite pattern and molding work by Tamiya, John. Thank you for posting!
Make more models!
Post Reply

Return to “Aircraft Work in Progress”