Re: 1/32 Tamiya F4U-1a Corsair - Boyington 17740
Posted: Wed Mar 27, 2019 11:59 am
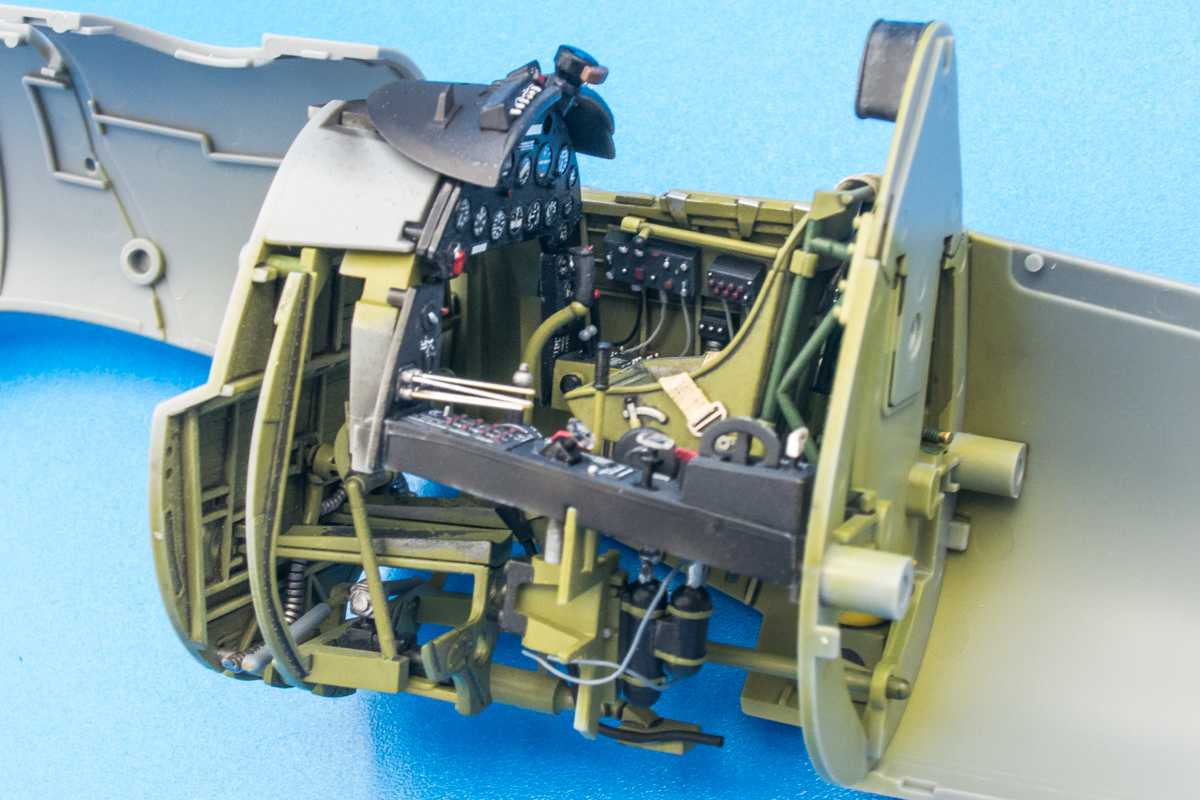
Thanks guys! Honestly, most of this is just careful painting. Tamiya has supplied a wonderful cockpit that can stand on its own without any additions. The Barracuda placards do add some great details but I can't really take credit for that.
The tail wheel well looks a little plain... a little too monochrome for me but I'm not going to spend too much time since it gets hidden. I may add a few more dirty streaks. The bolt head weathering is a second application of the pastel wash PLUS a little scribbling with a brown watercolor pencil to give a hint of rust at the plate joint. The chipping was accomplished using a fine sponge and Neutral Grey paint... chips don't always have to be metallic.
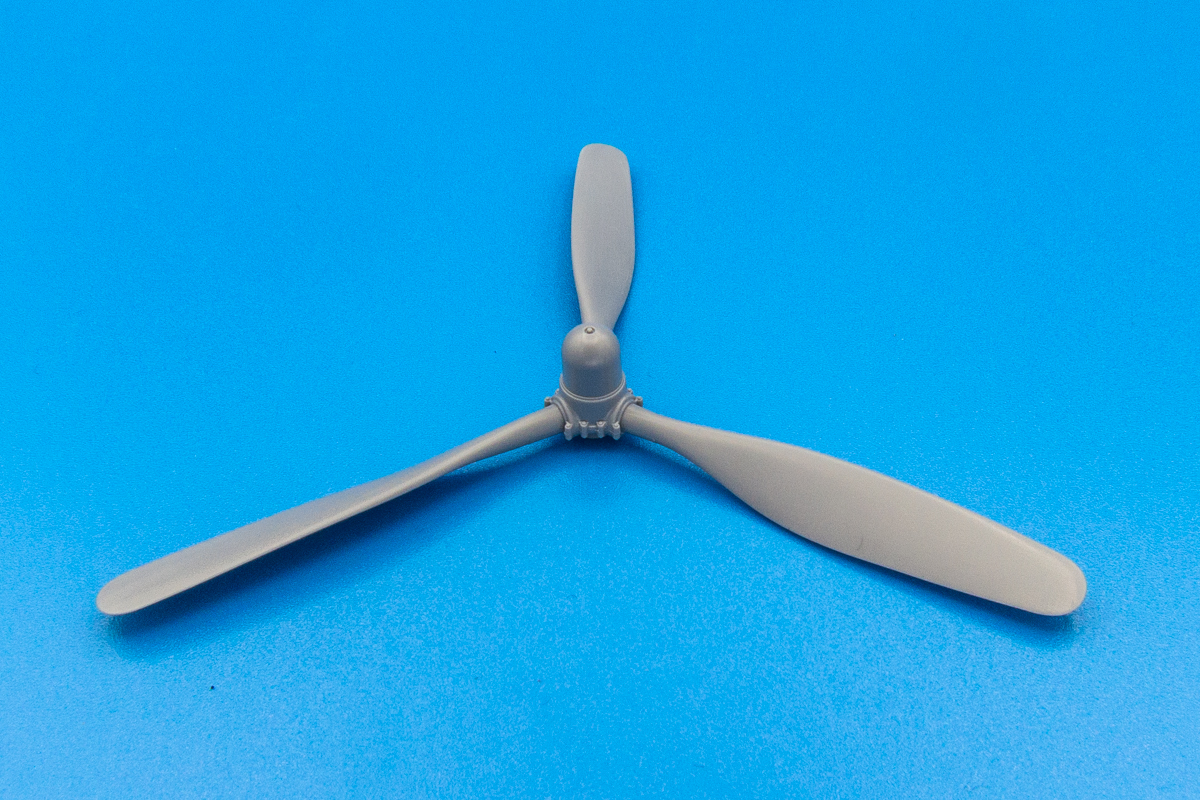
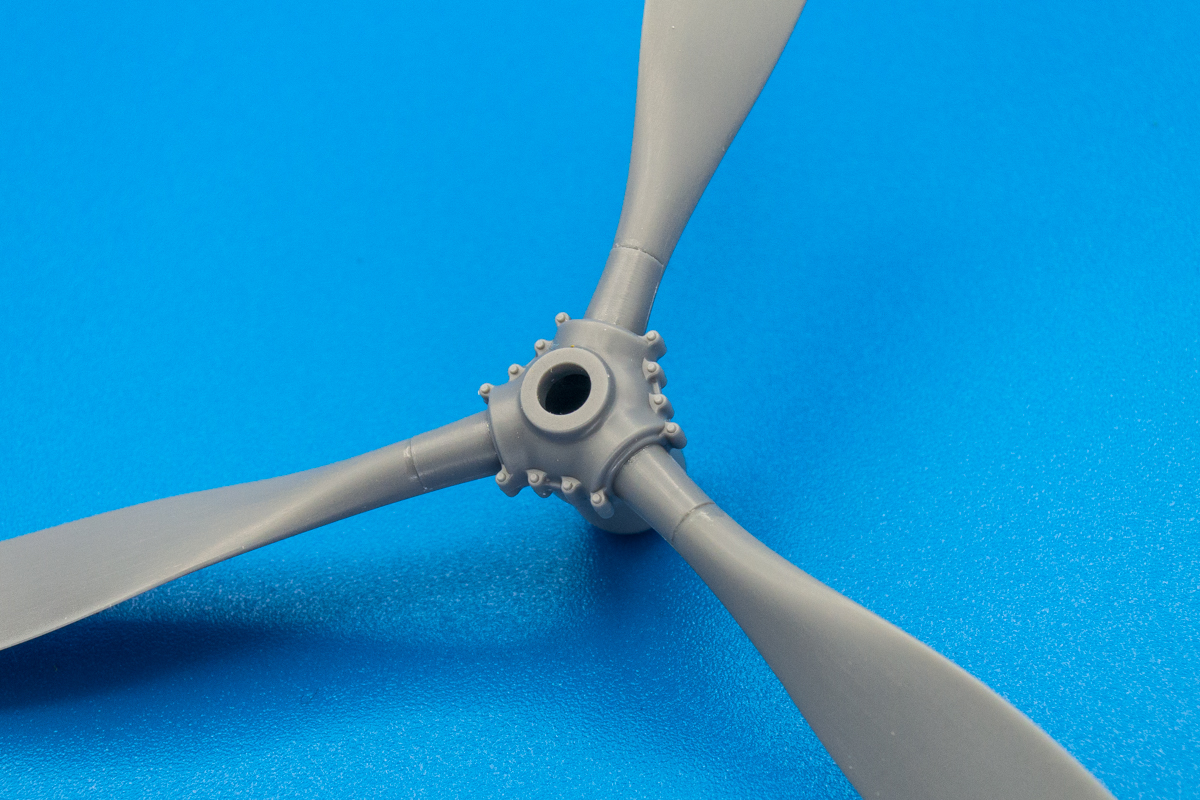
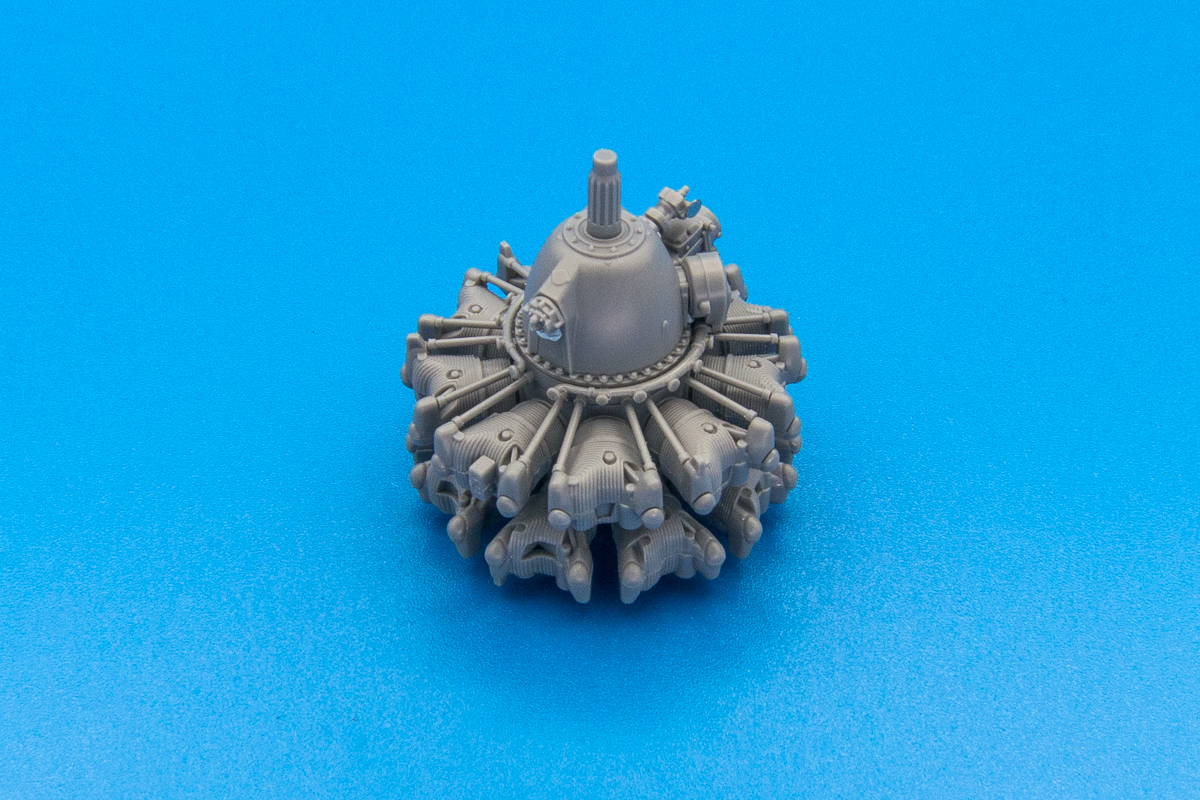
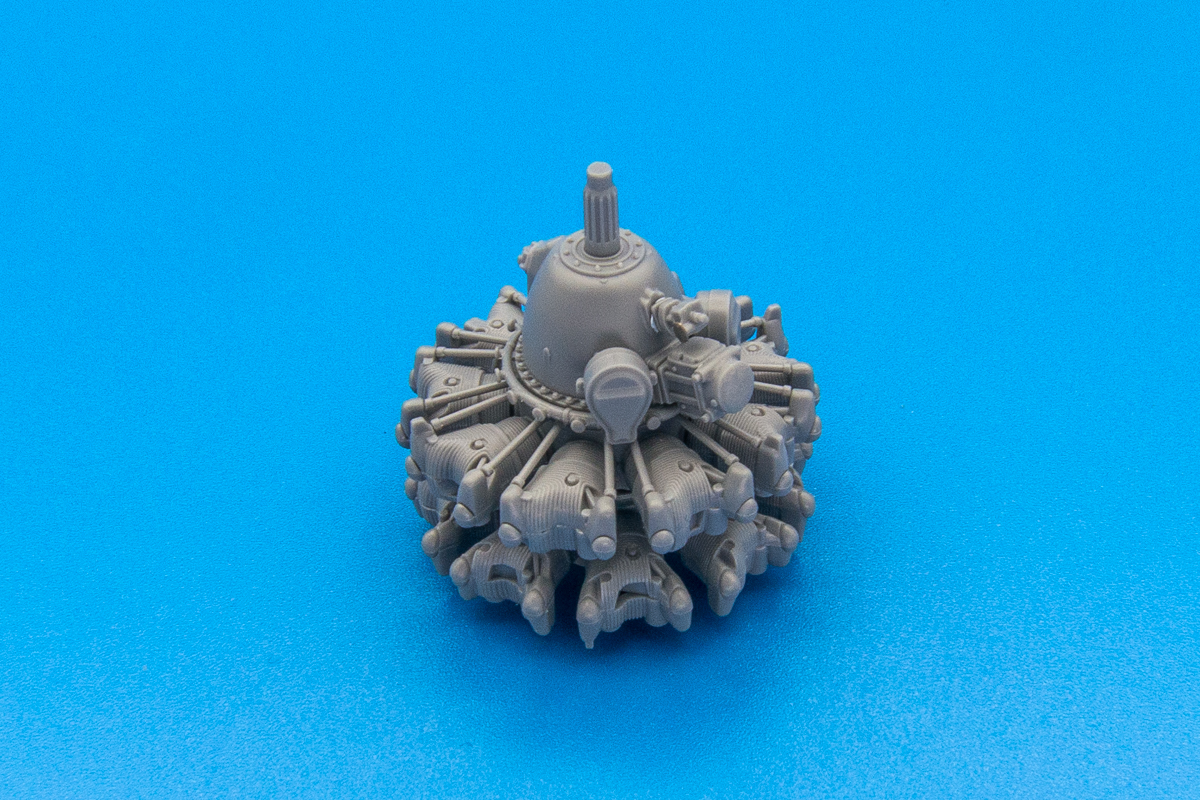
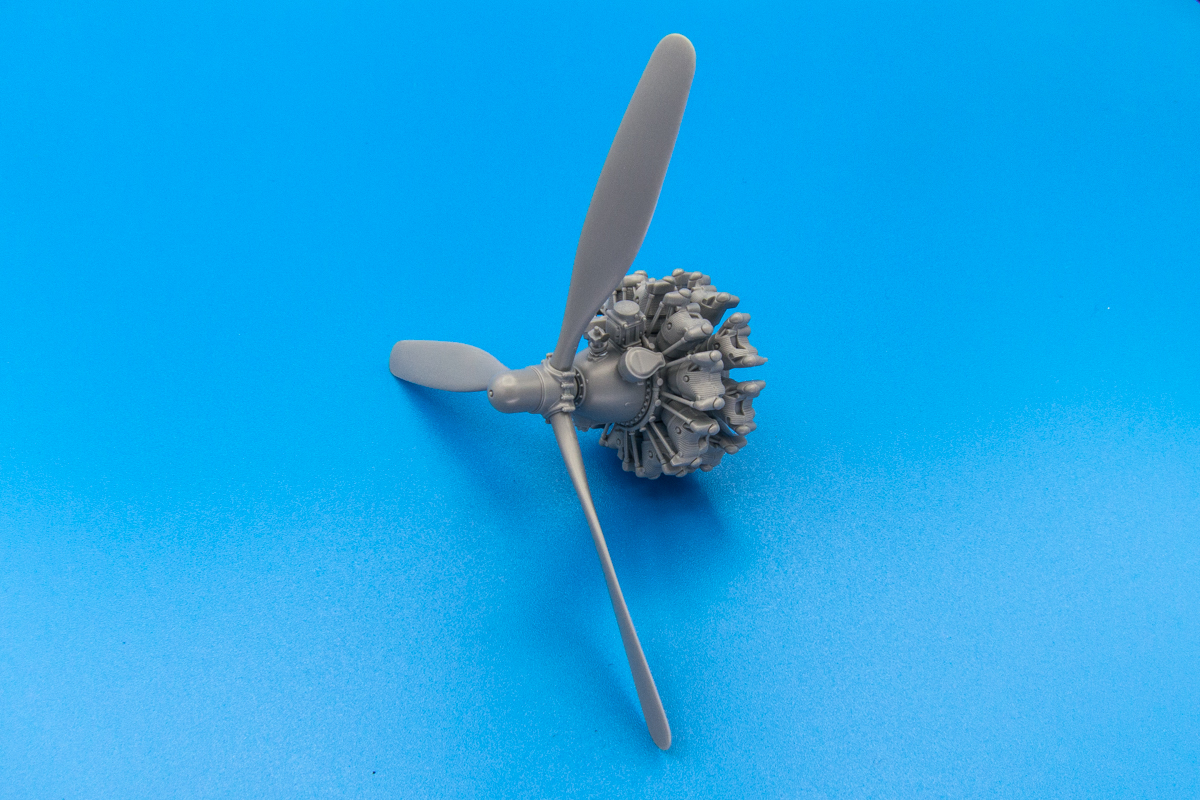
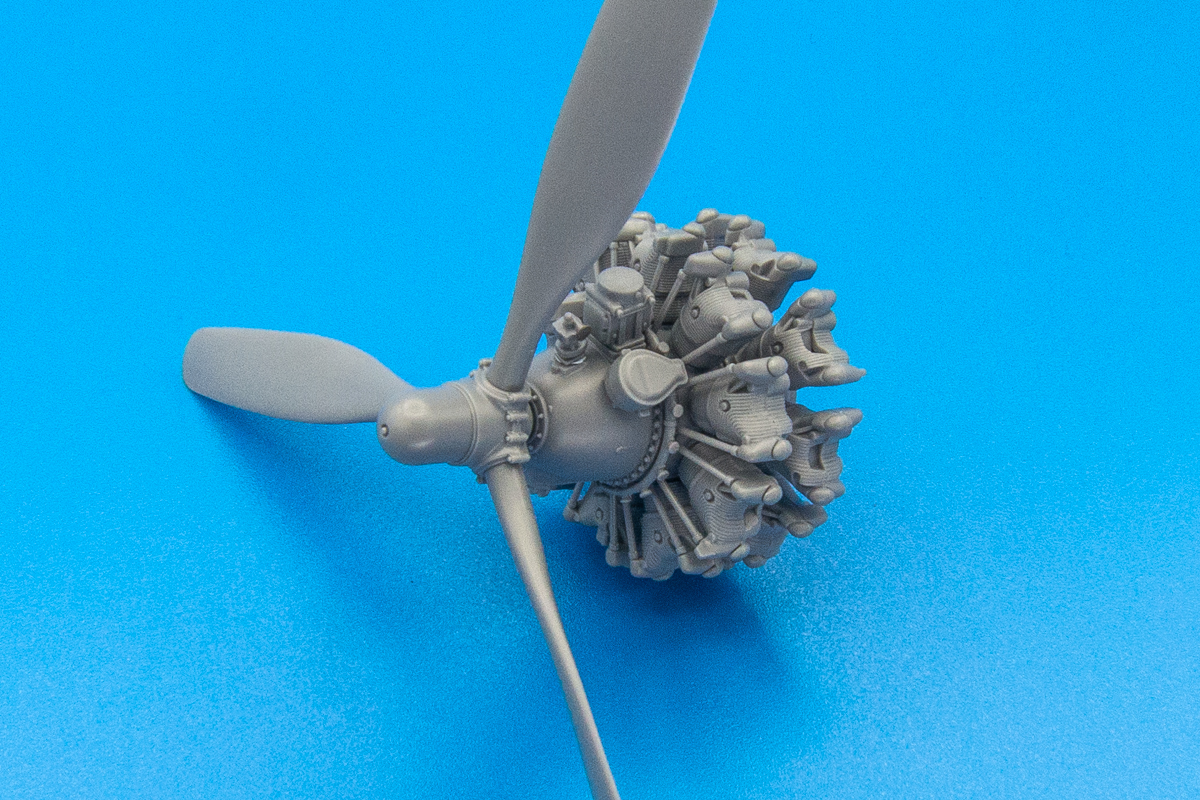
I am holding back on gluing the fuselage halves together before getting the Dana Bell book, which is still enroute. Just in case there is something in that reference that I want to incorporate into the interior. But I can start on the engines soon. I have some thoughts on what I'm going to do and it will be similar to what I've done in the cockpit. Which is, to try to and treat each separate component as a model onto itself. I want each component to have its own look but at the same time, tying it together to make it appear as a functional unit. That's the plan anyway. Wet effects are not my specialty but I'm going to arm myself with some new weathering products to play with.
Thanks Bruce! The wiring from the starboard junction boxes are simply hung from the bottom of the boxes with CA glue and are not attached to the fuselage sides. Tamiya molded the little receptacle plugs on the bottom of the boxes to make this a little easier. I simply drilled little holes into the tips of the plugs and inserted different gauges of lead wire into the holes. Initial length was estimated based on the distance of boxes to the sidewall consoles. I decided to terminate them at the sidewall for the sake of simplicity. After the boxes were glued into the fuselage, I dry-fitted the cockpit and bent the wires... some going forward and some going back. Then I trimmed the wires to ensure that the cockpit sat flush with the starboard fuselage side. The boxes were painted before gluing and the wires were painted after. As you can see from the cockpit photos, only a short section of the wiring is visible... they appear to hang straight down so even shorter lengths could've been used.speedgraflex wrote:I am on a break, and wanted to simply spend time here to congratulate you on your progress. I have seen a lot of Tamiya 1/32 builds, but this is simply on a different level even from those. I have a couple of questions about adding hoses and such—because I struggled with simply adding one cable to the control stick and I would like to add more wiring and plumbing details, in the future... I hope you don’t mind. How do you measure the piece of cable and how do you secure the cable in place? What kind of adhesive? Mainly I was curious about how you fit your pieces. Do you take a longer piece then mark the amount needed?
I do think the tail wheel well is extraordinary! Just beautifully presented painting details! I assume the bolt head weathering is a pastel wash effect. That is just superb.
Last but really first—your airbrush work is masterful. I always look at the fade lines and these are exceptionally fine and done with exquisite control. One little thought—have you chosen areas for spills and leaks? Maybe that comes last or mainly around the engine and front gear? I think the contrast between wet and dry effects in your hands is what I have always admired. I still have the copies I made of your ZM 1/48 Ta-152 engine which is a little symphony of wet and dry effects—and I recall you wrote at the time you held back!
I will also second or third or fourth what everyone write! Truly!
The tail wheel well looks a little plain... a little too monochrome for me but I'm not going to spend too much time since it gets hidden. I may add a few more dirty streaks. The bolt head weathering is a second application of the pastel wash PLUS a little scribbling with a brown watercolor pencil to give a hint of rust at the plate joint. The chipping was accomplished using a fine sponge and Neutral Grey paint... chips don't always have to be metallic.
I am holding back on gluing the fuselage halves together before getting the Dana Bell book, which is still enroute. Just in case there is something in that reference that I want to incorporate into the interior. But I can start on the engines soon. I have some thoughts on what I'm going to do and it will be similar to what I've done in the cockpit. Which is, to try to and treat each separate component as a model onto itself. I want each component to have its own look but at the same time, tying it together to make it appear as a functional unit. That's the plan anyway. Wet effects are not my specialty but I'm going to arm myself with some new weathering products to play with.