1/32 Hasegawa Bf109K-4 Weisse 8

Re: 1/32 Hasegawa Bf109K-4 Weisse 8
Some fine PE work, I never thought of using debonder in that way I always thought it would debond the joint and fast.
March as one, Don't look back
Odin's sons... Attack!
Unleash hell! Do not repent! Warfare grants us no lament
Let your weapons slash and tear This is no place for fear
Hold the lines! Move as one! In unity our victory's won
Our shields will form a mighty wall
United we shall never fall
Odin's sons... Attack!
Unleash hell! Do not repent! Warfare grants us no lament
Let your weapons slash and tear This is no place for fear
Hold the lines! Move as one! In unity our victory's won
Our shields will form a mighty wall
United we shall never fall
-
speedgraflex

- Moderator
- Posts: 11534
- Joined: Fri Feb 10, 2017 11:08 pm
- Contact:

Re: 1/32 Hasegawa Bf109K-4 Weisse 8
Thanks guys!
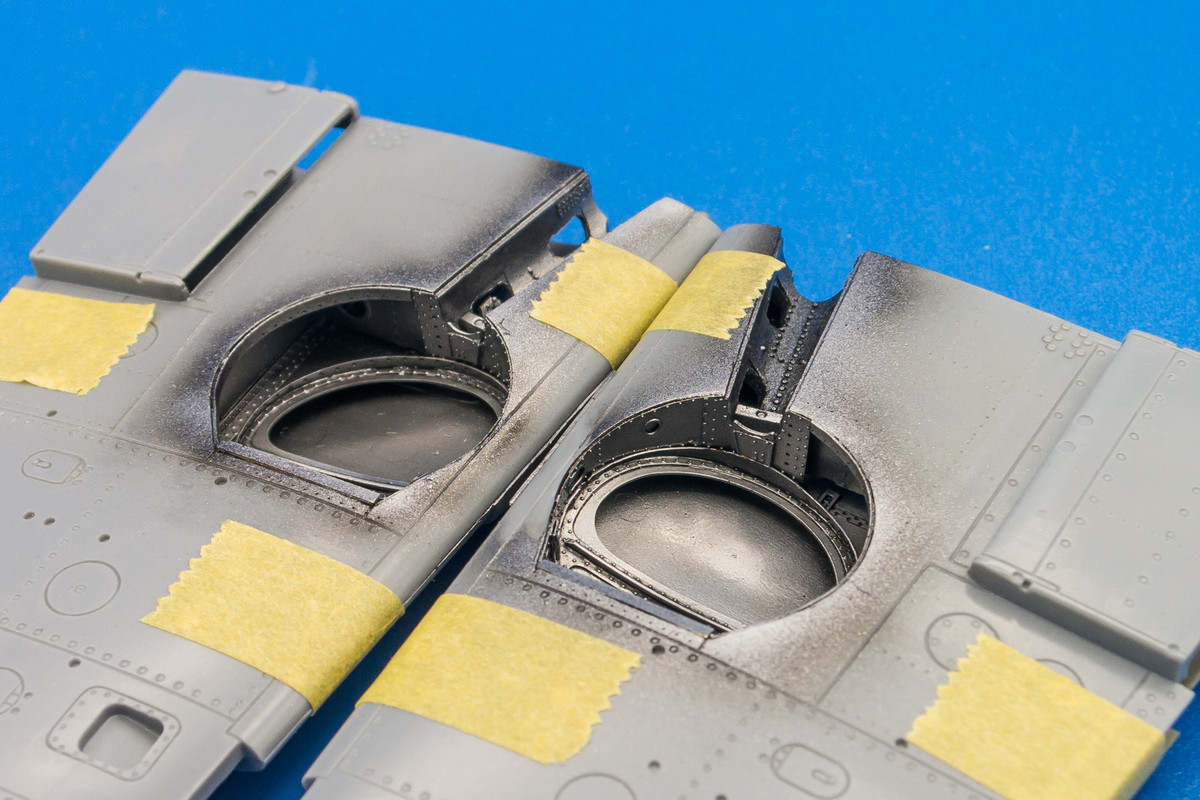
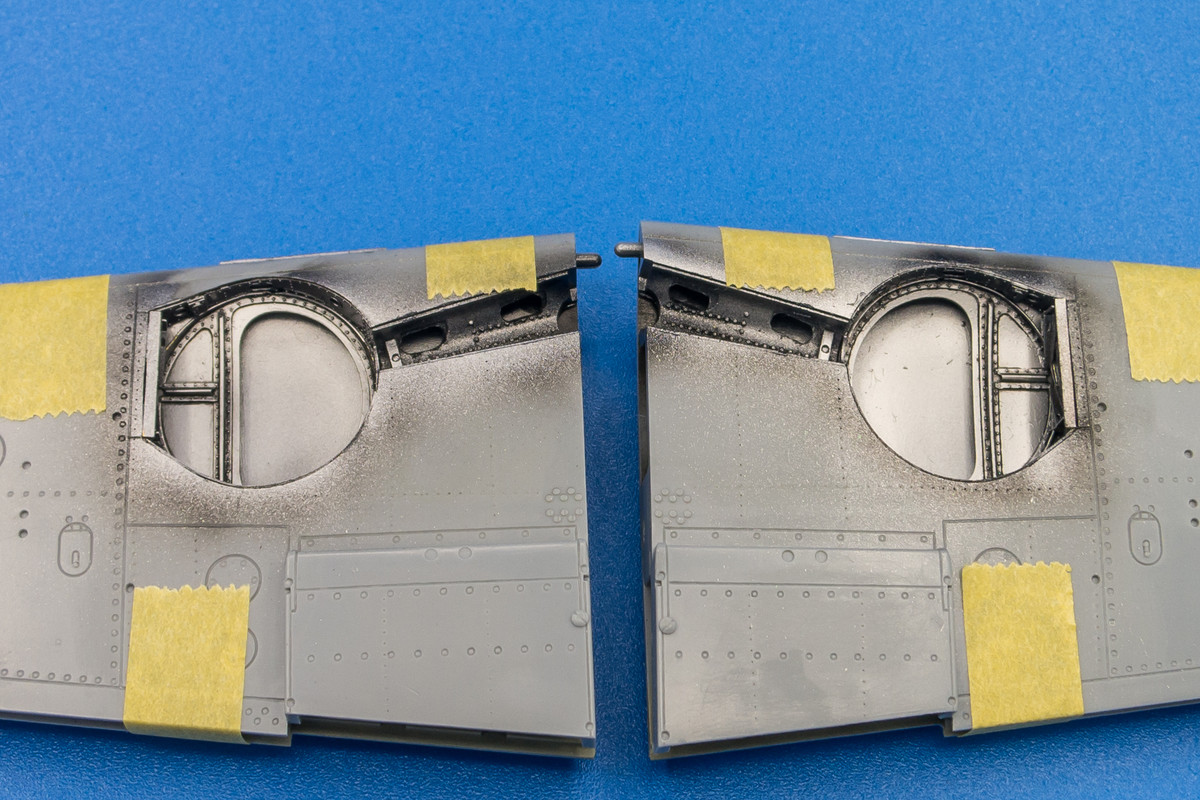
The photoetch wheel wells are done!
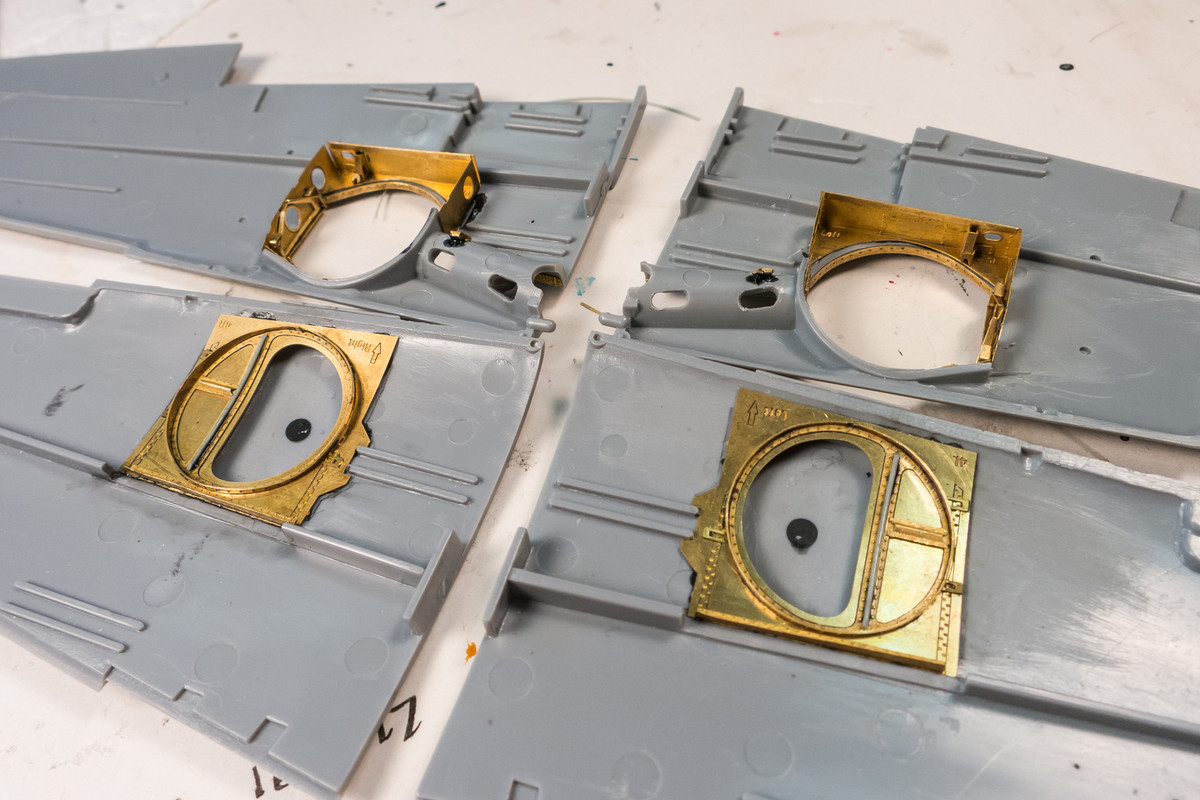
These are going to get painted in natural metal before the wing halves are glued together. But first, I'm going to add a couple of ports on the wing bottom per the drawings of the K-4 that I am using for reference. They have been scribed using a needle and metal template.
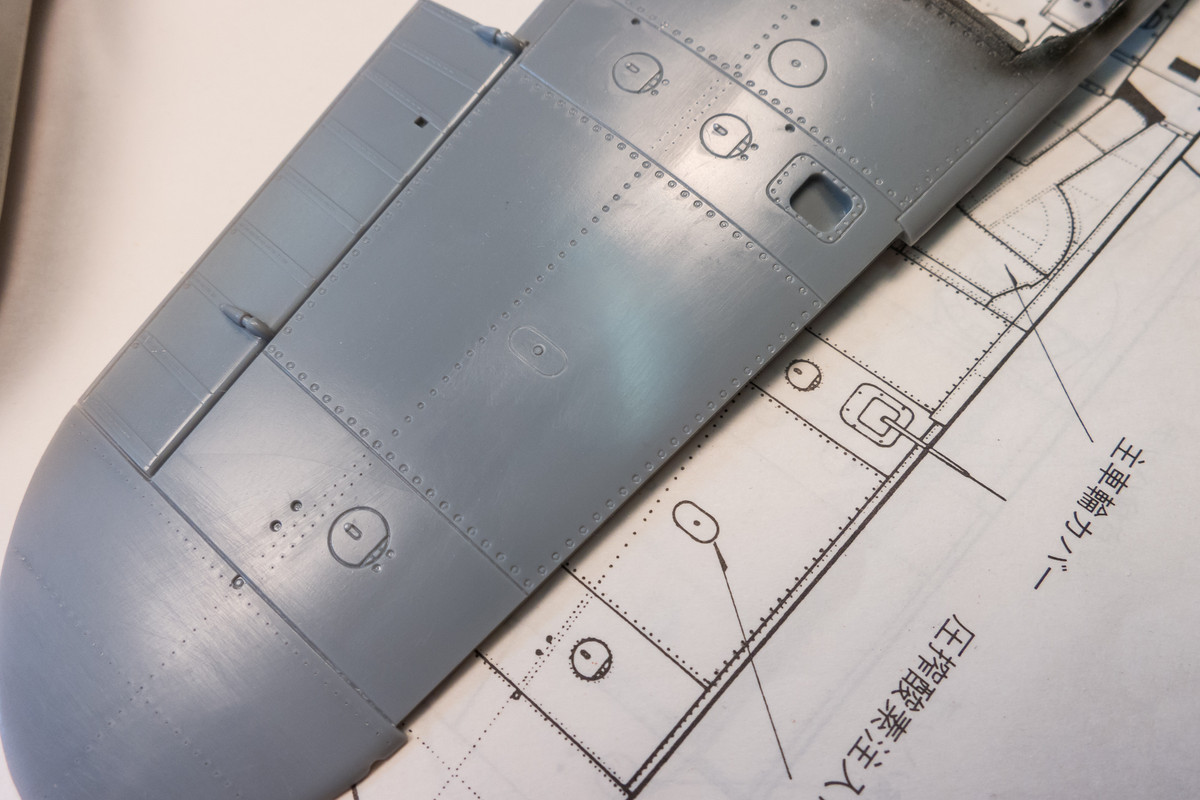
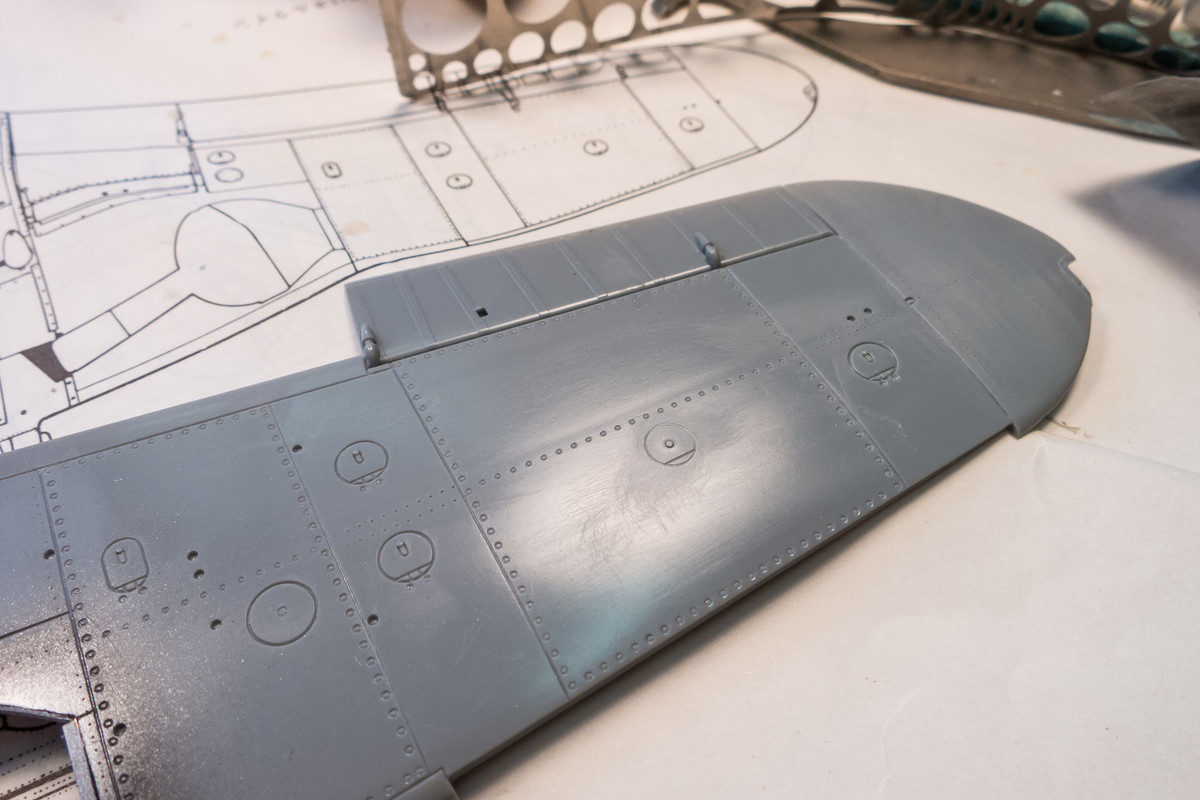
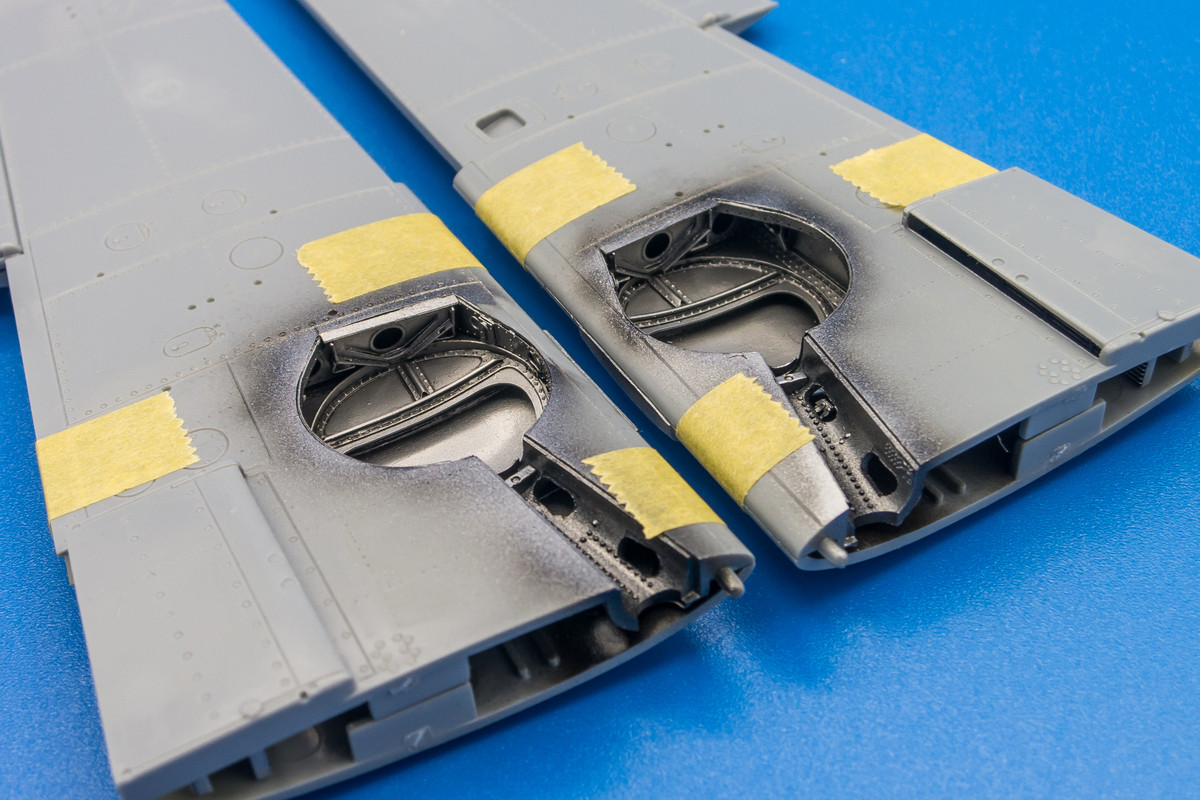
The wheel wells are painted Alclad Dark Aluminum over a base of Tamiya Black.
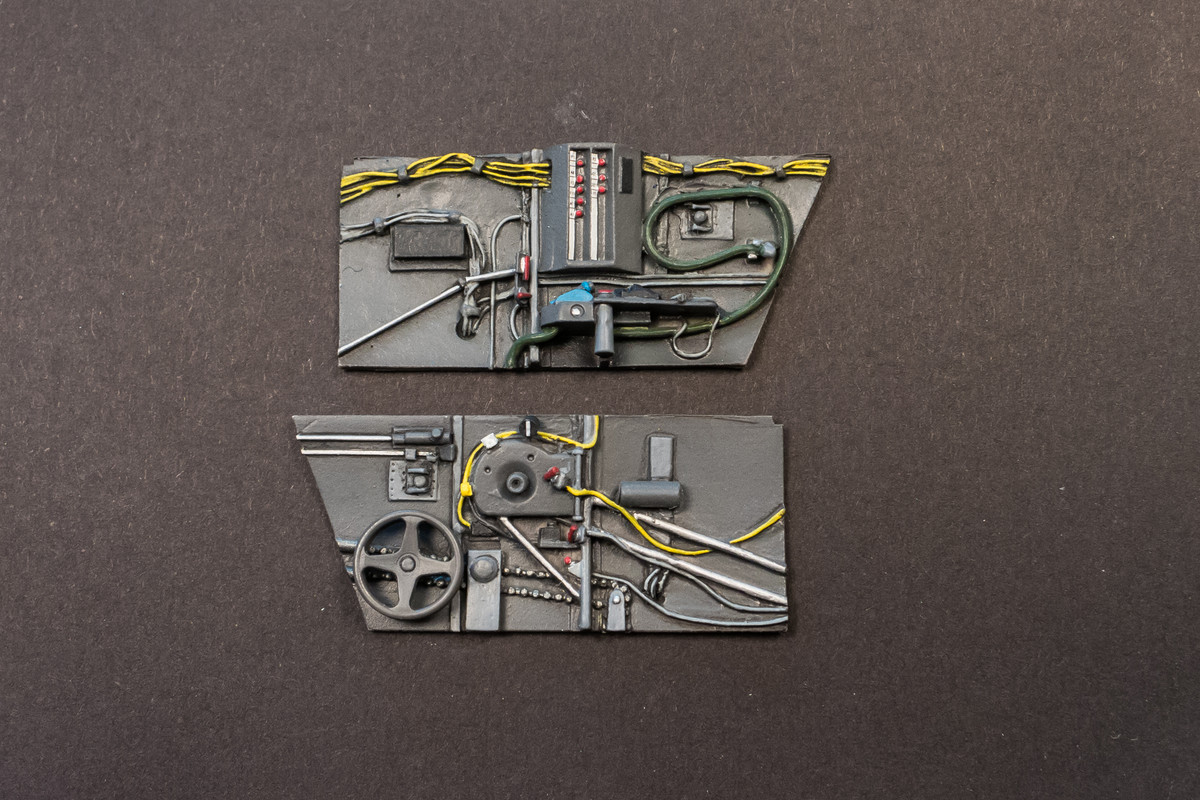
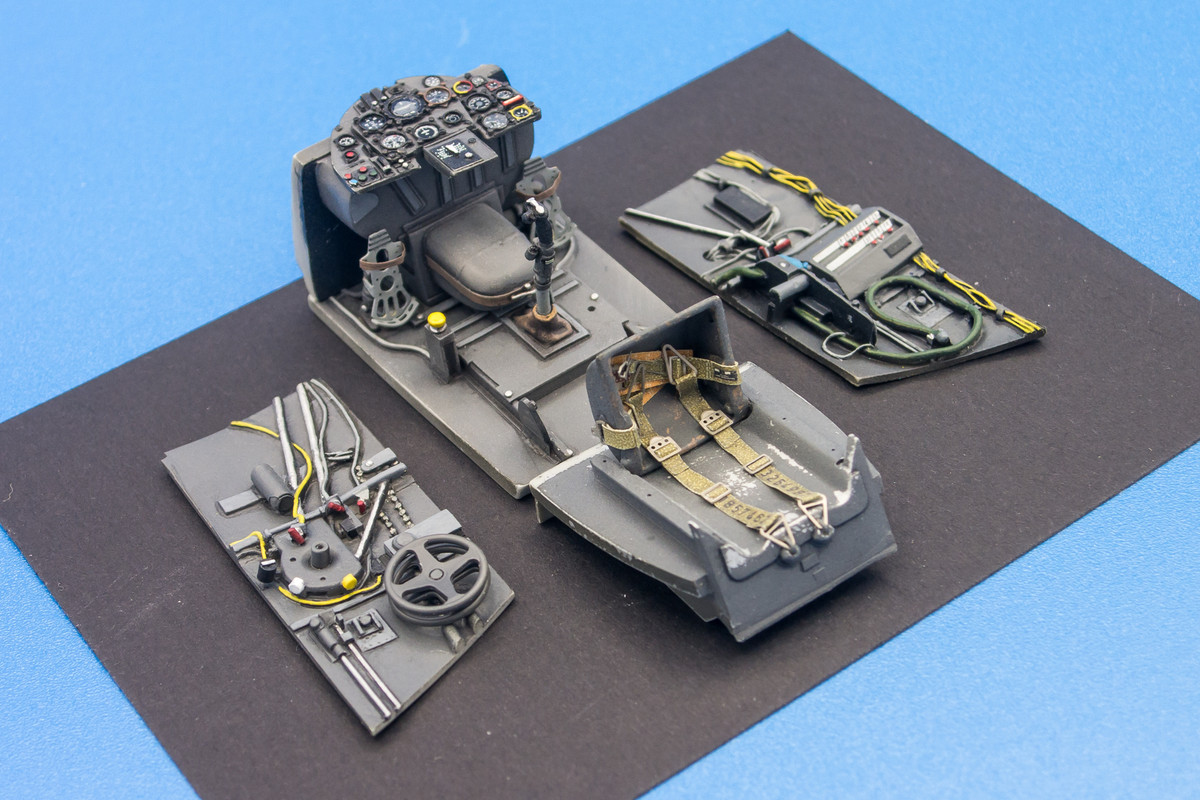
I FINALLY got around to painting the resin sidewalls for the cockpit. Not much color references for the K-4 cockpit so I had to improvise. The white labels on the electrical panel are from the MDC K-4 cockpit decal set that Vincent at LSP kindly donated to me. Thanks Vincent!
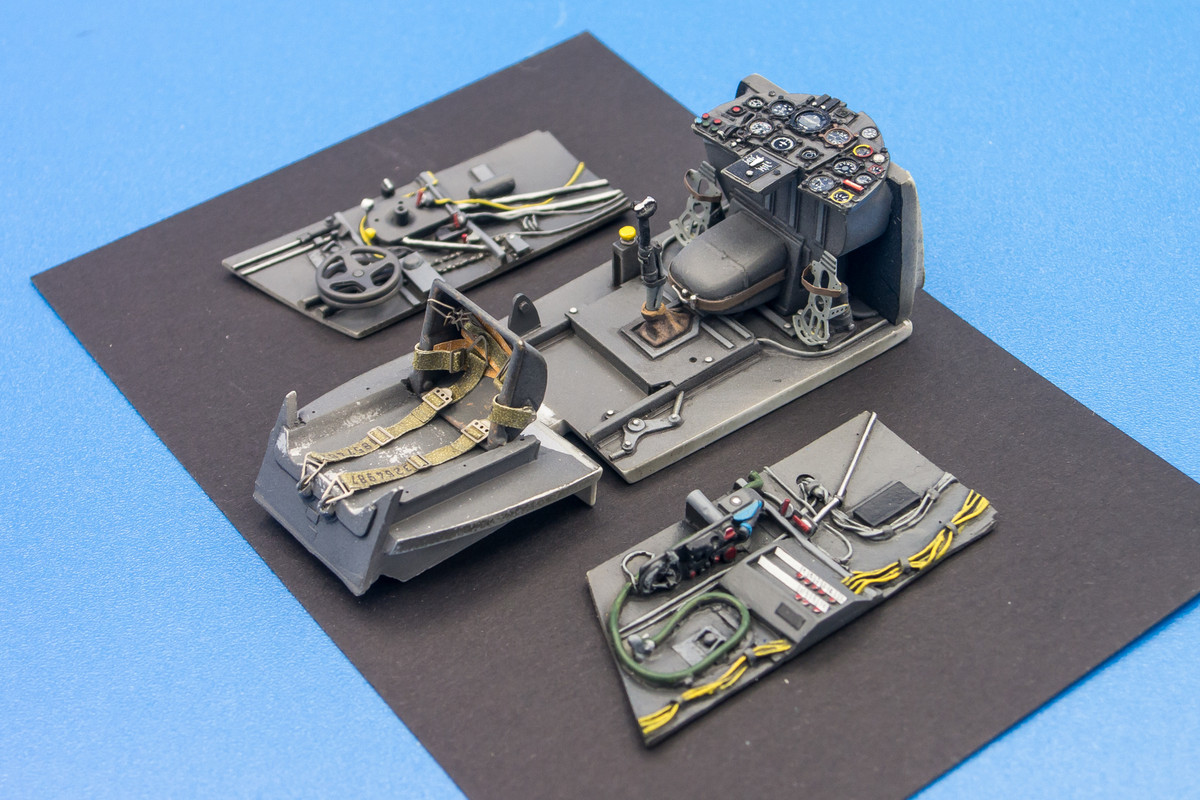
That means the cockpit cockpit painting is just about finished. Here are the main cockpit parts painted and ready to assemble.
The photoetch wheel wells are done!
These are going to get painted in natural metal before the wing halves are glued together. But first, I'm going to add a couple of ports on the wing bottom per the drawings of the K-4 that I am using for reference. They have been scribed using a needle and metal template.
The wheel wells are painted Alclad Dark Aluminum over a base of Tamiya Black.
I FINALLY got around to painting the resin sidewalls for the cockpit. Not much color references for the K-4 cockpit so I had to improvise. The white labels on the electrical panel are from the MDC K-4 cockpit decal set that Vincent at LSP kindly donated to me. Thanks Vincent!
That means the cockpit cockpit painting is just about finished. Here are the main cockpit parts painted and ready to assemble.
John aka JKim
-----------<><

-----------<><
-
speedgraflex
- Moderator
- Posts: 11534
- Joined: Fri Feb 10, 2017 11:08 pm
- Contact:
Re: 1/32 Hasegawa Bf109K-4 Weisse 8
Beautiful work, John. I simply am amazed by your detailing!
Make more models!
Re: 1/32 Hasegawa Bf109K-4 Weisse 8
The cockpit is beautiful! So is all the effort you've put into the gear bays.
March as one, Don't look back
Odin's sons... Attack!
Unleash hell! Do not repent! Warfare grants us no lament
Let your weapons slash and tear This is no place for fear
Hold the lines! Move as one! In unity our victory's won
Our shields will form a mighty wall
United we shall never fall
Odin's sons... Attack!
Unleash hell! Do not repent! Warfare grants us no lament
Let your weapons slash and tear This is no place for fear
Hold the lines! Move as one! In unity our victory's won
Our shields will form a mighty wall
United we shall never fall

-
BlackSheep214

- Elite Member
- Posts: 13596
- Joined: Sun Apr 06, 2014 8:47 pm
Re: 1/32 Hasegawa Bf109K-4 Weisse 8
Spectacular work, John! You are a master and I always enjoy watching your builds come together.
“Who controls the skies, controls the fate of this Earth”
Author unknown- 352nd Fighter Group, Blue-Nosed Bastards of Bodney
“Send one plane it’s a sortie; send two planes it’s a flight; send four planes it’s a test of airpower. - Richard Kohn
Author unknown- 352nd Fighter Group, Blue-Nosed Bastards of Bodney
“Send one plane it’s a sortie; send two planes it’s a flight; send four planes it’s a test of airpower. - Richard Kohn
Re: 1/32 Hasegawa Bf109K-4 Weisse 8
Thanks for the comments guys! I'm really starting to roll on this build and I feel good that I'll be able to continue the momentum for the time being.
I riveted the fuselage. I didn't carry the rivets all the way to the joint and will finish that after the joints have been cleaned up.
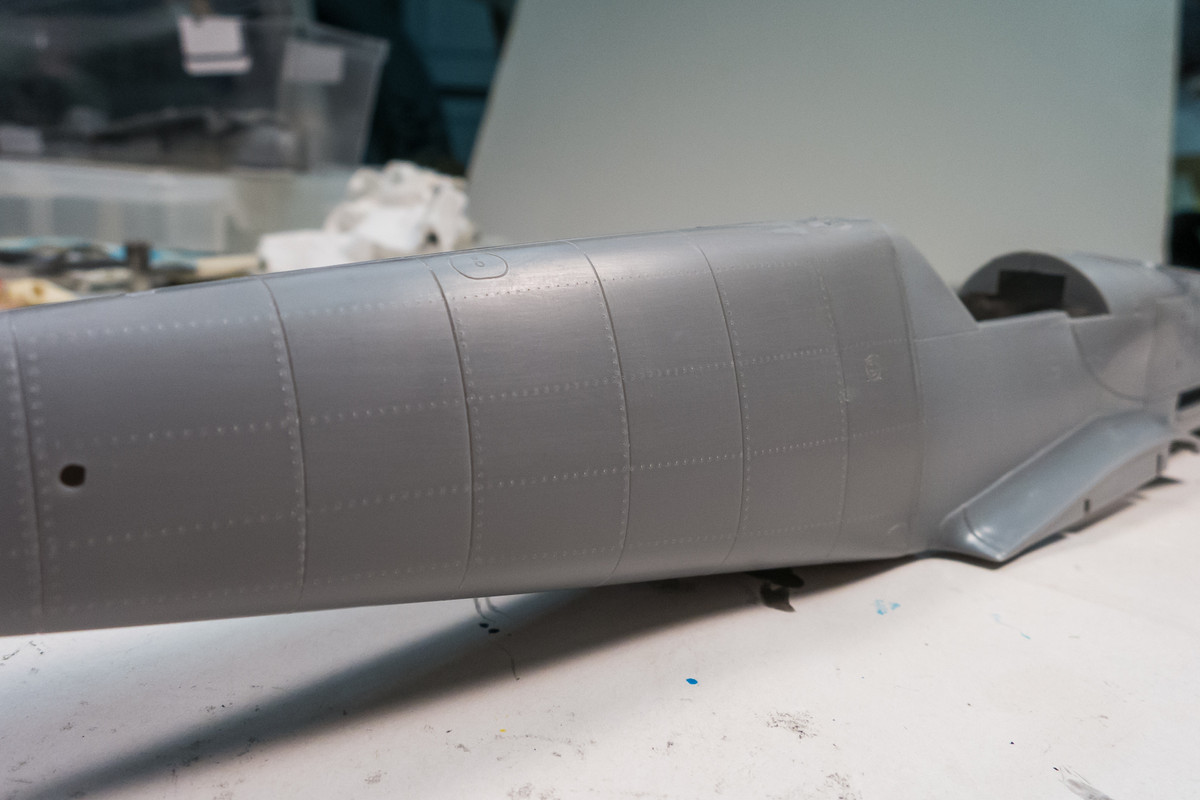
After riveting, the fuselage halves are glued together. The cockpit will slide in from the opening in the bottom so it doesn't need to be attached at this point.
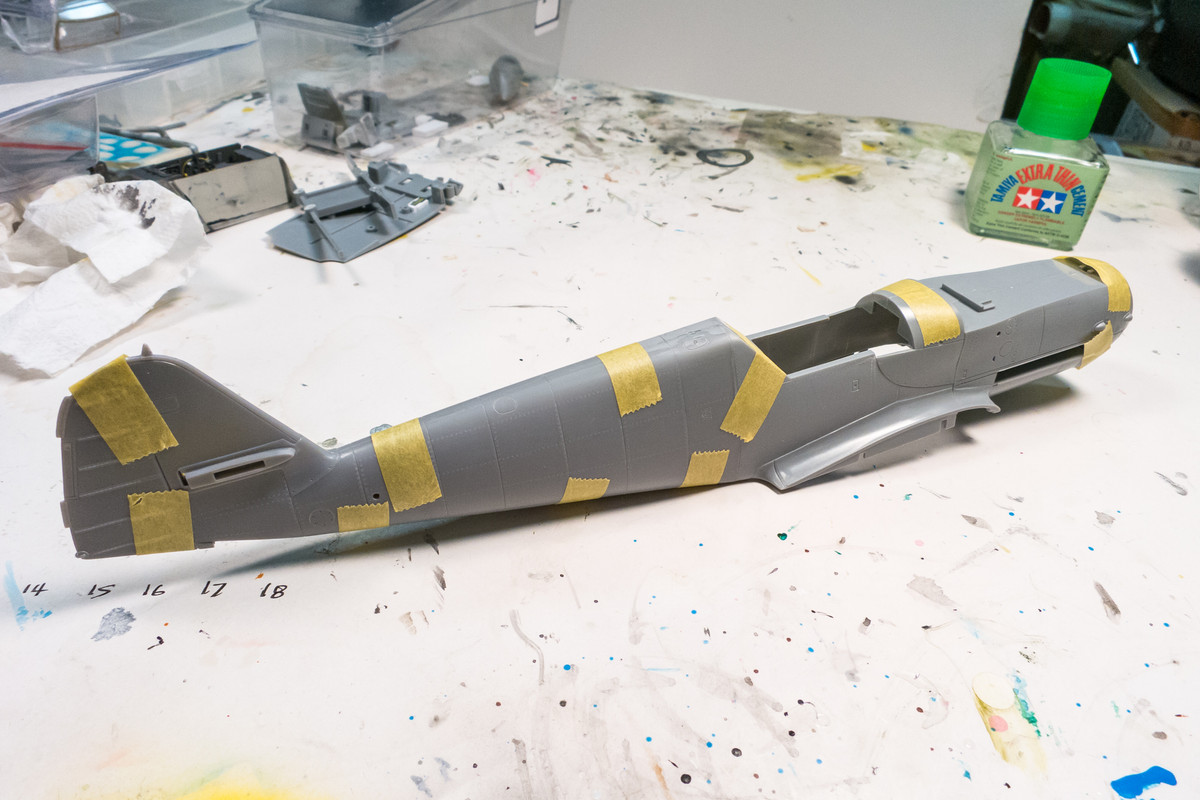
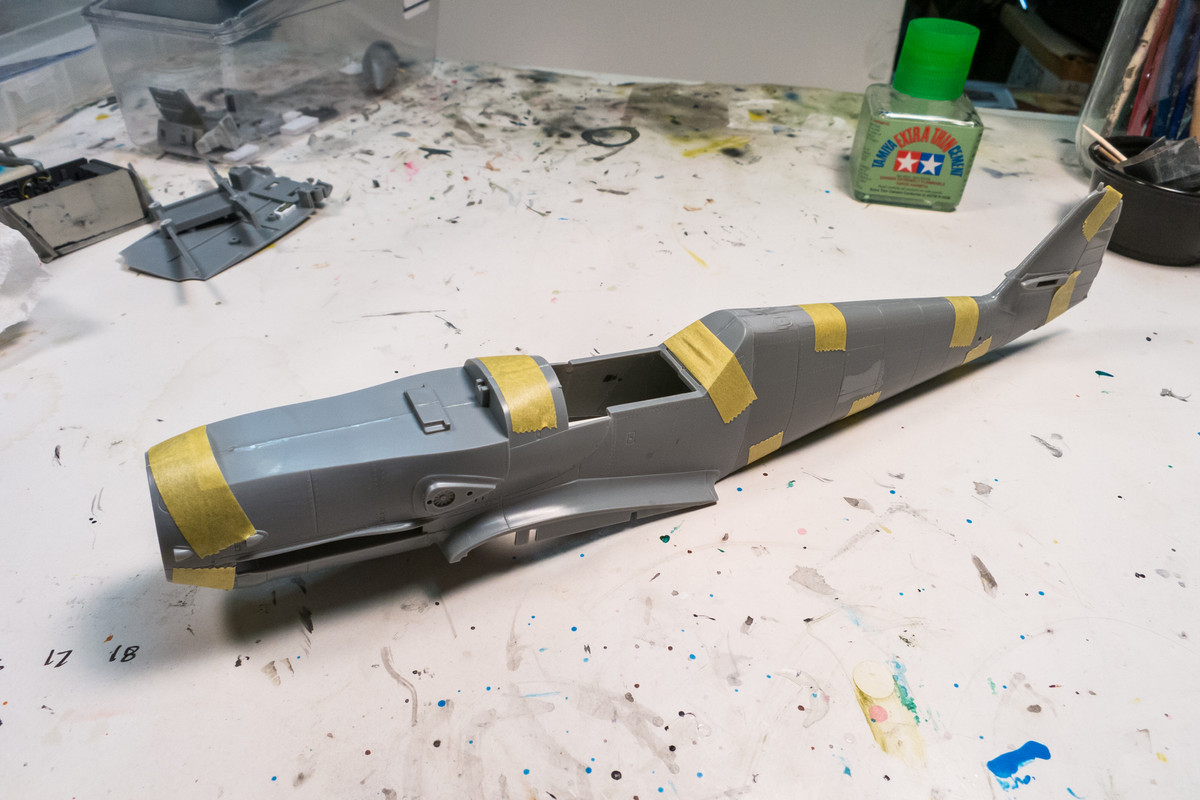
To kill some time while the fuselage glue dries, I assembled the landing gear doors.
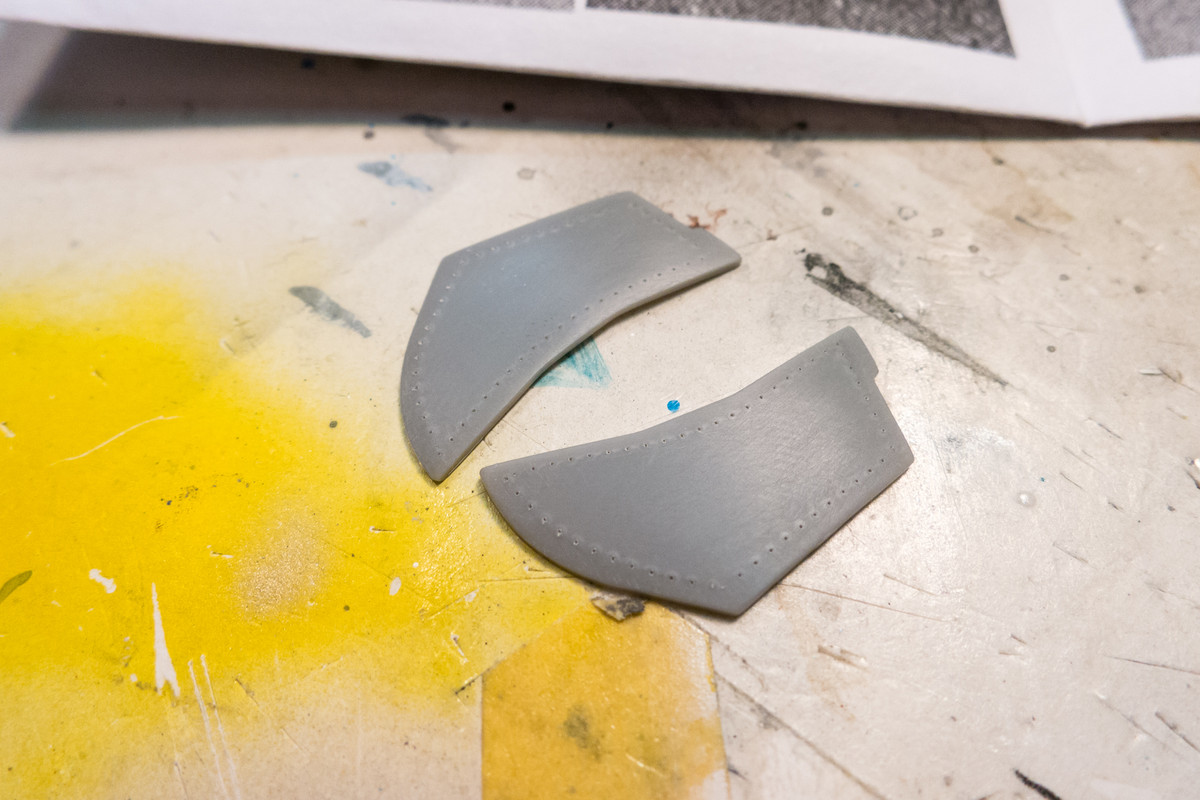
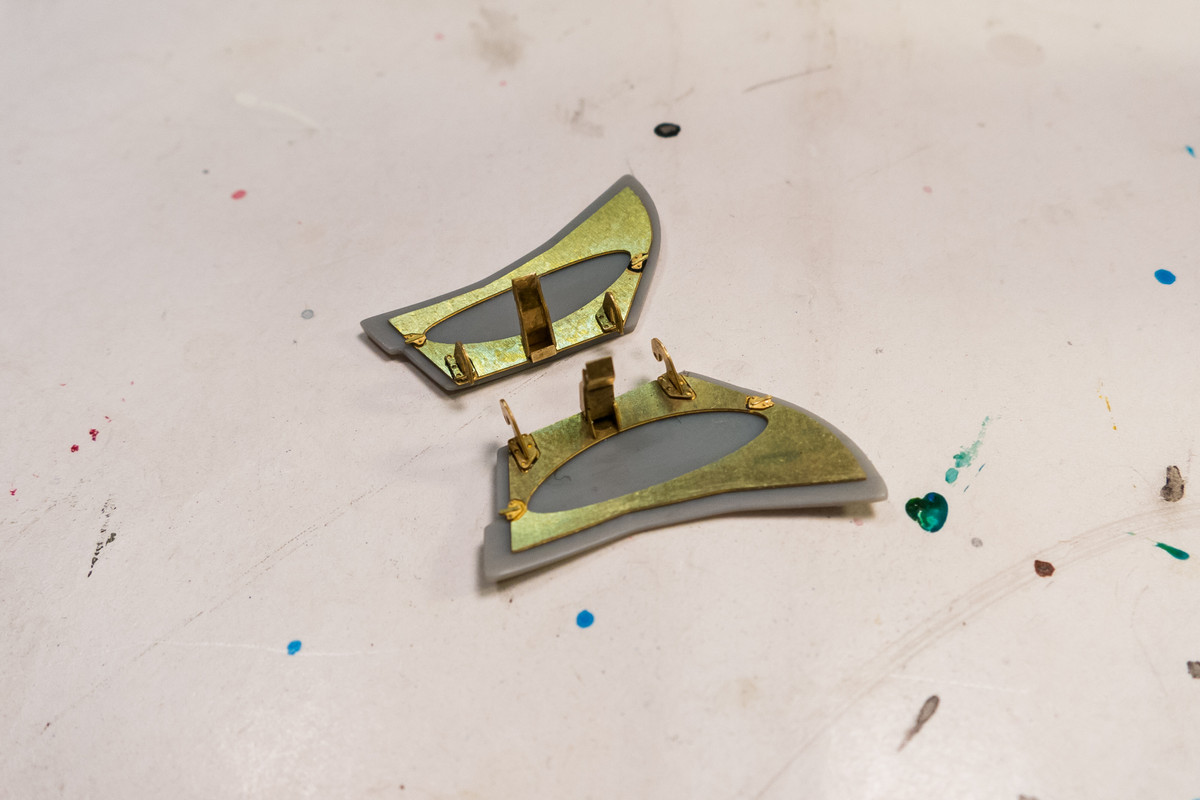
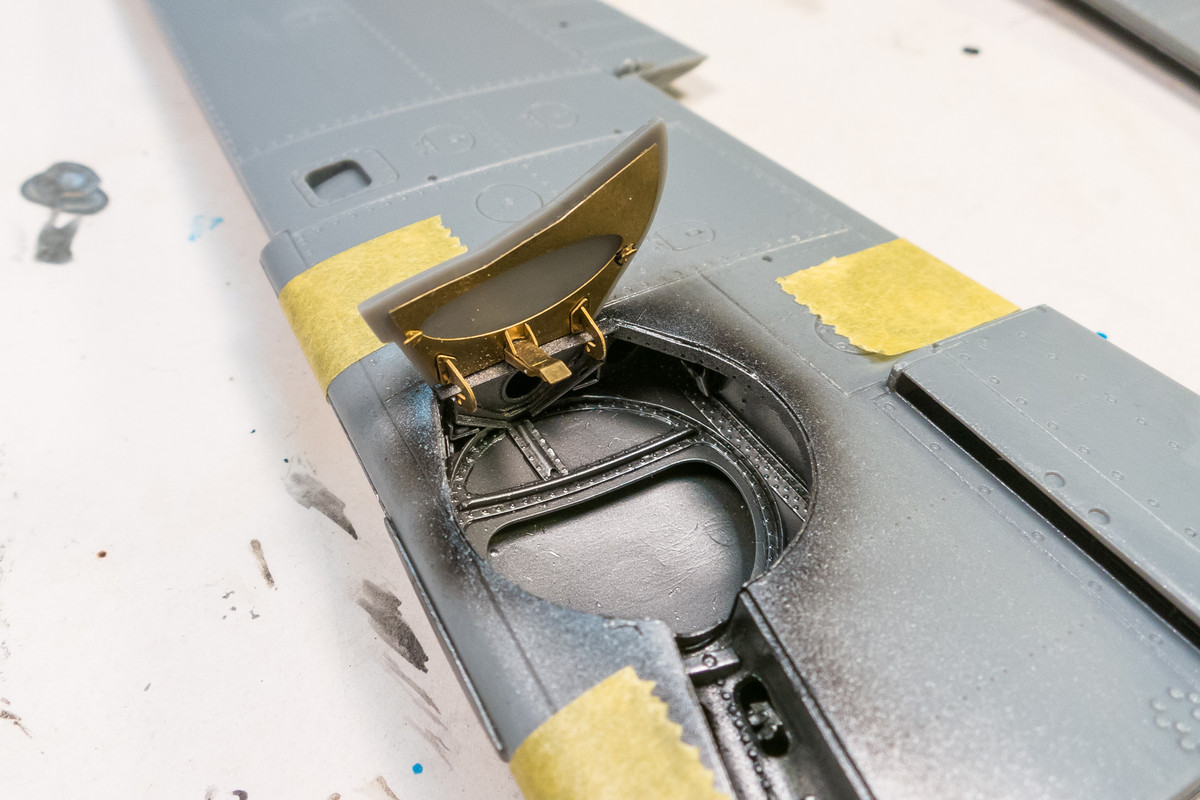
I'm going to take some time and clean up the fuselage joints before I insert the cockpit. Lots of dust and plastic shavings will ensue so this will keep the cockpit free of debris.
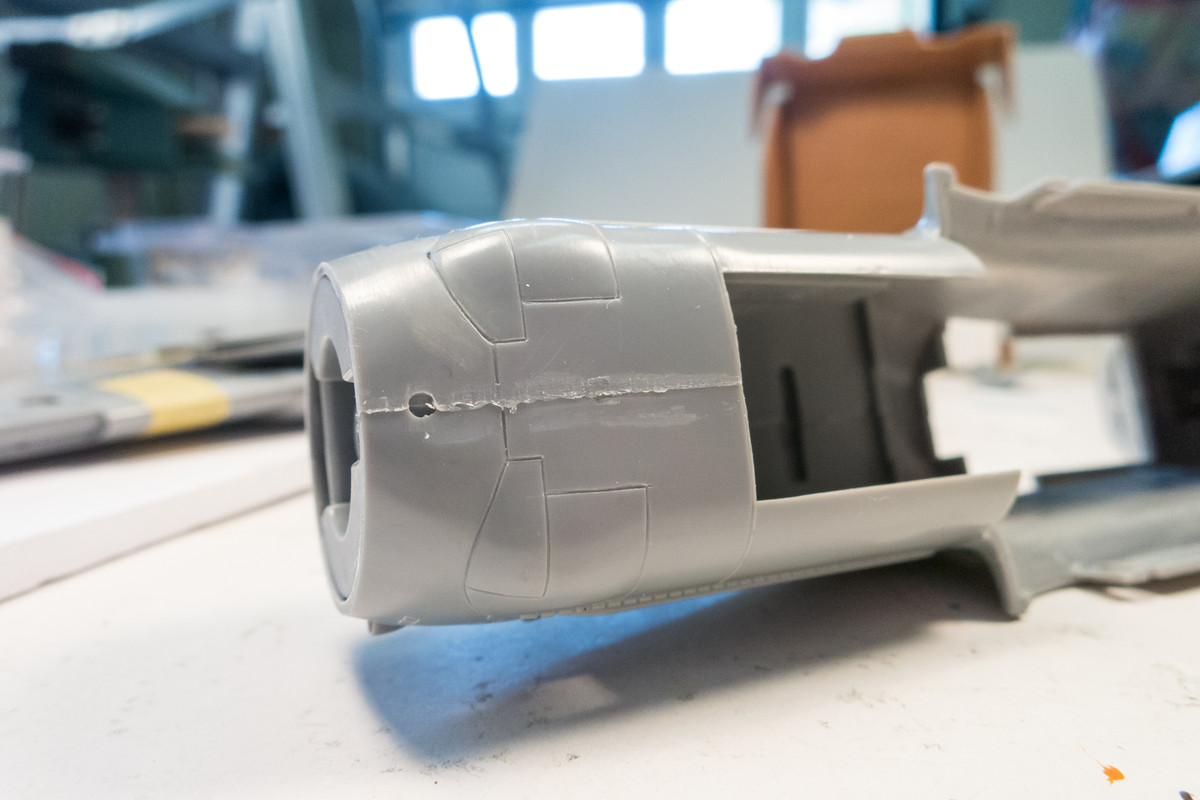
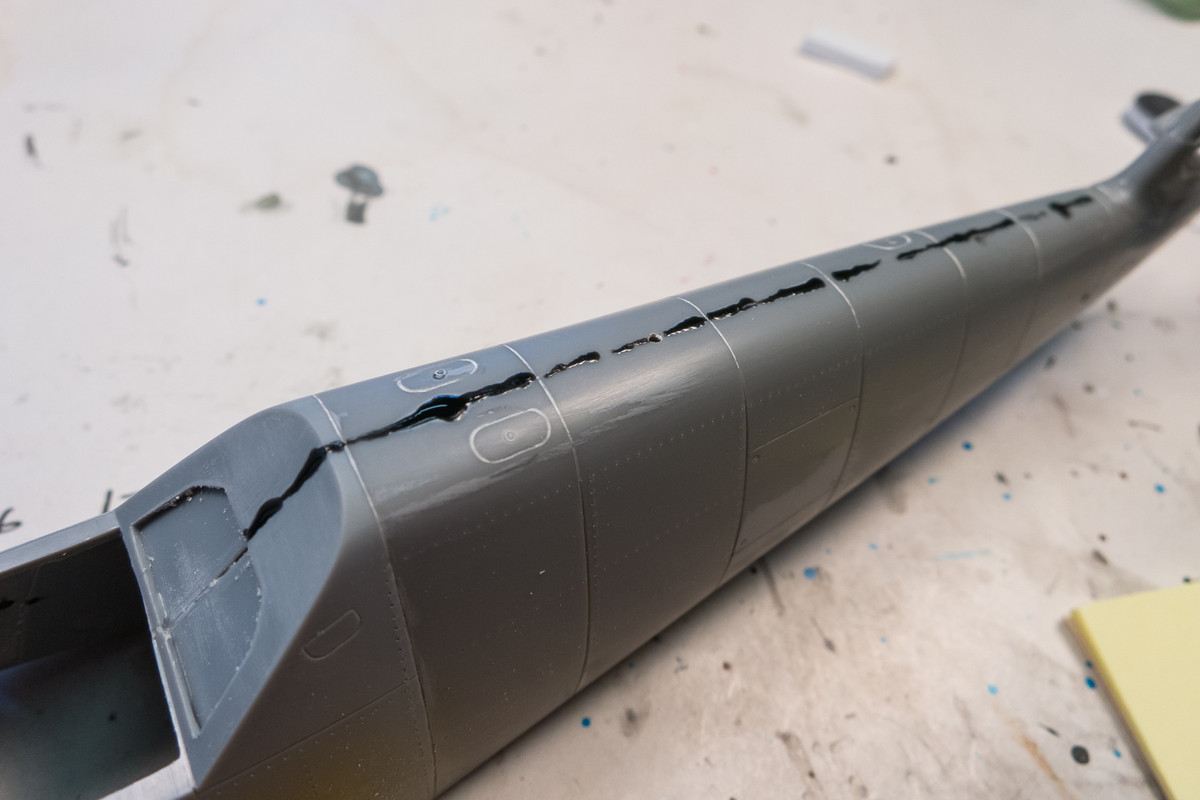
The joint between the cockpit and the tail (top and bottom) is filled in with black CA glue. I'll need to rescribe the panel line here so the CA glue will give me a hard, scribable surface.
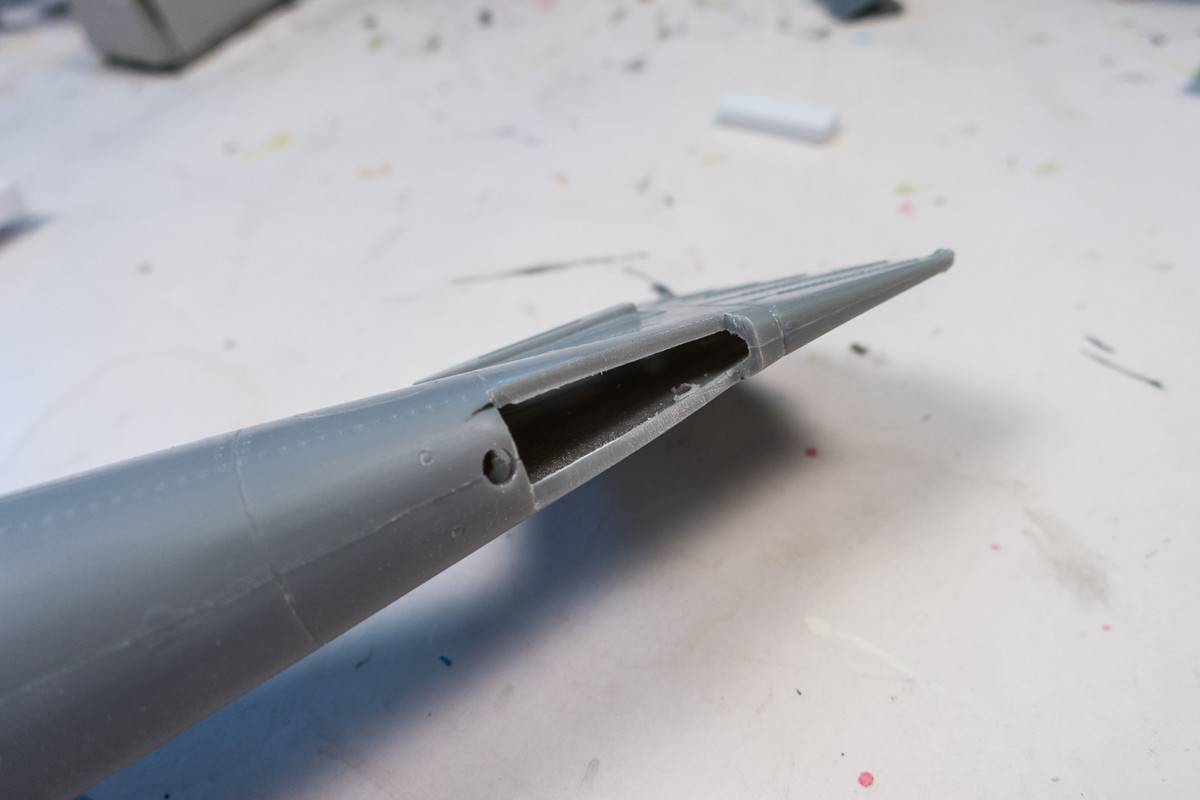
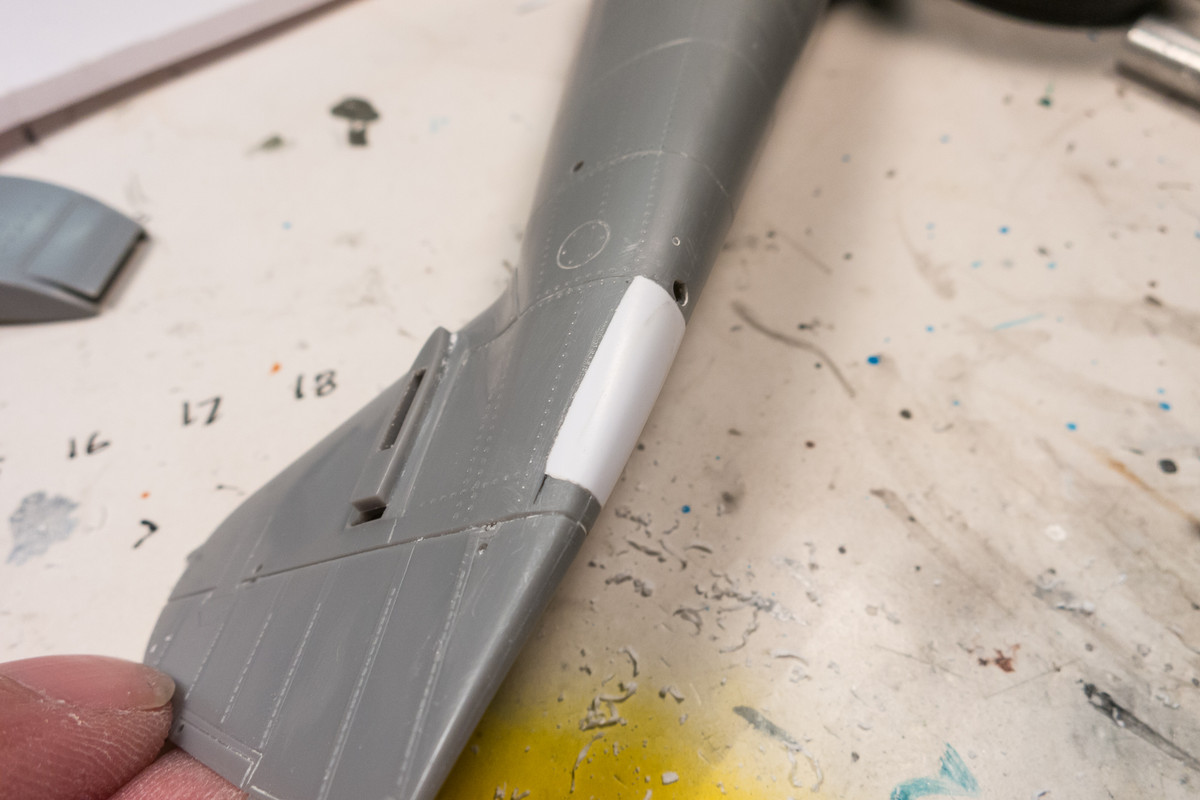
I can now fill the void behind the tail wheel. Most K-4's had this door permanently closed so I'll fill it in with plastic and rescribe the door panels.
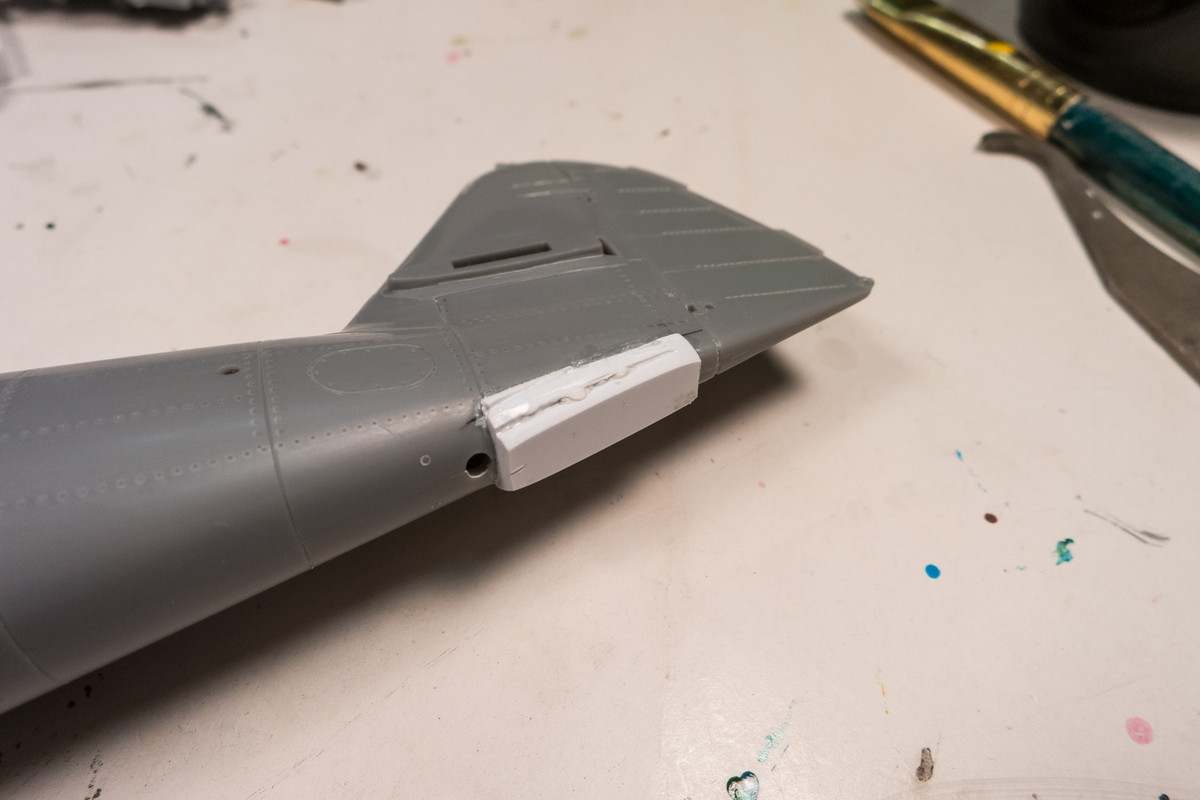
I used two strips of thick styrene sheet fused together with Tamiya Extra Thin glue as a solid block to fill the hole.
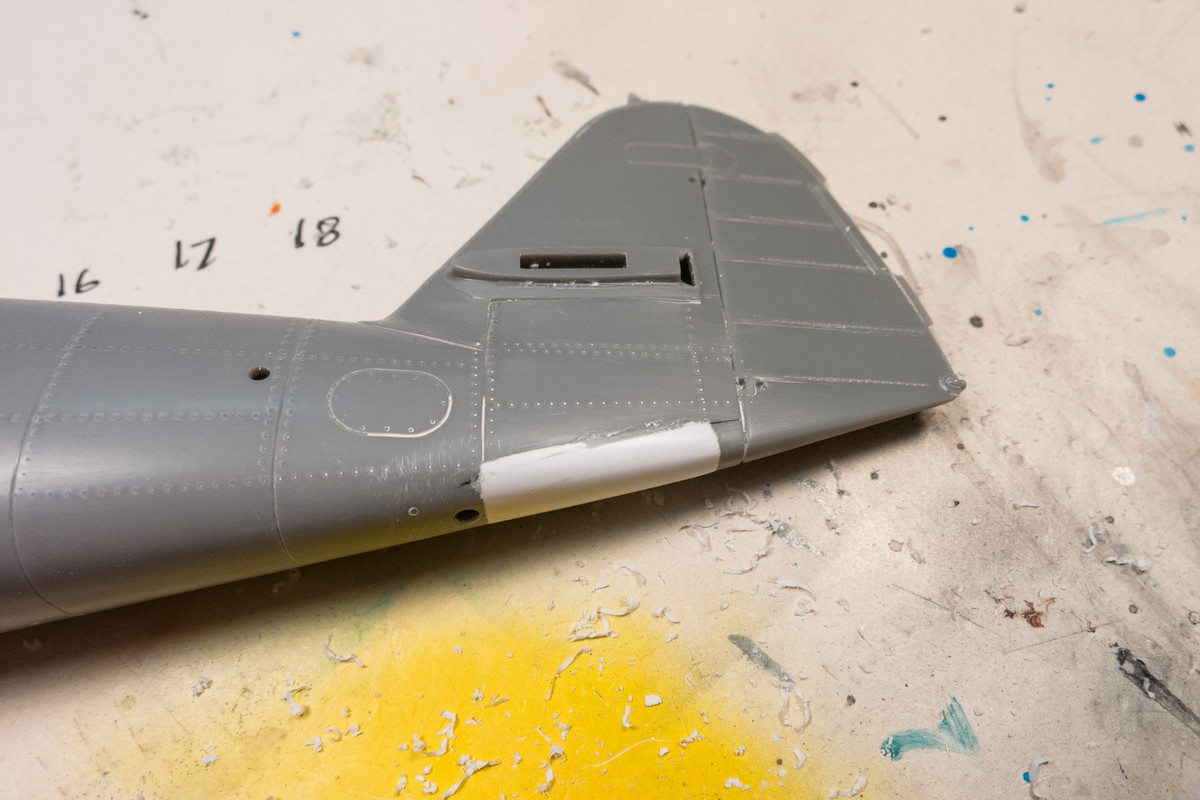
After a few hours of shaving and sanding, I have contoured the plastic block to match the fuselage. The joints need to be cleaned up but at least I got the tedious shaping work done.
That's all for now!
I riveted the fuselage. I didn't carry the rivets all the way to the joint and will finish that after the joints have been cleaned up.
After riveting, the fuselage halves are glued together. The cockpit will slide in from the opening in the bottom so it doesn't need to be attached at this point.
To kill some time while the fuselage glue dries, I assembled the landing gear doors.
I'm going to take some time and clean up the fuselage joints before I insert the cockpit. Lots of dust and plastic shavings will ensue so this will keep the cockpit free of debris.
The joint between the cockpit and the tail (top and bottom) is filled in with black CA glue. I'll need to rescribe the panel line here so the CA glue will give me a hard, scribable surface.
I can now fill the void behind the tail wheel. Most K-4's had this door permanently closed so I'll fill it in with plastic and rescribe the door panels.
I used two strips of thick styrene sheet fused together with Tamiya Extra Thin glue as a solid block to fill the hole.
After a few hours of shaving and sanding, I have contoured the plastic block to match the fuselage. The joints need to be cleaned up but at least I got the tedious shaping work done.
That's all for now!
John aka JKim
-----------<><
-----------<><
Re: 1/32 Hasegawa Bf109K-4 Weisse 8
Great job on shaping that door if it wasn't white I don't think I could tell it wasn't part of the kit.
March as one, Don't look back
Odin's sons... Attack!
Unleash hell! Do not repent! Warfare grants us no lament
Let your weapons slash and tear This is no place for fear
Hold the lines! Move as one! In unity our victory's won
Our shields will form a mighty wall
United we shall never fall
Odin's sons... Attack!
Unleash hell! Do not repent! Warfare grants us no lament
Let your weapons slash and tear This is no place for fear
Hold the lines! Move as one! In unity our victory's won
Our shields will form a mighty wall
United we shall never fall
-
mustang1989

- Moderator
- Posts: 5044
- Joined: Tue Mar 18, 2014 8:35 pm
Re: 1/32 Hasegawa Bf109K-4 Weisse 8
One of these days I hope to get my interiors/ cockpits looking as good as this. Fabulous job on this all the way around......weathering, detail painting, shading...the whole nine yards. 