Page 16 of 28
Re: 1/32 Hasegawa Bf109K-4 Weisse 8
Posted: Fri Nov 15, 2019 10:31 pm
by Floki
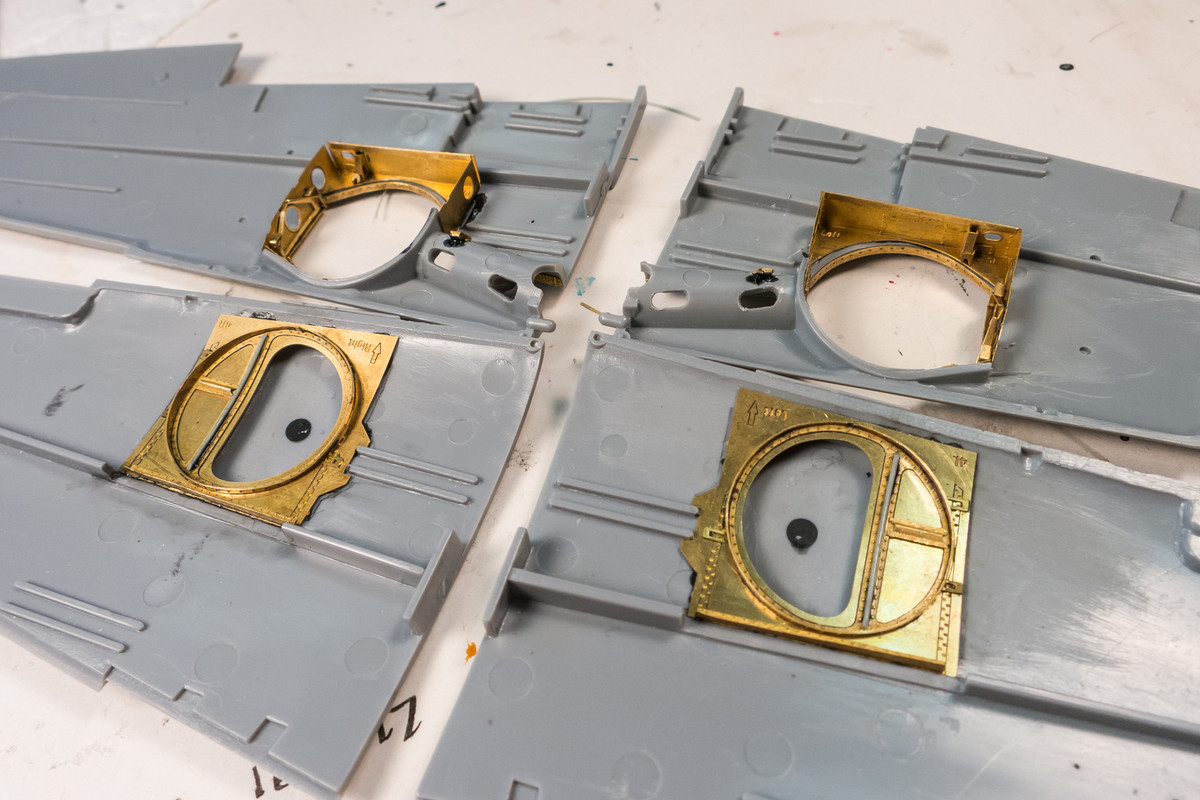
Some fine PE work, I never thought of using debonder in that way I always thought it would debond the joint and fast.
Re: 1/32 Hasegawa Bf109K-4 Weisse 8
Posted: Fri Nov 15, 2019 11:00 pm
by speedgraflex
Ahhh... that is an excellent idea, John!
Re: 1/32 Hasegawa Bf109K-4 Weisse 8
Posted: Sat Nov 16, 2019 6:59 pm
by jkim
Re: 1/32 Hasegawa Bf109K-4 Weisse 8
Posted: Sun Nov 17, 2019 1:07 pm
by speedgraflex
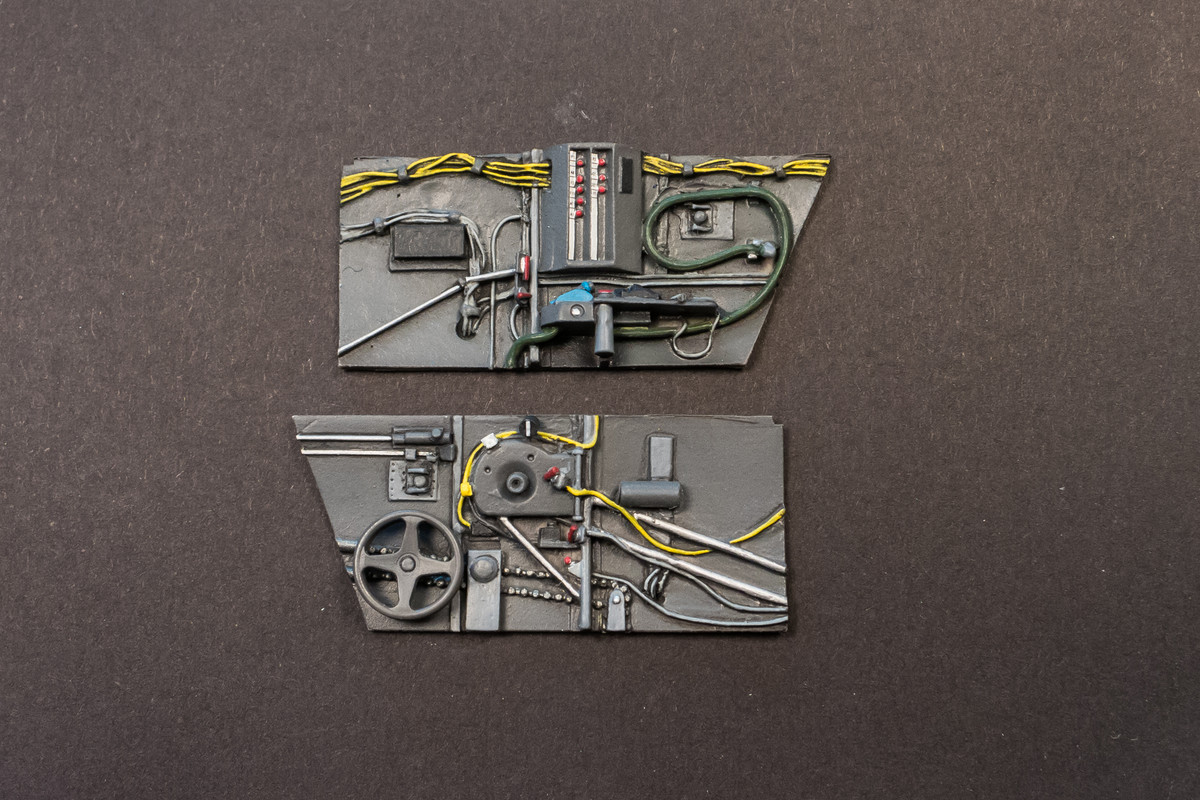
Beautiful work, John. I simply am amazed by your detailing!
Re: 1/32 Hasegawa Bf109K-4 Weisse 8
Posted: Sun Nov 17, 2019 2:26 pm
by Floki
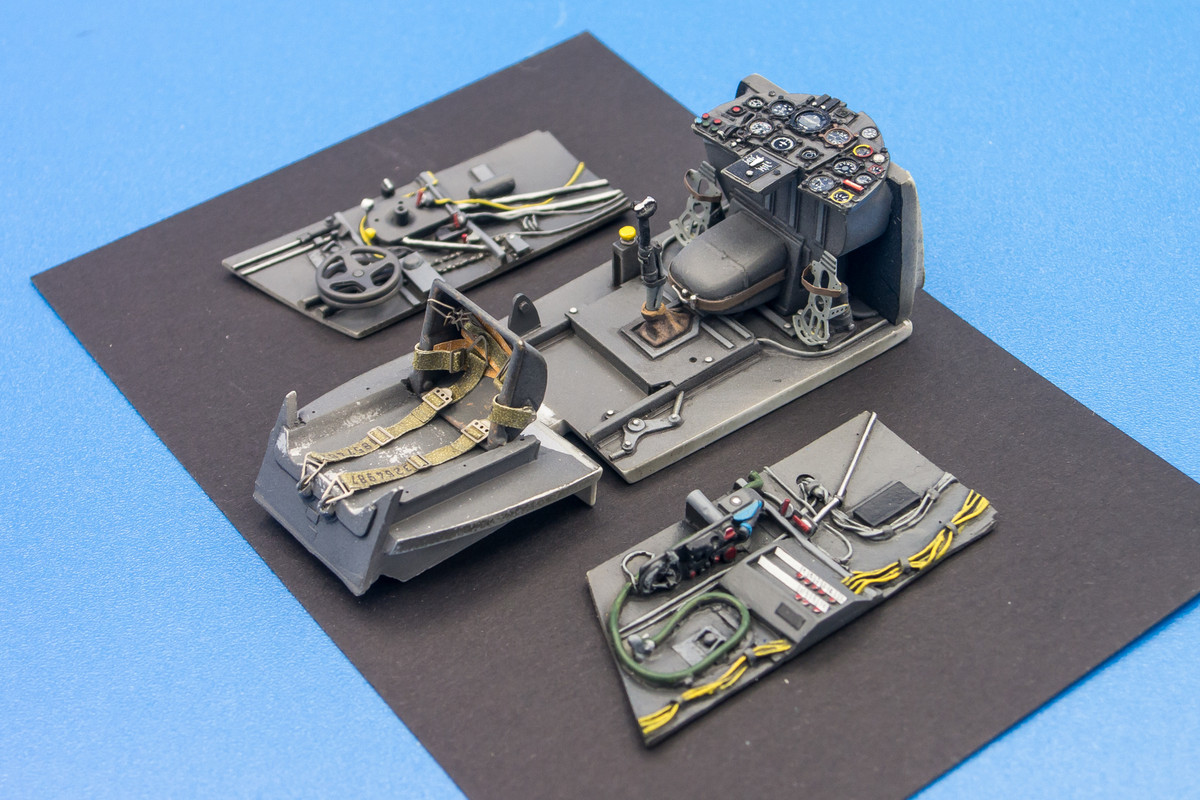
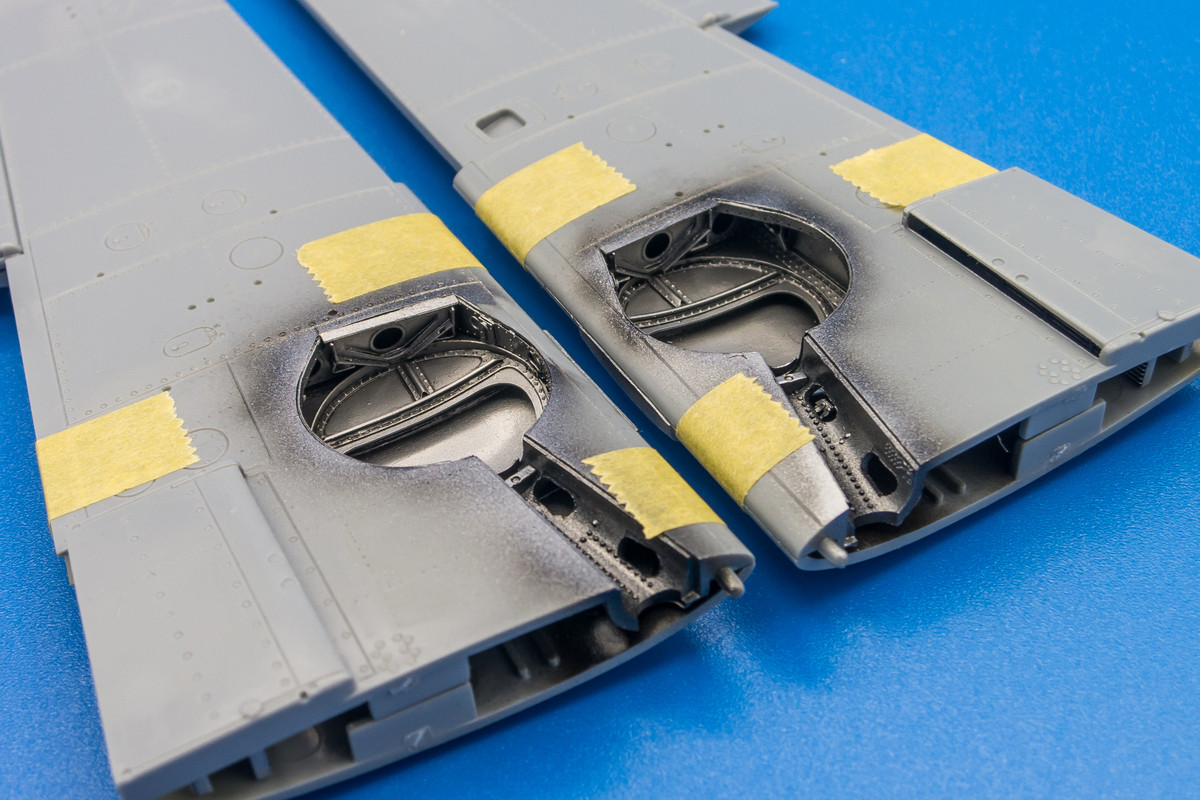
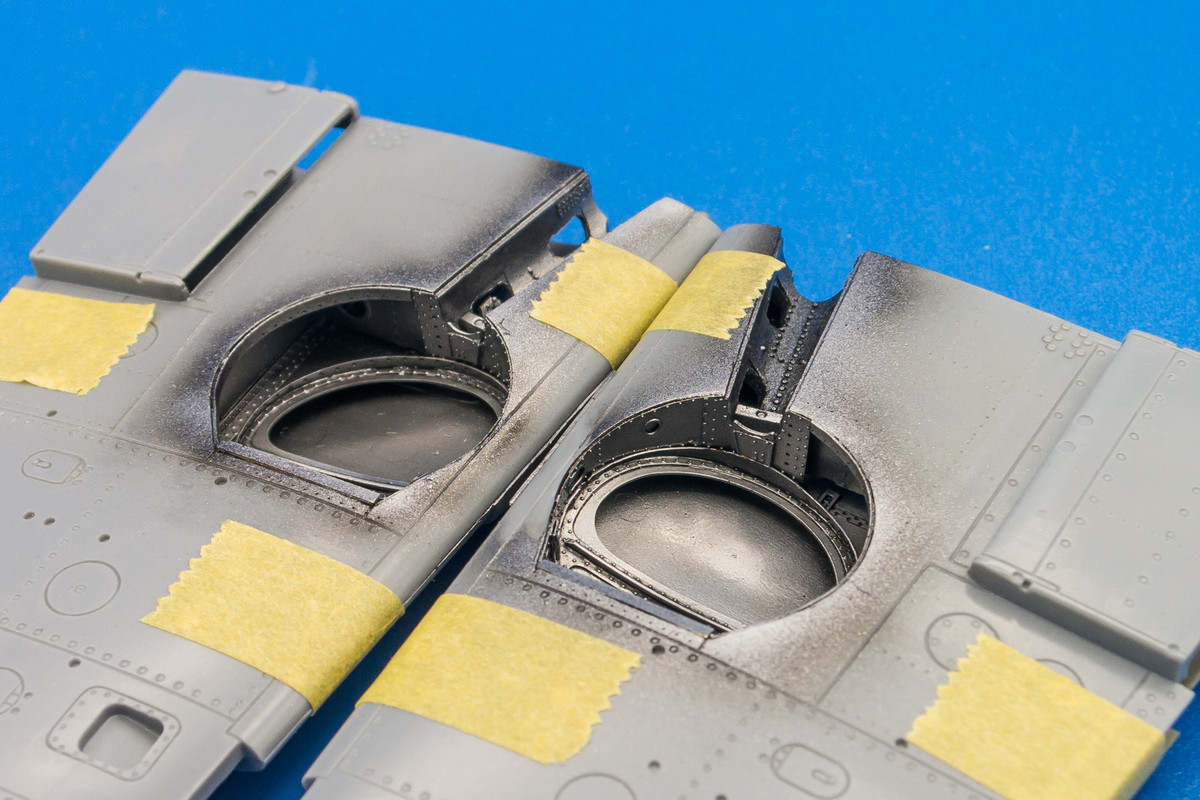
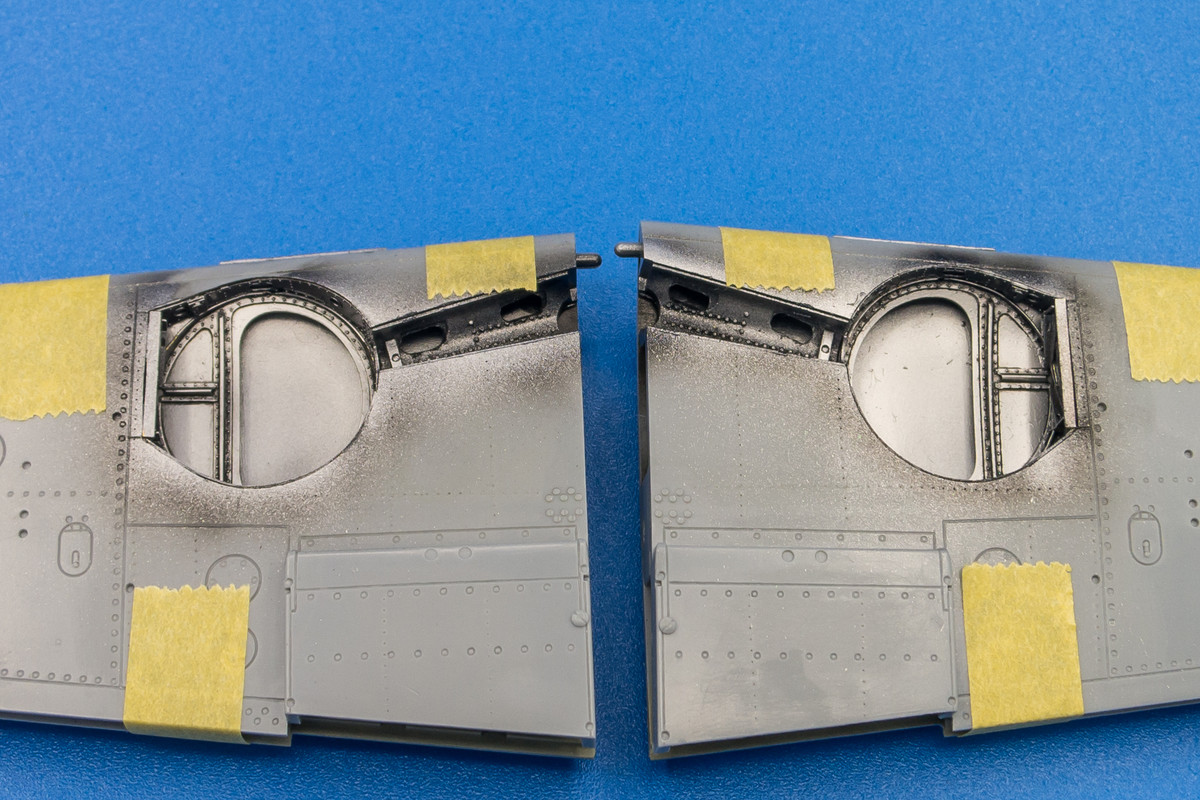
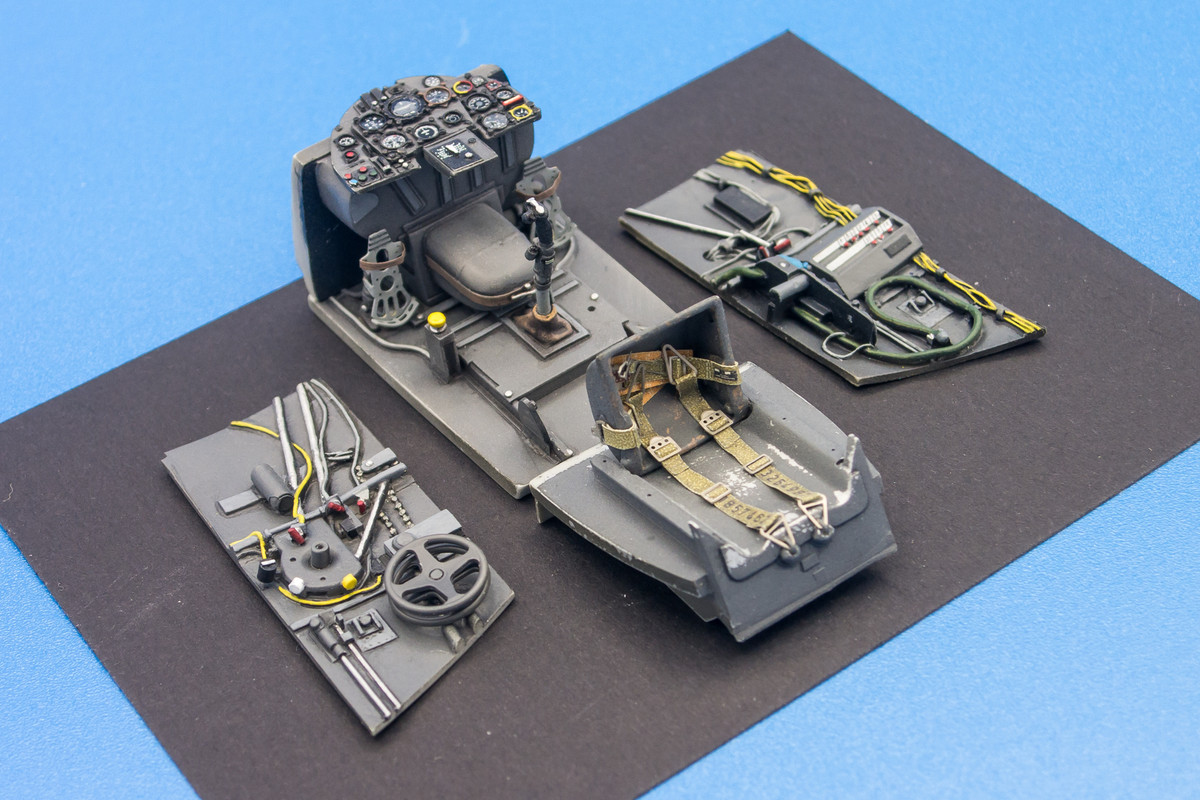
The cockpit is beautiful! So is all the effort you've put into the gear bays.
Re: 1/32 Hasegawa Bf109K-4 Weisse 8
Posted: Sun Nov 17, 2019 4:45 pm
by mostrich
Flabbergasted. I think that is the word.
Re: 1/32 Hasegawa Bf109K-4 Weisse 8
Posted: Sun Nov 17, 2019 5:01 pm
by BlackSheep214
Spectacular work, John! You are a master and I always enjoy watching your builds come together.
Re: 1/32 Hasegawa Bf109K-4 Weisse 8
Posted: Sun Nov 17, 2019 11:34 pm
by jkim
Thanks for the comments guys! I'm really starting to roll on this build and I feel good that I'll be able to continue the momentum for the time being.
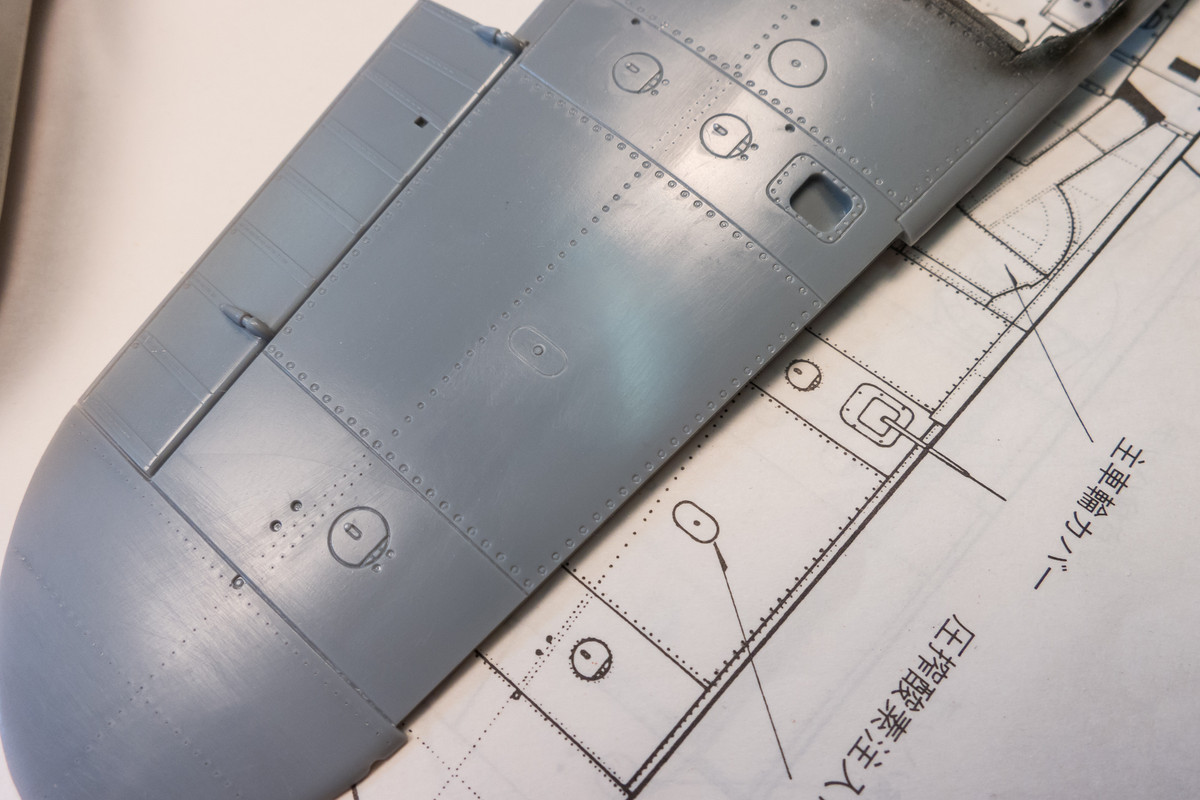
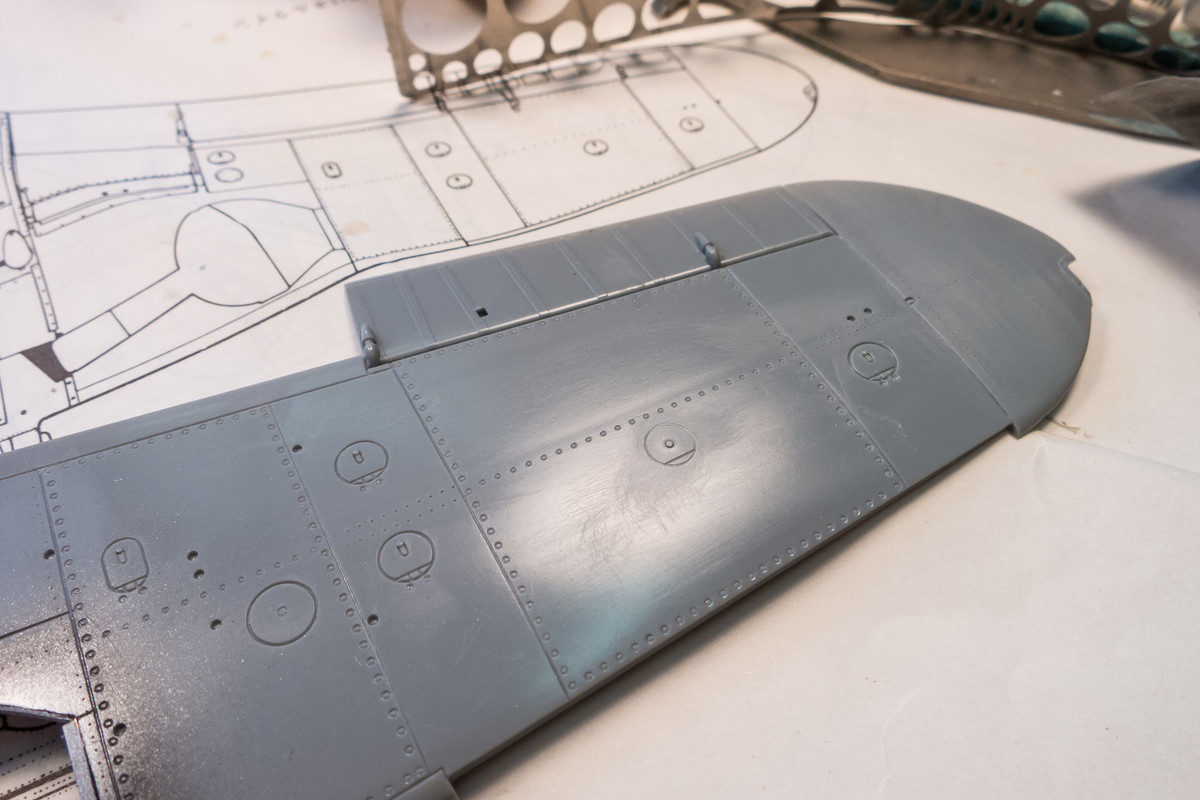
I riveted the fuselage. I didn't carry the rivets all the way to the joint and will finish that after the joints have been cleaned up.
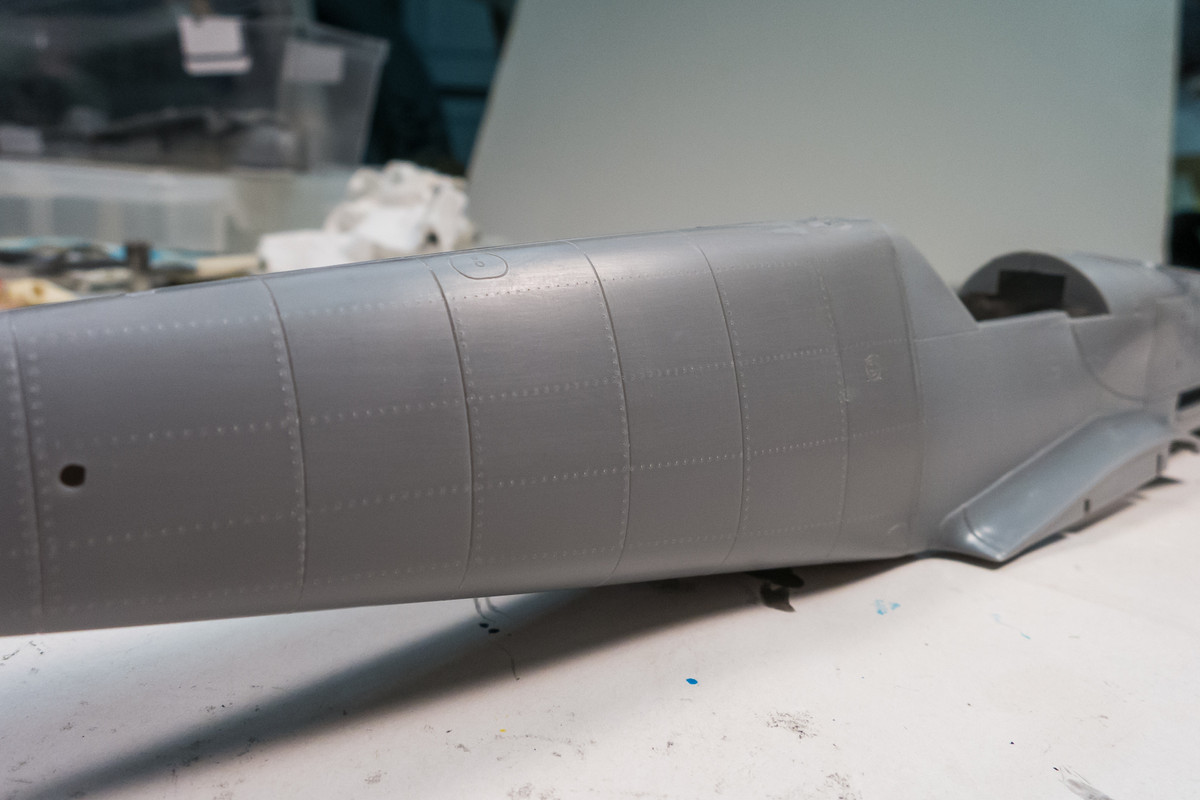
After riveting, the fuselage halves are glued together. The cockpit will slide in from the opening in the bottom so it doesn't need to be attached at this point.
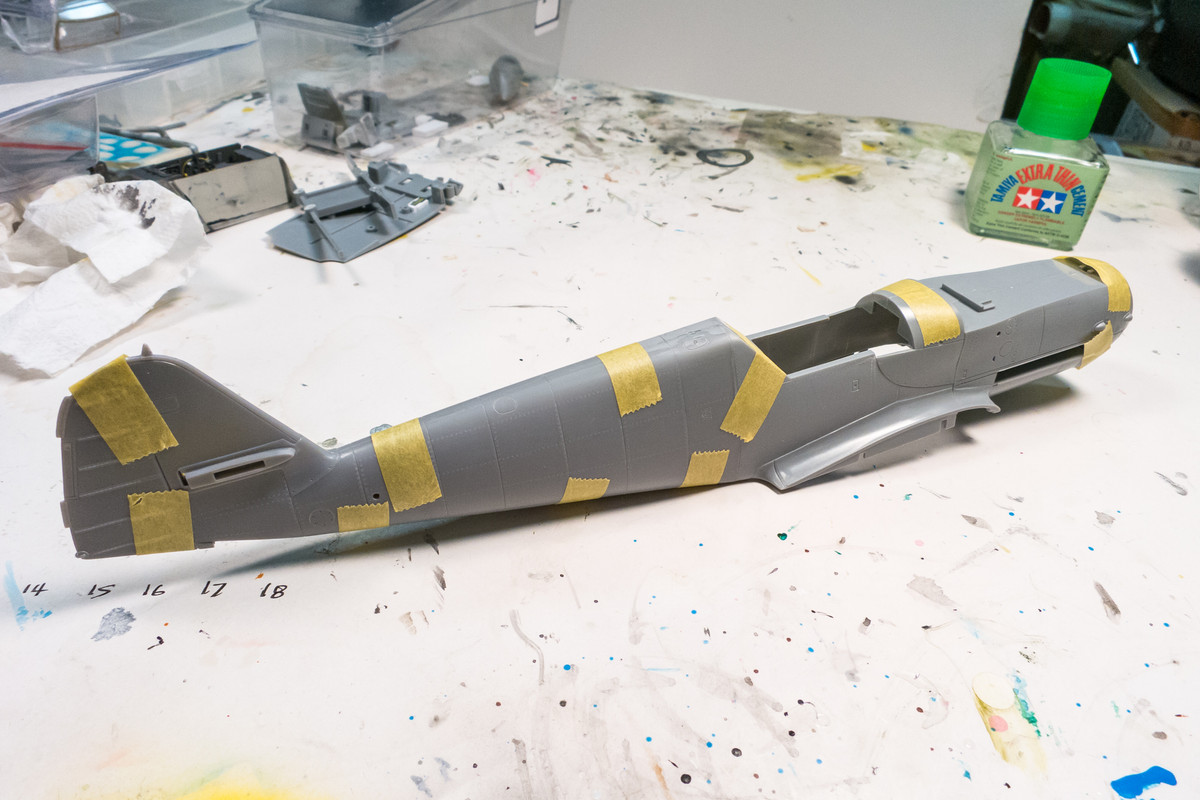
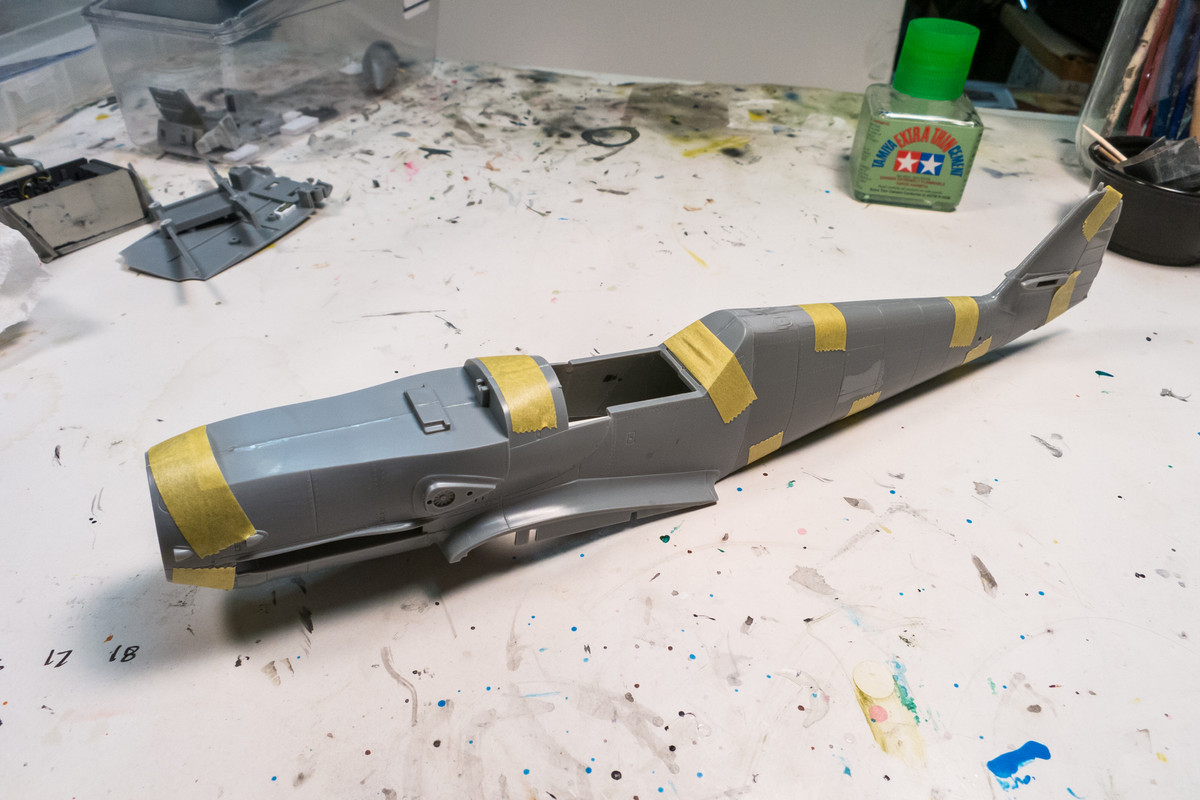
To kill some time while the fuselage glue dries, I assembled the landing gear doors.
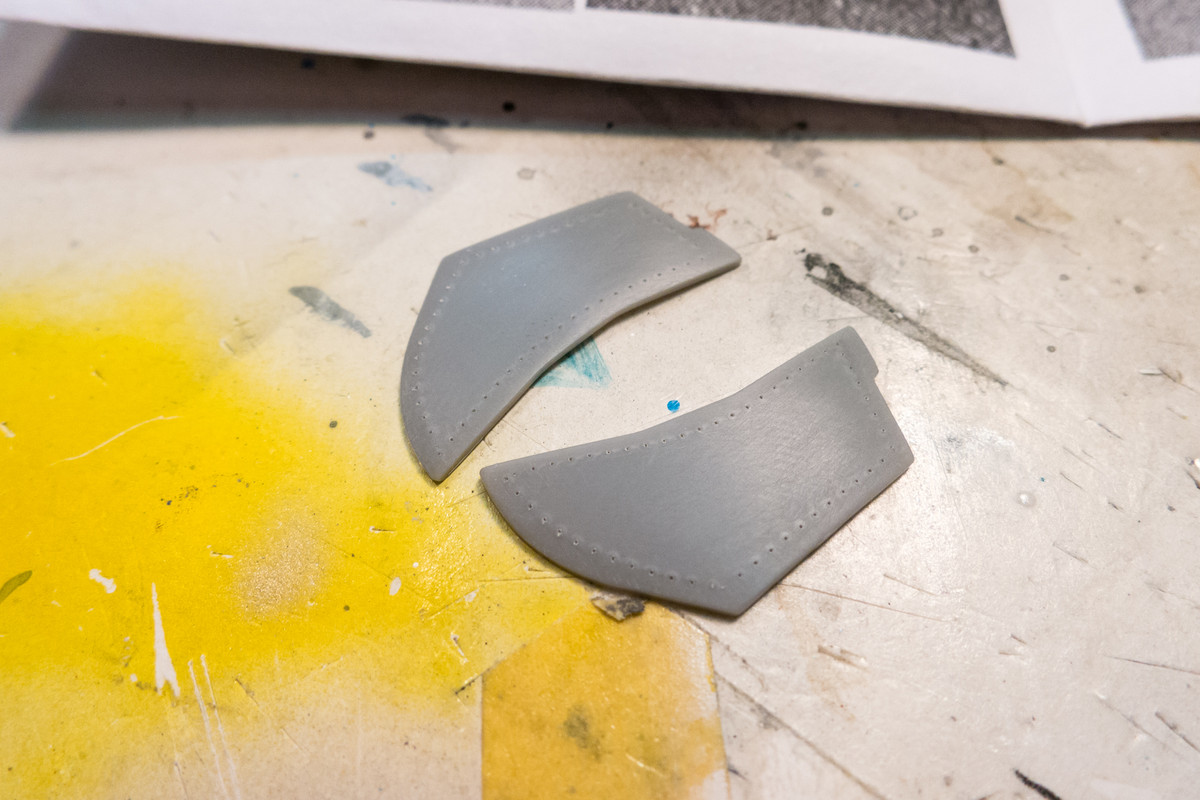
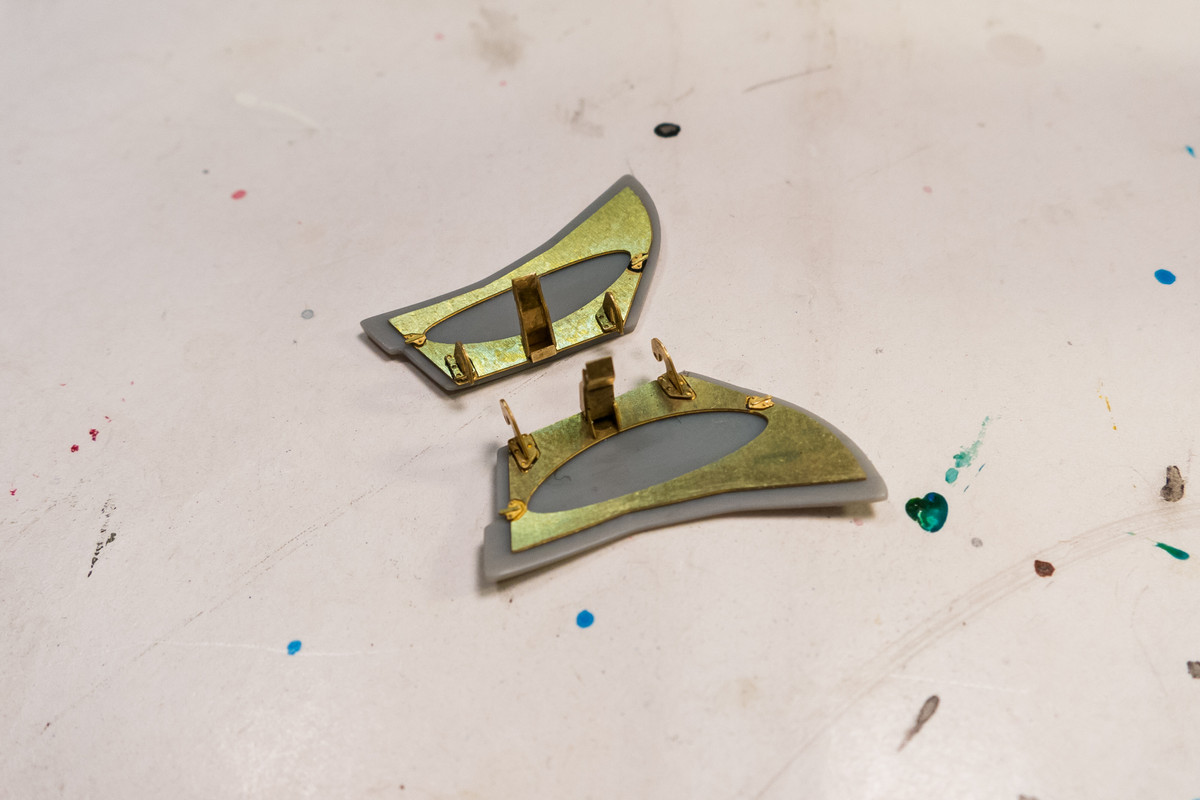
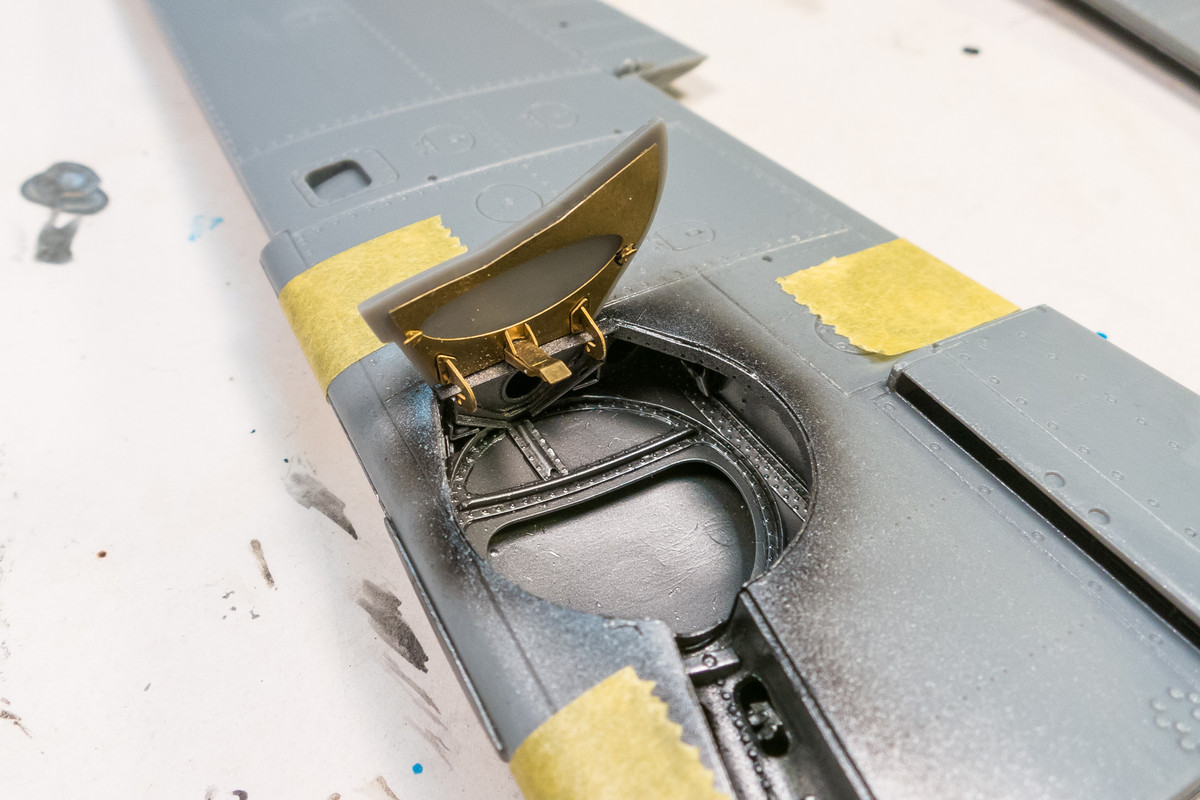
I'm going to take some time and clean up the fuselage joints before I insert the cockpit. Lots of dust and plastic shavings will ensue so this will keep the cockpit free of debris.
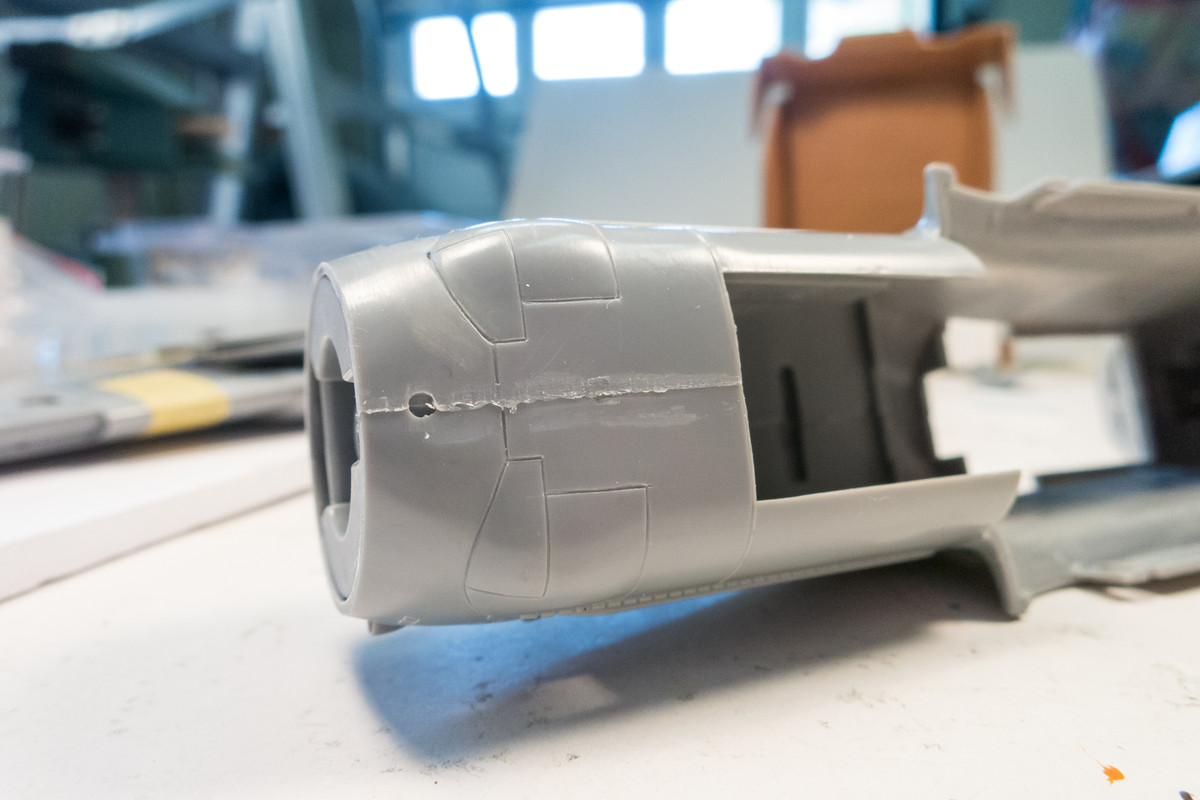
The joint between the cockpit and the tail (top and bottom) is filled in with black CA glue. I'll need to rescribe the panel line here so the CA glue will give me a hard, scribable surface.
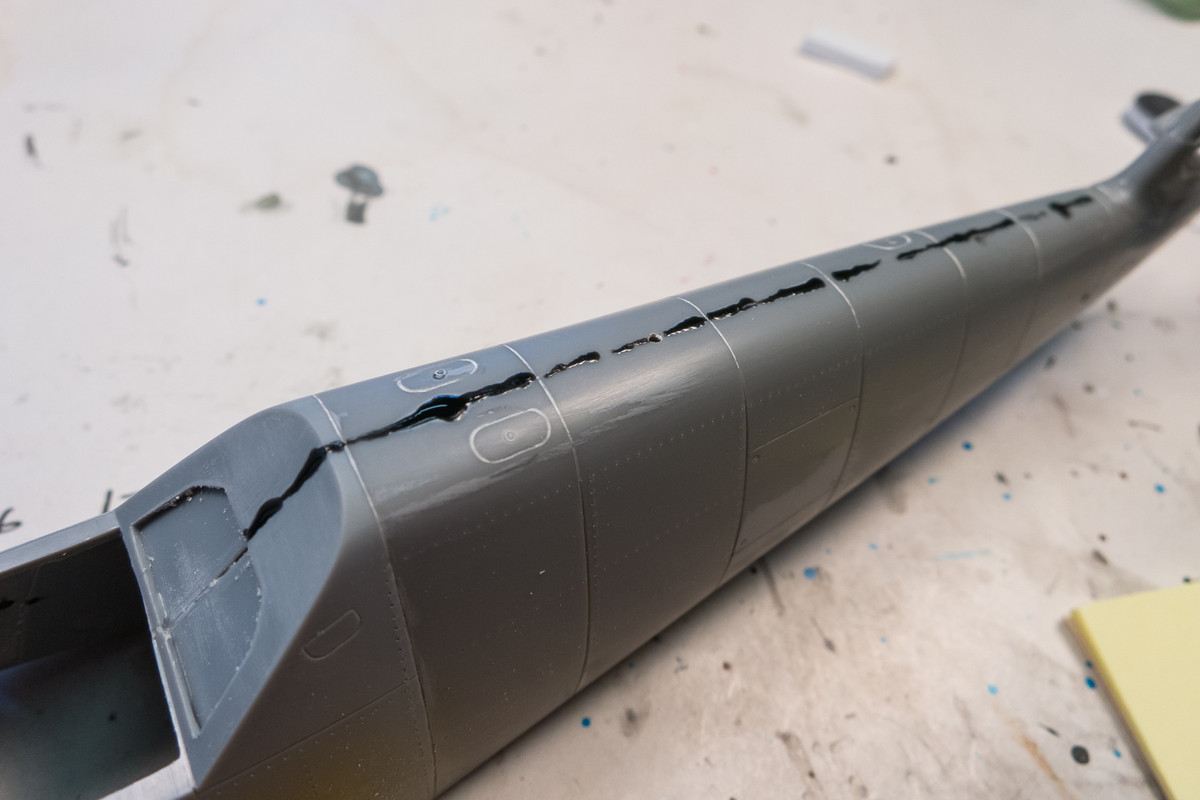
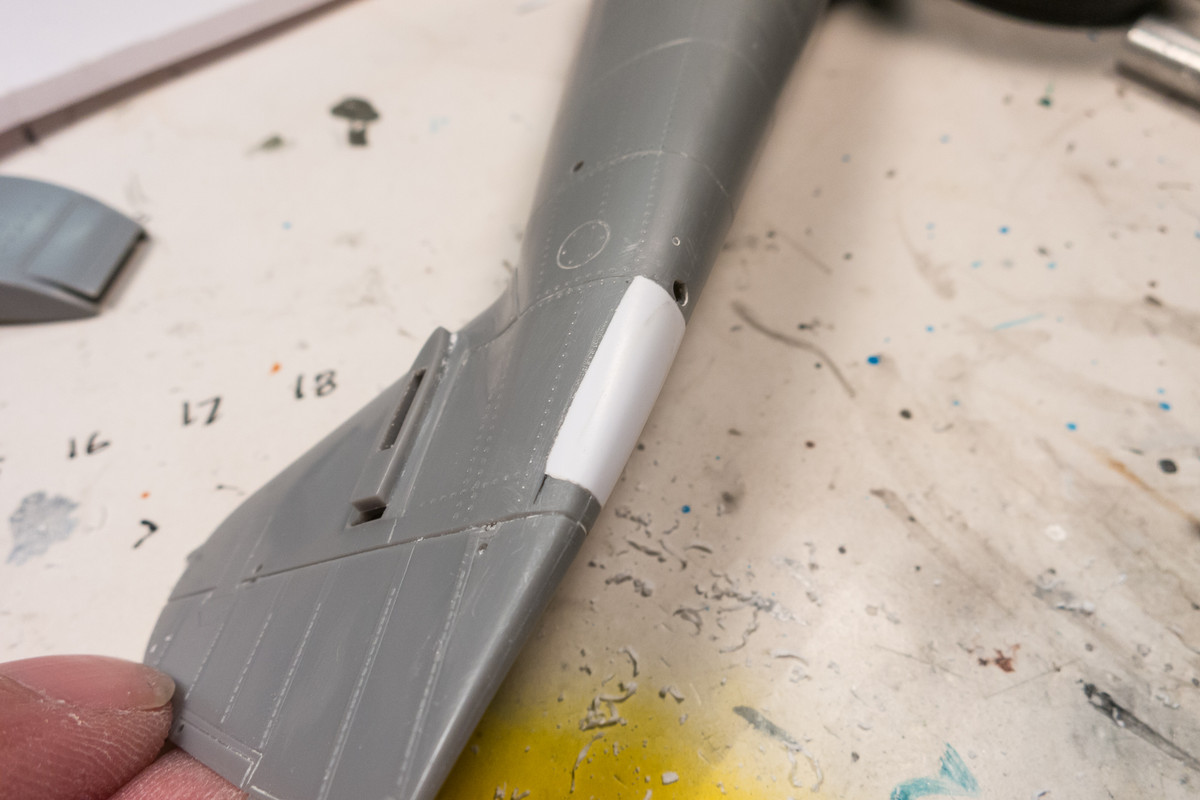
I can now fill the void behind the tail wheel. Most K-4's had this door permanently closed so I'll fill it in with plastic and rescribe the door panels.
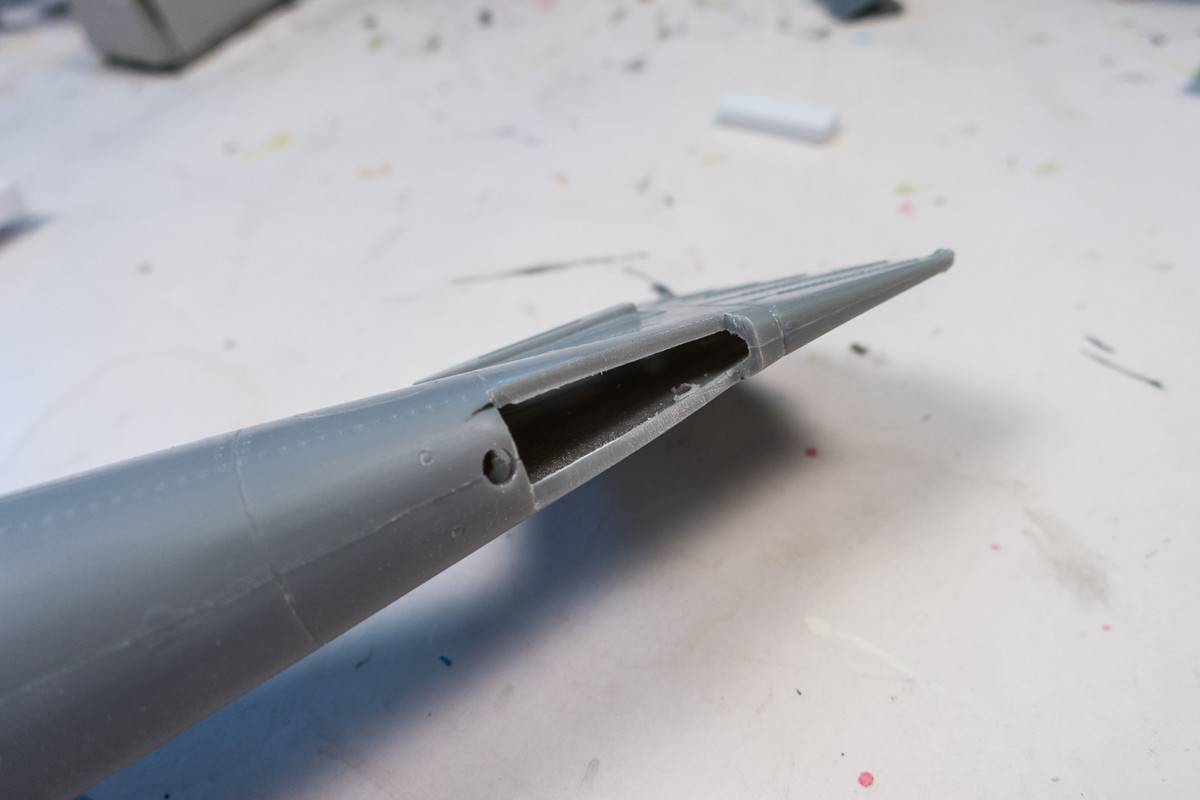
I used two strips of thick styrene sheet fused together with Tamiya Extra Thin glue as a solid block to fill the hole.
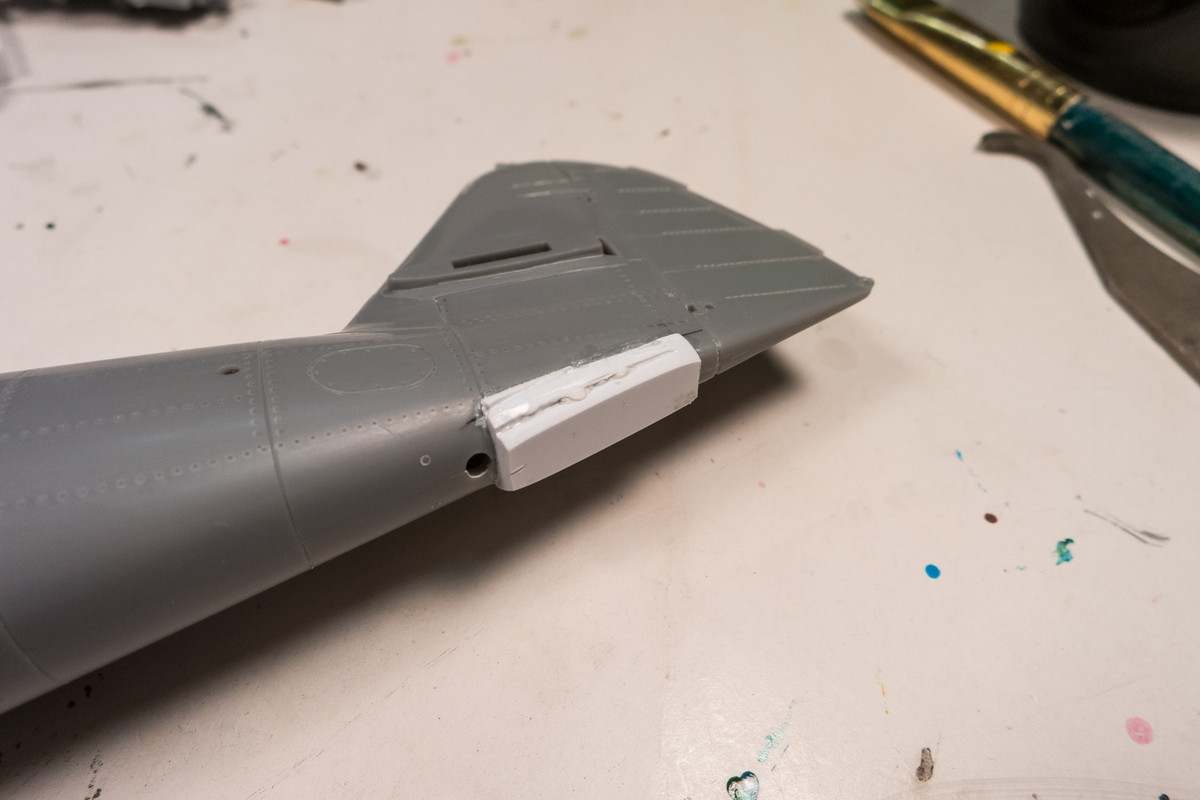
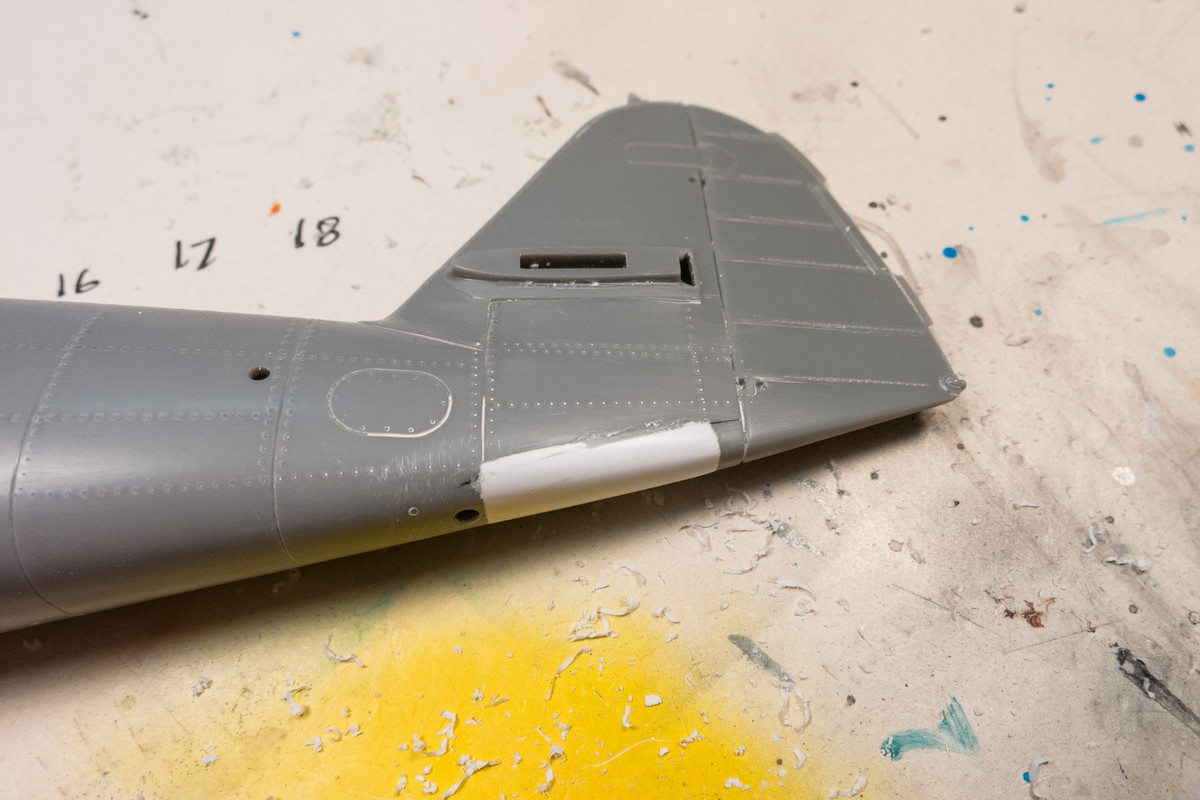
After a few hours of shaving and sanding, I have contoured the plastic block to match the fuselage. The joints need to be cleaned up but at least I got the tedious shaping work done.
That's all for now!
Re: 1/32 Hasegawa Bf109K-4 Weisse 8
Posted: Mon Nov 18, 2019 12:14 am
by Floki
Great job on shaping that door if it wasn't white I don't think I could tell it wasn't part of the kit.
Re: 1/32 Hasegawa Bf109K-4 Weisse 8
Posted: Mon Nov 18, 2019 6:33 am
by mustang1989
One of these days I hope to get my interiors/ cockpits looking as good as this. Fabulous job on this all the way around......weathering, detail painting, shading...the whole nine yards.