Page 16 of 35
Re: 1/32 Special Hobby Hawker Tempest Mk V
Posted: Fri Apr 15, 2022 2:00 am
by Stuart
Excellent progress John!
Re: 1/32 Special Hobby Hawker Tempest Mk V
Posted: Fri Apr 15, 2022 4:33 am
by mustang1989
Will be going back through the whole build progress to check this one out. Another one of your masterpieces in the making........
Great to see you back at the bench btw.

Re: 1/32 Special Hobby Hawker Tempest Mk V
Posted: Fri Apr 15, 2022 12:47 pm
by jkim
Re: 1/32 Special Hobby Hawker Tempest Mk V
Posted: Fri Apr 15, 2022 1:45 pm
by BlackSheep214
Re: 1/32 Special Hobby Hawker Tempest Mk V
Posted: Fri Apr 15, 2022 5:35 pm
by Stuart
Superb work John!
Re: 1/32 Special Hobby Hawker Tempest Mk V
Posted: Fri Apr 15, 2022 11:18 pm
by jkim
Re: 1/32 Special Hobby Hawker Tempest Mk V
Posted: Sat Apr 16, 2022 1:55 am
by Stuart
Excellent work John!
Re: 1/32 Special Hobby Hawker Tempest Mk V
Posted: Sat Apr 16, 2022 4:19 pm
by jeaton01
Lovely work.
Re: 1/32 Special Hobby Hawker Tempest Mk V
Posted: Sat Apr 16, 2022 8:42 pm
by jkim
Thanks guys!
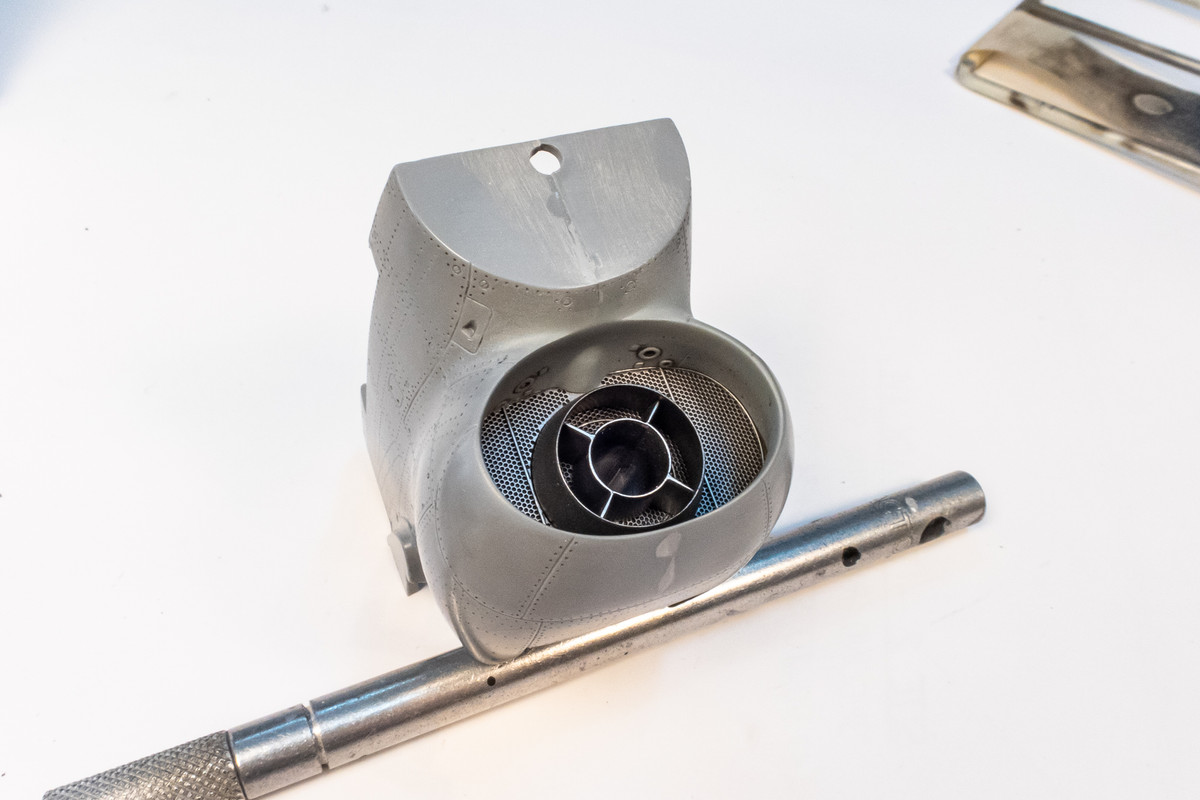
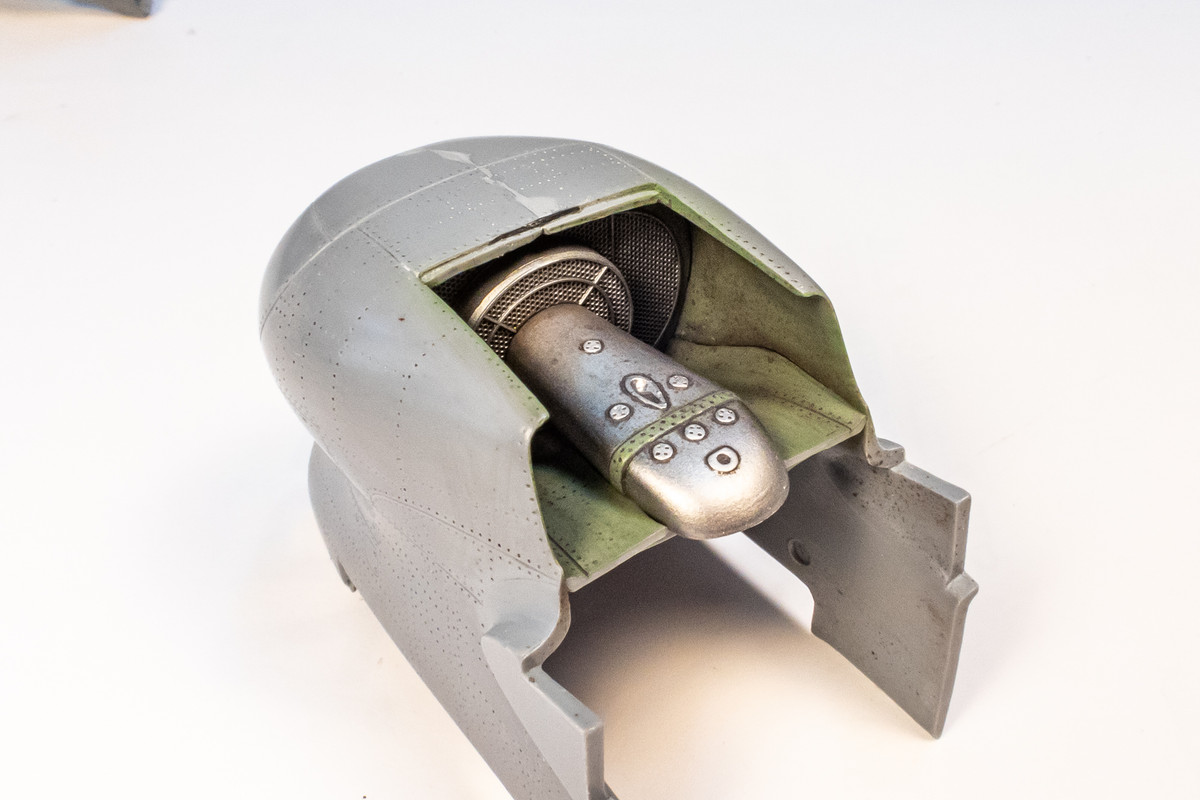
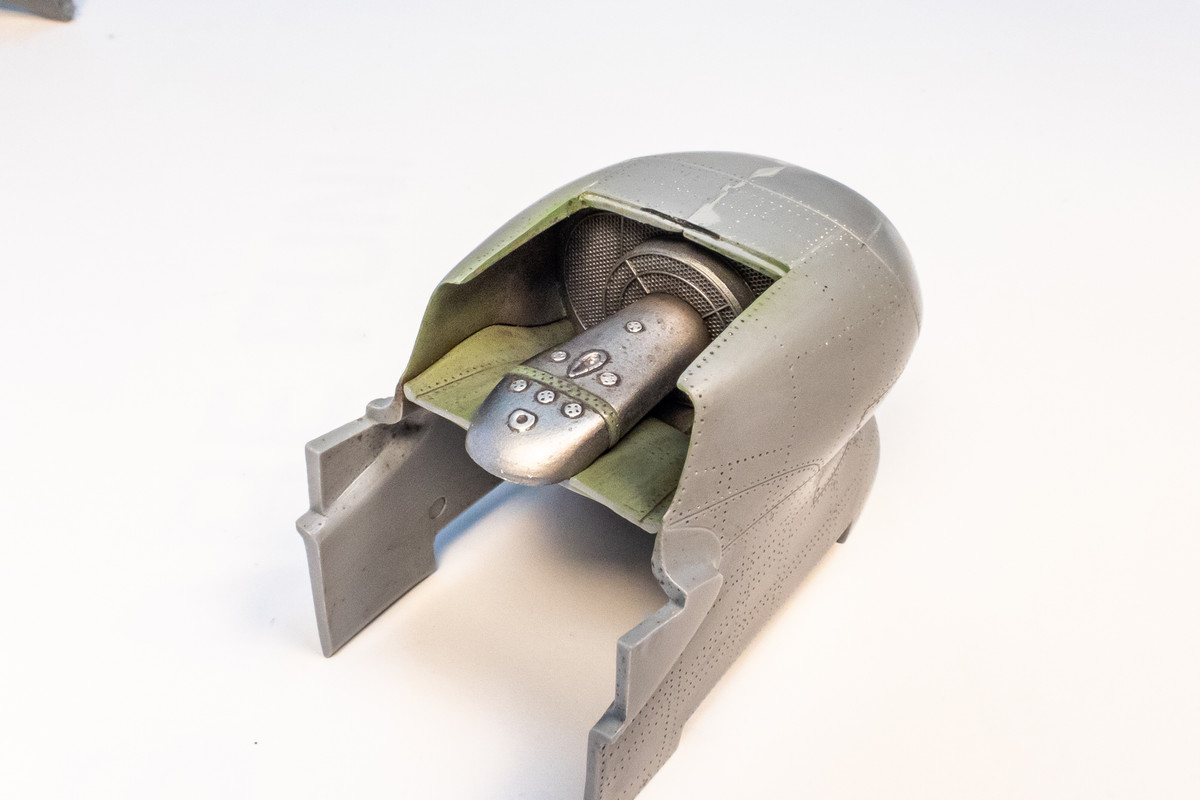
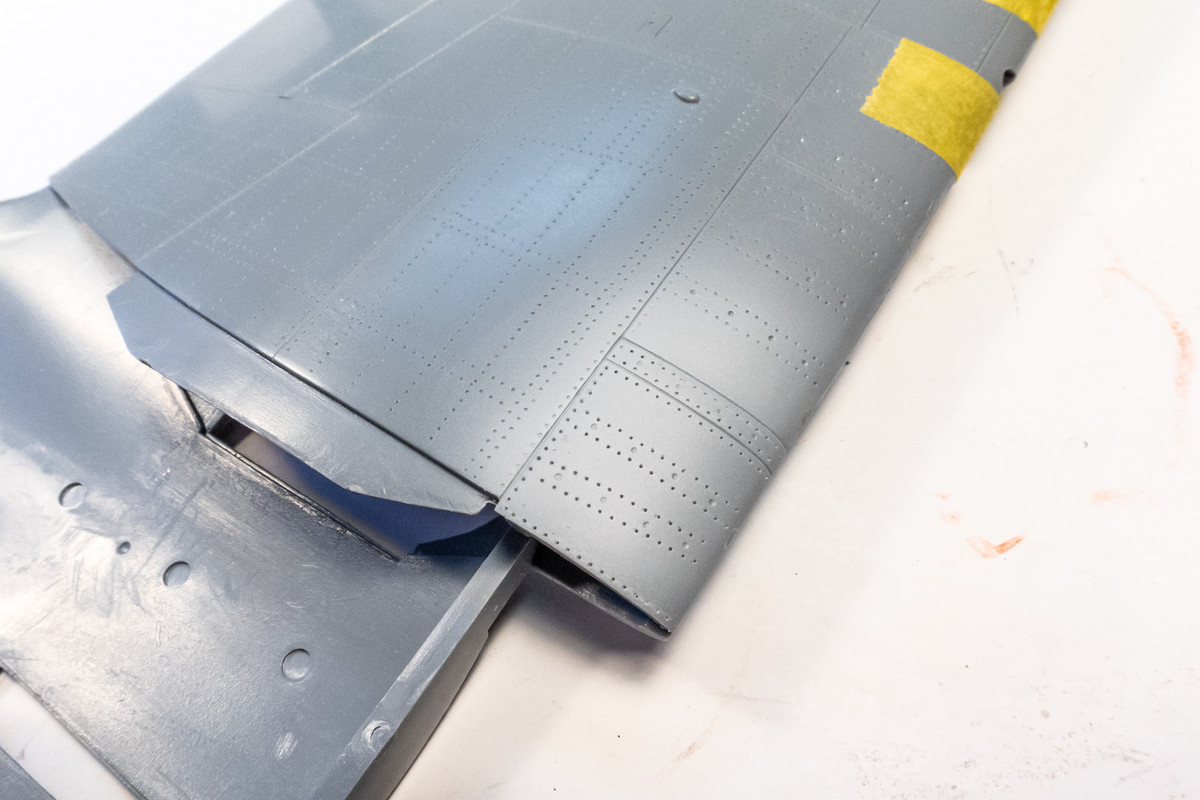
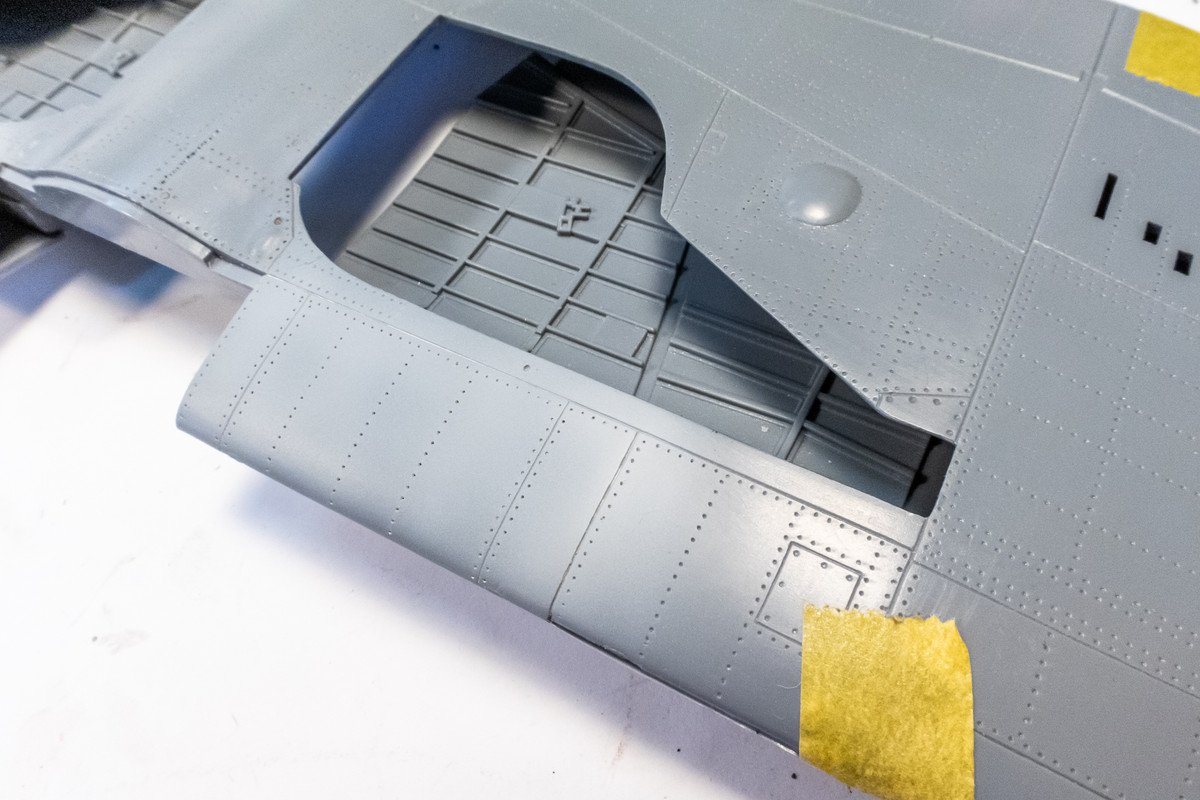
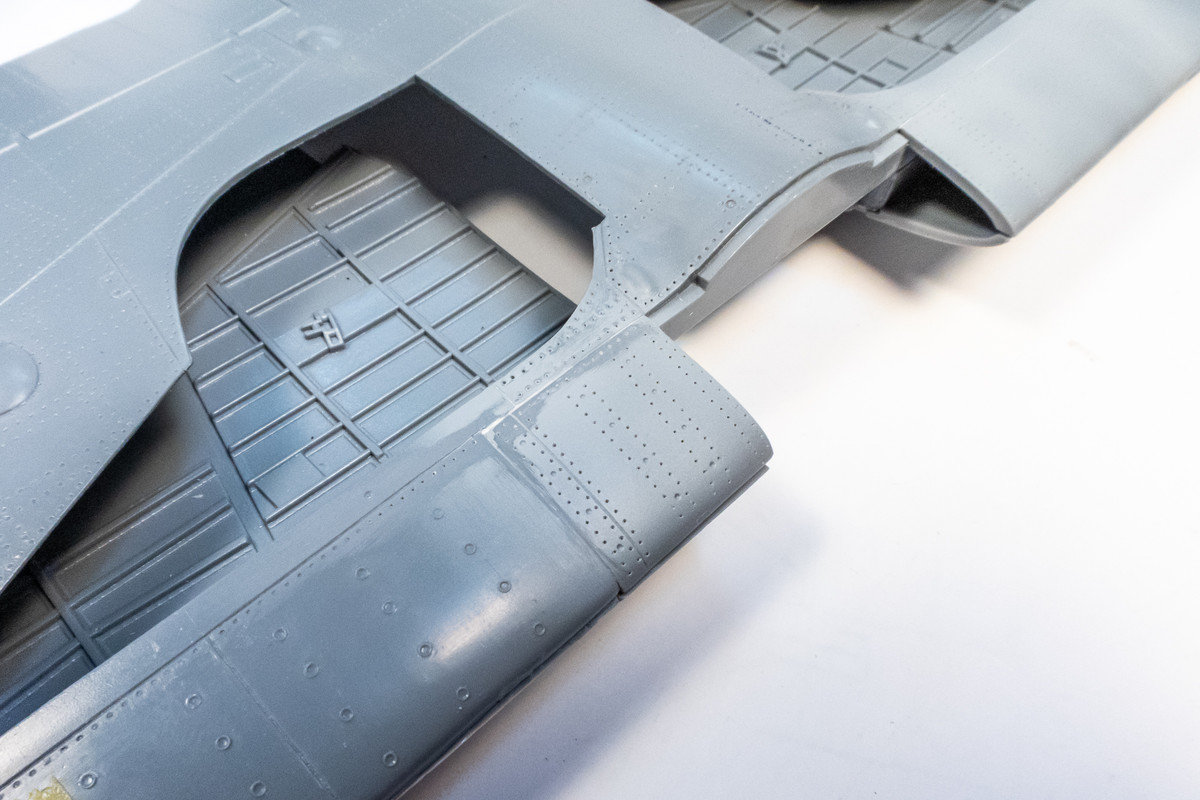
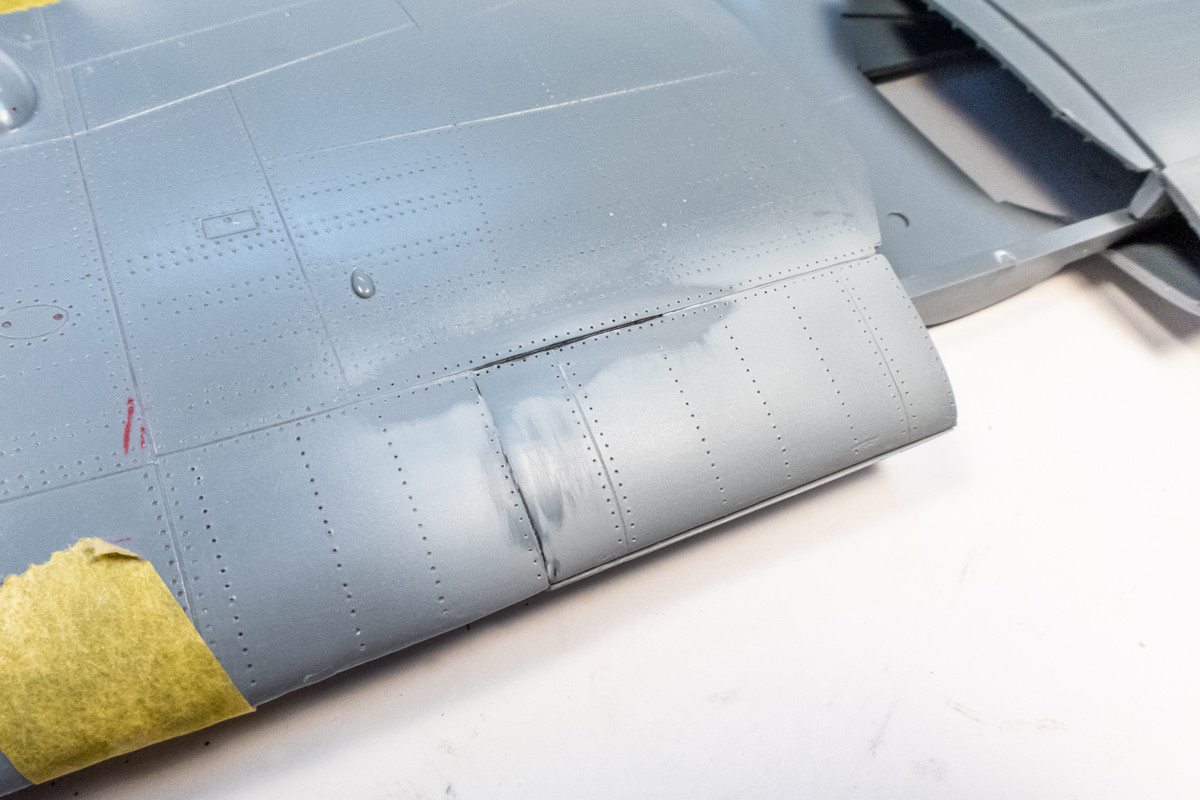
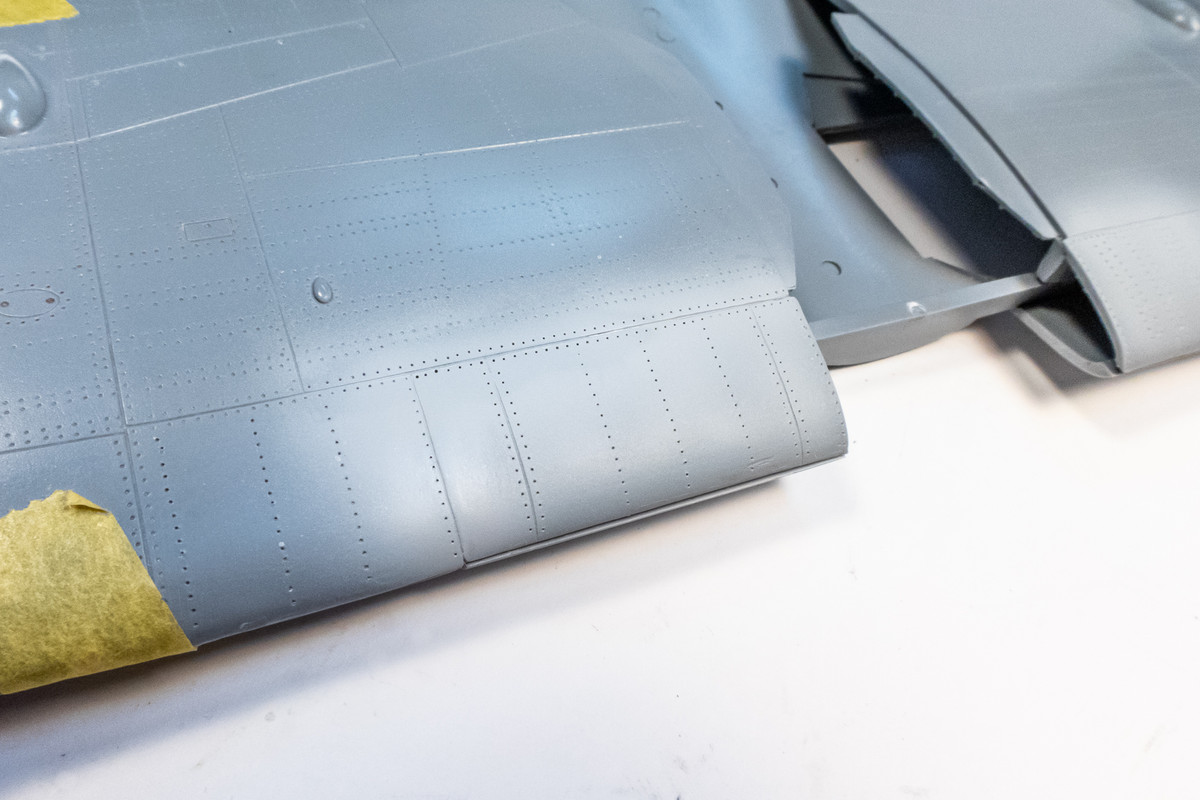
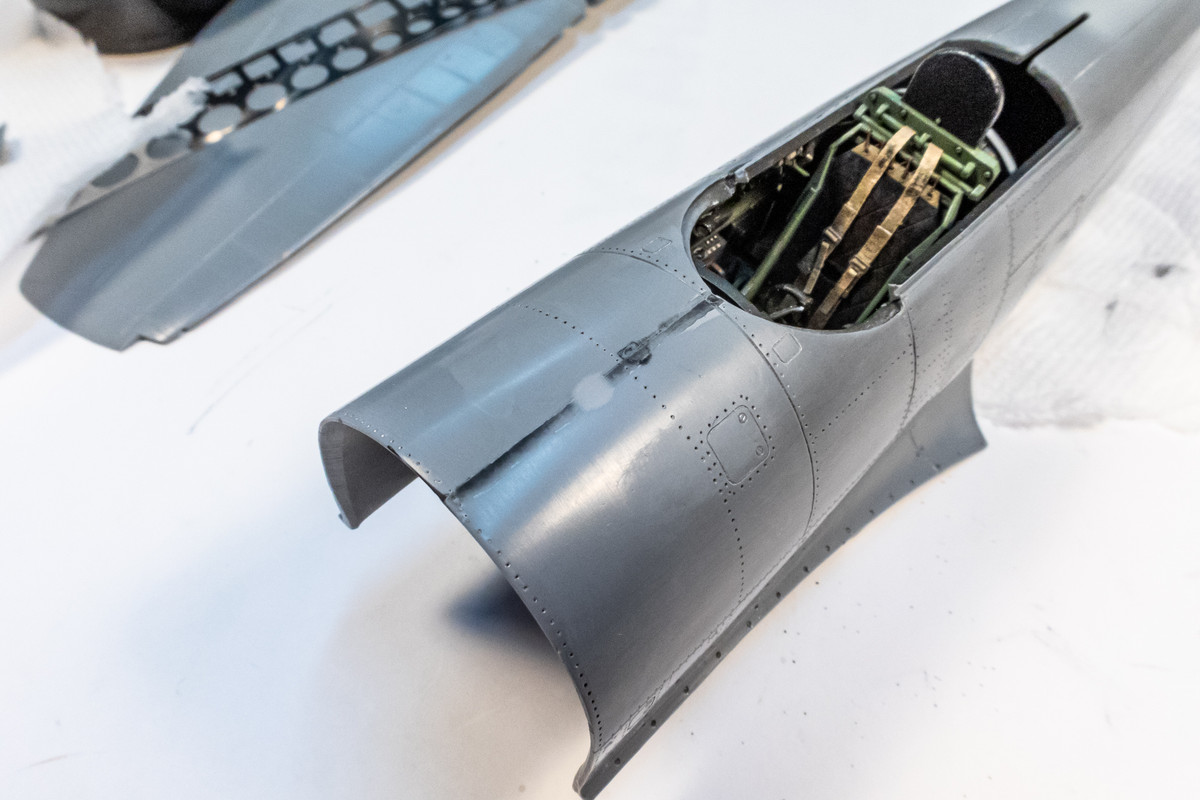
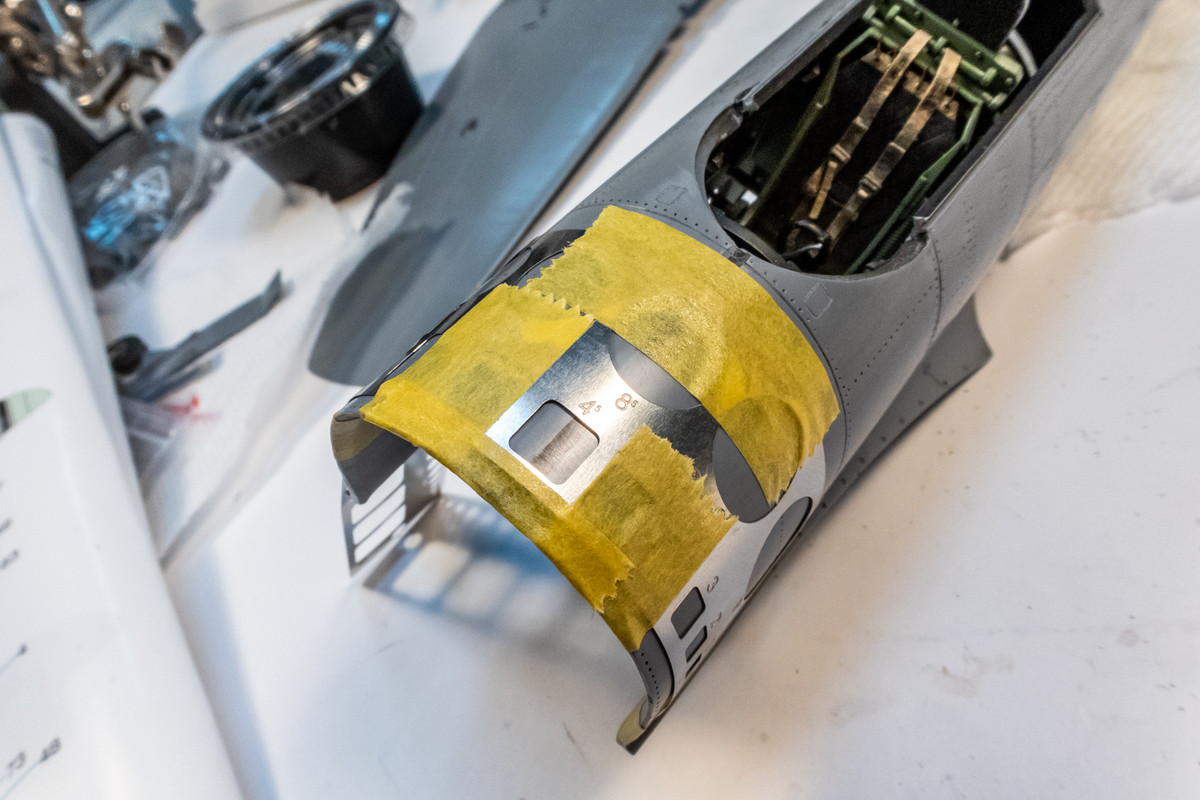
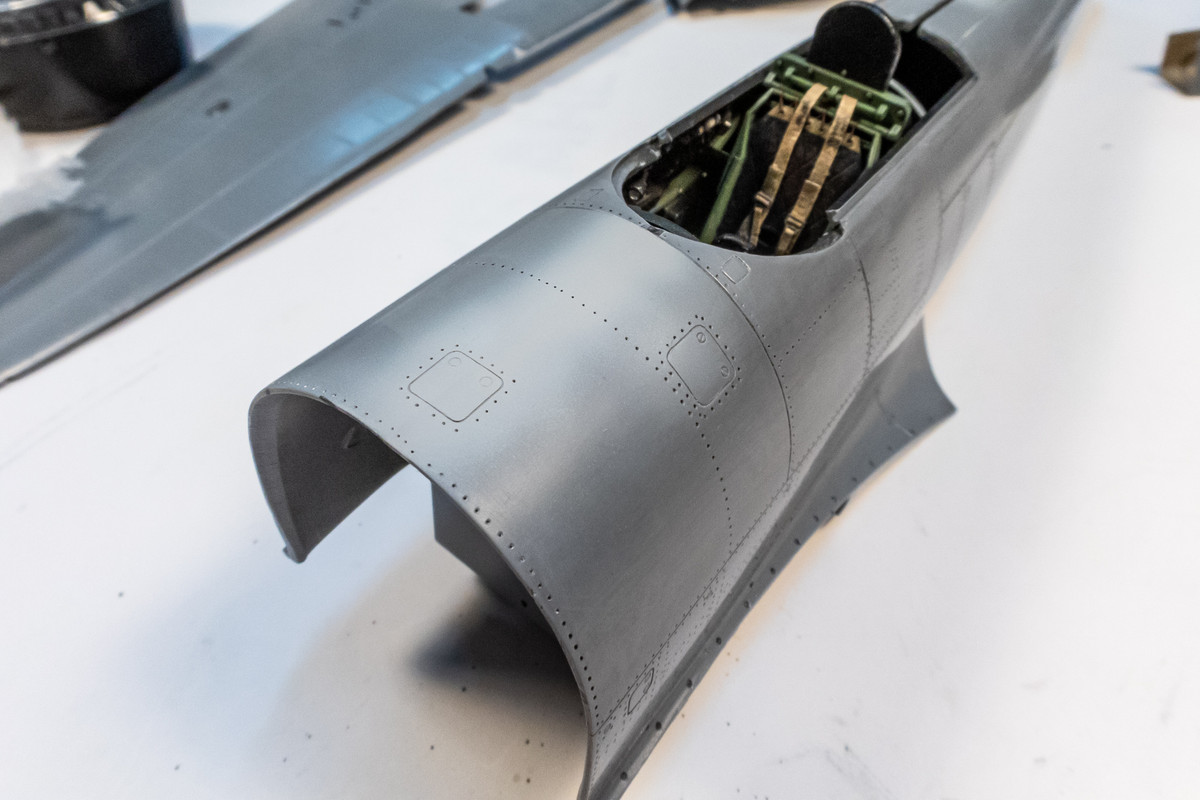
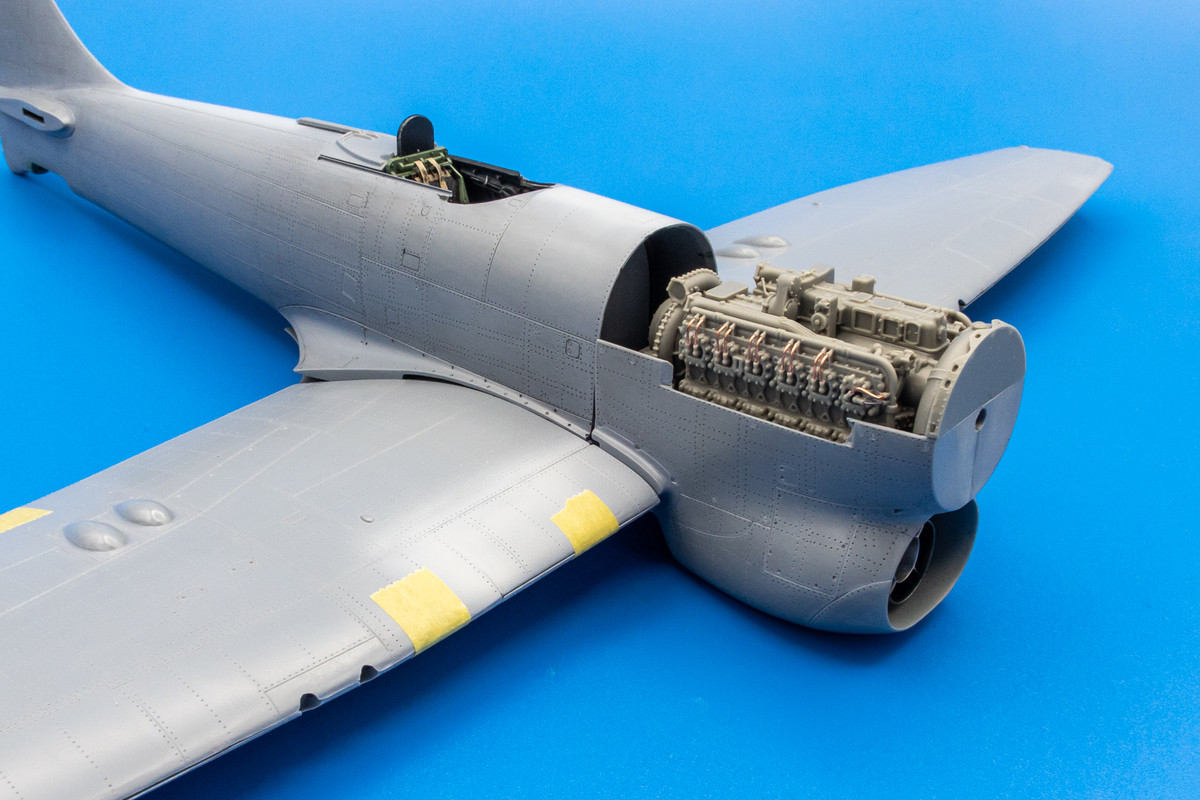
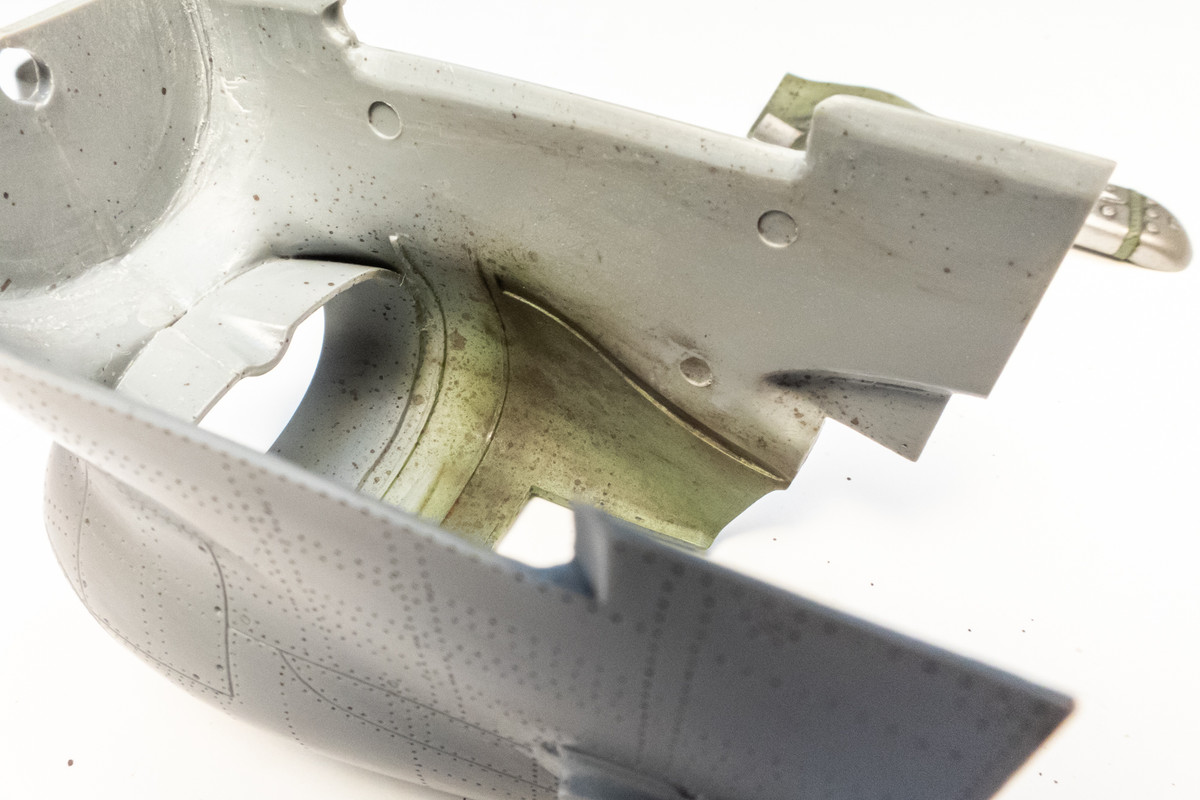
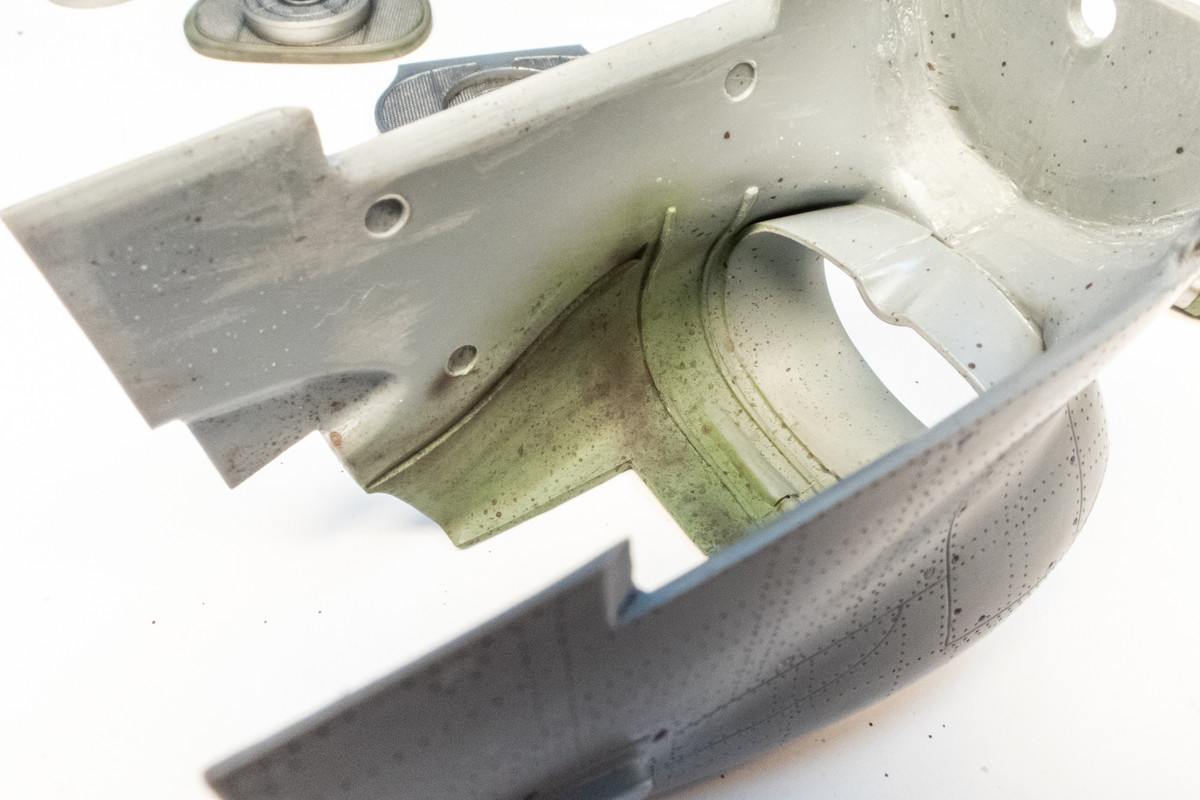
In addition to the wheel well area, another area of concern is how the nose + resin engine will mate with the fuselage. I've decided to add a couple of shims to help separate the rear of the nose assembly to match the front of the fuselage. Due to the engine, the space to add shims is restricted to a small strip just below the engine casting block.
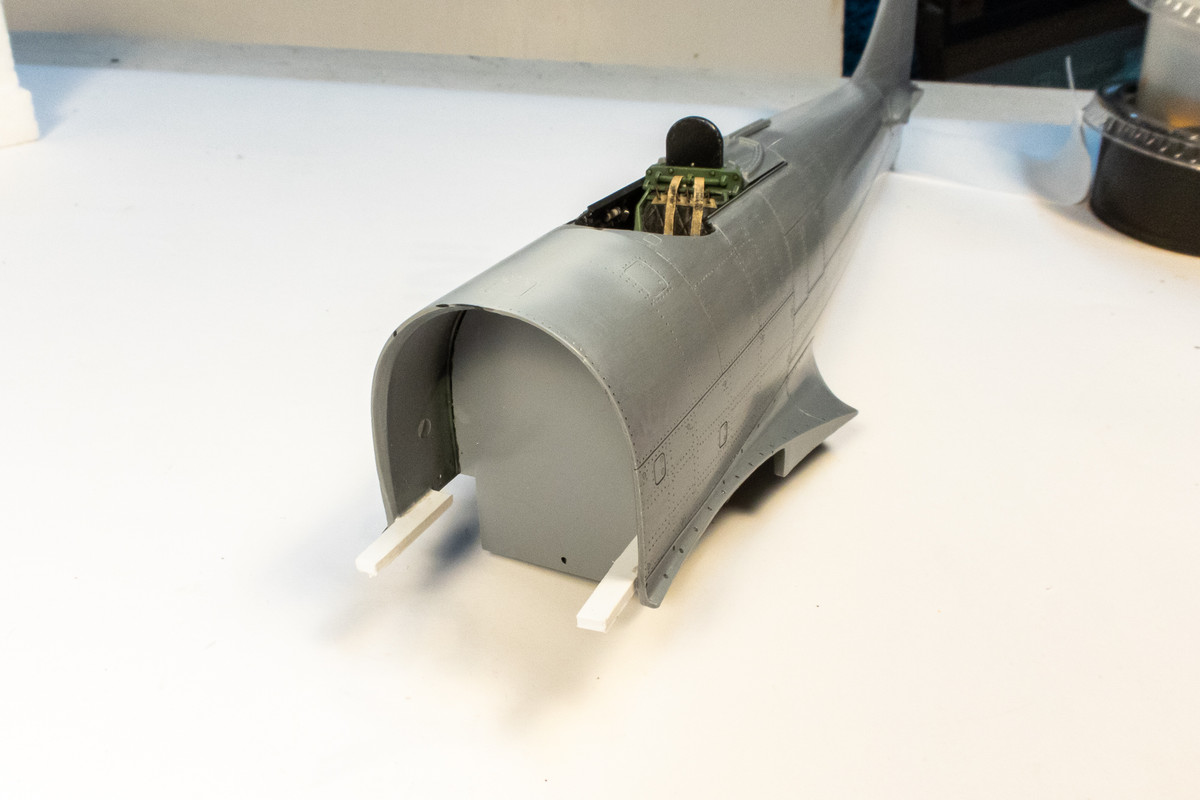
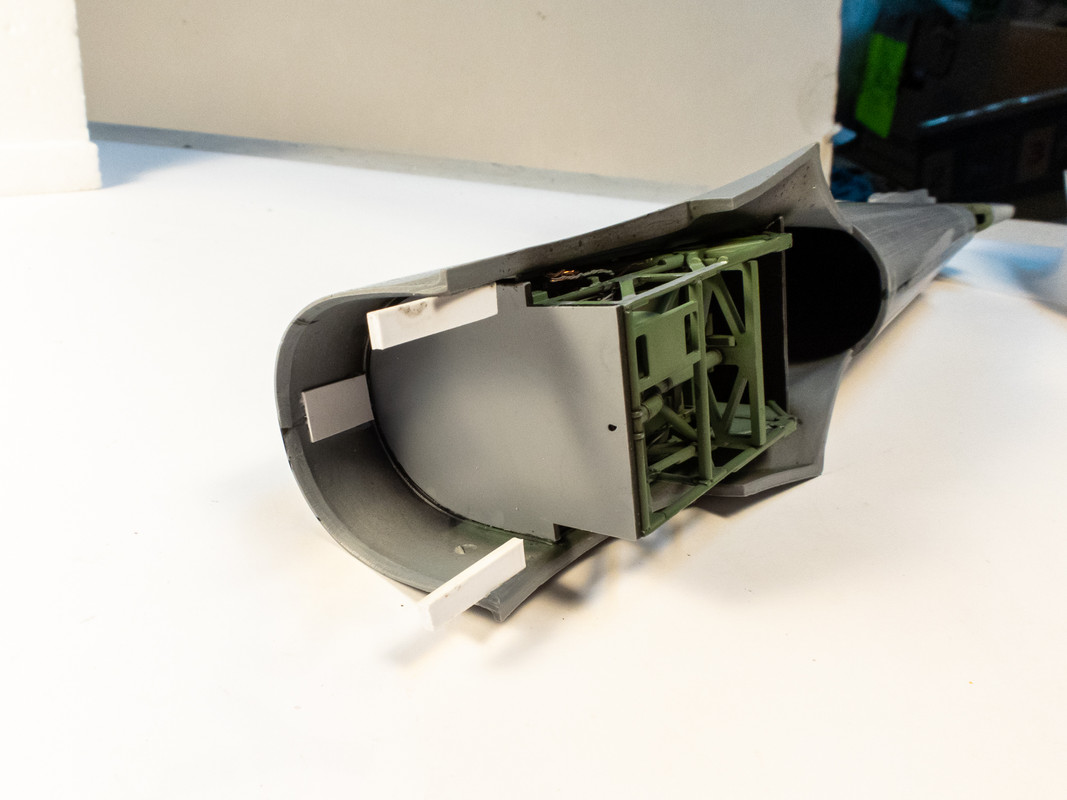
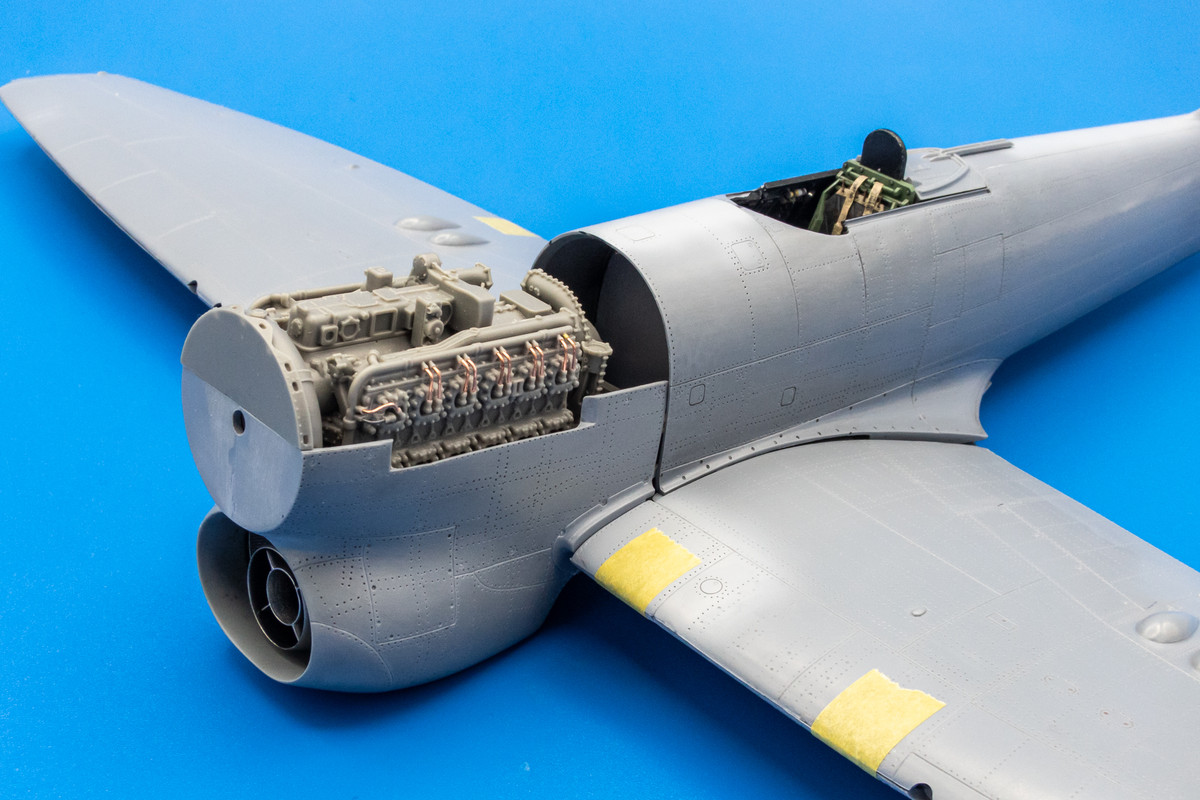
With the wings taped together, I tried a dry fit of the three major subcomponents. Yes, there are gaps but considering that this is all friction and gravity, I'm pretty pleased at this initial step. The shims also serve as a shelf for the rear of the engine block to rest.
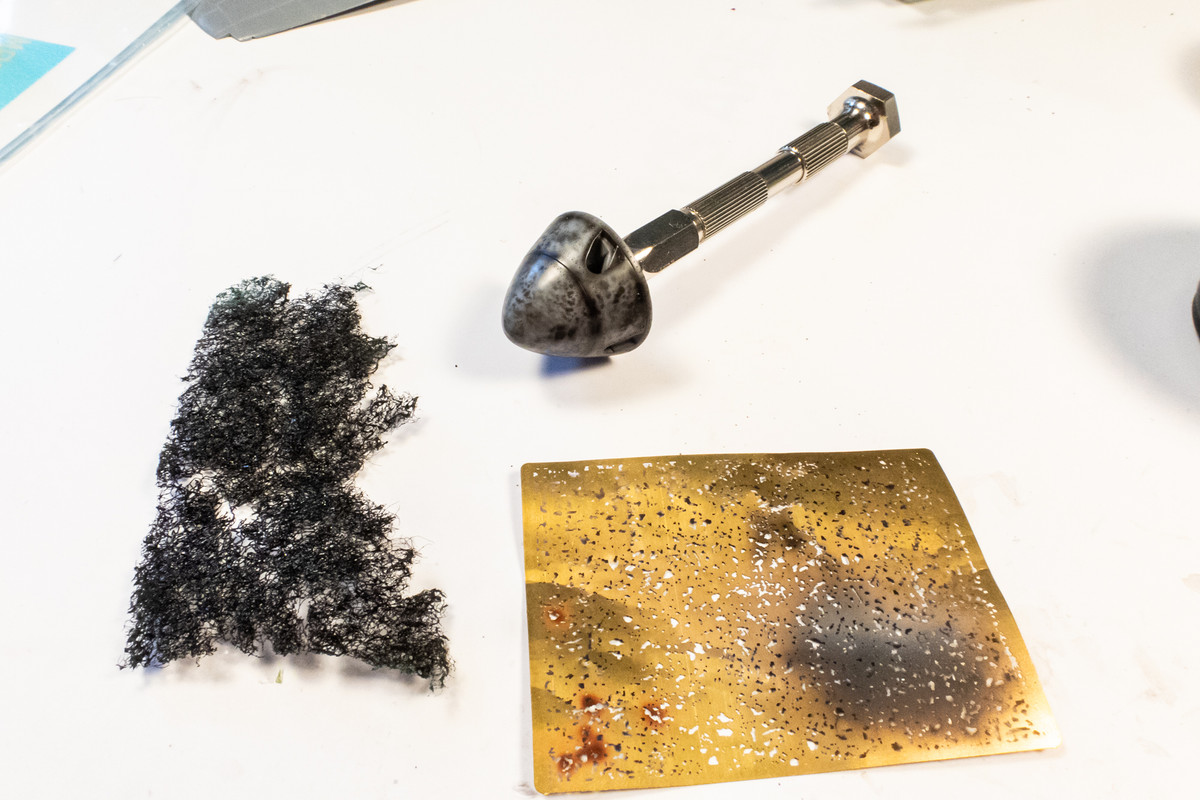
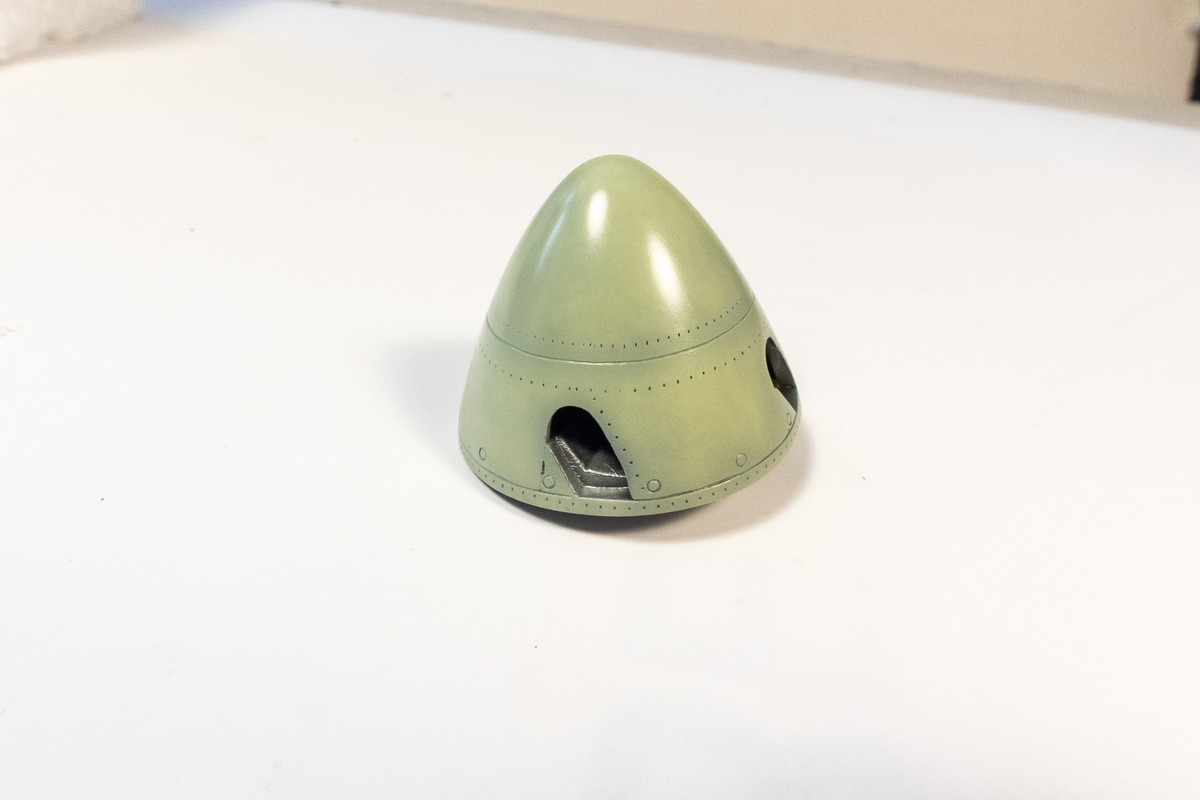
The re-shaped kit spinner is ready for painting. It doesn't match the Barracuda corrected spinner exactly but I've removed the most obvious "bulbous" look of the kit spinner AND the baseplate diameter matches the nose exactly, which is why I chose to use this instead of the Barracuda spinner and nose. My normall scrubbing pad and splatter templates are used for the pre-shading.
I read somewhere that pink is a great base for yellow and I tried that here on the prop blade tips.
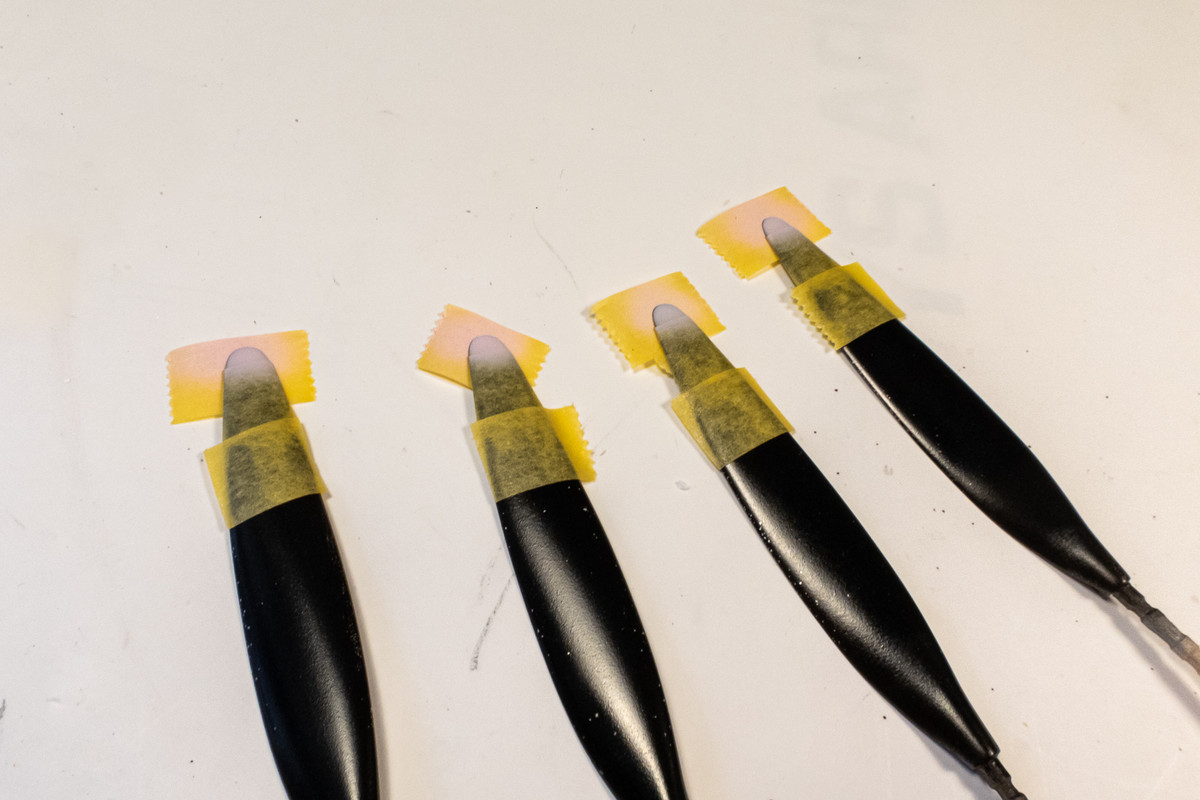
Seemed to work well but hard to conclusive when the yellow area is so small. There is some very light hairspray chipping (mostly on the edges). The props were also given a couple of rounds of salt fading to dirty them up. I'll probably put a few chips on the yellow tips with a sponge.
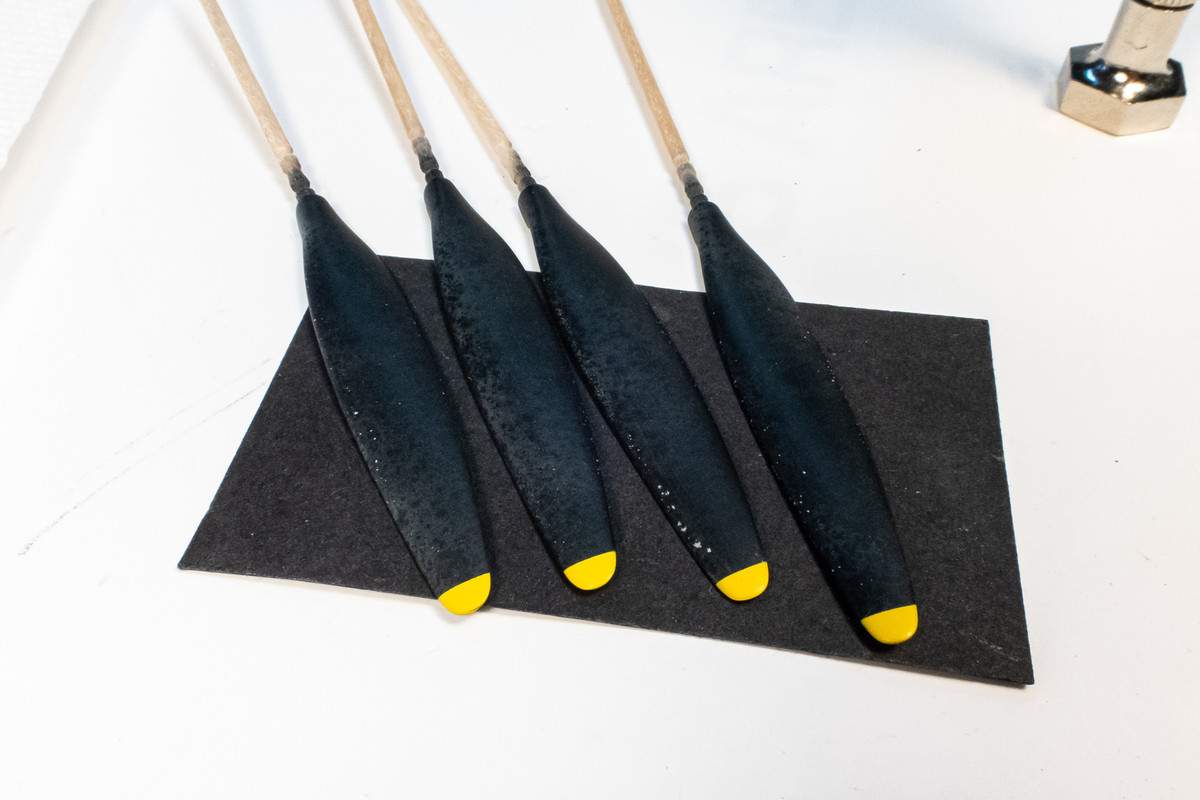
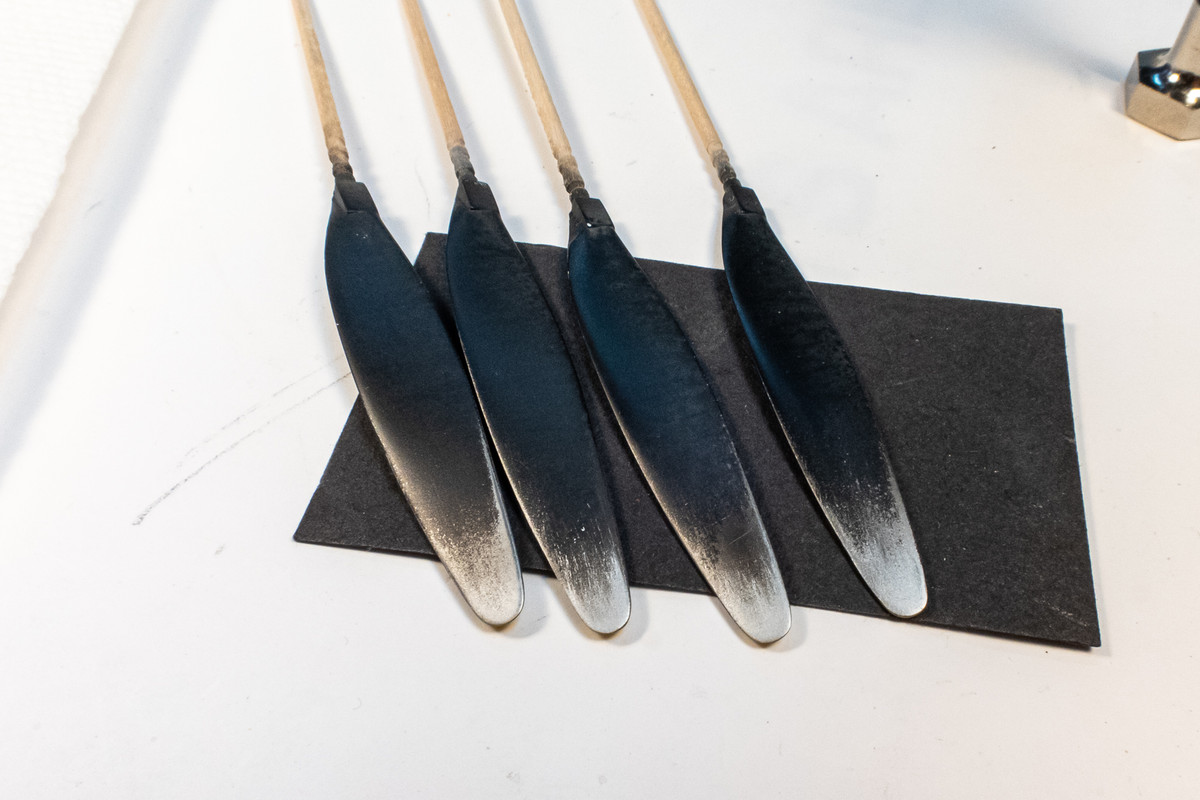
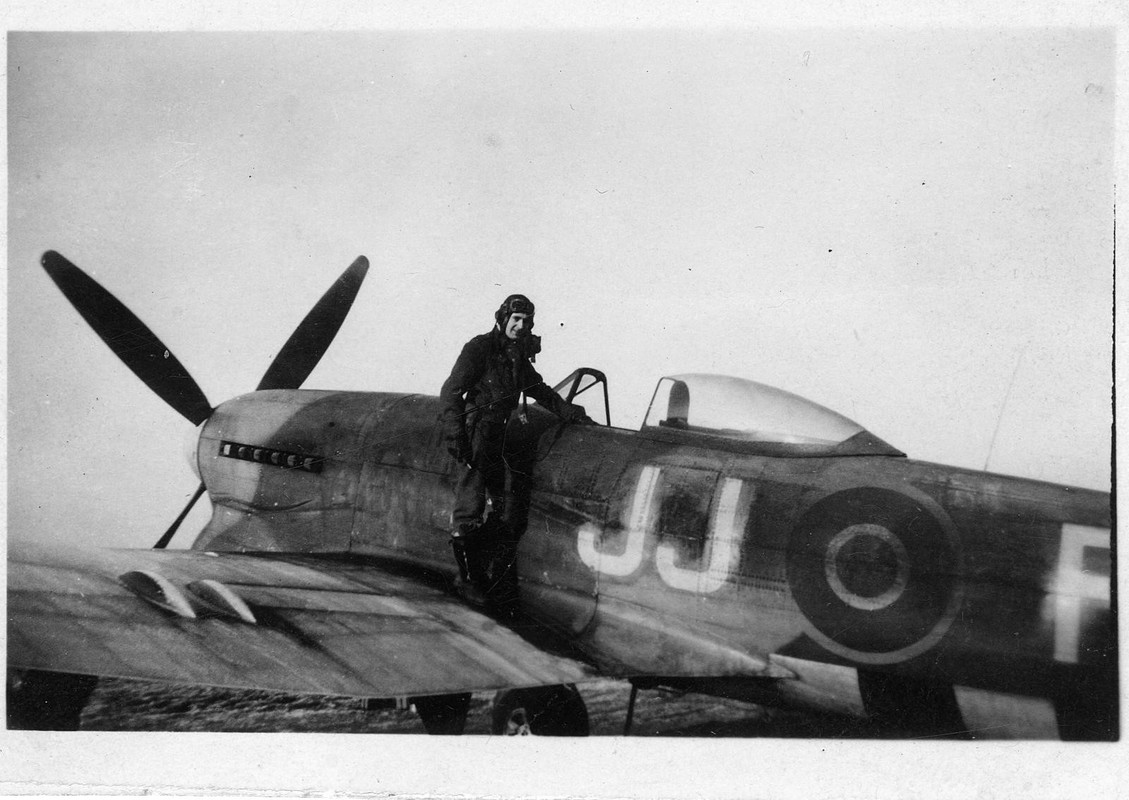
The back sides of the props do not have yellow tips. As I am going to model David C. Fairbanks' Tempest: JJ-F (EJ762), I am basing the painting of the props on this photo...
Re: 1/32 Special Hobby Hawker Tempest Mk V
Posted: Sat Apr 16, 2022 10:47 pm
by jkim
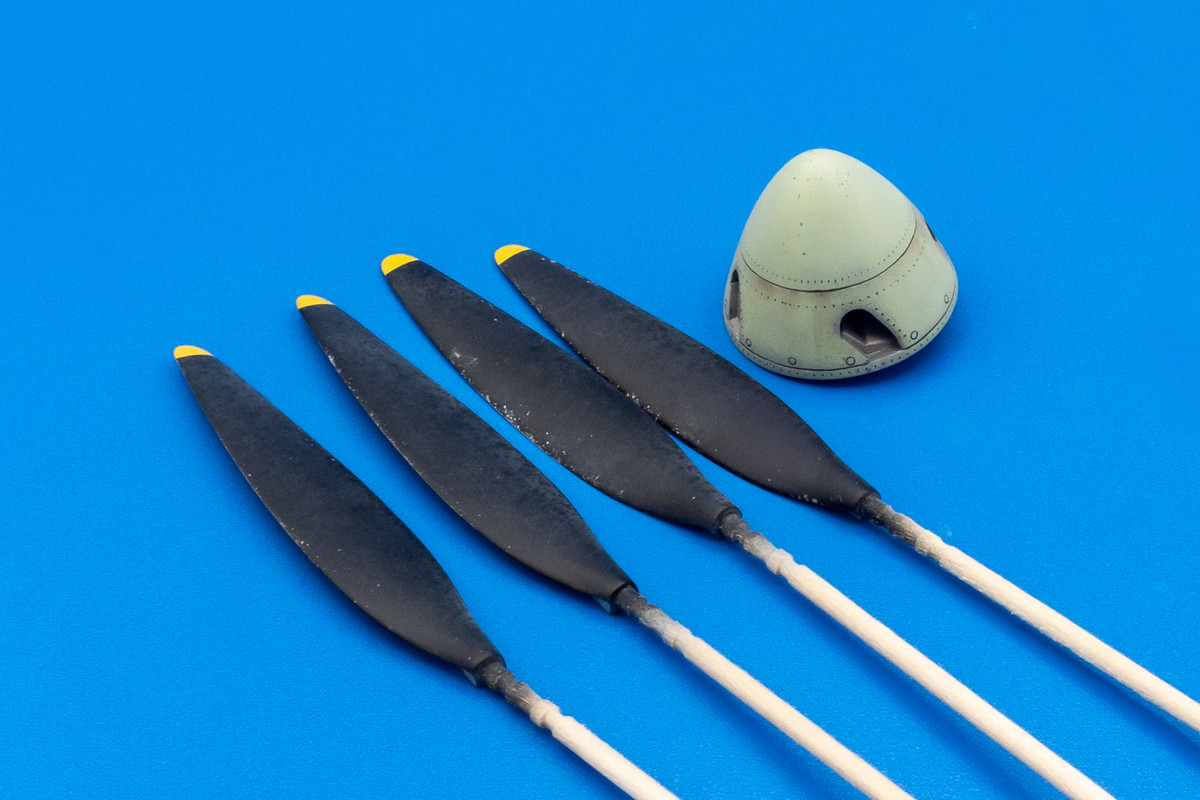
The prop blades with the finished spinner.
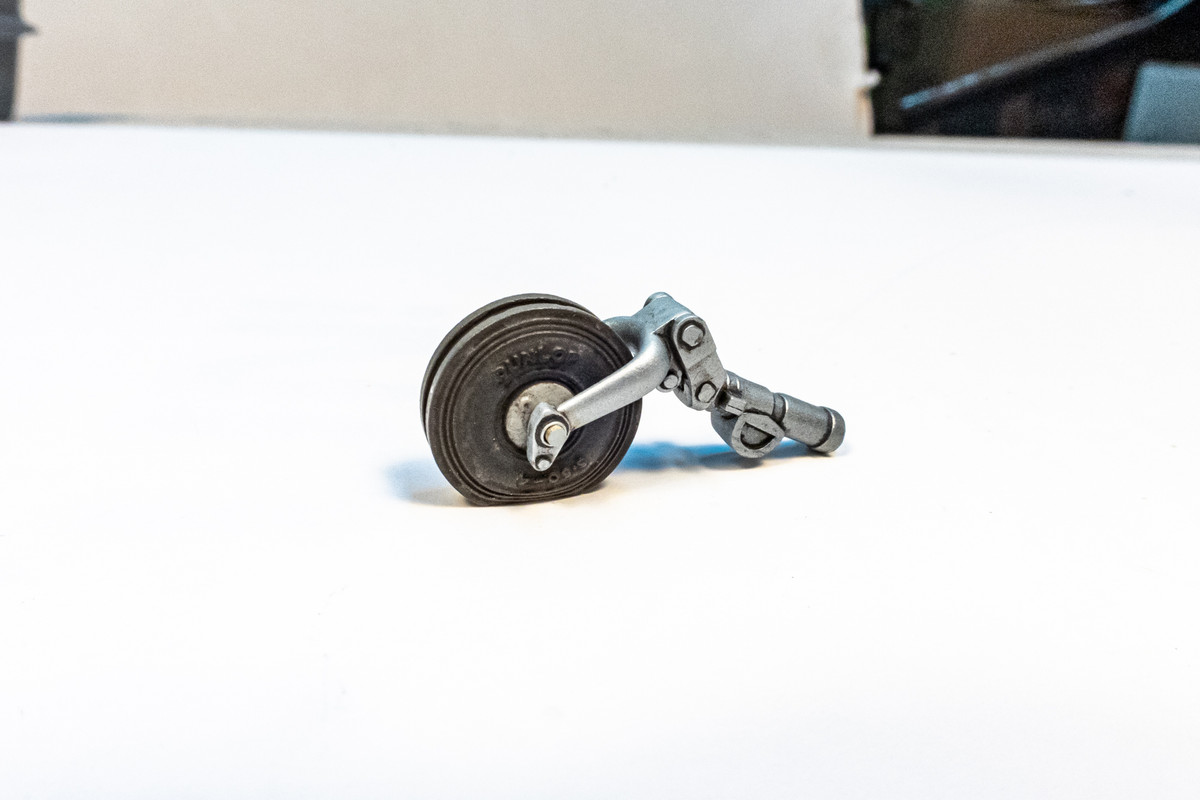
The tail wheel leg has been repainted in a metallic color (White Aluminum). I thought there was enough ambiguity to make the landing gear legs light grey but it seems pretty apparent that they were metallic in color.
 You are a master.