Page 17 of 44
Re: 1/32 Hasegawa Fw190D-9 Red One
Posted: Mon Nov 26, 2018 1:49 pm
by Duke Maddog
Awesome work on the rivets. Looks perfect!
Re: 1/32 Hasegawa Fw190D-9 Red One
Posted: Mon Nov 26, 2018 4:34 pm
by speedgraflex
Wow! Is that a No. 5 mechanical pencil? I don’t have any words to describe how good your work looks so far, John—You’re beyond words at the moment!
Re: 1/32 Hasegawa Fw190D-9 Red One
Posted: Mon Nov 26, 2018 7:00 pm
by BlackSheep214
I have no words at all. I'm in awe and speechless.
Re: 1/32 Hasegawa Fw190D-9 Red One
Posted: Mon Nov 26, 2018 7:50 pm
by KennyX
Boy that’s really some nice work on the riveting. Beautiful job with it, from preparation to execution. I dignit, man, what a great extra touch!
Re: 1/32 Hasegawa Fw190D-9 Red One
Posted: Tue Nov 27, 2018 5:49 pm
by jkim
Thanks guys! The riveting work may seem daunting but it becomes manageable when you break it up and spread it out. The blue tool in the pics is the x-acto blade handle that I have my Rivet-R wheel mounted on. I've been using standard wood pencils to draw the guide lines for the rivets but perhaps a mechanical pencil would work better? I would need to find lead refills softer than HB.
Re: 1/32 Hasegawa Fw190D-9 Red One
Posted: Fri Nov 30, 2018 2:56 pm
by jkim
Continuing work on the upper wings... the leading edge features circular fasteners that aren't represented on the kit.
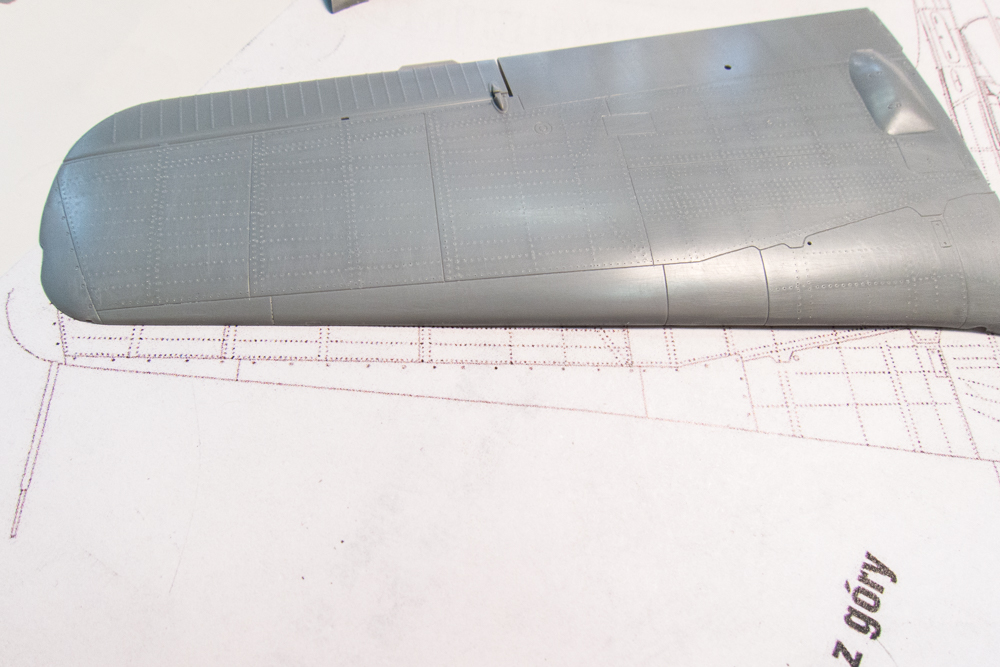
Using the scale drawing as a guide, I mark the fastener locations on the wing in pencil.

The fasteners will be represented as small recessed circles, which I will make using this tool. Some model retail shops sell this as a rivet tool but if you want to save some money, do a search on Ebay for "diamond setting beading tool" and you get one for less than $10.
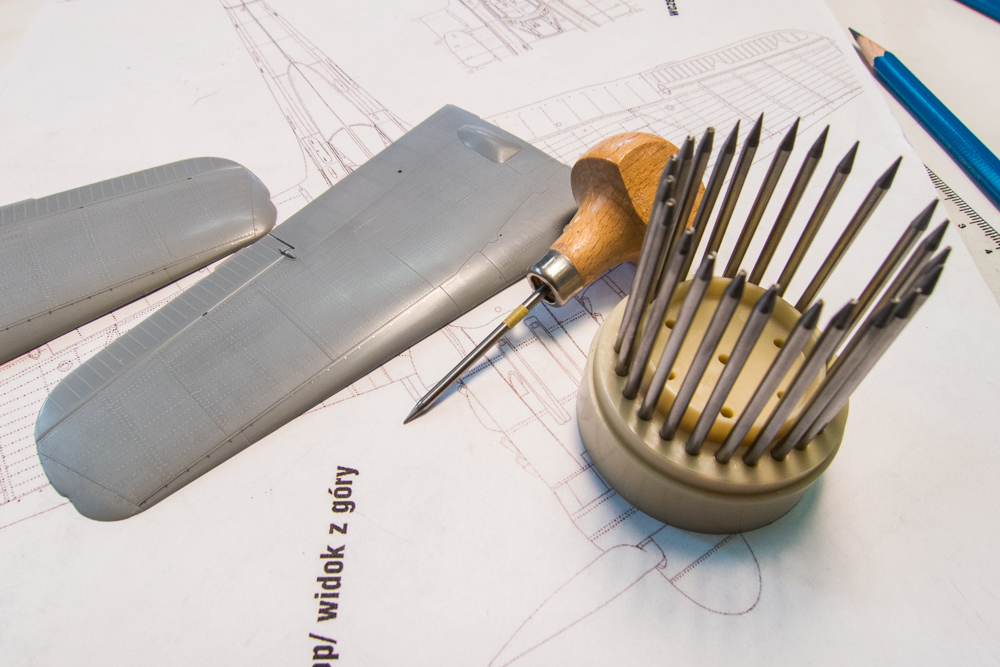

The tool is pressed onto the plastic at the specified marks to make the small circles.
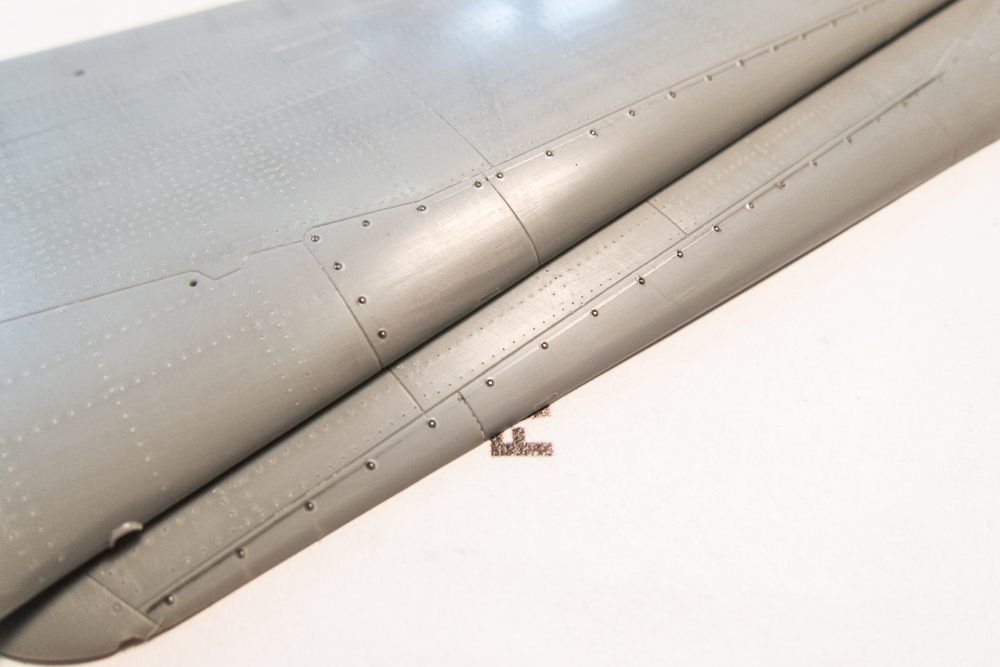
Here's what the fasteners look like after the pencil marks are removed.
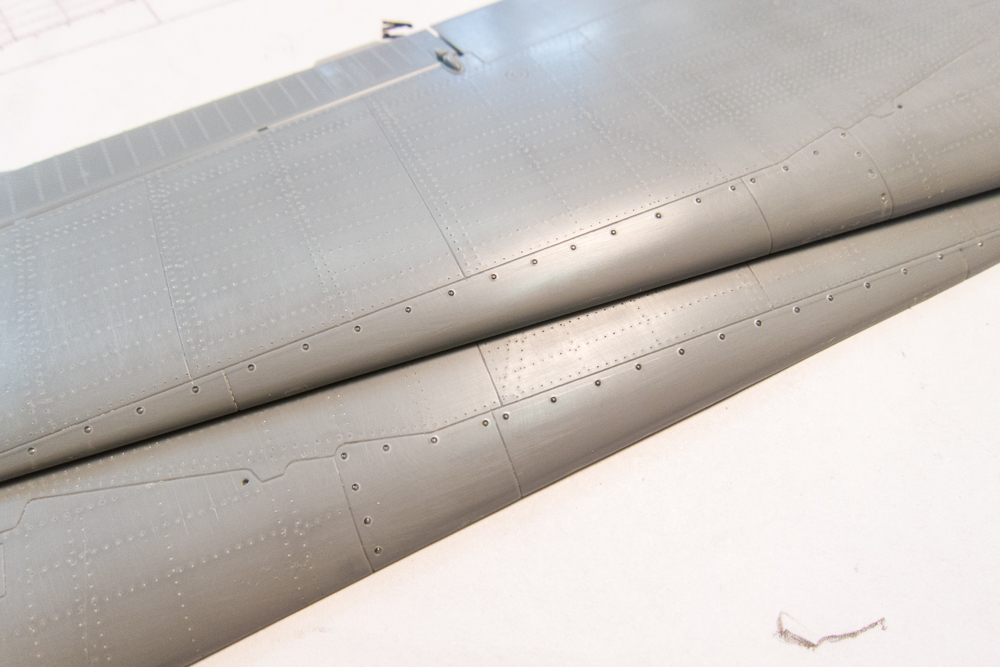
I like to mark the specific tool size with a piece of tape in case I need to repair any of the marks that I made or need to put any additional marks of the same size.

I am going to show the mounting ladder deployed so I want to cut out the ladder outline from the bottom wing instead of just drilling two holes as recommended in the instructions.
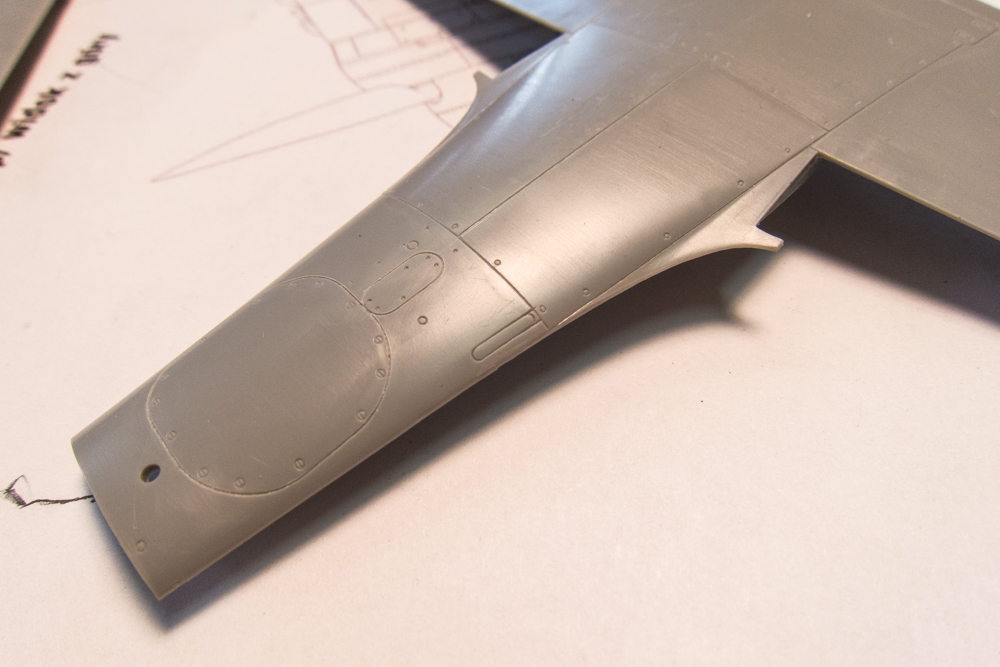
I put guide marks on the ladder with the tip of an x-acto blade.
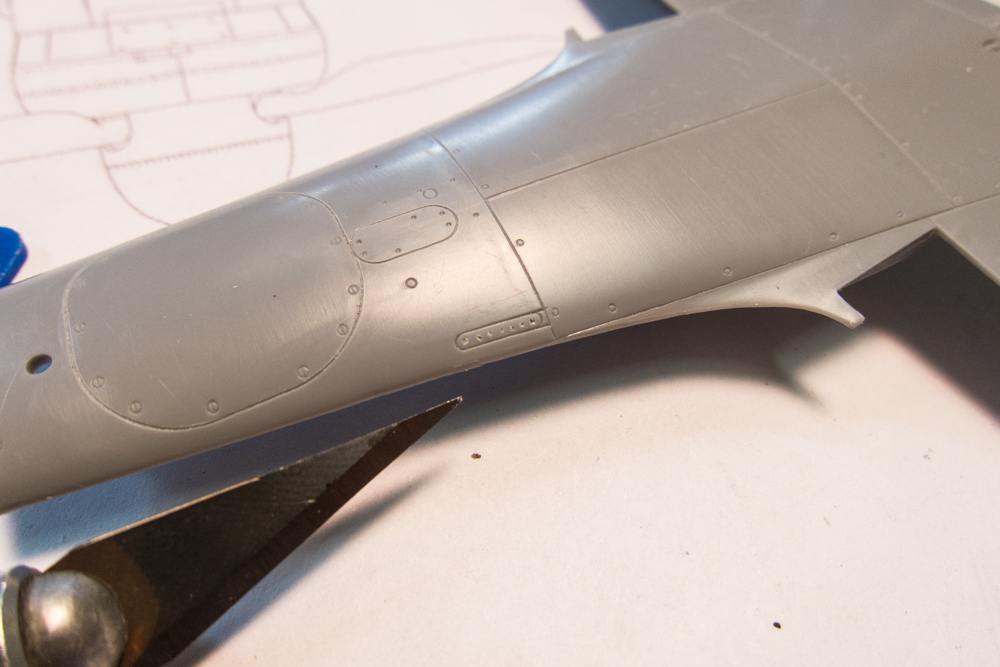
A small drill bit is used to remove the ladder outline one circular chunk at a time.
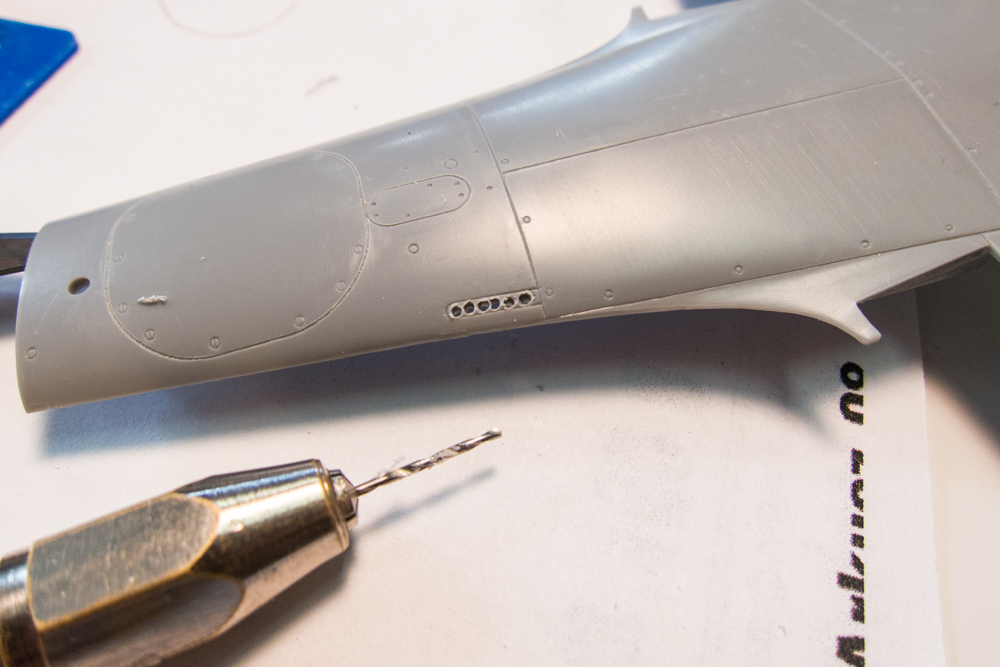
After the opening is cleaned up with a knife and sandpaper, the result is a more realistic opening for the ladder.
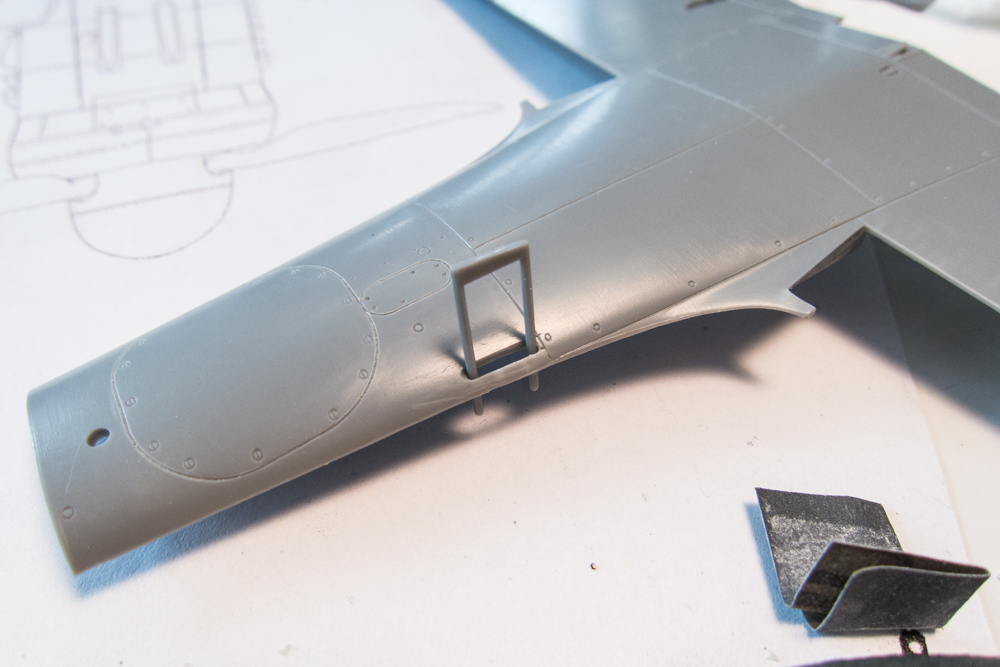
Red 1 was documented with no drop tank or ETC rack so that is how I am going to portray her. I've opened up the drop tank fuel ports to appear as pipes not solid circles.
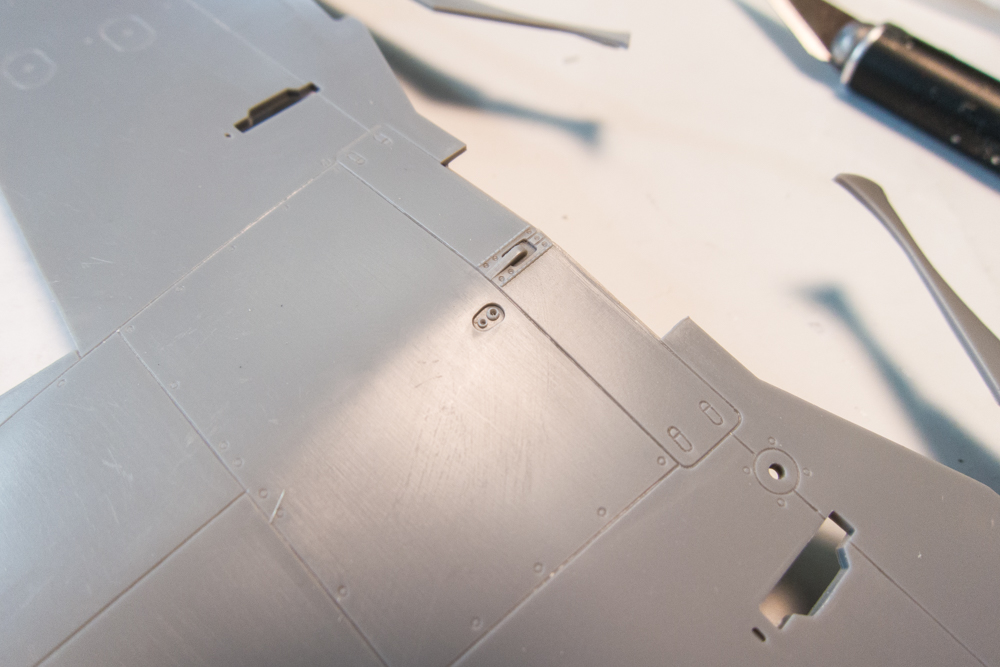
The ammo ejection ports on the wings show the thickness of the plastic. Should I shave this down?

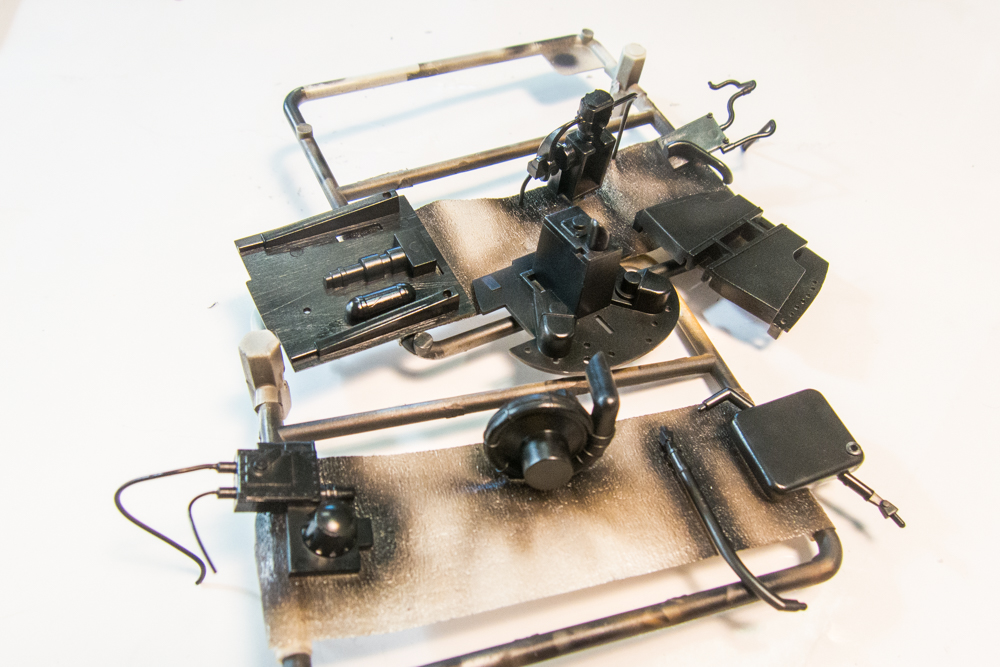
Finally got the compressor repaired so I was able to shoot a base coat of black onto the engine plug parts.
Re: 1/32 Hasegawa Fw190D-9 Red One
Posted: Fri Nov 30, 2018 6:13 pm
by Stuart
That's jaw droppingly good work John - and great to see you back at it!
Re: 1/32 Hasegawa Fw190D-9 Red One
Posted: Fri Nov 30, 2018 7:08 pm
by Medicman71
Very nice! I'm taking notes for sure.

Re: 1/32 Hasegawa Fw190D-9 Red One
Posted: Fri Nov 30, 2018 8:46 pm
by speedgraflex
Beautiful work, John—but, yes, shave the thickness of the ammo chutes down! Cheers!
Re: 1/32 Hasegawa Fw190D-9 Red One
Posted: Sat Dec 01, 2018 6:41 am
by KSaarni
It's so great John is back in action!
Not only the build and the technics around it, but the quality of pictures!
I mean, Q-U-A-L-I-T-Y with big letters!
- Kari