Yeah, I'm rolling pretty good on this one now. Really not much to do since my daughters are out of the house now and we are still in this pandemic thing.
Here's a little tip for anyone that is building a 1/32 Hasegawa 190 kit. There is a small antenna that is attached to the bottom of the fuselage. You can see that the kit piece is just too clunky and should be replaced with something finer.
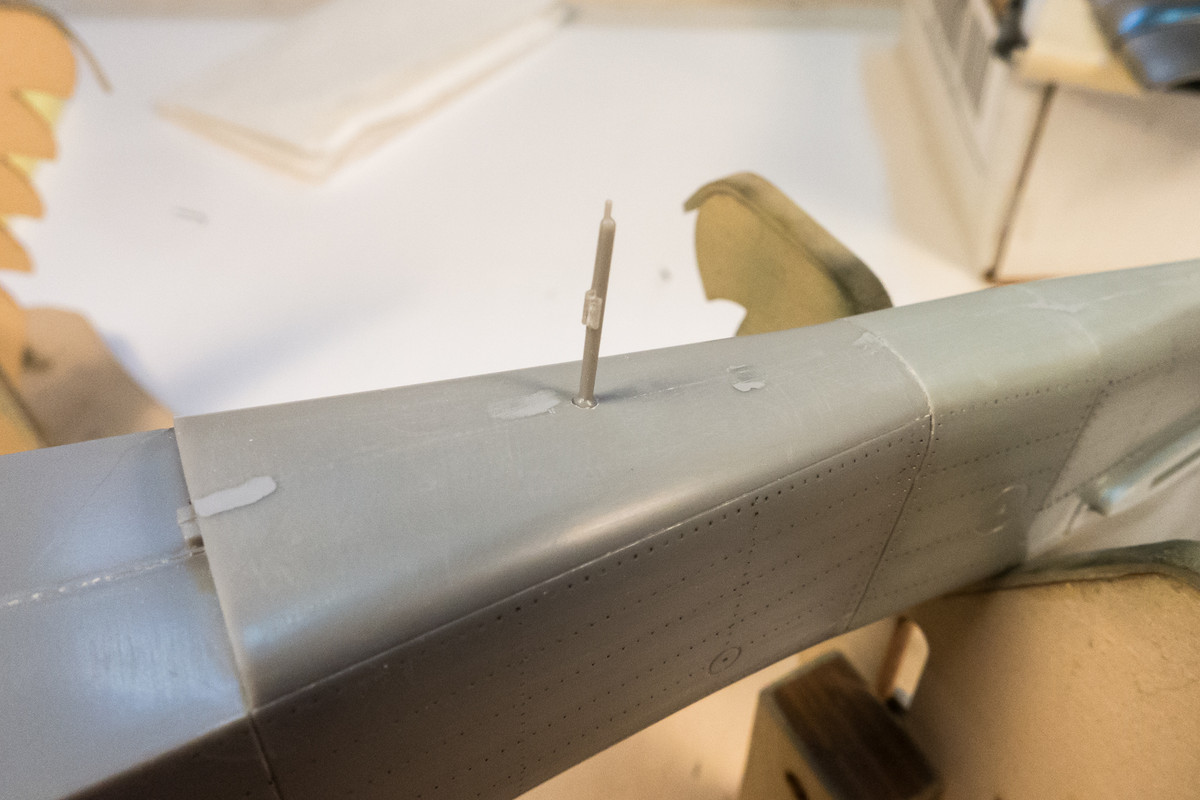
The antenna is molded with a small circular base that fits into an appropriate sized hole in the fuselage. We can take advantage of that base to mount a new antenna. So... keeping the antenna intact, which will give you something to hold on to, we drill a small hole into the bottom of the base.
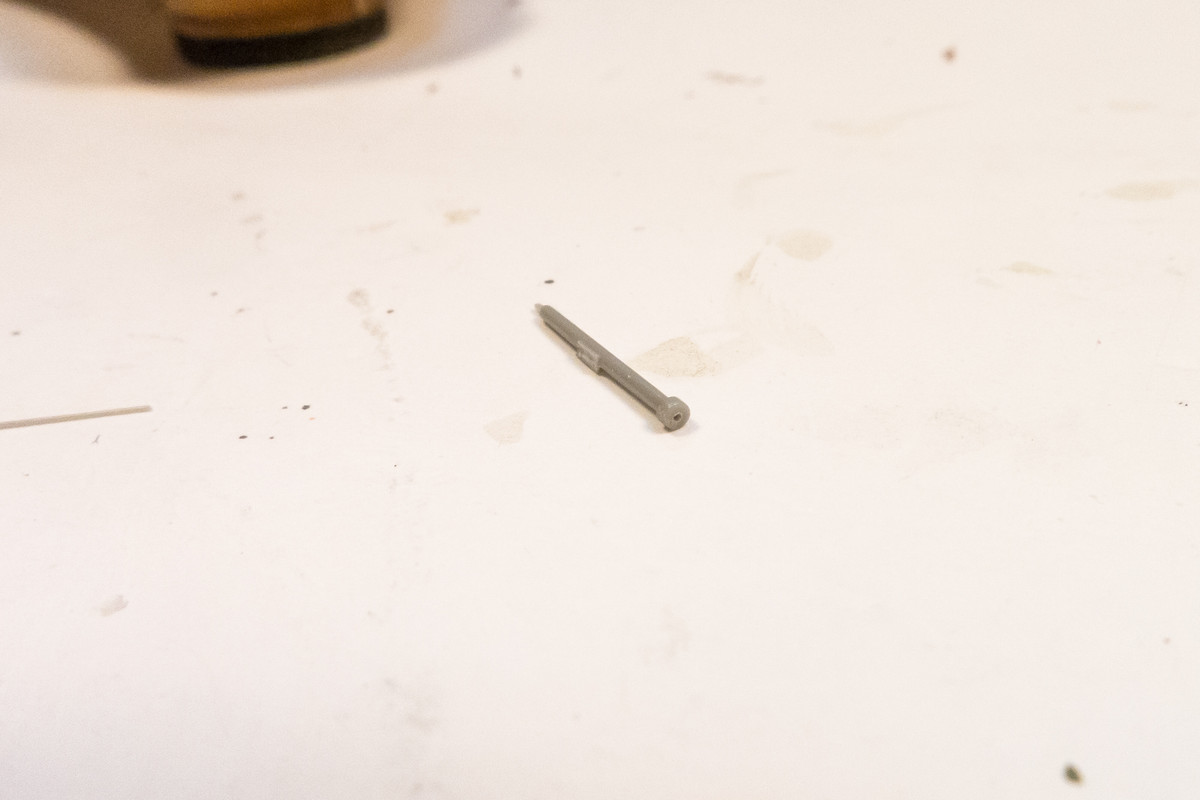
A piece of wire or in this case a piece of stretched sprue is glued into the hole.
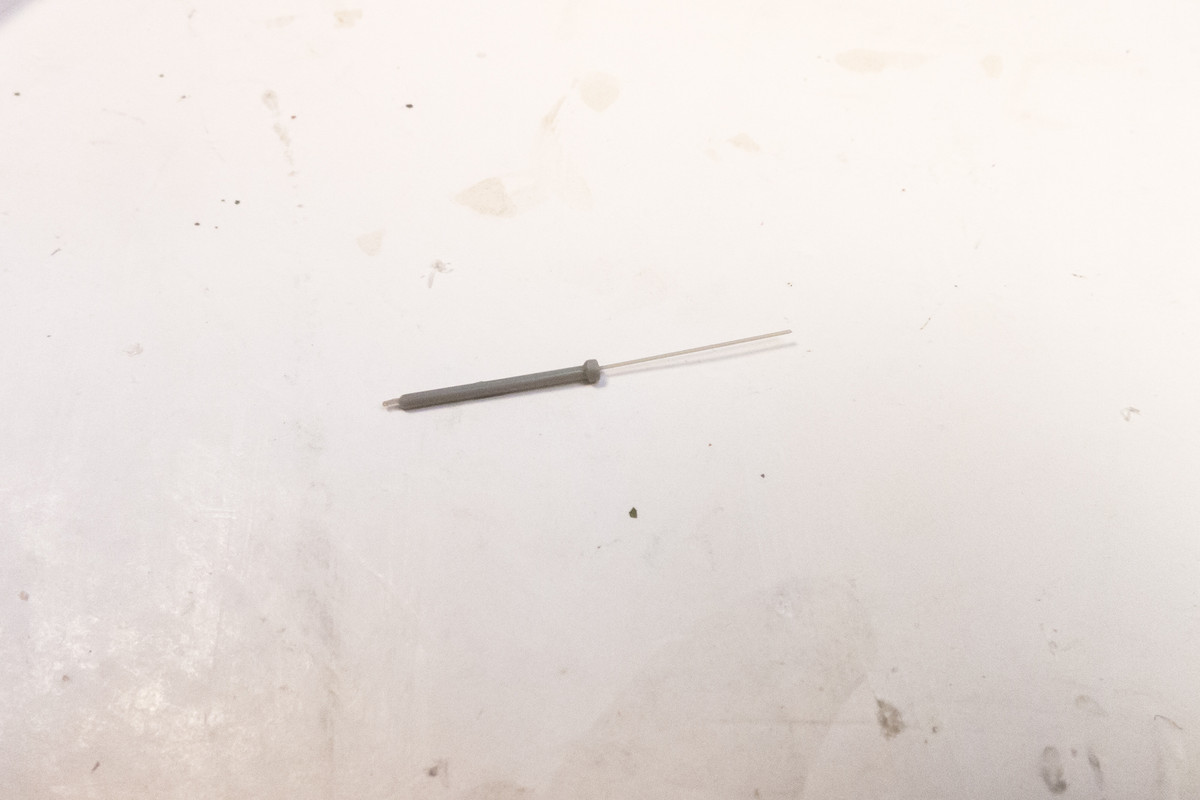
We can now snip off the old antenna and voila... a new antenna!
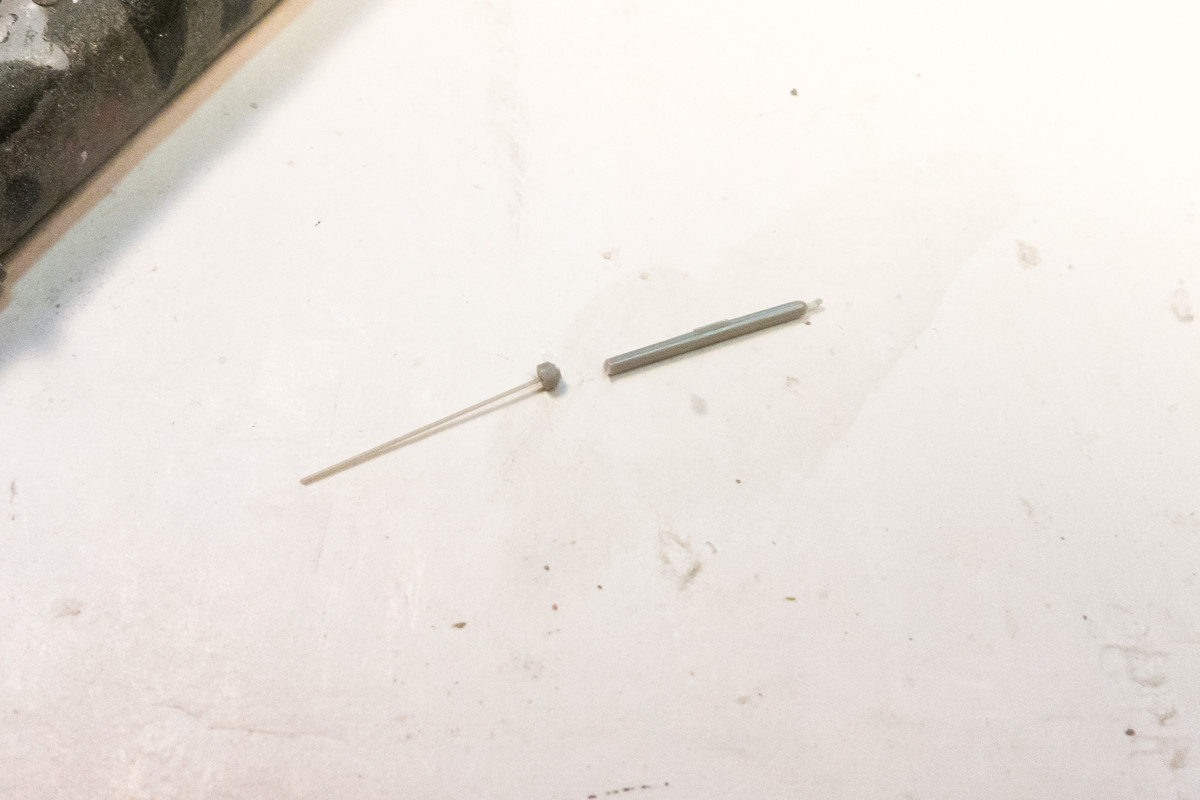
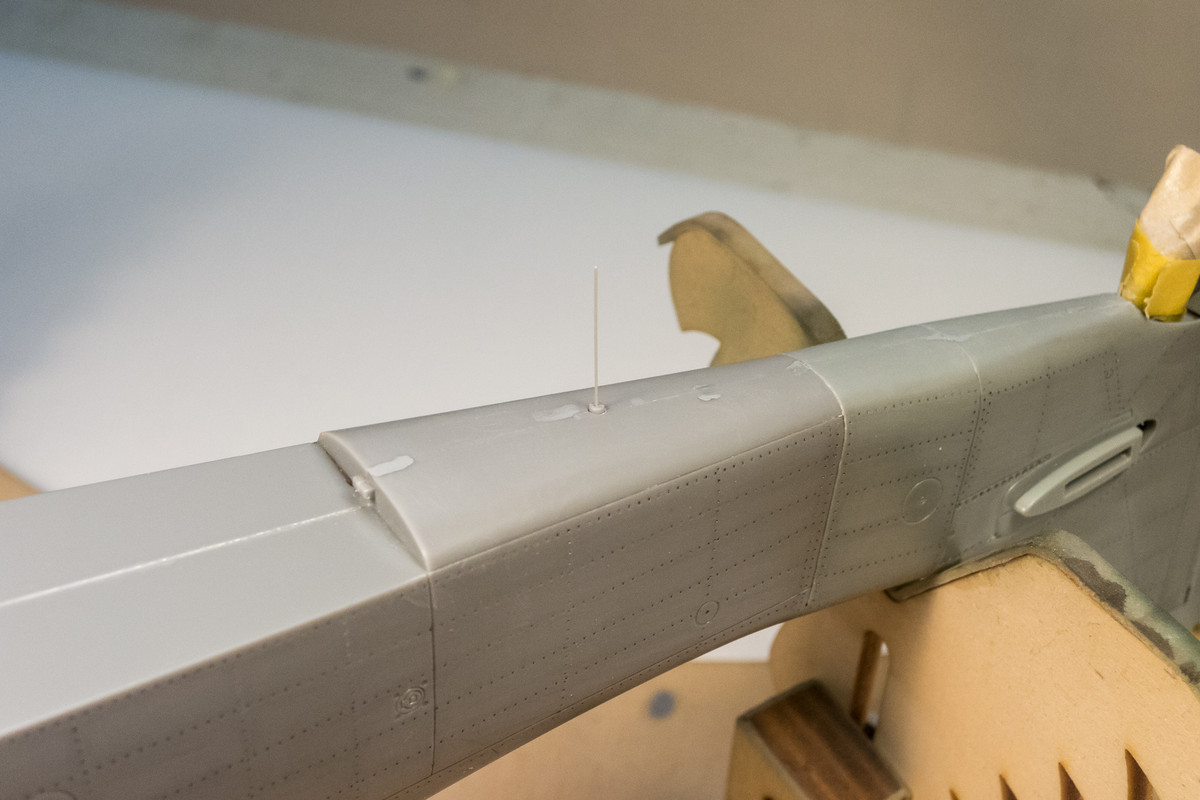
Which fits perfectly into the hole in the fuselage.
It is time to mask the clear parts. I use Eduard marks whenever I can. They fit great, are well designed and come on the perfect material for masking canopies... stiff enough to hold it's shape but with just enough flex to make small fit adjustments. Avoid the black vinyl masks from Montex whenever possible... they are too stiff and have a tendency to lift on curved surfaces. Trust me on this.
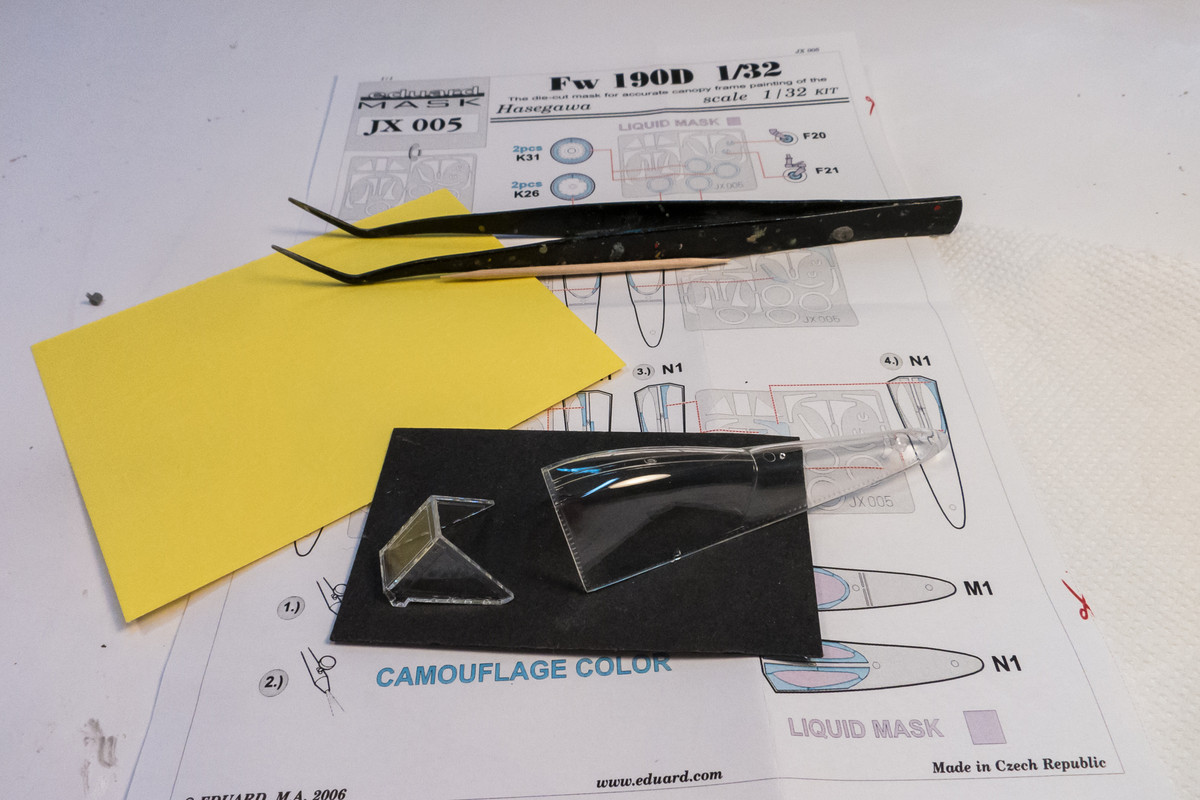
Be careful when removing the mask from the backing sheet. You want to avoid any crinkles on the demarcation edge or crumpled corners. Sometimes the mask will not be cut all the way through and it will pull some excess material off the backing sheet. If that happens, make sure you carefully cut away any irregularities.
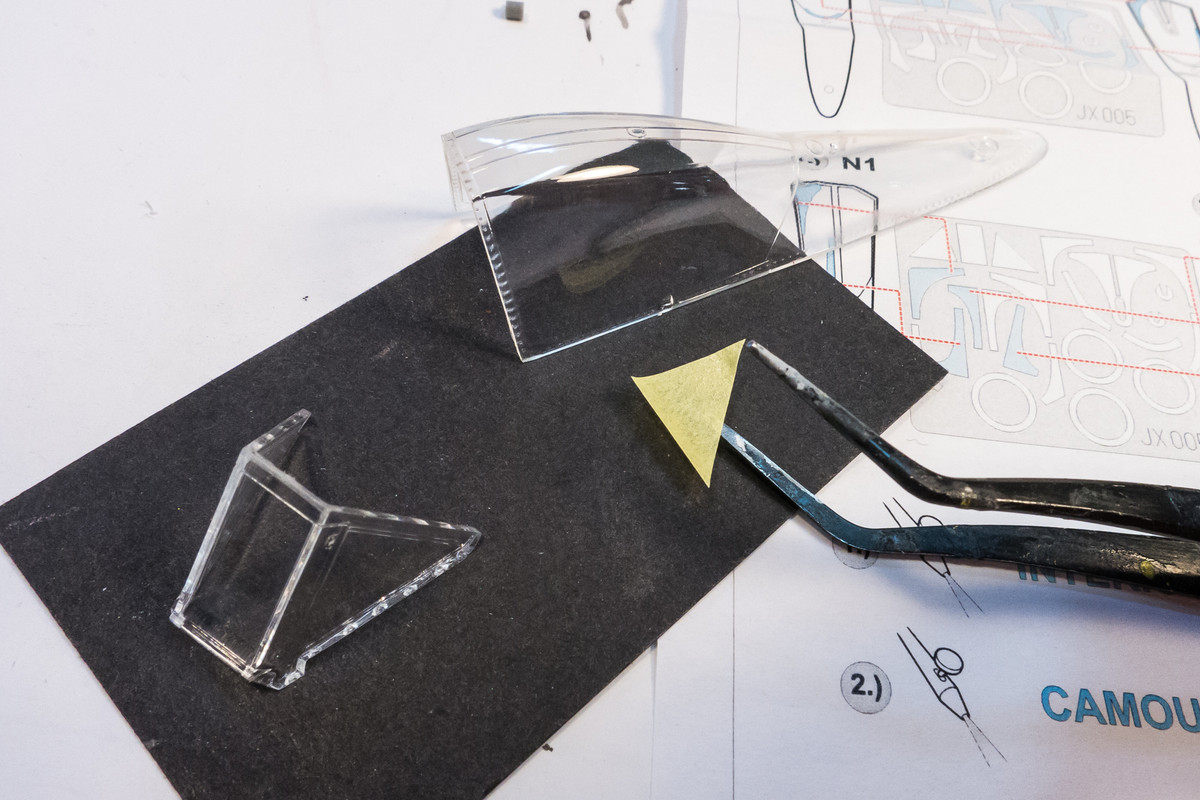
I've found the Eduard masks to fit each window section VERY accurately, if not perfectly. I usually place the mask in a well-defined corner and gradually lay down one side down a canopy frame. Once that side is accurately aligned, the rest of mask will naturally fall into position.
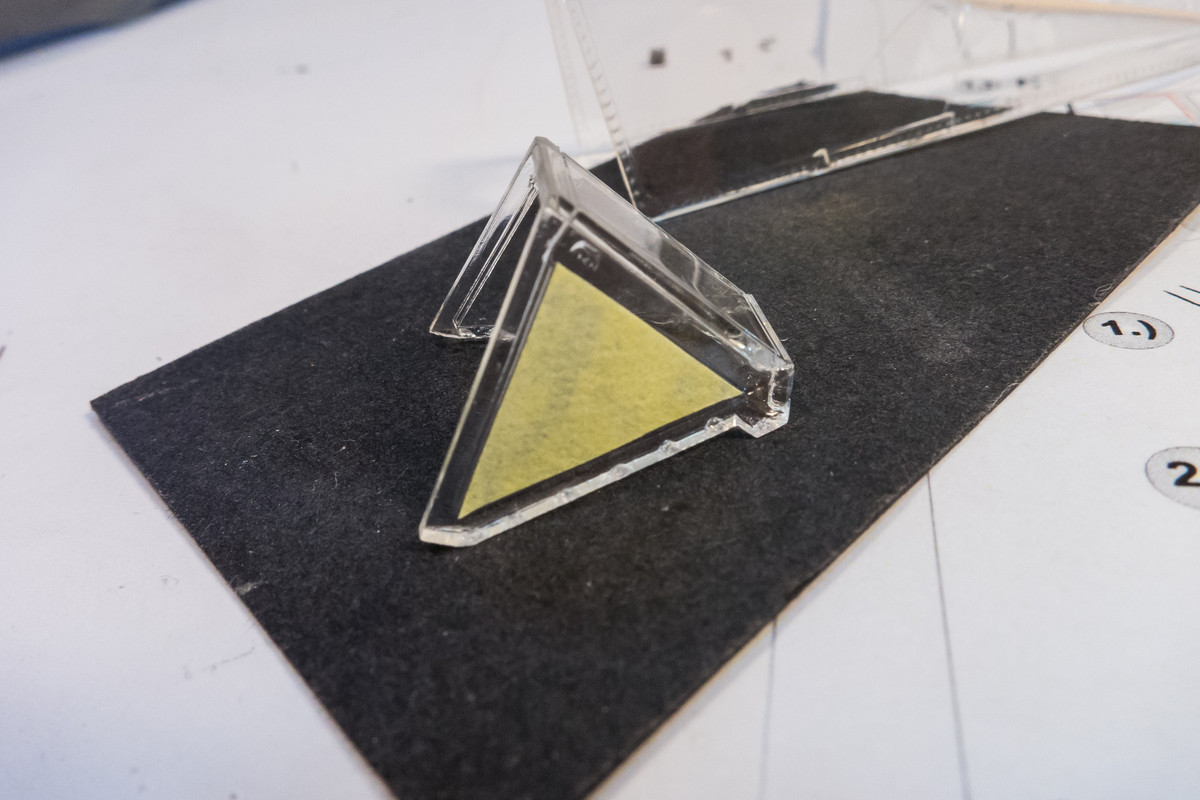
The windshield masks are simple polygons placed on flat surfaces so these are easy to placed. After placement, I use a wooden toothpick to burnish the mask to the plastic, paying special attention to all of the edges.
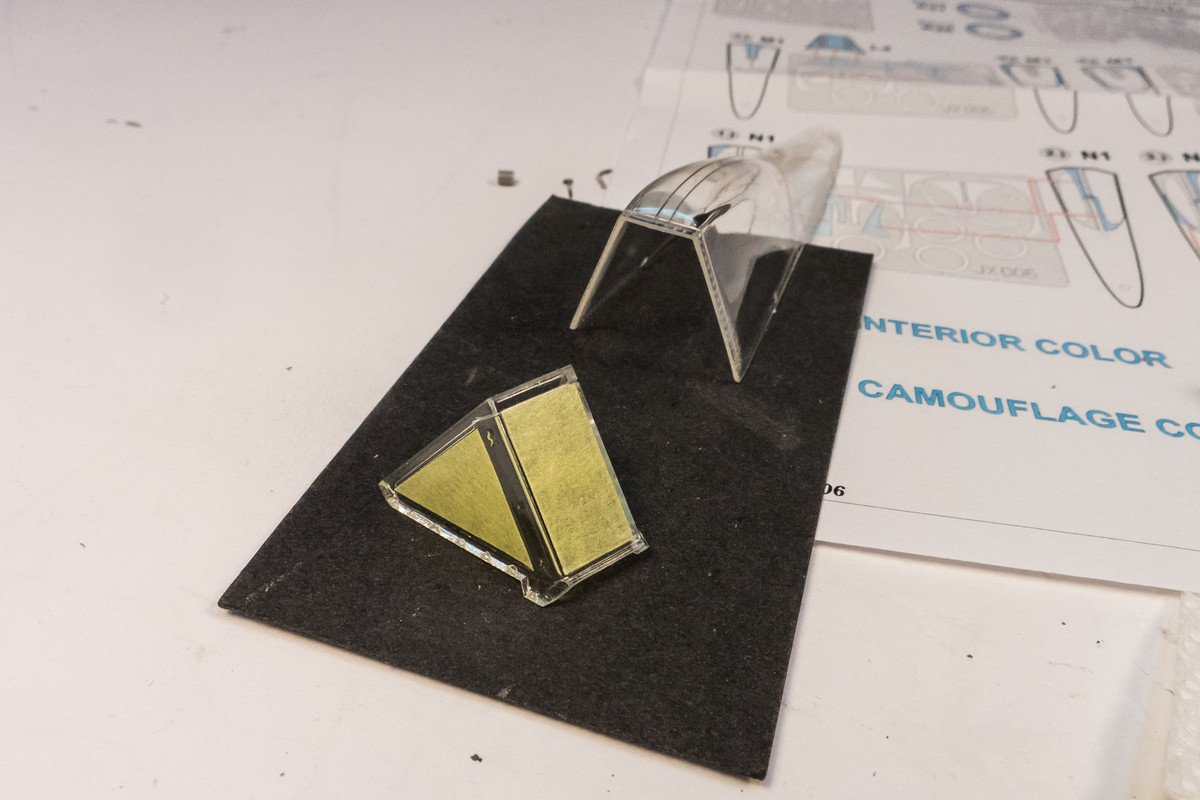
The sliding canopy is a semi-bubble with curved surfaces. Eduard recognizes the difficulty in trying to get a single piece of adhesive tape to conform to this curved surface so they have divided the mask into sections. Like I said, these masks are very well designed and if you follow the placement instructions, you should get a very nice result.
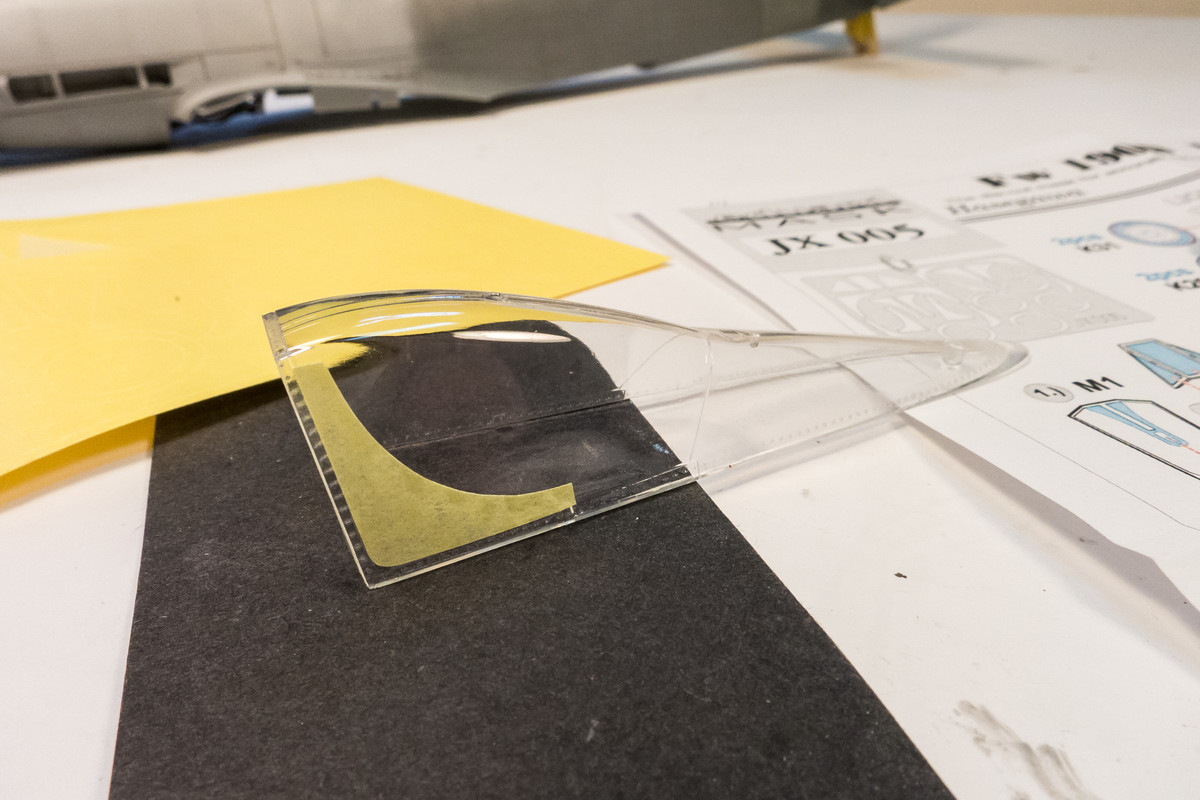
With mask pieces that feature long skinny arms, it helps to attach the mask in a corner first. You can then use tweezers to grab the free end and pull into the correct position.
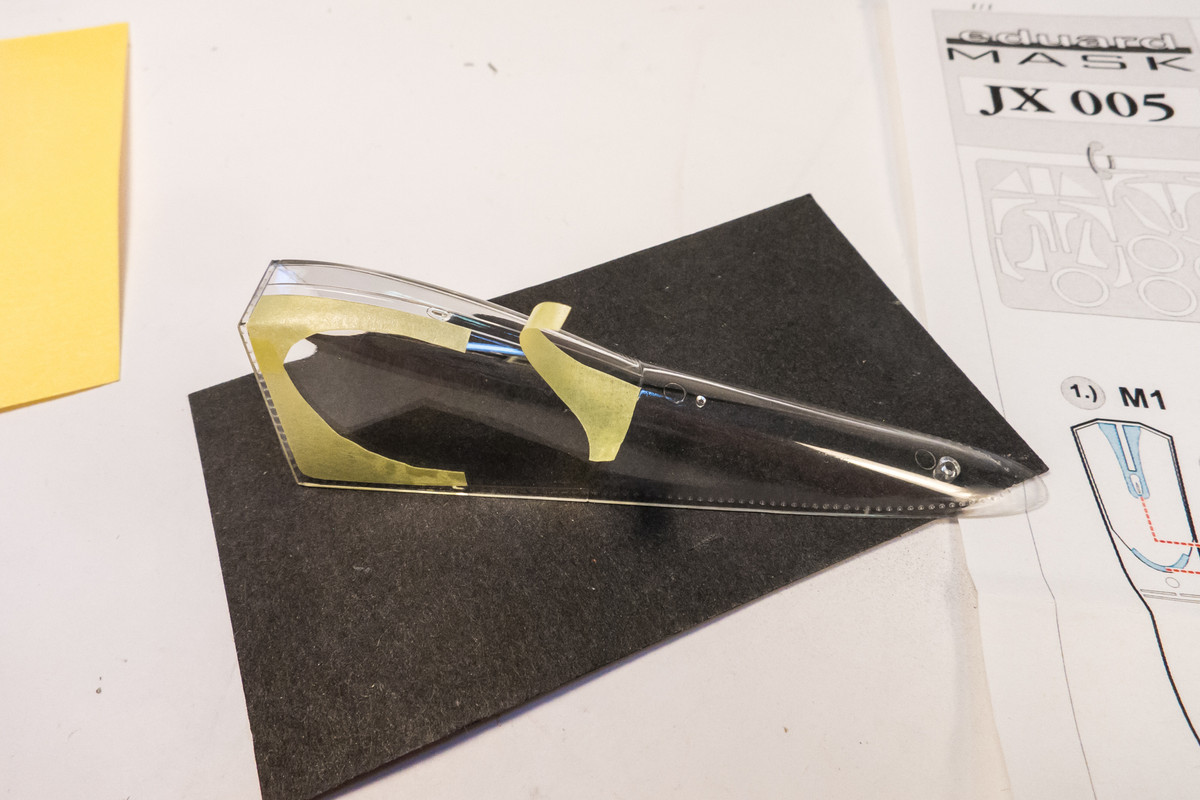
Once the section is done, there is a central area that remains unmasked. Eduard recommends using a liquid mask but I like to use pieces of Tamiya tape.


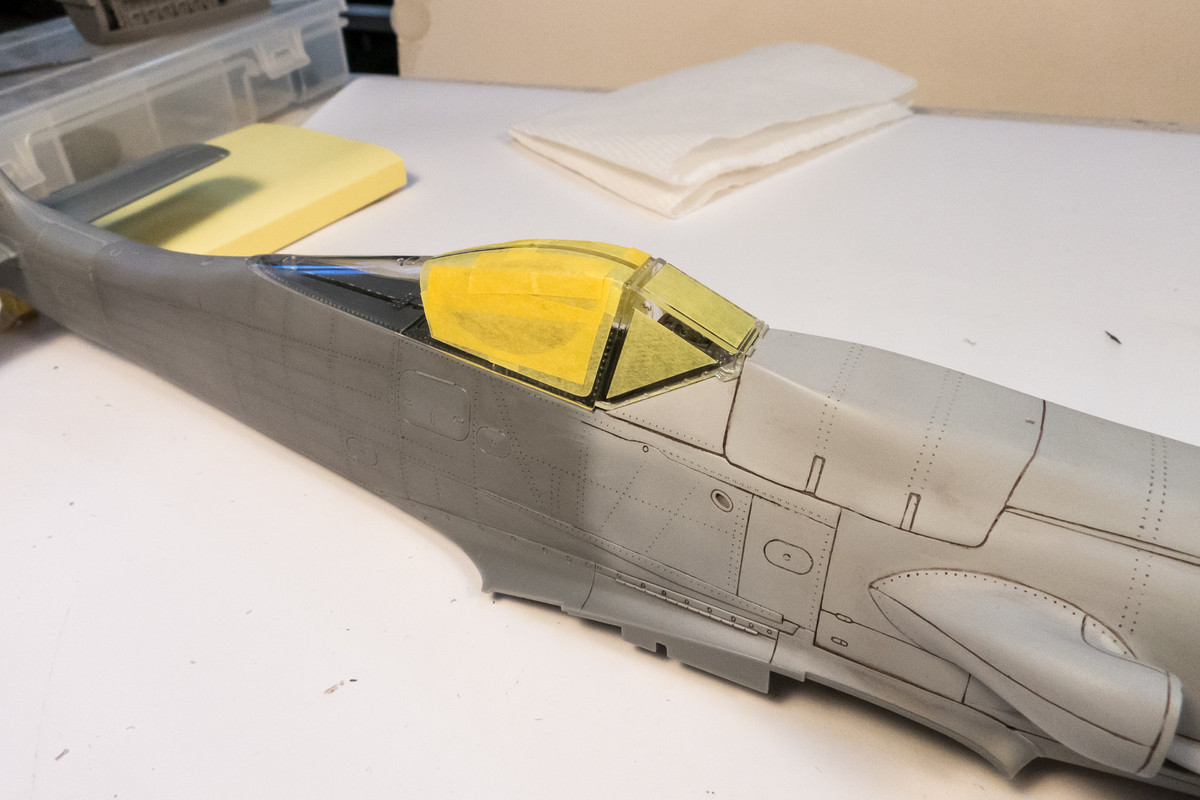
Repeat on the other side and the masking is done.
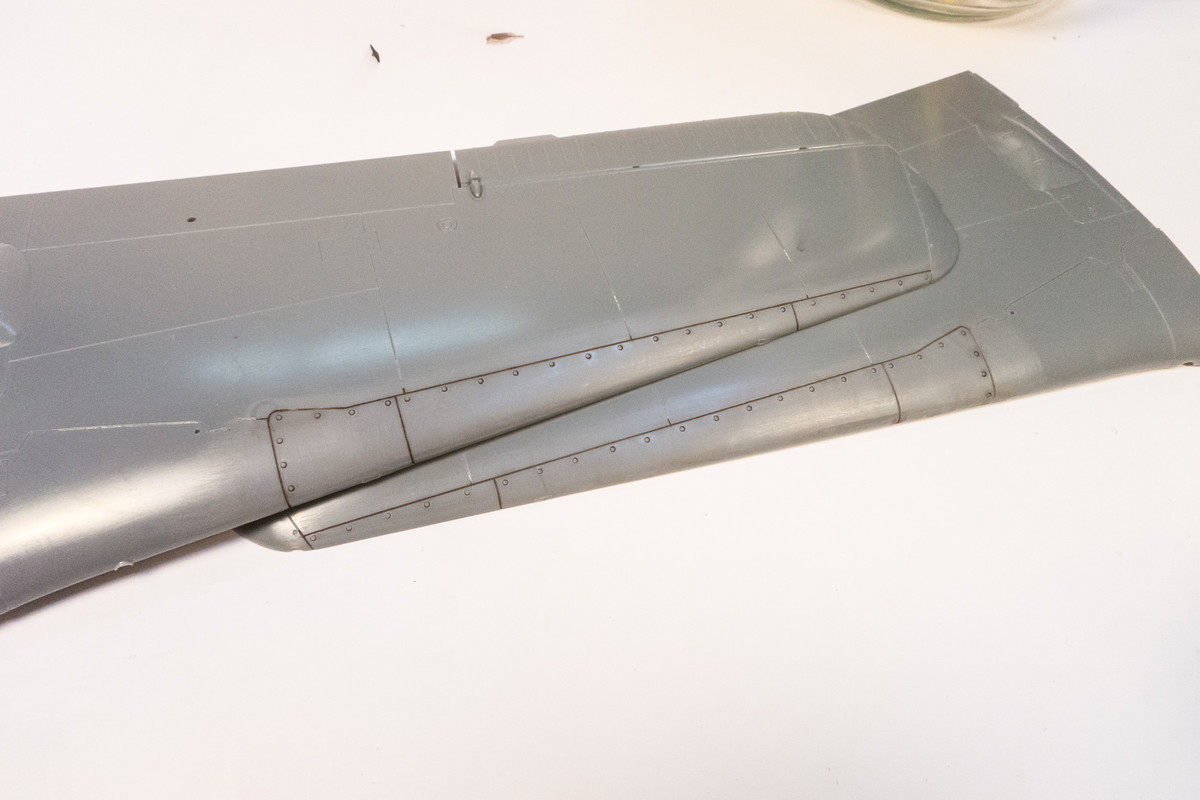
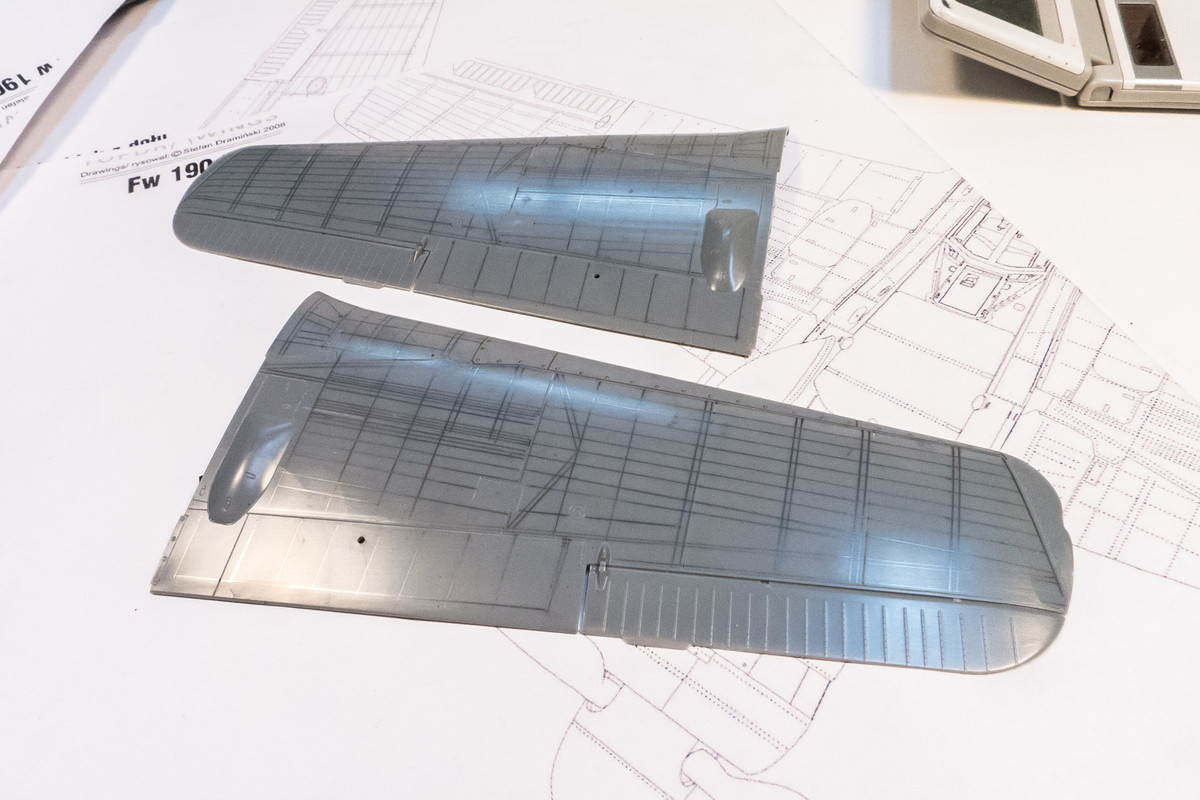
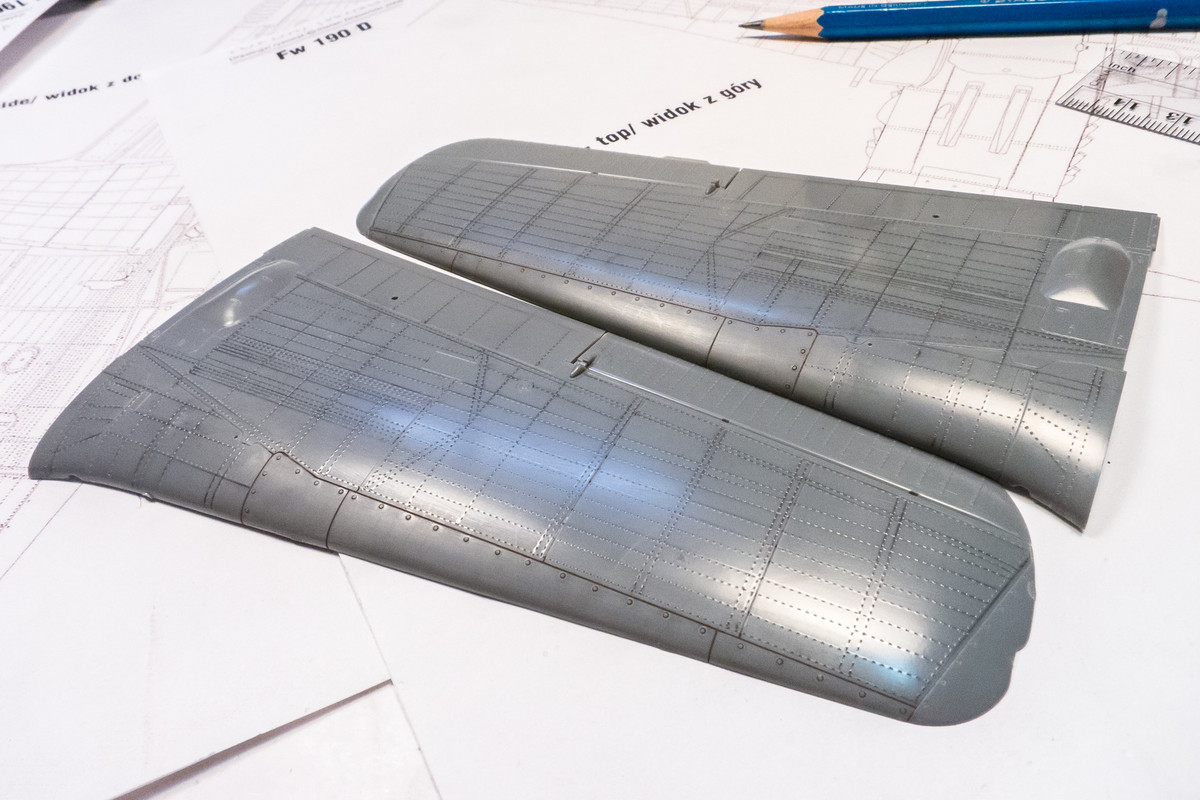
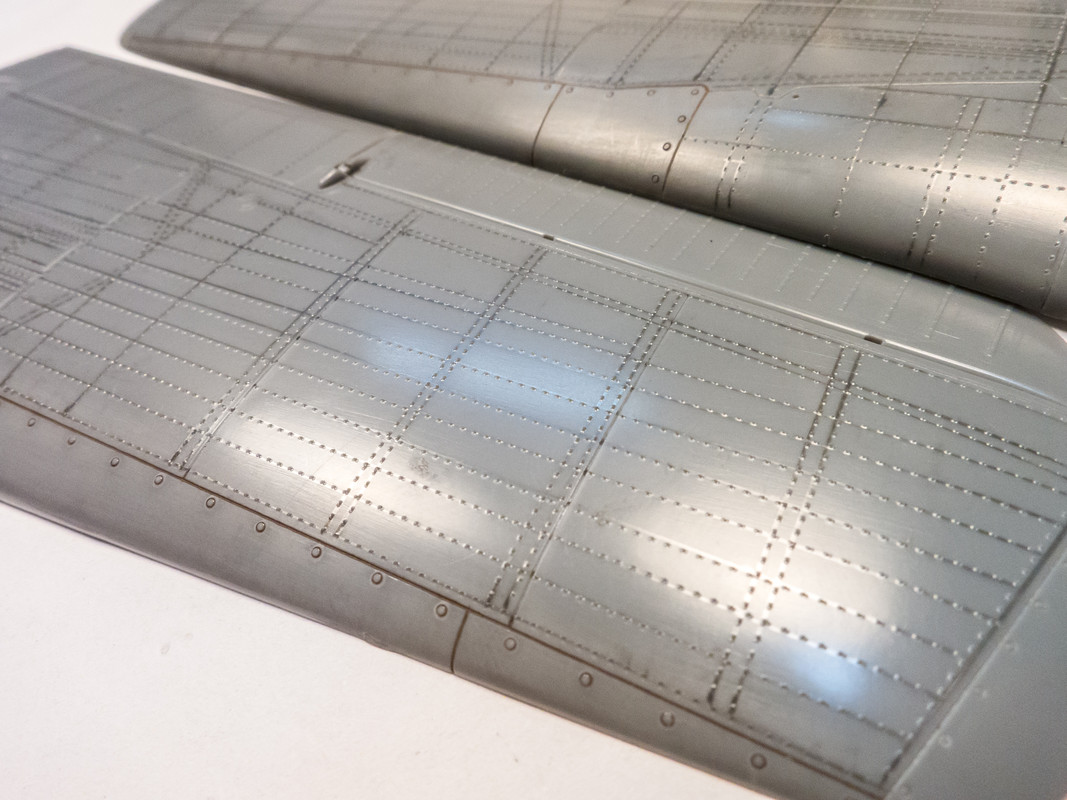
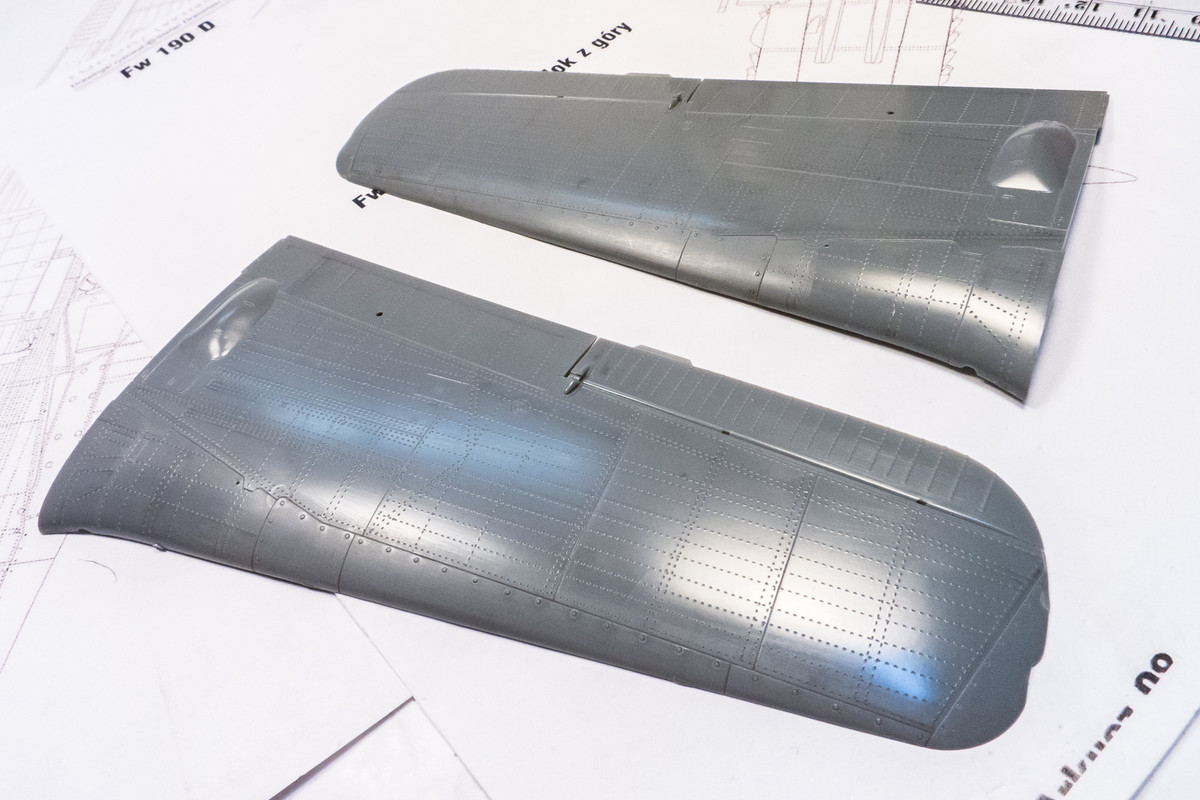
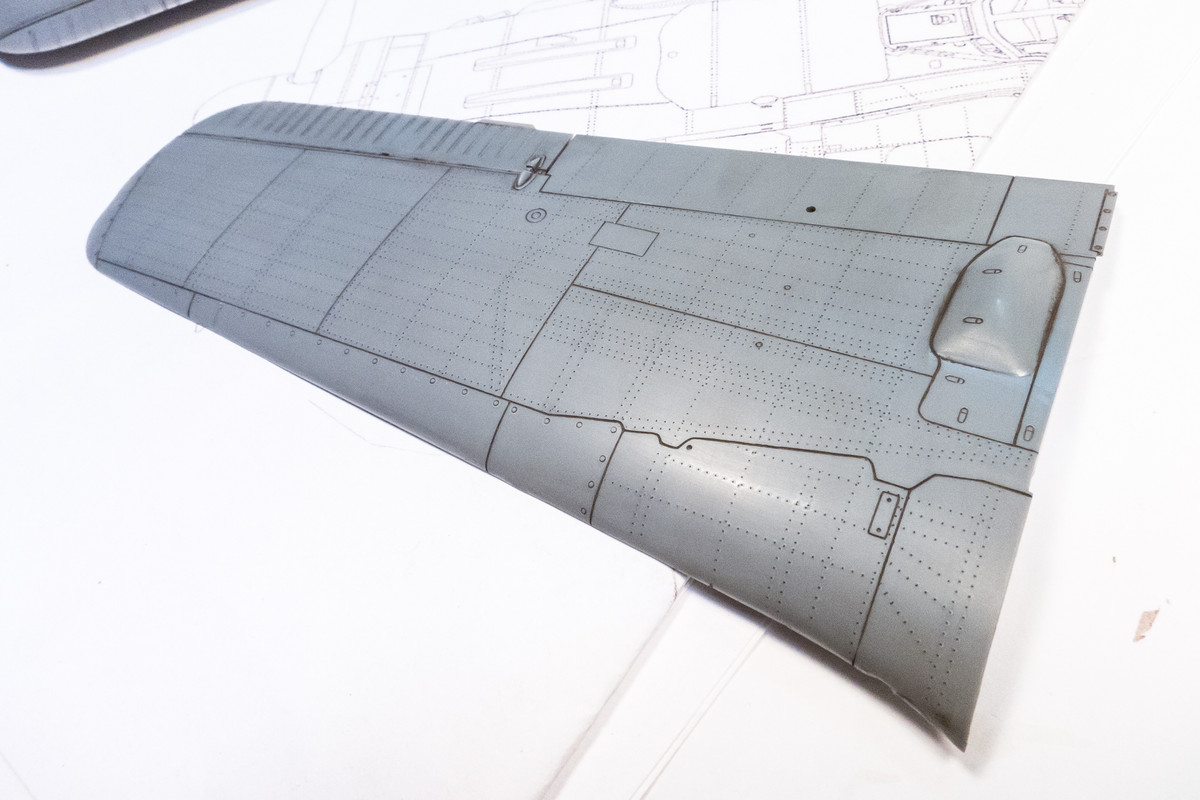
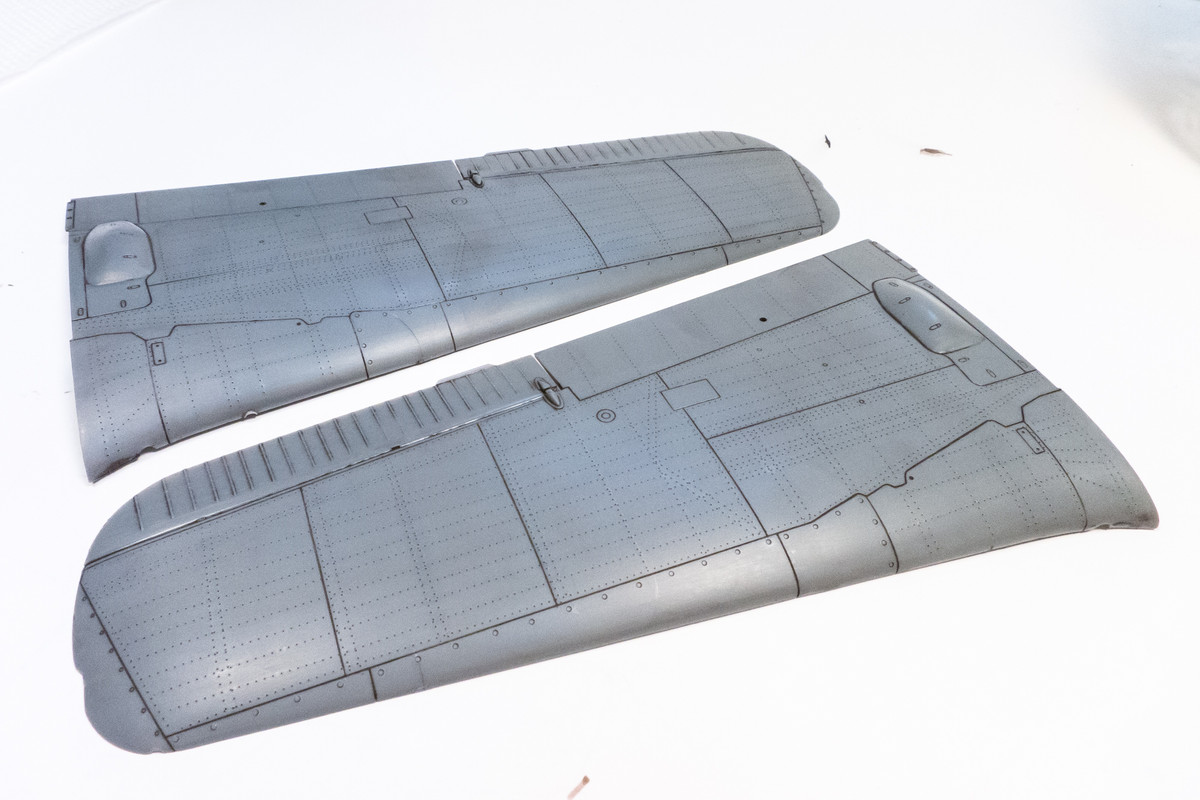
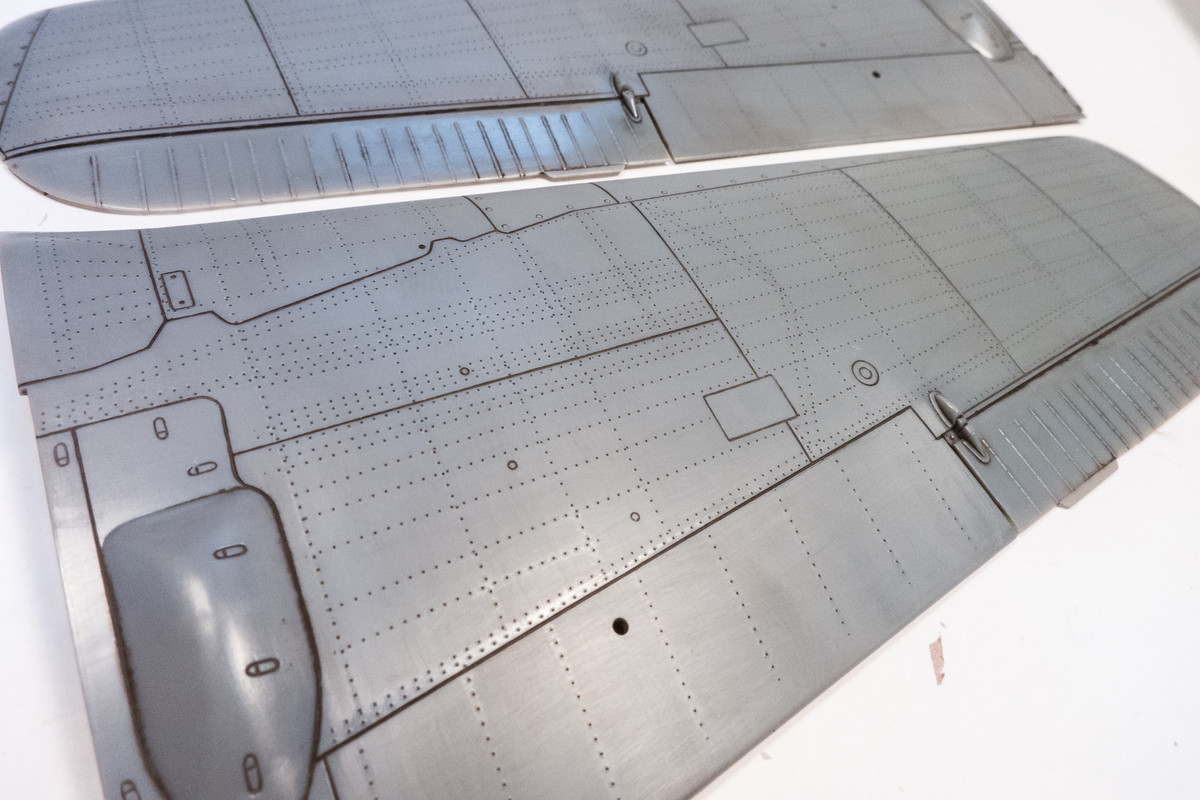
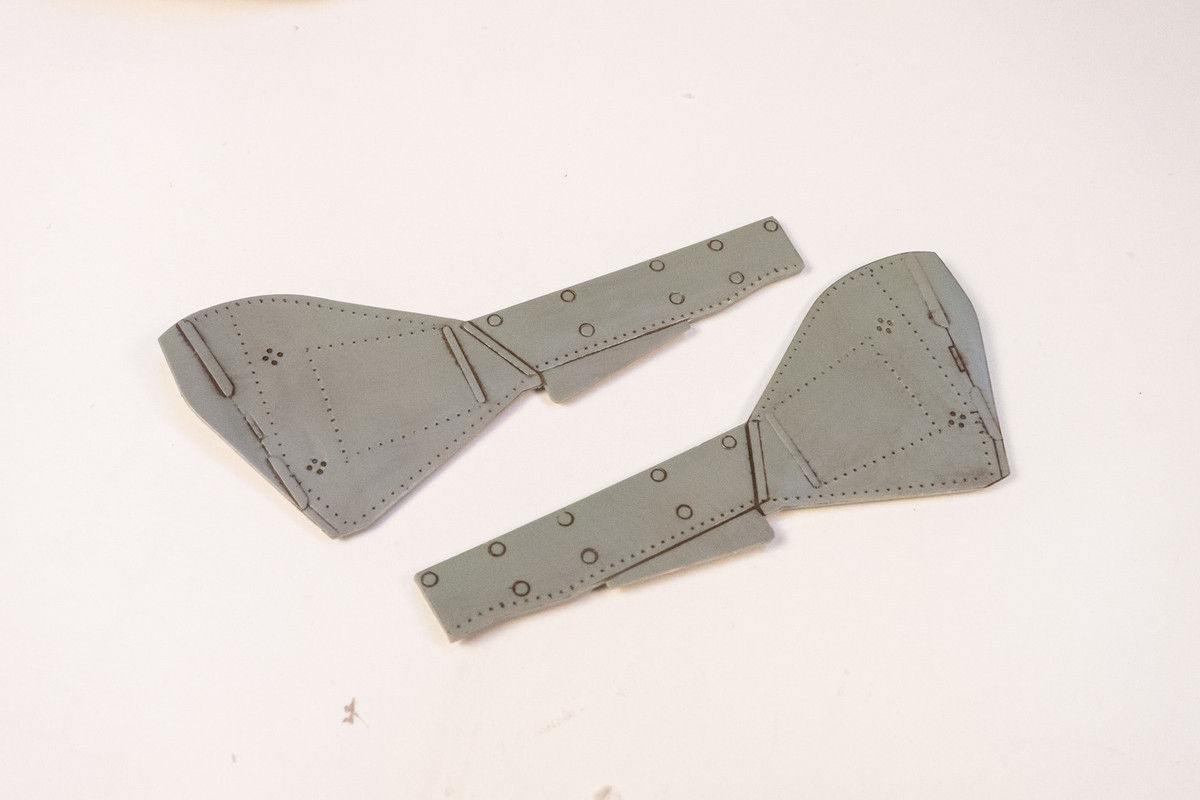
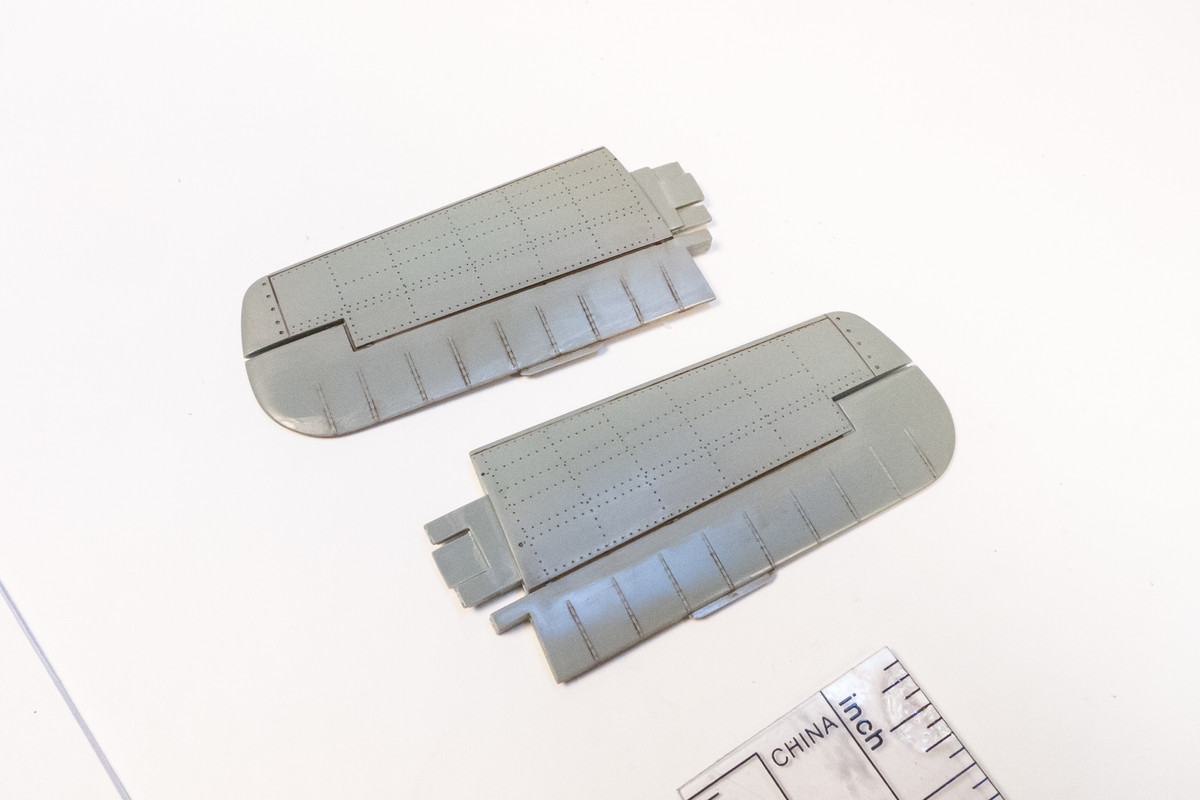
Moving on to some body work... the landing gear covers and the horizontal stabilizers have been riveted.
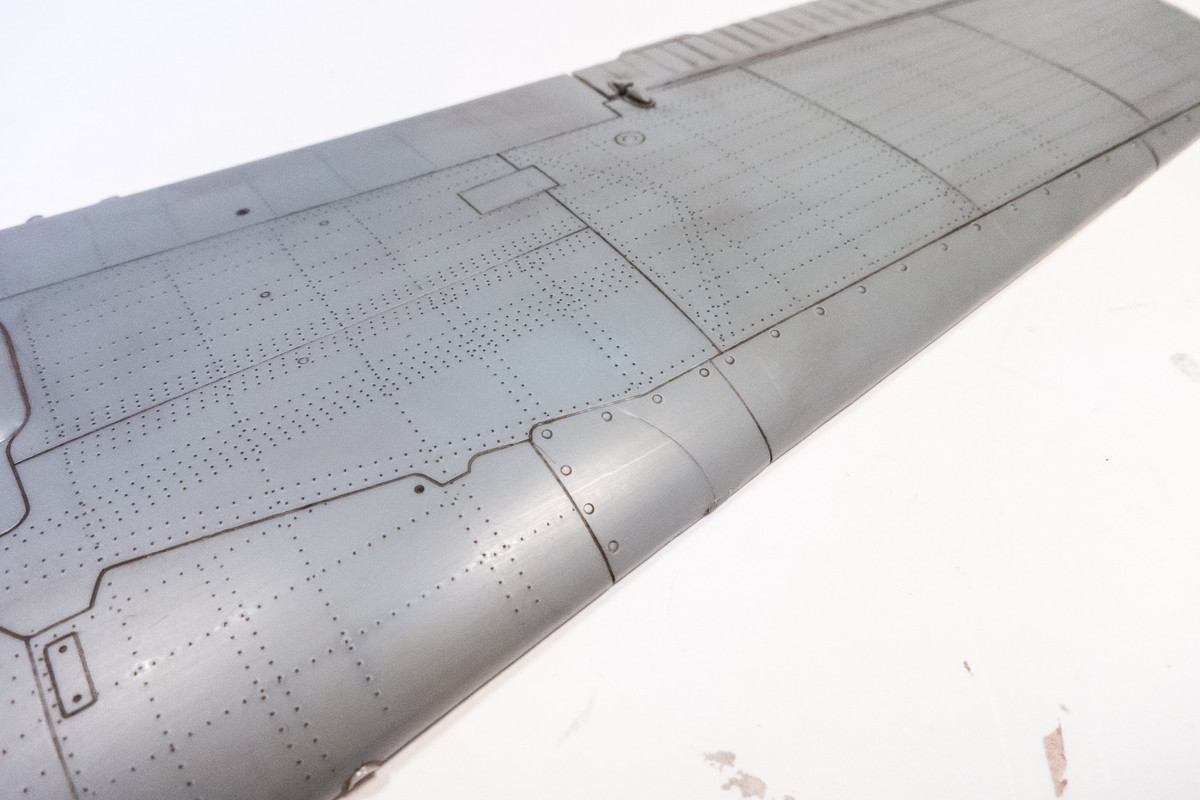
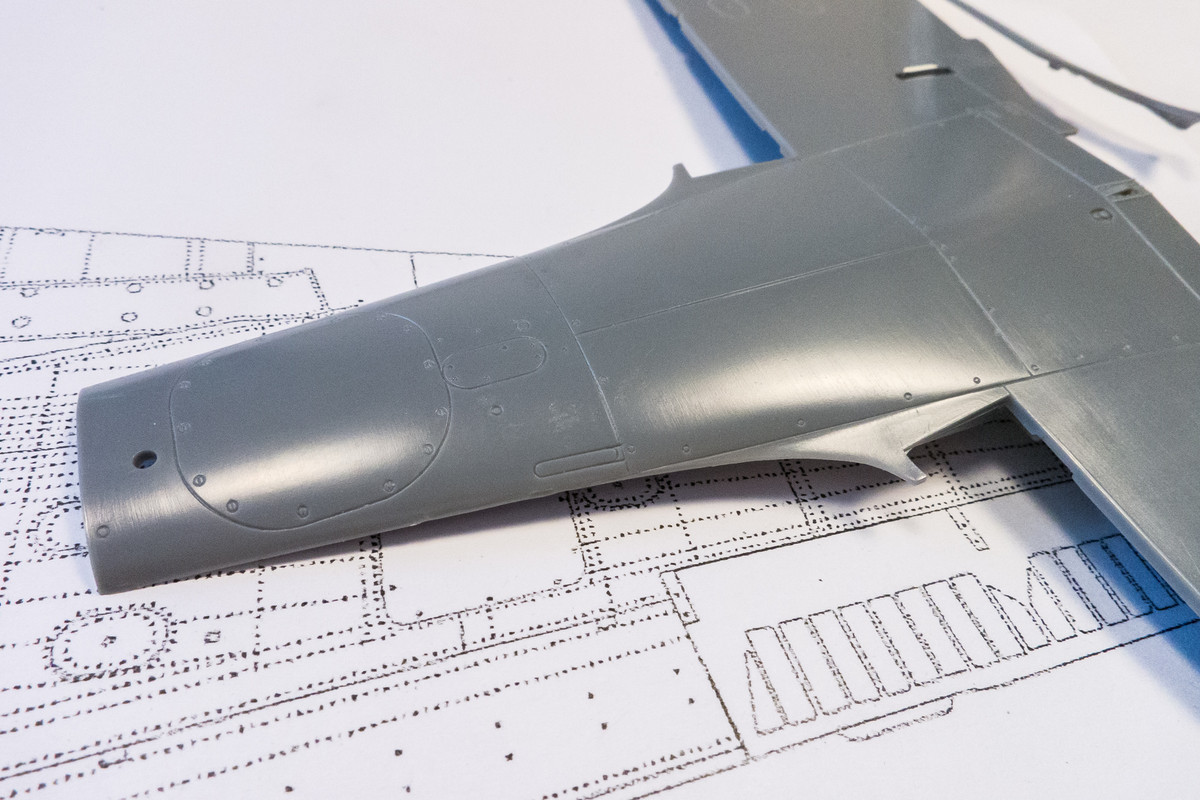
There are some circular fasteners on the leading edge of the wing that are not represented so these are marked off with a pencil.
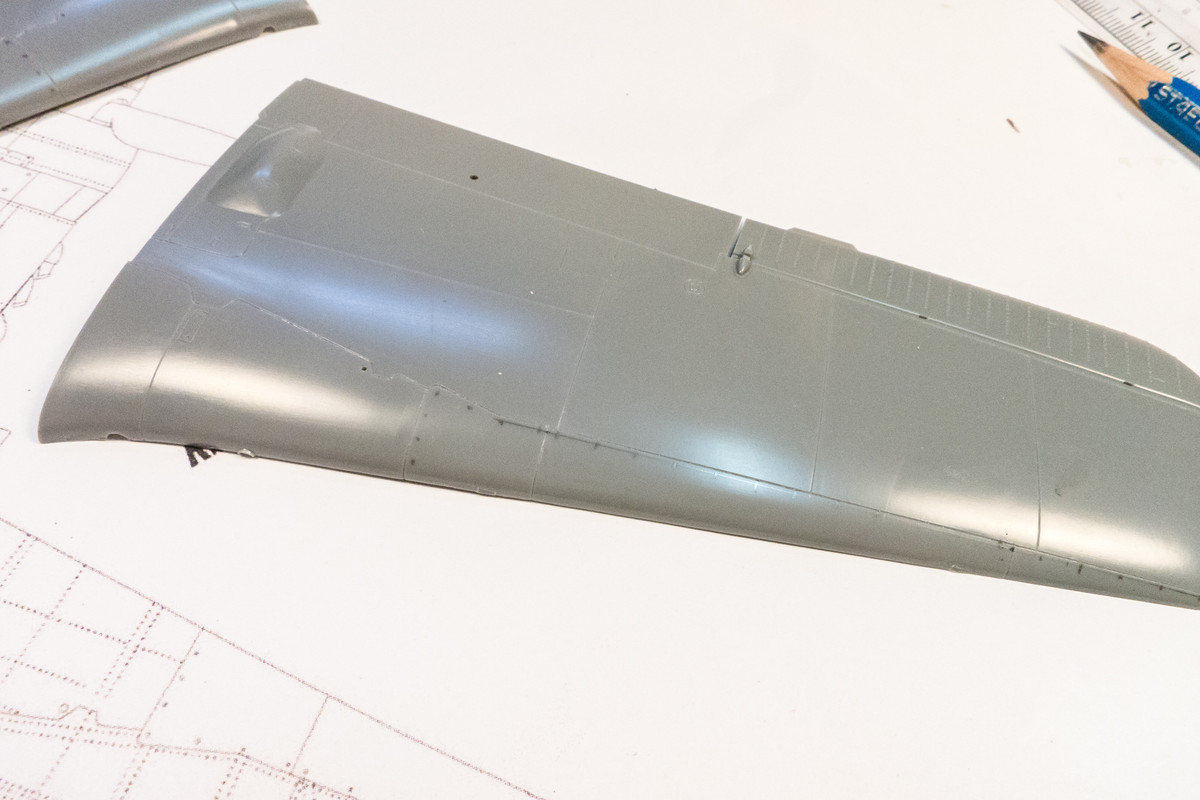
The tool of choice here is a jewelry setting set. Just do a search on EBay or Amazon for a "diamond setting beading tool" and you'll find one for less than $20. Or you can buy a model-specific set for a little bit more.

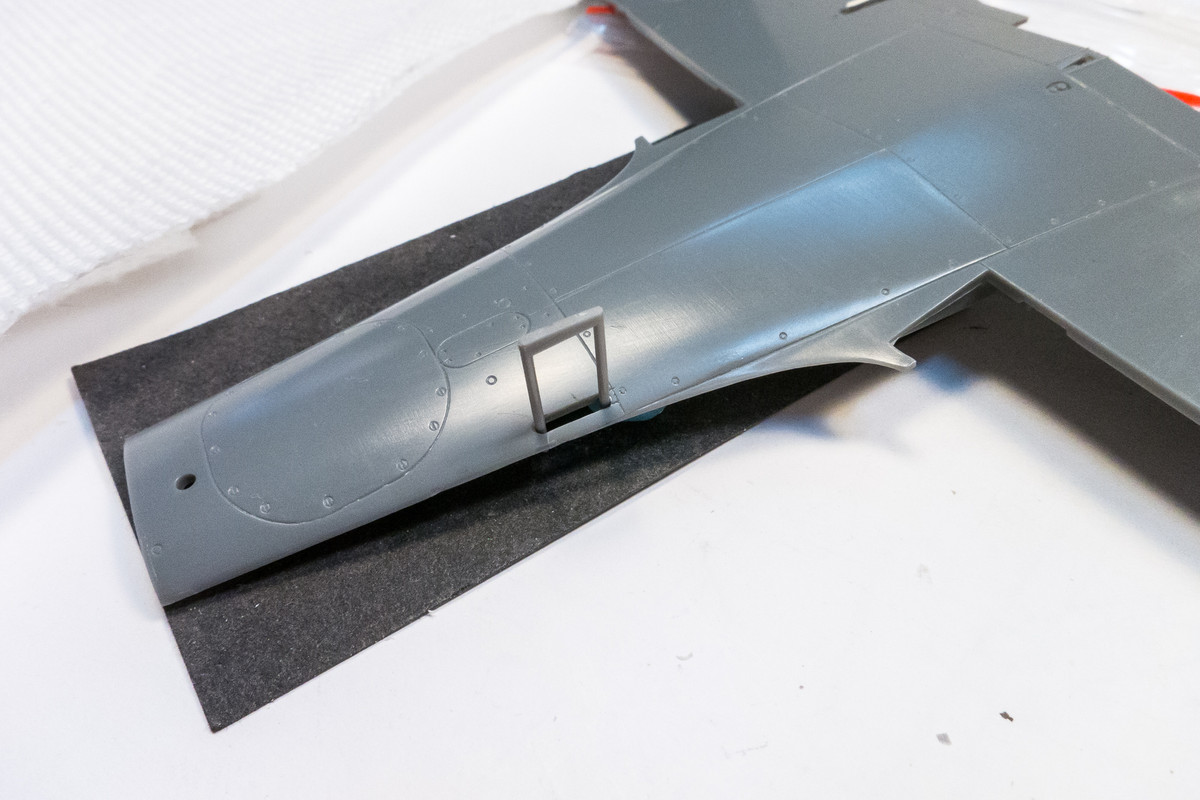
Here is the wing after the circular fasteners have been added. I still need to rivet the wings.