1/32 Special Hobby Hawker Tempest Mk V

Re: 1/32 Special Hobby Hawker Tempest Mk V
love the weathering on the props.
March as one, Don't look back
Odin's sons... Attack!
Unleash hell! Do not repent! Warfare grants us no lament
Let your weapons slash and tear This is no place for fear
Hold the lines! Move as one! In unity our victory's won
Our shields will form a mighty wall
United we shall never fall
Odin's sons... Attack!
Unleash hell! Do not repent! Warfare grants us no lament
Let your weapons slash and tear This is no place for fear
Hold the lines! Move as one! In unity our victory's won
Our shields will form a mighty wall
United we shall never fall
-
BlackSheep214

- Elite Member
- Posts: 13596
- Joined: Sun Apr 06, 2014 8:47 pm
Re: 1/32 Special Hobby Hawker Tempest Mk V
Hmmm... pink as a base color for yellow. I'll have to try it next time. 
“Who controls the skies, controls the fate of this Earth”
Author unknown- 352nd Fighter Group, Blue-Nosed Bastards of Bodney
“Send one plane it’s a sortie; send two planes it’s a flight; send four planes it’s a test of airpower. - Richard Kohn
Author unknown- 352nd Fighter Group, Blue-Nosed Bastards of Bodney
“Send one plane it’s a sortie; send two planes it’s a flight; send four planes it’s a test of airpower. - Richard Kohn
-
Stikpusher

- Moderator
- Posts: 21383
- Joined: Sat Apr 05, 2014 8:37 pm
- Location: Ceti Alpha 5
Re: 1/32 Special Hobby Hawker Tempest Mk V
Interesting… I’ve used white, yellow zinc Chromate, and even OD as a base where yellow on top turned out great. Pink is a new one…BlackSheep214 wrote:Hmmm... pink as a base color for yellow. I'll have to try it next time.

"Surely I have made my meaning plain? I intend to avenge myself upon you, Admiral. I have deprived your ship of power, and when I swing 'round, I intend to deprive you of your life."
FLSM
FLSM
-
BlackSheep214
- Elite Member
- Posts: 13596
- Joined: Sun Apr 06, 2014 8:47 pm
Re: 1/32 Special Hobby Hawker Tempest Mk V
You mentioned you used black CA. I’ve never heard of it and where would you find them? Are they used both as a glue and filler or either?
“Who controls the skies, controls the fate of this Earth”
Author unknown- 352nd Fighter Group, Blue-Nosed Bastards of Bodney
“Send one plane it’s a sortie; send two planes it’s a flight; send four planes it’s a test of airpower. - Richard Kohn
Author unknown- 352nd Fighter Group, Blue-Nosed Bastards of Bodney
“Send one plane it’s a sortie; send two planes it’s a flight; send four planes it’s a test of airpower. - Richard Kohn

Re: 1/32 Special Hobby Hawker Tempest Mk V
Thanks guys!

I'm planning to use Eduard's brass flaps for this build and I think it would be wise to get these sorted before tackling the wheel well construction.
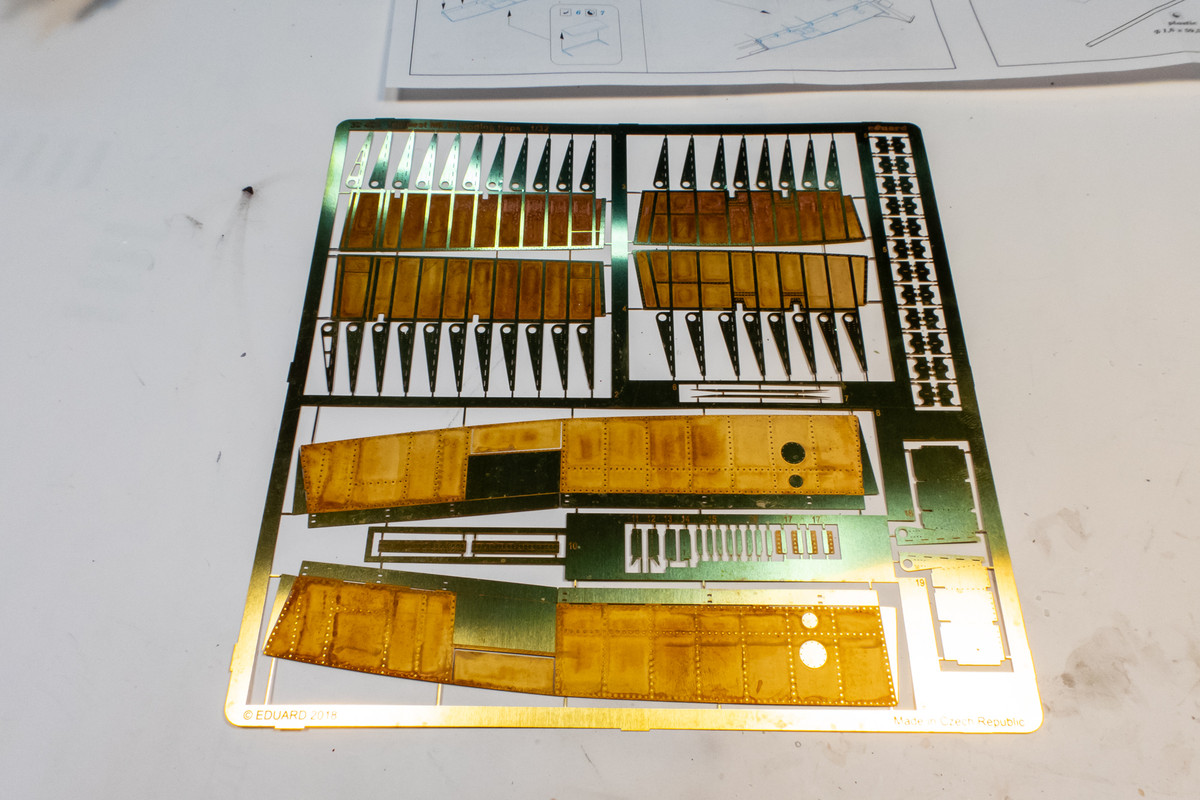
The upper wing components are first up. These will get glued into the inner surface of the upper wing. Before folding, there are some features that need to "scribed" with a ballpoint pen from the reverse side. I wish the result was a little sharper but oh well...
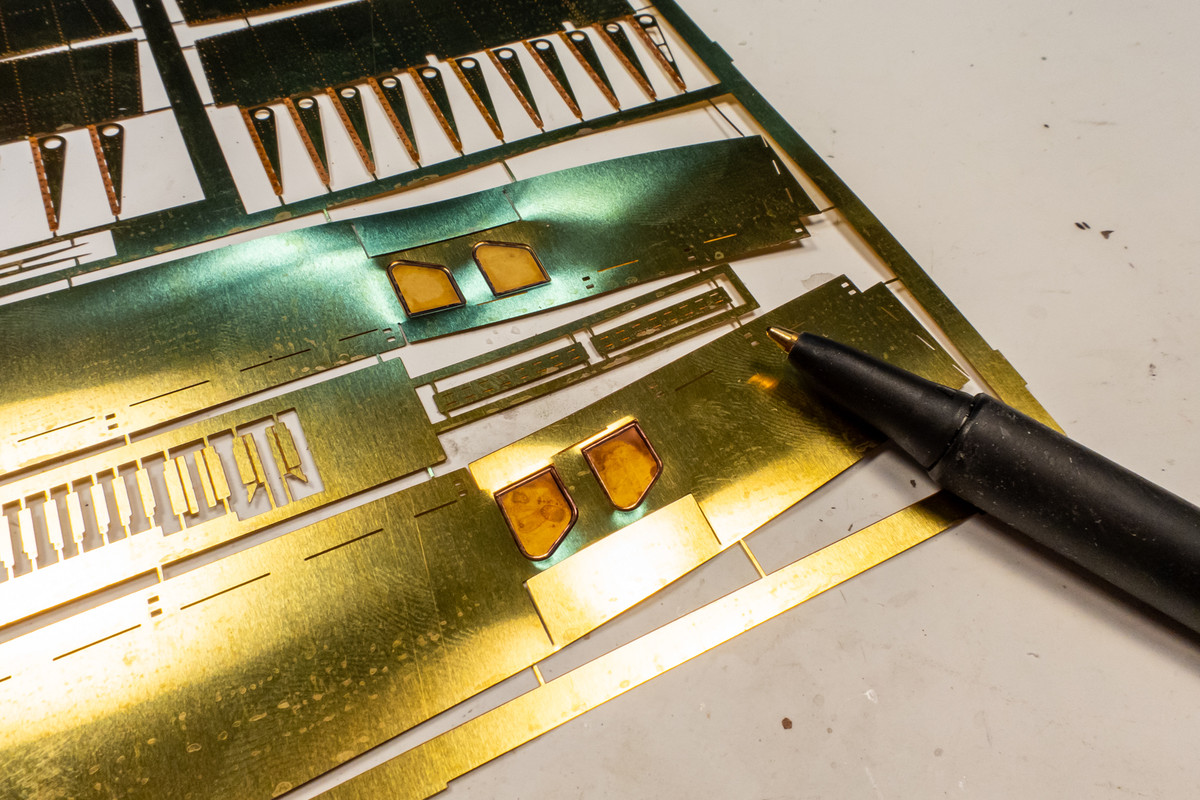
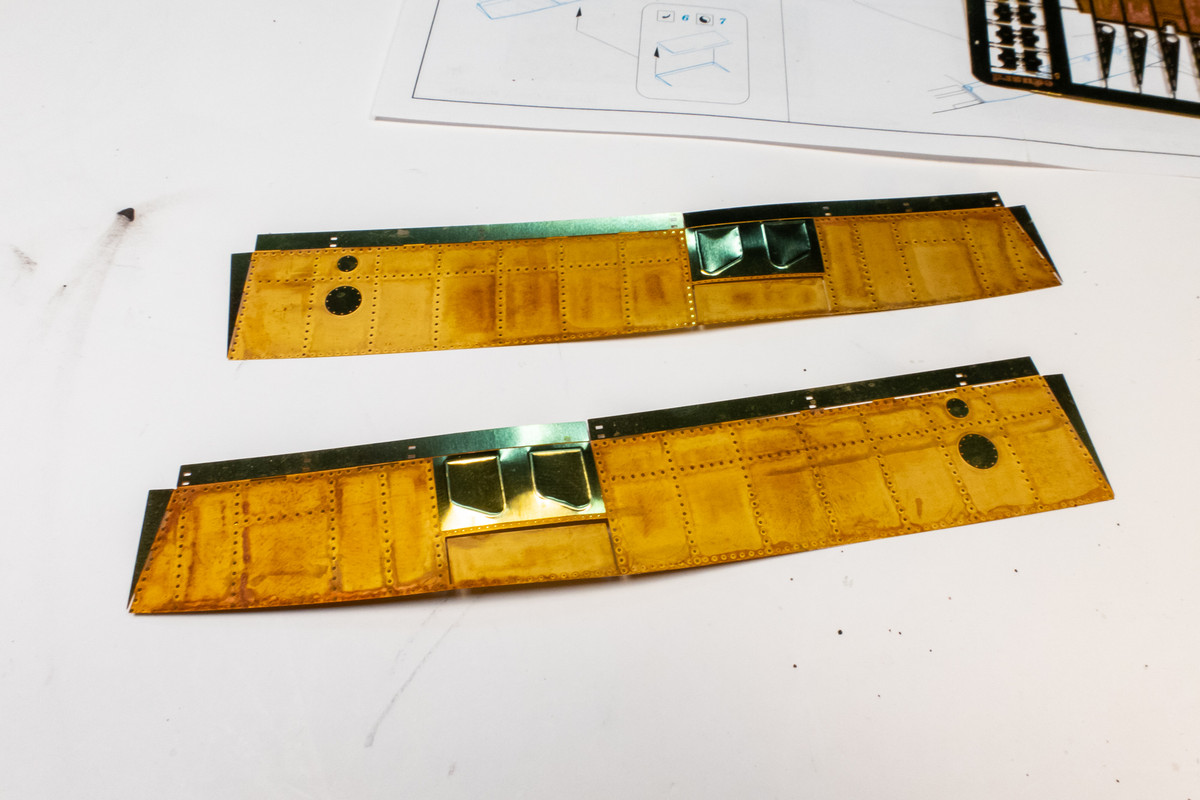
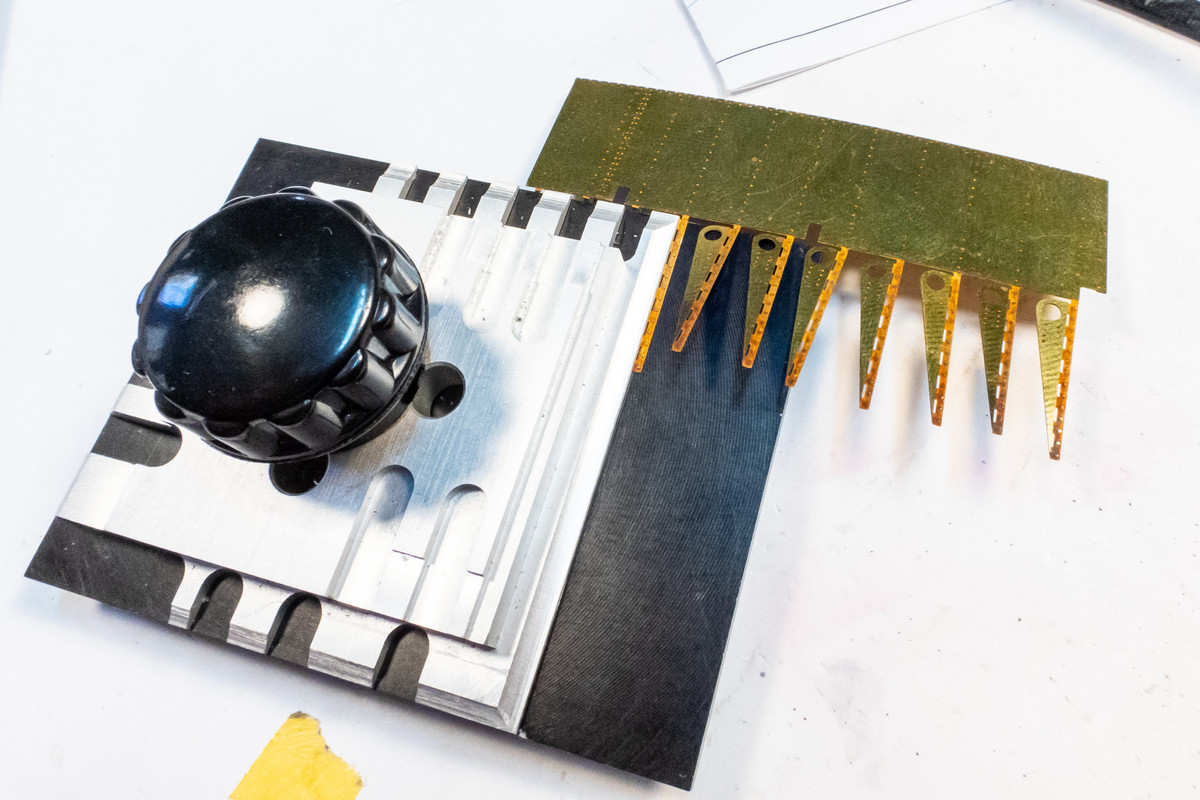
The necessary folds were made with an appropriately long photoetch bending tool. This one is a Small Shops 5.5 inch version that I got specifically for 1/32 scale brass flaps.
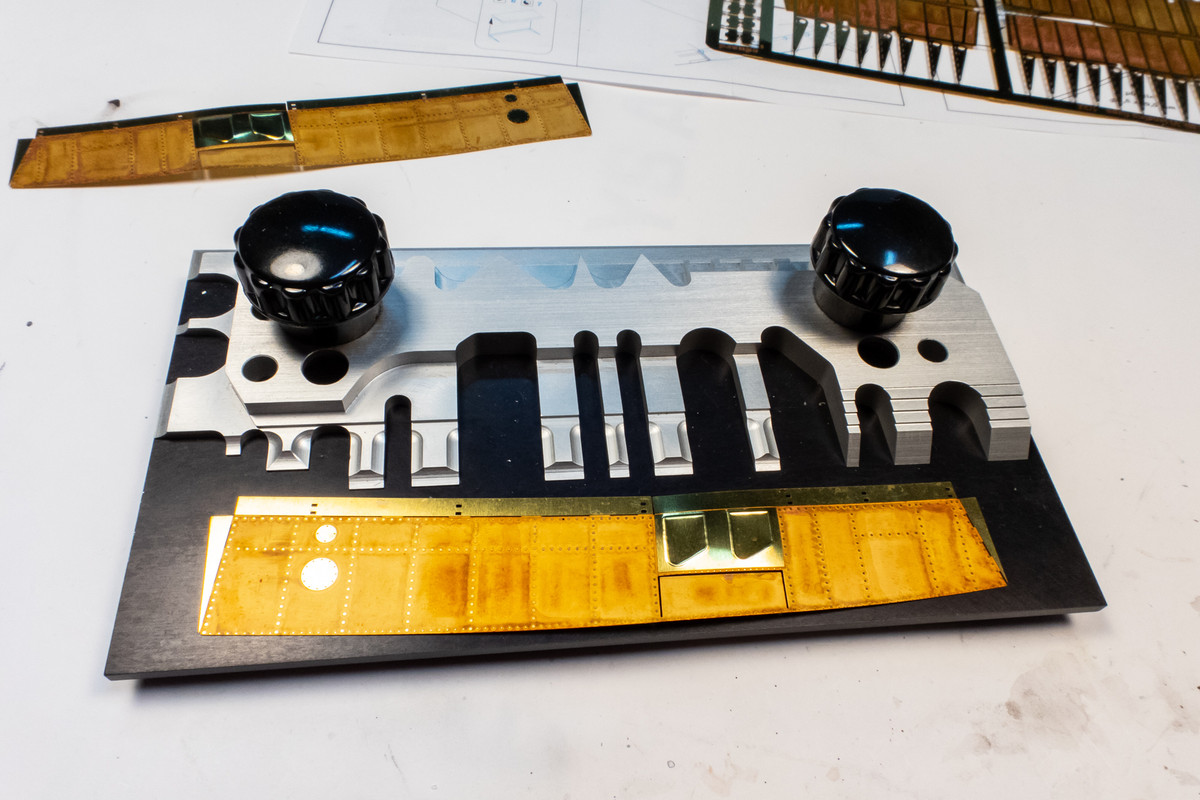
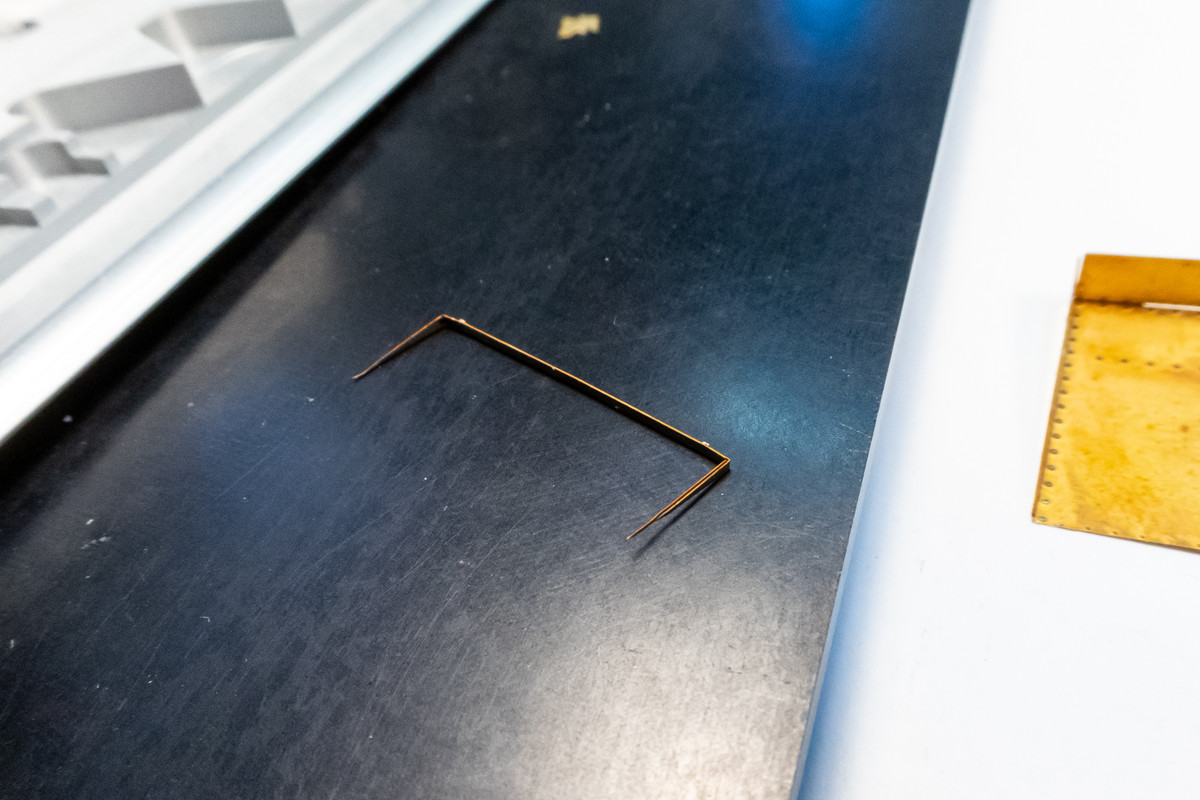
A couple of issues arose during the construction of these upper wing components. First of all is a little raised section that is hinged on the trailing edge. You're supposed to hinge this little rectangle up a tad and then connect everything together with this tiny sliver of folded brass. I couldn't even trim the attachment tabs from this part because even heavy breathing will bend it. Almost impossible to get a successful result.
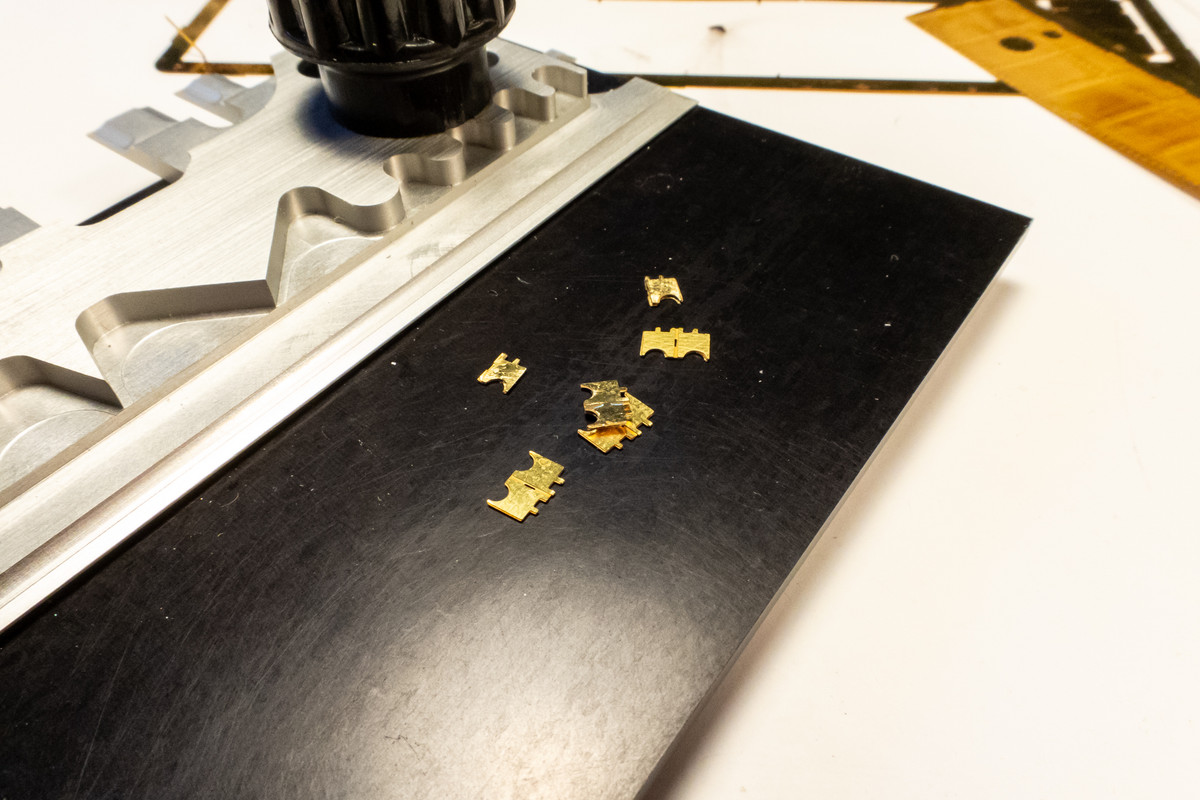
The other issue is with the hinges. They are meant to be folded twice to build up the thickness of the part but there is not enough excess material between folding parts to allow an accurate second fold. This throws off the cross-section of the tabs that fit into small holes. My solution was to separate the hinge components and use three pieces to make up each hinge instead of four.
Anyways... a few hours of fiddling and I got both problem areas resolved.
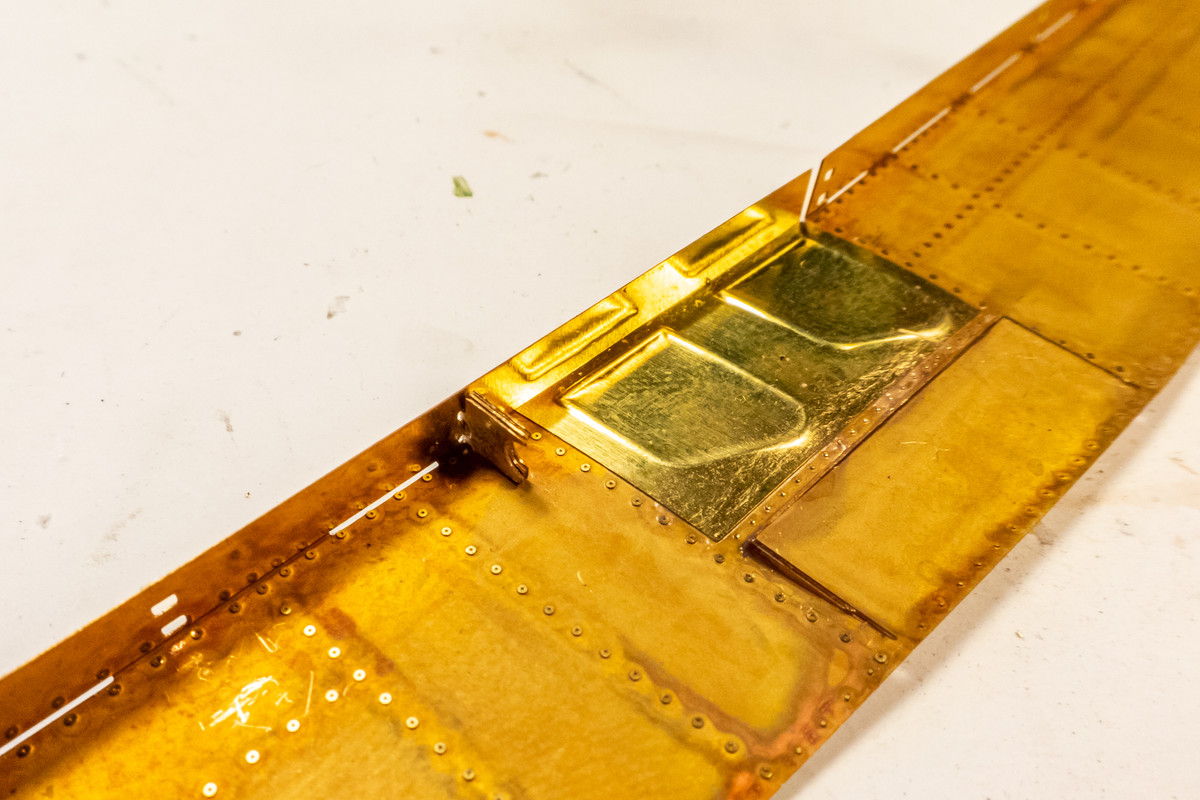
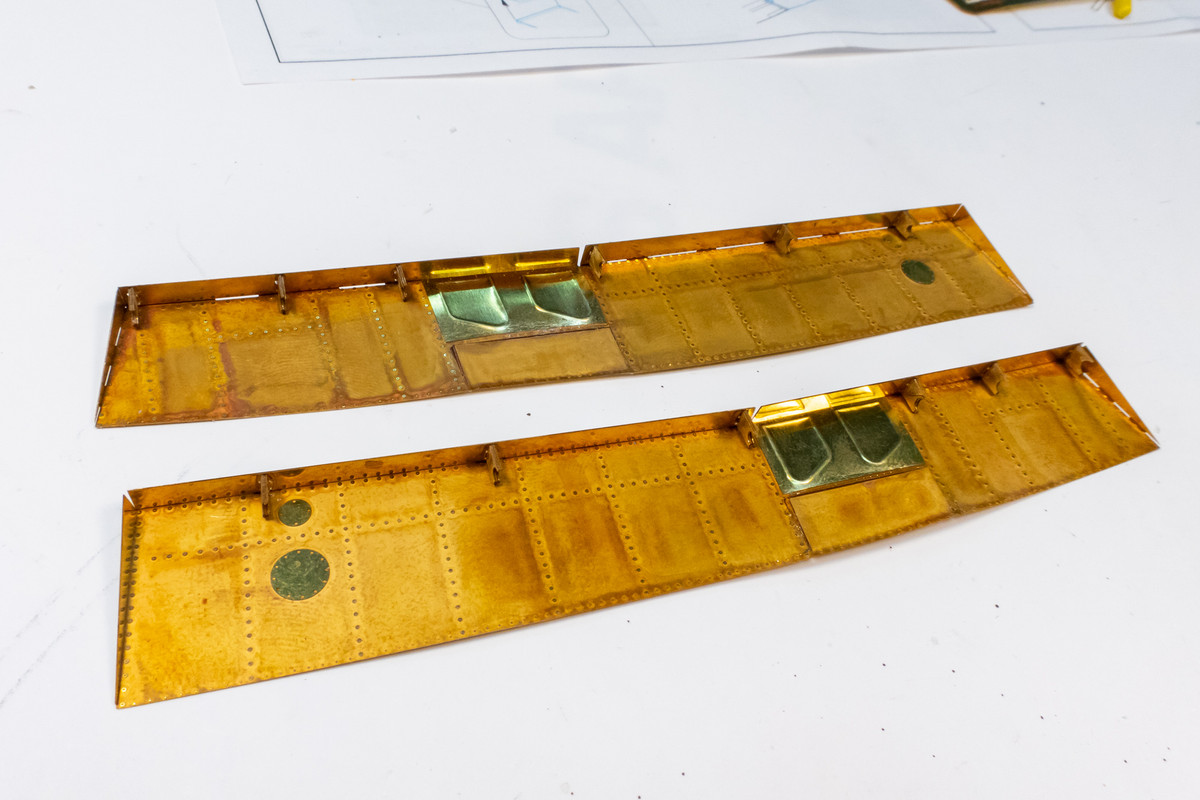
Here are the assembled upper wing components of the flaps.
I use rubberized black CA for my fill work and also as an adhesive. It's just like CA glue but I guess it has a bit of rubber in it. I find it a little easier to sand than regular CA but still hard enough to feather an edge.BlackSheep214 wrote:You mentioned you used black CA. I’ve never heard of it and where would you find them? Are they used both as a glue and filler or either?
I'm planning to use Eduard's brass flaps for this build and I think it would be wise to get these sorted before tackling the wheel well construction.
The upper wing components are first up. These will get glued into the inner surface of the upper wing. Before folding, there are some features that need to "scribed" with a ballpoint pen from the reverse side. I wish the result was a little sharper but oh well...
The necessary folds were made with an appropriately long photoetch bending tool. This one is a Small Shops 5.5 inch version that I got specifically for 1/32 scale brass flaps.
A couple of issues arose during the construction of these upper wing components. First of all is a little raised section that is hinged on the trailing edge. You're supposed to hinge this little rectangle up a tad and then connect everything together with this tiny sliver of folded brass. I couldn't even trim the attachment tabs from this part because even heavy breathing will bend it. Almost impossible to get a successful result.
The other issue is with the hinges. They are meant to be folded twice to build up the thickness of the part but there is not enough excess material between folding parts to allow an accurate second fold. This throws off the cross-section of the tabs that fit into small holes. My solution was to separate the hinge components and use three pieces to make up each hinge instead of four.
Anyways... a few hours of fiddling and I got both problem areas resolved.
Here are the assembled upper wing components of the flaps.
John aka JKim
-----------<><

-----------<><
-
BlackSheep214
- Elite Member
- Posts: 13596
- Joined: Sun Apr 06, 2014 8:47 pm
Re: 1/32 Special Hobby Hawker Tempest Mk V
Wow.... those are some mad skills working with PE.
Regarding black CA, maybe it’s something I should look into. What do you use to clean up black CA?
Regarding black CA, maybe it’s something I should look into. What do you use to clean up black CA?
“Who controls the skies, controls the fate of this Earth”
Author unknown- 352nd Fighter Group, Blue-Nosed Bastards of Bodney
“Send one plane it’s a sortie; send two planes it’s a flight; send four planes it’s a test of airpower. - Richard Kohn
Author unknown- 352nd Fighter Group, Blue-Nosed Bastards of Bodney
“Send one plane it’s a sortie; send two planes it’s a flight; send four planes it’s a test of airpower. - Richard Kohn
-
Medicman71

- Elite Member
- Posts: 11396
- Joined: Mon Apr 07, 2014 9:32 am
- Location: Houston, Tx
Re: 1/32 Special Hobby Hawker Tempest Mk V
Great work on the prop and the PE flaps.
Mike
Sponsored by Boeing, Lockheed Martin, Northrop Grumman, Saab, BAE, and Dassault
Sponsored by Boeing, Lockheed Martin, Northrop Grumman, Saab, BAE, and Dassault
Re: 1/32 Special Hobby Hawker Tempest Mk V
It's excellent as a filler because of that black color. Very easy to keep track of You can use the same debonder that you use for regular CA glue.BlackSheep214 wrote:Wow.... those are some mad skills working with PE.
Regarding black CA, maybe it’s something I should look into. What do you use to clean up black CA?
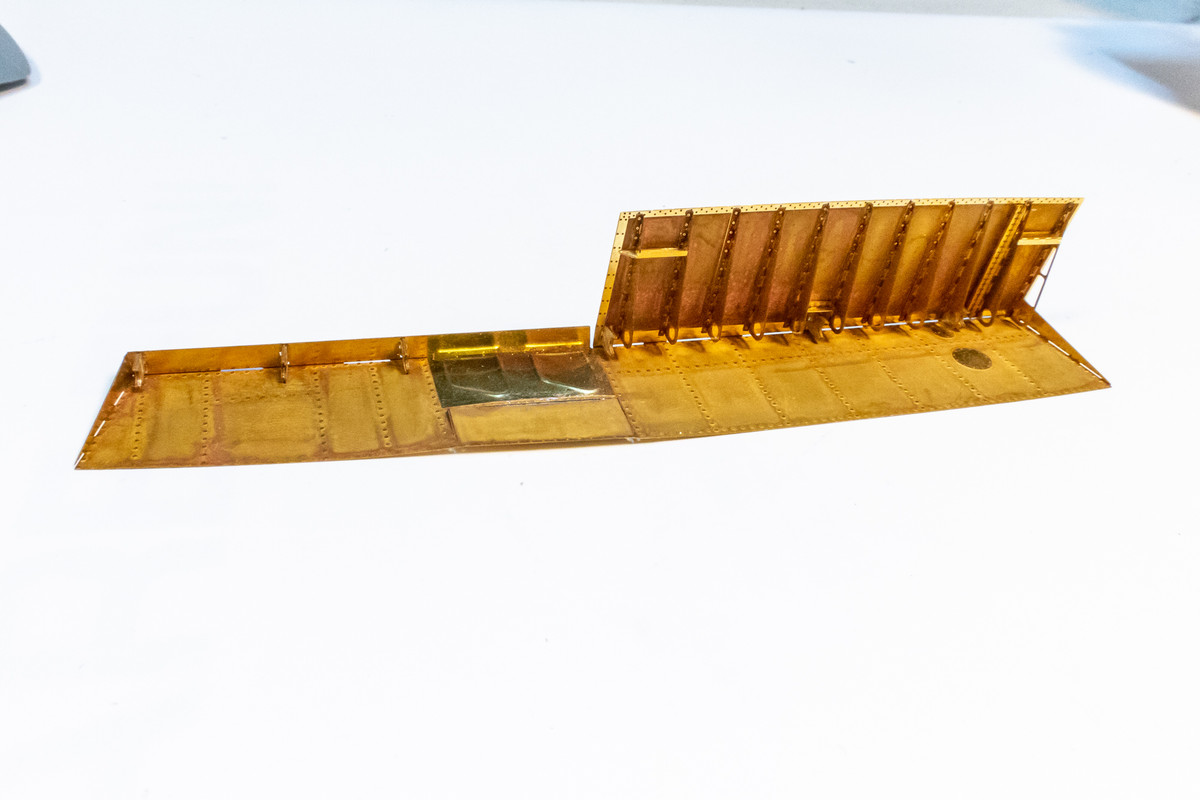
Here's where the completed upper wing flaps parts will go.
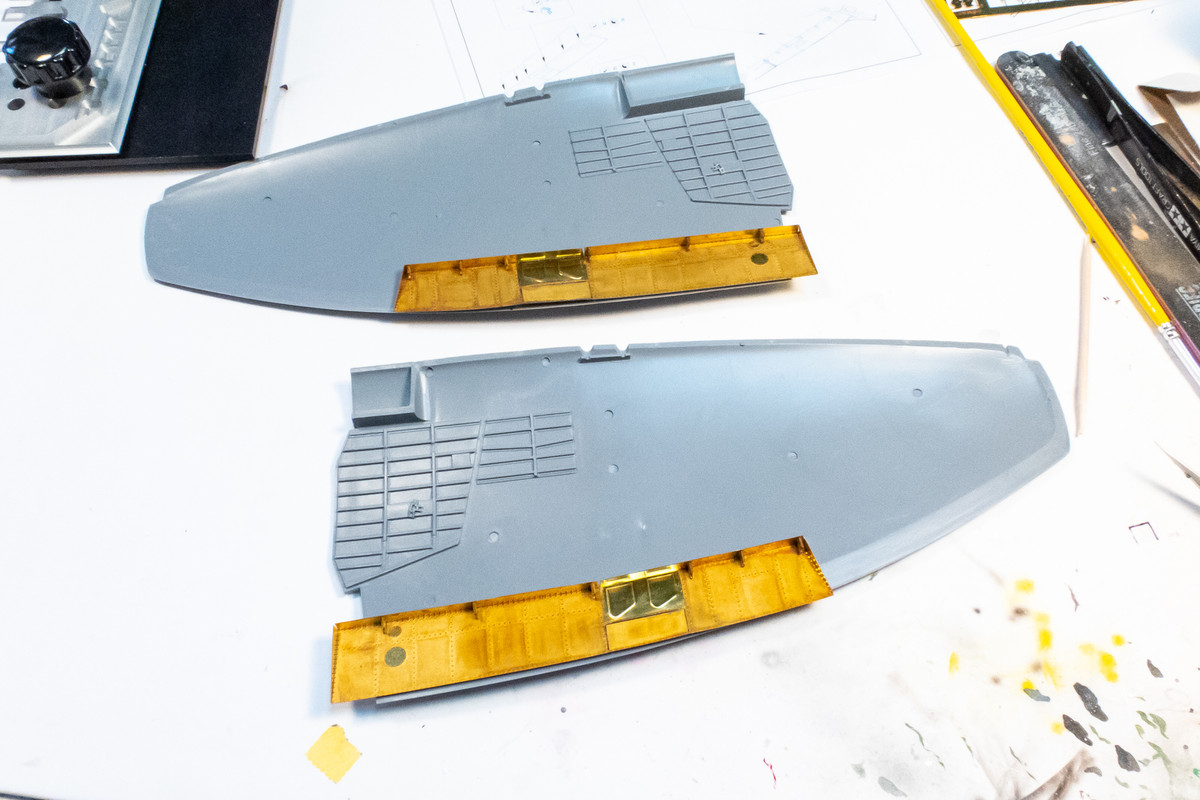
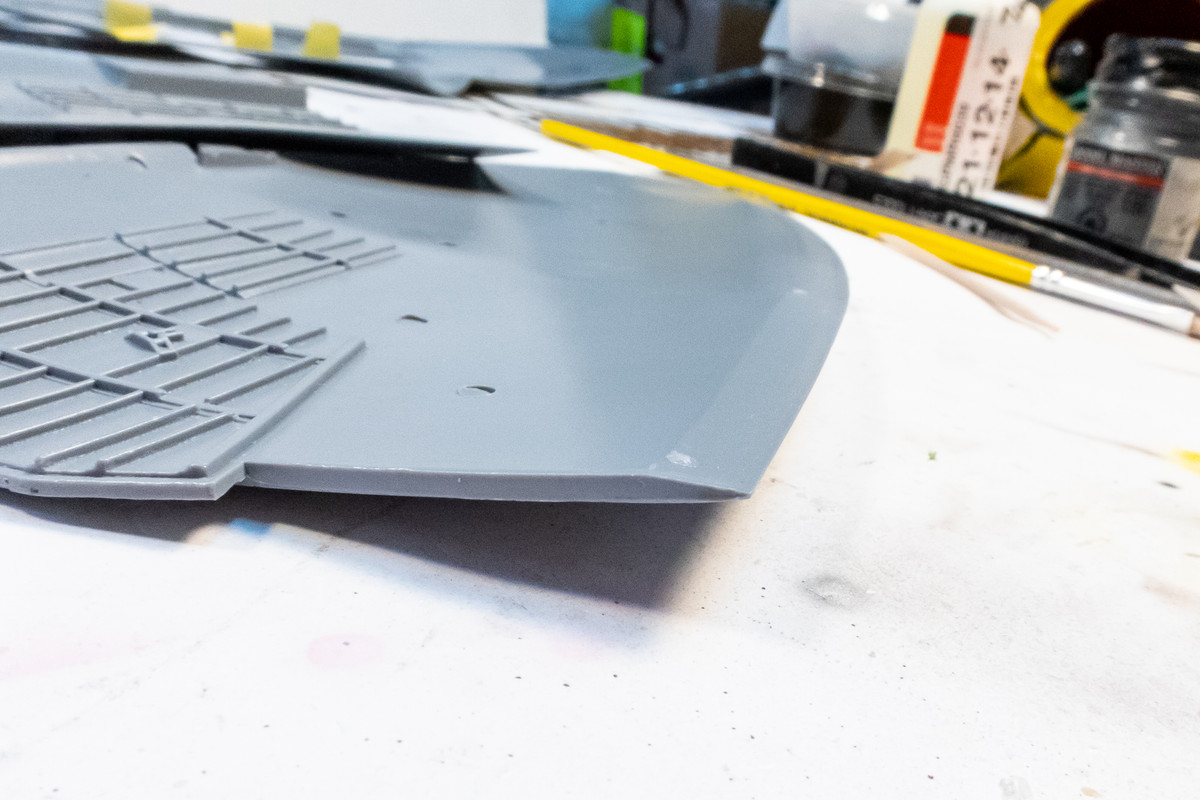
I'll have to level off that angle in the trailing edge cross section to accommodate the PE parts but that should be fairly simple.
The actual flaps are bit more challenging to fold. They are separated into two flaps for each wing so four total.
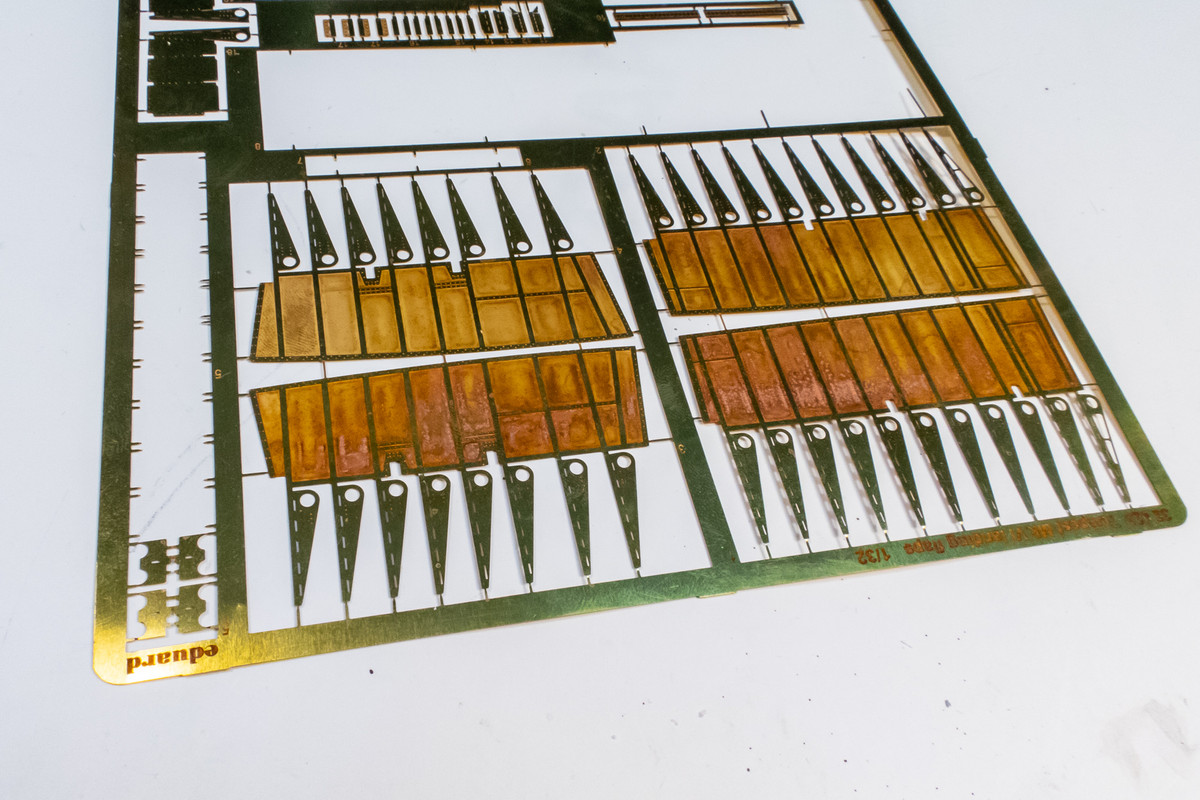
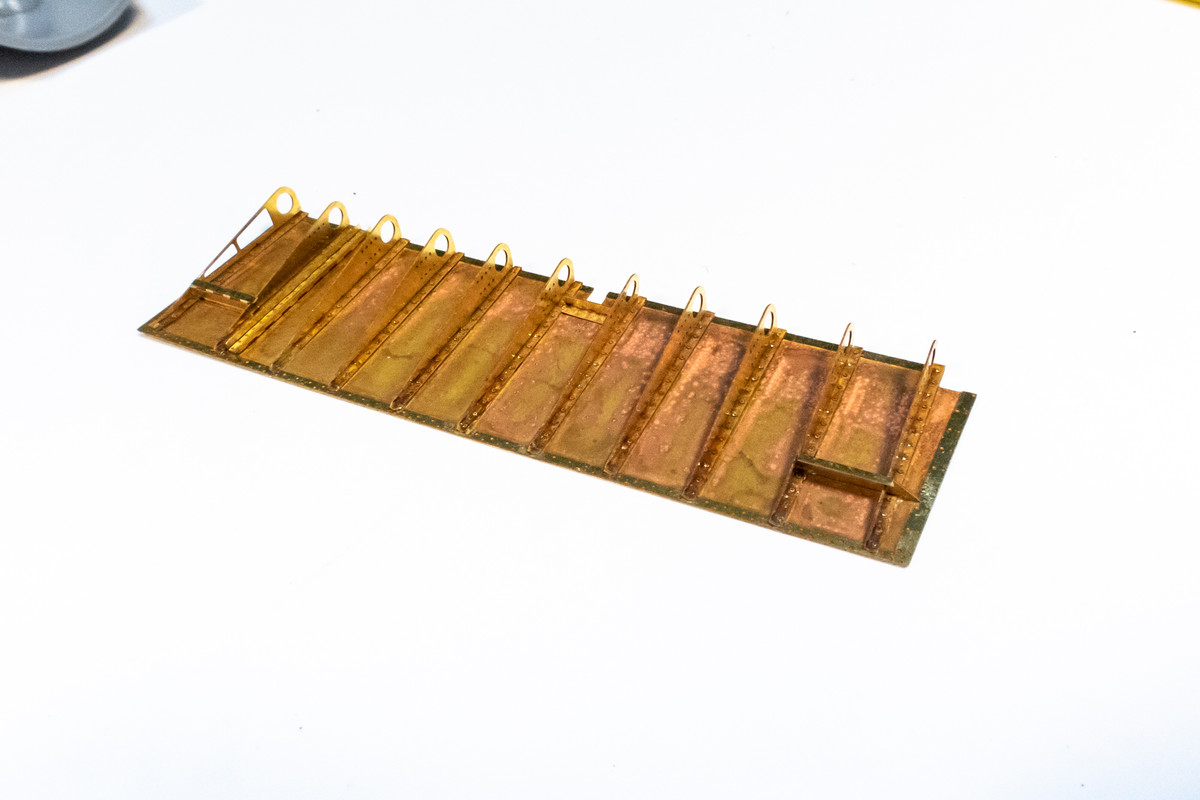
The individual spars have a flat attachment section that needs to be folded first. Thank goodness for this as this will create a much more secure bond than having the spars simply folding onto the flap as I've had to do on other Eduard flaps. The instructions call for each spar to be folded and placed into position before moving on to the next and that's how I went about it.
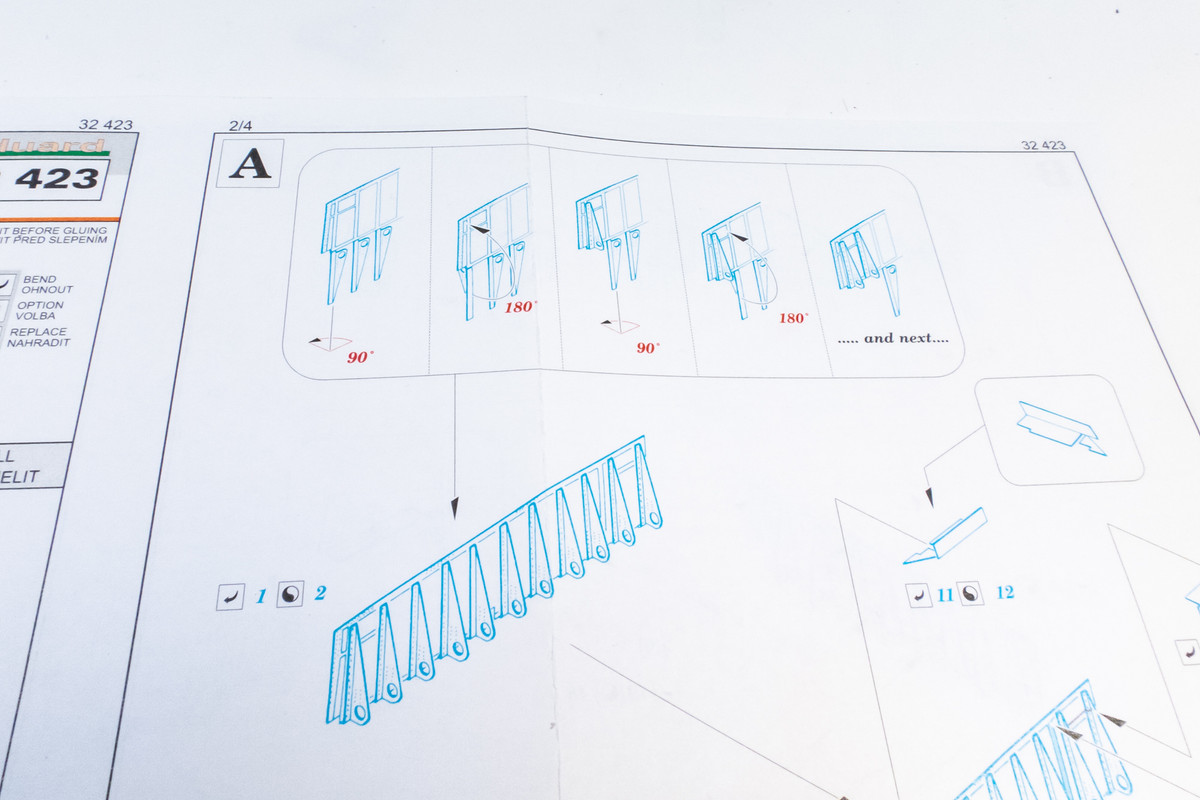
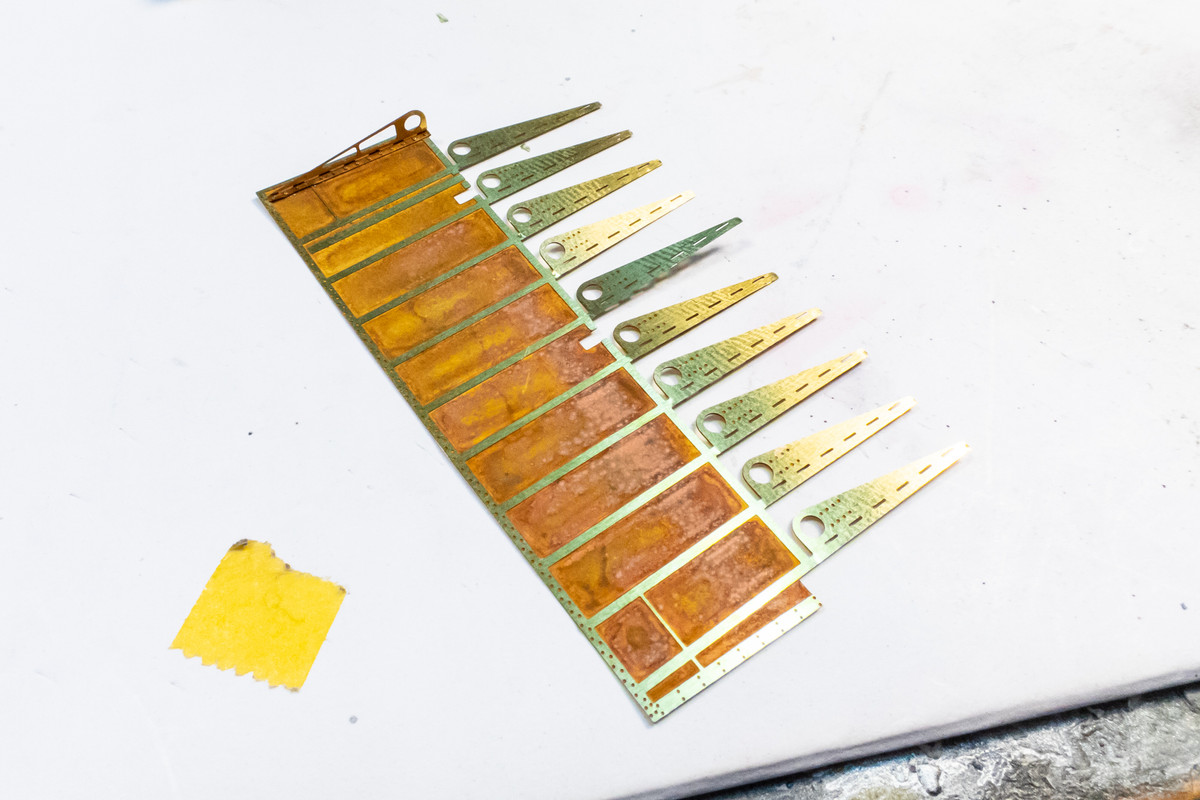
For these smaller folds, I switched to the Small Shops Bug.
Here is the flap after folding and a few more PE bits added. I still need to add a section of round plastic rod to complete the flap but I don't have the right size yet.
The plastic flaps on the lower wing need to be removed, which I am saving for a little later.
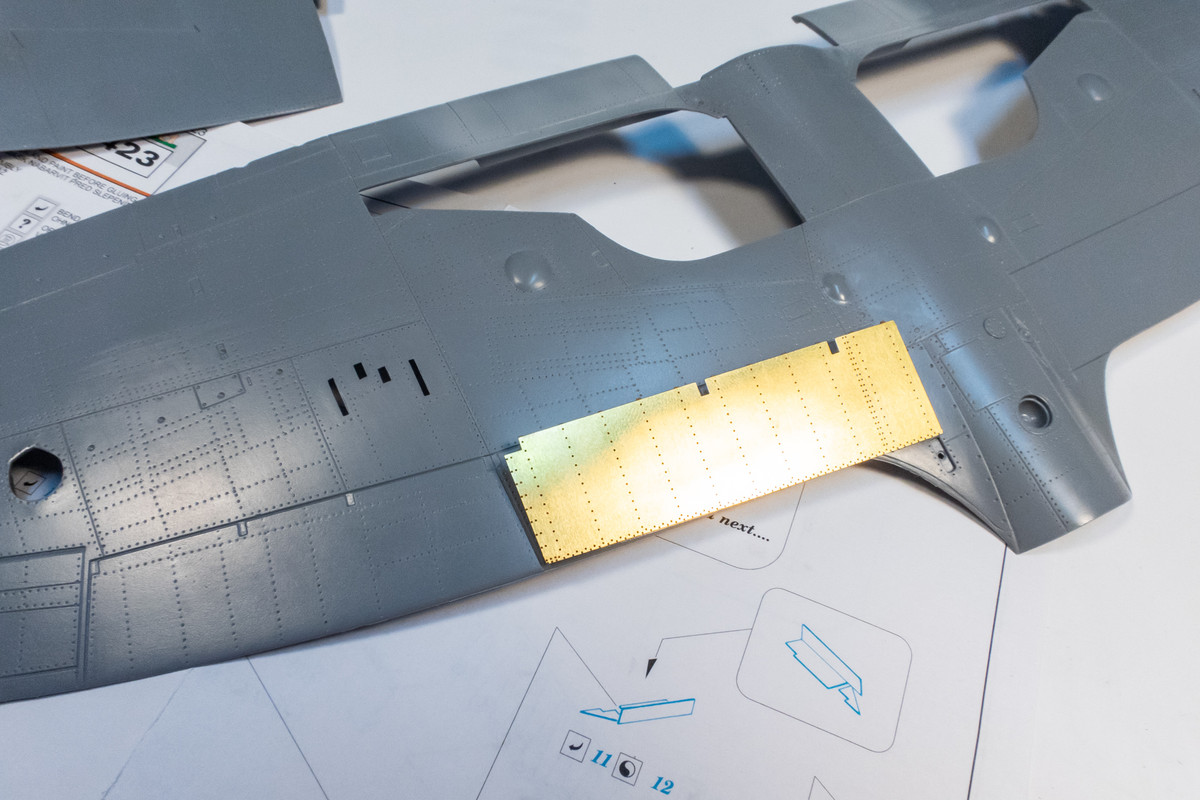
Here is the lower flap placed onto the appropriate section of upper wing flap assembly. One quarter of the way done. This should be a great visual enhancement on the finished model.
John aka JKim
-----------<><
-----------<><

Re: 1/32 Special Hobby Hawker Tempest Mk V
Great detail work! Looks great.
To make each build less crappy than the last one. Or, put another way, "Better than the last one, not as good as the next one!"..
Re: 1/32 Special Hobby Hawker Tempest Mk V
Thanks Lyle!
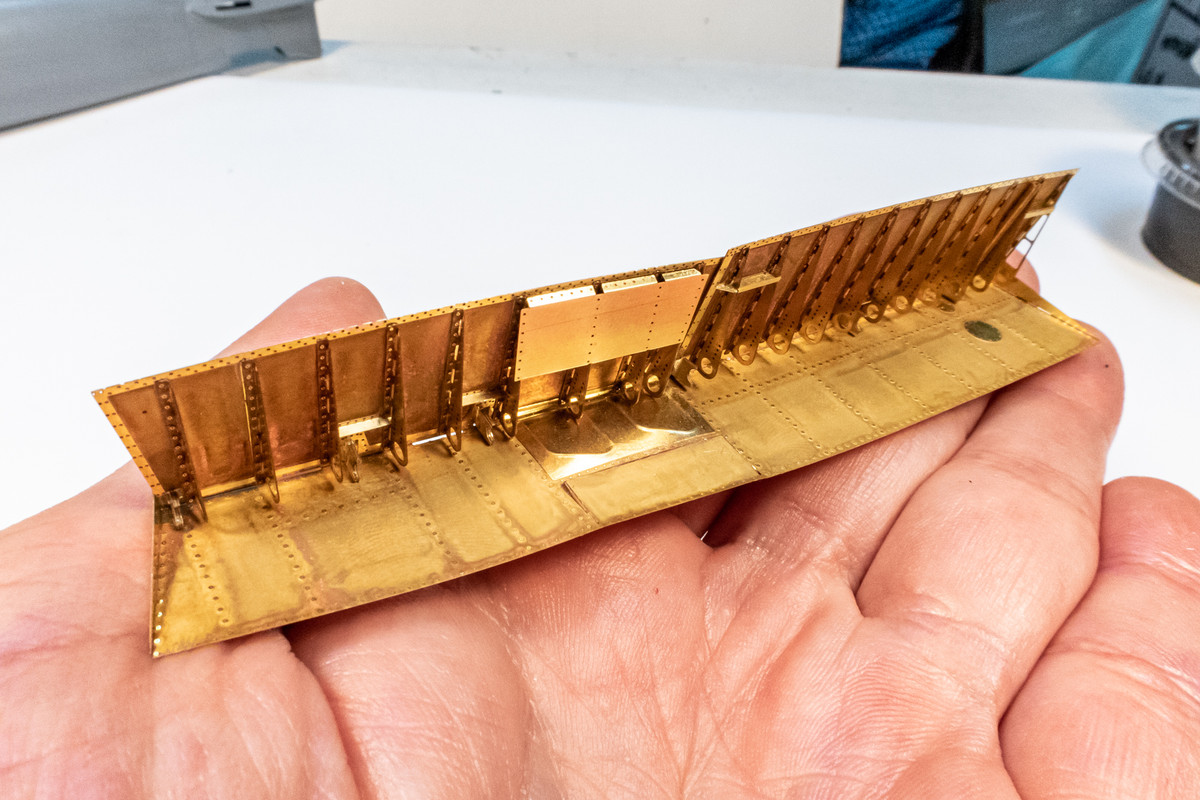
I was able to wrap up lower flap #2 last night.
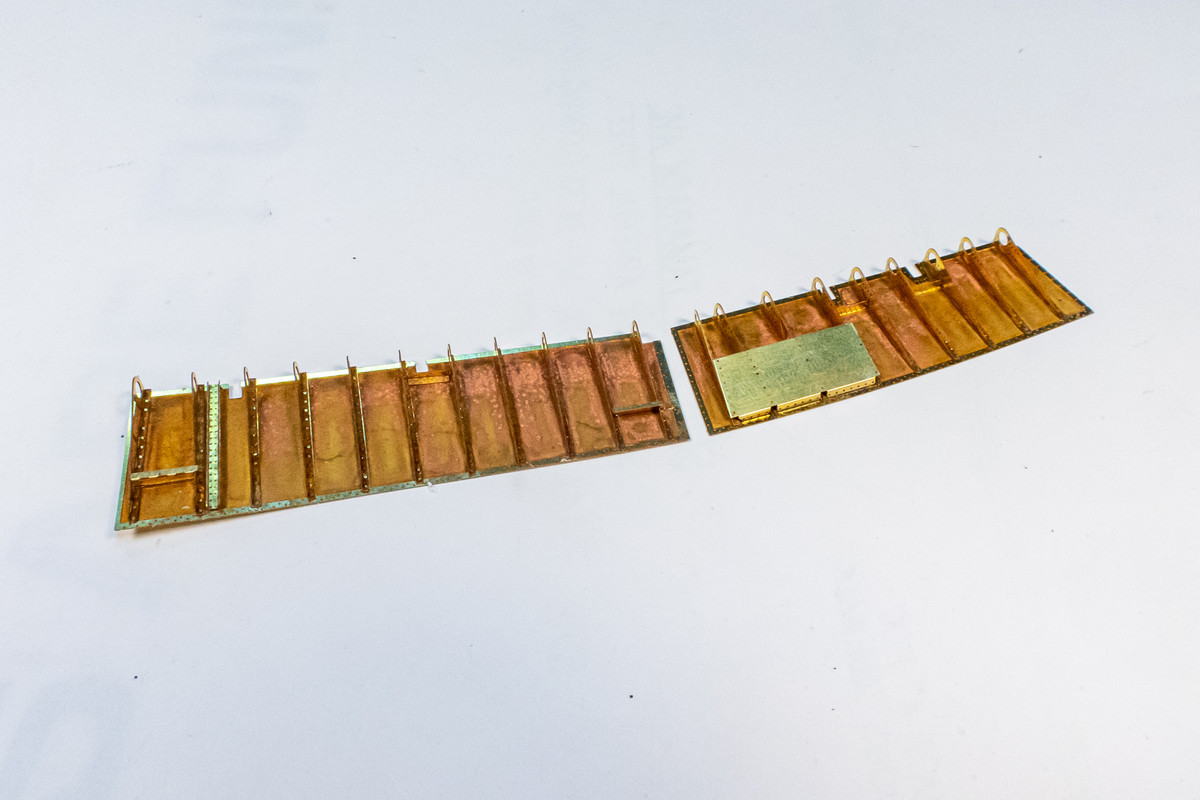
I still need to add the plastic rod to serve as the hinge axis for the flaps but you can see what the starboard side flaps will look like...

I don't know what it is about brass but unpainted PE assemblies always look super impressive to me. More so than when it is painted.
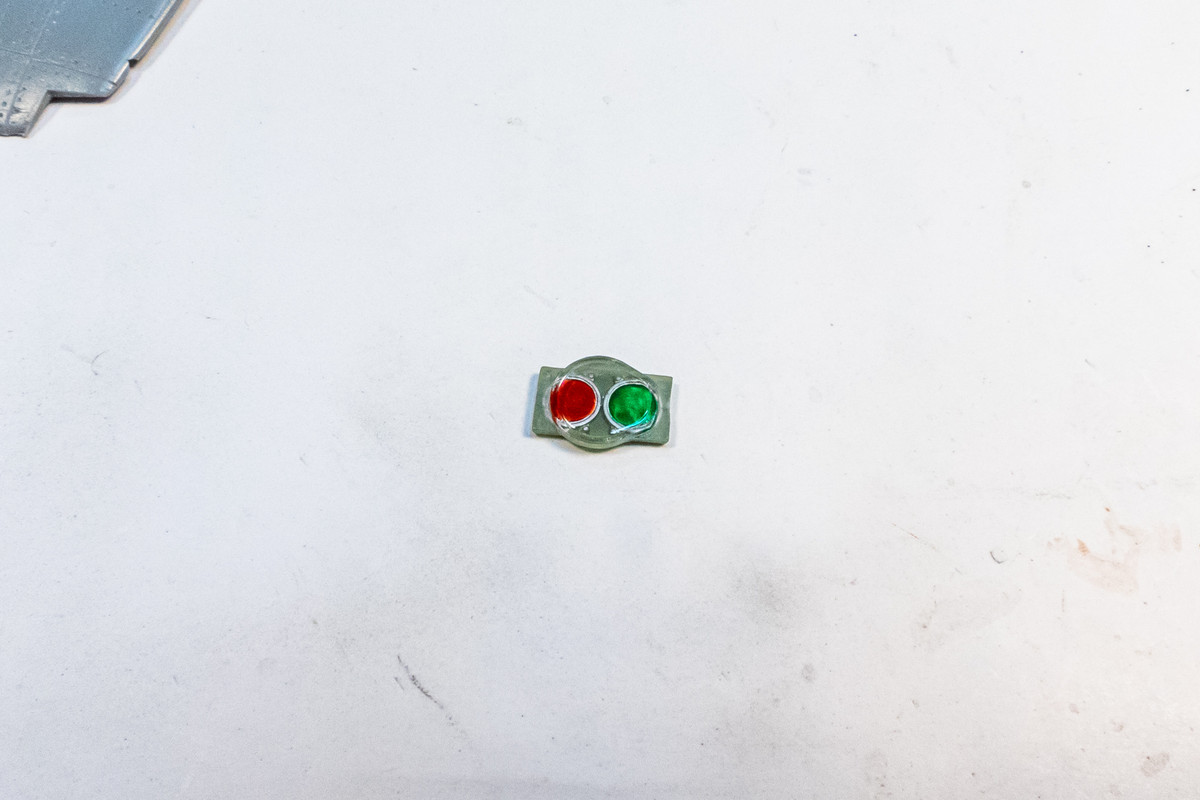
One of the lights on the bottom of the wing after painting.
I was able to wrap up lower flap #2 last night.
I still need to add the plastic rod to serve as the hinge axis for the flaps but you can see what the starboard side flaps will look like...
I don't know what it is about brass but unpainted PE assemblies always look super impressive to me. More so than when it is painted.
One of the lights on the bottom of the wing after painting.
John aka JKim
-----------<><
-----------<><