Page 17 of 29
Re: Hasegawa 1/32 Fw 190D-9 Brown 4
Posted: Mon Aug 22, 2022 10:36 am
by Medicman71
Very cool John! I'd like to do some medical type missions but I so rarely have time.
Re: Hasegawa 1/32 Fw 190D-9 Brown 4
Posted: Mon Aug 22, 2022 3:10 pm
by mostrich
Thank you so much for sharing these photos with us, John. Very heartwarming stuff!
Re: Hasegawa 1/32 Fw 190D-9 Brown 4
Posted: Mon Aug 22, 2022 5:08 pm
by jeaton01
Well worth missing some bench time! Well done, John!
Re: Hasegawa 1/32 Fw 190D-9 Brown 4
Posted: Tue Aug 23, 2022 5:28 pm
by tempestjohnny
Excellent reason to lose some bench time.
Re: Hasegawa 1/32 Fw 190D-9 Brown 4
Posted: Tue Aug 23, 2022 8:48 pm
by Duke Maddog
Awesome work John! `Brilliant job!
When my paint dries shut, I turn the bottle over on a metal tray and use a pipette to add lacquer thinner in the threads and let it sit so that the paint gets weakened. Then I turn it over and use a channel locks pliers to open it.
Re: Hasegawa 1/32 Fw 190D-9 Brown 4
Posted: Fri Aug 26, 2022 7:07 pm
by jkim
Re: Hasegawa 1/32 Fw 190D-9 Brown 4
Posted: Fri Aug 26, 2022 9:16 pm
by jkim
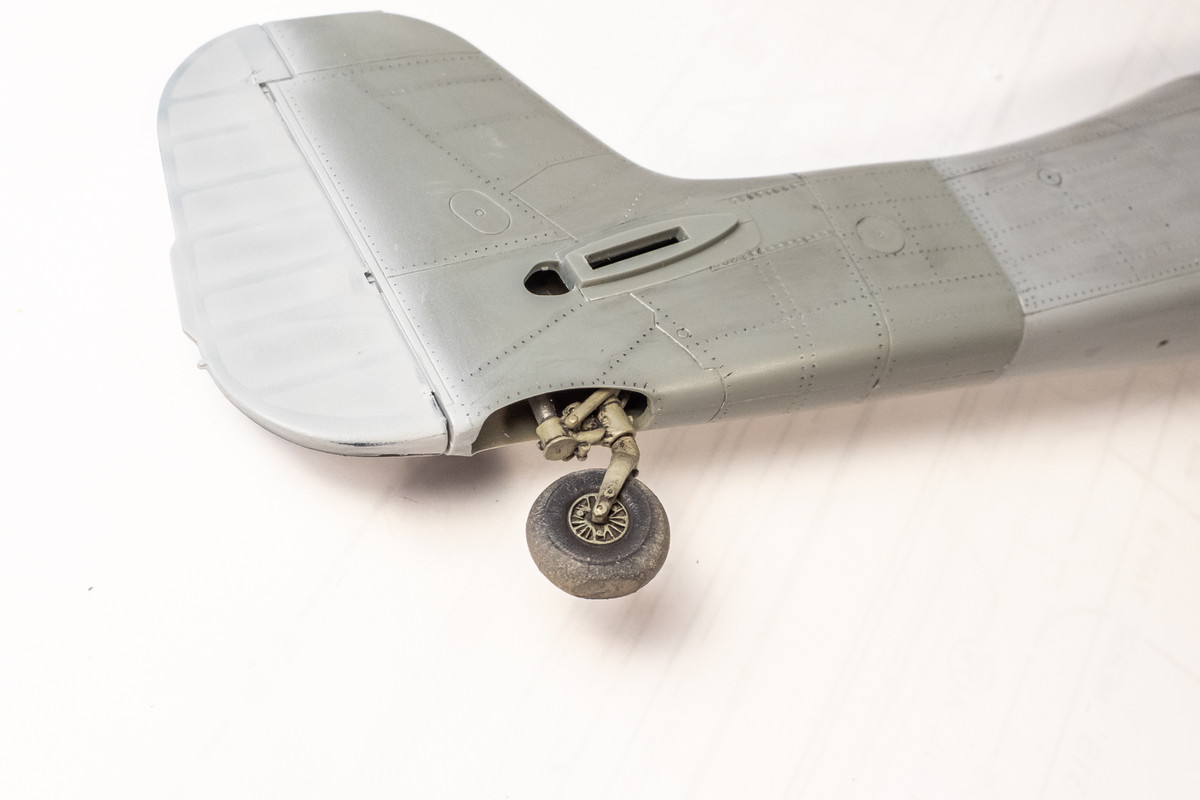
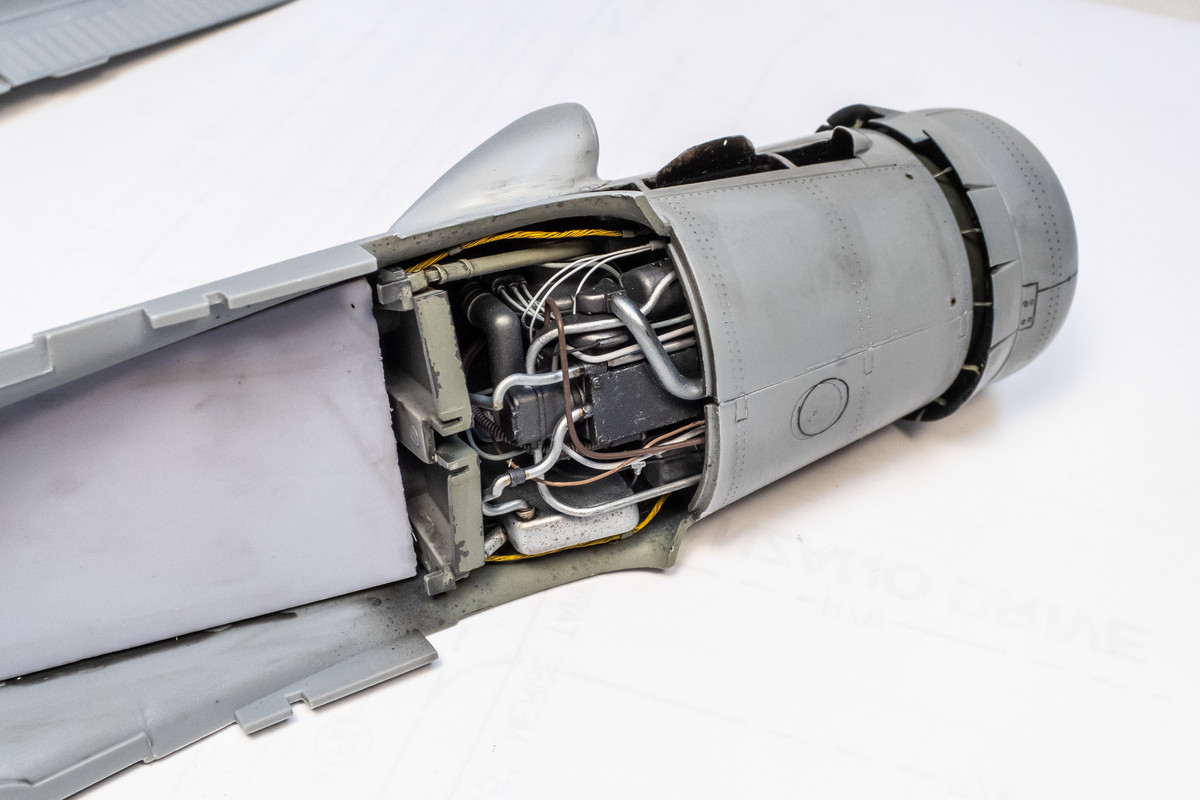
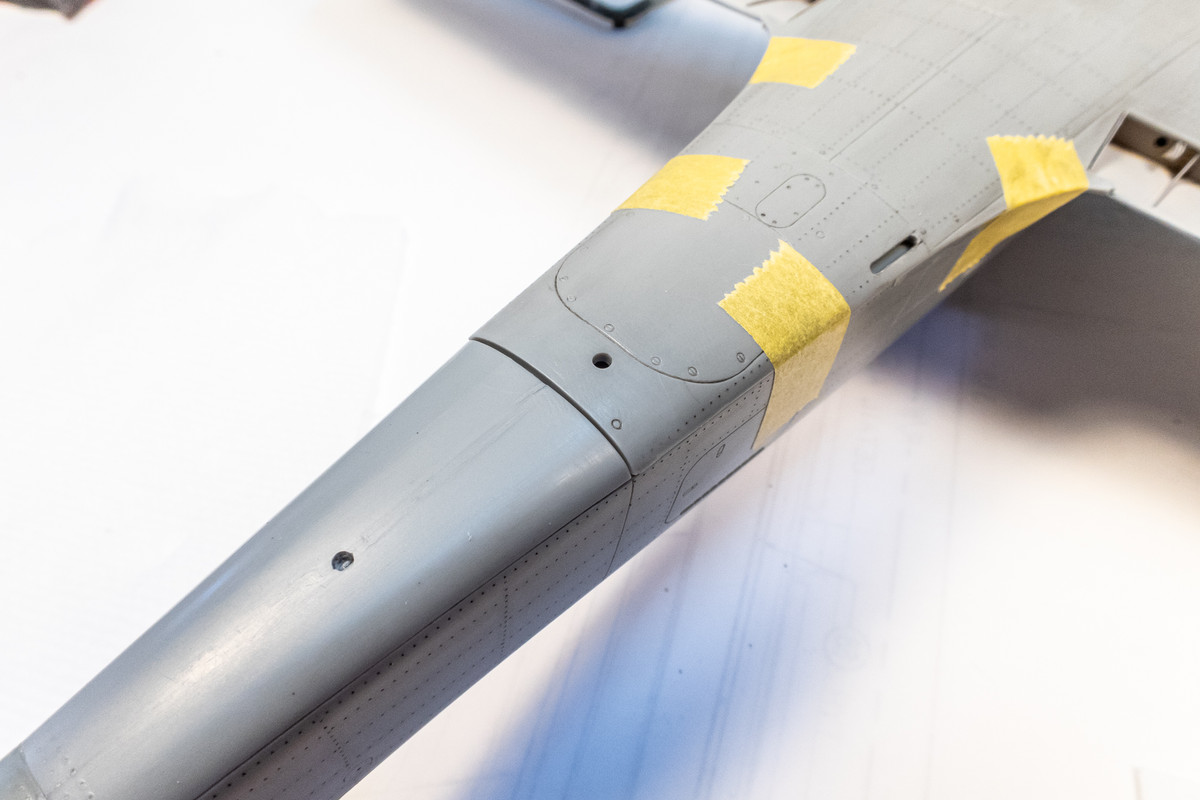
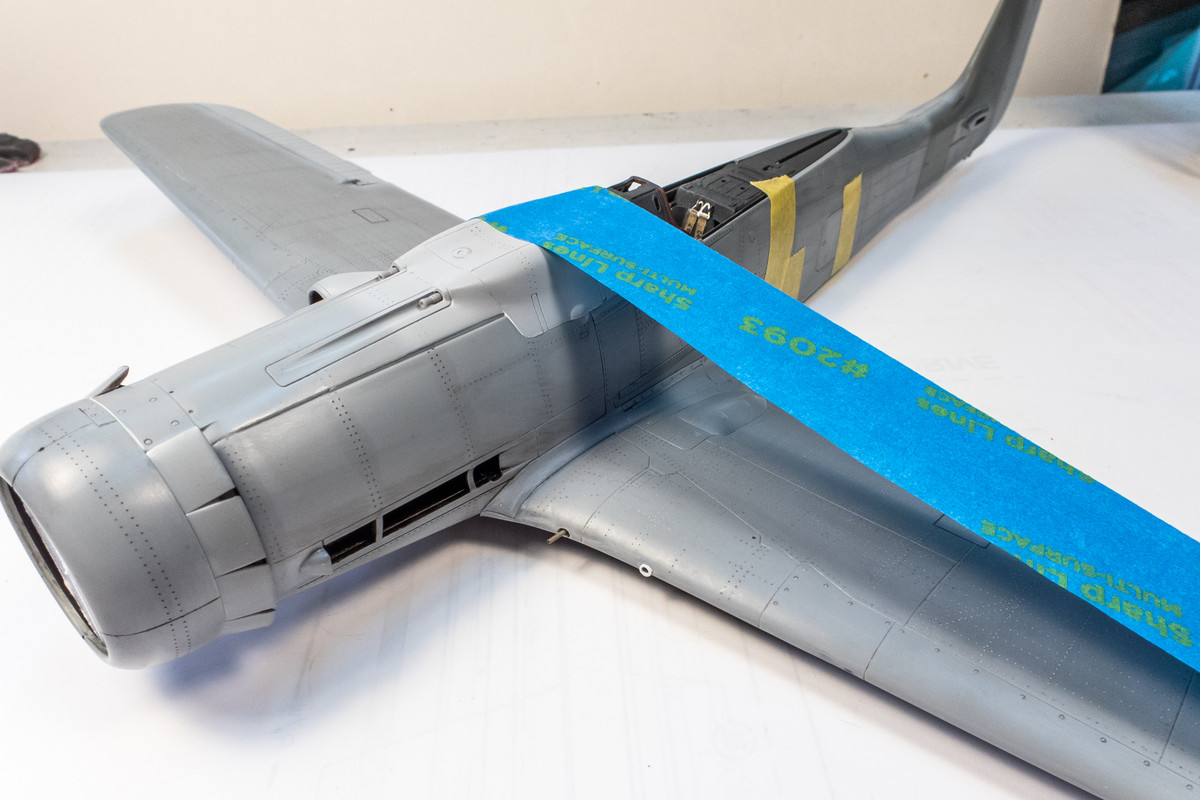
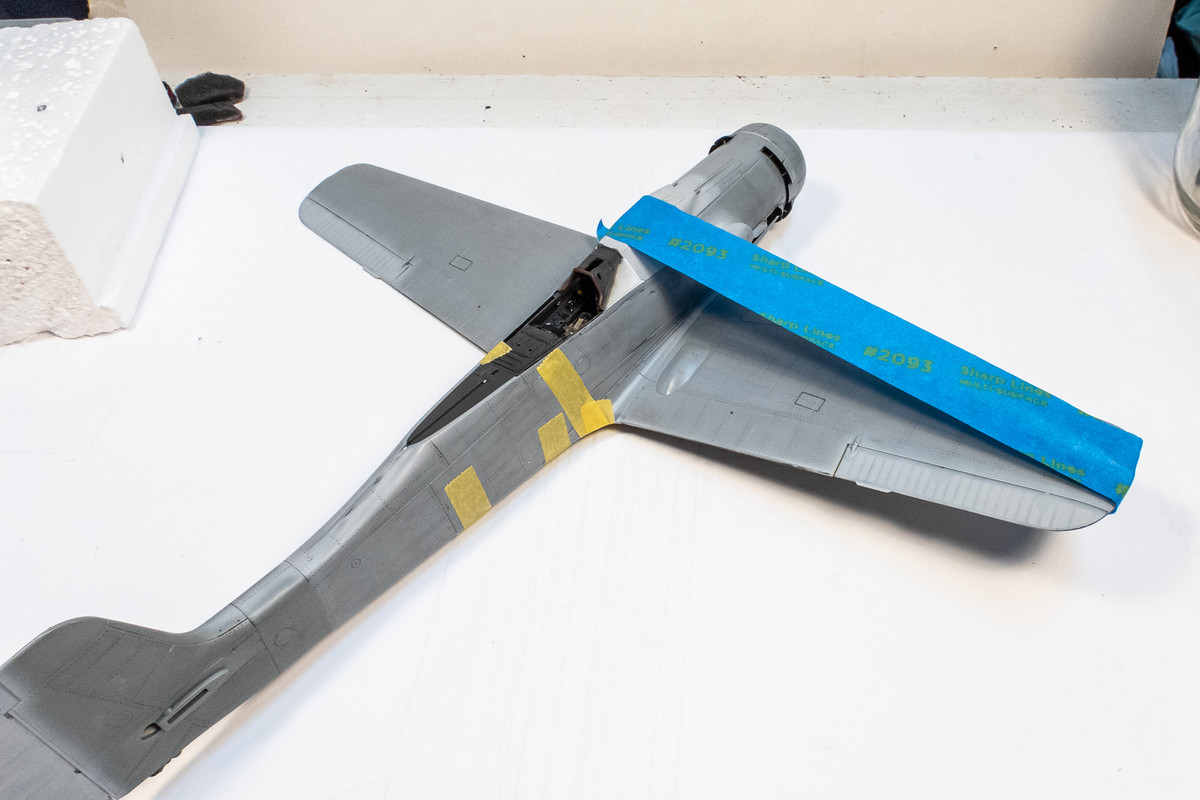
Glue is now applied to the starboard wing root and tape is used to tilt the wing and compress the glue joint until it dries.
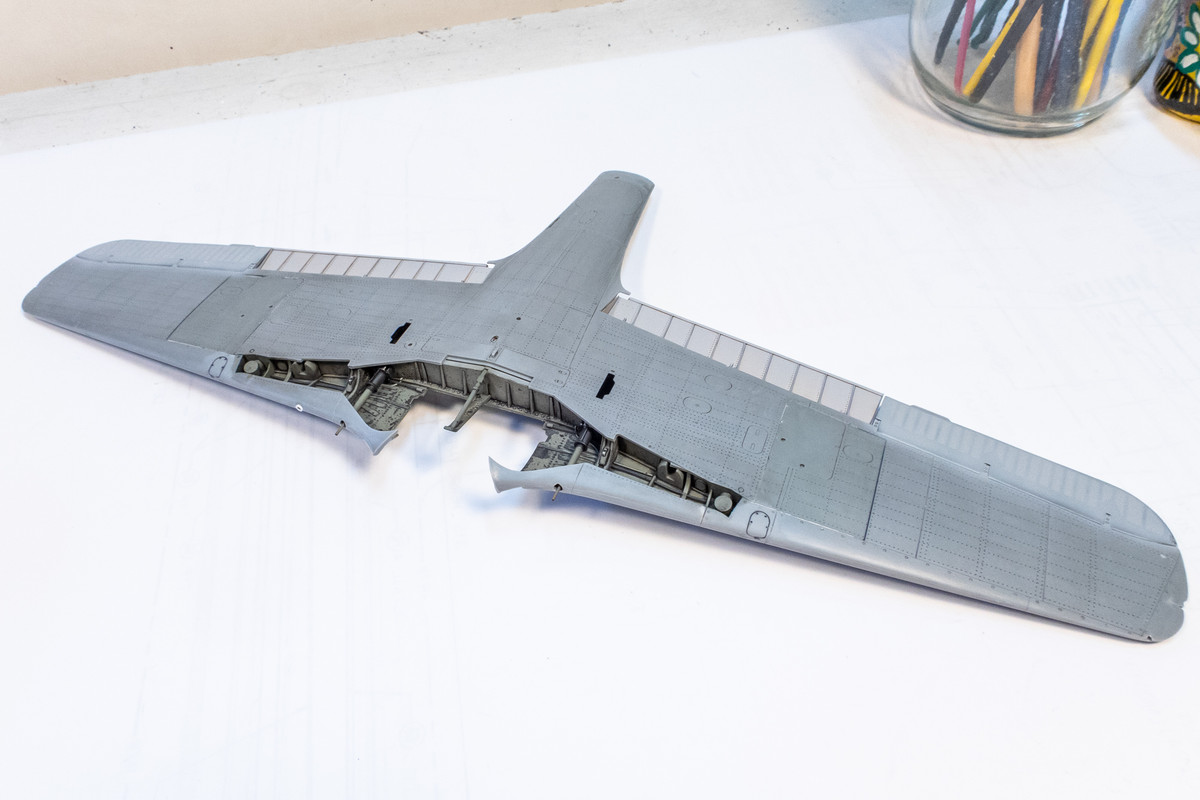
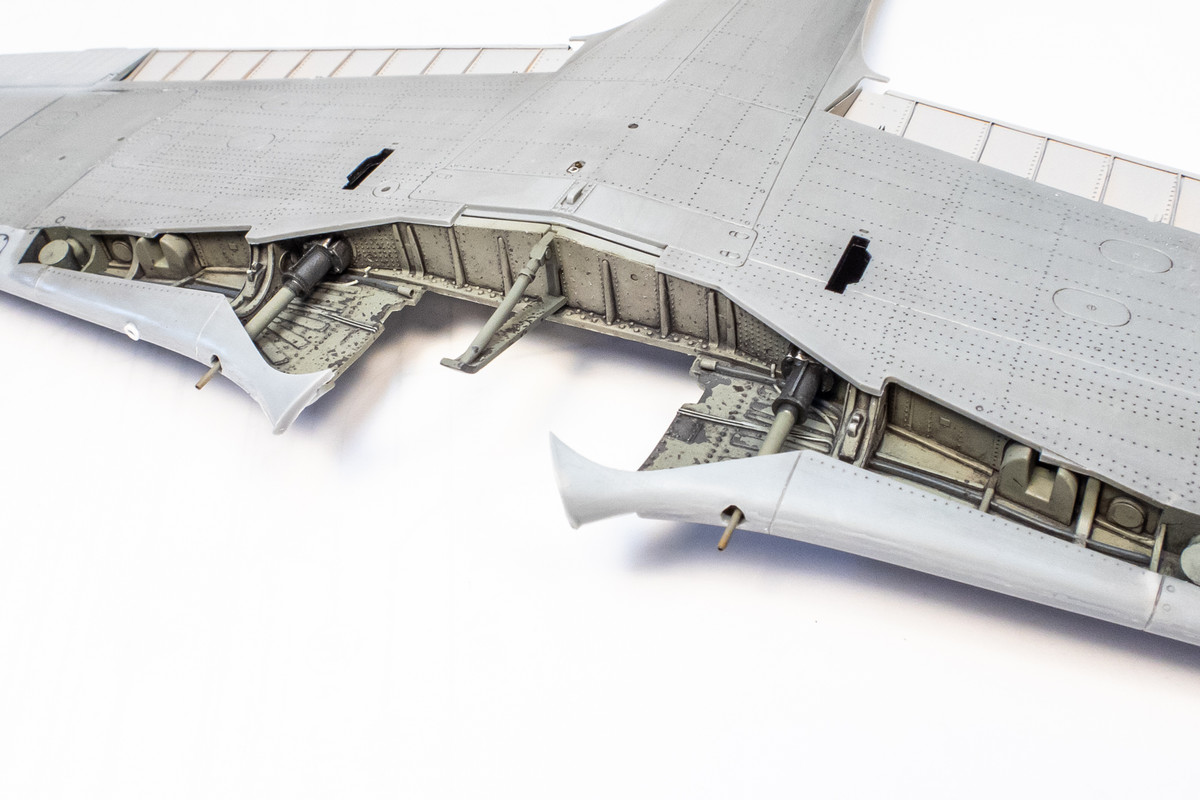
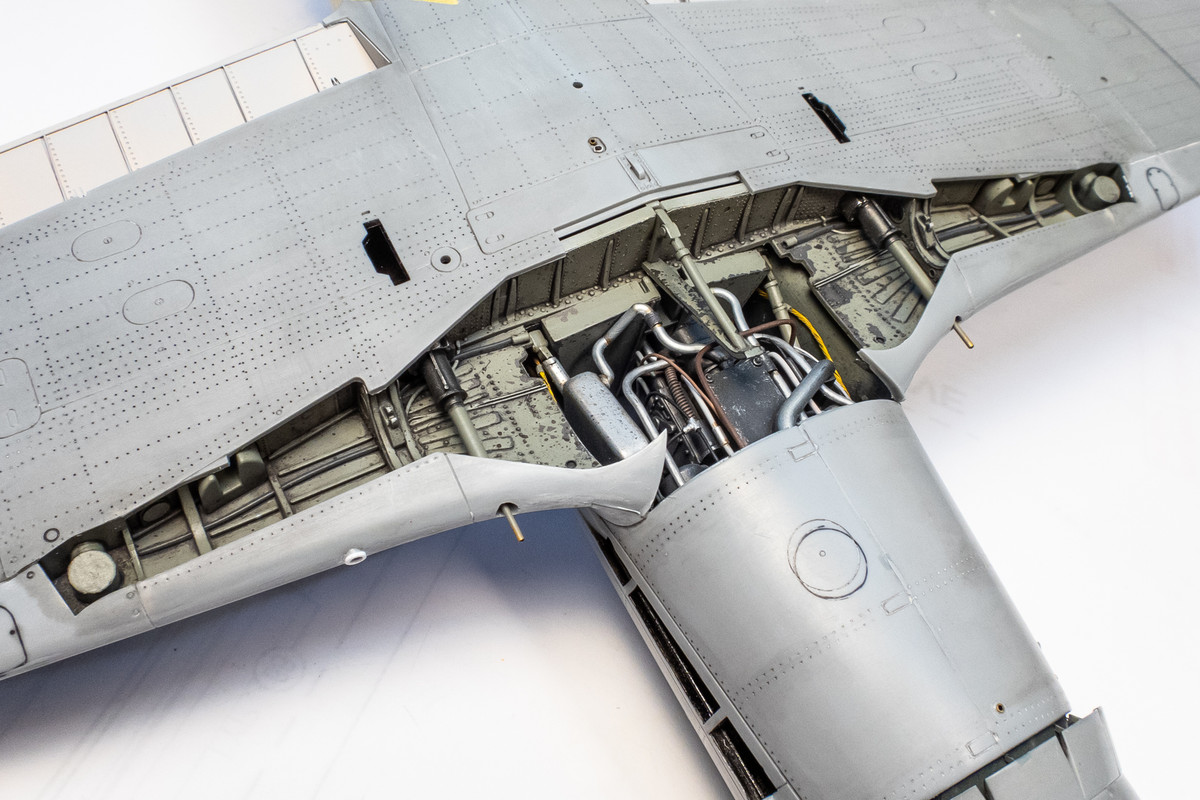
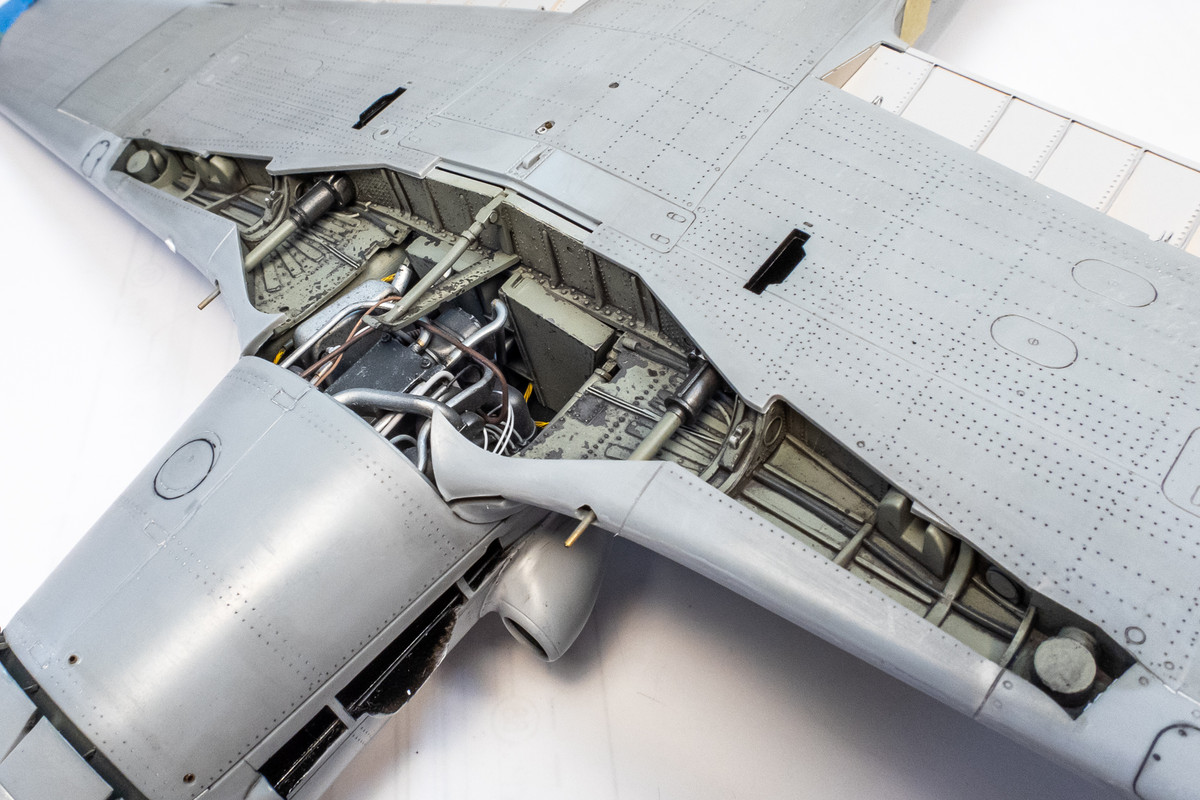
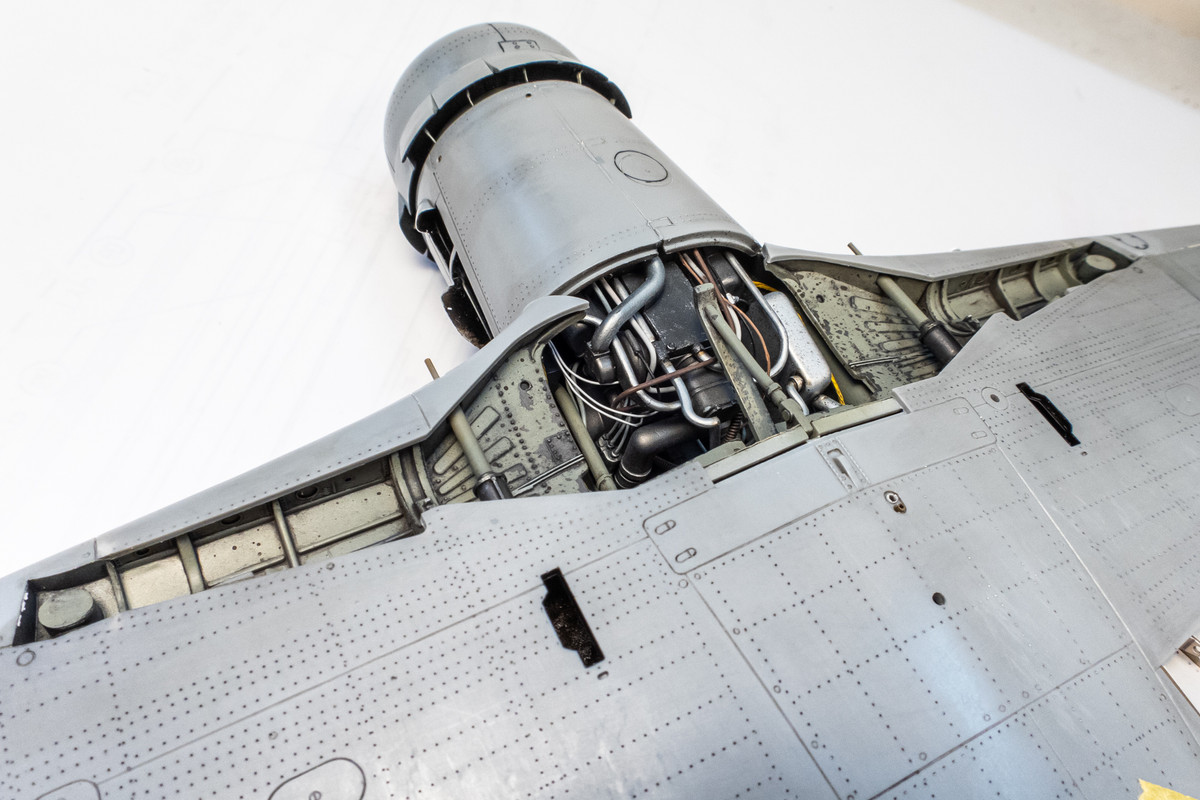
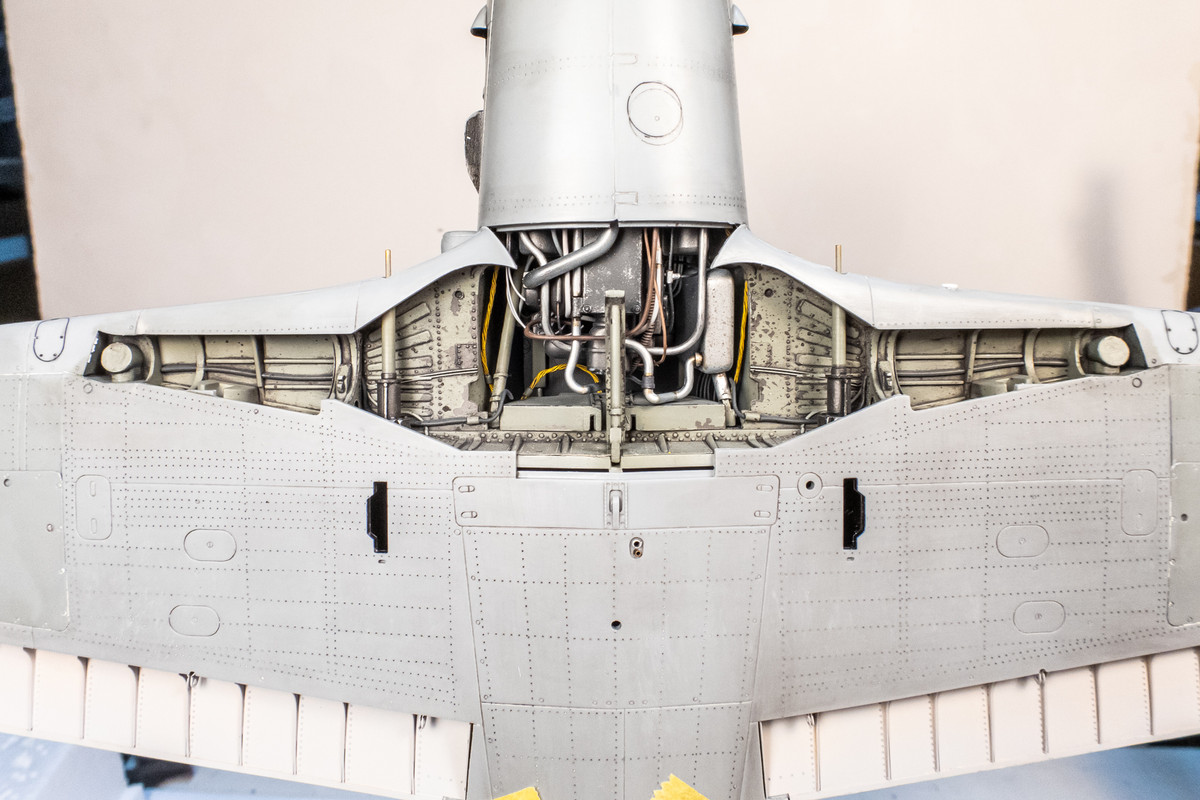
One more view of the exposed wheel well. At this time, I've added small pieces of wiring to the open end of the small sections of brass tubing that I previously placed in the wheel well.
Re: Hasegawa 1/32 Fw 190D-9 Brown 4
Posted: Fri Aug 26, 2022 10:59 pm
by Floki
Excellent work John!
Re: Hasegawa 1/32 Fw 190D-9 Brown 4
Posted: Sat Aug 27, 2022 3:04 am
by Stuart
Superb work John, it's always a joy to see your detail work in action.
Re: Hasegawa 1/32 Fw 190D-9 Brown 4
Posted: Sat Aug 27, 2022 4:07 am
by tempestjohnny
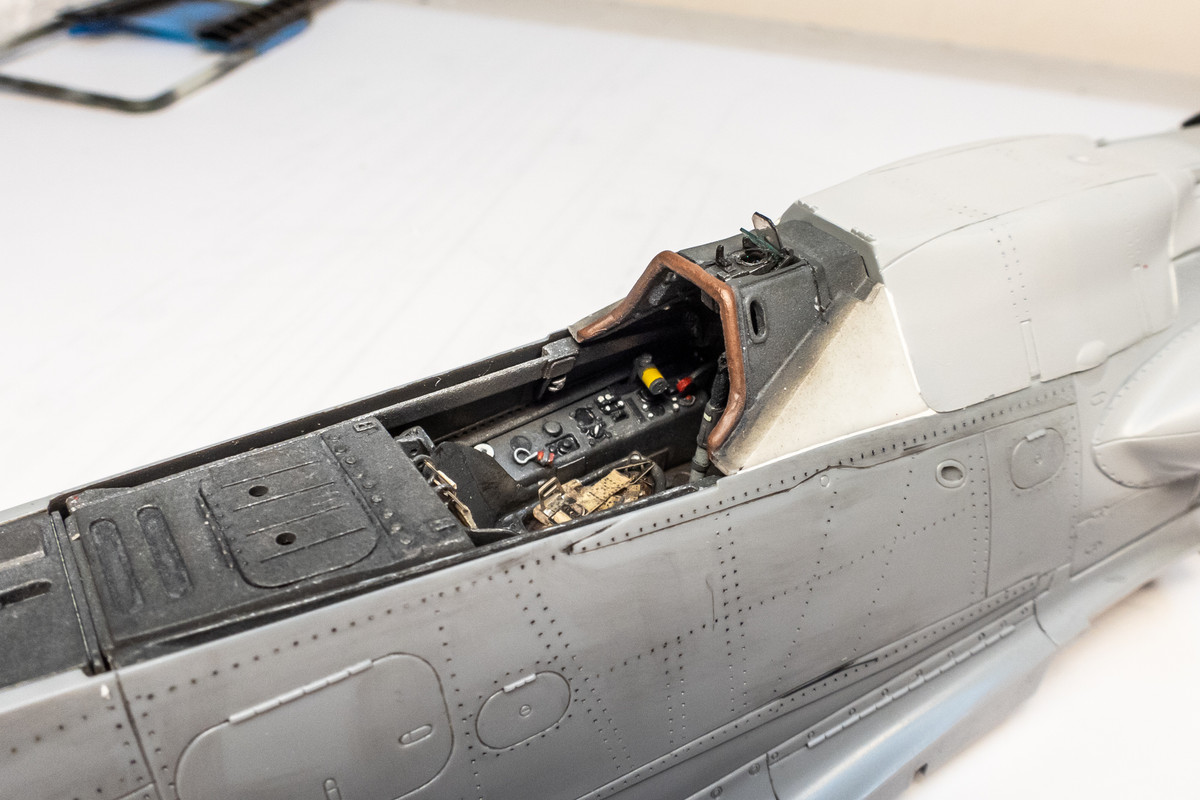
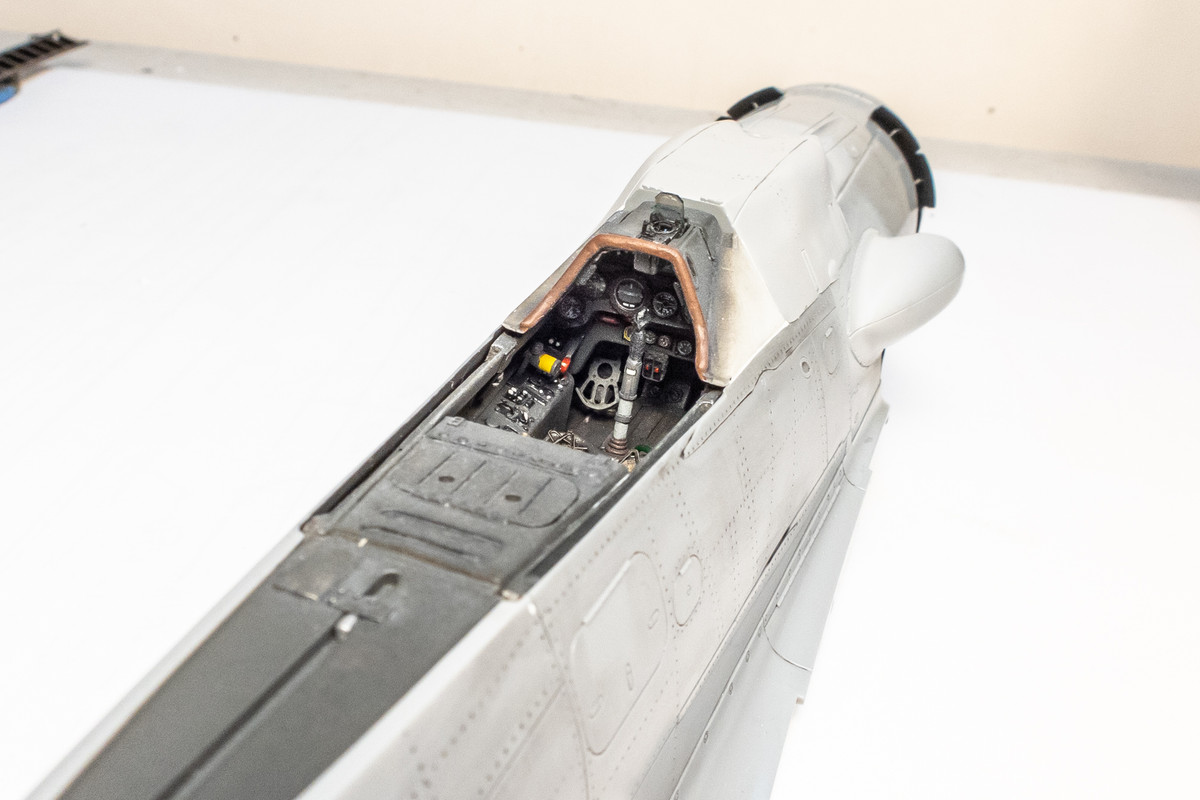
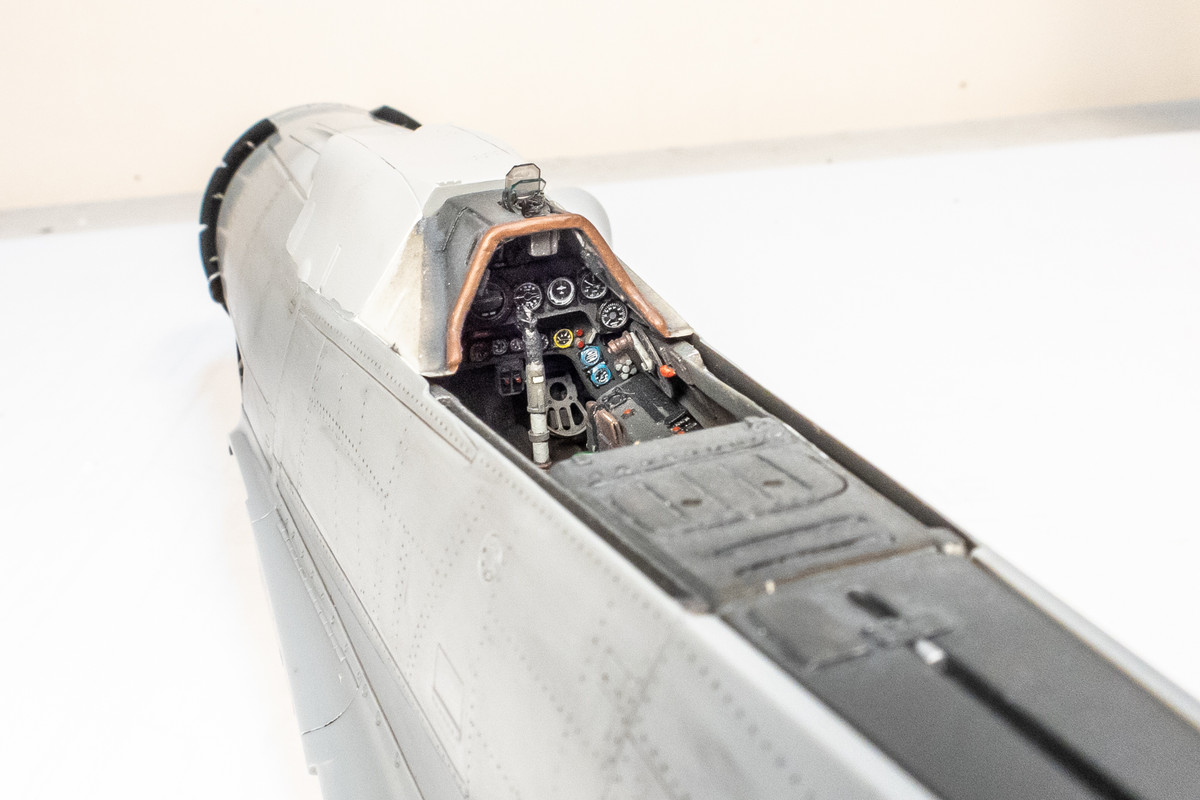
Oh man that wheel bay is awesome