Re: Maddog Manufacturing 2018 Production
Posted: Thu Sep 13, 2018 12:44 pm
Okay, here is another small update for this week. I managed to get this work done over the past three days.... in between meds-induced naps.
I'll start with my aircraft. For something different, I started my Israeli F-16I Sufa since I've been wanting that in my collection for awhile.
Of course, I started with the cockpit. It was fairly un-detailed, but I'll have decal instrument panels and pilots inside so....
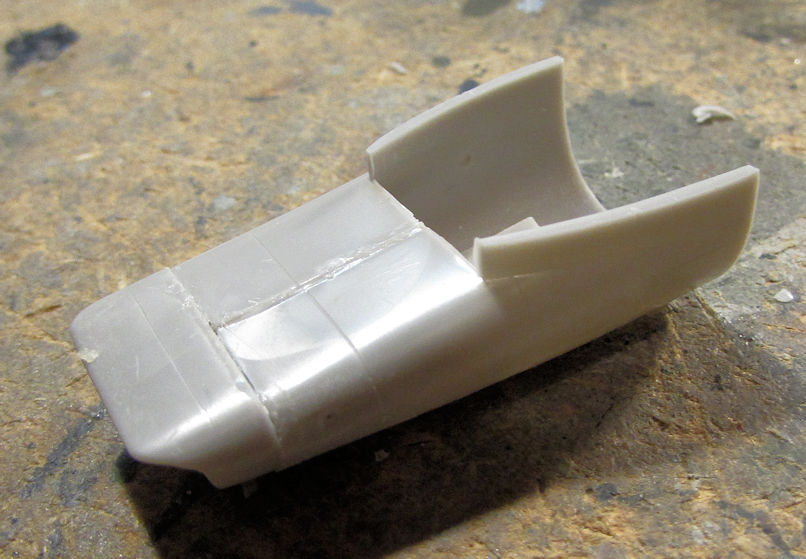
Next I assembled the air intake:
Once that was dry, I installed it on the lower fuselage:
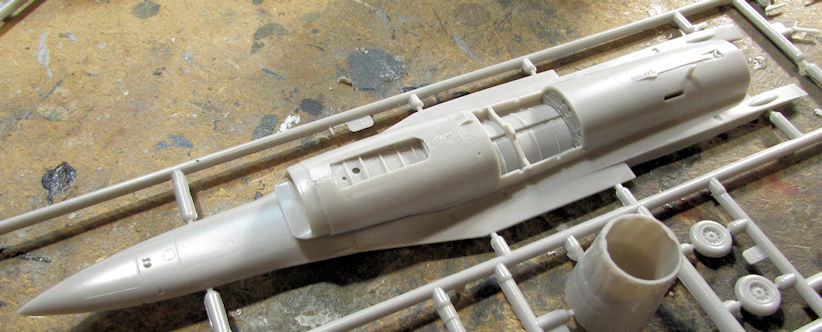
While looking for more sub-assemblies to do, I found the dorsal hump and built that. There are still a few detail parts to add to this though before it is done:
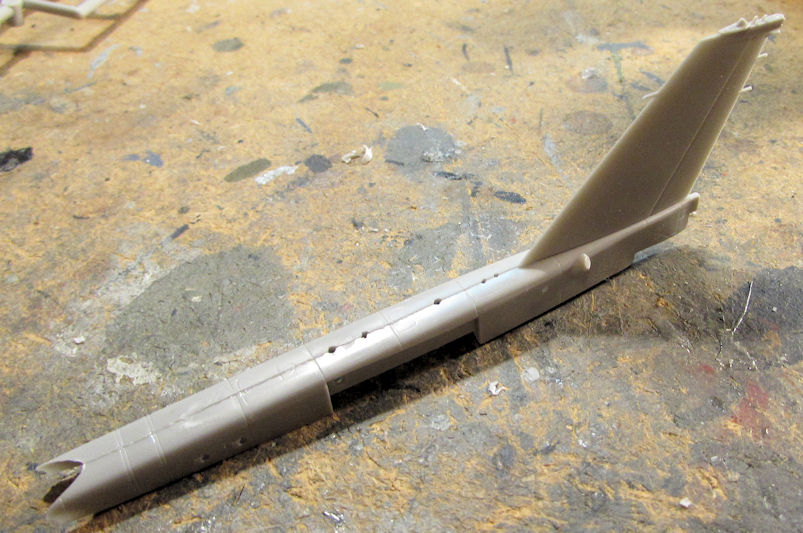
Here it is dry-fit to the upper fuselage for now:
That was as far as I went on that. Next I went to the commission build to get more done on it.
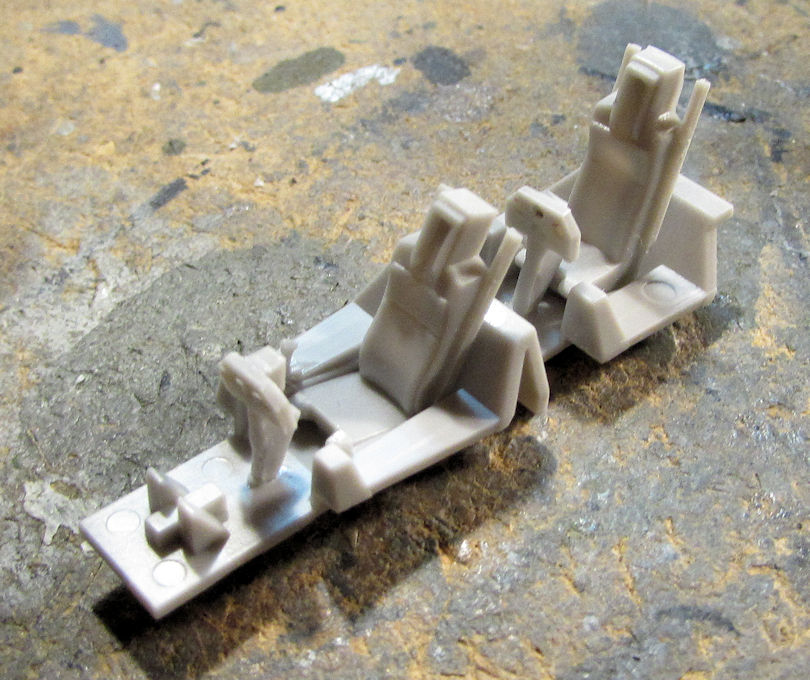
Starting out, I added the photo etch seat belts to the seat, starting with the lap belts first; then the shoulder belts:
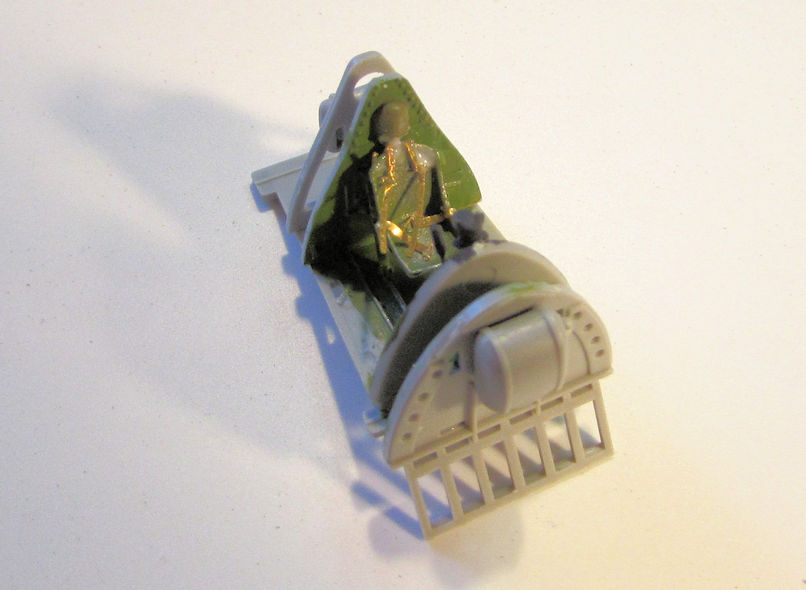
You can see the shoulder belts are all over the place. I glued the top of them to the seat with Gator Grip Glue and waited till they dried. Once everything was dry, I took a semi-rounded rod and pressed them into the seat:
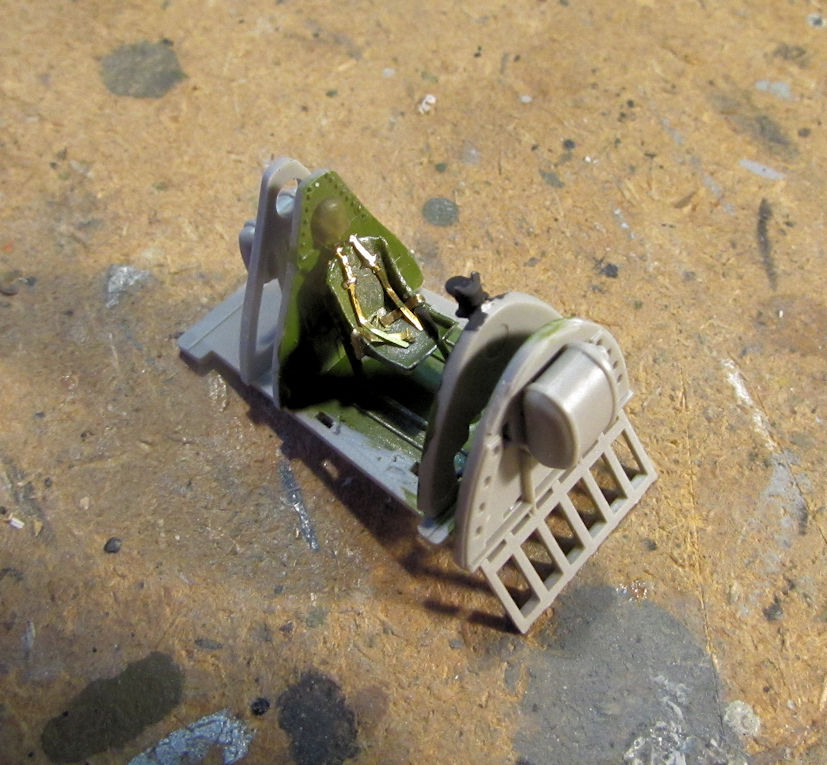
They aren't laying the best, but in this scale, it's tough to see anyway. Once these dried further, I painted them up:
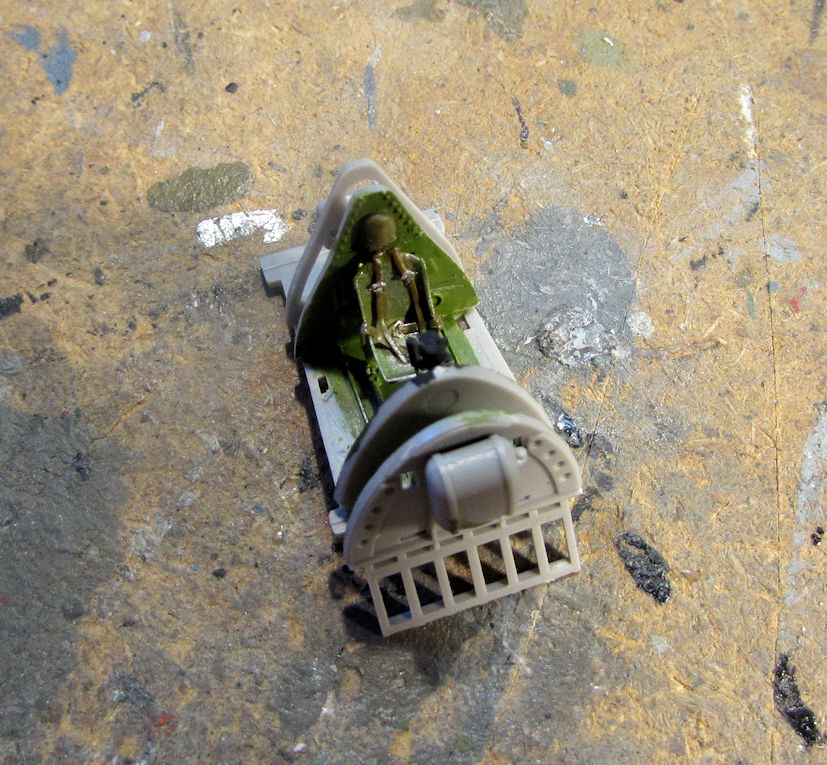
Once that was done, I finished the cockpit assembly...
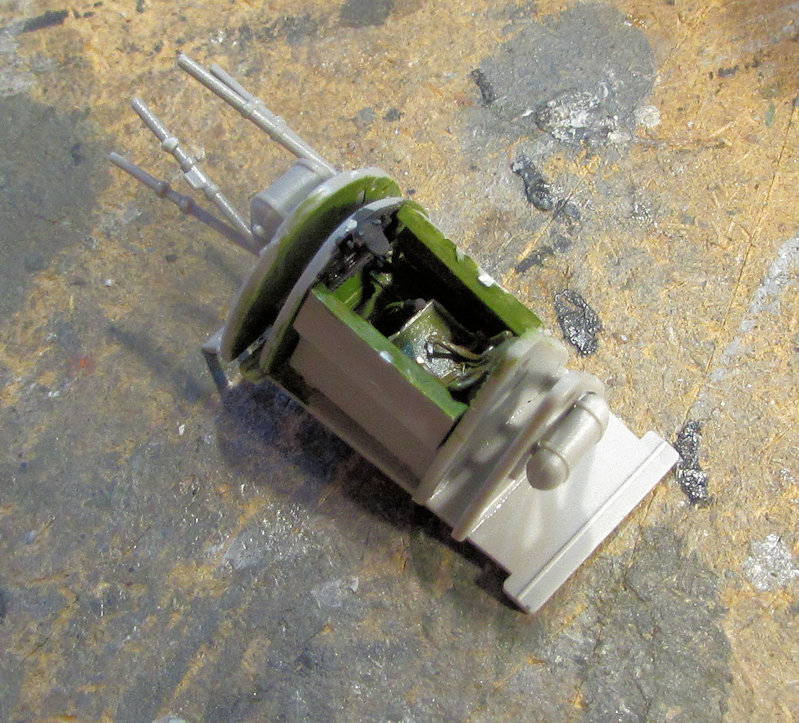
...and then installed it inside the fuselage:
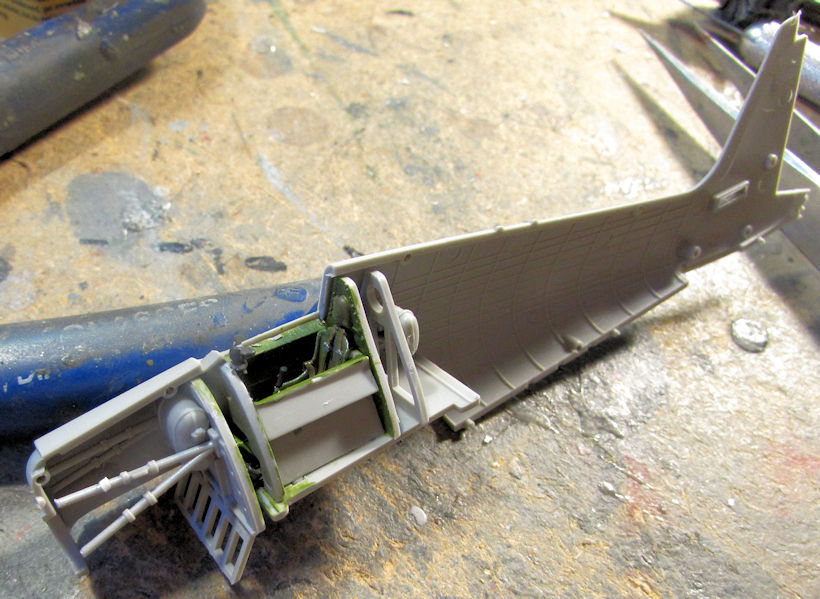
Finally, I assembled the tail wheel, added it to the fuselage half and closed everything up. Then I cemented the center wing section to the underside of this model and added the horizontal stabilizers. I also dry-fit the engine to the front to see how it fit:
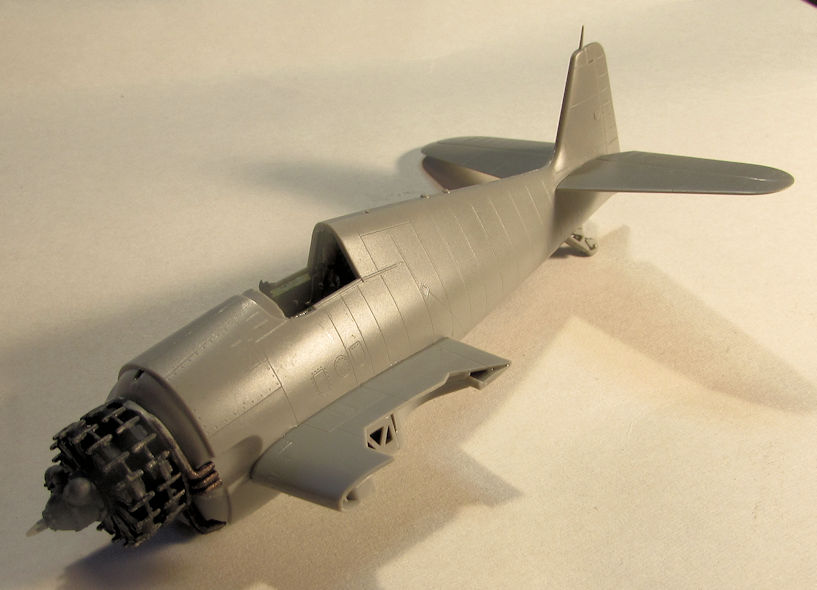
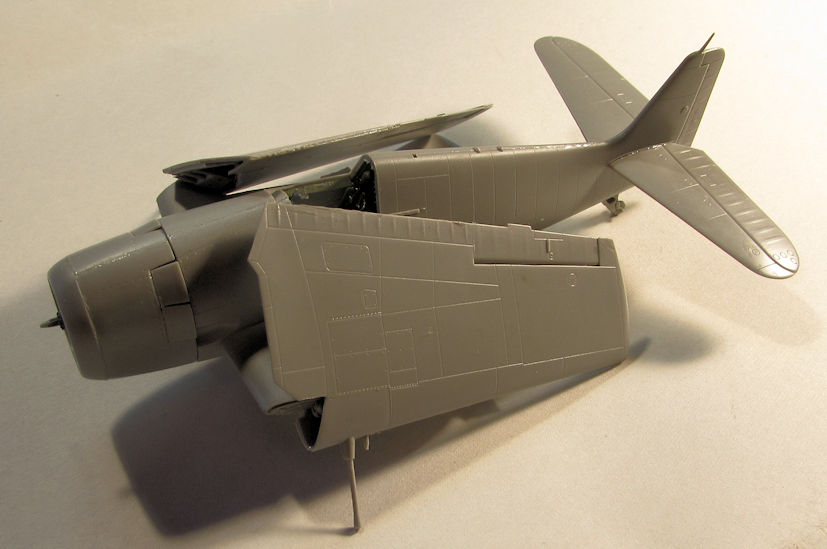
Just for fun, I dry fit the wings and the cowl to this to see how it was coming along, as well as check the fit of all these parts:
Looking over the model later; I decided to take my acrylic putty and fill in the small gaps on the ends of the wings that I couldn't glue shut, even with clamps:
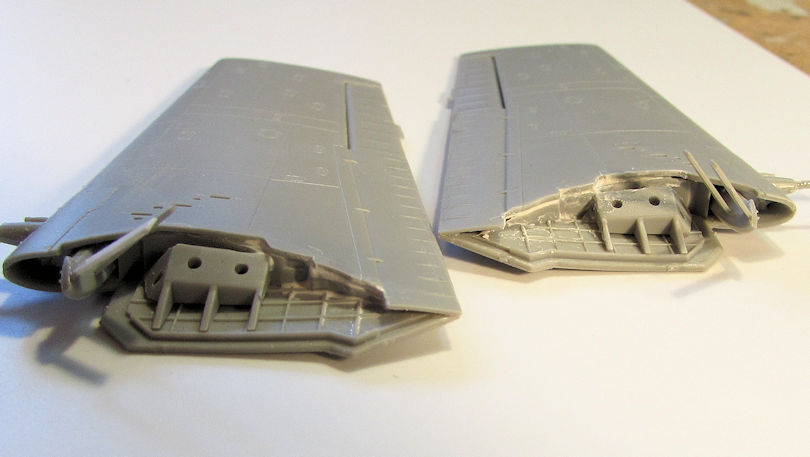
I also had a few very minor seams on the center wing section to fill:
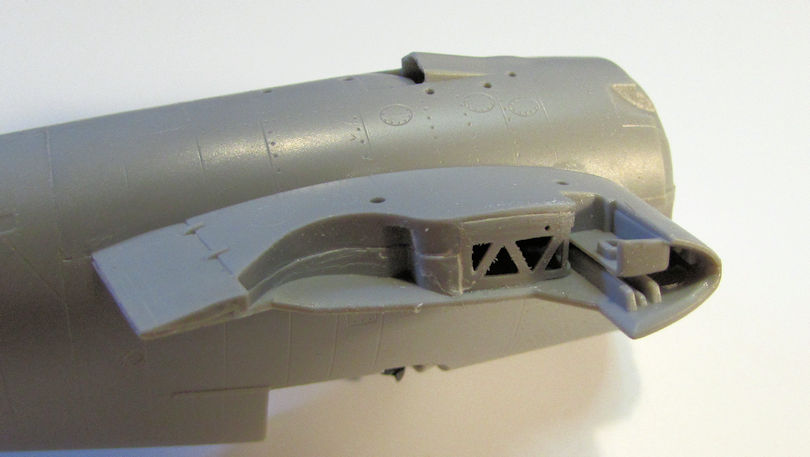
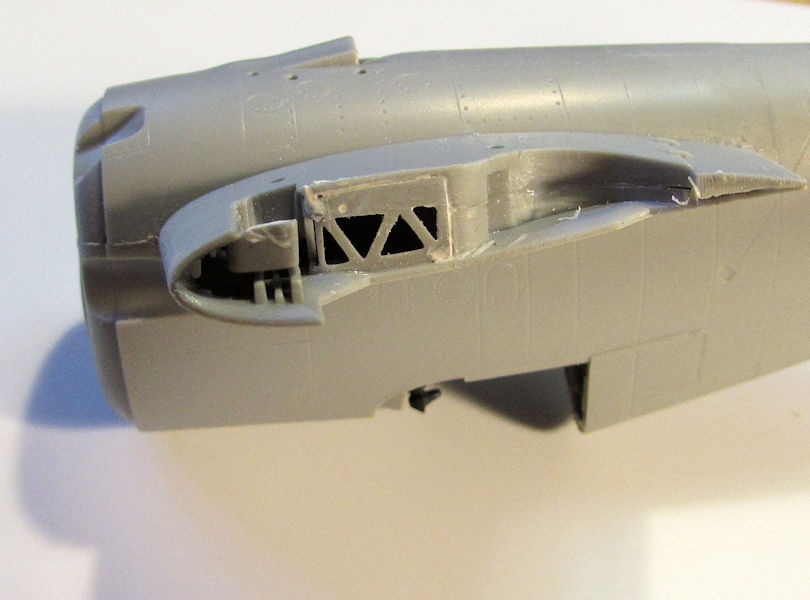
Furthermore, while looking over the sprues, I encountered these parts and for the life of me I could not figure out how they fit on the model:
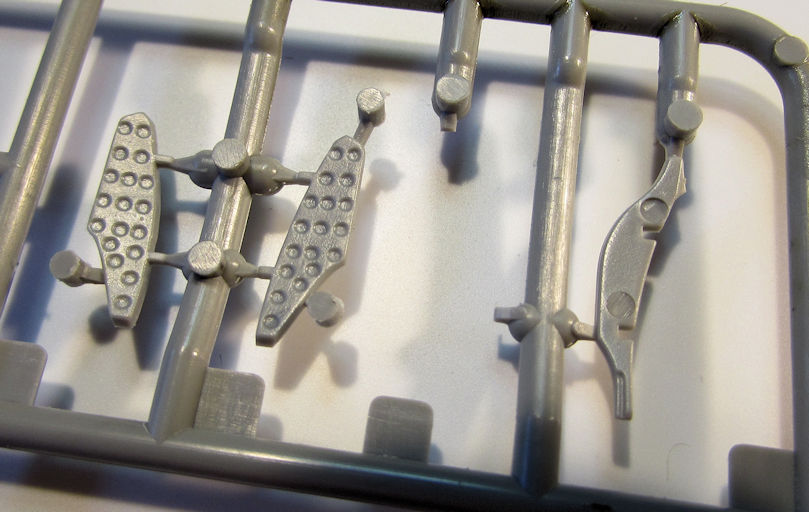
The instruction sheet was as clear as mud about the placement; if it was to be believed, the part on the right was supposed to be glued on one end with a very fragile join to the center wing section and the other end was supposed to swing in the wind as there was nothing to connect it to. I tried as much as I could to figure it out, even looking at reference pics but could not come up with a solution. Therefore, these parts were not added to the model. As they are in the underside, they wouldn't be well seen anyway. I don't know what else to do about it. Finally I moved on and assembled the center drop tank:
Now this model is ready to mask and paint.
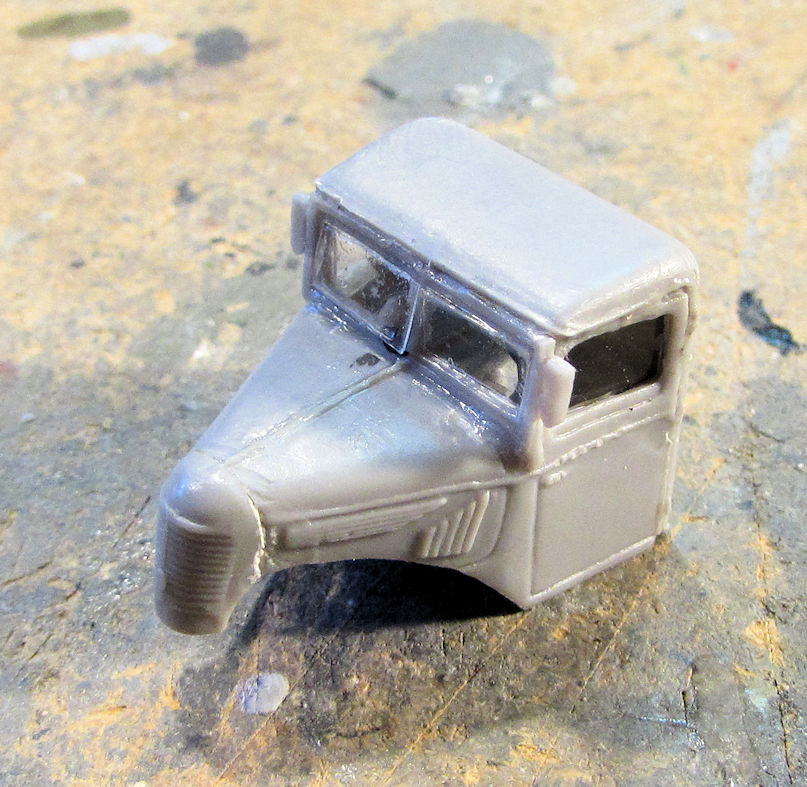
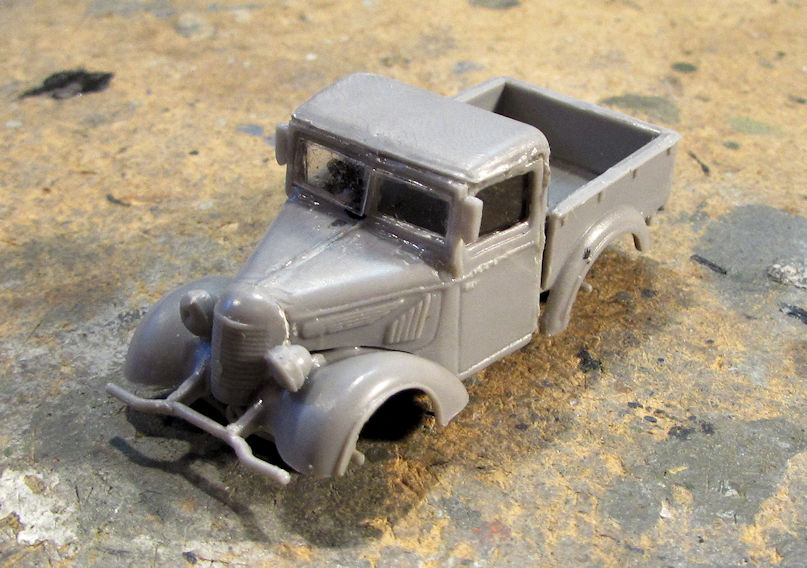
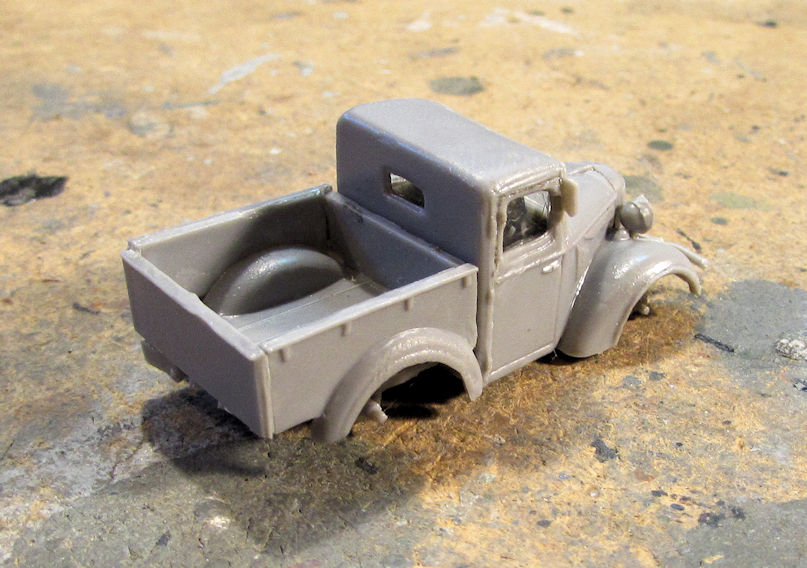
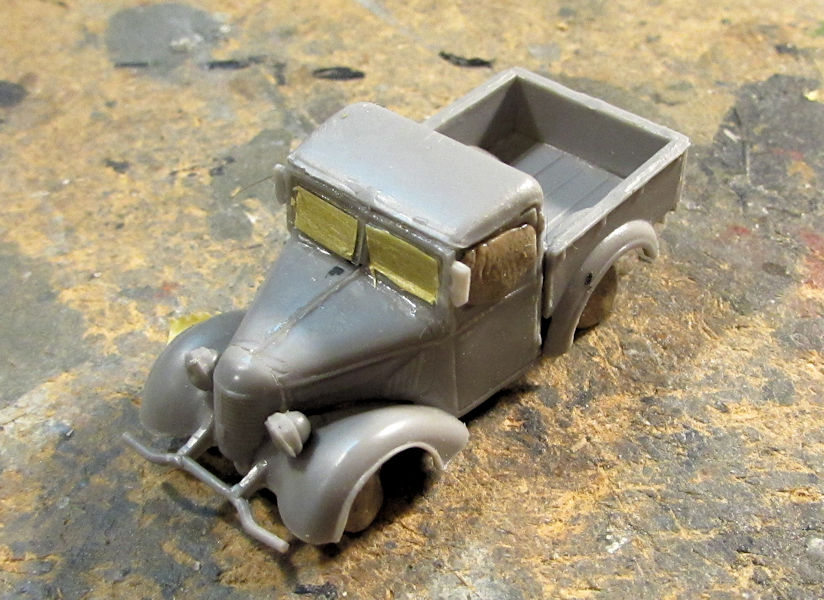
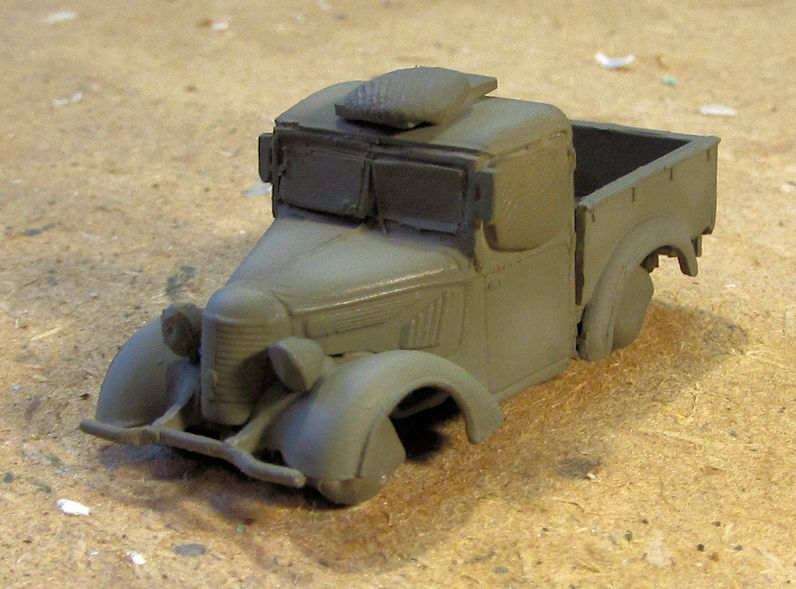
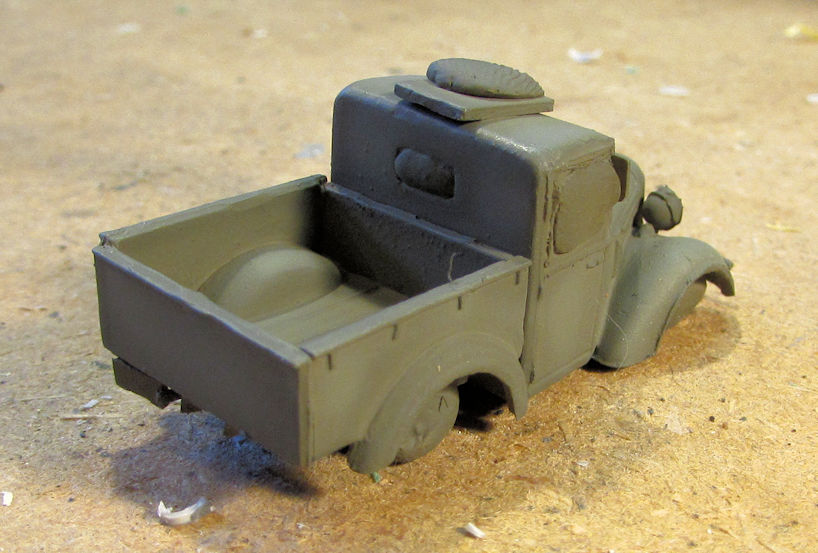
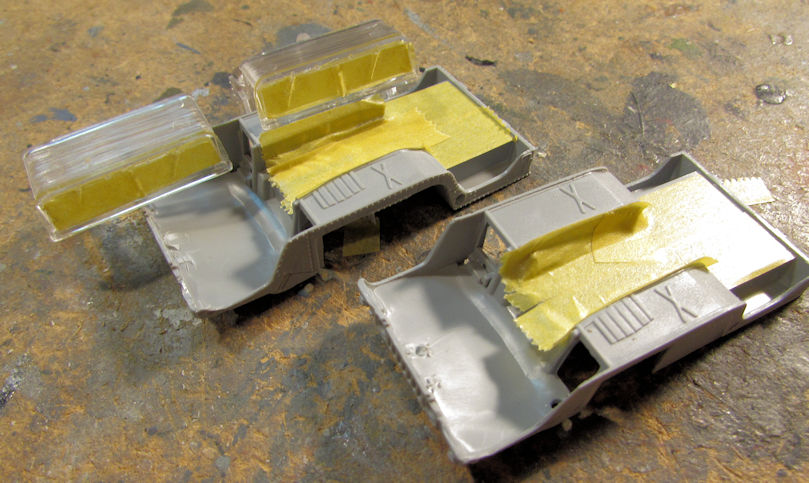
Moving on to my armor, I added the glazing to the windows on the Japanese pickup truck:
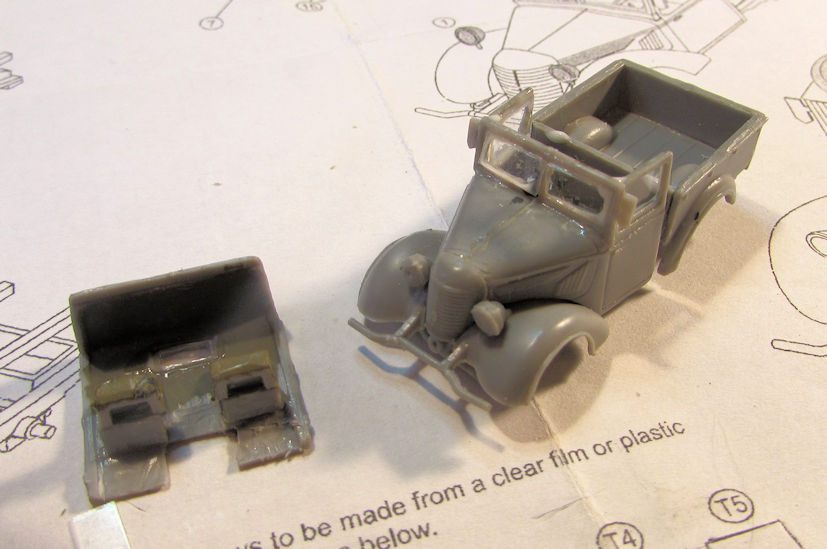
Now I can fight this beast to get it together.
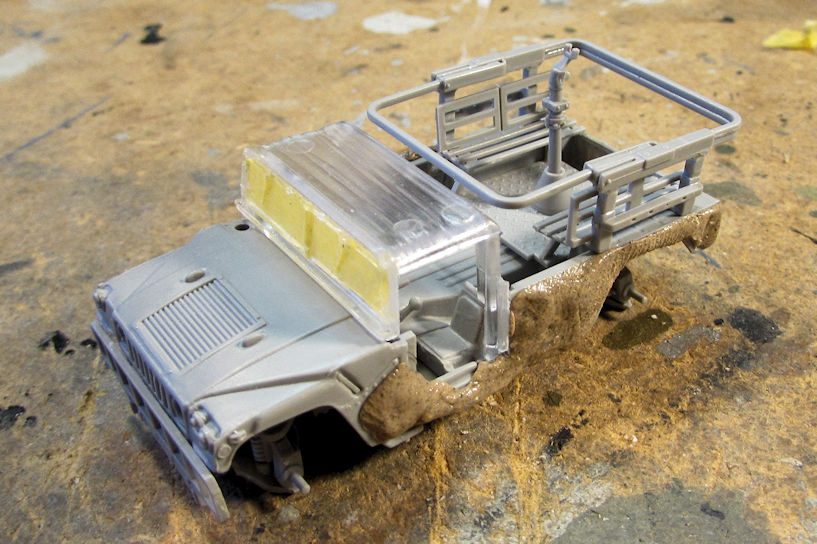
Next, I started the interior of the Humvee gun truck. I assembled the "basket" that goes in the bed:
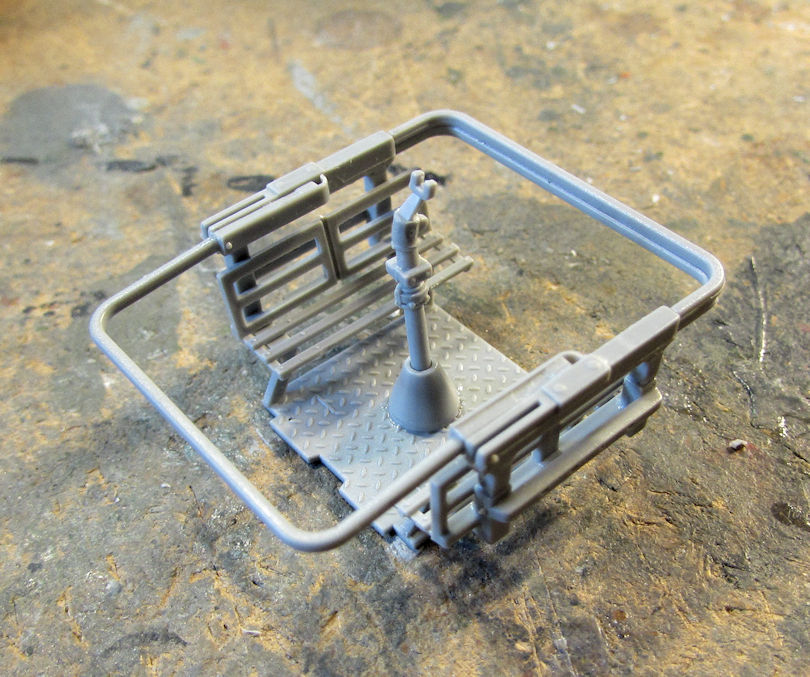
It fits well inside, as seen here where it is dry fit in place. The box in front of it fell over when I shifted this to shoot the pic:
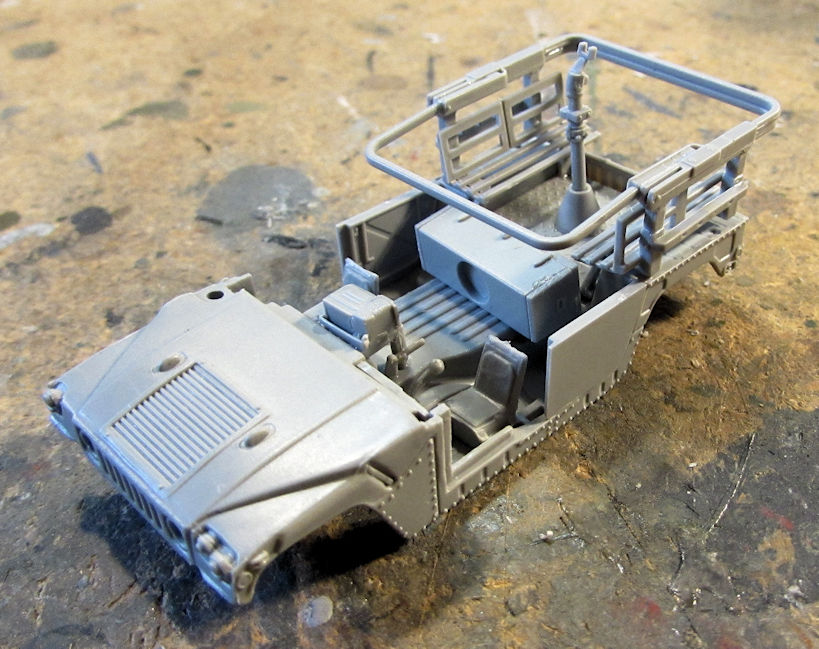
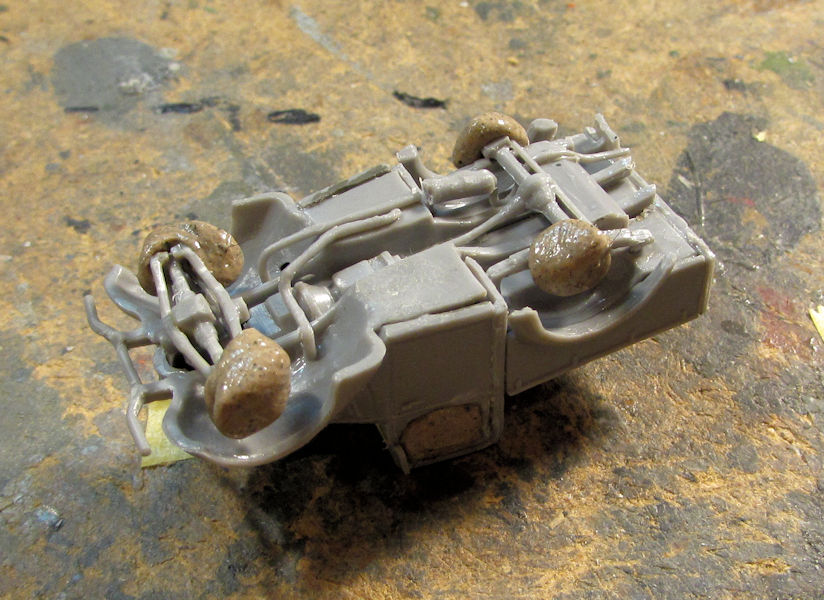
Next I added the extra parts to the suspension and chassis. I then dry-fit the whole thing together to see how it fit:
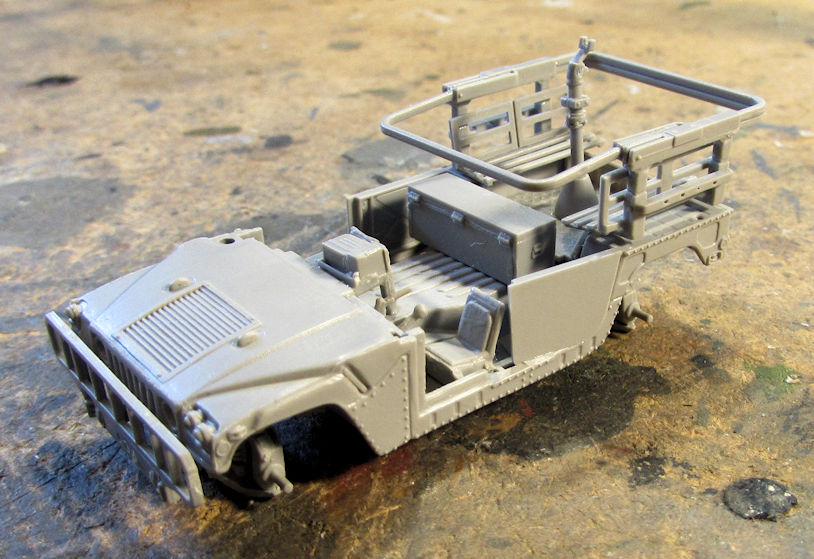
I added the same parts to the chassis of the troop carrying Humvee as well:
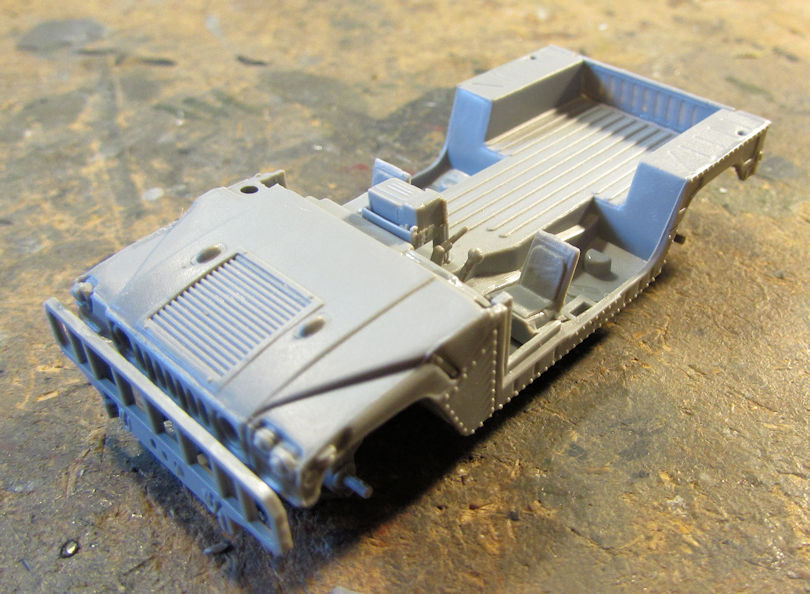
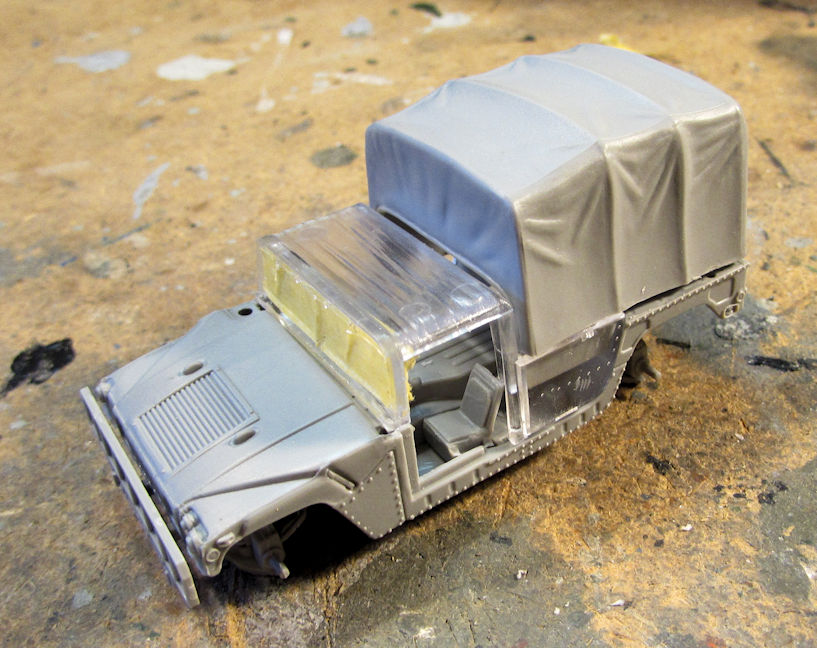
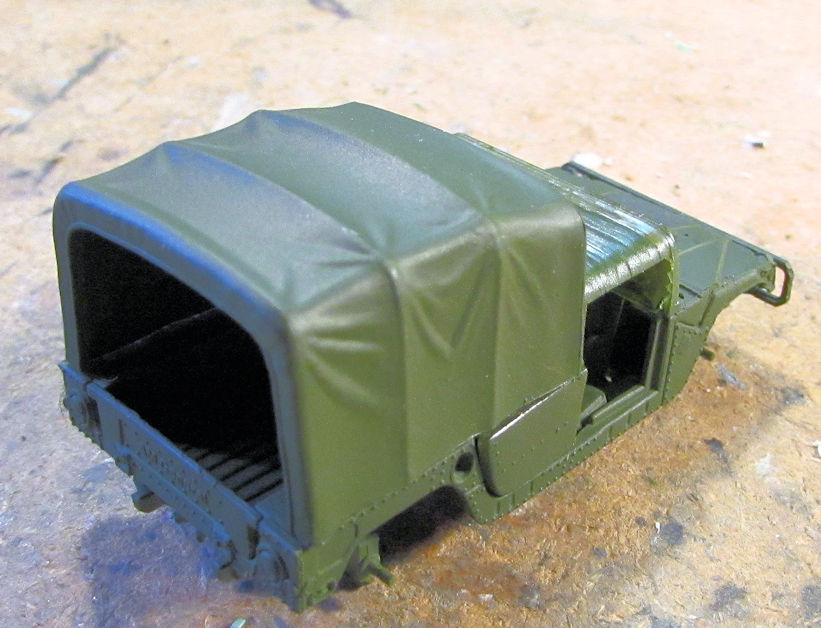
Now I have to find the 'tilt' for this so I can finish it.
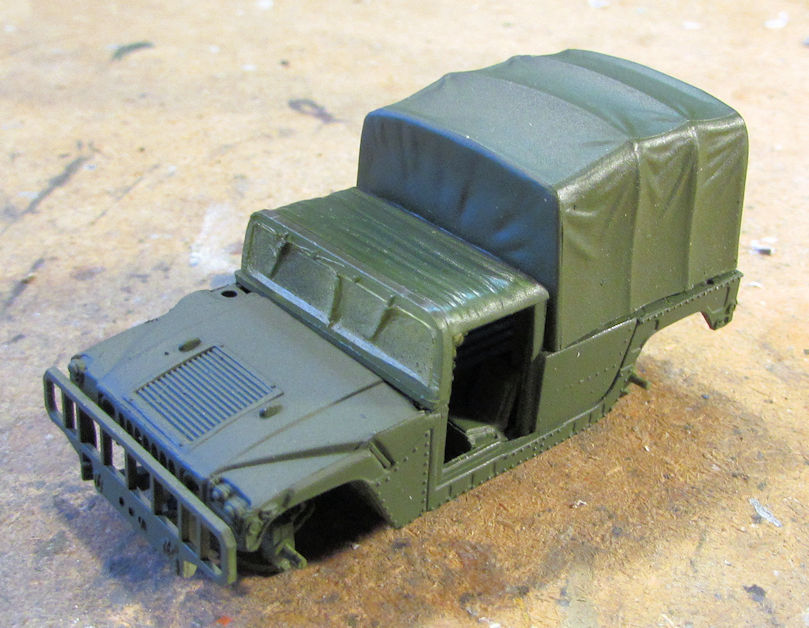
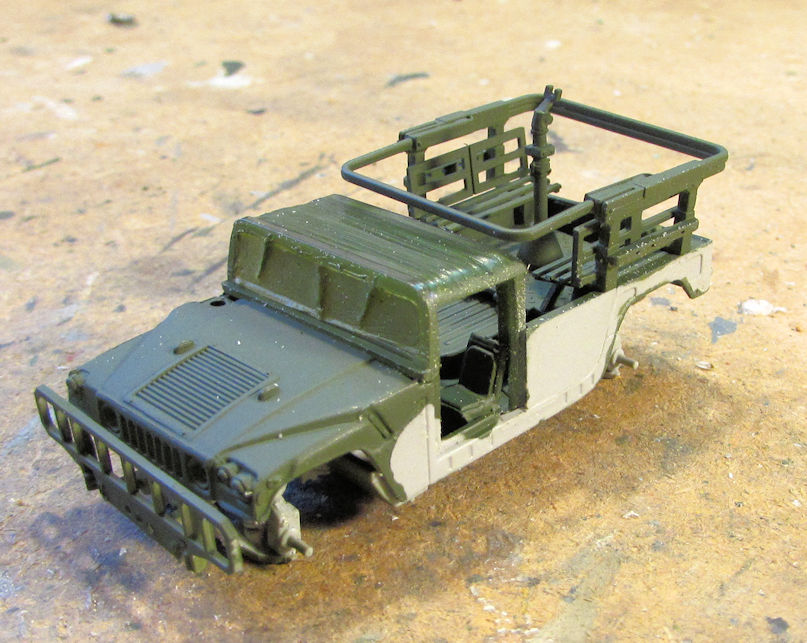
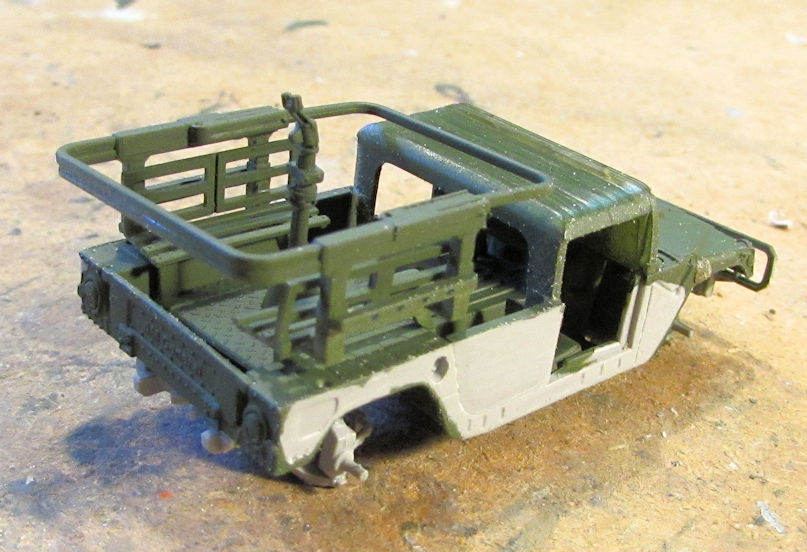
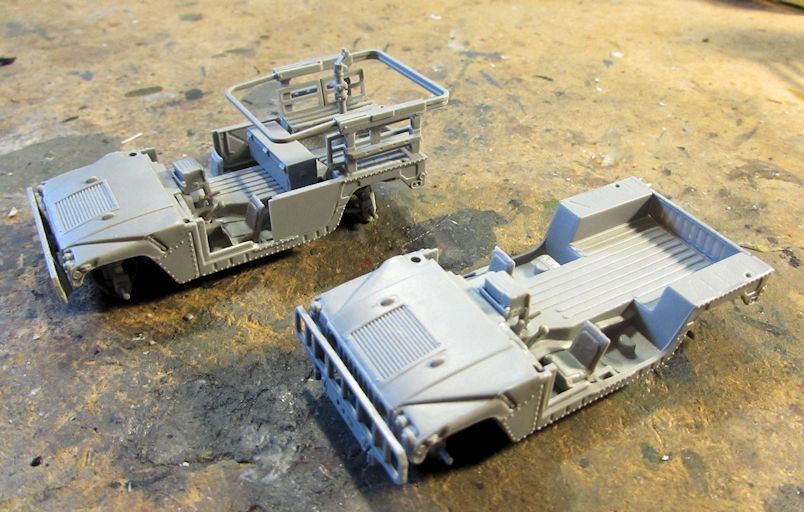
Here are both of these Humvees almost ready for paint:
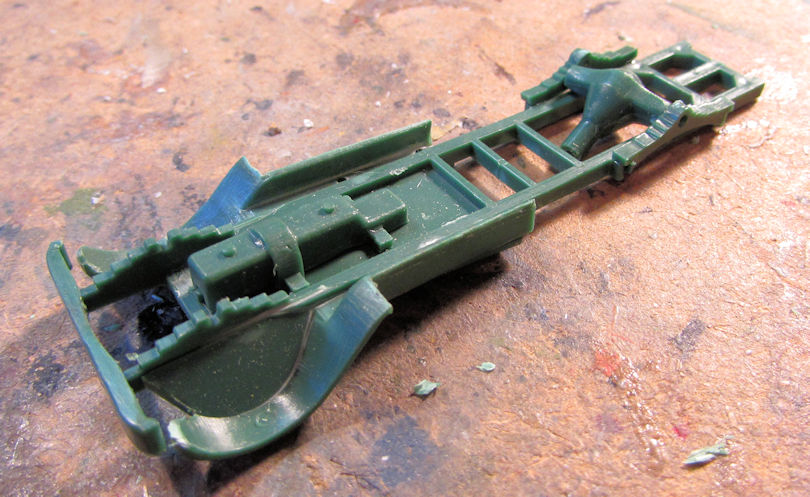
After this, I decided to start another model for a Group Build on the Missing Lynx forums. This is the PST ZIS-5 fire truck. I started with the simplified suspension:
From there I moved on to assemble the cab, leaving the roof off so I can add the windows later and paint the interior:
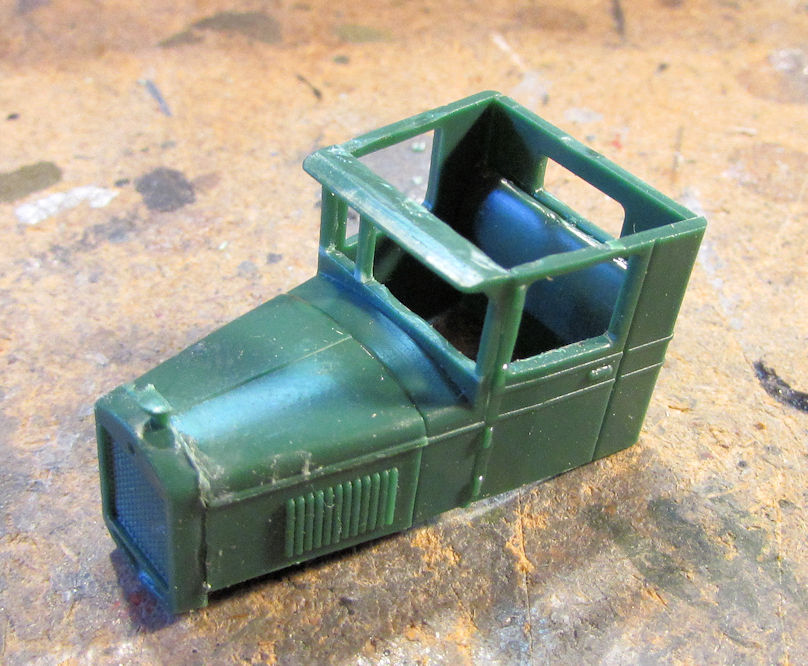
I set that aside to dry and assembled the water tank next:
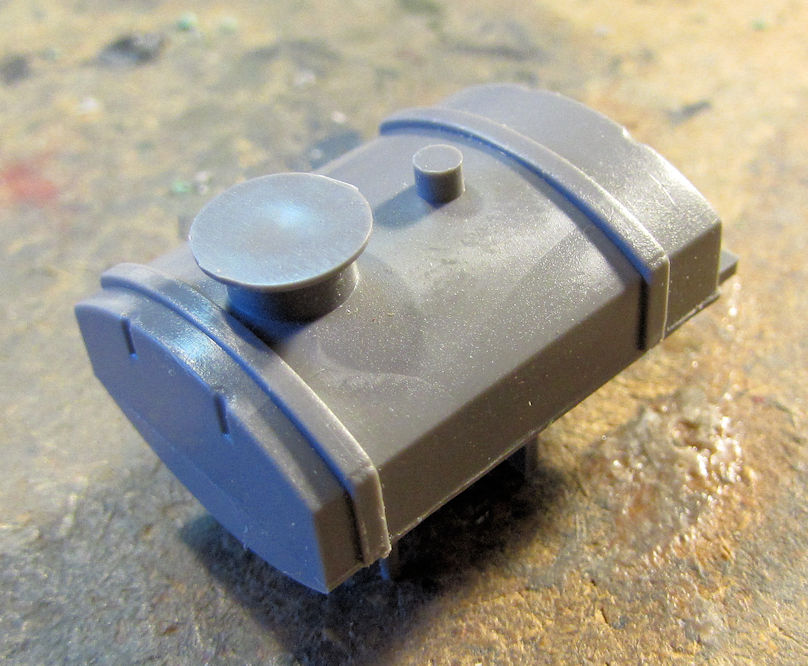
Then I built the hose reel:
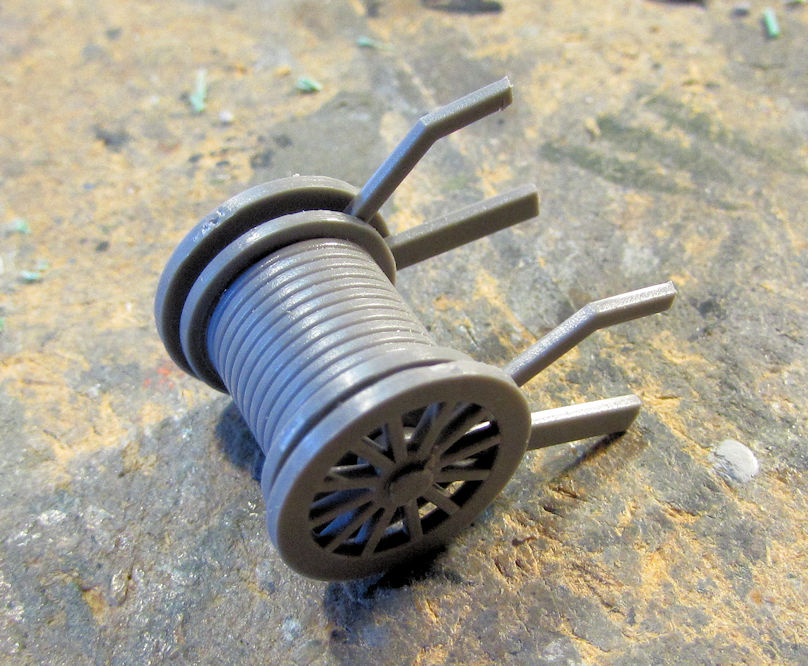
Later I'll put all these together and get this painted.
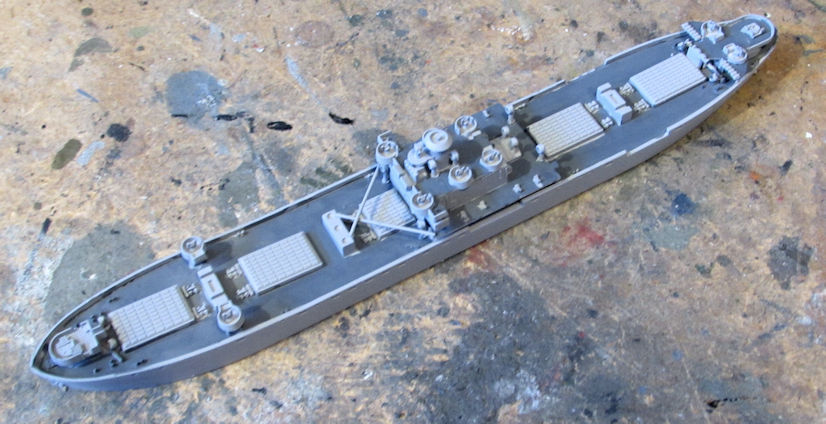
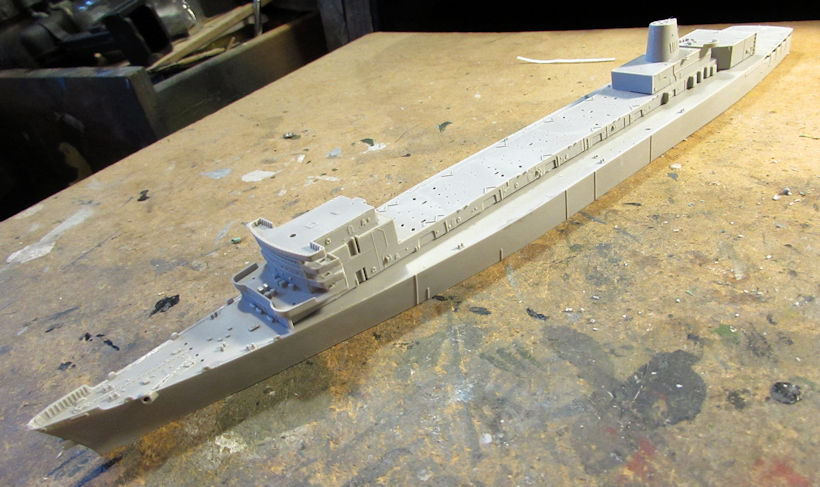
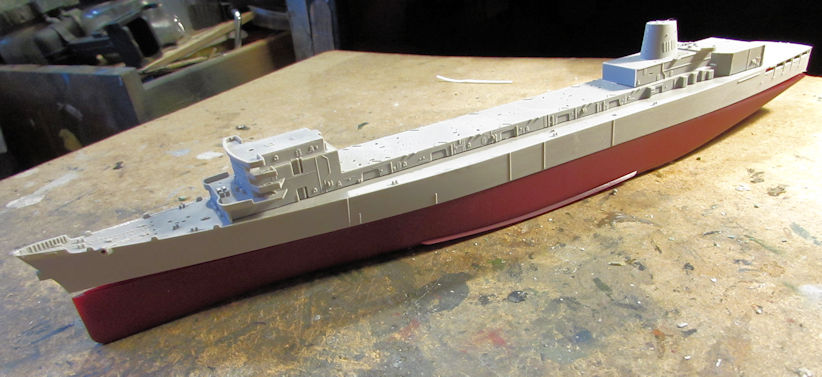
Speaking of getting something ready for paint, I went back to my shipyards and finished adding all the superstructure and some additional bits and bobs to my Liberty ship to get it ready for paint. Here it is sans gantries and cranes; I'll add them later when there's less danger of breaking them off:
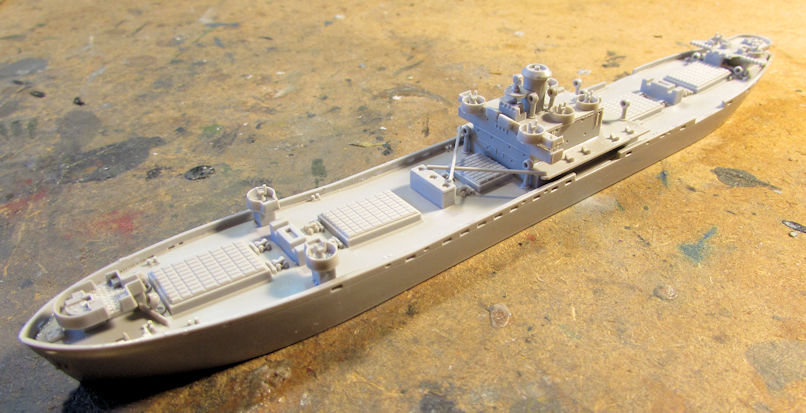
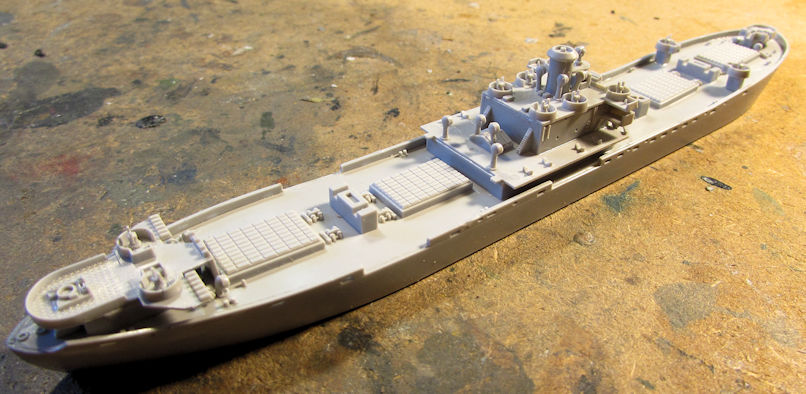
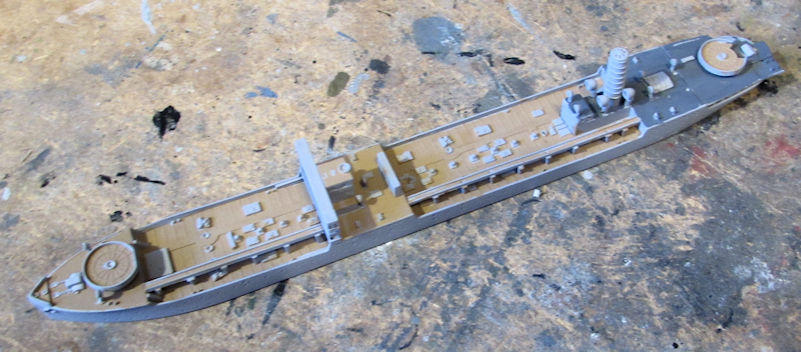
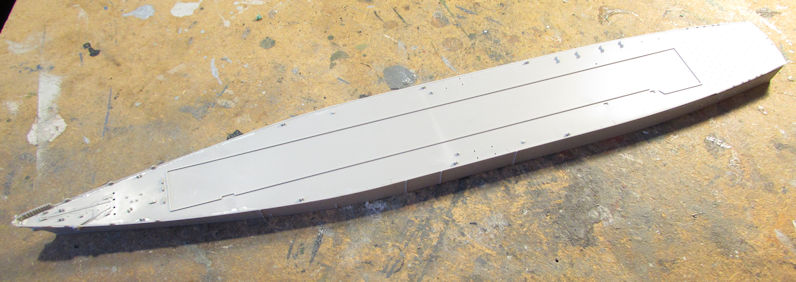
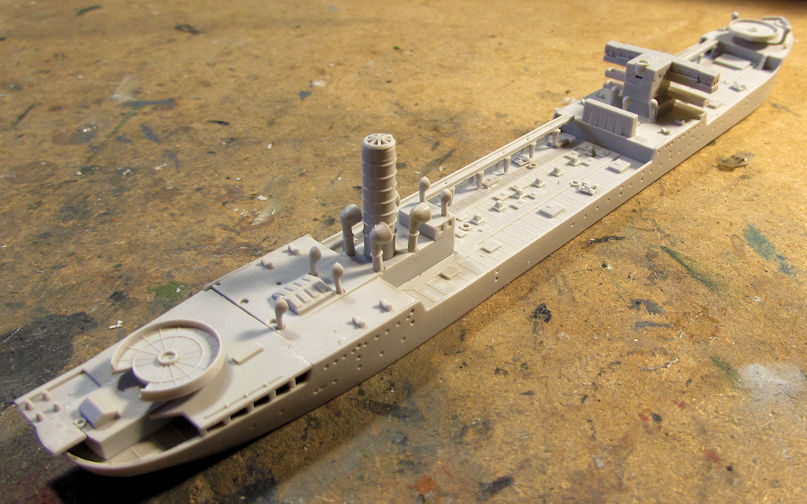
Furthermore, I also added the superstructure to my Japanese Fleet Oiler:
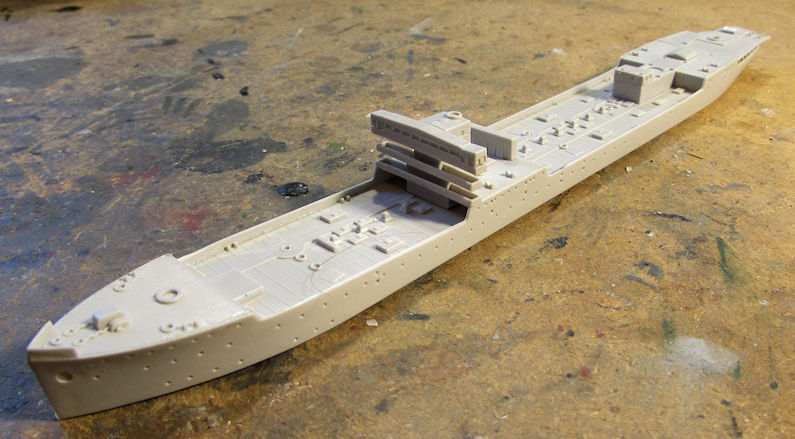
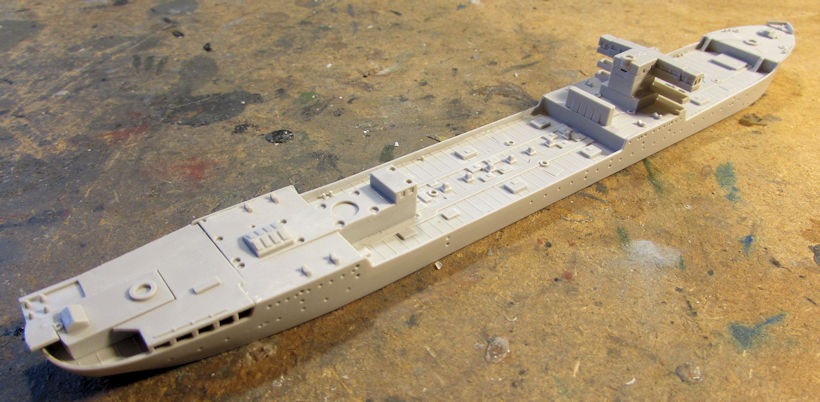
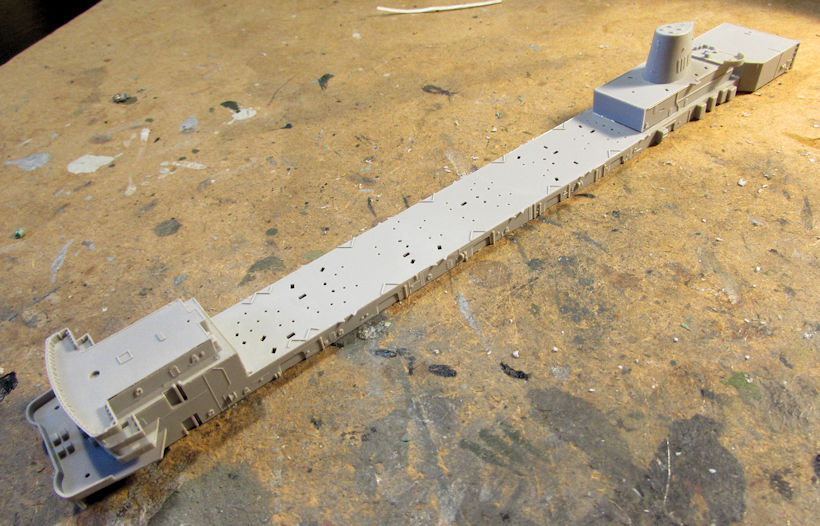
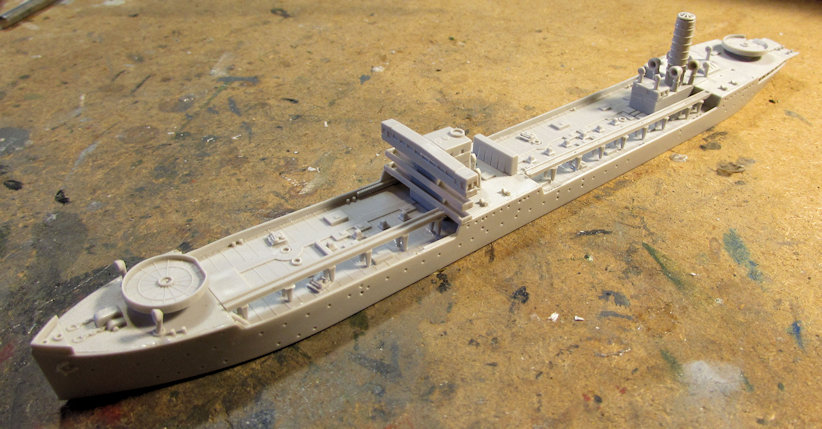
I then moved on and added some additional deck pieces and the stack to complete this ship some more and have it ready for paint:
Well, that completes my small update for the past few days. Hopefully I'll get more done soon. Thanks all for looking in, comments are welcome.
I'll start with my aircraft. For something different, I started my Israeli F-16I Sufa since I've been wanting that in my collection for awhile.
Of course, I started with the cockpit. It was fairly un-detailed, but I'll have decal instrument panels and pilots inside so....
Next I assembled the air intake:
Once that was dry, I installed it on the lower fuselage:
While looking for more sub-assemblies to do, I found the dorsal hump and built that. There are still a few detail parts to add to this though before it is done:
Here it is dry-fit to the upper fuselage for now:
That was as far as I went on that. Next I went to the commission build to get more done on it.
Starting out, I added the photo etch seat belts to the seat, starting with the lap belts first; then the shoulder belts:
You can see the shoulder belts are all over the place. I glued the top of them to the seat with Gator Grip Glue and waited till they dried. Once everything was dry, I took a semi-rounded rod and pressed them into the seat:
They aren't laying the best, but in this scale, it's tough to see anyway. Once these dried further, I painted them up:
Once that was done, I finished the cockpit assembly...
...and then installed it inside the fuselage:
Finally, I assembled the tail wheel, added it to the fuselage half and closed everything up. Then I cemented the center wing section to the underside of this model and added the horizontal stabilizers. I also dry-fit the engine to the front to see how it fit:
Just for fun, I dry fit the wings and the cowl to this to see how it was coming along, as well as check the fit of all these parts:
Looking over the model later; I decided to take my acrylic putty and fill in the small gaps on the ends of the wings that I couldn't glue shut, even with clamps:
I also had a few very minor seams on the center wing section to fill:
Furthermore, while looking over the sprues, I encountered these parts and for the life of me I could not figure out how they fit on the model:
The instruction sheet was as clear as mud about the placement; if it was to be believed, the part on the right was supposed to be glued on one end with a very fragile join to the center wing section and the other end was supposed to swing in the wind as there was nothing to connect it to. I tried as much as I could to figure it out, even looking at reference pics but could not come up with a solution. Therefore, these parts were not added to the model. As they are in the underside, they wouldn't be well seen anyway. I don't know what else to do about it. Finally I moved on and assembled the center drop tank:
Now this model is ready to mask and paint.
Moving on to my armor, I added the glazing to the windows on the Japanese pickup truck:
Now I can fight this beast to get it together.
Next, I started the interior of the Humvee gun truck. I assembled the "basket" that goes in the bed:
It fits well inside, as seen here where it is dry fit in place. The box in front of it fell over when I shifted this to shoot the pic:
Next I added the extra parts to the suspension and chassis. I then dry-fit the whole thing together to see how it fit:
I added the same parts to the chassis of the troop carrying Humvee as well:
Now I have to find the 'tilt' for this so I can finish it.
Here are both of these Humvees almost ready for paint:
After this, I decided to start another model for a Group Build on the Missing Lynx forums. This is the PST ZIS-5 fire truck. I started with the simplified suspension:
From there I moved on to assemble the cab, leaving the roof off so I can add the windows later and paint the interior:
I set that aside to dry and assembled the water tank next:
Then I built the hose reel:
Later I'll put all these together and get this painted.
Speaking of getting something ready for paint, I went back to my shipyards and finished adding all the superstructure and some additional bits and bobs to my Liberty ship to get it ready for paint. Here it is sans gantries and cranes; I'll add them later when there's less danger of breaking them off:
Furthermore, I also added the superstructure to my Japanese Fleet Oiler:
I then moved on and added some additional deck pieces and the stack to complete this ship some more and have it ready for paint:
Well, that completes my small update for the past few days. Hopefully I'll get more done soon. Thanks all for looking in, comments are welcome.
 Man, you're a building machine! Very nice!