Page 18 of 44
Re: 1/32 Hasegawa Fw190D-9 Red One
Posted: Sat Dec 01, 2018 11:27 am
by jkim
A few bits and pieces to report before a Saturday morning meeting.
I've plugged the hole in the wing bottom with a punched piece of styrene. The hole is to accommodate the loop antenna and Red 1 is documented to NOT have this antenna present.
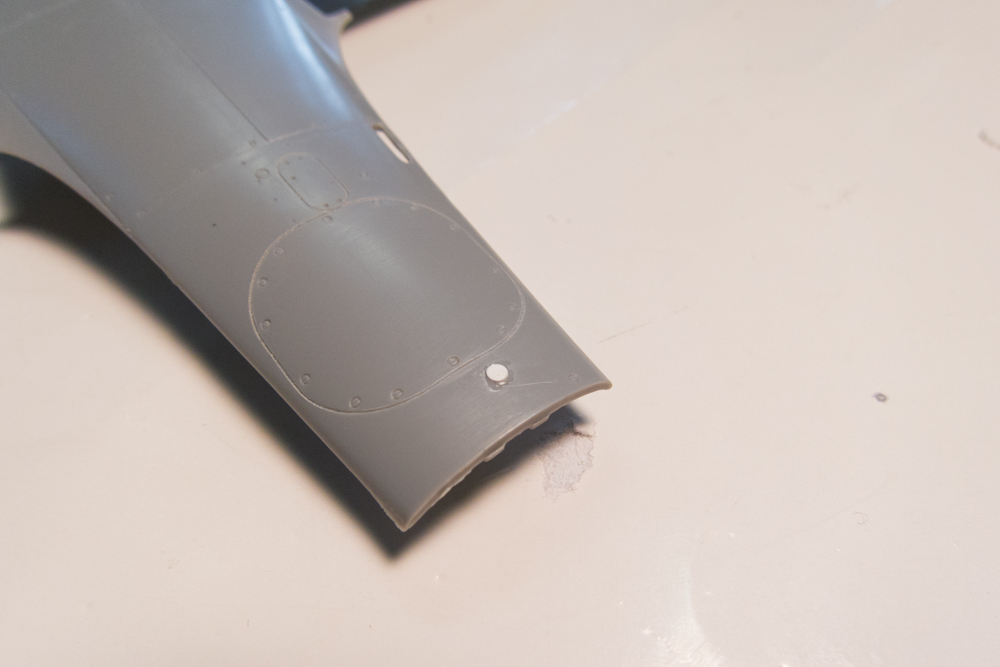
I'm modifying the landing gear doors by adding small shims. On the real Dora, the upper end of the landing gear doors tucked into the gear wells when the landing gear was down. I can't represent this without major modification of the wing in direct vicinity of the gear leg mounting which I really don't wanna do. So I'm simply reducing/eliminating the gap between the door and the wing.
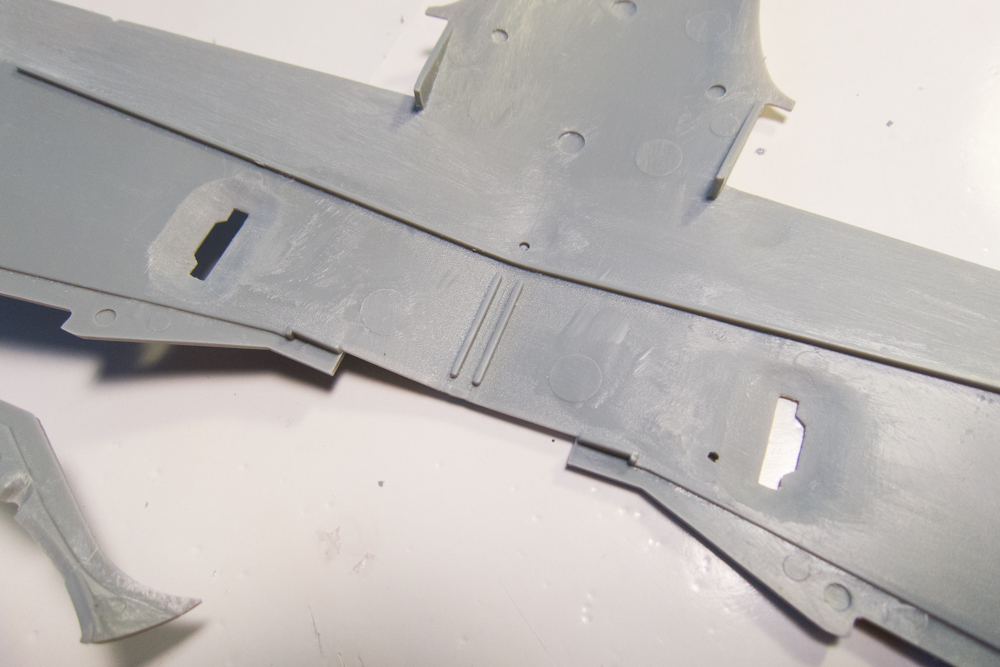
The ammo ejection ports on the wing bottom have been thinned out with the help of a Dremel and stone bit. I should have done this AFTER I've riveted the wing bottom. Now I have to be careful around this thinned area when I do get around to riveting.

Re: 1/32 Hasegawa Fw190D-9 Red One
Posted: Sat Dec 01, 2018 1:45 pm
by speedgraflex
Good morning, John! Regarding the thinned ammo chute areas, I suppose you could tape in a section of sheet styrene as a backing before you begin the riveting. At least, I think that’s what I would suggest as a way to protect the edges. Just a thought from the peanut gallery, though! What do you think?
I was excited to see a lot of detailing progress in your previous post, truly. I sincerely enjoy seeing how the details you add come together. Thank you. Cheers!
Re: 1/32 Hasegawa Fw190D-9 Red One
Posted: Sun Dec 02, 2018 6:10 am
by mostrich
Step by step on the way to a fantastic Dora. I'm enjoying this so much.
Re: 1/32 Hasegawa Fw190D-9 Red One
Posted: Sun Dec 02, 2018 10:32 am
by BlackSheep214
I like Bruce’s idea using a styrene sheet taped down for any additional riveting needed. It will give you a strong stability and protection from current rivets/thinned chute areas from being lost or damaged.
Well thought of, Bruce! I would never thought of that.

Re: 1/32 Hasegawa Fw190D-9 Red One
Posted: Mon Dec 03, 2018 10:09 am
by jkim
Thanks guys! Reinforcing the thinned areas is a GREAT idea. I didn't think of that either and I'll definitely make use of that advice. Thank you Bruce!
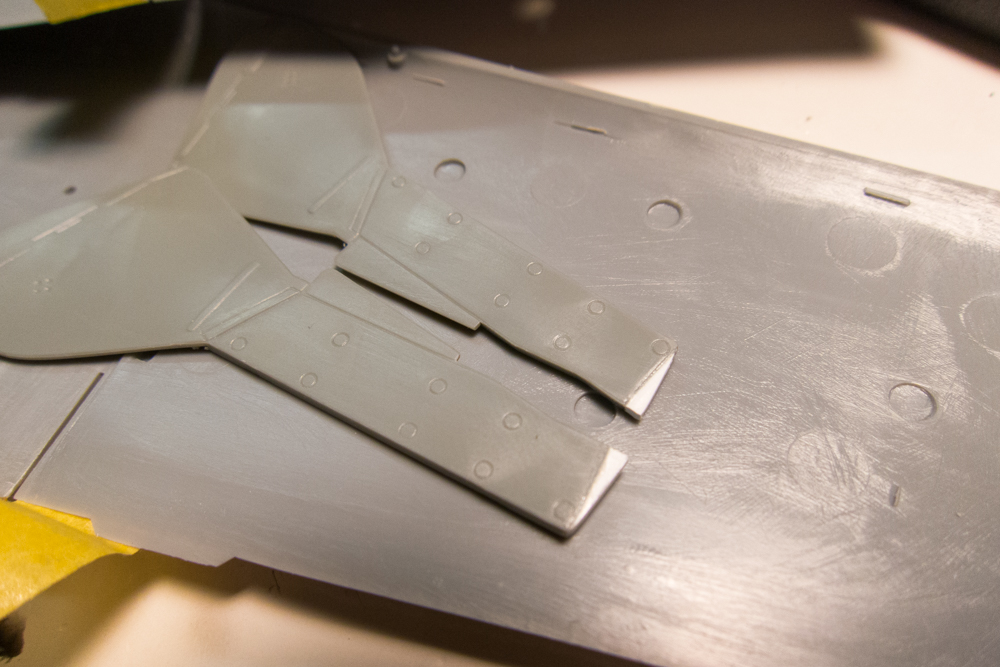
The shims on the landing gear doors have been trimmed to fit. I don't have a before shot but you can see from a previous build the small gap between the landing gear door and wing that I am trying to close.
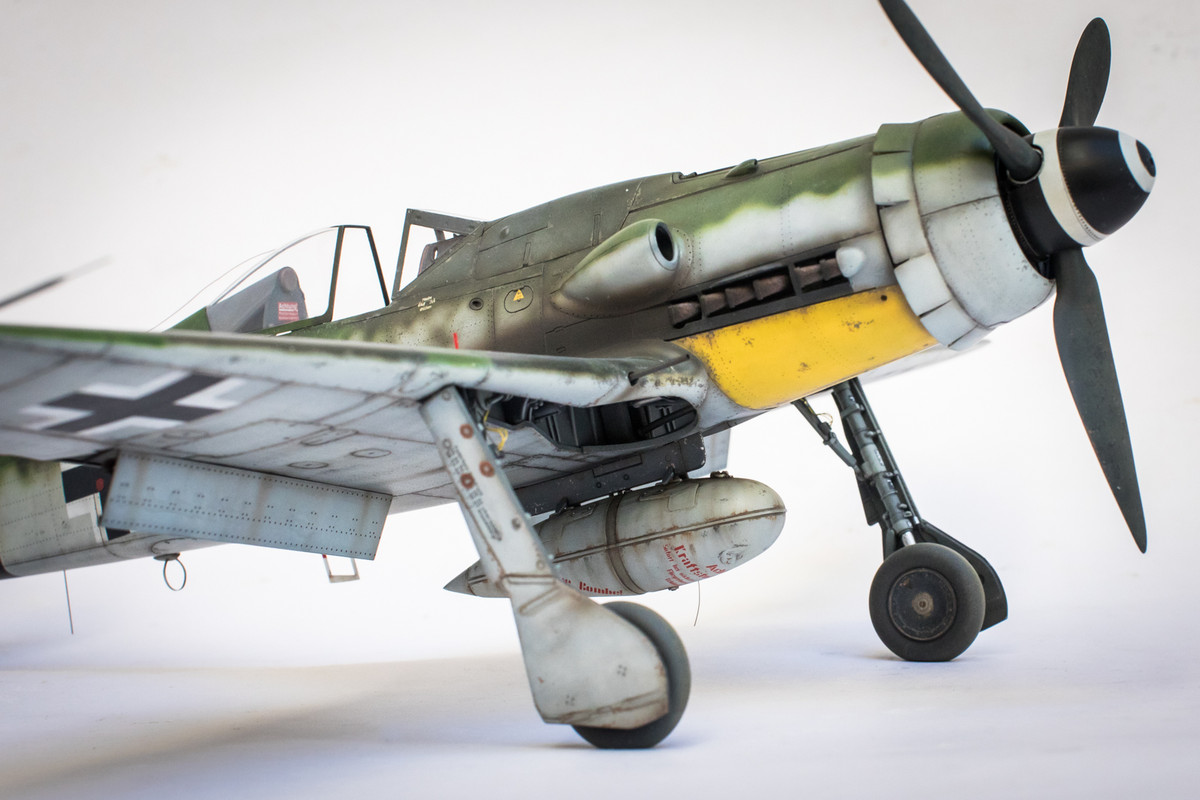
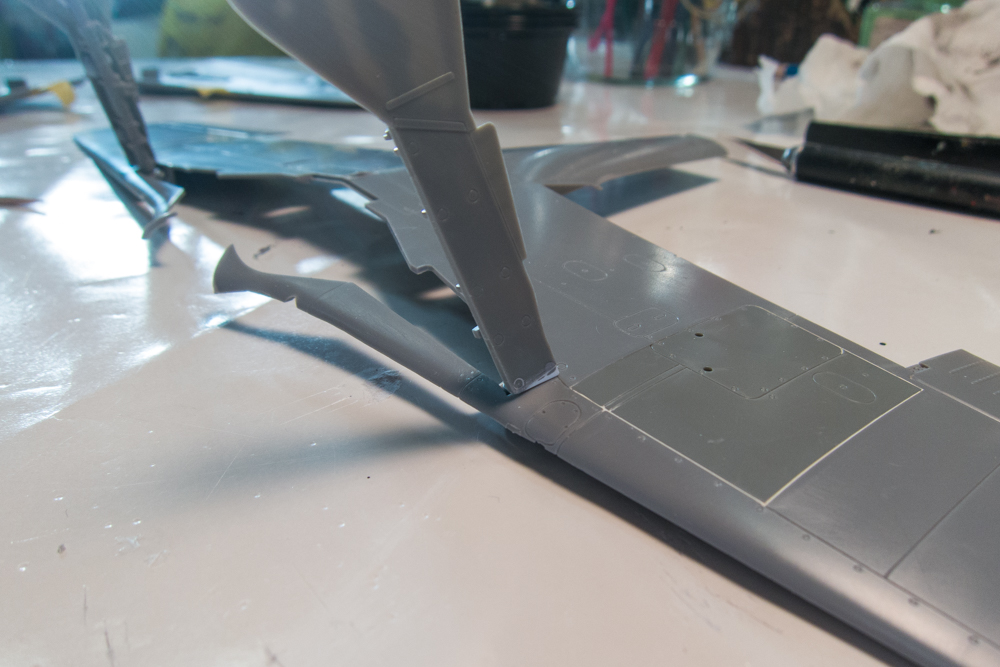
I've also gone the extra step of riveting the landing gear doors this time.

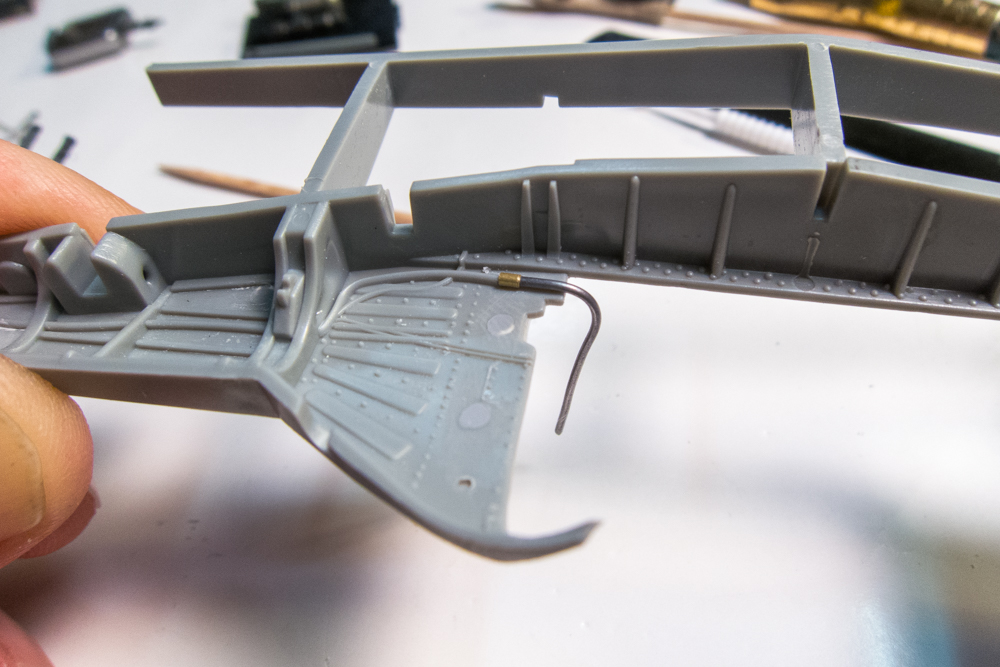
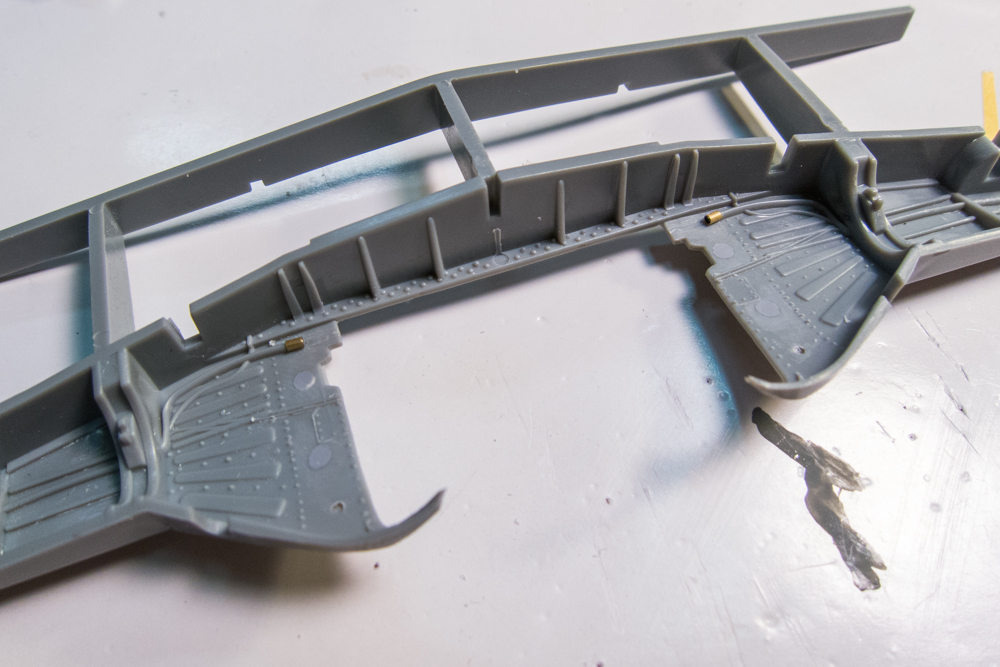
One little thing that has bothered me on my previous Dora builds is the ducting detail molded into the wheel well. See that thick duct/pipe that abruptly ends at the edge of the opening?

I've trimmed away a portion of the duct closest to the opening.
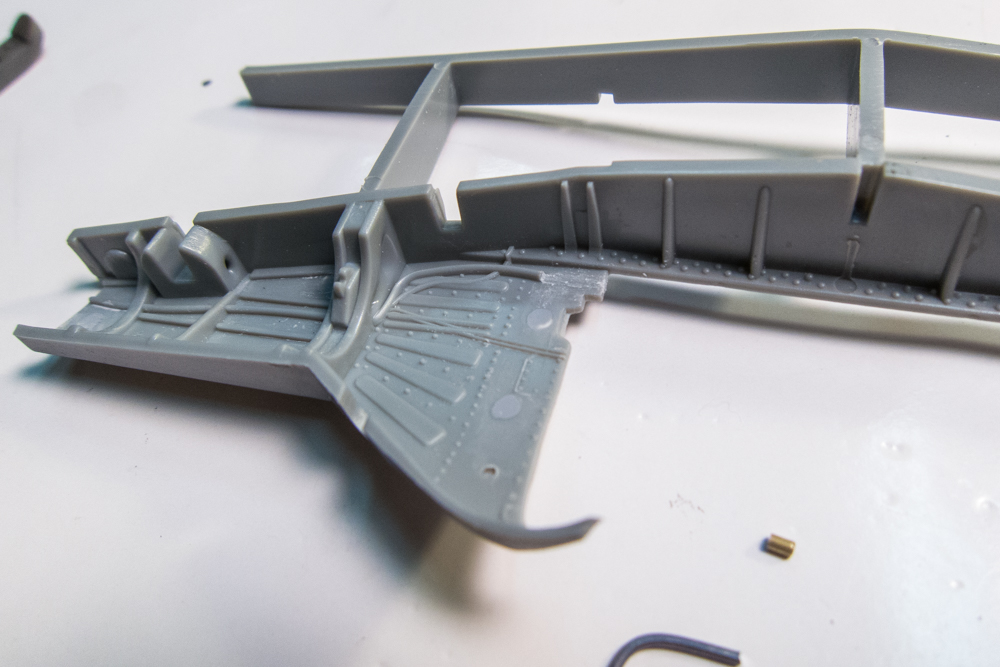
Then I glue in a small section of brass tubing to accept a piece of lead wiring.
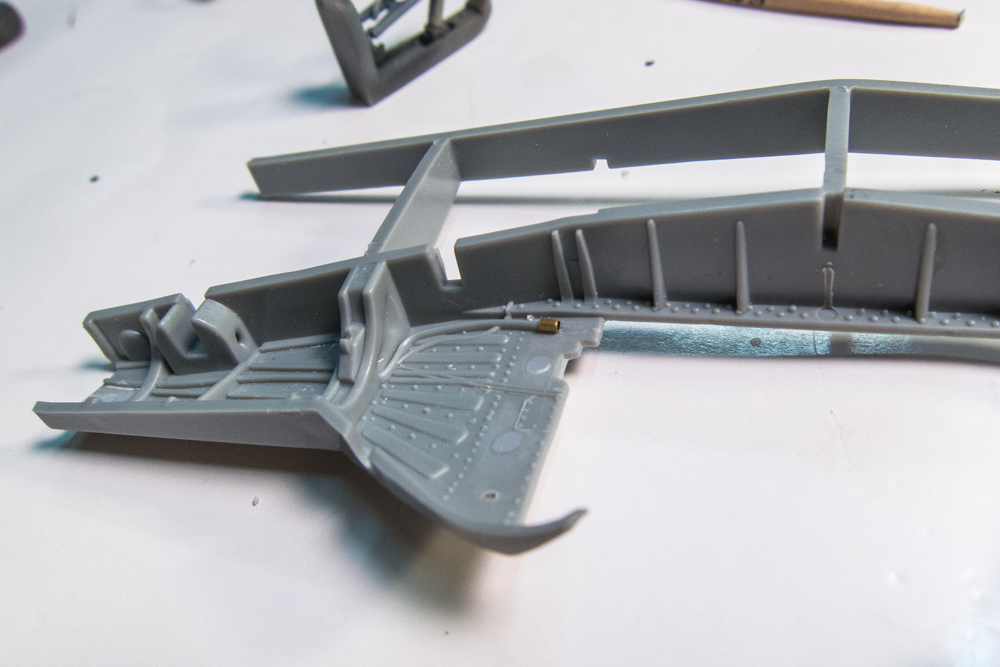
Maybe not a 100% accurate fix but I think it will look a touch more realistic. More importantly, it will quiet that niggling little voice in the back of my head. The wiring will be added after I paint and assemble the wheel well area. The photos of this area reveal a nasty sink hole on the actuating arm (not wing gun) mount that I'll need to fill.
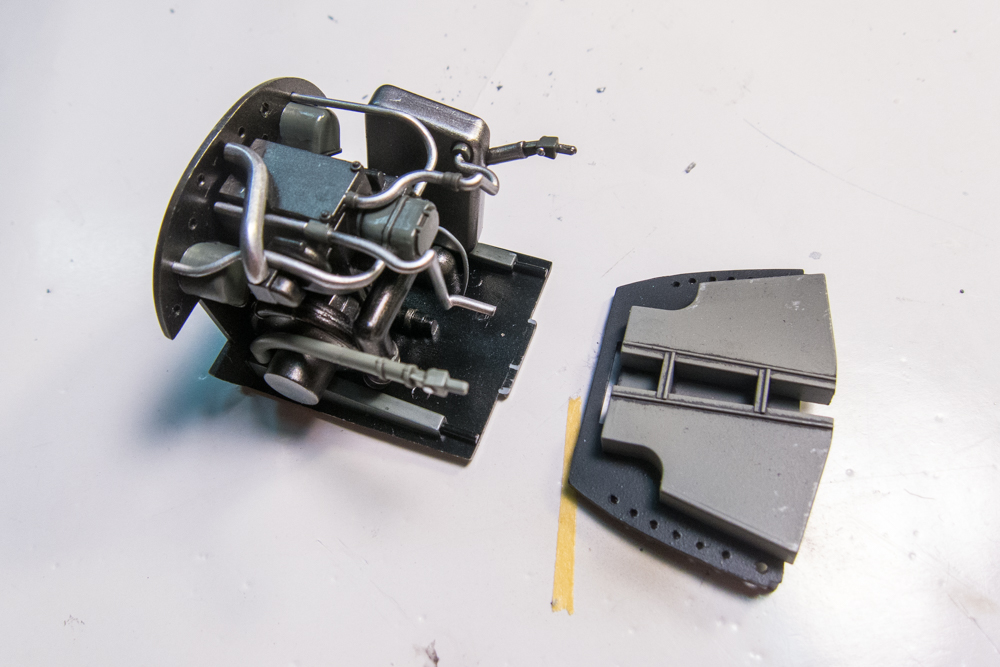
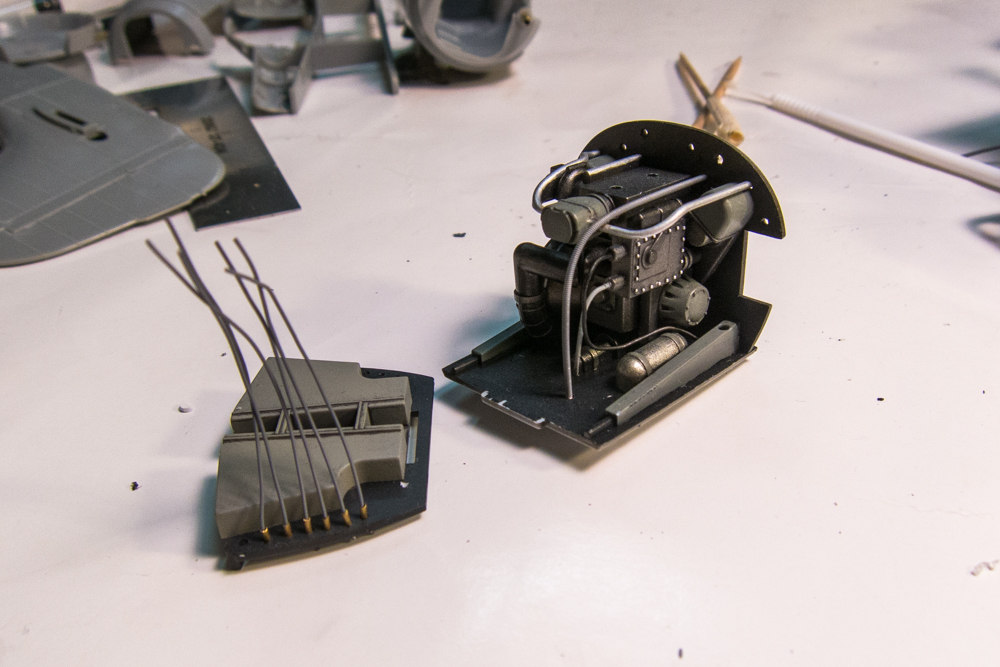
The engine plug components have been painted but not yet weathered. The components are dry-fit so I can see what will be visible and what will not so that I don't waste time detail painting something that won't be seen. You can see the holes that I've drilled in the false bulkheads to accept additional wiring to represent the maze of piping and ducts.
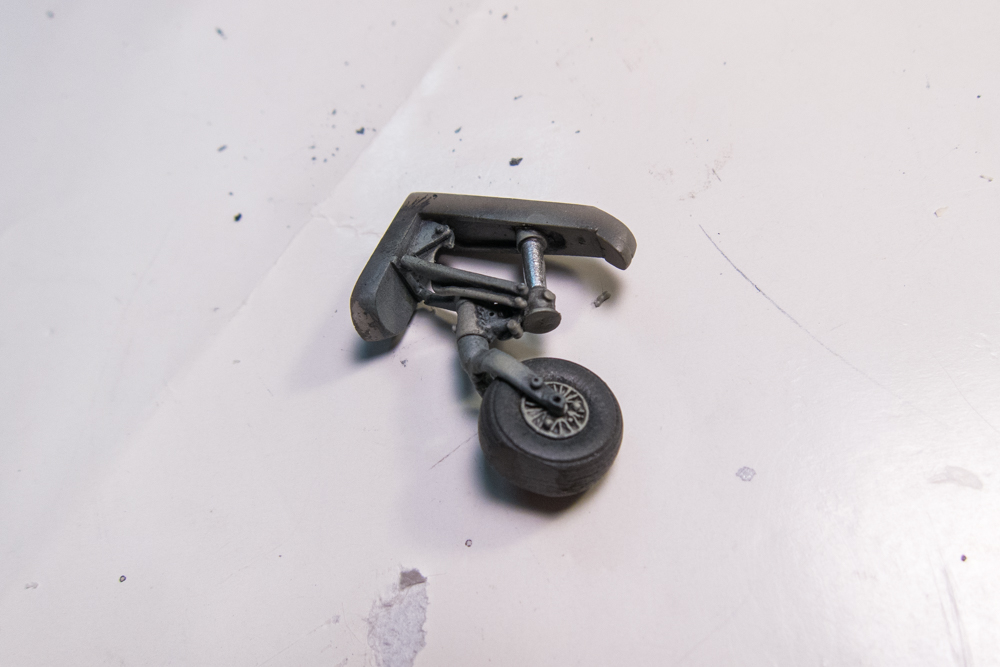
The resin tail wheel components have been painted and weathered. I am getting closer to the point where I can glue the fuselage halves together.
Re: 1/32 Hasegawa Fw190D-9 Red One
Posted: Tue Dec 04, 2018 5:07 am
by Stuart
Superb detail work John - everything's looking top notch!
I like that idea of using the brass tubing to take a bit of lead wire

Re: 1/32 Hasegawa Fw190D-9 Red One
Posted: Tue Dec 04, 2018 3:59 pm
by speedgraflex
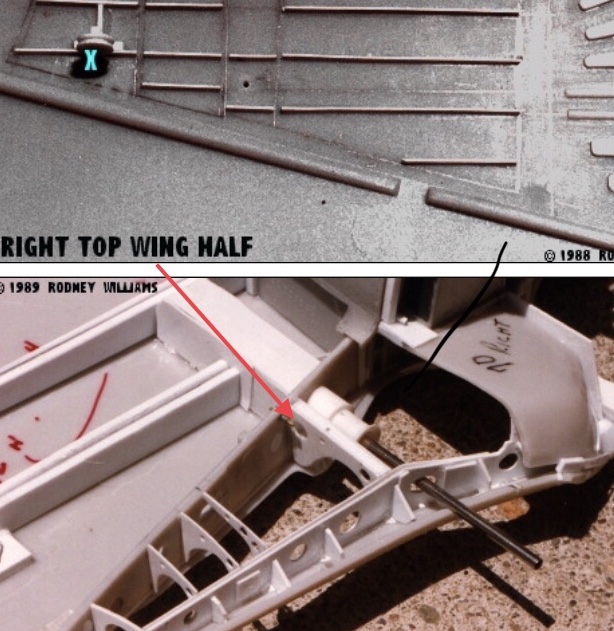
John—I do not have my Dora resources on hand but I believe the wheel well ribs are circular stamped, and it looks as though your particular wheel well piece has lost its center so to speak...
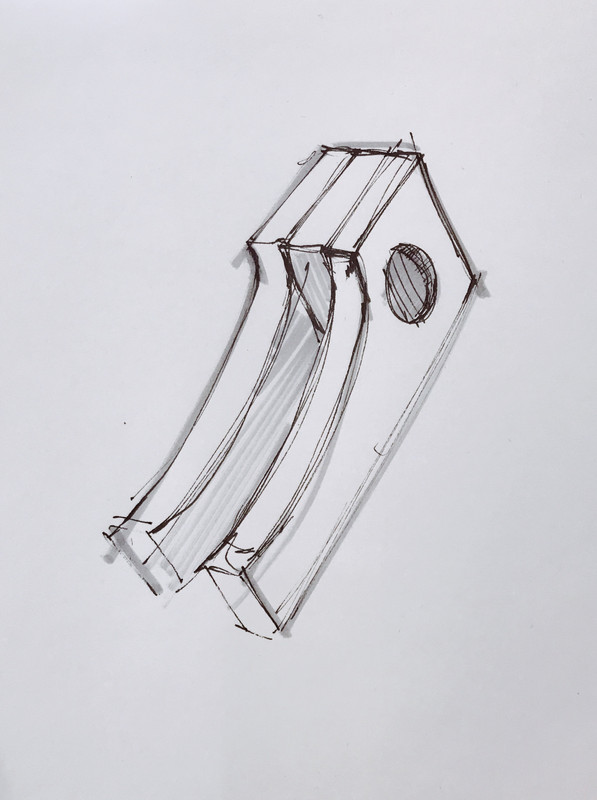 Let me know if this is correct—or if this needs to be revised.
Re: 1/32 Hasegawa Fw190D-9 Red One
Posted: Tue Dec 04, 2018 4:57 pm
by jkim
Thank you Stuart and Bruce! Bruce... I also do not have any references on hand but what you describe so beautifully with your drawing is possibly true. Probably true. For me personally, it falls into that category of "nice to address but maybe not worth the effort to replace the ribbing in the wheel well". Some things I feel compelled to take action on and others, not so much. With the minor modifications that I am doing, I'm personally satisfied with how the wheel wells are going to look. At this moment, preserving my momentum on this build is a higher priority than 100% accuracy. Looking at my work as a whole, I think this has always been my approach.
Re: 1/32 Hasegawa Fw190D-9 Red One
Posted: Tue Dec 04, 2018 5:23 pm
by speedgraflex
No worries, John! Sincerely! I hesitated to even produce a sketch. As someone who completed one model in 1-1/2 years, I do understand momentum’s loss. There’s an interesting book I read in school called “The War of Art,” and like any Dora photos I don’t have the book on me, but I do remember the chapter on “Momentum” feeling as though the author knew me personally or at least he personally conveyed to a receptive reader that once you lose momentum you have to fight to regain it. Hence—war. However this was geared at those who make art a career so I do believe a hobby is much more tolerant of absence.
Re: 1/32 Hasegawa Fw190D-9 Red One
Posted: Wed Dec 05, 2018 10:01 am
by jkim
Interesting observations about momentum. I almost think it can be more crucial in the hobby scenario because of the lack other motivations. If I don't want to model, I'm not going to do it, period. Whereas with work, I'm going in to the office, whether I want to or not. I find myself doing little things at the end of a session to preserve momentum. Like clearing off of the work surface. Bagging up semi-completed sub assemblies. Saving a juicy task until the next day if time is running short. That sort of thing.
The wiring work on the engine plug is slow going. I am adding the wiring as I go, painting each wire, letting it dry, and giving it a wash before the next wire is added.
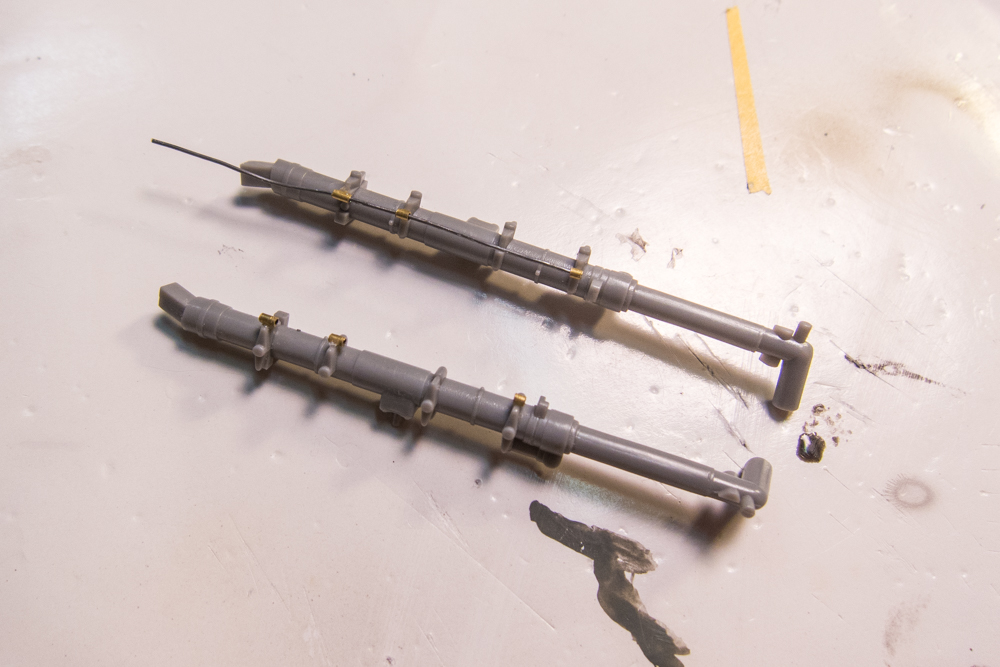
To keep me occupied as paint dries, I've added small bits of brass tubing to the landing gear legs to hold the brake line, which will be represented by a strand of lead wire. On previous builds, I glued the brake line before painting and the soft lead wire got all bent out of shape through the paint/weathering process. So for this build, I'll add the brake line after painting.