Thanks Mike, I appreciate it!
Do you ever feel like you added just one too man aftermarket items to a build? Lots of issues have started to pop up. Nothing huge but they're starting to take their toll!
I took a big step and cut off the kit lower flaps to make way for the brass replacements. Surprisingly, I was able to do it and keep the existing flaps intact!
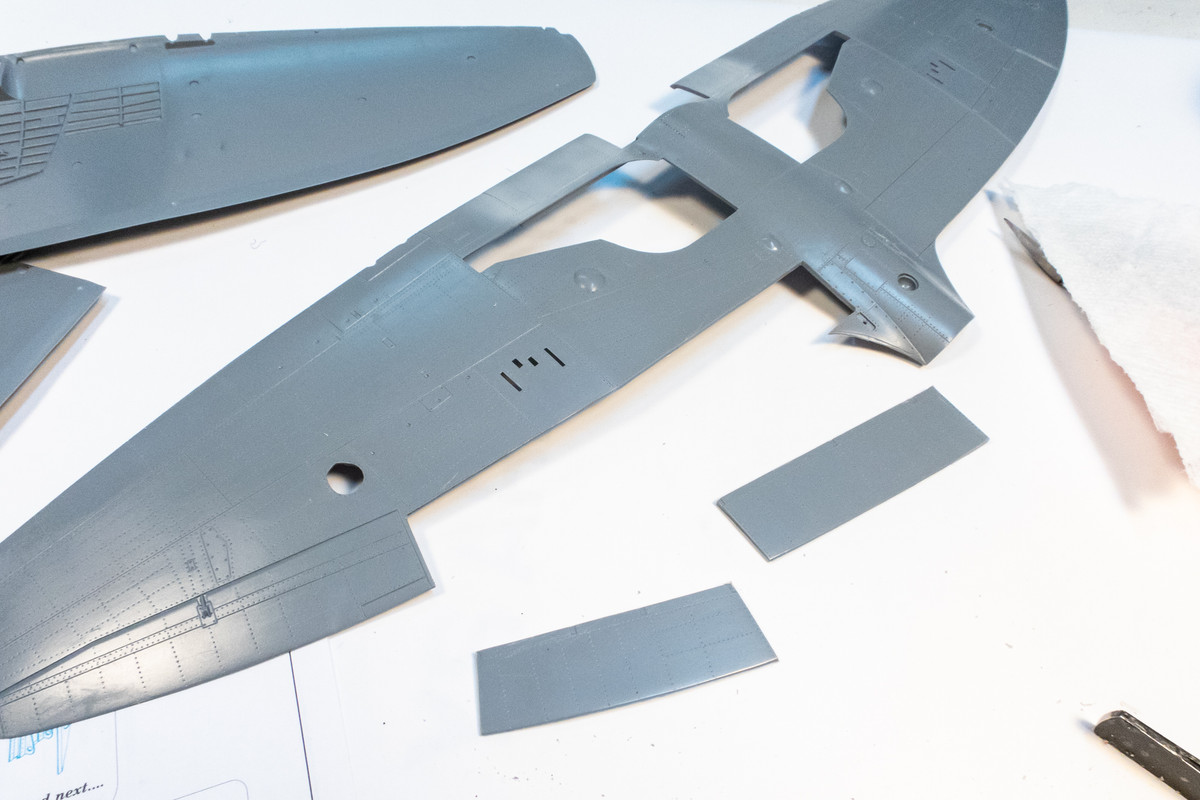
After cutting the starboard side flaps off, I wanted to test the fit of the brass upper wing section and found I cut off a wee bit too much plastic. Not really fault because I simply followed the panel lines.
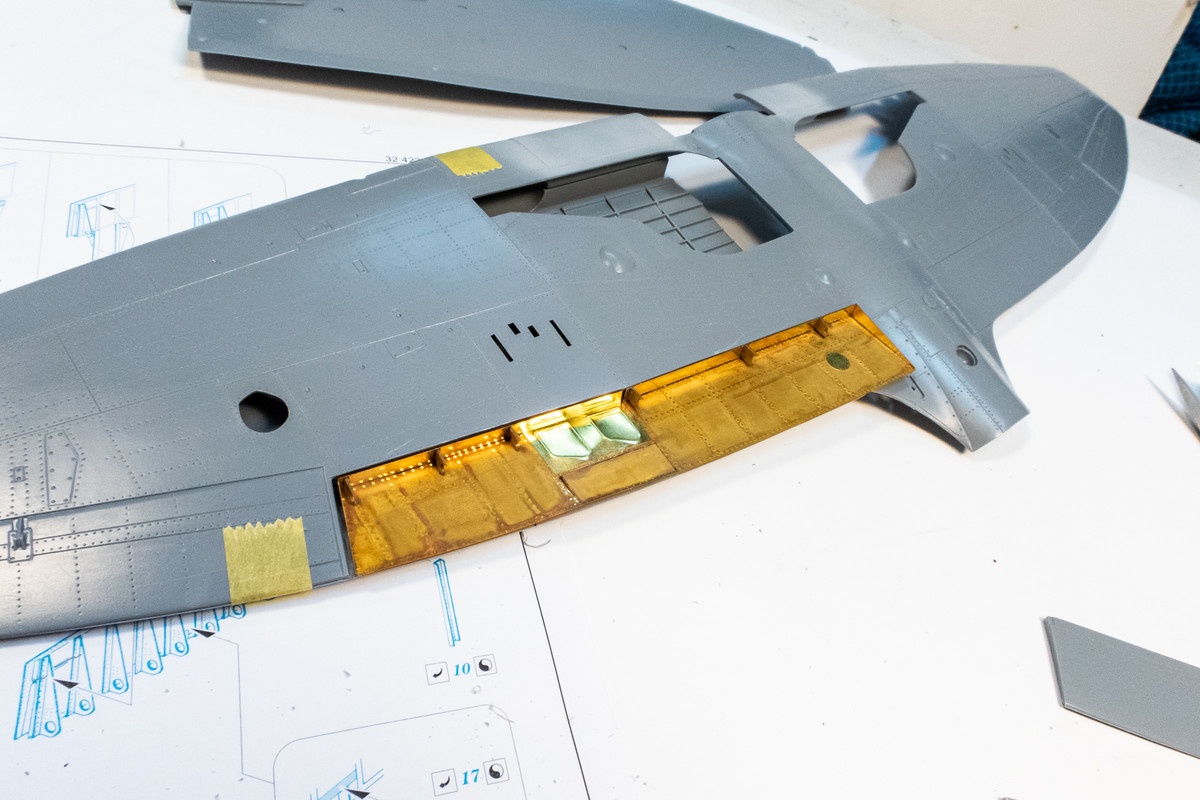
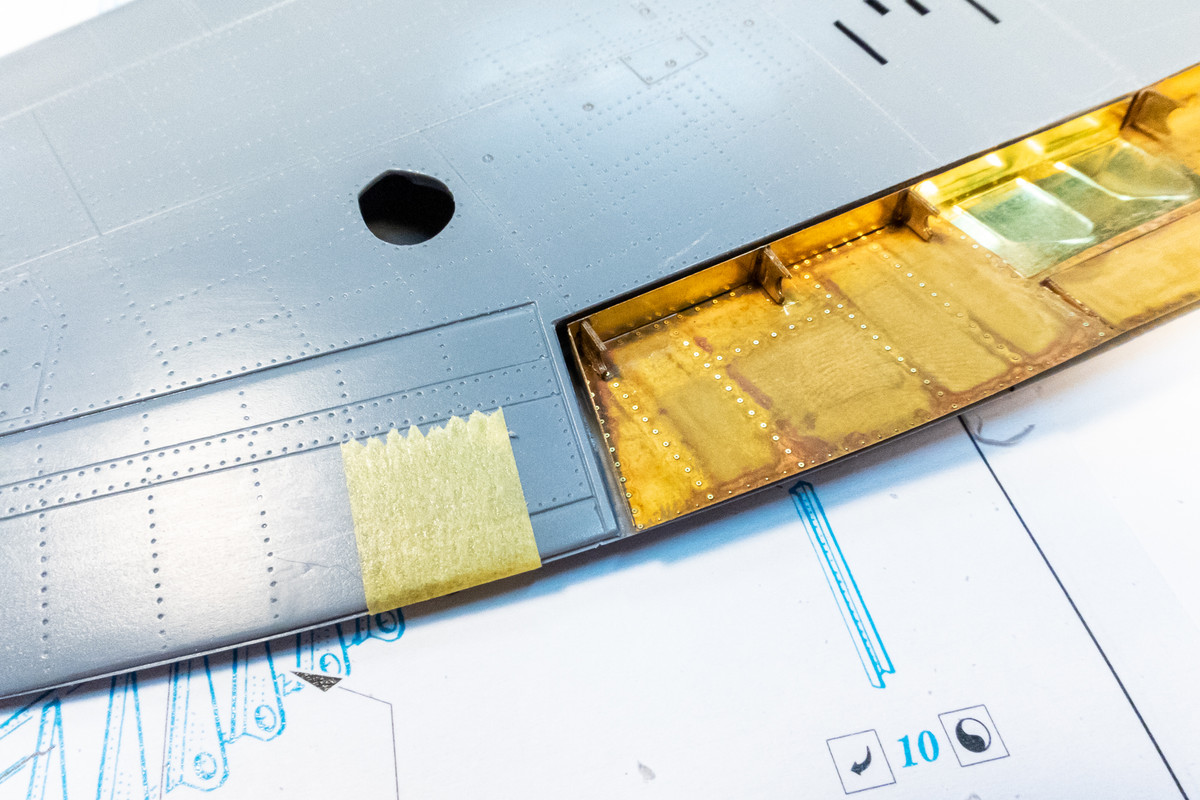
Well, maybe my fault... I think the Eduard instructions were warning me to leave a bit more plastic but I wasn't paying attention.
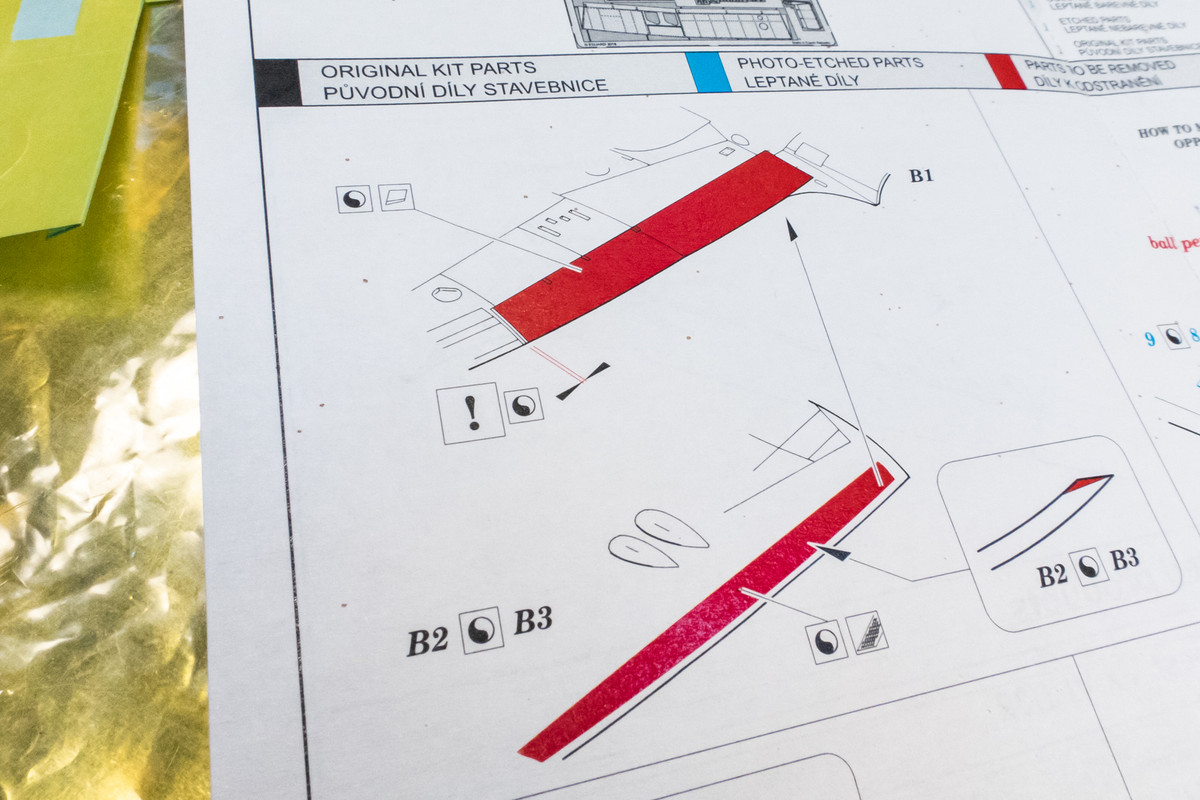
So I added a shim of sheet plastic and that seemed to work ok.
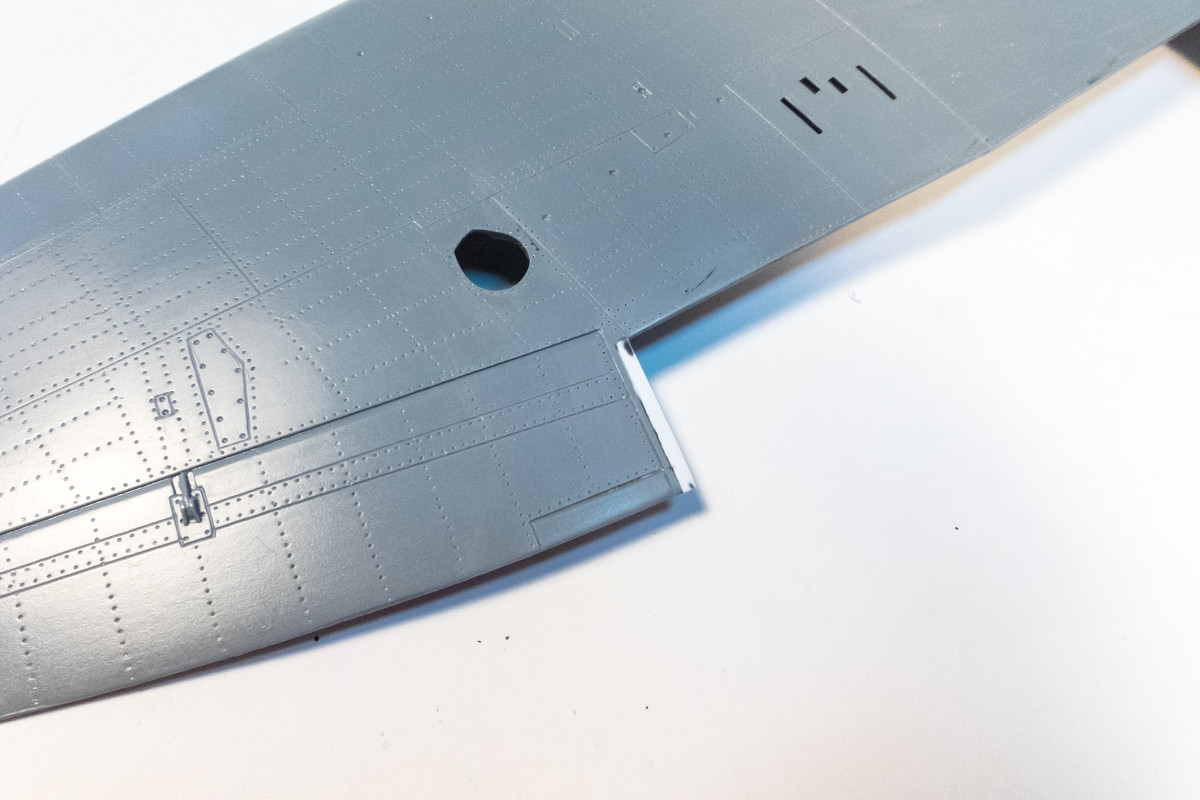
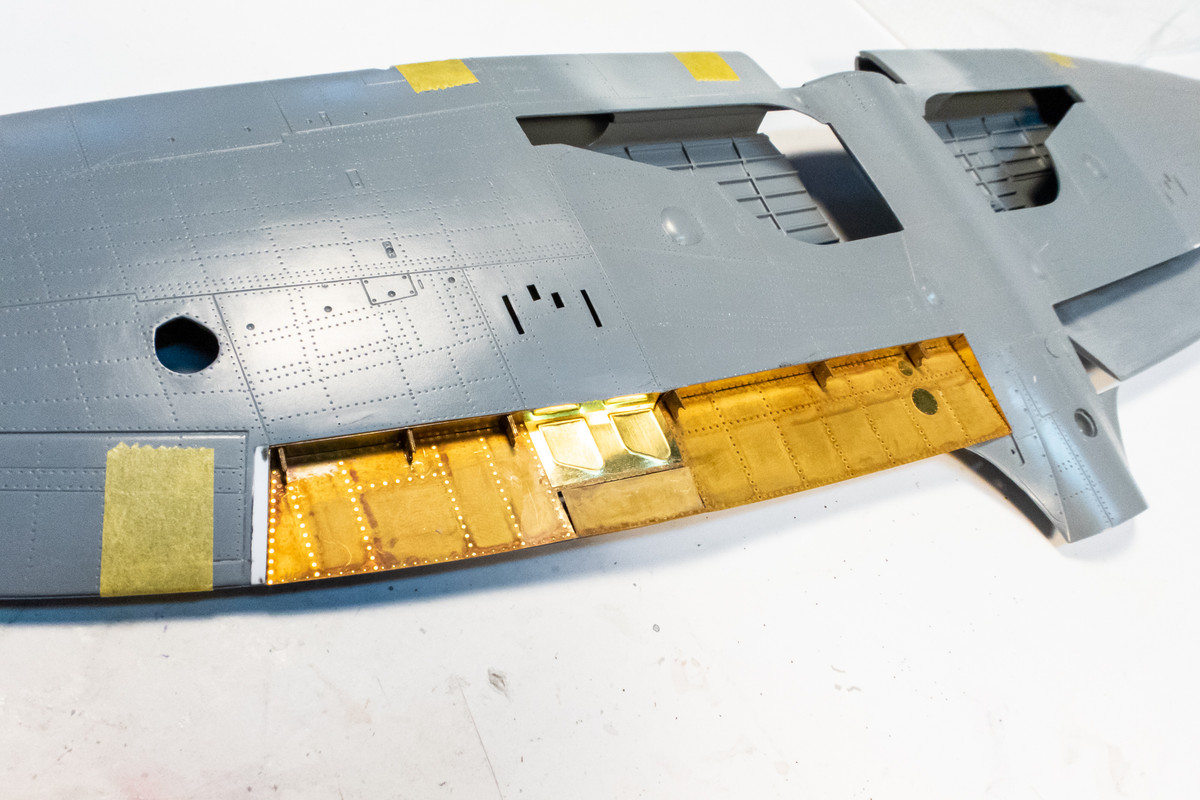
I made the correct cut on the port side.
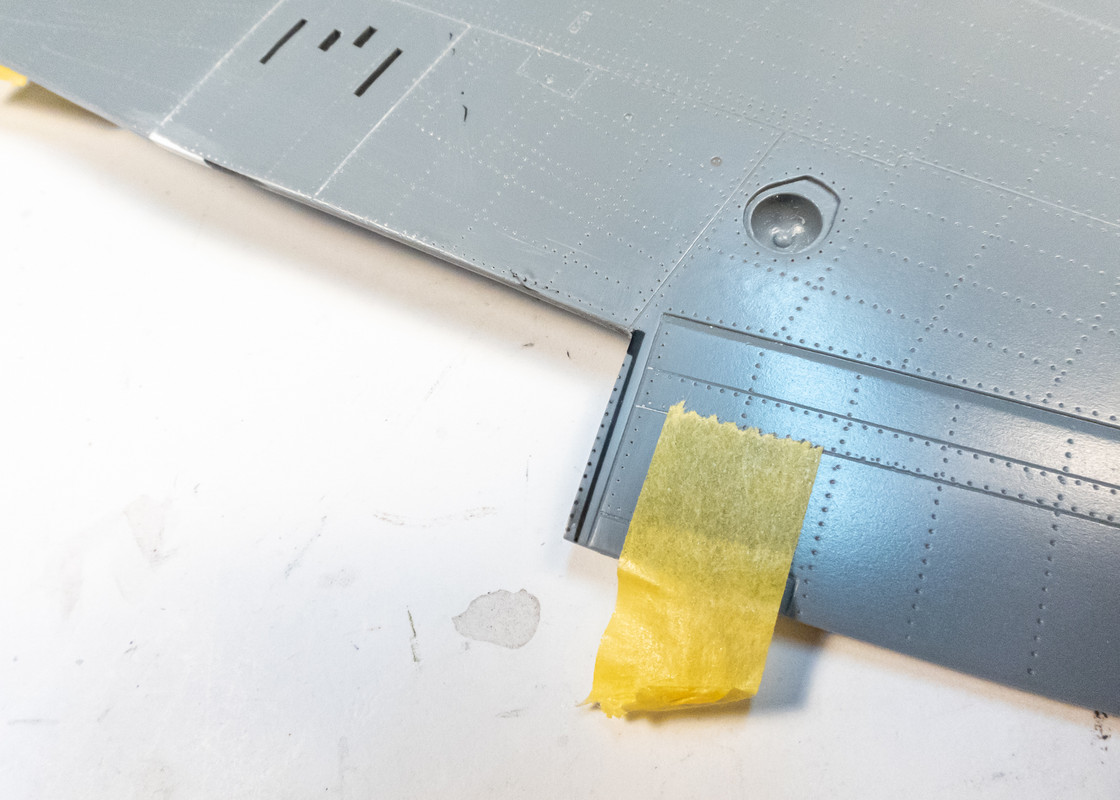
However, it was difficult to get the port upper flap into place without a slight kink. See how the middle section droops a little lower than the ends?
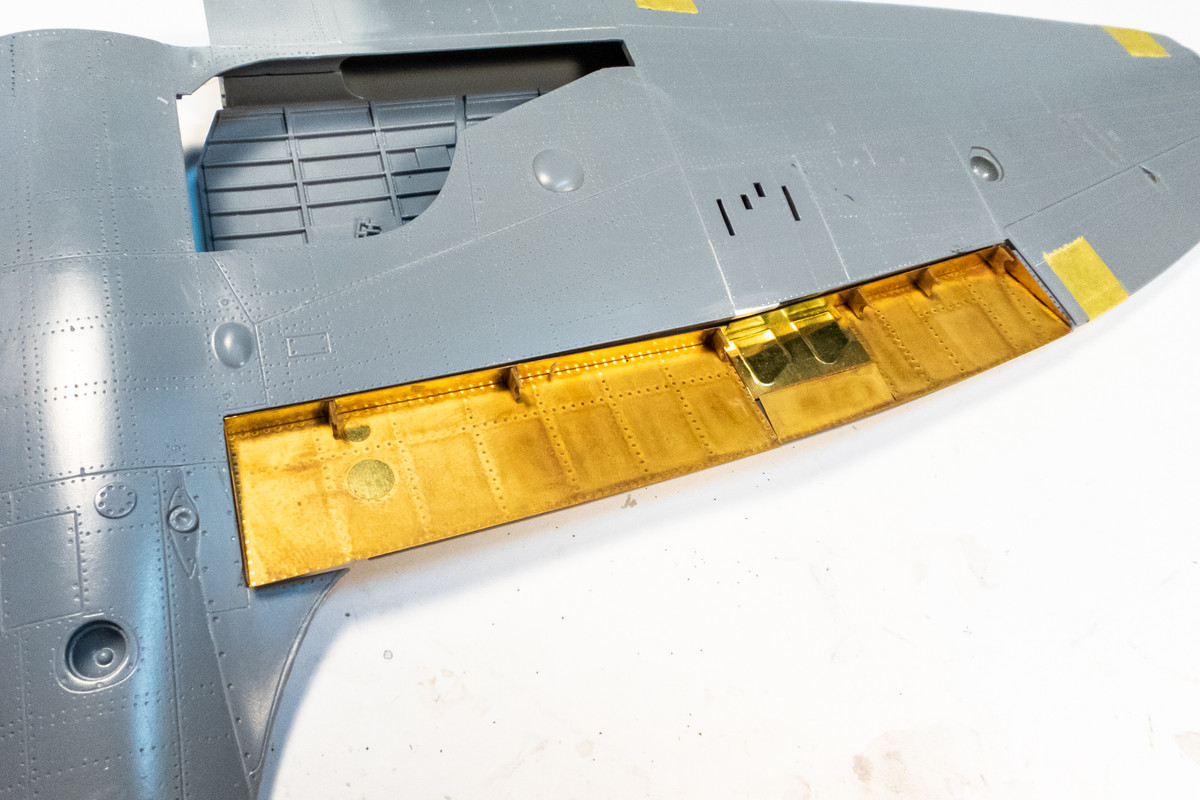
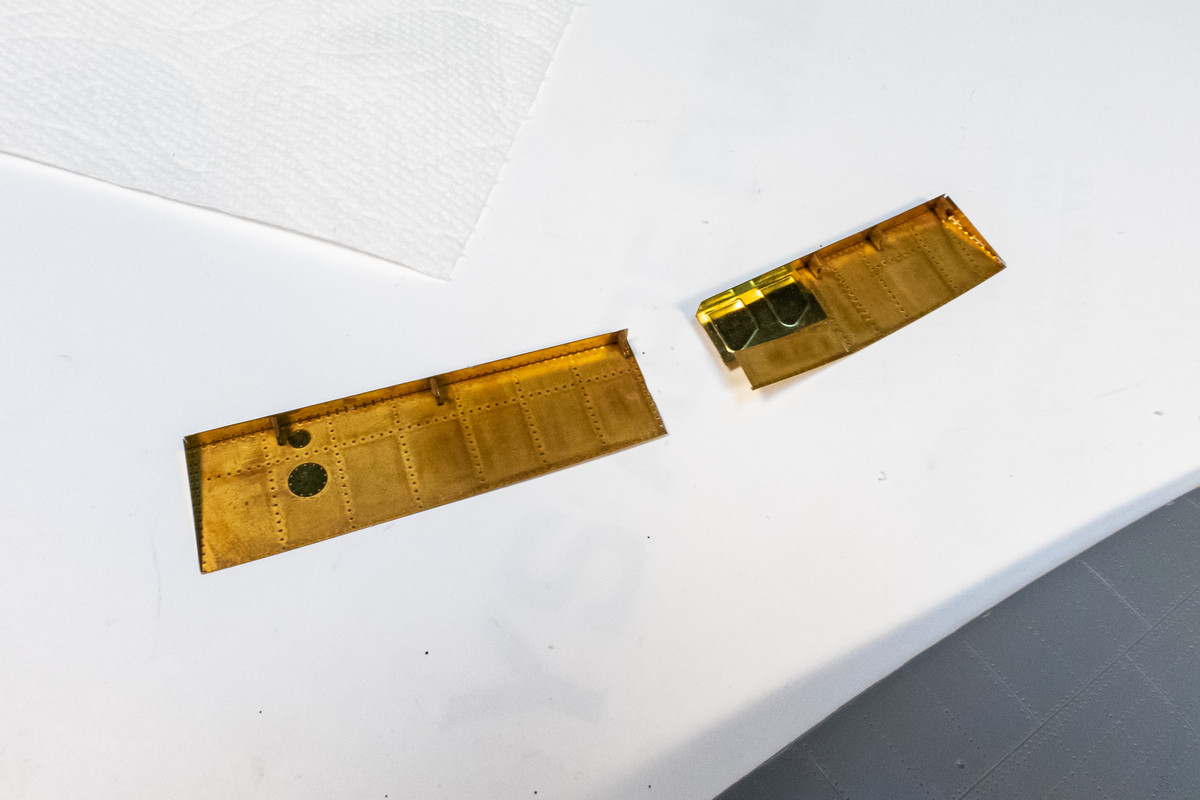
I decided to separate the upper flaps into two sections like the lower flaps.
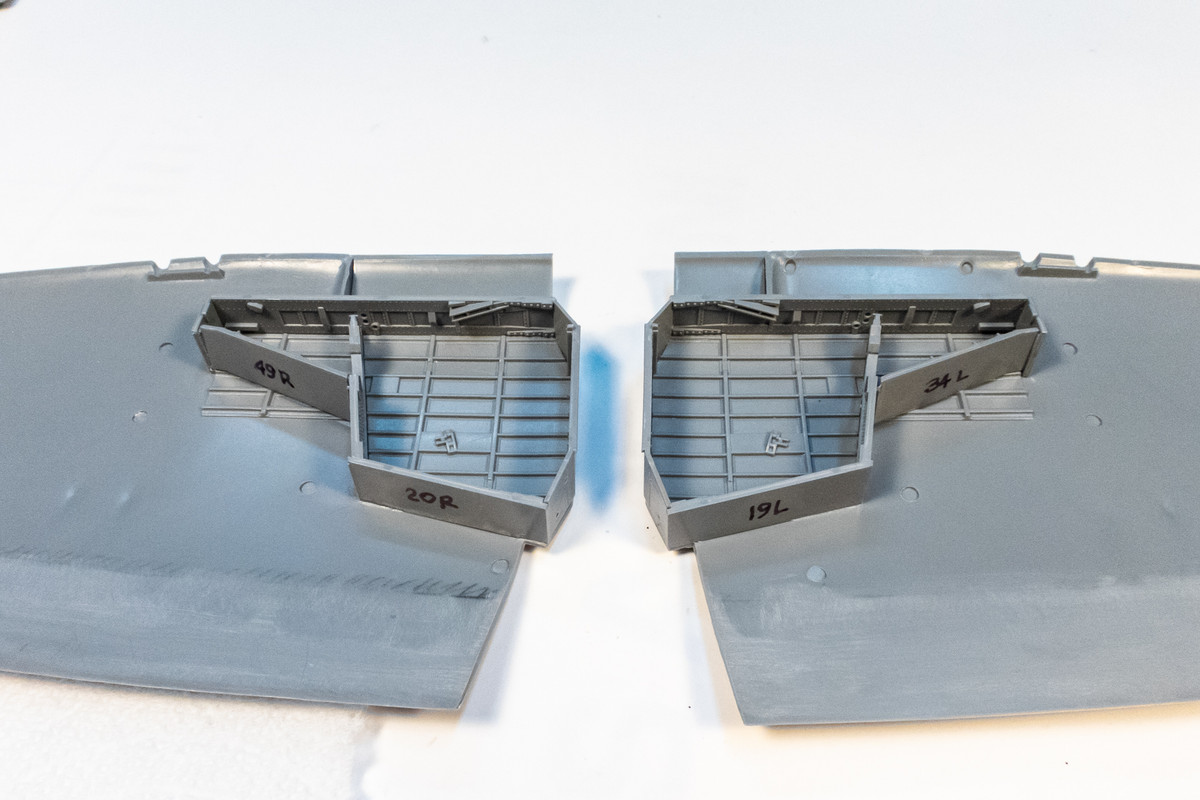
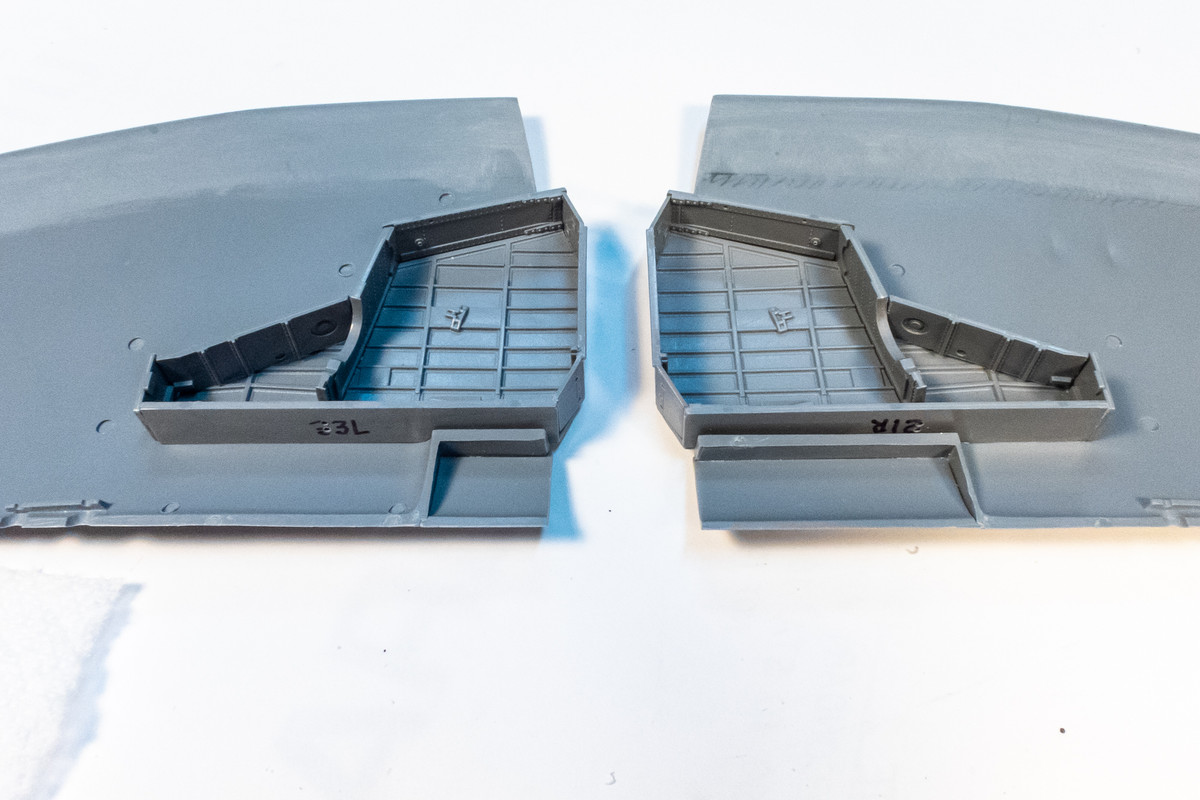
Once I was satisfied that the upper flaps would fit, I decided to glue the wheel walls into place. As Chuck540Z3 and others have pointed out, it is much easier to glue the walls into the upper wing instead of the lower wing. My copy of the instructions have already been corrected and the long front walls (H21 and H33) are correctly labelled (I think!).

The parts have been pre-drilled for wiring and numbered so I could keep track of them after cutting them off the sprue.
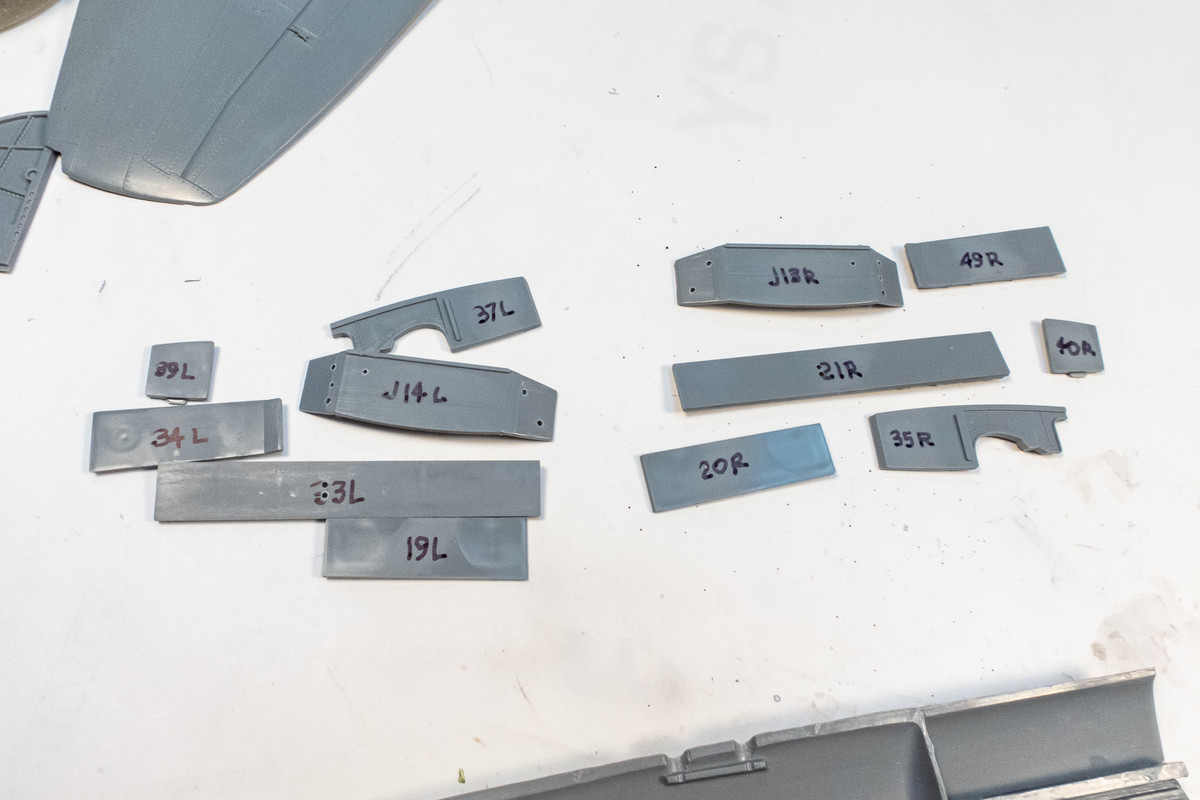
Like Chuck540Z3, I glued a couple of parts first and checked the fit by putting on the lower wings and made sure the walls fell into the correct grooves. I started with H21+J13 and H33+J14 since they seemed to have the most positive location aids. While the glue dried, I was able to slightly push and adjust the pieces so that the lower wing fit onto the upper wings.
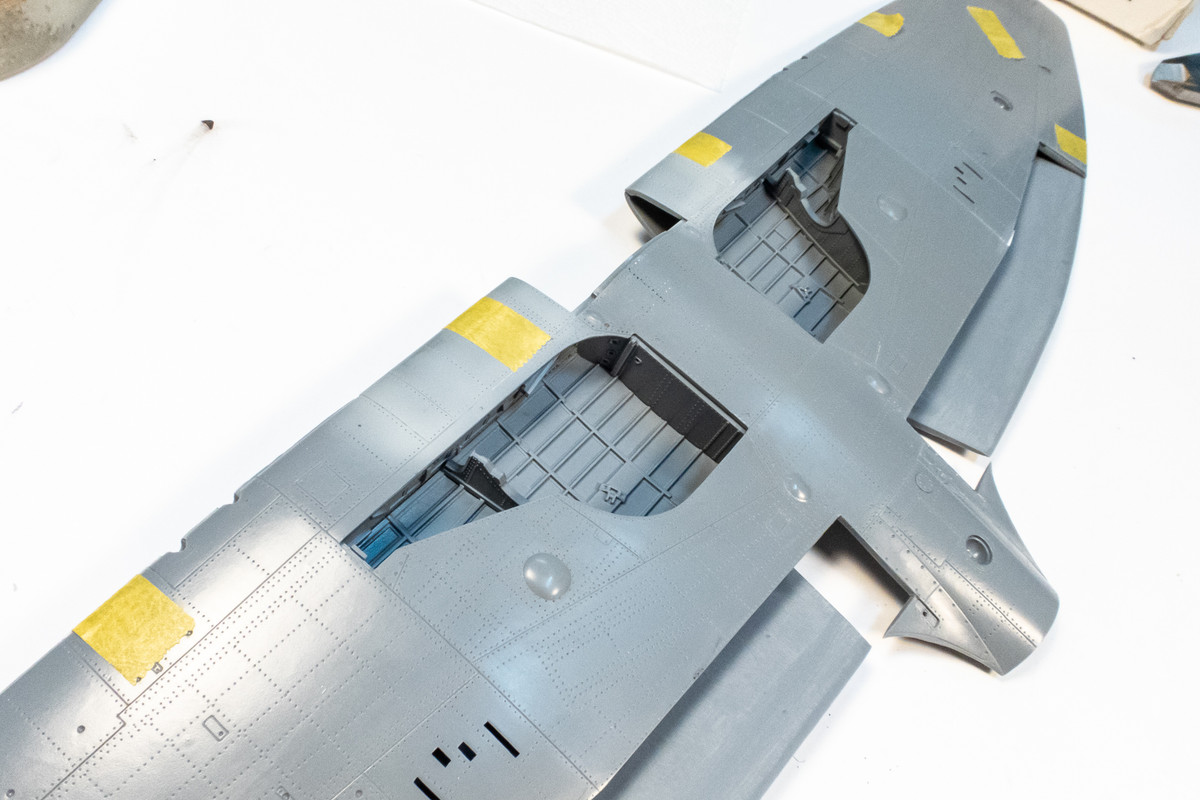
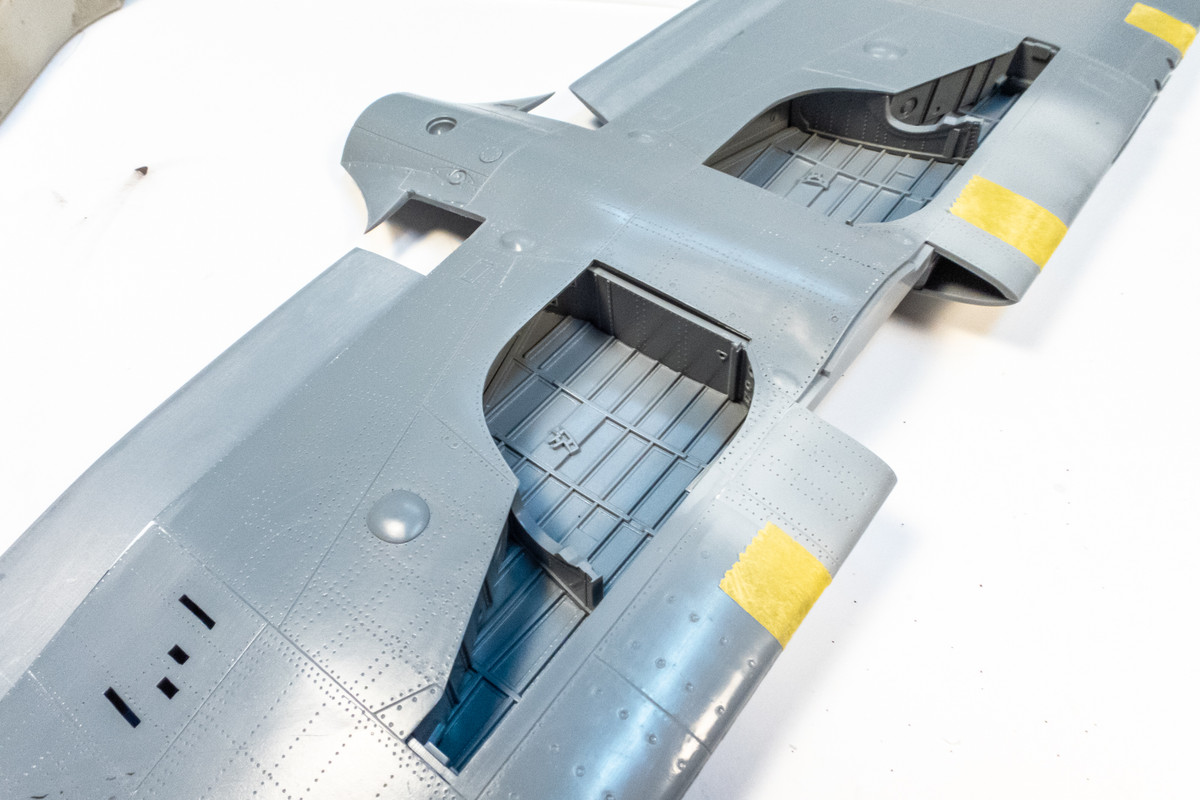
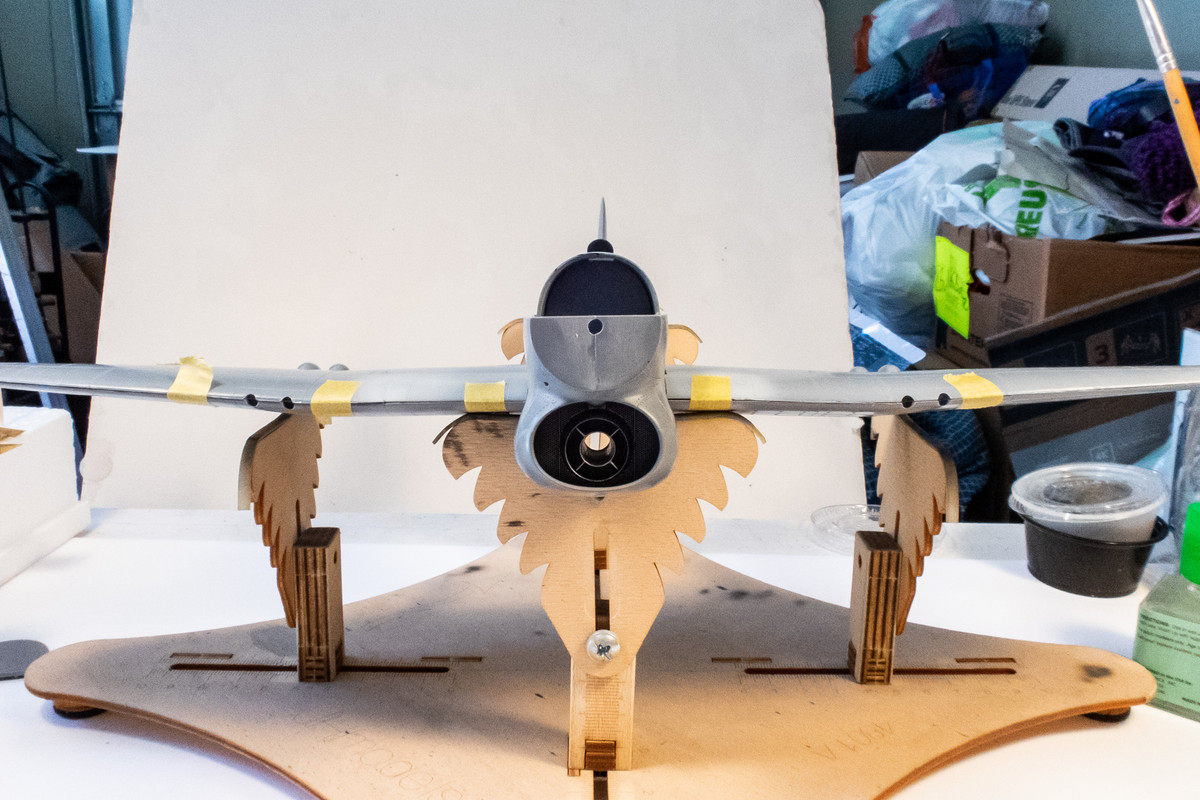
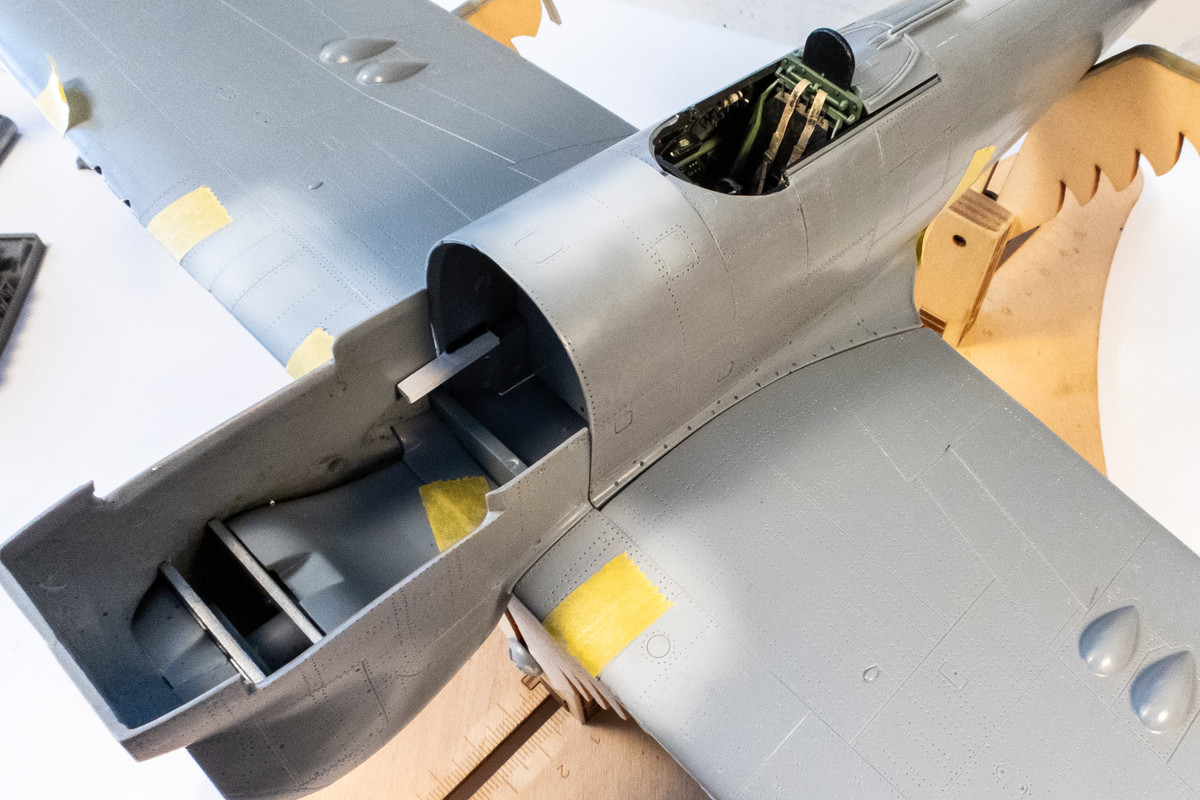
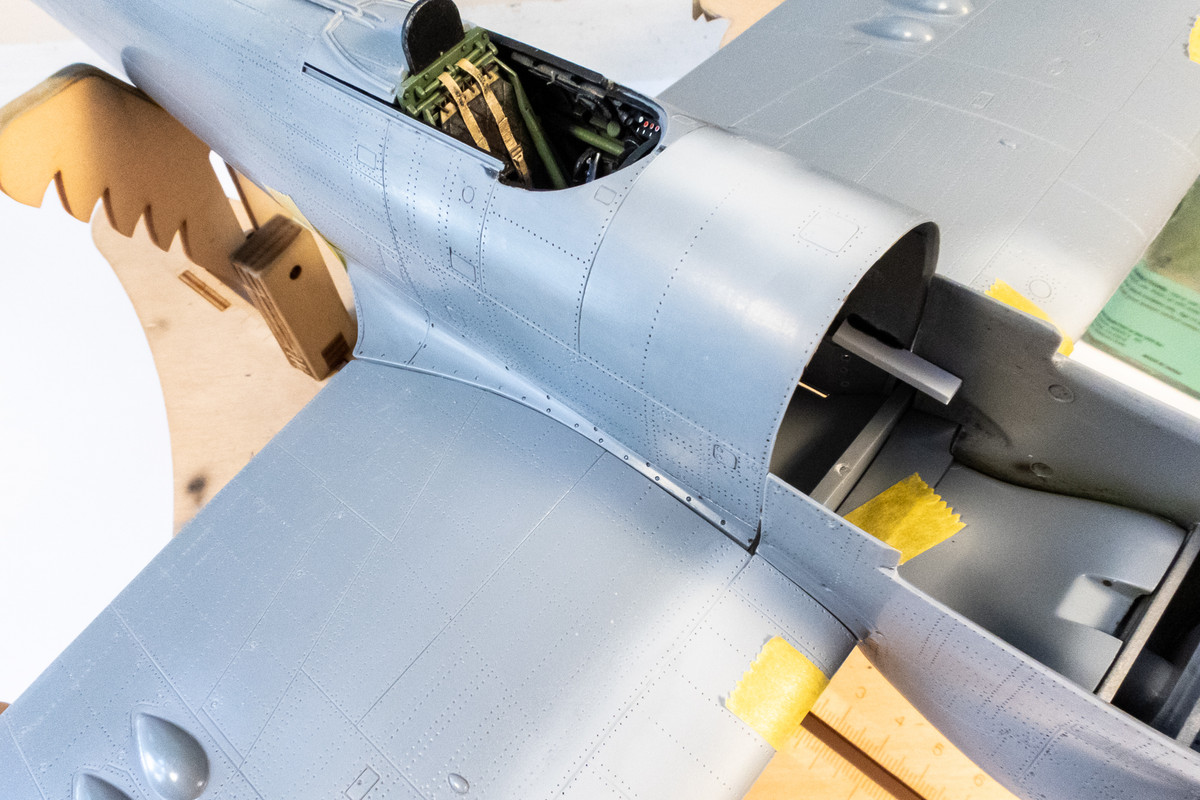
Curiously, I was able to fit the fuselage into place without having to sand either the cockpit cage or the wheel wells. However, that positive result may have come at the cost of issues elsewhere. One is the starboard wing. Snapping the upper wing into the lower wing and positively engaging the top walls of the wheels into all of the recesses of the upper wing shifts that upper wing slightly outward. The weird thing is that the wing root joint is pretty good despite this shift. But the wing cannon openings are now offset. The port side upper and lower wing fit ok but the wing root gap is bigger on this side. I'll have to take a closer look to see if I can rectify this situation without ripping the starboard wheel well apart.
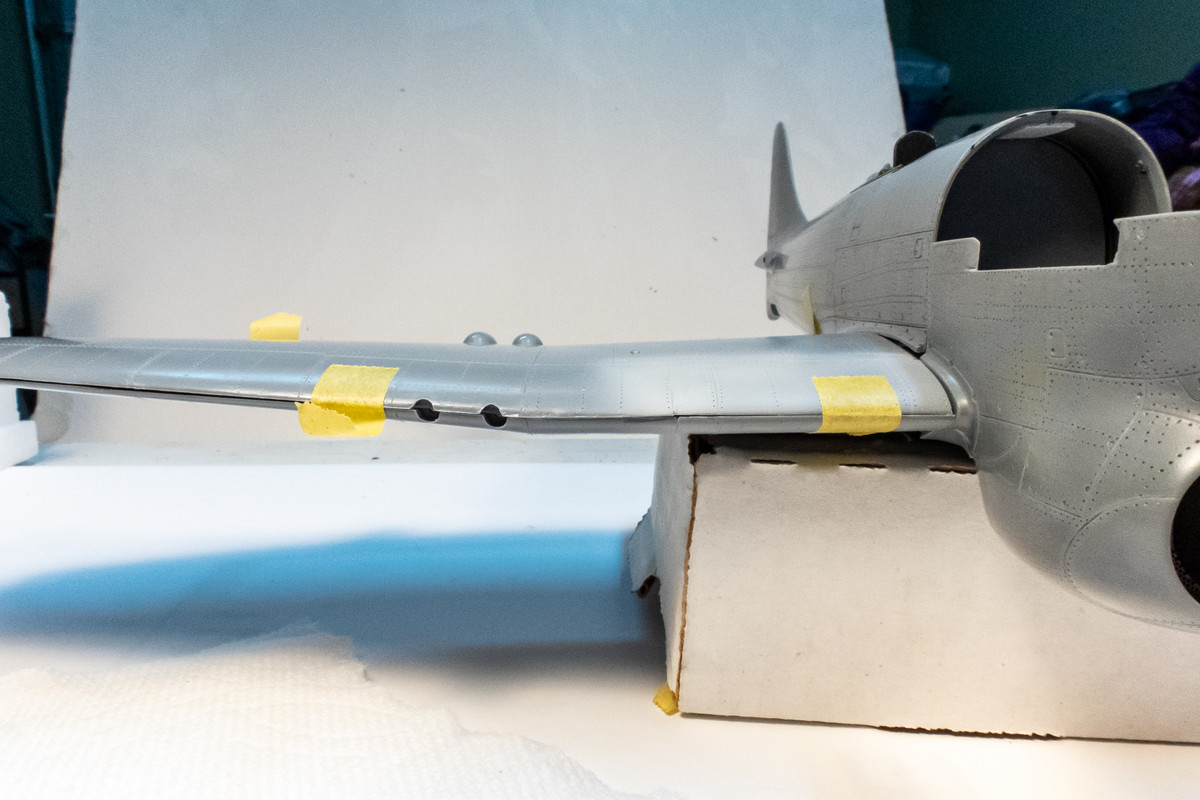
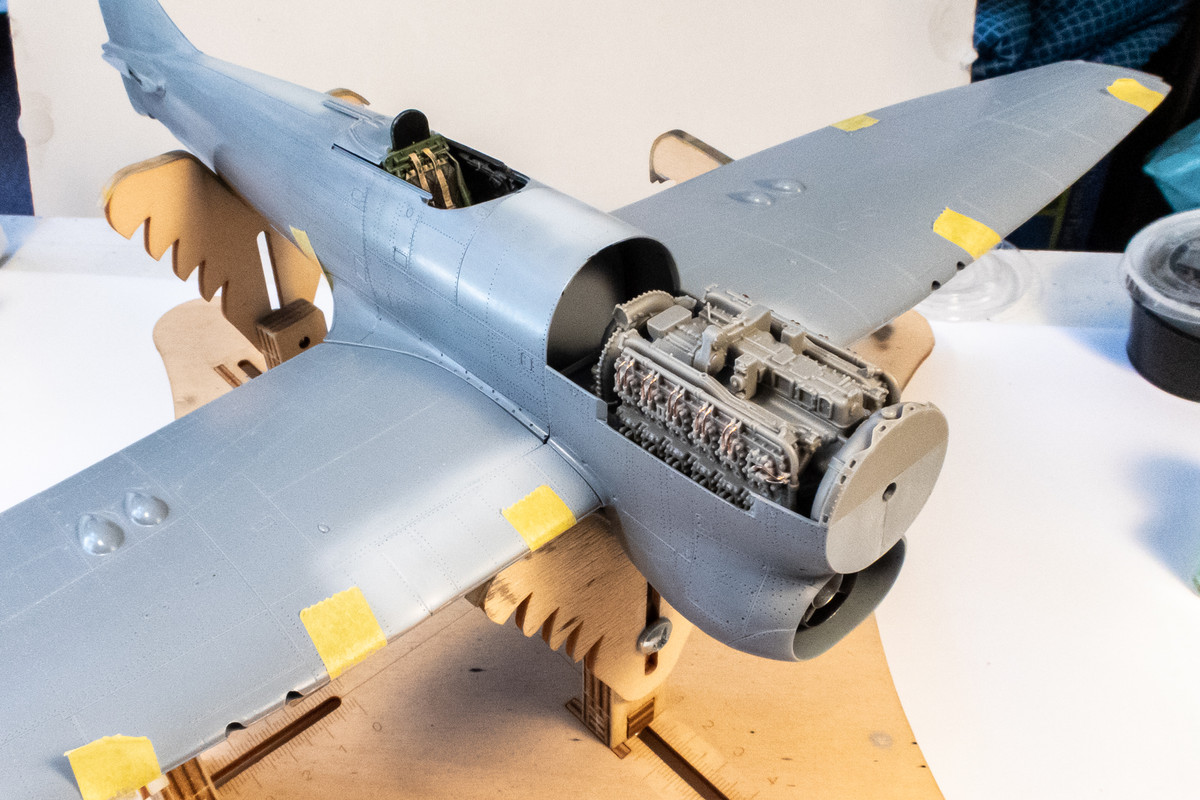
I slide the nose on just for kicks. Like I said, the fuselage slide into place onto the wings without having to make any sanding adjustments. It looks like the neutral dihedral of the bottom of the wing has been preserved and I don't see any indication that the cockpit is forcing the wings apart. Yes, the nose is a bit askew but it is just resting there without any tape. If this is an issue later on, I may be binning this one!
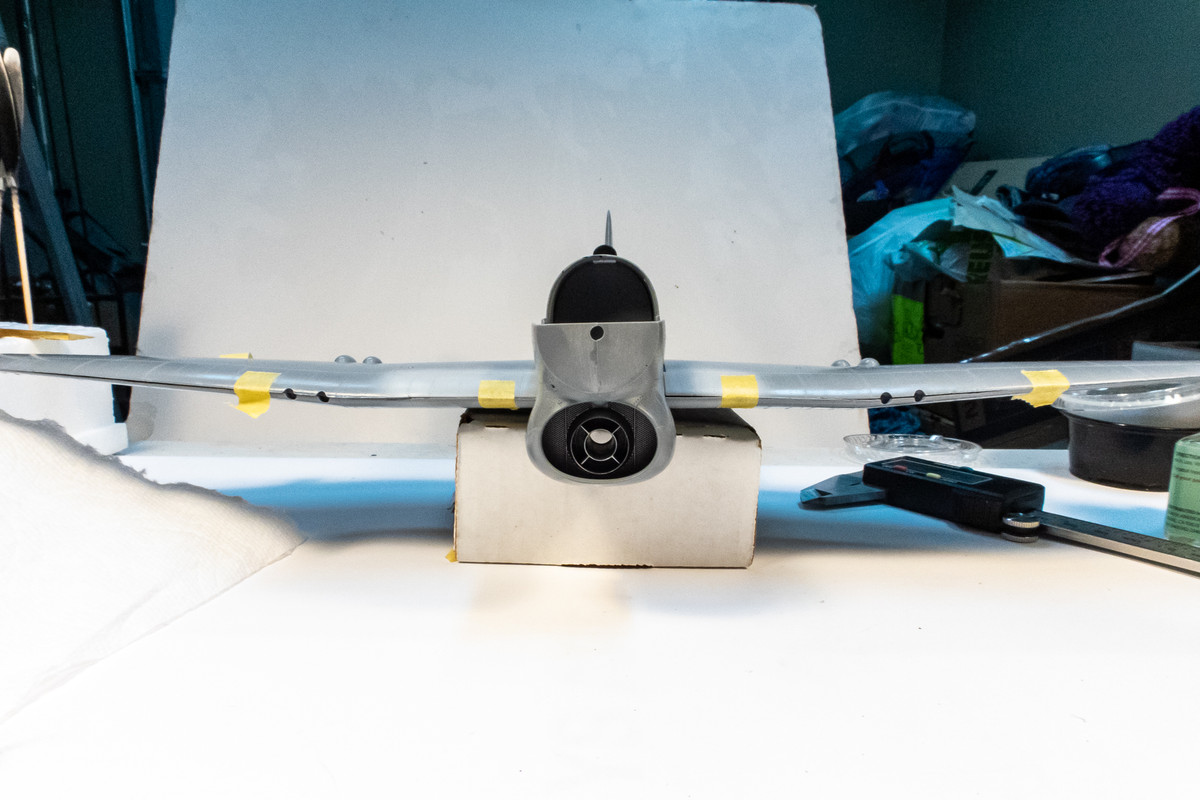
The shims that I added to the fuselage, which also serve as a rest for the engine block, maybe a tad too high but that's an easy adjustment to make.
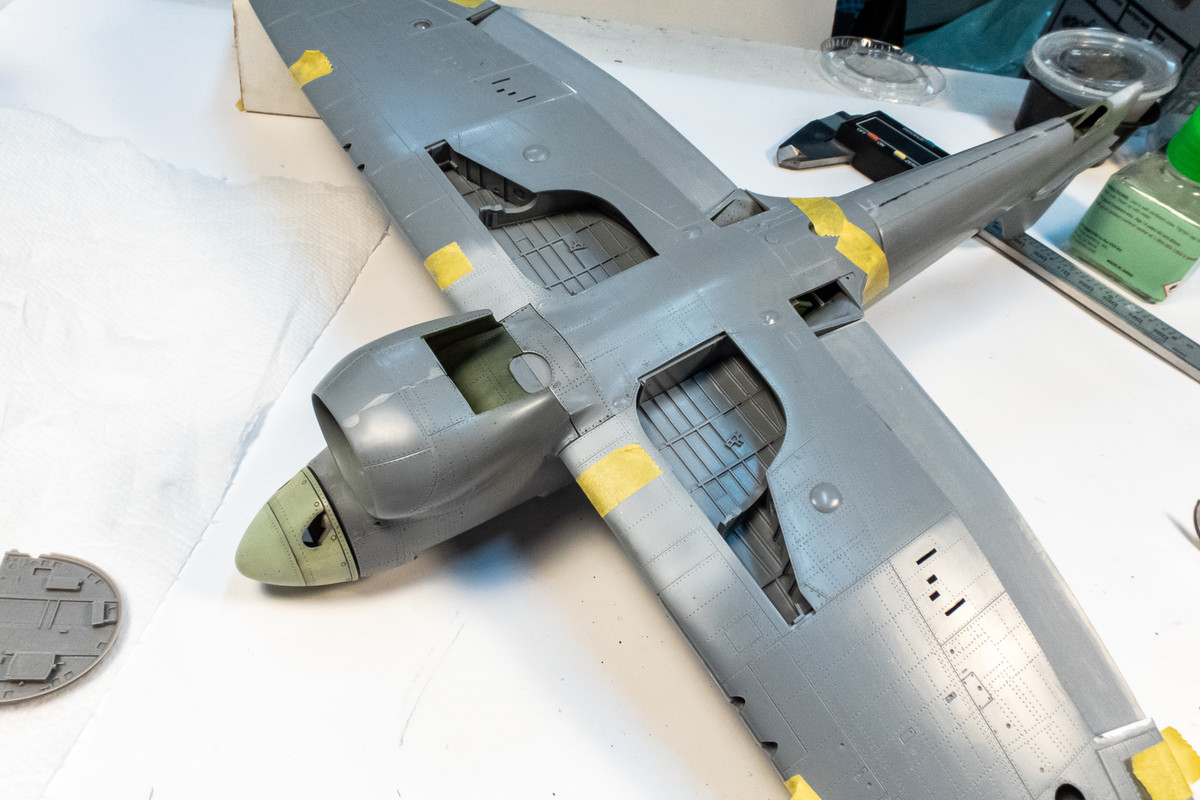
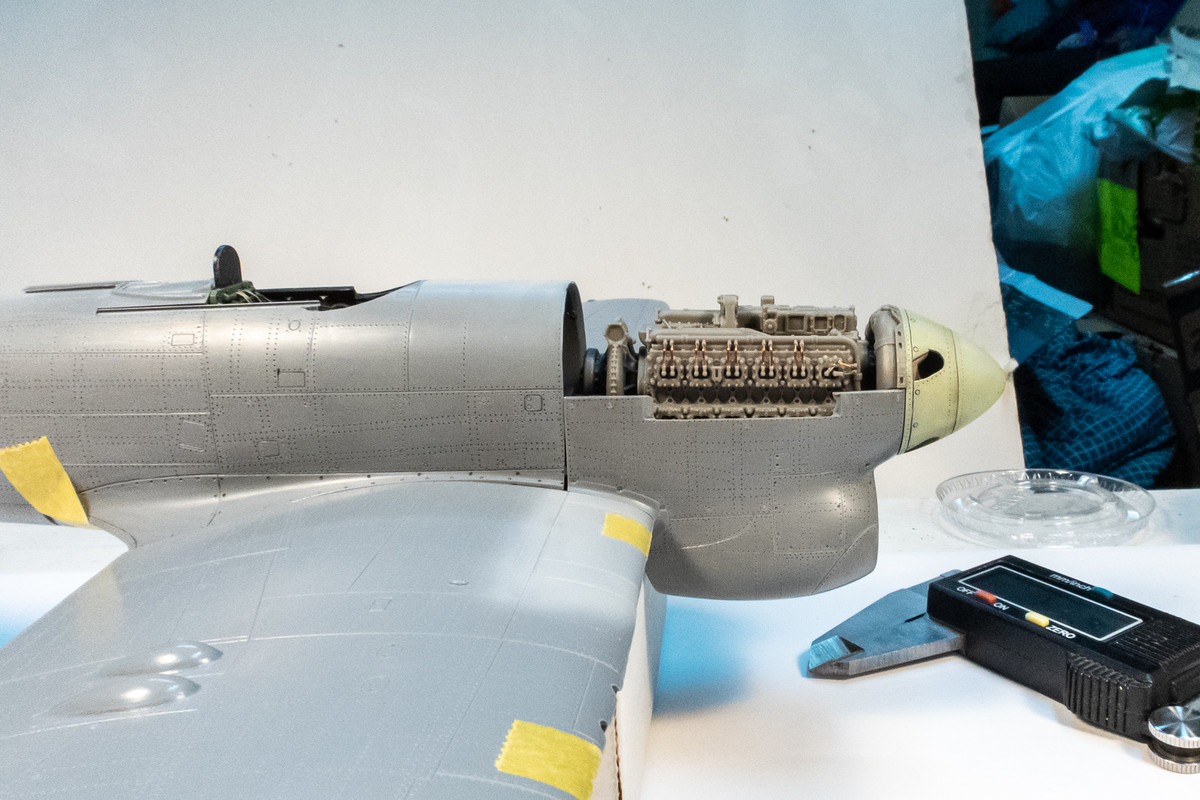
The fit on the bottom looks serviceable.