Page 19 of 44
Re: 1/32 Hasegawa Fw190D-9 Red One
Posted: Wed Dec 05, 2018 11:39 am
by KennyX
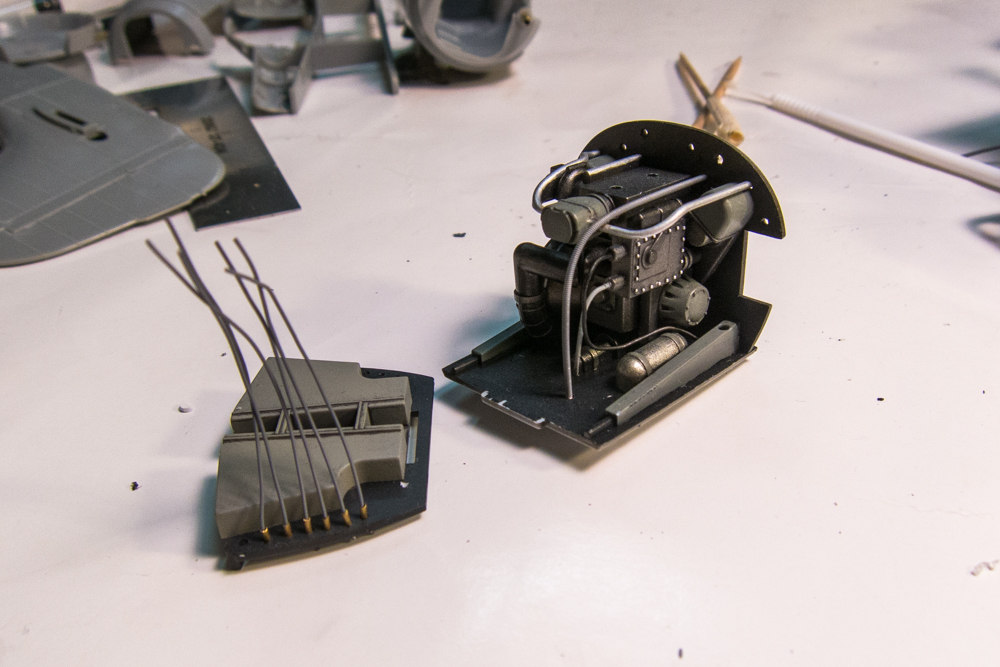
This is just fantastically beautiful work, John.
Re: 1/32 Hasegawa Fw190D-9 Red One
Posted: Wed Dec 05, 2018 6:56 pm
by BlackSheep214
Re: 1/32 Hasegawa Fw190D-9 Red One
Posted: Fri Dec 07, 2018 12:09 am
by jkim
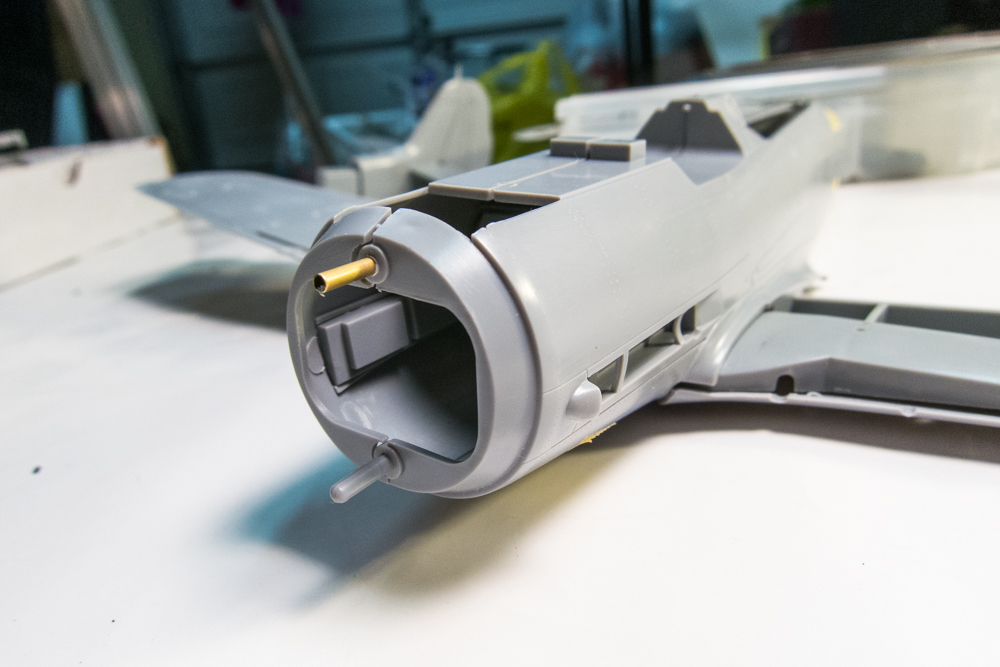
Passed a milestone of the build with the completion of the engine plug today. Probably the biggest mental hurdle of the entire build for me and now that it is behind me, this build SHOULD pick up some momentum now. But first... the multiple dry-fitting of the radiator cowling resulted in a broken mounting pin that I replaced with a piece of brass tubing.
And here is the completed engine plug. I've added a lot of wiring (lead wire, electrical wire, some guitar string and pieces of brass tubing) to mimic the maze of pipes and wires exposed in the Dora wheel well.

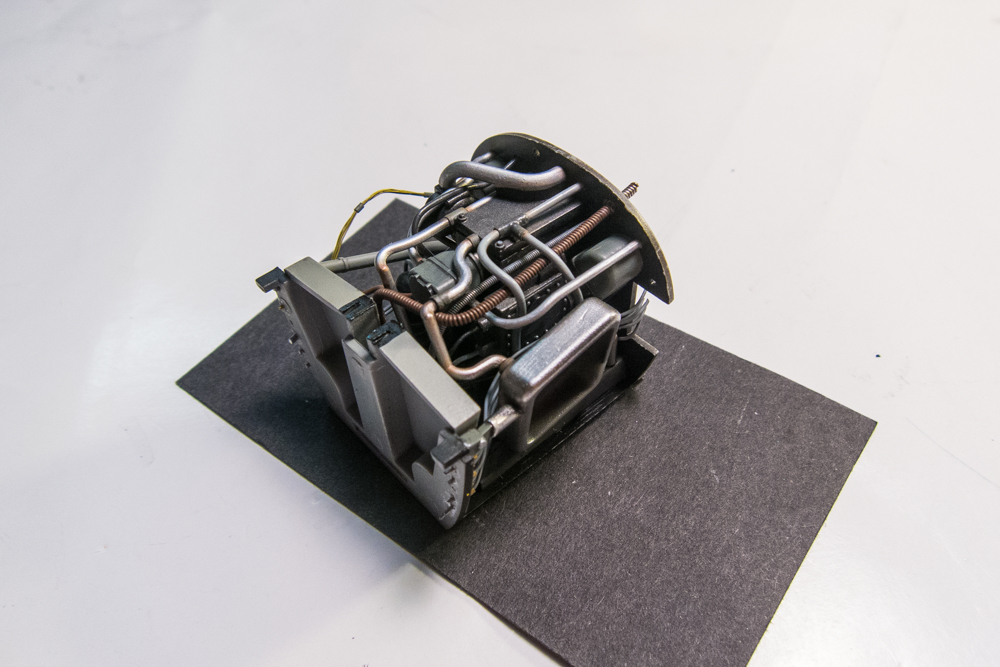

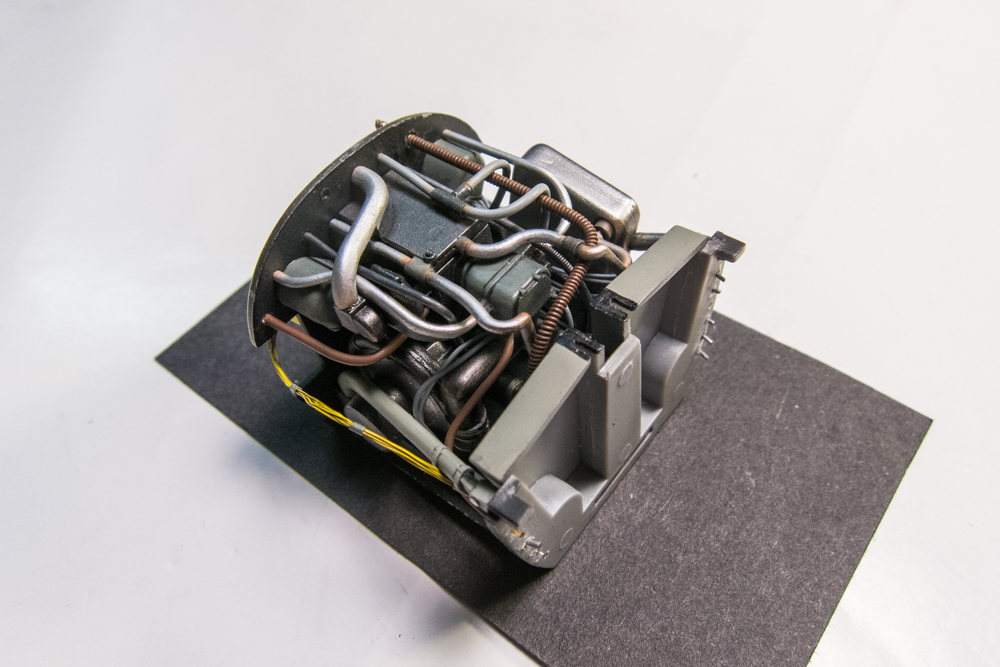
It's not accurate. Some things mimic what I've seen in reference photos such as the wiring harness on the port side of the ammo box but most of it is fictional. I'll probably give it another wash and maybe hit it with some dilute paint from the airbrush to knock back the clean look but for the most part... it is done.
When inserted into the engine and covered by the wheel well and bottom wing, much of the assembly gets hidden from view. I just want to give the impression of something busy going on around the back of the engine.

Re: 1/32 Hasegawa Fw190D-9 Red One
Posted: Fri Dec 07, 2018 3:45 am
by mostrich
Never thougt that the guts of a plane could be so beautiful. John, you're a master of your craft.
Re: 1/32 Hasegawa Fw190D-9 Red One
Posted: Fri Dec 07, 2018 7:52 am
by Stikpusher
Now that is a superb example of “creative gizmology”!

It may not be 100% accurate, but it sure replicates the busy look of that area quite nicely!
Re: 1/32 Hasegawa Fw190D-9 Red One
Posted: Fri Dec 07, 2018 12:41 pm
by speedgraflex
Beautiful.
Re: 1/32 Hasegawa Fw190D-9 Red One
Posted: Fri Dec 07, 2018 3:22 pm
by jkim
Thanks guys! I'm not sure I'm completely happy with the engine plug. Can't put my finger on it but I may futz with it a little further. Which is ok since it will be matter of tweaking and shouldn't hold me up too much. The wing bottom still needs to be riveted so that is the next milestone on my Dora horizon.
Re: 1/32 Hasegawa Fw190D-9 Red One
Posted: Fri Dec 07, 2018 8:57 pm
by BlackSheep214
Re: 1/32 Hasegawa Fw190D-9 Red One
Posted: Sat Dec 08, 2018 1:32 am
by jkim
I kept looking at the engine plug photos and tried to figure out what was bothering me. I finally settled on the observation that there were two many thick wires. I wanted to tone down the plumbing so I removed one of the thicker wire components and decided to replace it with thinner wires. Since I knew where it was going to go and how it was going to be positioned, it was easy to fashion another one.
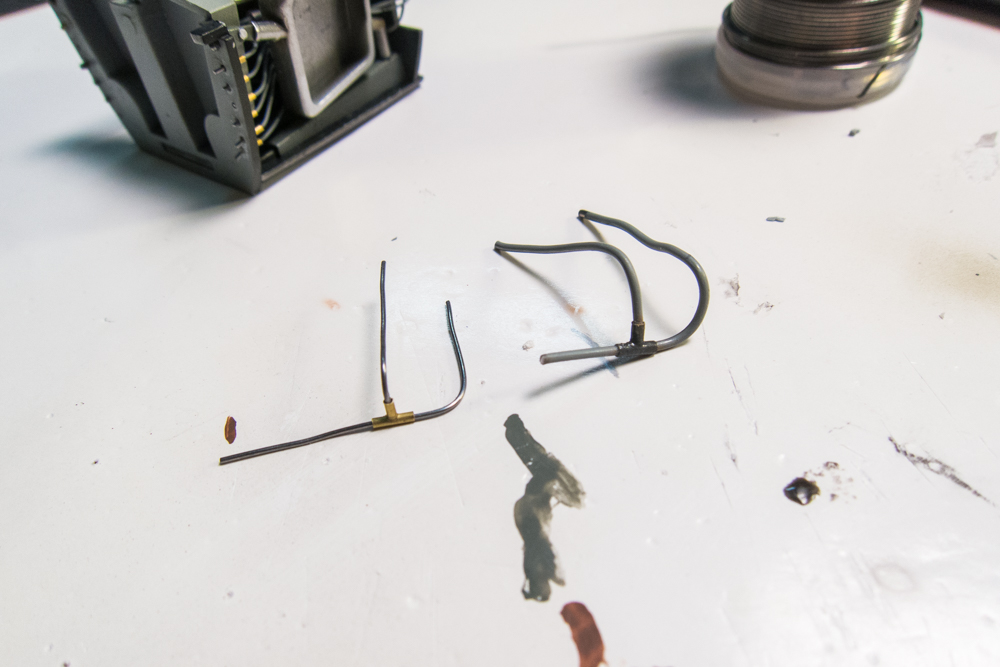
The three-wire assembly was painted black to further de-emphasize it. After painting, it was gently guided into place and secured with CA glue.
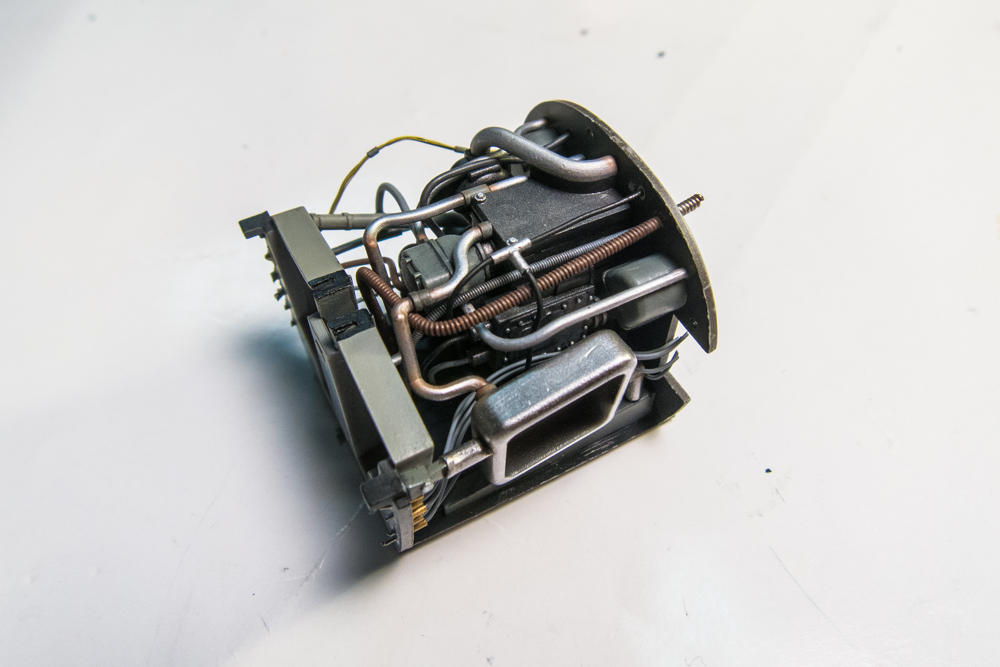
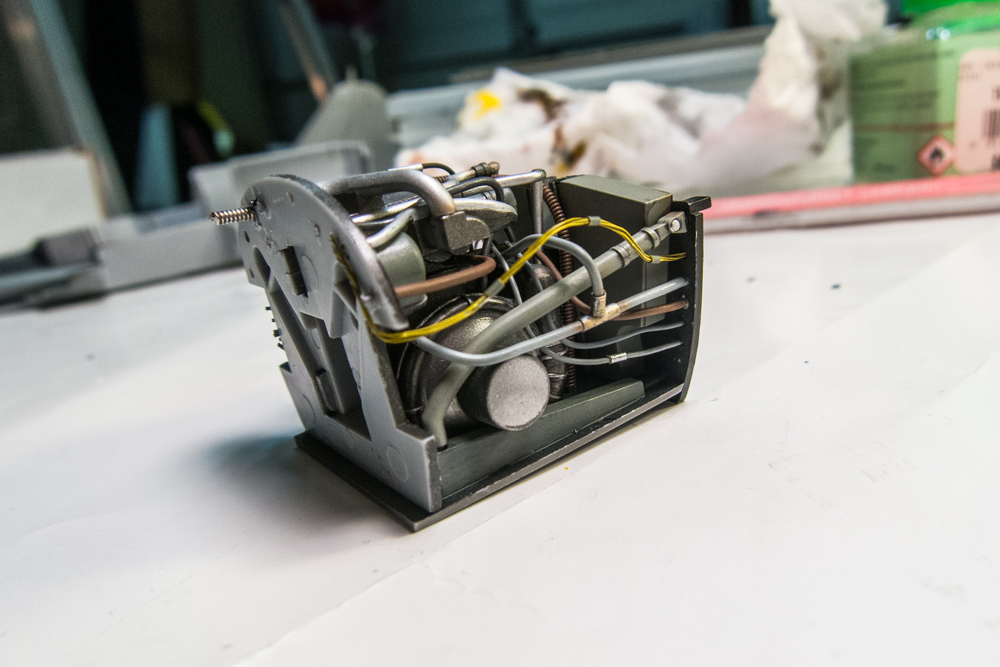
I decided to salvage the removed piece and place it on the other side. It's further back into the engine plug so it doesn't stand out as much. Okay... I think the engine plug is done.
I started to draw the rivet lines on the wing bottom but kept messing up. As evening was turning into night, I figured I best attack this when I'm fresh instead of tired from work. I rubbed off the pencil marks and put the wing away for later. With the engine plug done, I could work towards getting the fuselage sides glued together. First, I glued the painted tail wheel assembly into starboard tail side.
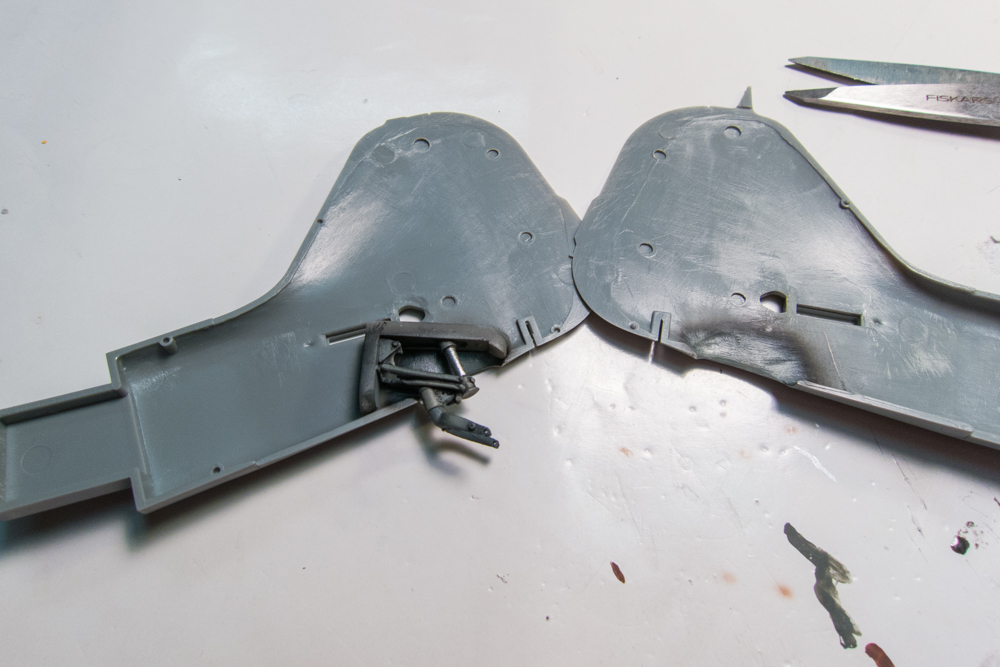
A quick check to make sure the tail wheel is correctly positioned and aligned.
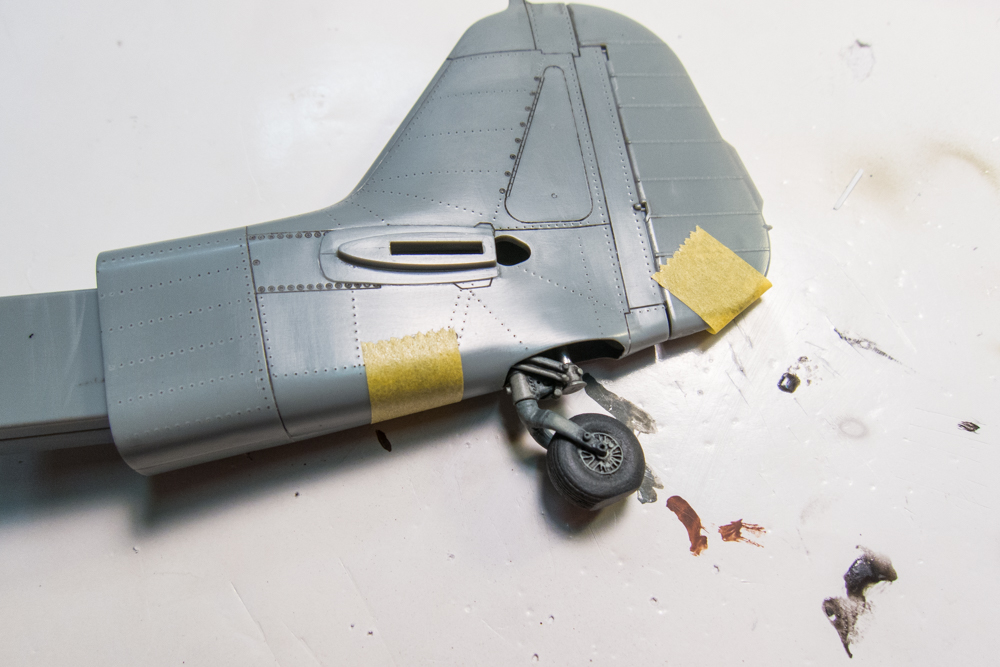
The last Dora I built came back with the tail broken off during shipping and I wanted to make sure that this joint was strong this time. According to the instructions, the separate tail assembly is supposed to attached after the fuselage sides have been glued together. Based on how the parts connect, it was hard to get a good glue connection if you follow this order so I decided to change it up.
I'm going to glue the right tail into the right fuselage half and then the left tail into the left fuselage half. You can see there are gaps in the two walls that accept the plug from the tail. I used good ole Testors tube glue on the gaps to serve as an anchor.

Once tail was positioned in place, I used Tamiya Extra Thin cement on the exterior joint. The two parts were pushed together to eliminate any gaps. A little too much Extra Thin here caused some glue goo to get pushed out from the joint. I'll let that fully cure before I clean the joint.

I avoided the excess glue problem on the port side so cleanup will be easier on that one.


Re: 1/32 Hasegawa Fw190D-9 Red One
Posted: Sat Dec 08, 2018 6:26 am
by KSaarni
I really enjoy following your build, very interesting all in all.
The engine will be and is as a matter of fact already a masterpiece!
- Kari