Page 19 of 28
Re: 1/32 Hasegawa Bf109K-4 Weisse 8
Posted: Tue Nov 26, 2019 9:51 am
by Stuart
Floki wrote:Again that is a beautiful looking prop. The spiral looks spot on to me.
What he said!
Superb work on that prop John!
Re: 1/32 Hasegawa Bf109K-4 Weisse 8
Posted: Tue Nov 26, 2019 10:11 am
by mustang1989
I'd call that prop spinner a success as well. Anytime I do one of these I try to get that as perfect as possible. A wrong move up there looks like a bloody nose on an otherwise good build. Everybody looks at that.
Re: 1/32 Hasegawa Bf109K-4 Weisse 8
Posted: Wed Nov 27, 2019 11:54 am
by jkim
Re: 1/32 Hasegawa Bf109K-4 Weisse 8
Posted: Wed Nov 27, 2019 12:30 pm
by speedgraflex
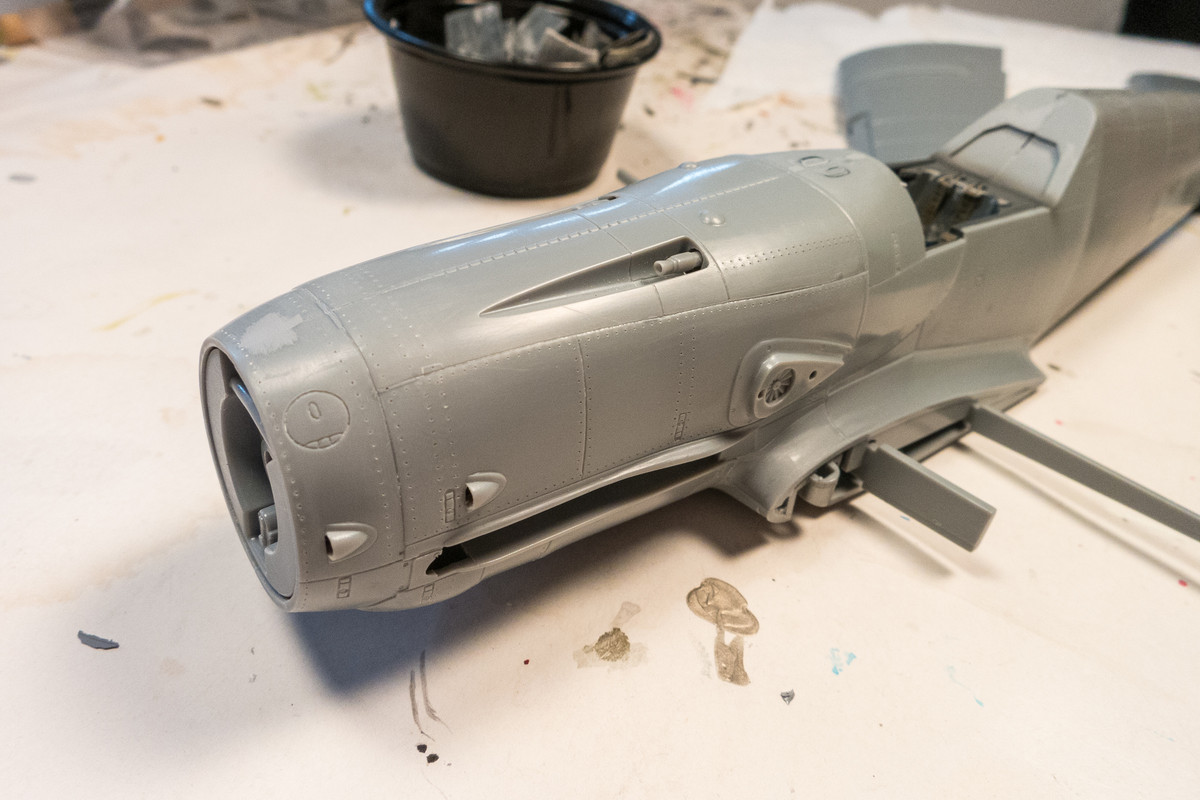
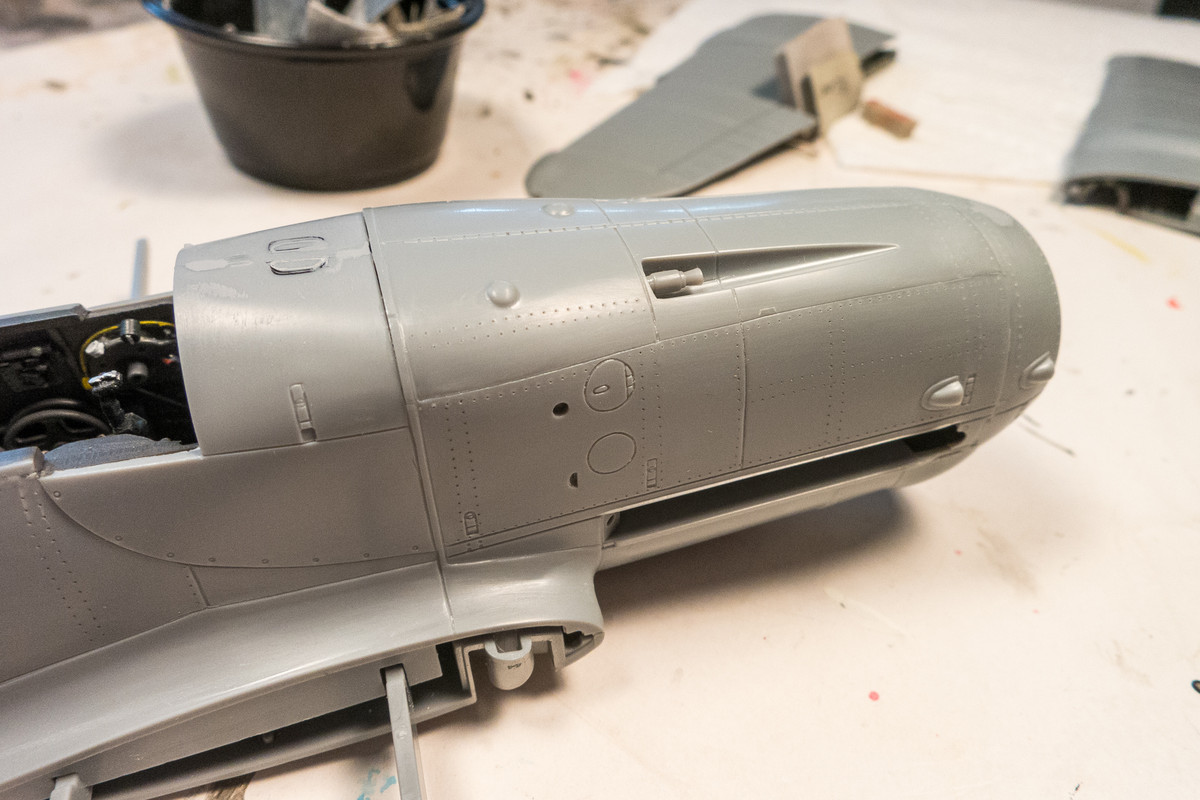
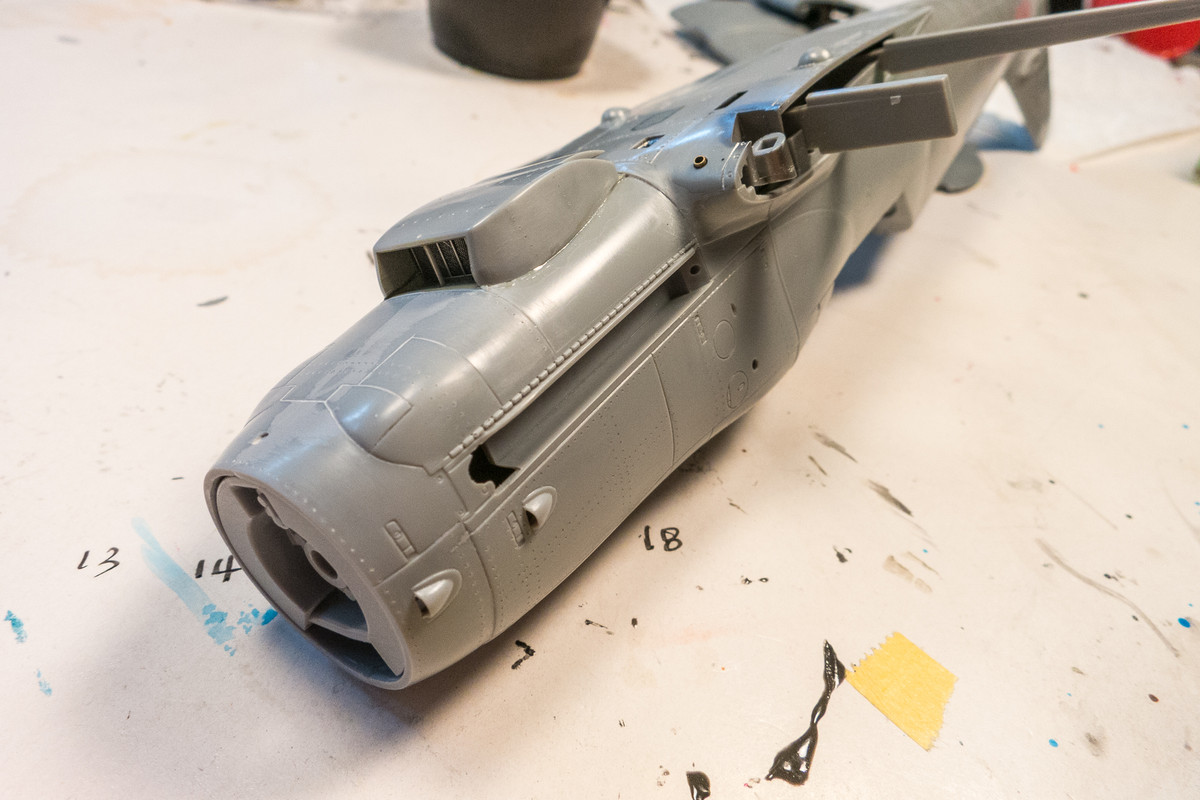
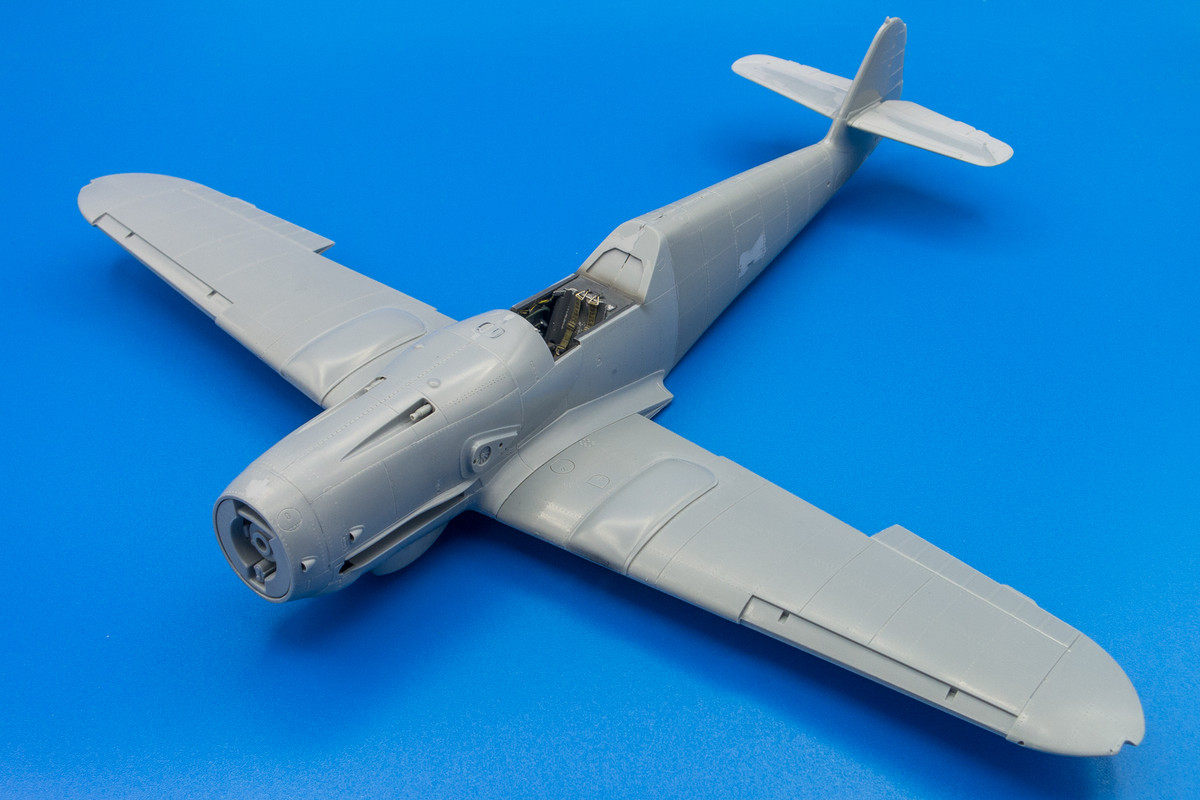
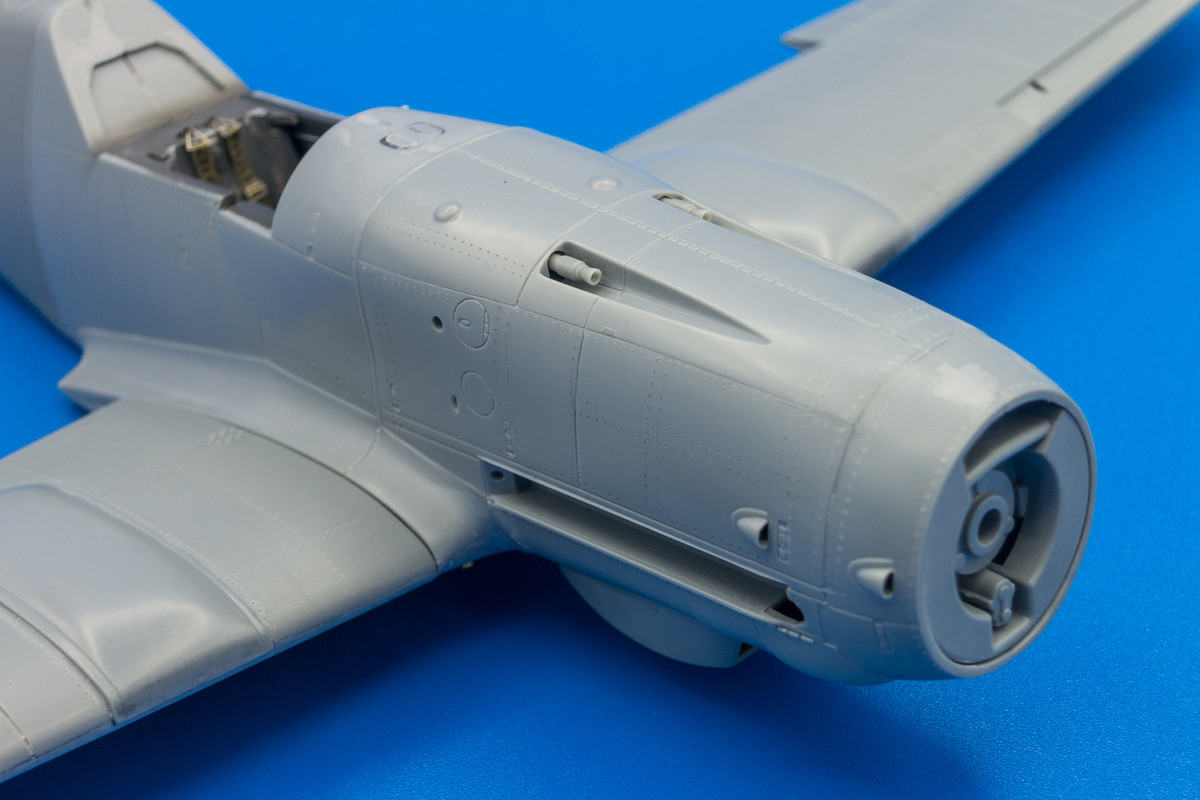
I certainly give thanks for posts like these, John, so... thank you so much. I imagine your research phase is always ongoing as you move forward building. You did inspire me to crack the seals on the PCM Anton as a result, so thanks again. Regarding the cowling, beautifully assembled! I am not up to your level of air brush savvy to add the finish to the guns in the cowling. Is it alright to ask you how you plan to do that... paint first, metallisers, gloss clear, then mask as you paint the fuselage or do you paint the guns last?
Regarding research... spot on! I actually want to add a little here. Thank you for your reminder about work numbers slash production runs. Multiple manufacturing plants and approaches directly affected the aircraft, and for whatever reason, “forest for the trees” perhaps, I lost sight of that in analysis of the exterior colors.
Re: 1/32 Hasegawa Bf109K-4 Weisse 8
Posted: Thu Nov 28, 2019 1:36 pm
by jkim
Thanks Bruce! For the cowl guns, I'm going to paint them at the end. Easy to do with a fine brush and Tamiya Metallic Grey paint. I'll finish that off by painting the inside of the barrels black, usually by using a highly thinned black in the airbrush.
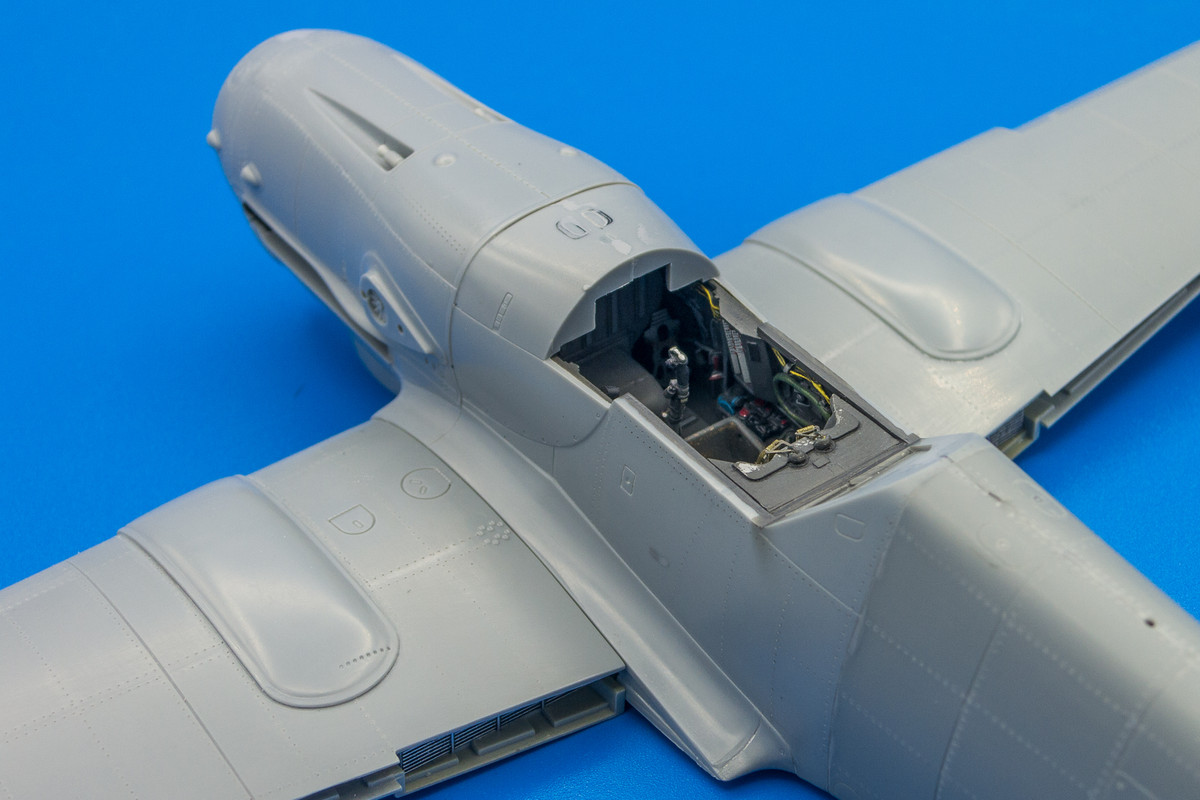
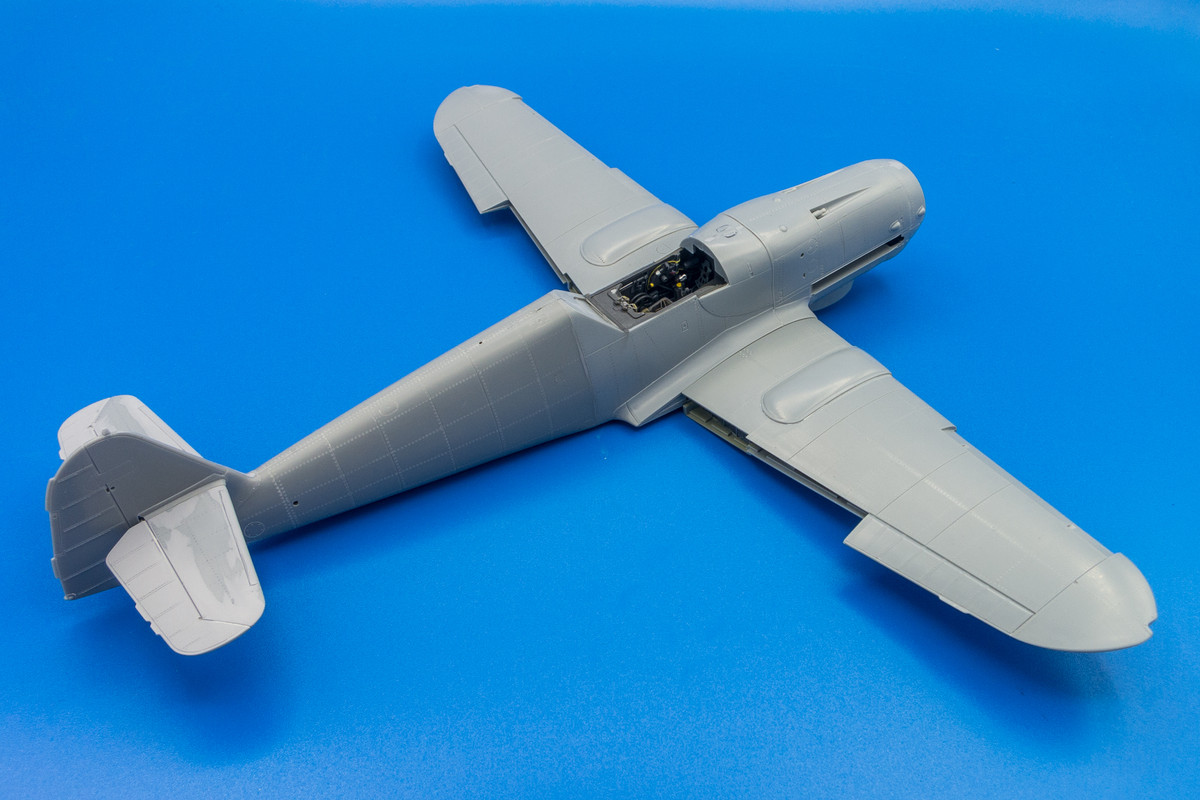
I've replaced the hatch behind the pilot's head with a piece of brass. I've placed the kit part in front of the new hatch to show the differences in the hatch shape based on the photo references I have of the K-4.
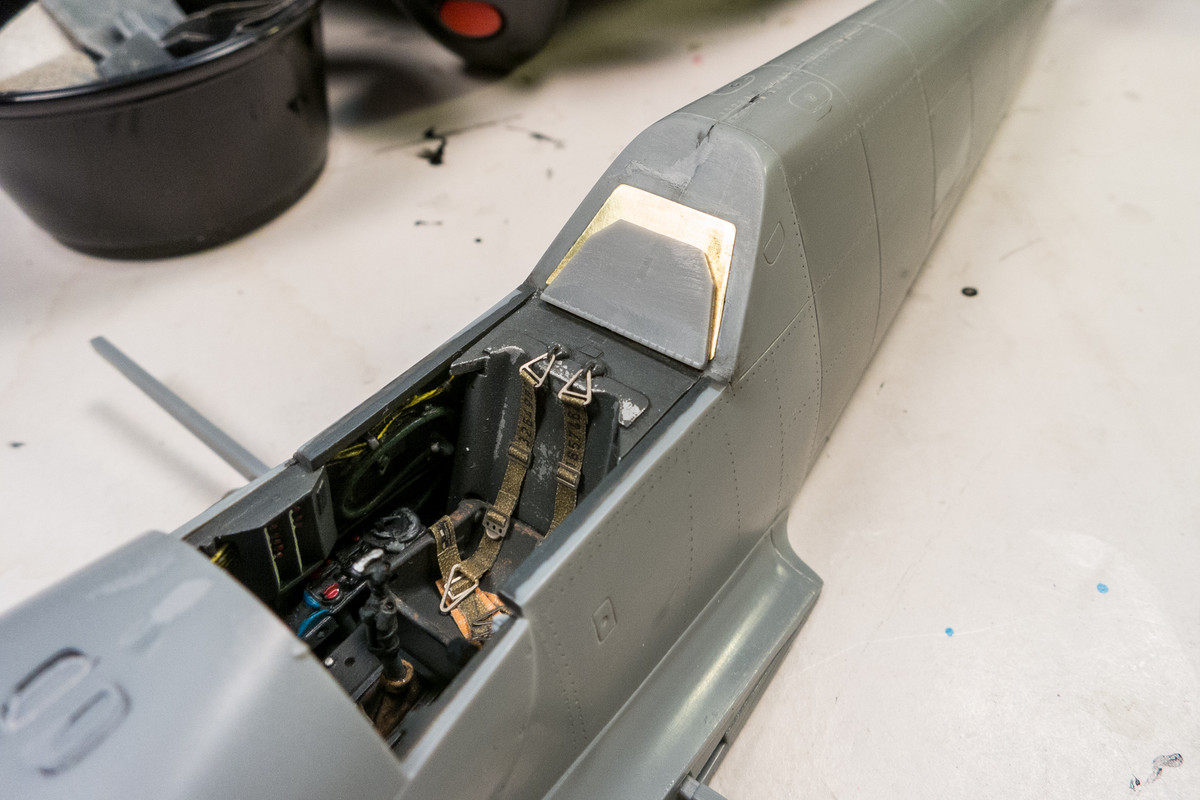
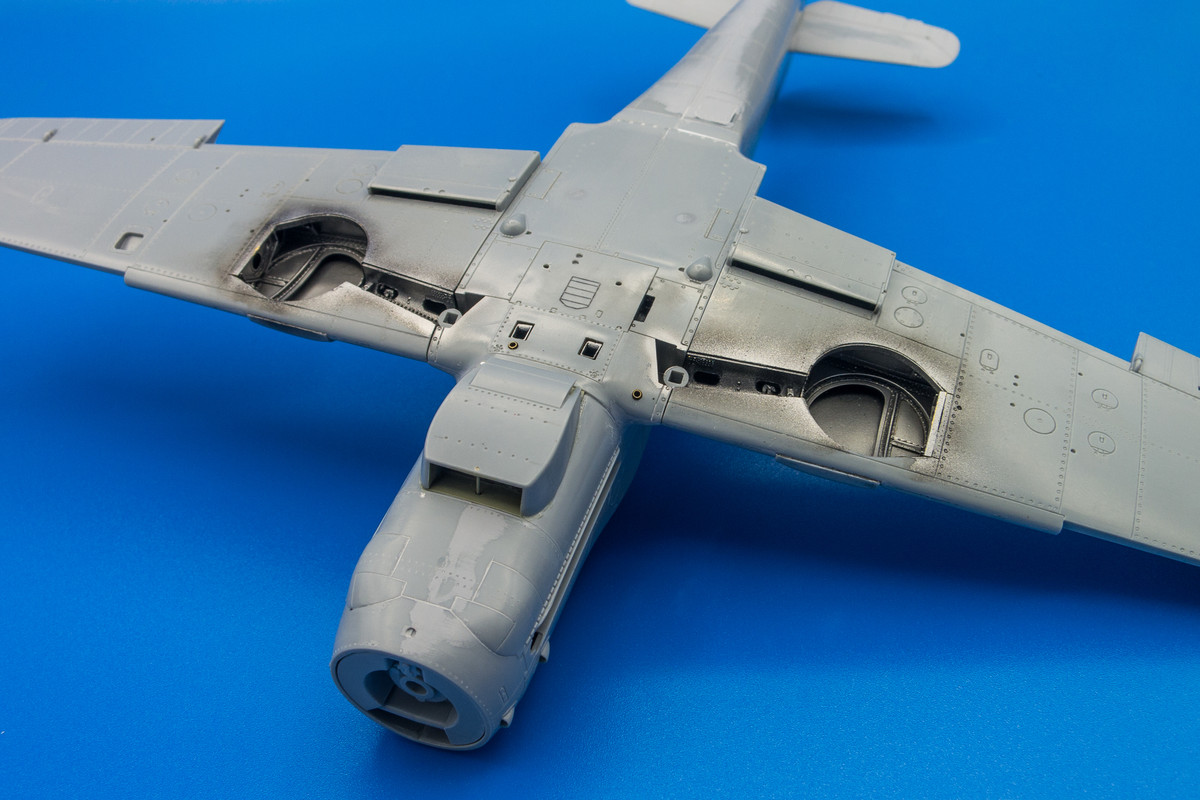
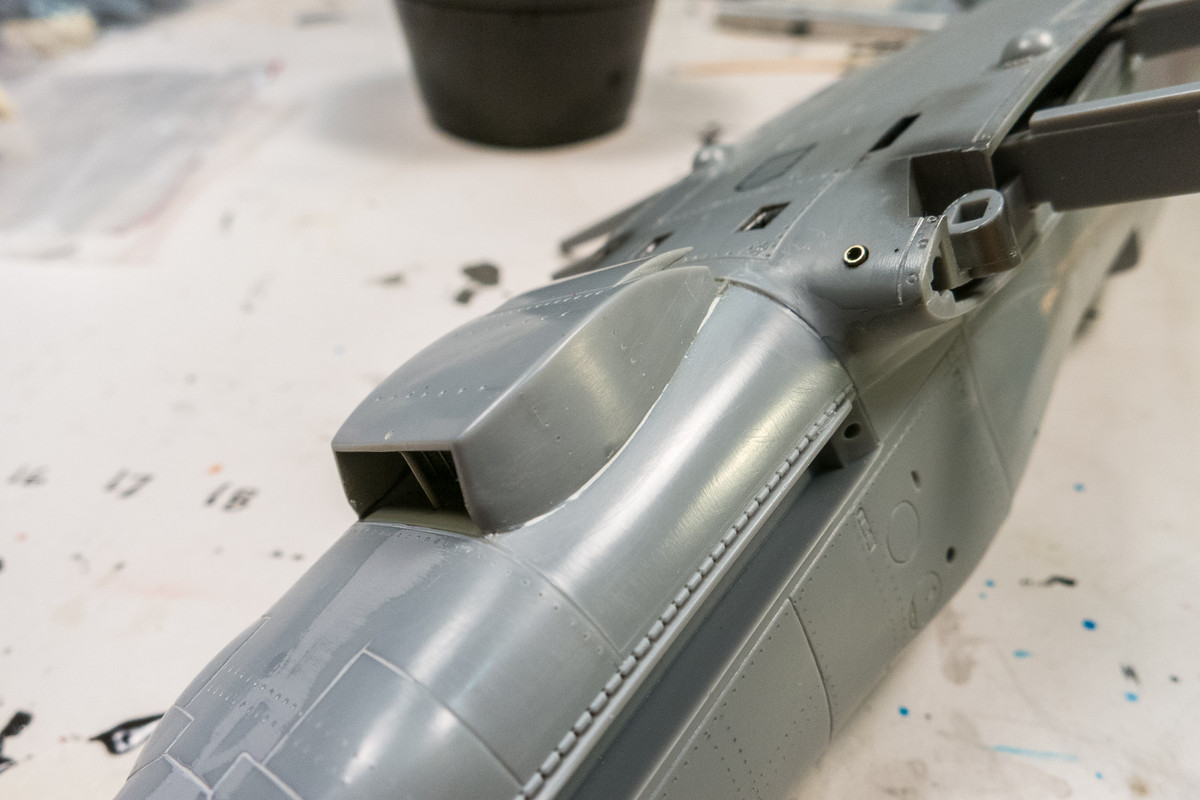
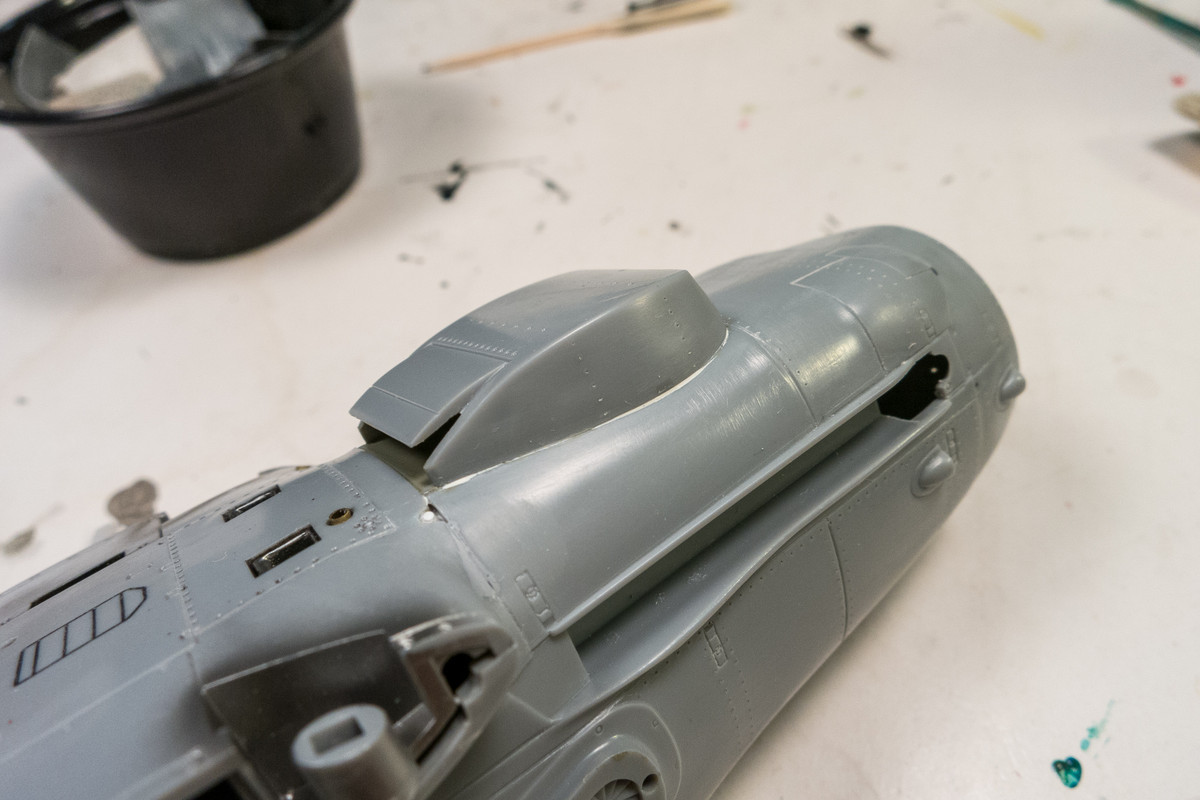
For those of you that are not familiar with the utility of Milliput, here is an example of the type of fine filling you do, taking advantage of the water-solubility of this putty. And remember... this is the initial application, no sanding whatsoever.
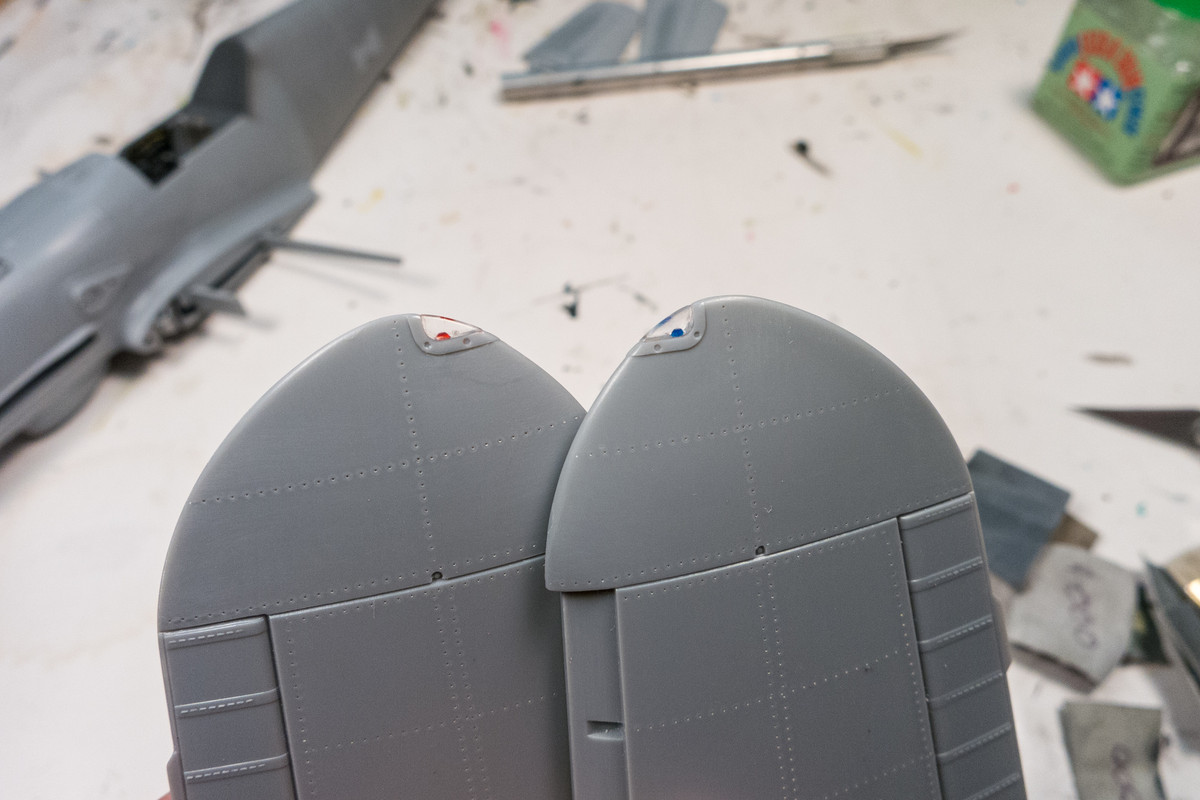
The wingtip lights have been glued into place. The bulb areas were already recessed into the kit part so all I had to do was put a dab of clear red and clear blue paints into the holes. These will be masked off with liquid MicroMask.
The resin prop blades have been glued onto the ends of cocktail sticks to provide a handle for painting.
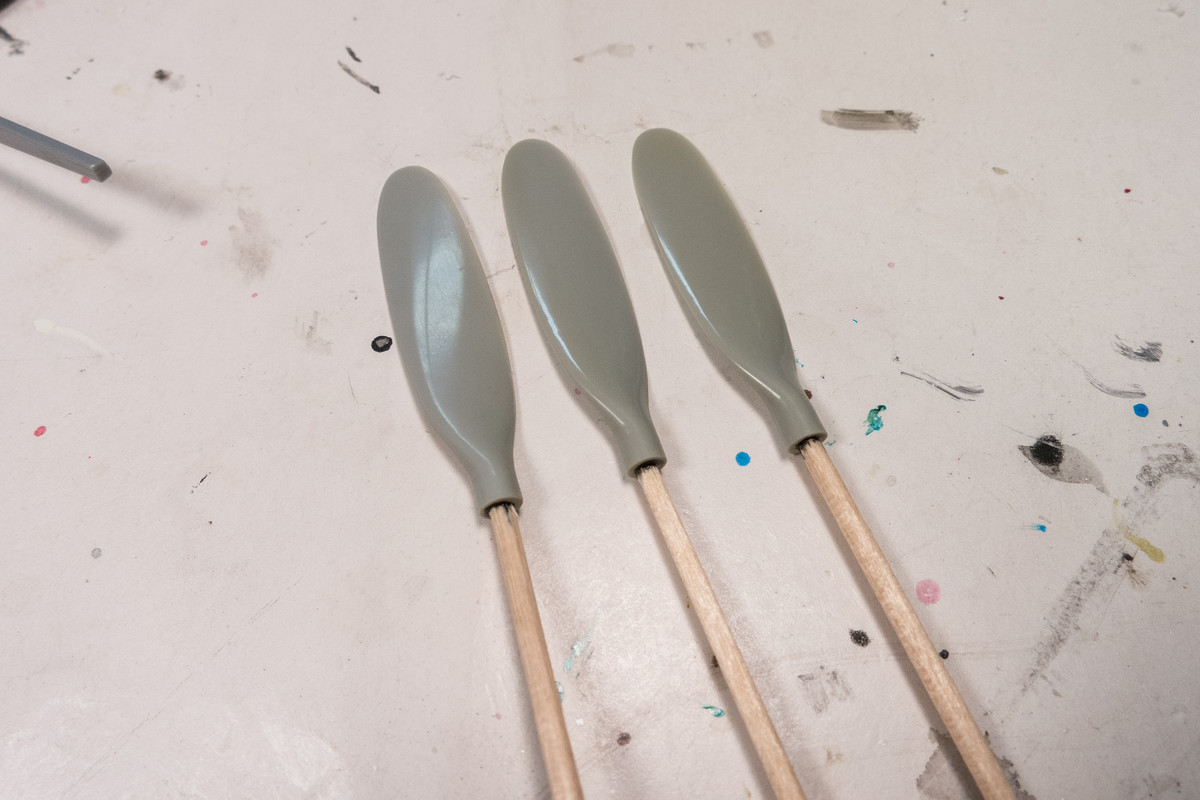
While applying the base silver coat onto the props, I noticed a little flaw... one tiny air bubble near the edge of the blade. This will have to fill after the silver paint dries.

After a few minor touch-ups, the spinner was given a gloss coat and pastel wash to accent the rivets. A flat coat was applied to seal the wash. I still have to glue the spinner to the backplate and then paint/weather the backplate to match.
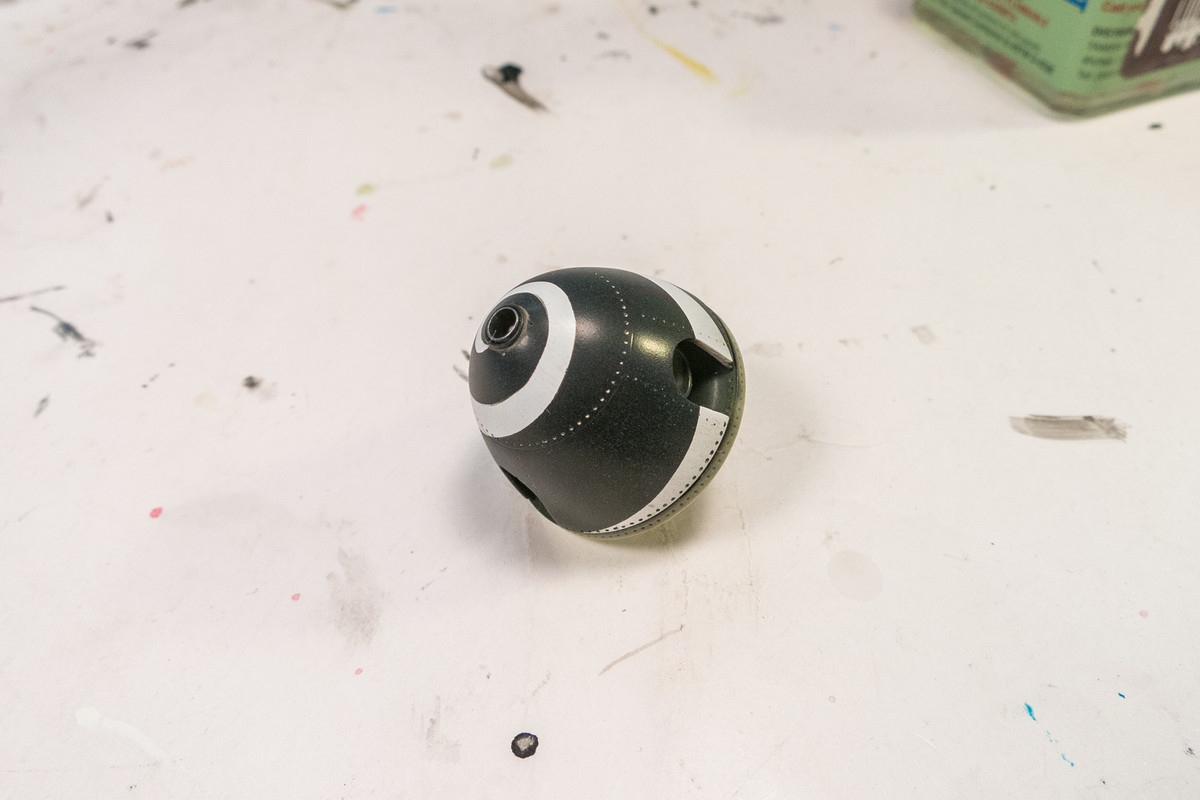
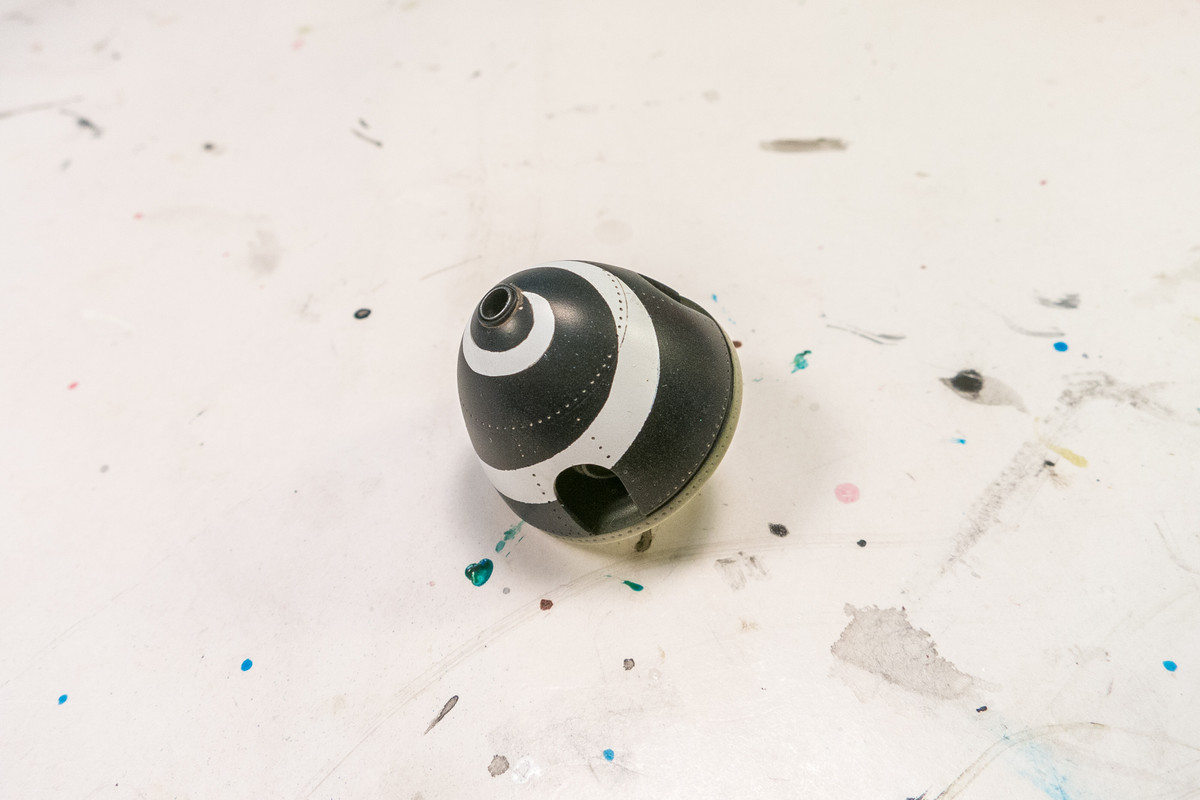
Wishing everyone a Happy Thanksgiving!
Re: 1/32 Hasegawa Bf109K-4 Weisse 8
Posted: Thu Nov 28, 2019 2:05 pm
by Floki
Looking great! Milliput is very useful, I find it hard to use it to fill such fine gaps like that, I use it for bigger gaps and use perfect plastic putty for tiny gaps. How are you getting it so thin to achieve this?
Re: 1/32 Hasegawa Bf109K-4 Weisse 8
Posted: Thu Nov 28, 2019 3:28 pm
by jkim
Floki wrote:Looking great! Milliput is very useful, I find it hard to use it to fill such fine gaps like that, I use it for bigger gaps and use perfect plastic putty for tiny gaps. How are you getting it so thin to achieve this?
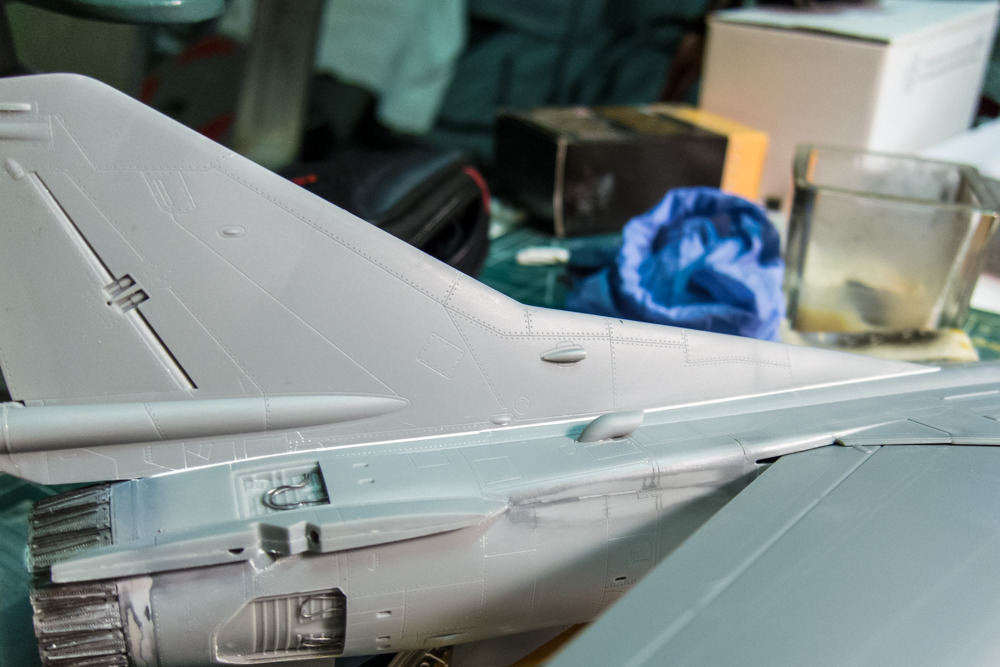
Because it has the consistency of clay, Milliput is good for large gaps but since it is water-soluble, it is also really good for thin, hard to reach gaps. Using an older build as an example (1/48 Eduard F5F-3), you can see a gap that I want to fill on the bottom of the fuselage.
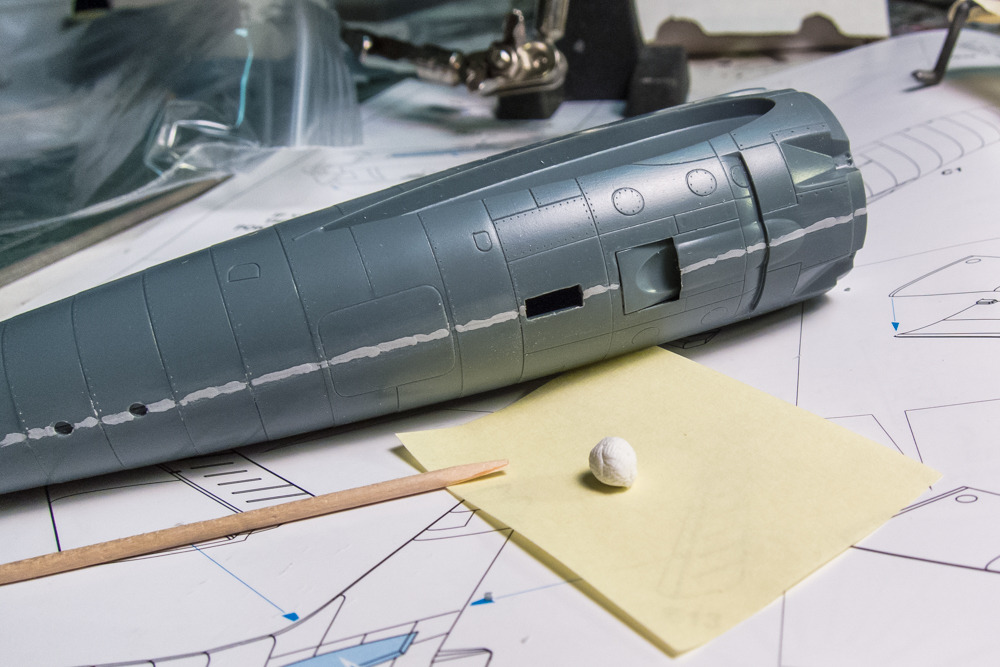
I use a toothpick to apply the putty, forcing it into the gap.
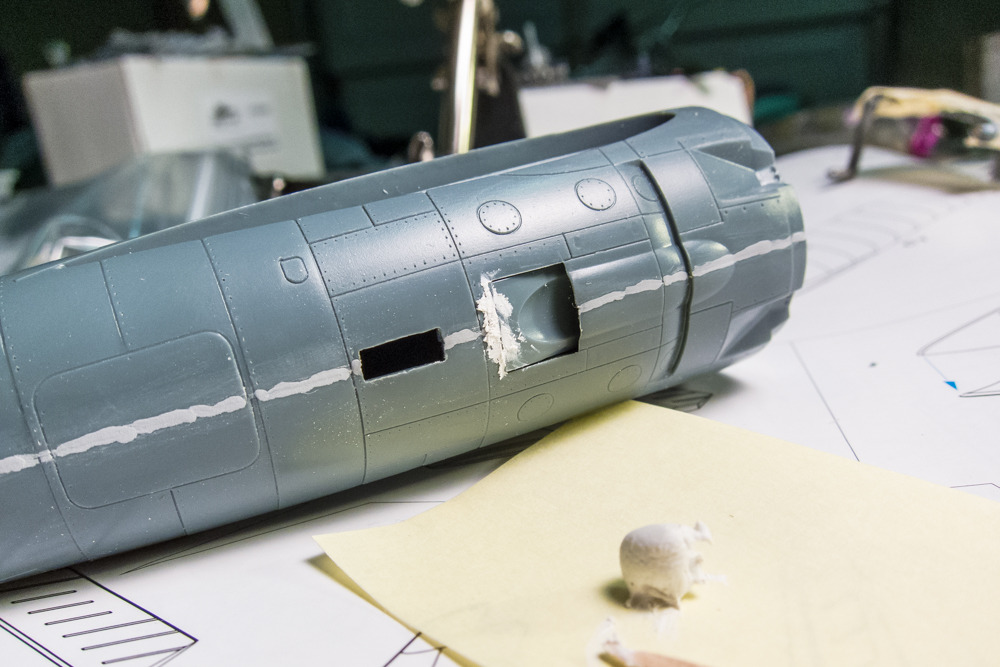
Using an old paintbrush dipped in water, I start brushing away the excess putty.
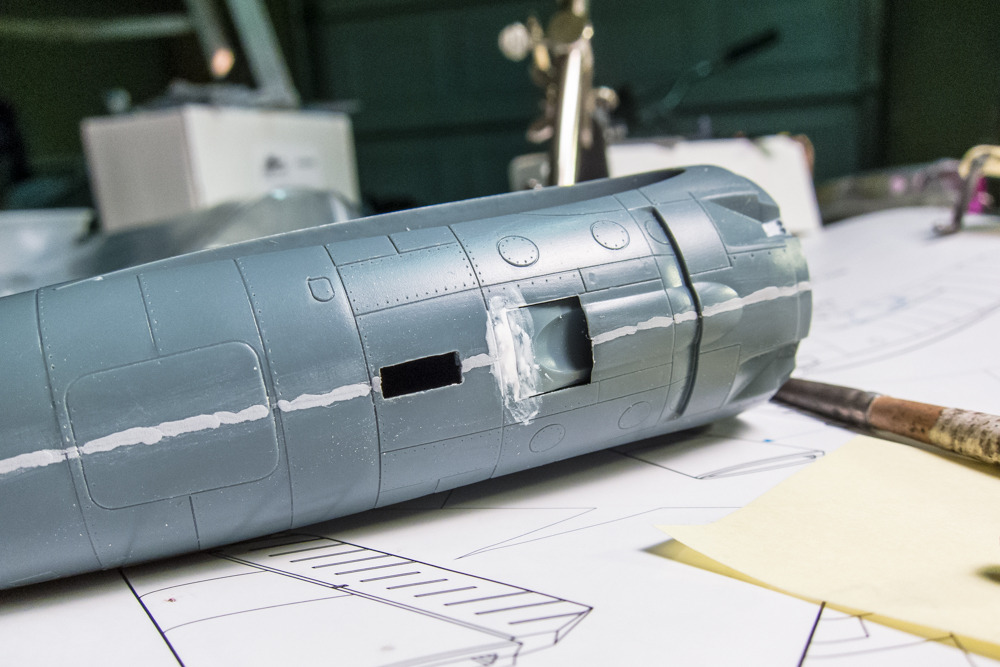
Water will cut into the putty, making it soft and dissolving the excess bits. Using a piece of damp paper towel, I'll start wiping the putty away, leaving only the putty in the recess.
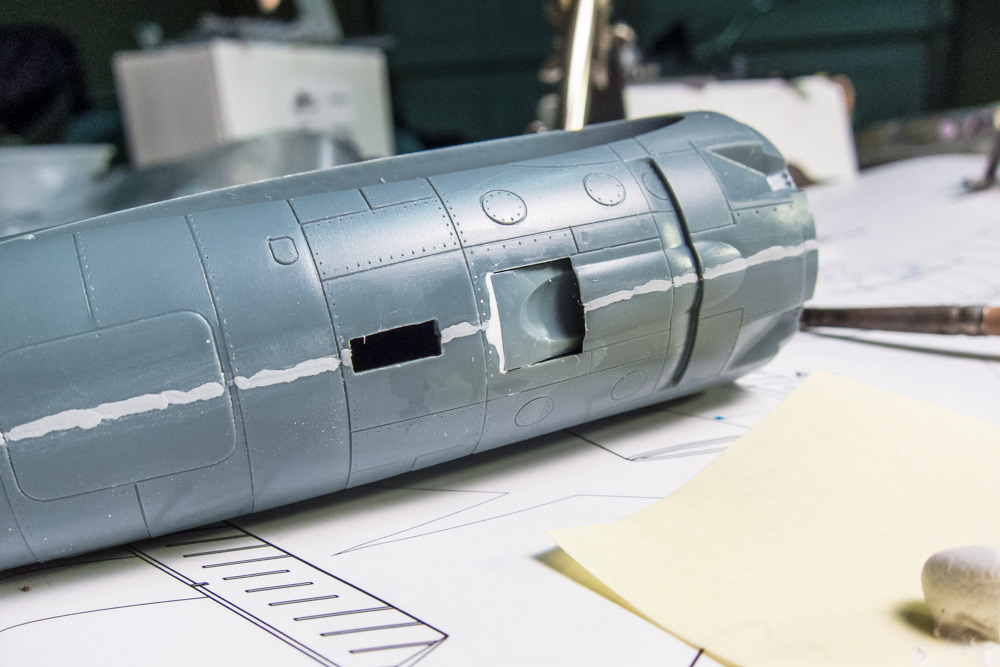
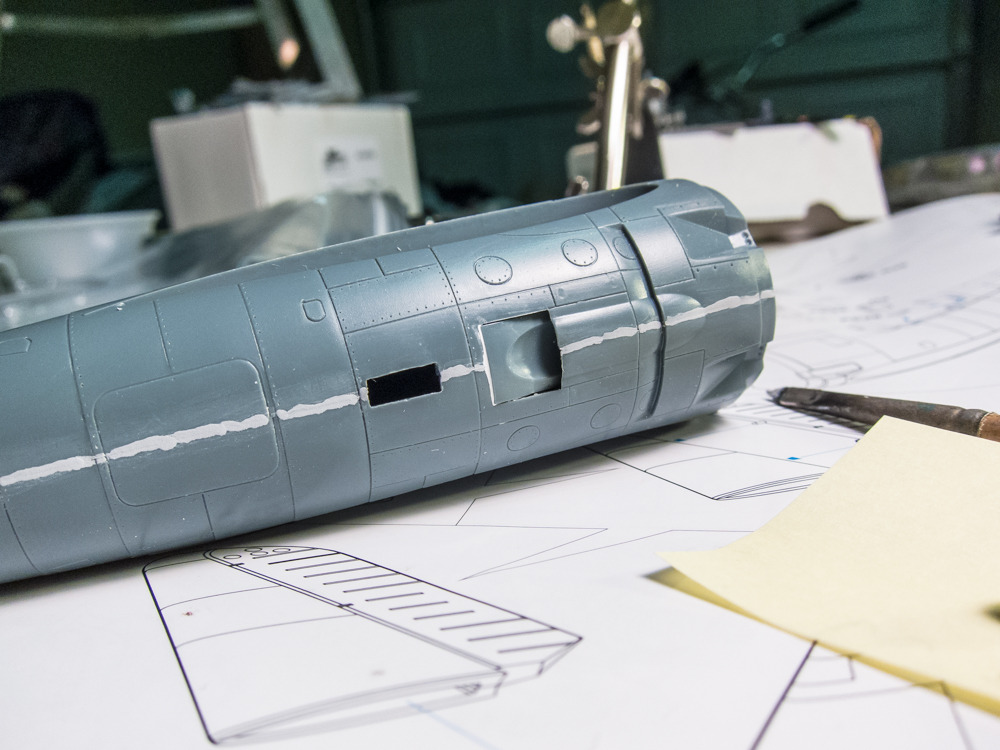
Unlike some other putties, Milliput doesn't shrink so if you do it right, you'll have hardly any sanding left to do, if at all.
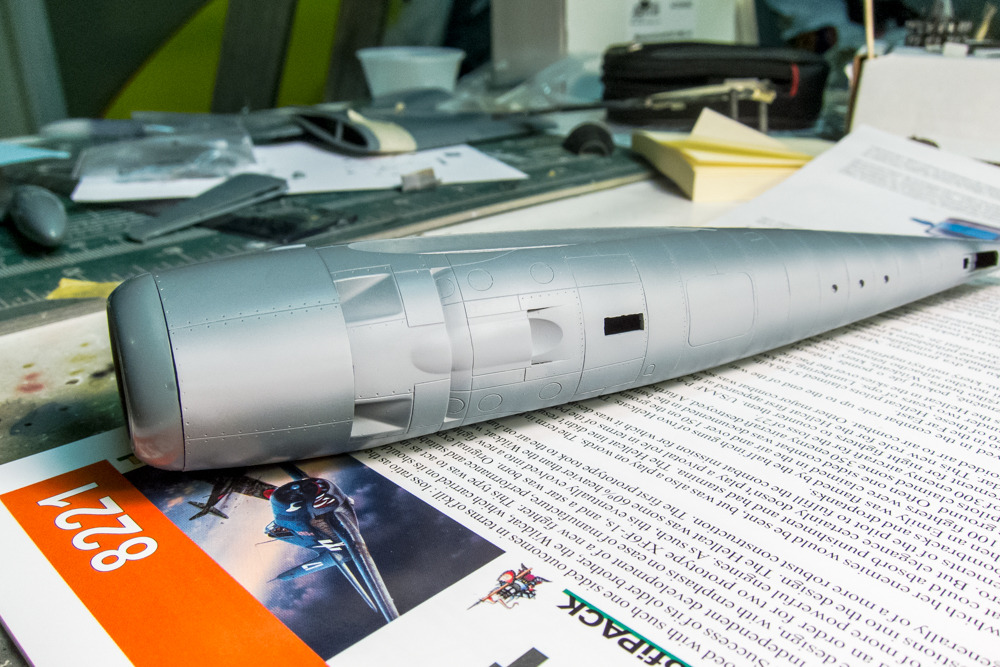
This method is especially good for recessed joints that are otherwise awkward to get to. No sanding required and the water won't mess up any surrounding paint or otherwise finished surfaces.
Re: 1/32 Hasegawa Bf109K-4 Weisse 8
Posted: Thu Nov 28, 2019 8:28 pm
by mustang1989
Thanks for that tip on milliput usage on the gaps John. I’ve been looking for another alternative to super glue. I’ve gotten good with CA as filler but it takes me some time to get the results that I do. I may give that a whirl.
Progress is looking good on your Messerschmitt.
Re: 1/32 Hasegawa Bf109K-4 Weisse 8
Posted: Thu Nov 28, 2019 11:10 pm
by Floki
Thank you for explaining your method, next build I will give it a go if I have gaps to fill.
Re: 1/32 Hasegawa Bf109K-4 Weisse 8
Posted: Fri Nov 29, 2019 1:17 am
by keavdog
Nice work. I haven't done any planes over 1/48 - do you feel like it's more seam, more filling or is the detail really worth it? Also - where do you put these big birds?