Re: 1/32 Zoukei-Mura Ta152H-0 White 7
Posted: Sun Apr 26, 2020 6:42 pm
Although I'm not posting regularly, regular work is being performed on the Tank fighter. But it is of the repetitive apply-dry-adjust-apply-dry-adjust cycle that I'm plodding through and not taking a great joy in documenting. But the work continues. And the work is starting to finally get somewhere.
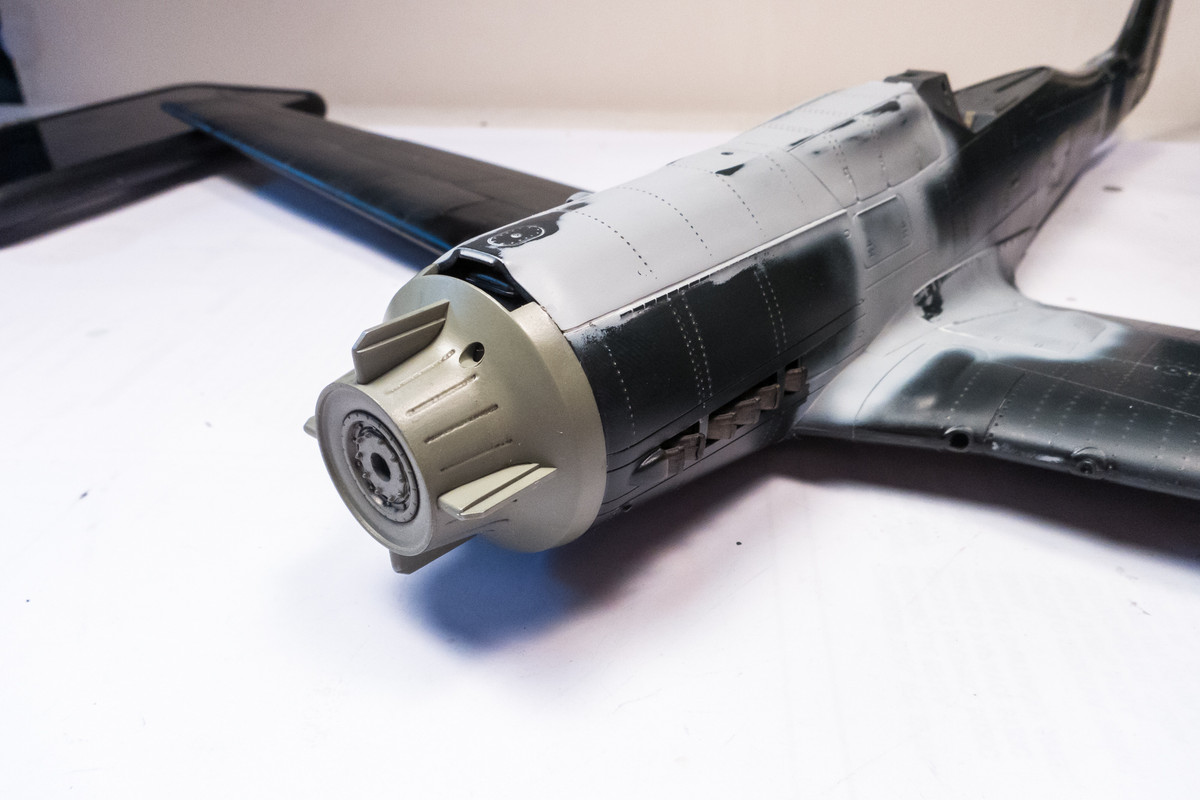
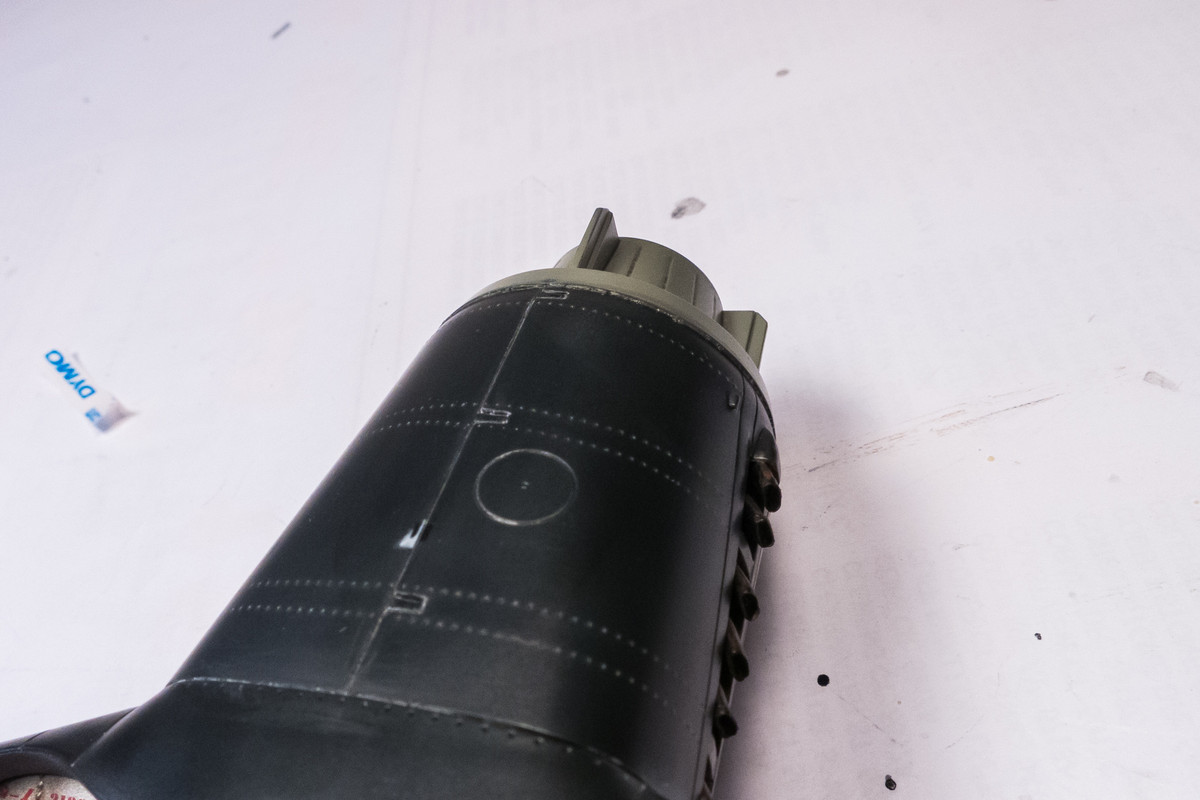
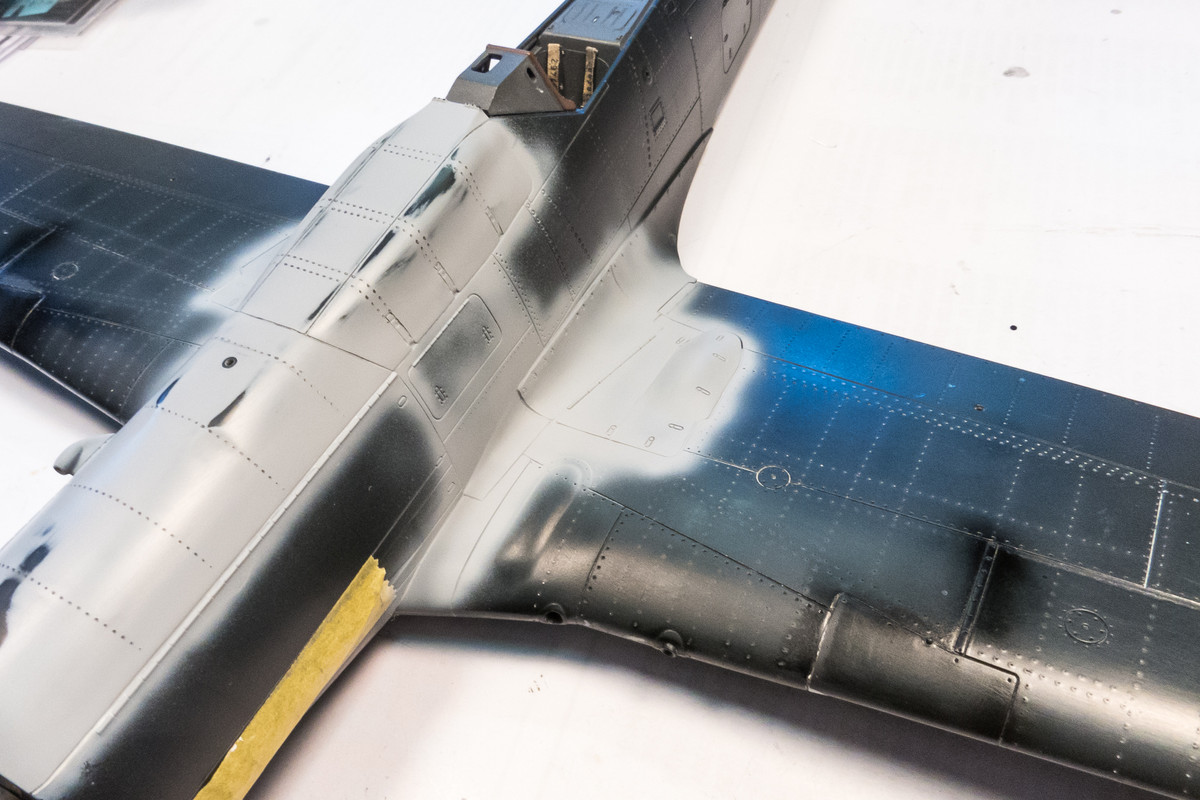
Here is the work so far on the top side wing roots. Slowly and surely we are addressing seams, finding new ones, addressing those until the ever-growing list eventually starts to get whittled down. The giant seams were filled with stretched sprue and those a magnitude smaller were addressed with White Milliput. Mr Surfacer 1000 was used for the fine fill work and many cycles were repeated as I'm striving to get some consistency on the panel lines. I can't achieve perfection so my goal is for the panel lines not to call attention to themselves. The photos are a bit deceiving since re-scribing often digs into the Milliput, which gives an opposite impression when the scriber hits the black plastic.
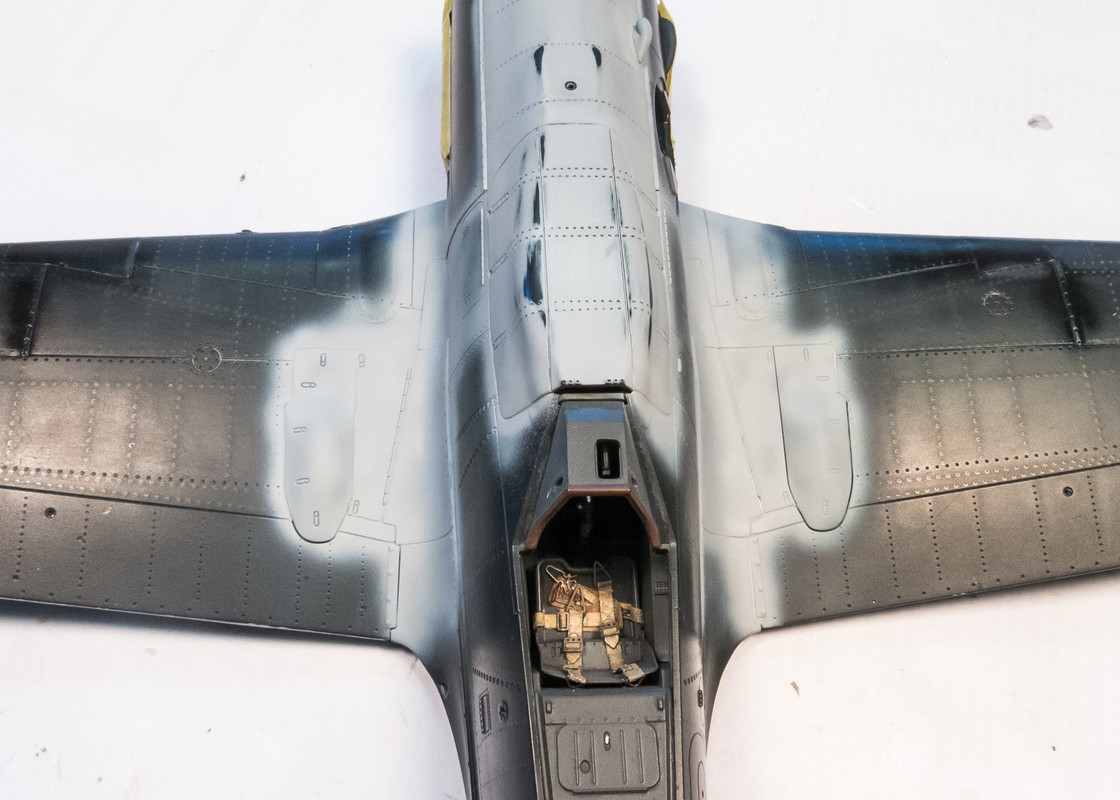
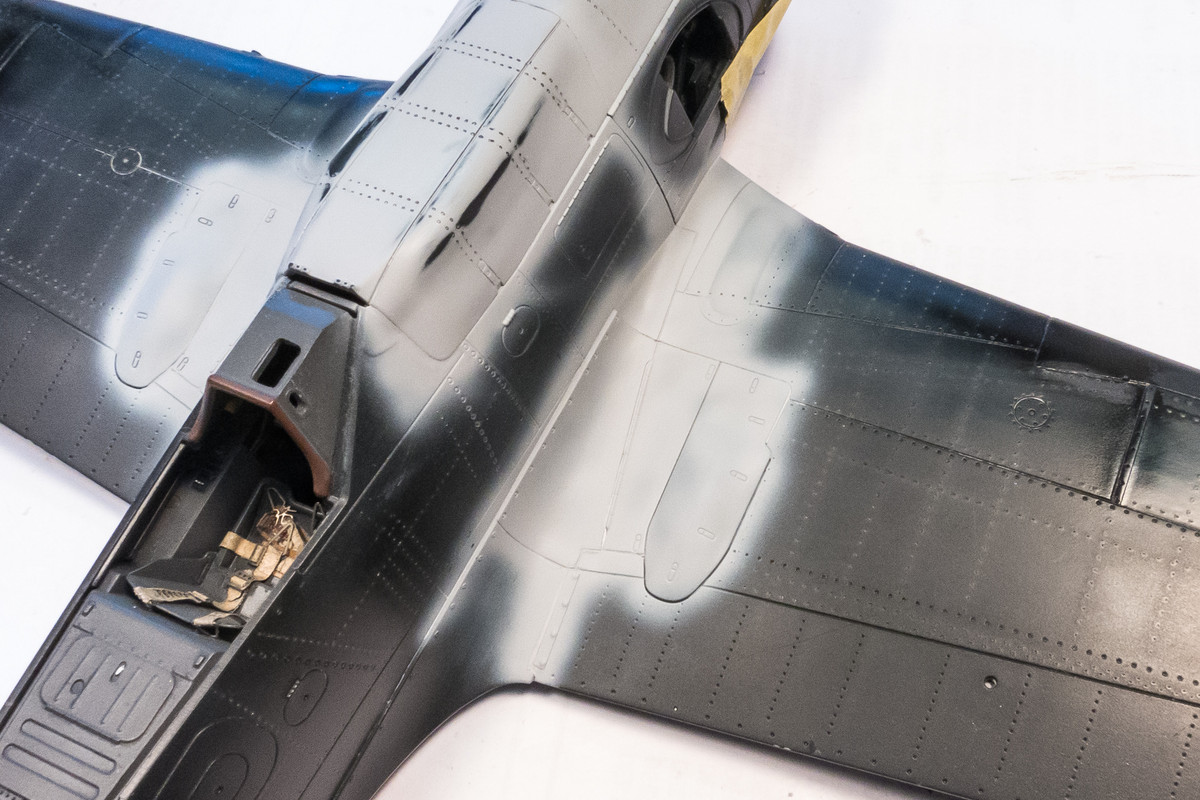
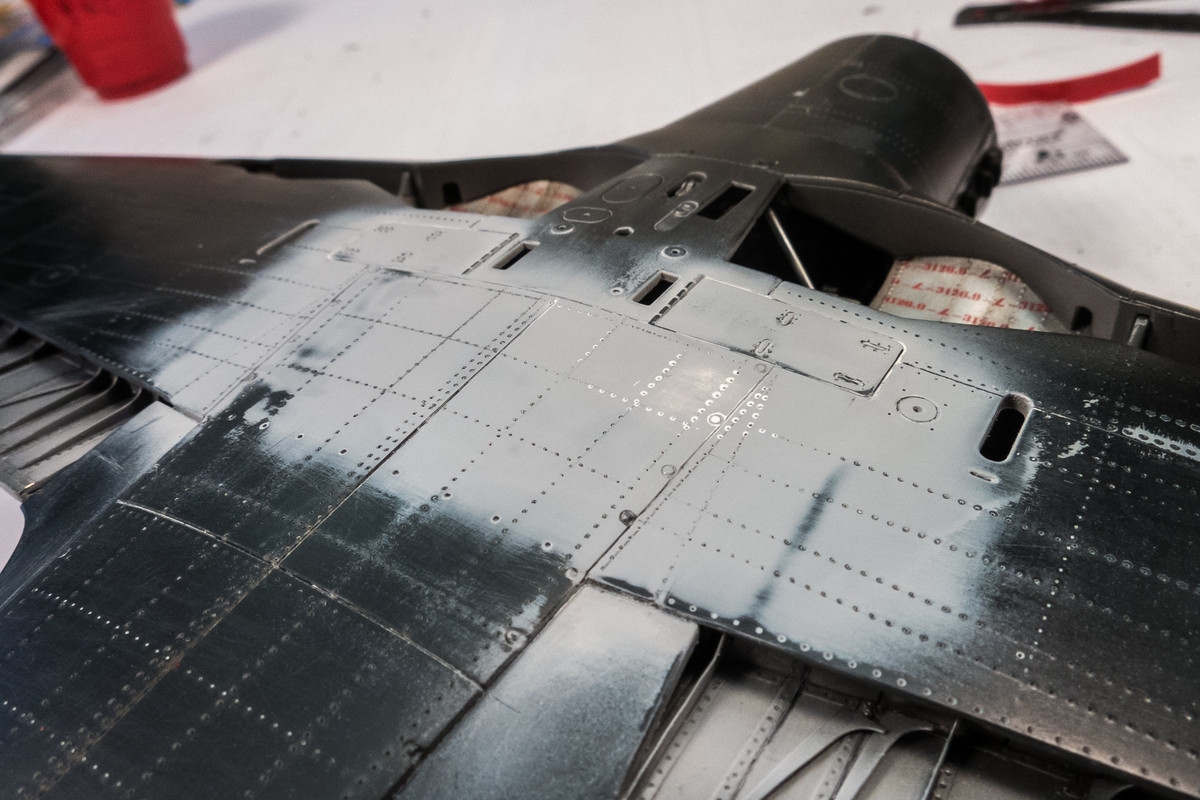
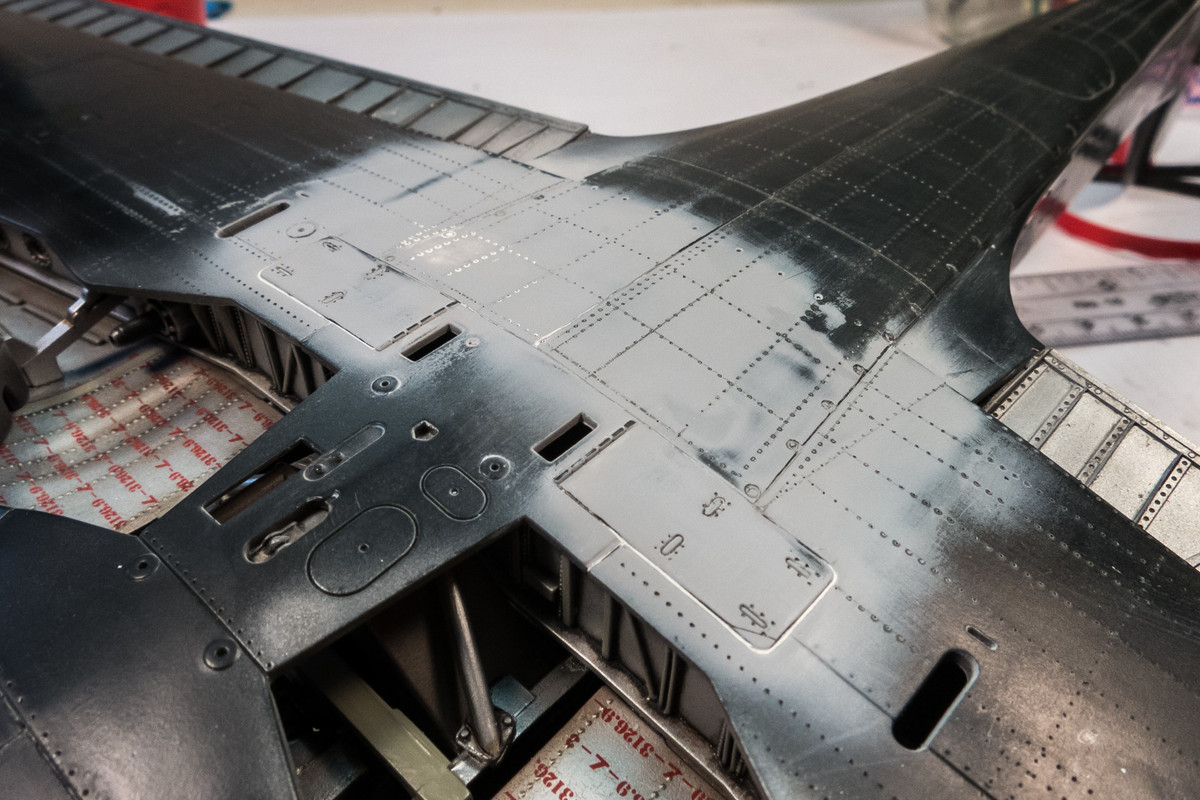
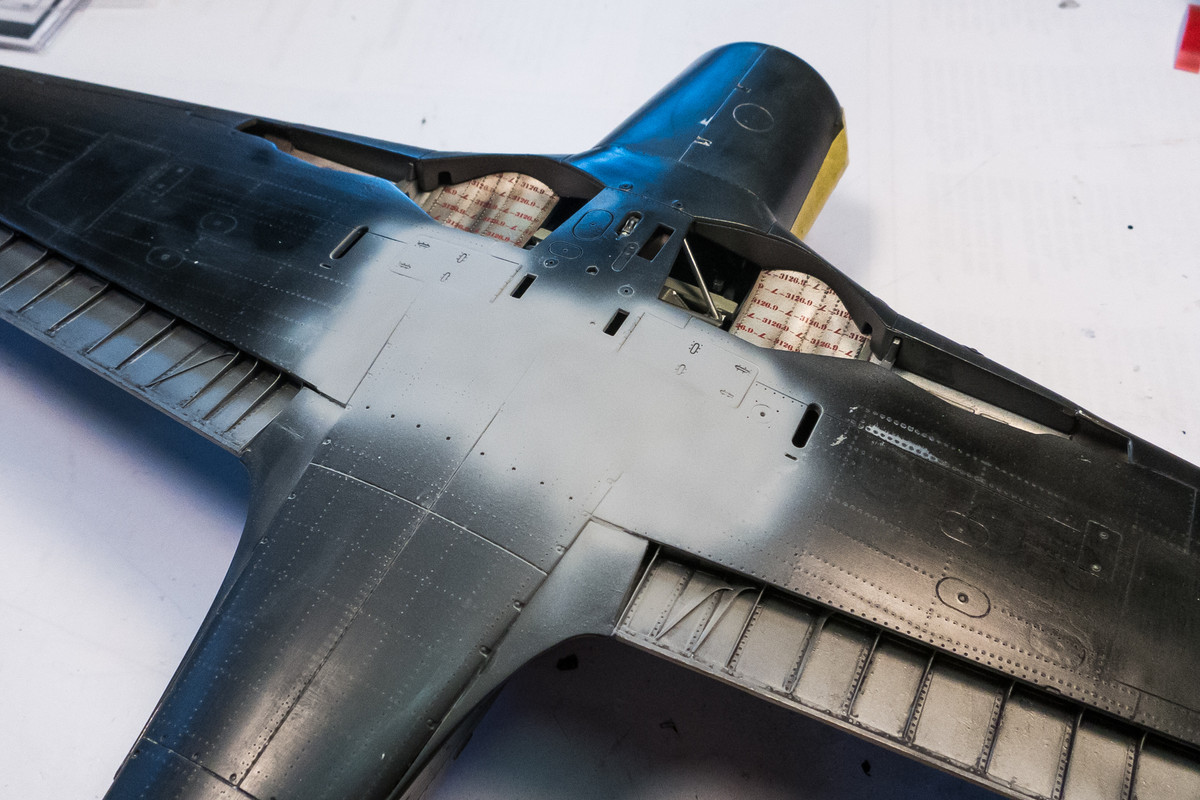
Here is the view of the bottom. This is a significantly more involved piece of work since the severity of the fit issues forced me to do a much more extensive fill operation to get everything on the same level. The base putty work is just about complete.
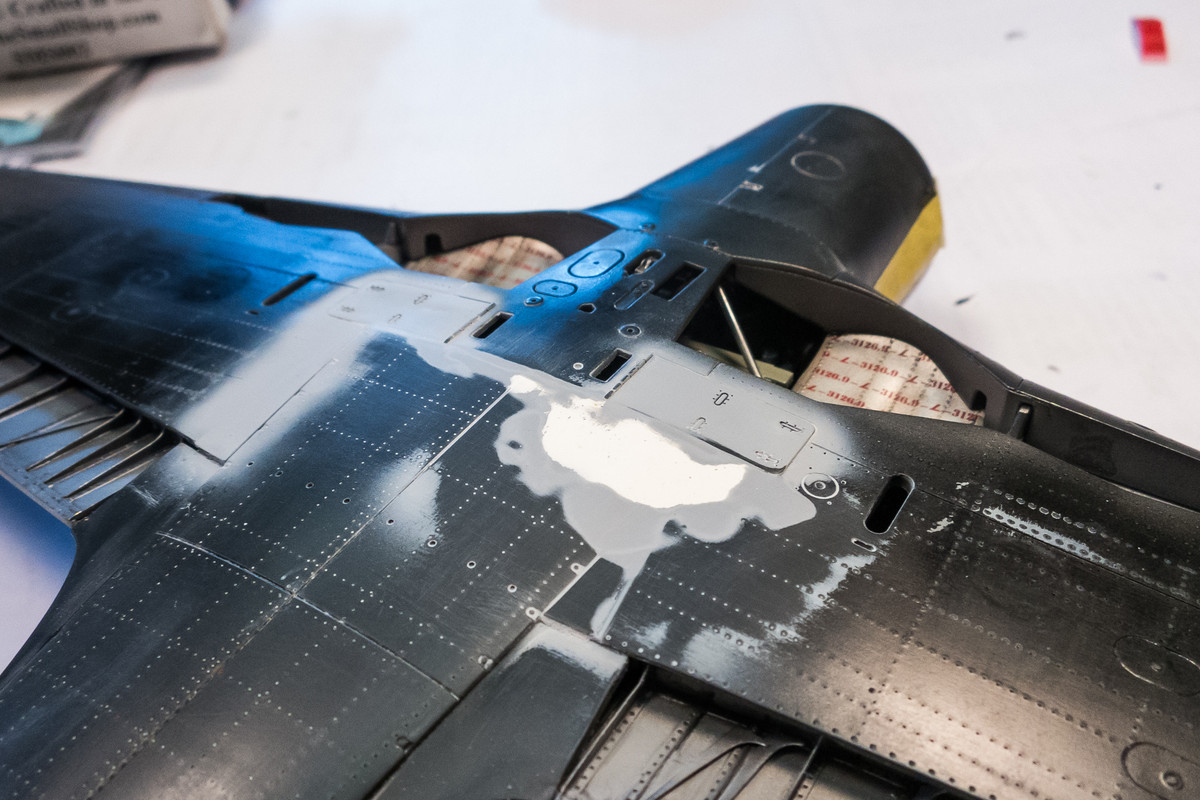
A coat of Mr Surfacer 1200 over the repair area shows how much of the detail has been eradicated. I'll now start the slow, repetitive process of re-scribing, re-riveting and surface touch-ups that will be required since I'll be re-scribing through a minefield of different materials.
Here is the work so far on the top side wing roots. Slowly and surely we are addressing seams, finding new ones, addressing those until the ever-growing list eventually starts to get whittled down. The giant seams were filled with stretched sprue and those a magnitude smaller were addressed with White Milliput. Mr Surfacer 1000 was used for the fine fill work and many cycles were repeated as I'm striving to get some consistency on the panel lines. I can't achieve perfection so my goal is for the panel lines not to call attention to themselves. The photos are a bit deceiving since re-scribing often digs into the Milliput, which gives an opposite impression when the scriber hits the black plastic.
Here is the view of the bottom. This is a significantly more involved piece of work since the severity of the fit issues forced me to do a much more extensive fill operation to get everything on the same level. The base putty work is just about complete.
A coat of Mr Surfacer 1200 over the repair area shows how much of the detail has been eradicated. I'll now start the slow, repetitive process of re-scribing, re-riveting and surface touch-ups that will be required since I'll be re-scribing through a minefield of different materials.