Page 19 of 27

Re: 1/32 Hasegawa N1K2-J Shiden Kai

Posted: Wed Oct 28, 2020 9:22 pm
by mustang1989
Great to see you back on this one!!! That last food pic has left me hungry now. :shocked:

I'll be at home for the next two weeks as my wife tested positive for Covid. So far she's doing pretty well. Our son was showing all the symptoms.....even before my wife did but he tested....negative?? :whistle:

I'm quite sure I'll get to fire the pit up at some point over the course of the next two weeks.

Re: 1/32 Hasegawa N1K2-J Shiden Kai

Posted: Thu Oct 29, 2020 6:48 am
by LyleW
Joe, sorry to hear this. I know she is in great hands! You guys be careful.

Re: 1/32 Hasegawa N1K2-J Shiden Kai

Posted: Thu Oct 29, 2020 6:57 am
by KennyX
jkim wrote:It feels good to be back building again. The mojo is not full-bore yet though but I can feel my interest coming back more each day.

I've yet to finish the scribing and riveting on the bottom so I thought it would be a good time to test some ideas for the metal finish on the metal stabilizers. These parts are large enough where I'll be able to lay down some pre-shading texture but are small enough to be easily wiped if the paint test goes awry.
Image

First, I applied my customary black pre-shading onto the stabilizer bottoms using a mix of freehand and scrubbing pad masks. I'm not aiming for high shine finish so I'm not too concerned with a perfect glossy finish for the preshading.
Image

Using Alclad White Aluminum for the base metallic shade and found that, shot straight from the bottle, the color is translucent enough to allow the preshading to peek through.
Image

Carefully modulating the application, I want to get rid of any hint of black color of the preshading underneath but leave behind some depth within the metal shade. It's hard to capture with a photograph but this effect is very interesting and promising.
Image

I'm going to let this cure and then see how stable this coat is. I want to try and buff/Micromesh the surface and see how it reacts to a clear coat.

He’s back at it! Awesome!

I was very happy to see this round of updates. I’m very excited to see where you take this subject.

This update here was great. I like how you’re thinking outside the box here. Bare metal doesn’t necessarily need a homogenous black base at all! And I really like how you planned this out and executed it. Very promising indeed. Great work.

Re: 1/32 Hasegawa N1K2-J Shiden Kai

Posted: Sat Oct 31, 2020 12:27 pm
by jkim
Thanks guys! I wish your wife the speediest recovery, Joe! All is well on the Kim Family Front, I'm happy to report and I hope that everyone here at SPAM stays safe and healthy.

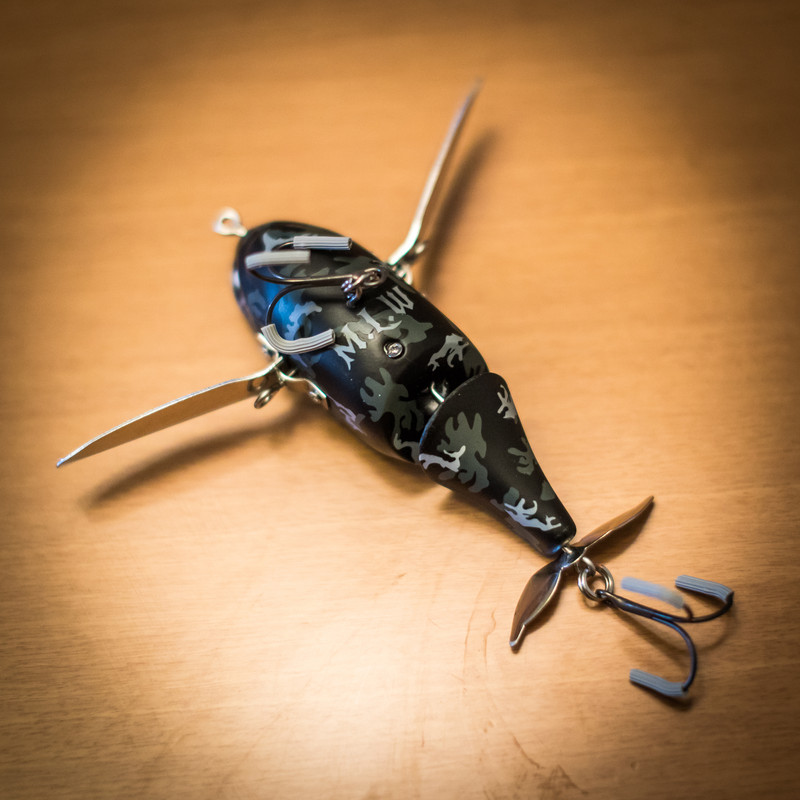
Modeling mode is starting to slowly kick in with the small amounts of progress that I'm making on this build. It's like rolling a snowball... starts off small and slow but eventually builds enough mass to initiate its own inertia. That is what I'm hoping happens here. Temporary distraction when I purchased a wild-looking, hand-made bait from Japan and tested it at a local lake yesterday.
Image

I didn't catch anything on it but I have high hopes of nailing a bass on this thing next season. Ok... back to business.

As I mentioned, I'm working on finishing up the seam between the bottom of the wing and the fuselage. The bulk of the seam was filled with black CA glue and the surface surrounding the joint was leveled out using Mr Surfacer 1000. The other black line is an errant panel line that needed to be re-scribed.
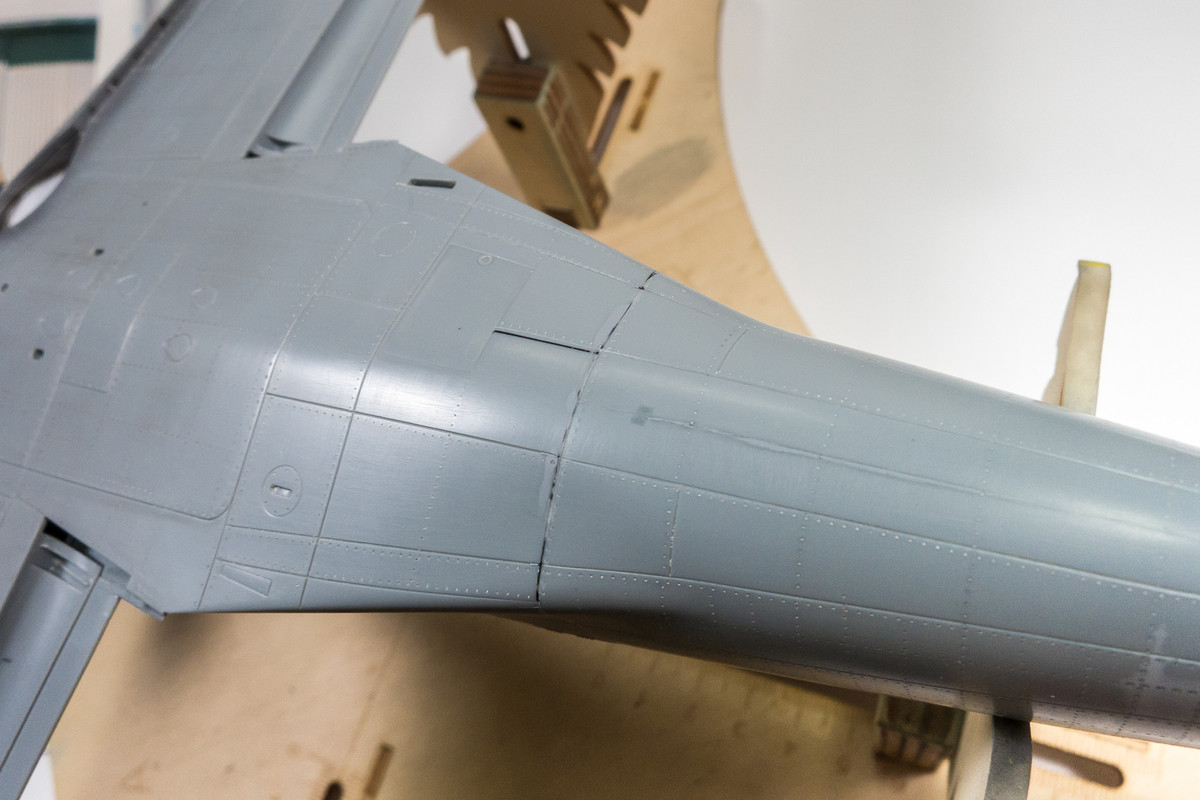
Image

Once the surface was sanded and polished, the panel lines were re-scribed and rivets were applied. A thin coat of Mr Primer Surfacer 1000 was sprayed to check my work. The rough edges of the re-scribed panel line at the glue joint need to be smoothed out but overall, I am checking this area off as addressed.
Image

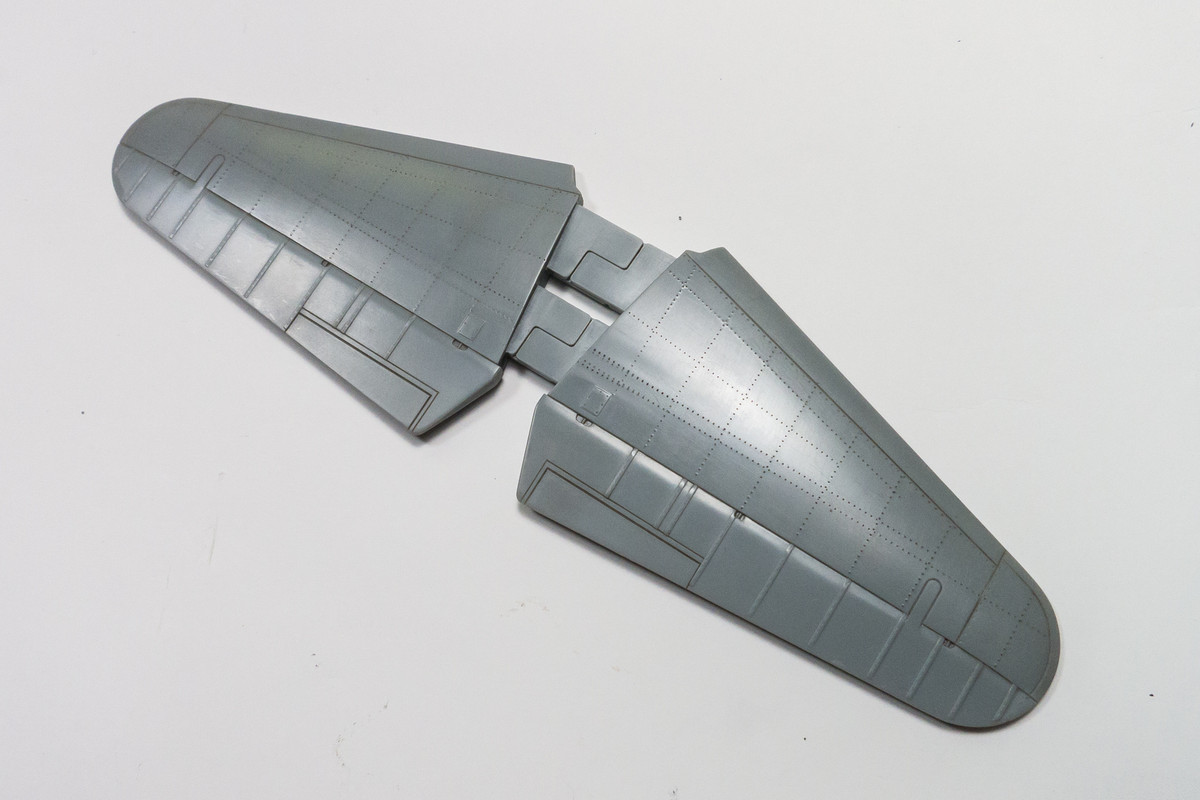
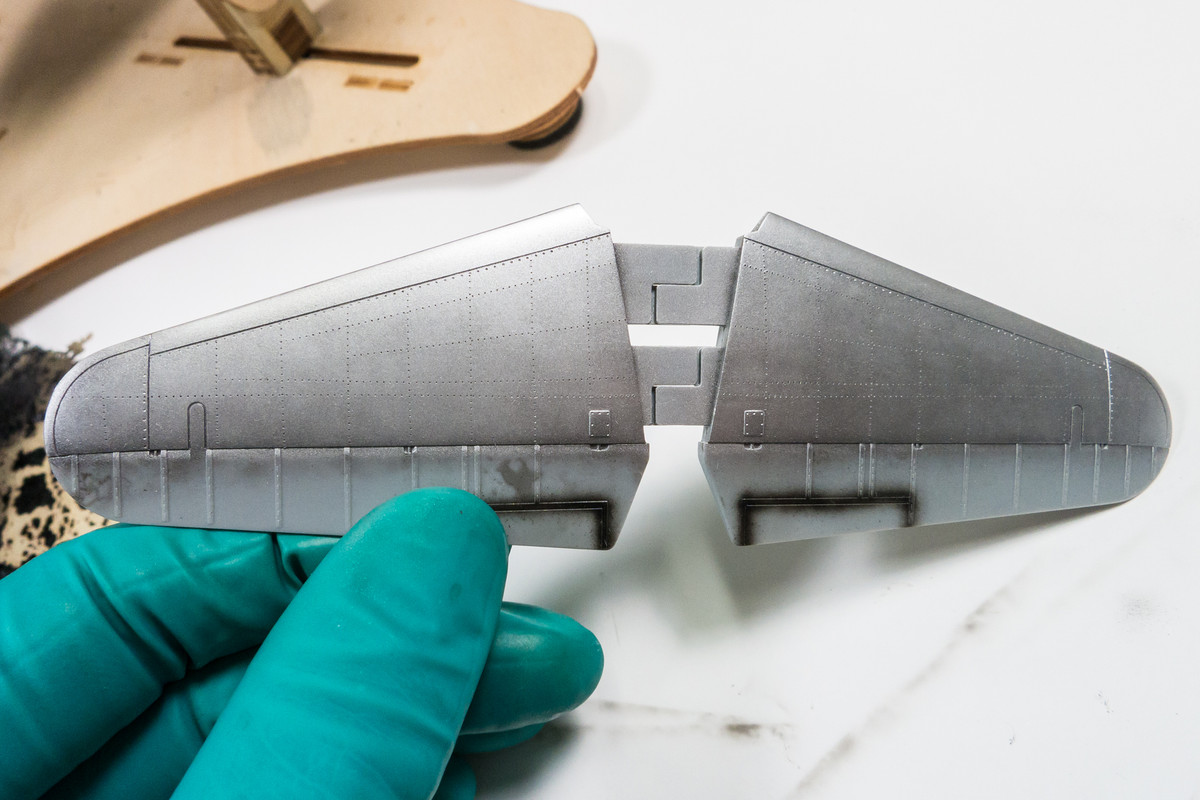
Back to the stabilizers. My work here will be a microcosm of the procedure that I'll be using to paint the overall aircraft. Previously, I played with using a mottle pre-shade and Aclad to create some tonal variation in the natural metal finish of the bottom, which turned out fairly well. The topside will be treated differently. The base will be metal to serve as a base for hairspray chipping. I like to use Tamiya AS-12 Silver, decanted from the spray can, in these situations. I simply squirt a small amount of the paint from the can into the airbrush cup, add a few drops of Tamiya Lacquer Thinner, stir away some of the bubbles and spray away.
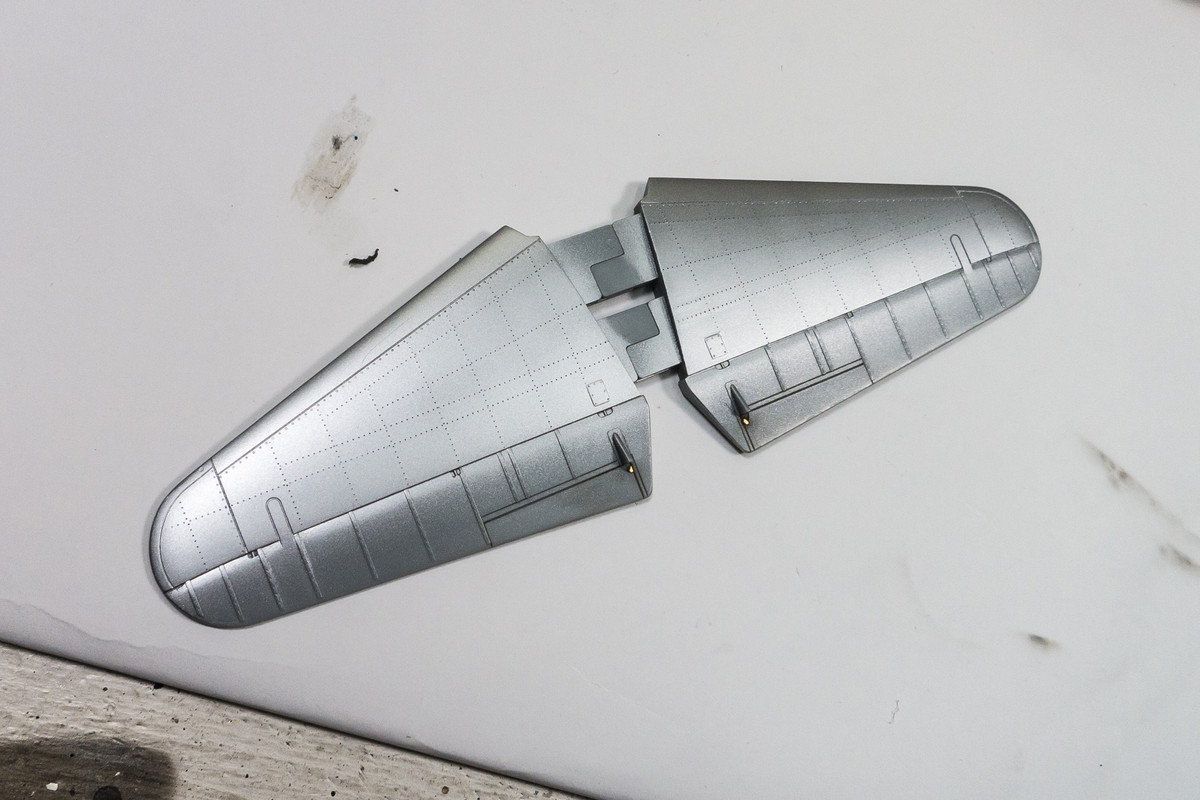
Image

A coat of hairspray is sprayed over the silver and allowed to dry. A mottle pre-shade is applied over the hairspray/metal layer.
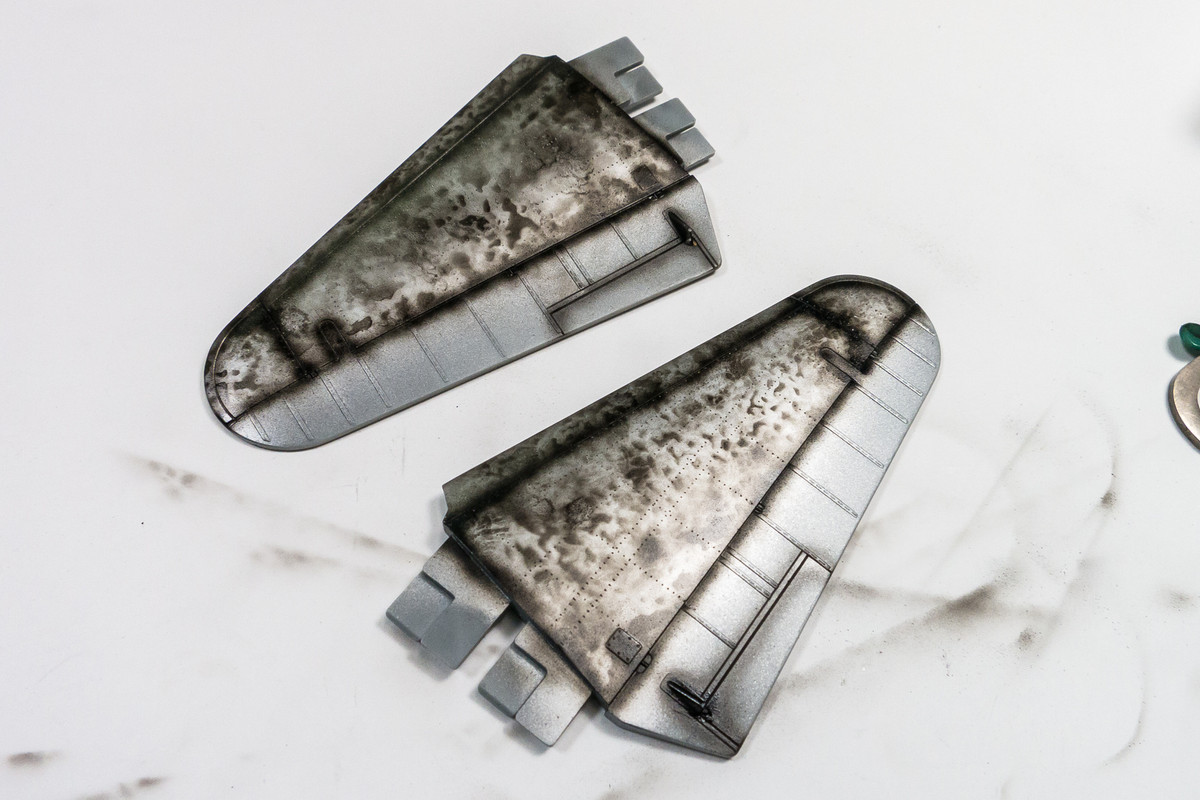
Image

My version of the Green was established when I painted the spinner a few months ago. It is a mixture of two AK Real Colors: IJN D2 Green Black (RC305) and Luftwaffe RLM 83 Blue (RC327) mixed at a 3:1 ratio. Straight IJN D2 Green Black is used on the fabric portion of the stabilizer for a slight color variation. The photo below shows one stabilizer after chipping. The chipping at this stage looks rather spread out and unrealistically random but it will be enhanced later using other techniques.
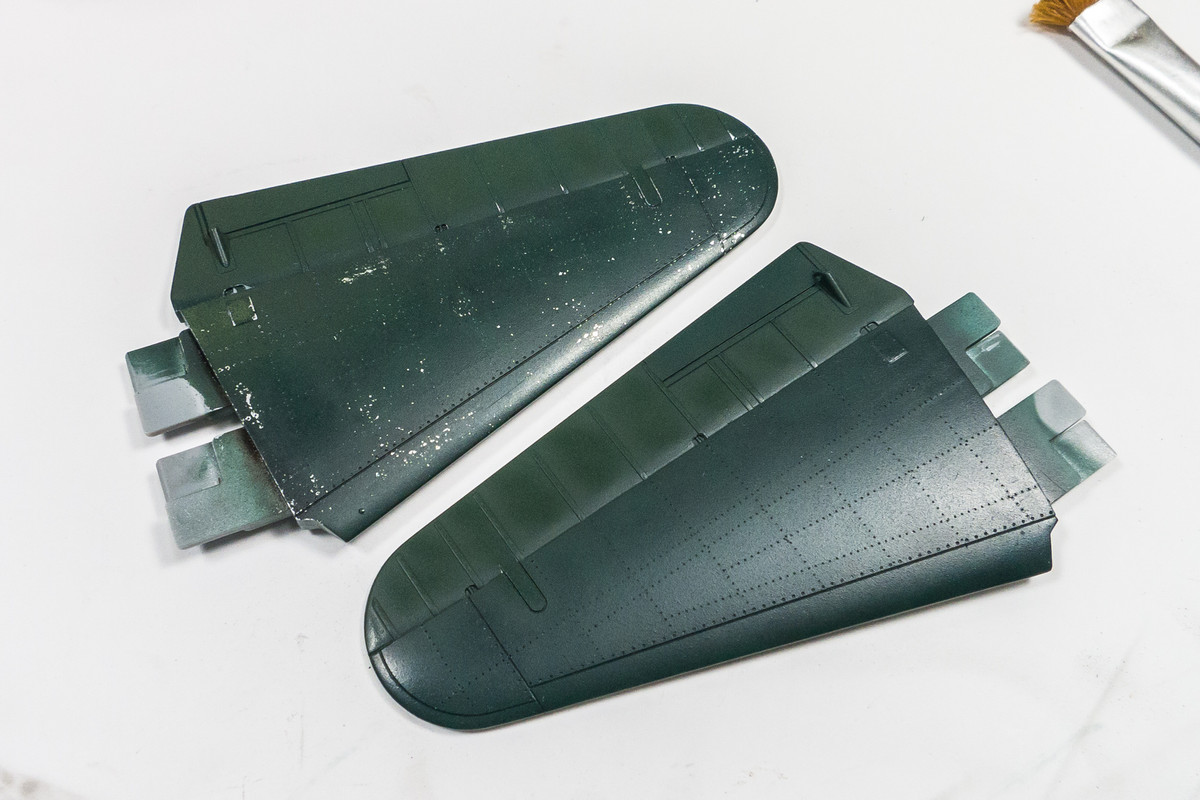
Image

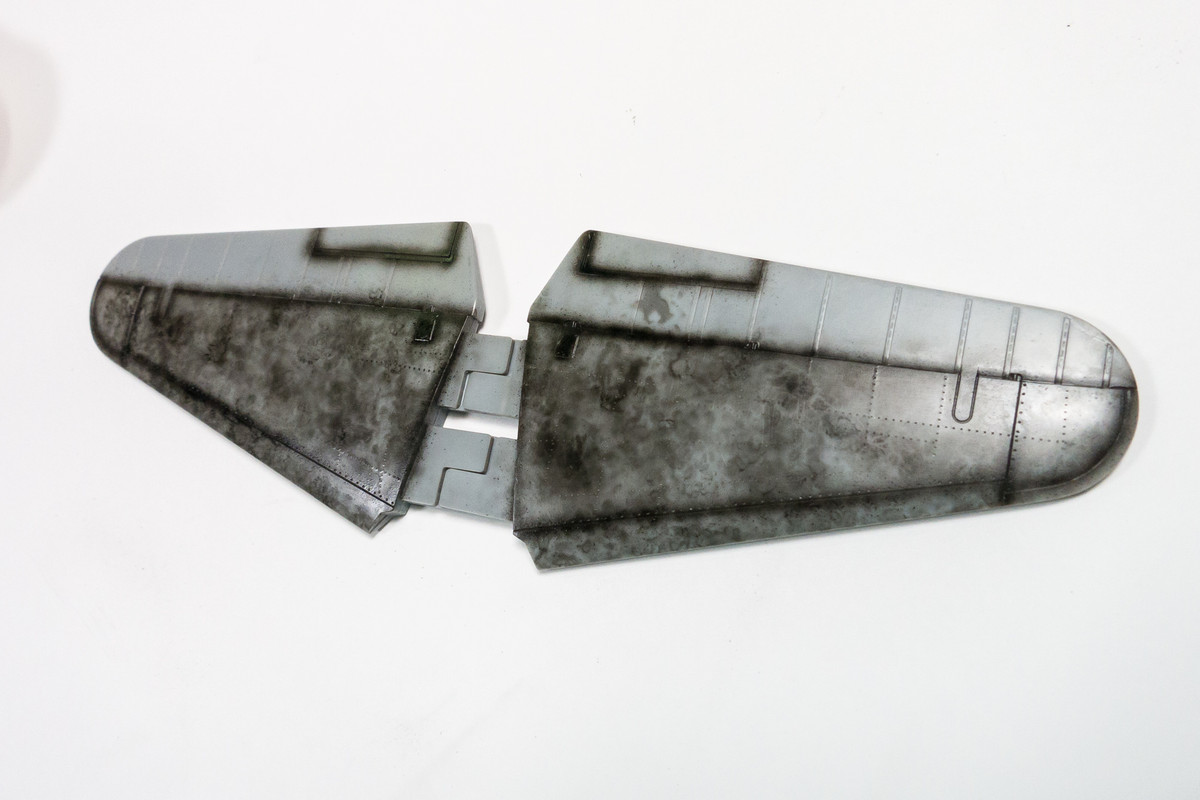
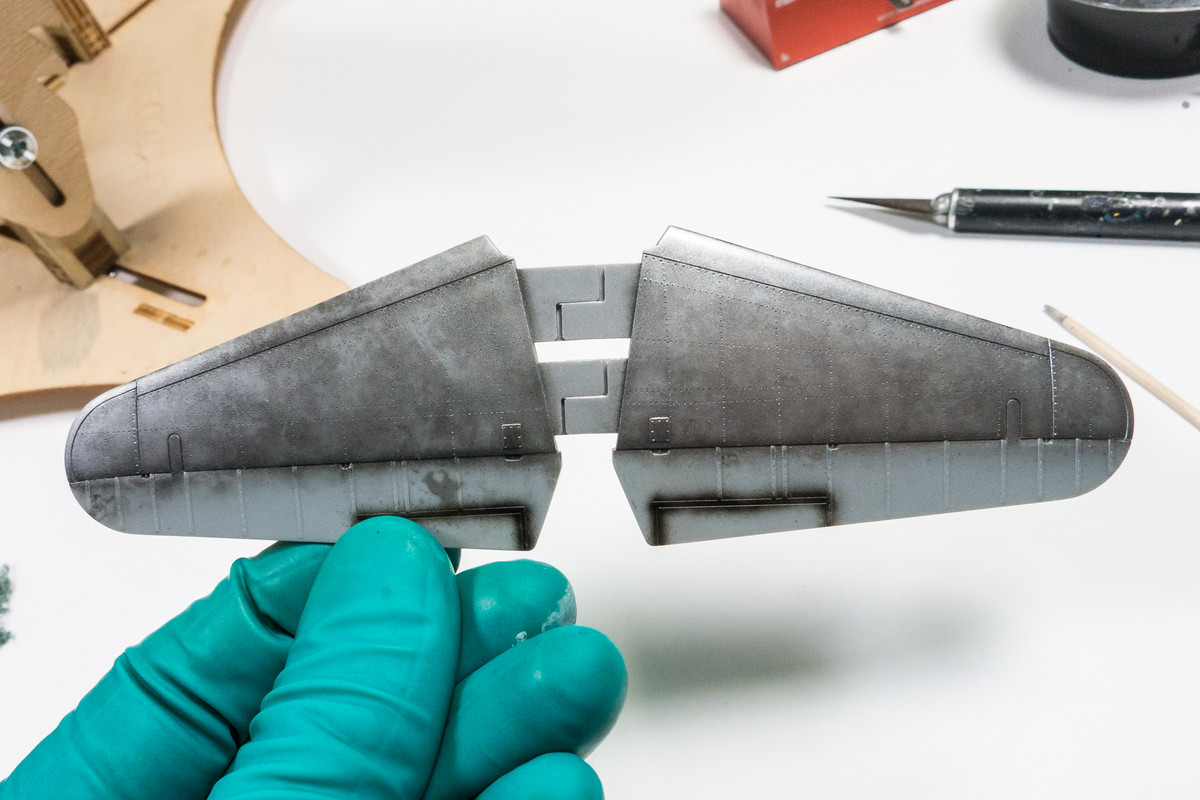
I'm going to use a grey/green color for the undersides of the fabric-covered stabilizers and ailerons. Tamiya JA Grey (XF-14), to be exact. I scanned the stabilizers and made a custom mask using the Silhouette Portrait cutter.
Image

The mask allows me to apply pre-shading and the grey/green color without impacting the Alclad.
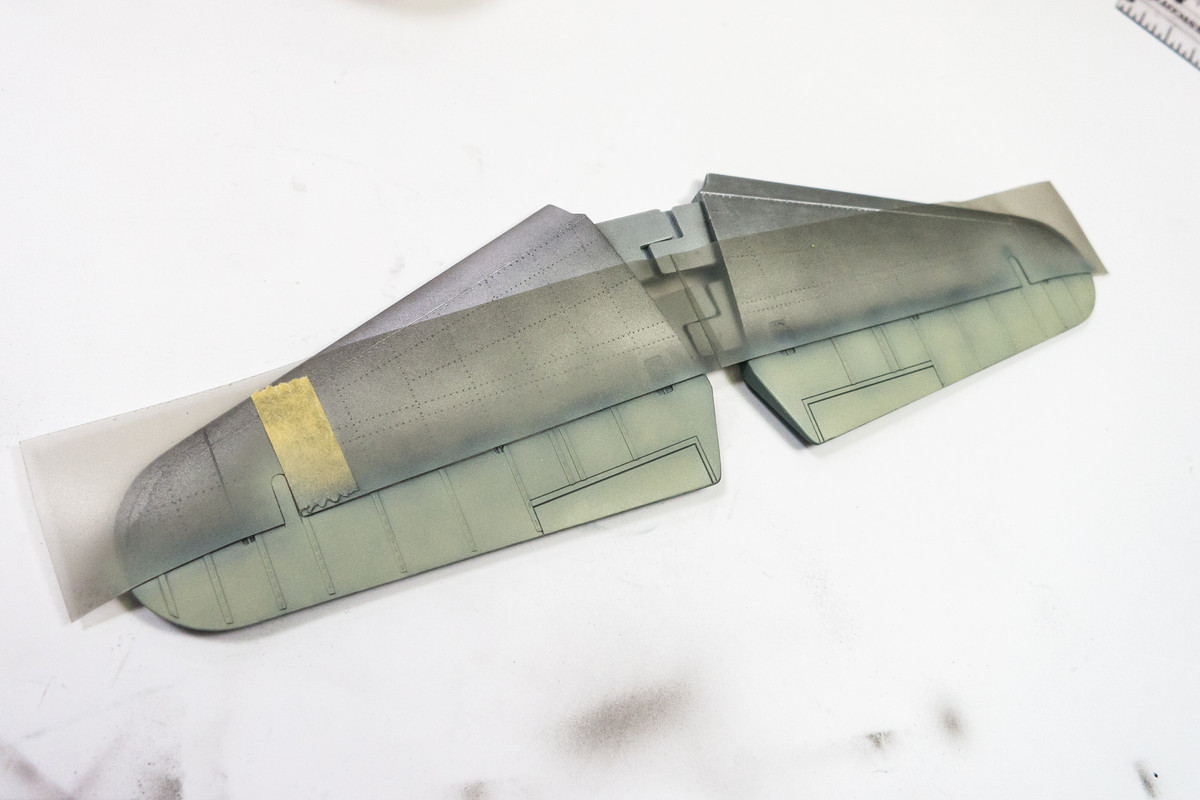
Image

The basic painting of the horizontal stabilizers, top and bottom are finished.
Image

Re: 1/32 Hasegawa N1K2-J Shiden Kai

Posted: Sat Oct 31, 2020 2:35 pm
by Floki
John you make it look so easy but I know what I'm looking at here is knowledge you gathered over each build.

Also what does that lure look like going through the water?

Re: 1/32 Hasegawa N1K2-J Shiden Kai

Posted: Sat Oct 31, 2020 6:31 pm
by Duke Maddog
Sensational work John! Man I wish I had the wherewithal to do something like that. I'll just keep mine simple. :bag:

Re: 1/32 Hasegawa N1K2-J Shiden Kai

Posted: Sun Nov 01, 2020 6:23 pm
by jkim
Floki wrote:John you make it look so easy but I know what I'm looking at here is knowledge you gathered over each build.

Also what does that lure look like going through the water?
It's a crawl bait, which is a class of topwater lures. Imagine a man who can't bend his arms at the elbow trying to stay afloat... that's kind of what this lure looks like when pulled through the water.

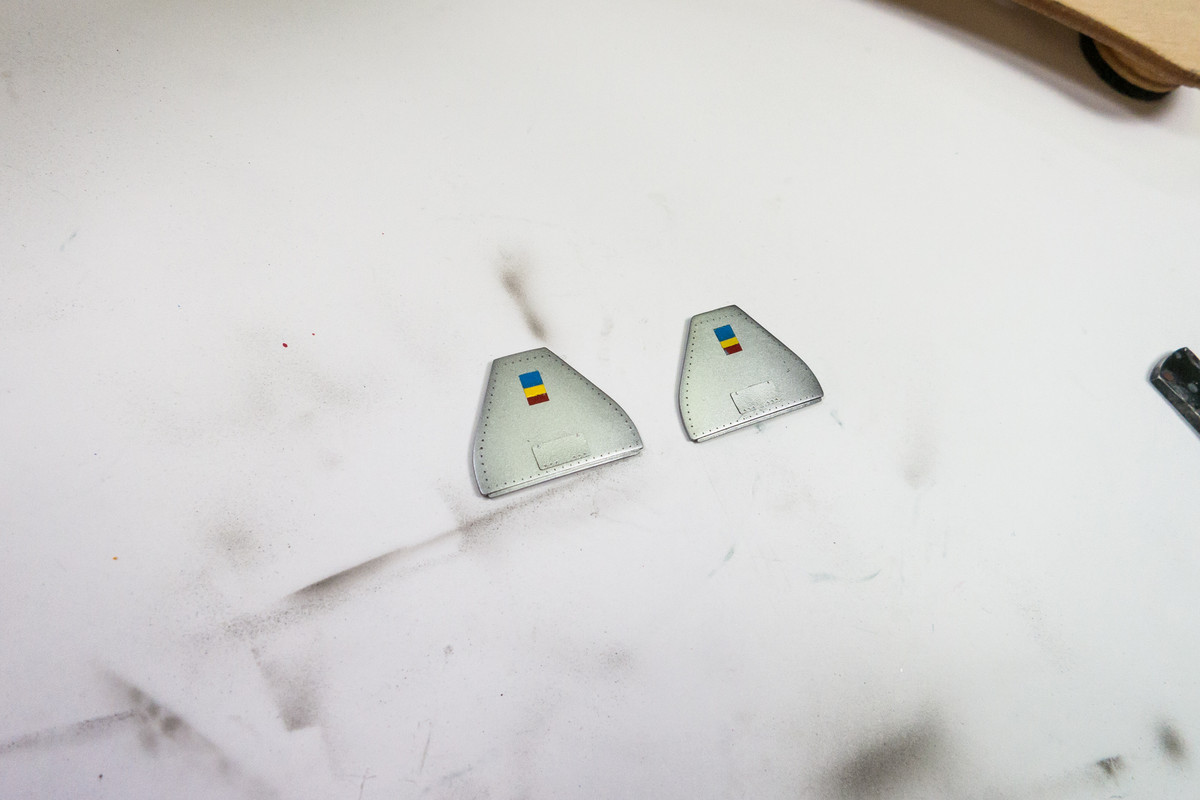
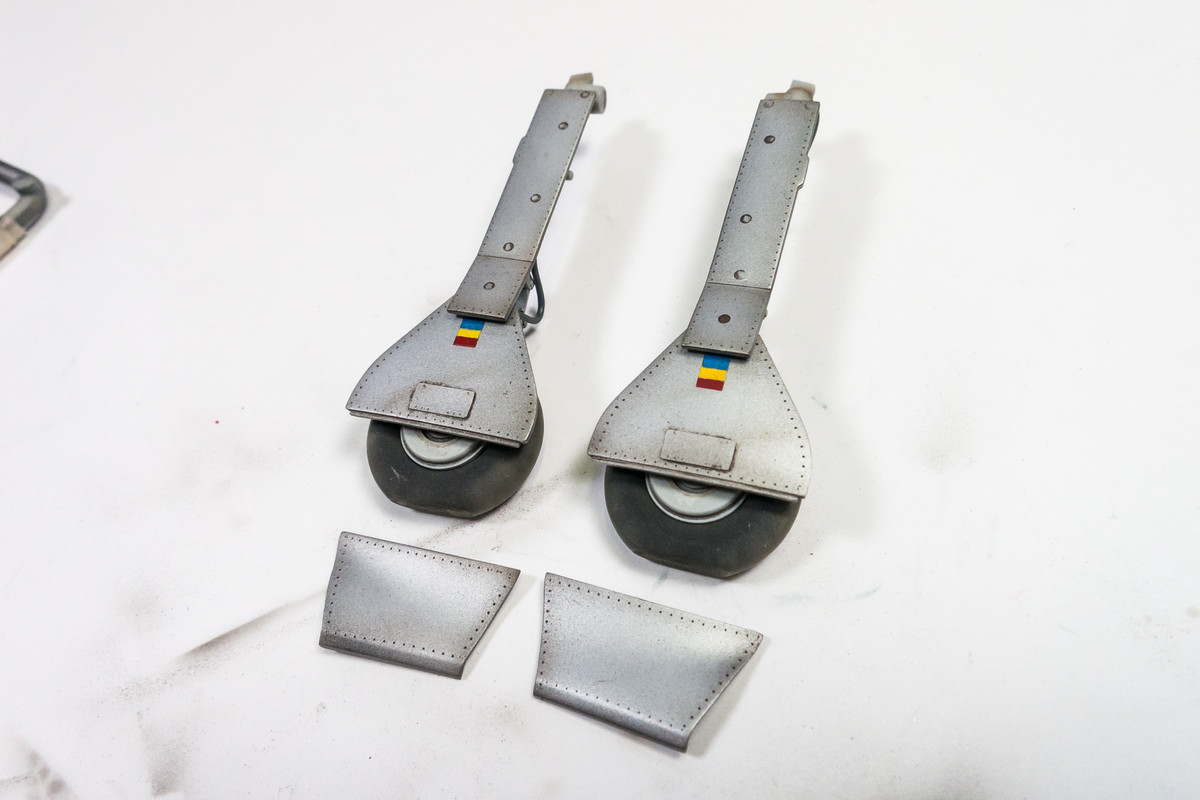
Hasegawa provides decals for the landing gear loading indicators. They don't correspond to the colors found in my references at all.
Image

Since the decal sheet had been previously scanned to produce masks for the markings, it was relatively easy to make new masks for these indicators.
Image
Image

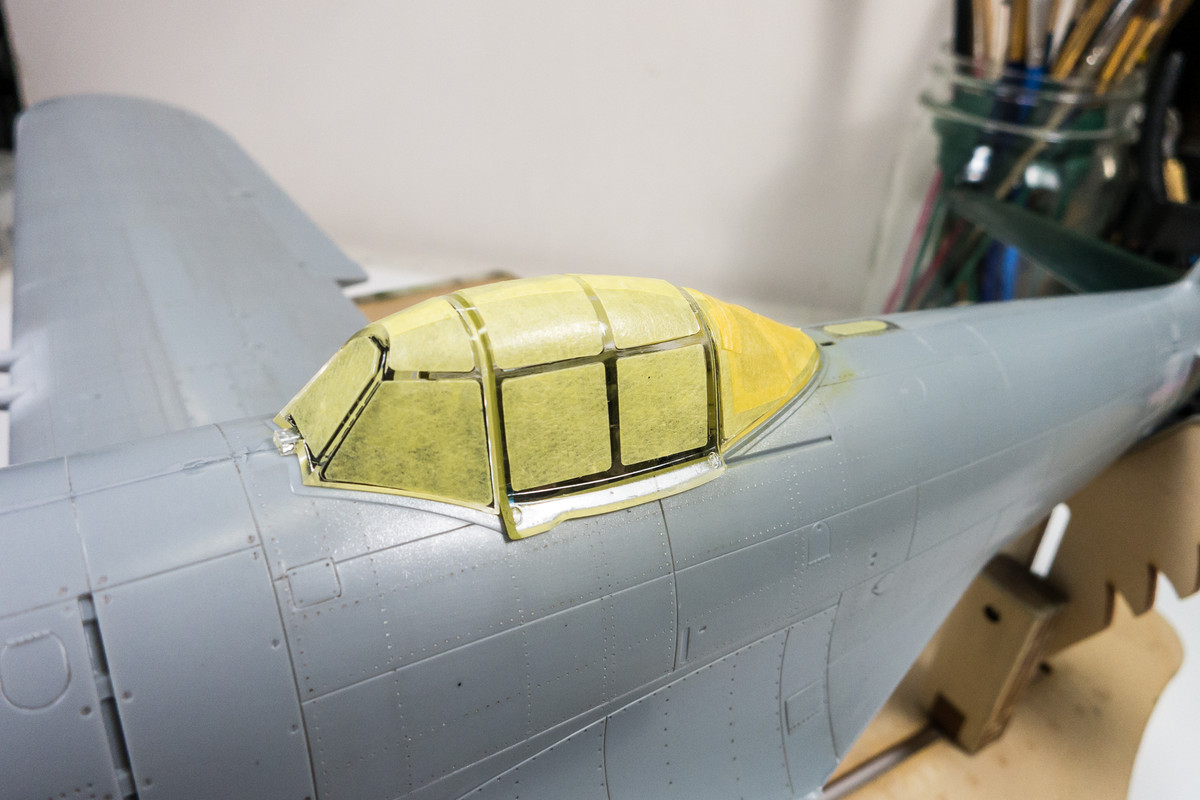
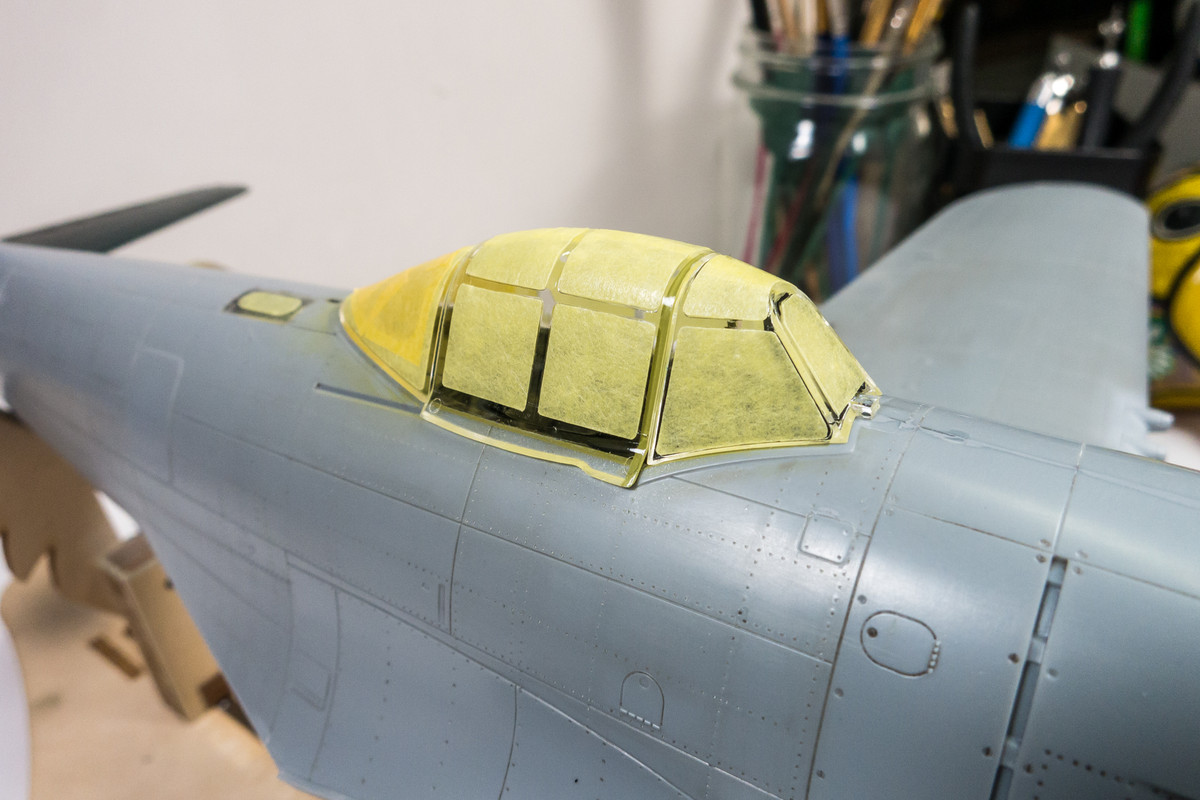
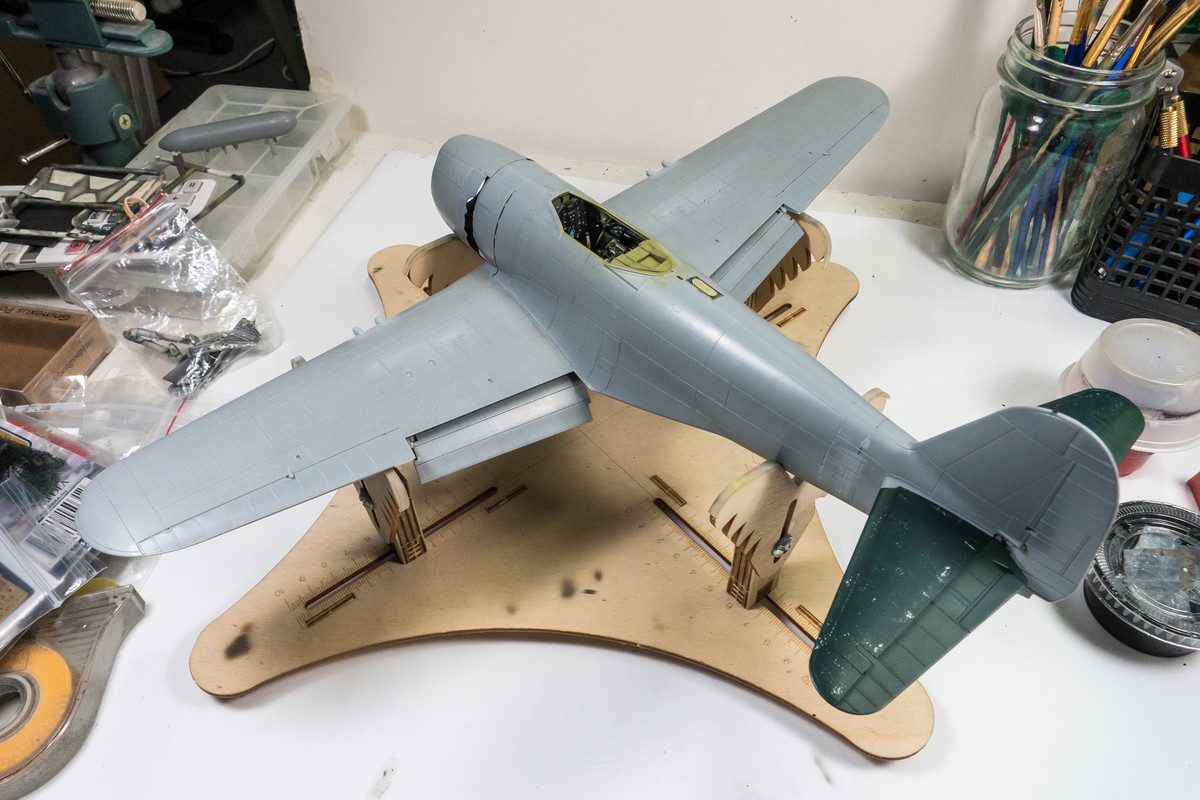
Inching closer to painting, the Eduard canopy masks have been applied. I really LOVE the Eduard masks. With very few exceptions, they seem to fit perfectly.
Image
Image

In my haste to paint the horizontal stabilizers, I forgot about the flaps. I am going to show the combat flaps in the extended position. These were deployed only in flight but I'm assuming that they could be lowered manually for maintenance if necessary. Maybe not typical or operationally realistic, they give the model a bit more visual interest.
Image
Image

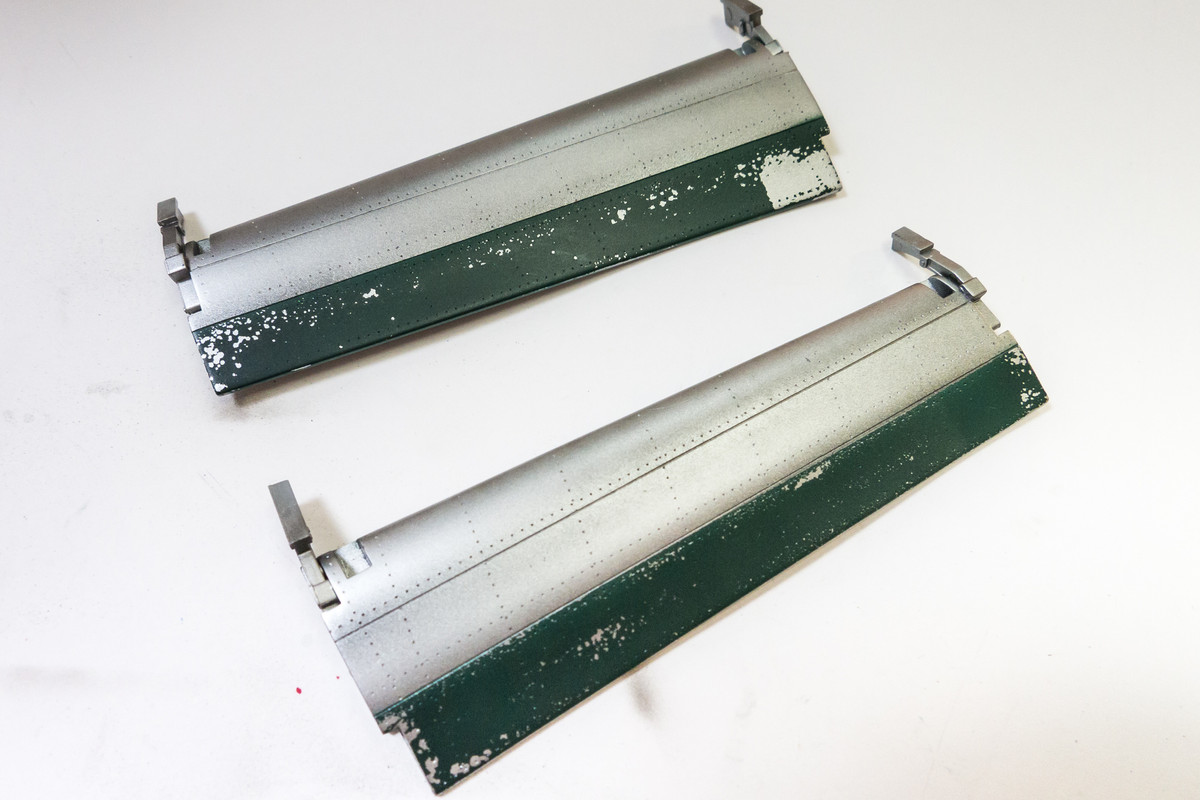
Here are the flaps after painting. I lifted a big chunk of green with tape and that area needs to be repaired. I'm going to apply Micro Mask with a sponge to see if I can salvage some chipping.
Image

Both the stabilizers and flaps will be sealed with gloss and further weathered separately from the rest of the aircraft.

Re: 1/32 Hasegawa N1K2-J Shiden Kai

Posted: Mon Nov 02, 2020 11:16 am
by Medicman71
Man you really are the master of painting!

Re: 1/32 Hasegawa N1K2-J Shiden Kai

Posted: Mon Nov 02, 2020 11:32 am
by jkim
Medicman71 wrote:Man you really are the master of painting!
Thanks! Forgot to show what the landing covers look like when placed on the landing gear legs...


Image

Re: 1/32 Hasegawa N1K2-J Shiden Kai

Posted: Mon Nov 02, 2020 2:59 pm
by speedgraflex
Image

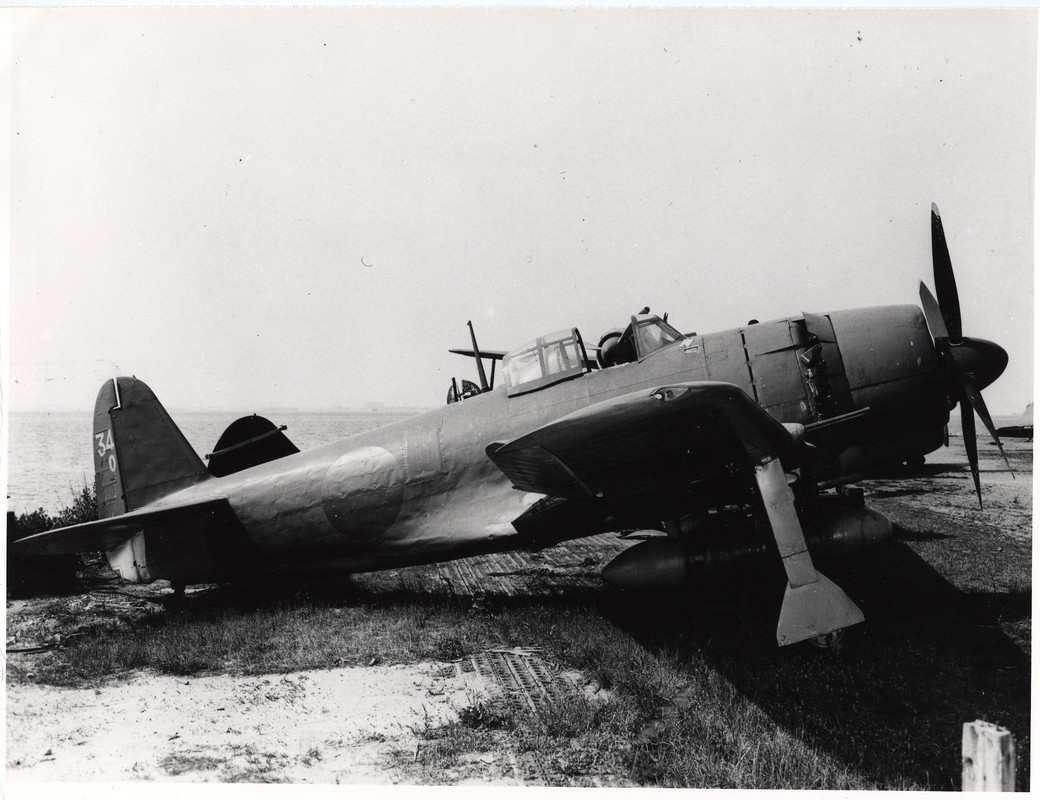
John! Beautiful modulation of colors!! I found a USN photo of the George with flaps down on the ground. Also the cover of “Model Art” shows the flaps down. I was responding to your “I assume,” above with memories of your Schwalbe build in mind. I think it’s a perfectly defensible position to take. Cheers.