Page 20 of 35
Re: 1/32 Special Hobby Hawker Tempest Mk V
Posted: Sat Apr 23, 2022 7:30 pm
by Stikpusher

Yes I could see John building one of the 1/32 Lancs…

Re: 1/32 Special Hobby Hawker Tempest Mk V
Posted: Sat Apr 23, 2022 7:32 pm
by LyleW
Stikpusher wrote: Yes I could see John building one of the 1/32 Lancs…
Or, the B+36!
Re: 1/32 Special Hobby Hawker Tempest Mk V
Posted: Sun Apr 24, 2022 12:08 am
by jkim

Nice try fellas but if you want a see a big four engine bomber in 1/32 scale, you need to looks elsewhere. I won't say never but bombers just aren't my thing. I'm very specific.. WW2 fighter aircraft with the very occasional foray into something else. That WNW/Border Lancaster DOES look incredible though. Does anyone know anyone that purchased that kit?
I thought I posted this but I must've not hit the SUBMIT button...
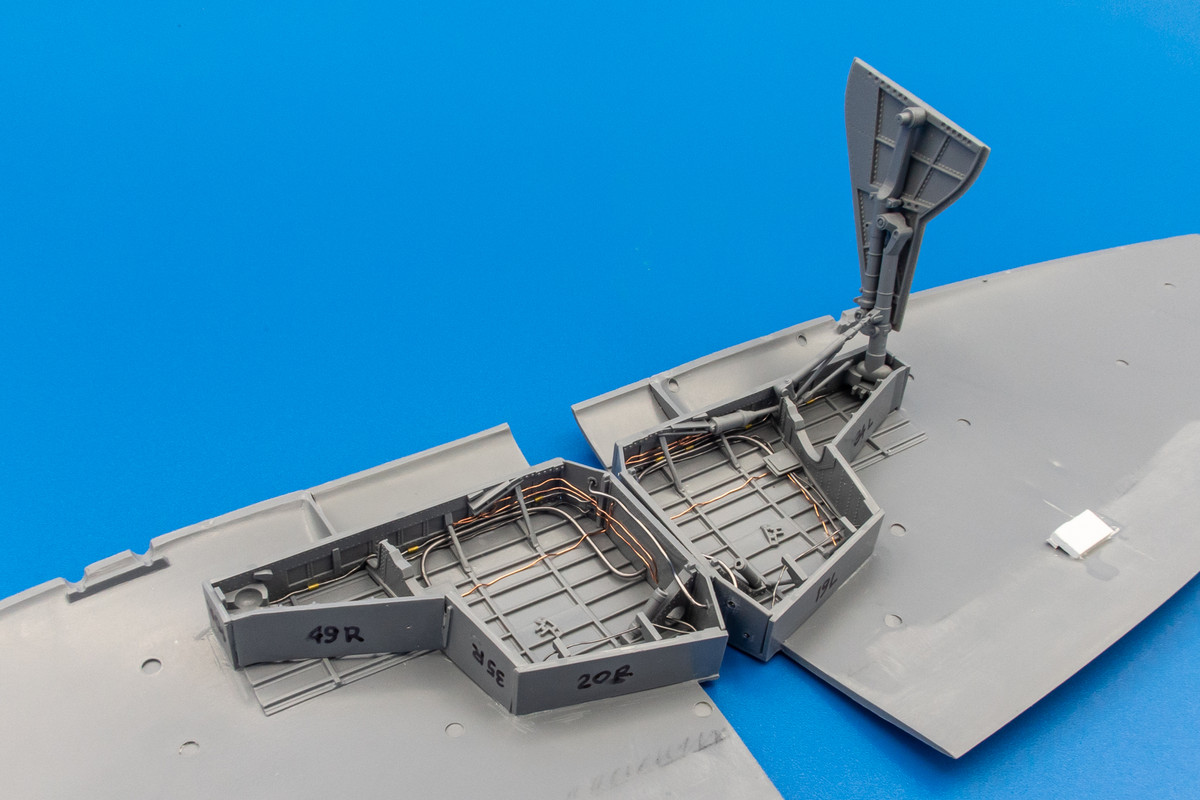
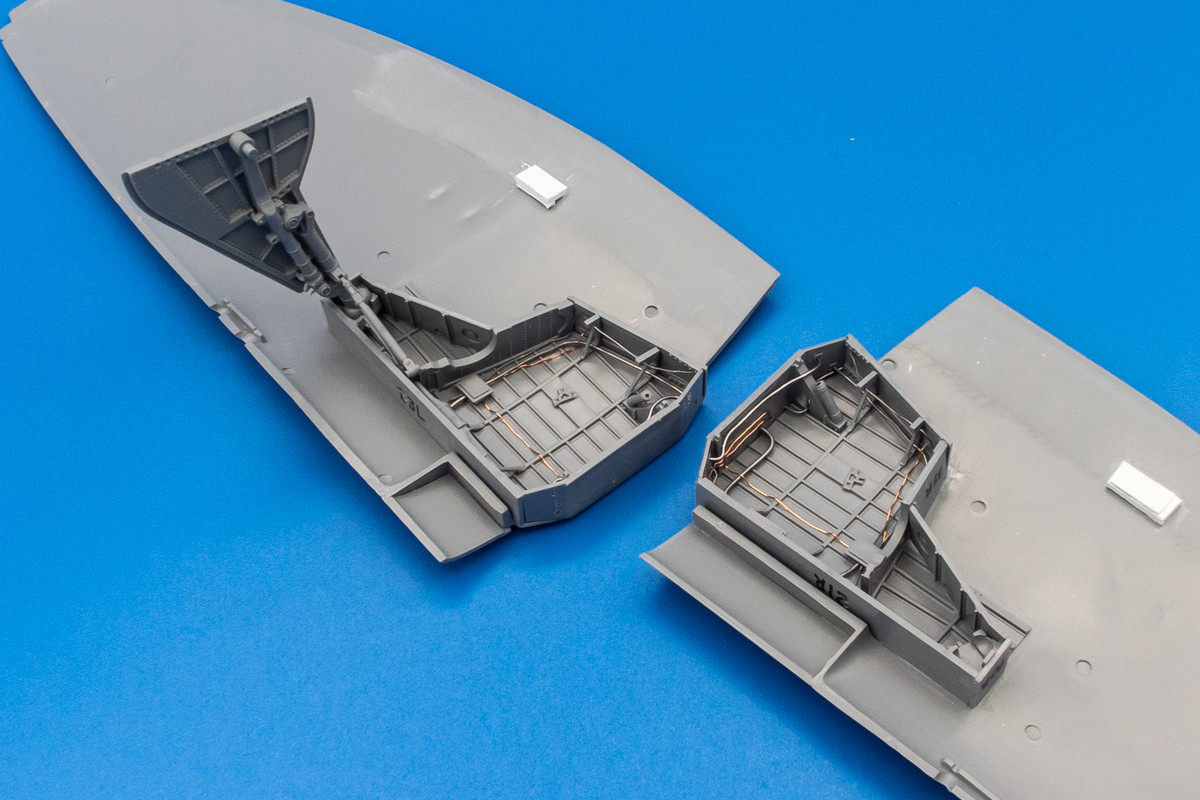
A little more wiring work has been added but I think I'm just about done. I may add a bit to the portion around the landing gear legs but maybe not. Due to the looseness of the ball/joint fixture of the landing gear legs, dry-fitting is very difficult but I managed to get one of the legs in place. I may try adding a metal pin to help place the landing gear legs. I've temporarily glued the landing gear cover onto the leg because I was curious about getting the right stance and I'll be using the bottom edge of the landing gear cover in relation to the rest of the aircraft as a reference point. It doesn't really help without the fuselage attached so I'll have to figure that out later.
Re: 1/32 Special Hobby Hawker Tempest Mk V
Posted: Sun Apr 24, 2022 12:15 am
by jkim
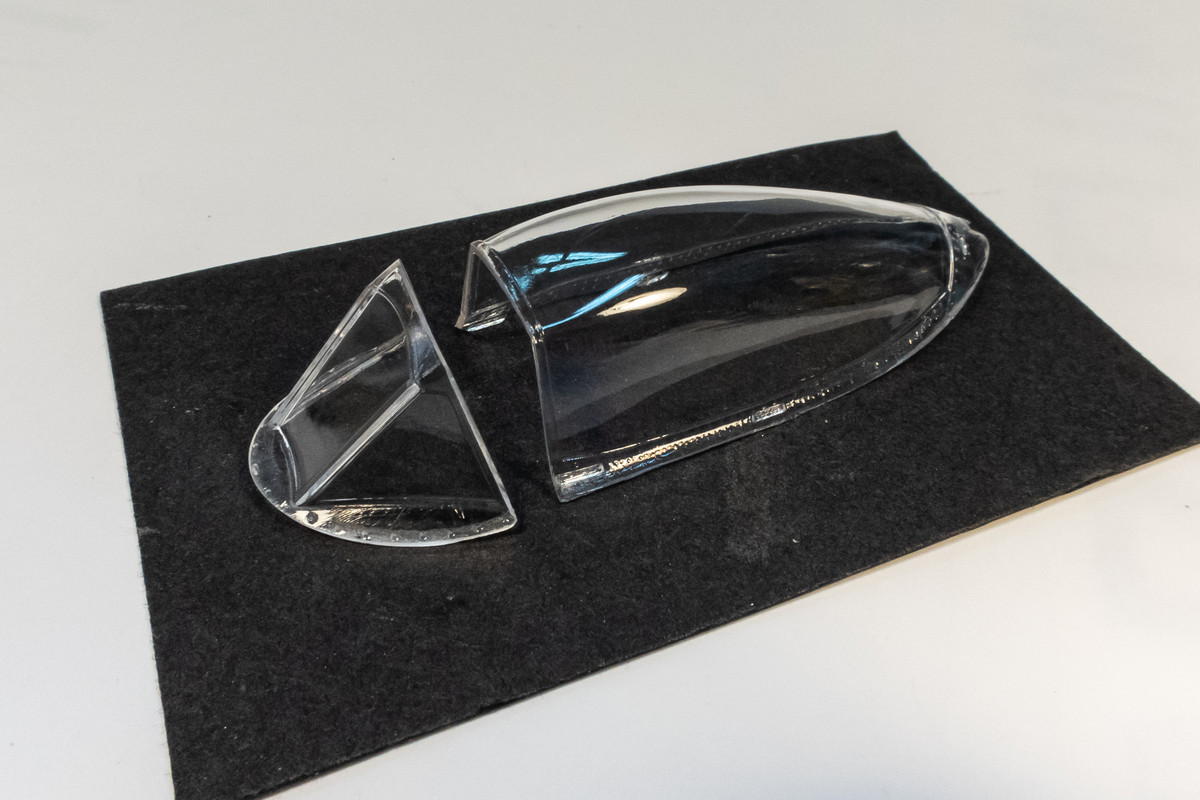
The windscreen and canopy has been polished since they were both scuffed slightly. The clear parts were then given my customary bath in Future.
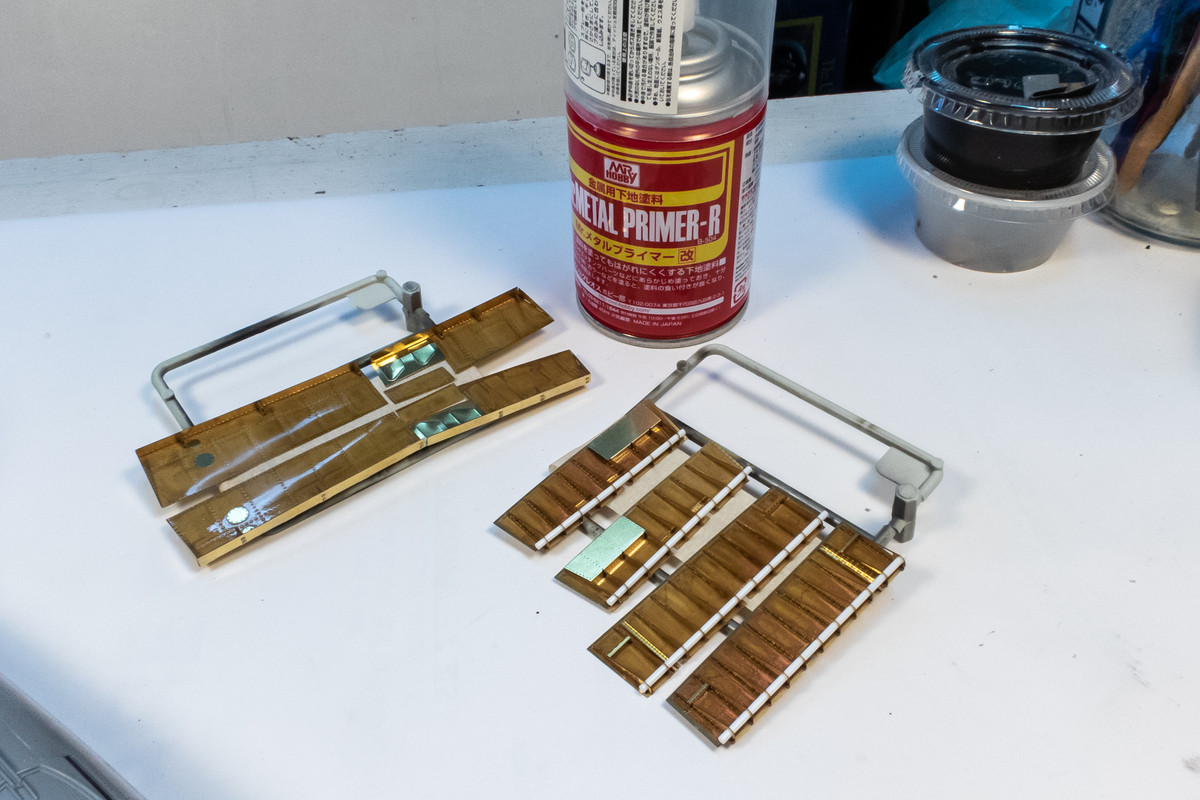
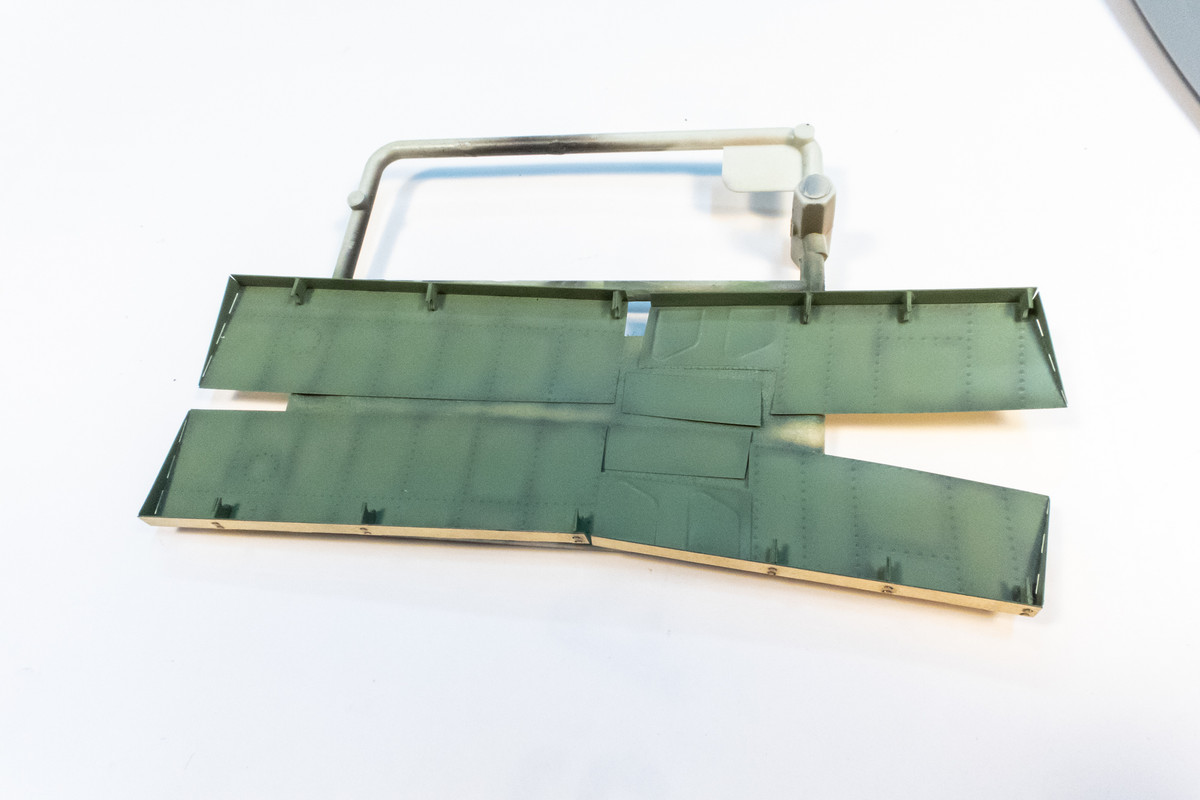
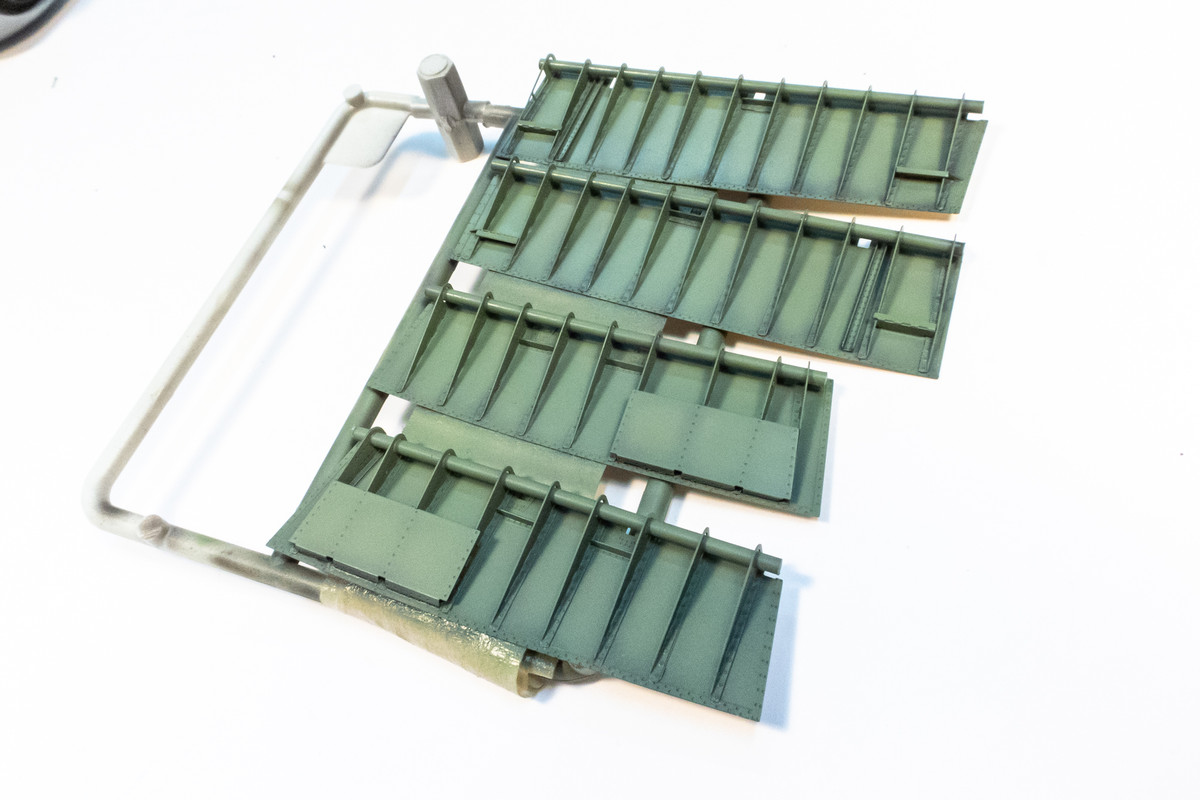
I got the plastic rod today so I was able to complete the flaps. I'm going shoot them with a metal primer so the paint sticks to them better.
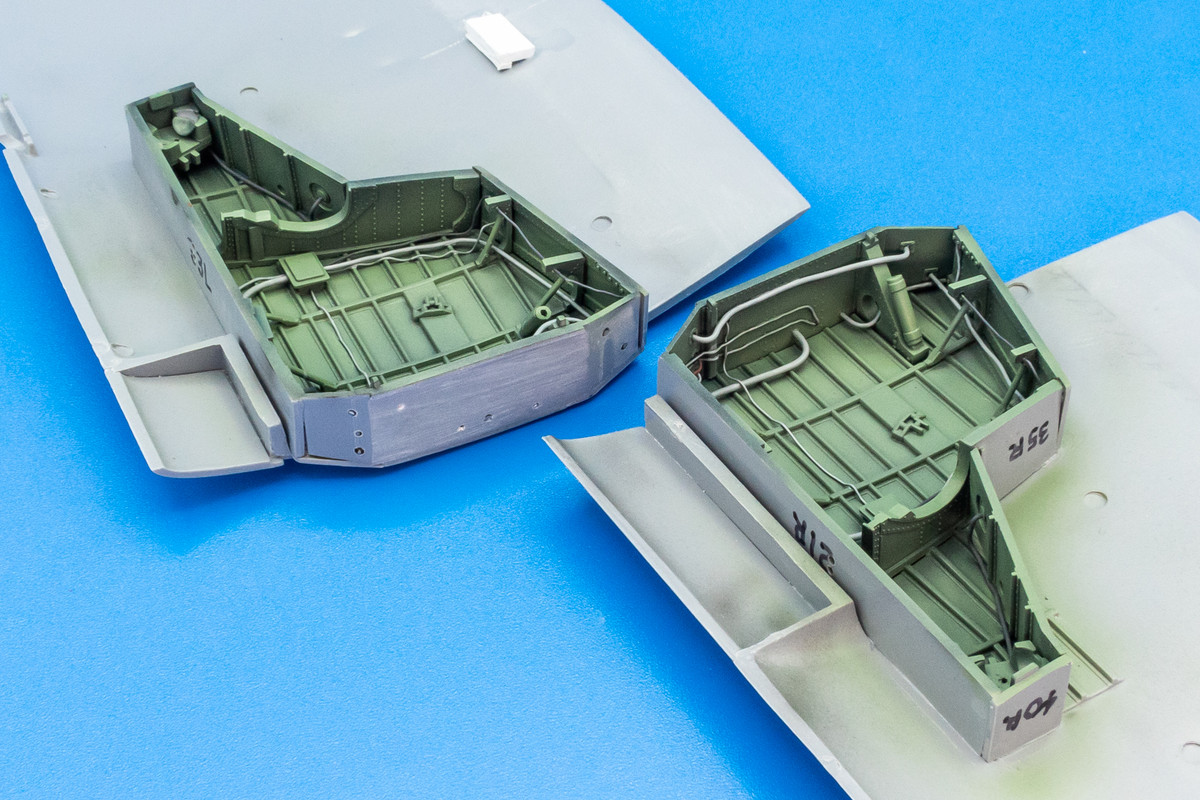
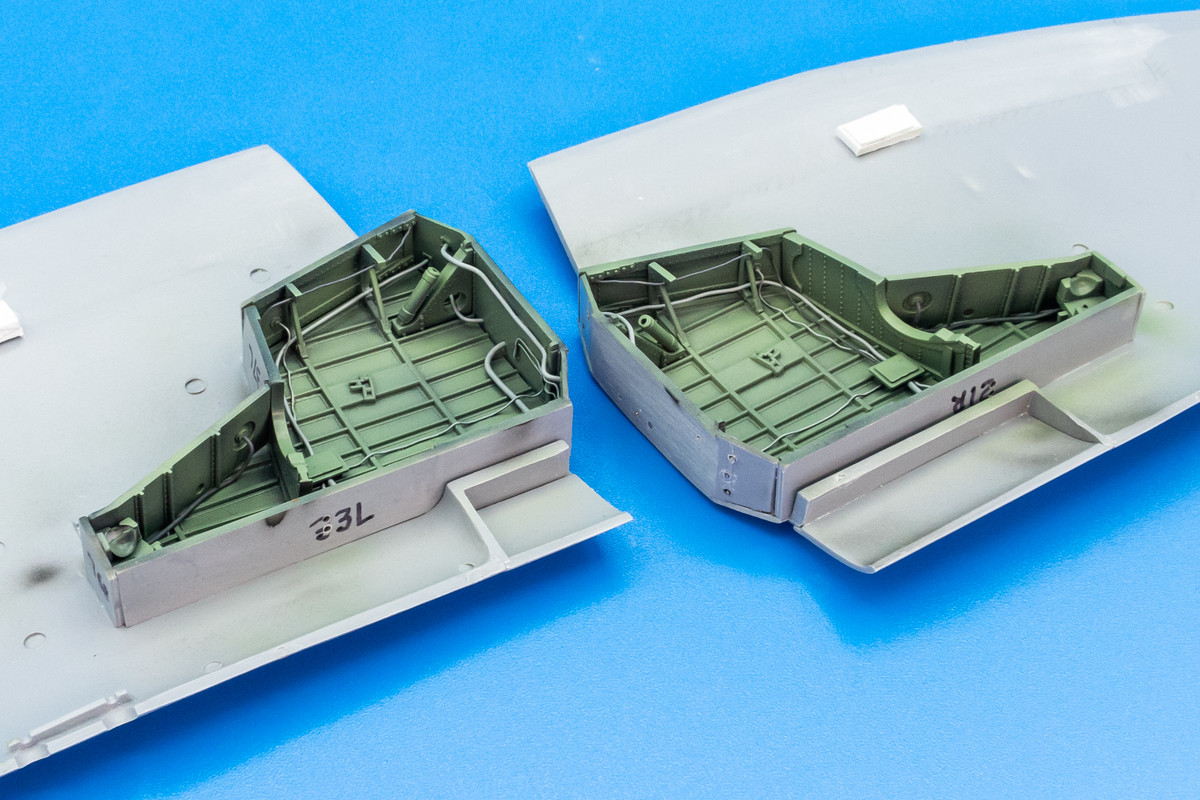
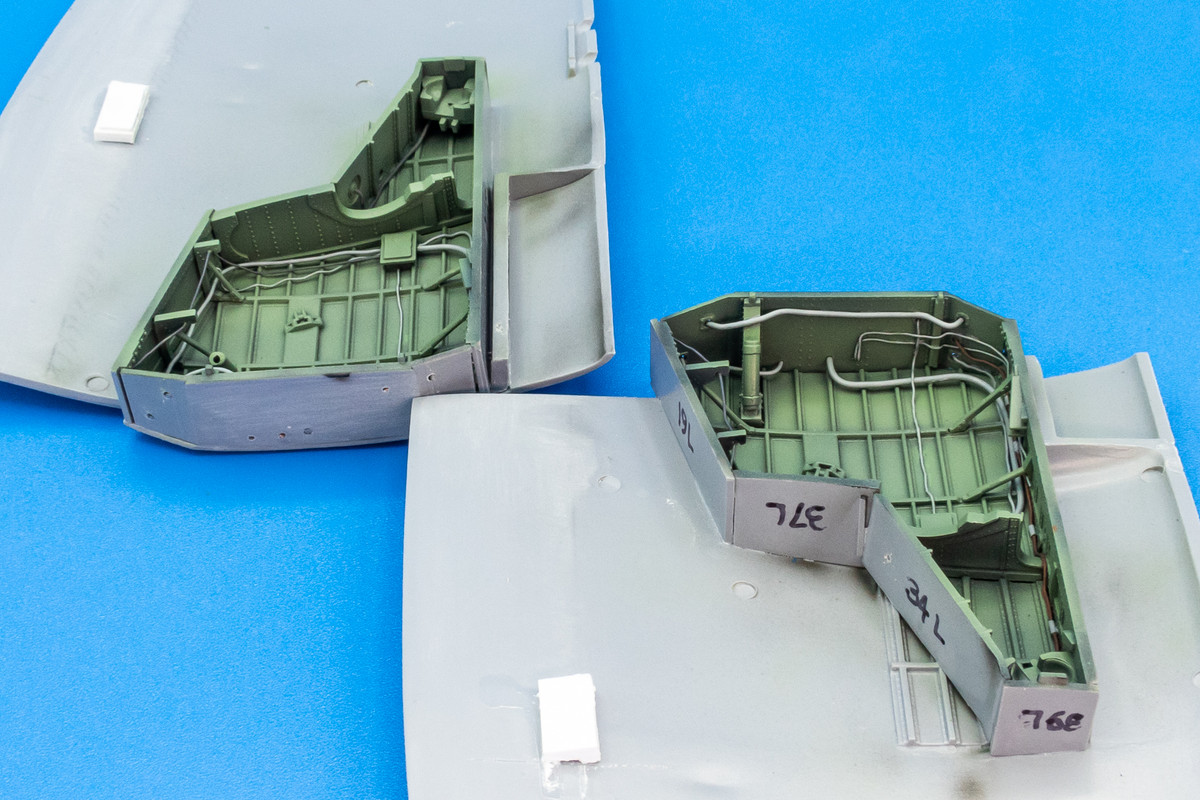
I decided to give the flaps a preshade before painting. The brass background may give the interior green a slightly different shade but I'm ok with that... a little color variation is a good thing.
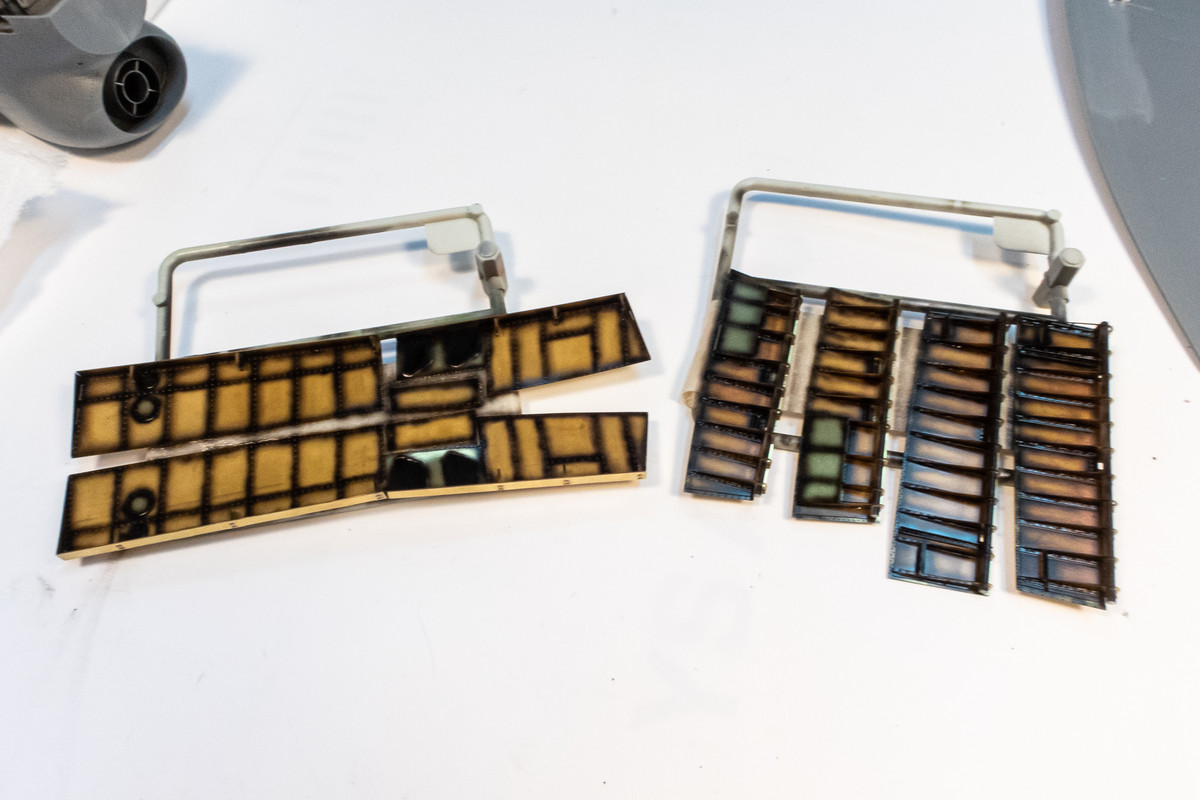
Here are the interior of the flaps after a coat of Interior Green. I have to remember to primer the reverse side of the lower flaps before I paint them.
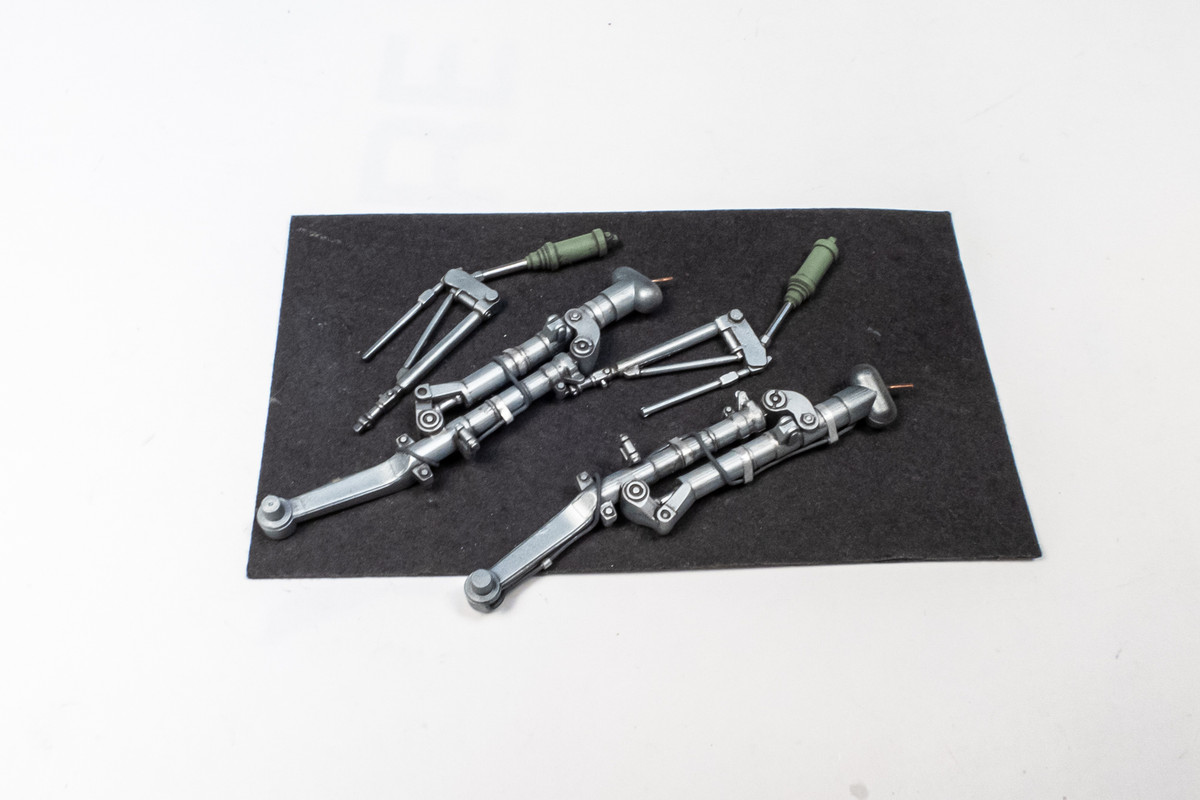
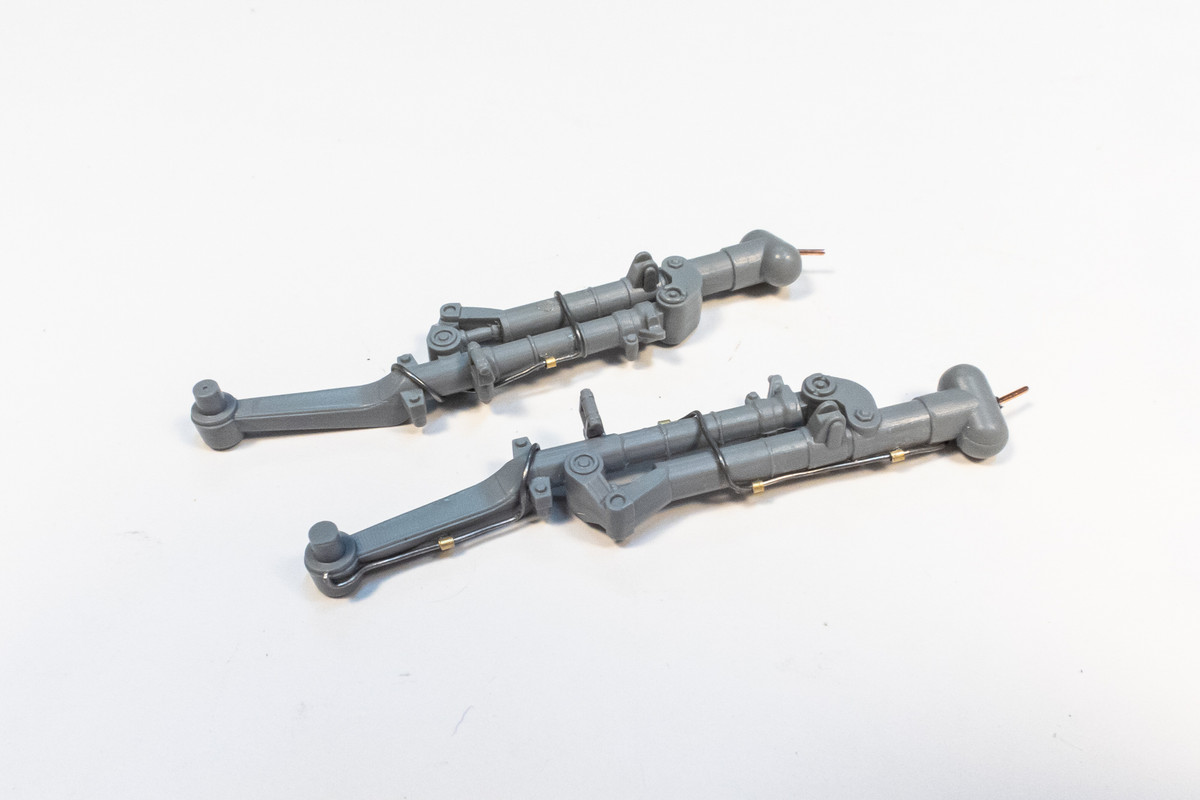
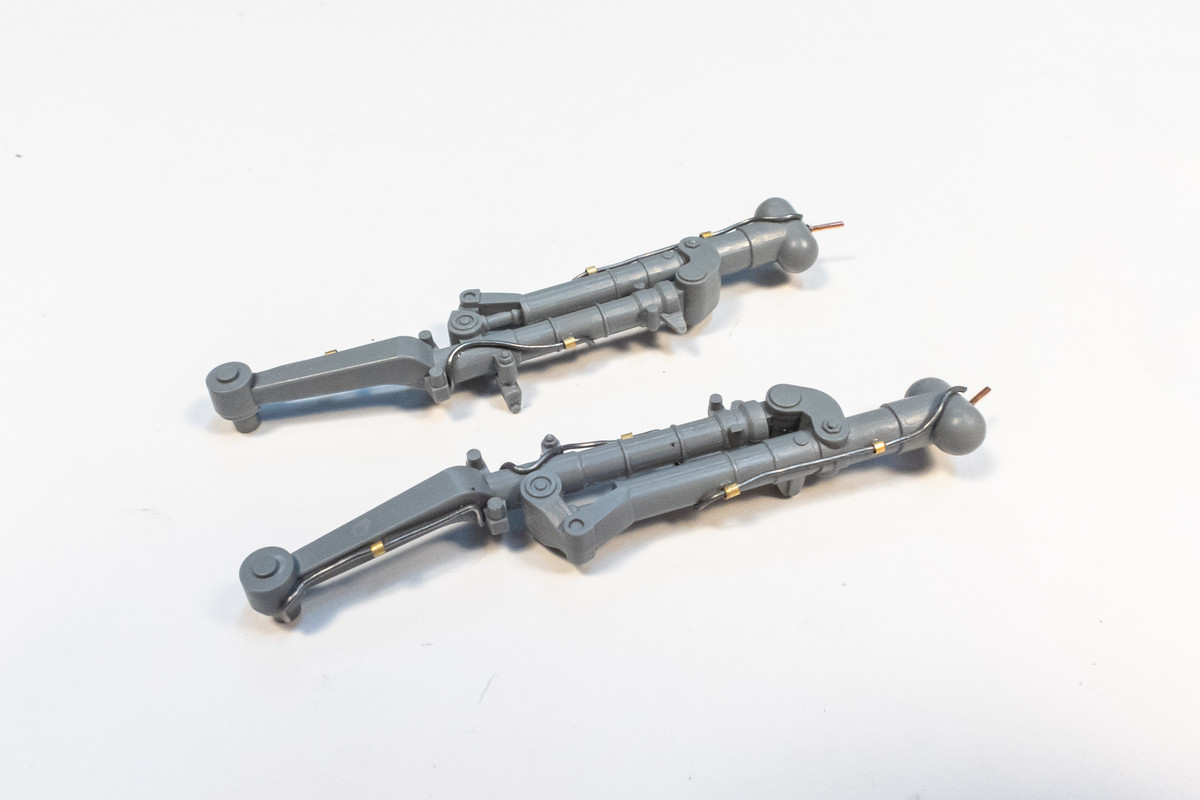
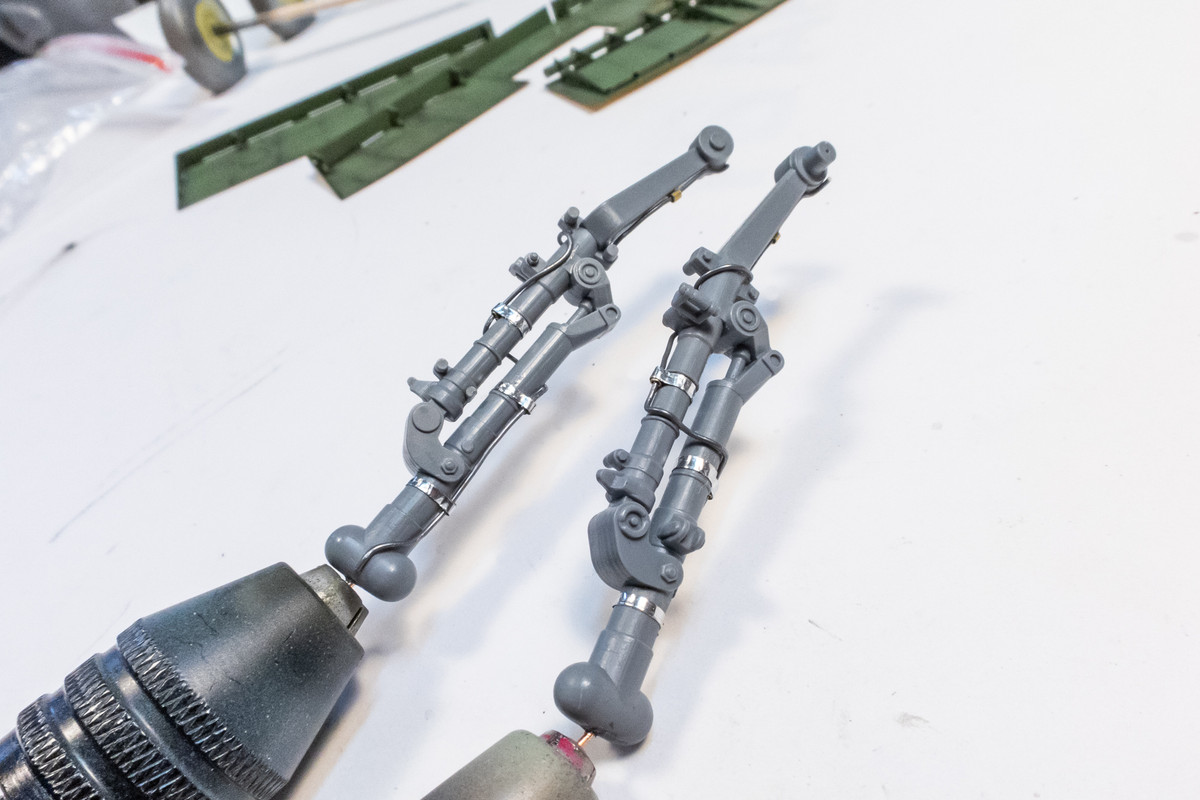
The main landing gear legs have been enhanced with a brake line made from lead wire and attached using wee sections of brass tubing.
Re: 1/32 Special Hobby Hawker Tempest Mk V
Posted: Sun Apr 24, 2022 12:44 am
by keavdog
The flaps looked great in brass... fantastic with color on them. And the gear look amazing.

Re: 1/32 Special Hobby Hawker Tempest Mk V
Posted: Mon Apr 25, 2022 10:26 am
by jkim
Thanks John... appreciate it!
Using thin strips of aluminum tape, I've added straps to the brake lines at the locations where I have the brass tubing. I have a hard time cutting really thin strips of this aluminum tape without it wrinkling like an accordion. I thought I had smoothed it out but after a coat of White Aluminum on the gear legs, the straps still looks a bit wrinkly so I may have to address.
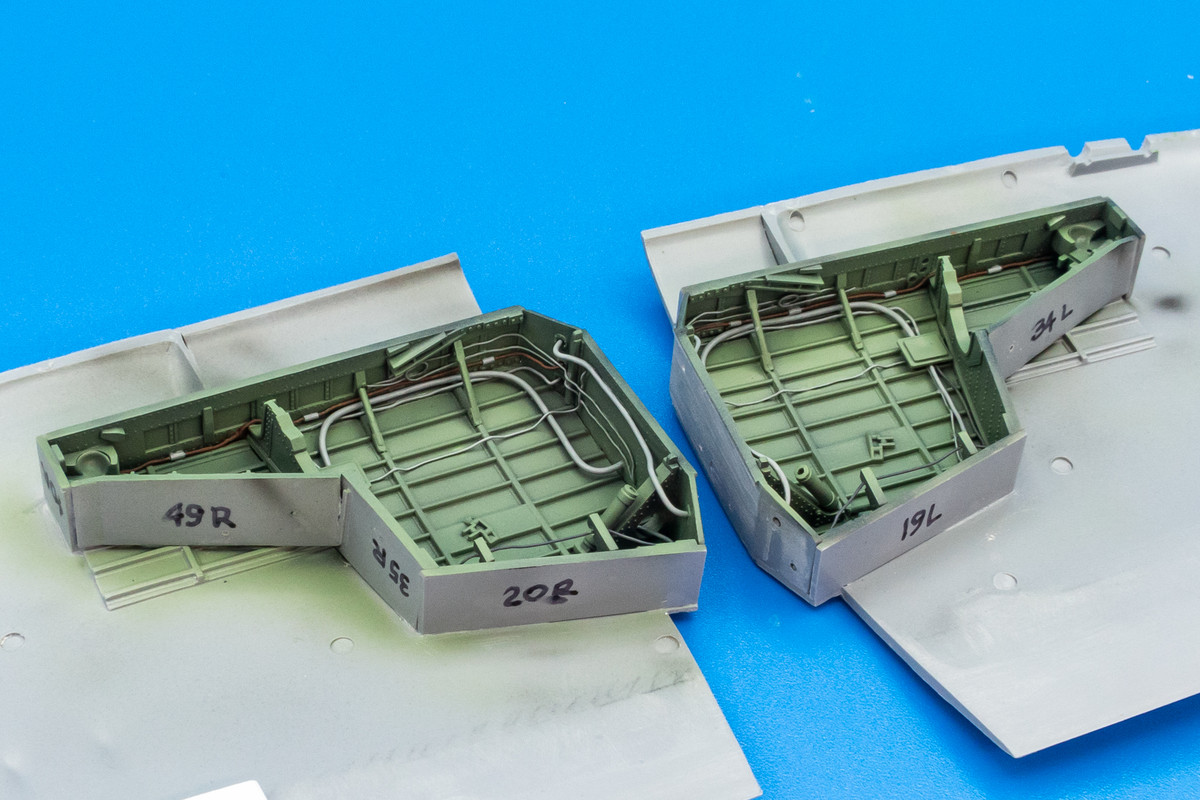
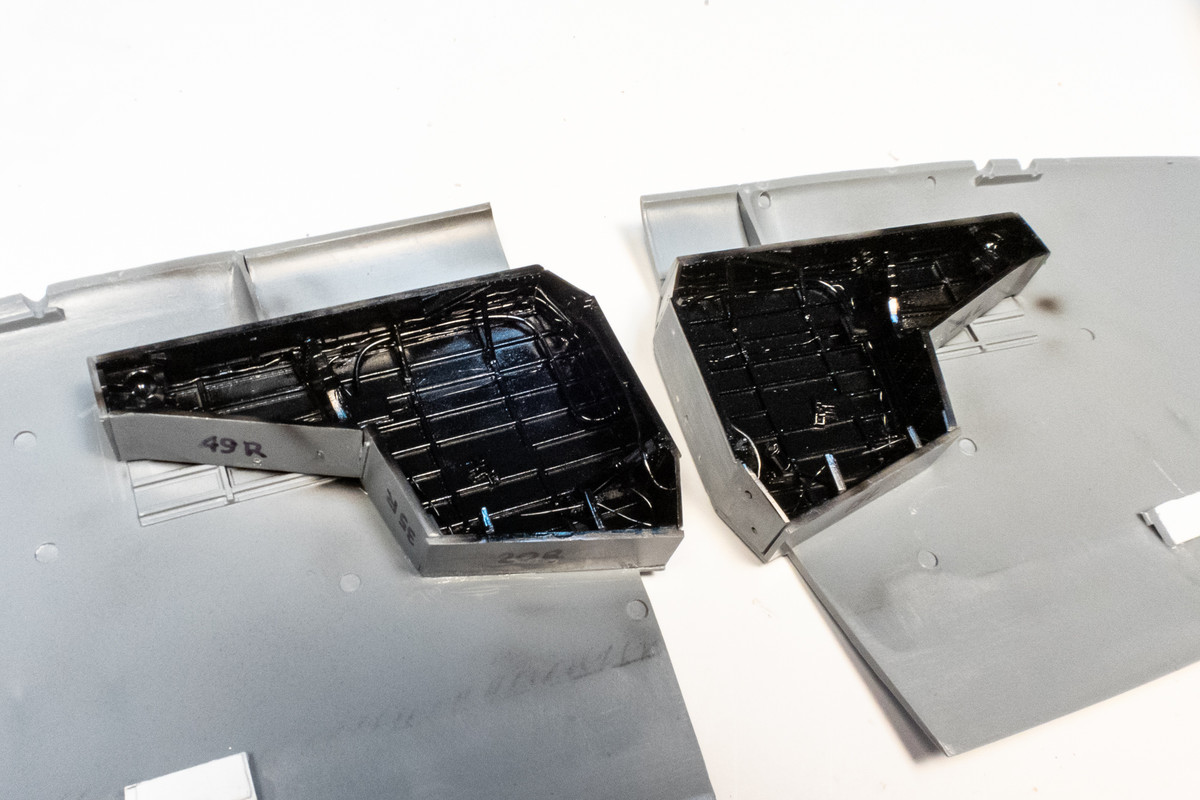
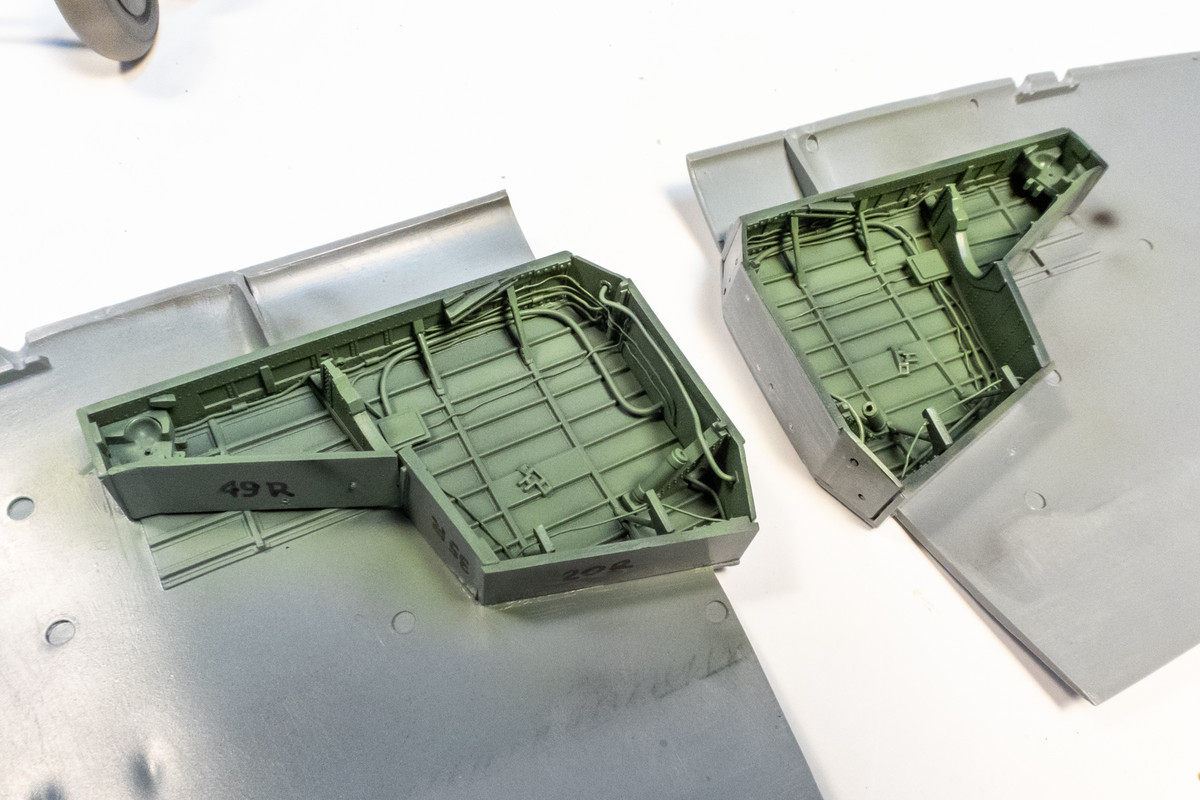
The wheel well bays were given a base coat of black and then Interior Green on top of that. Gonna jump in there and do some detail painting but am not looking forward to working in those tight quarters!
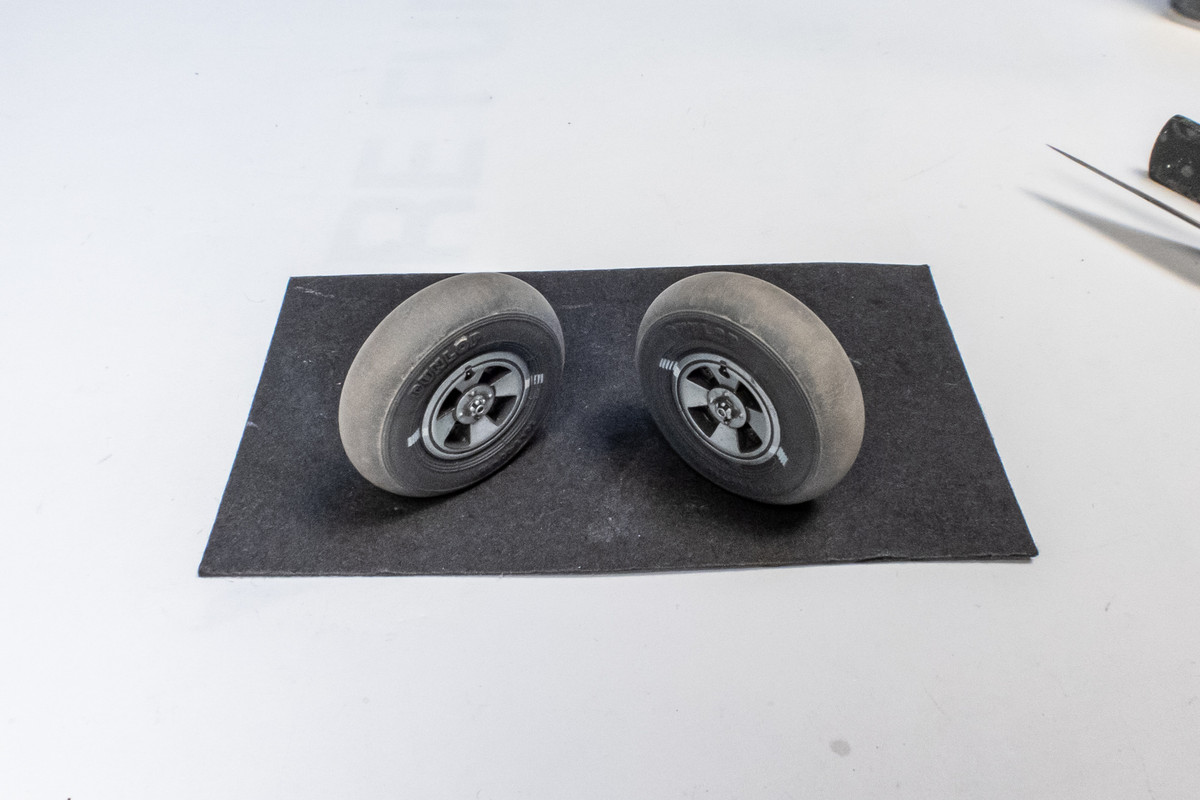
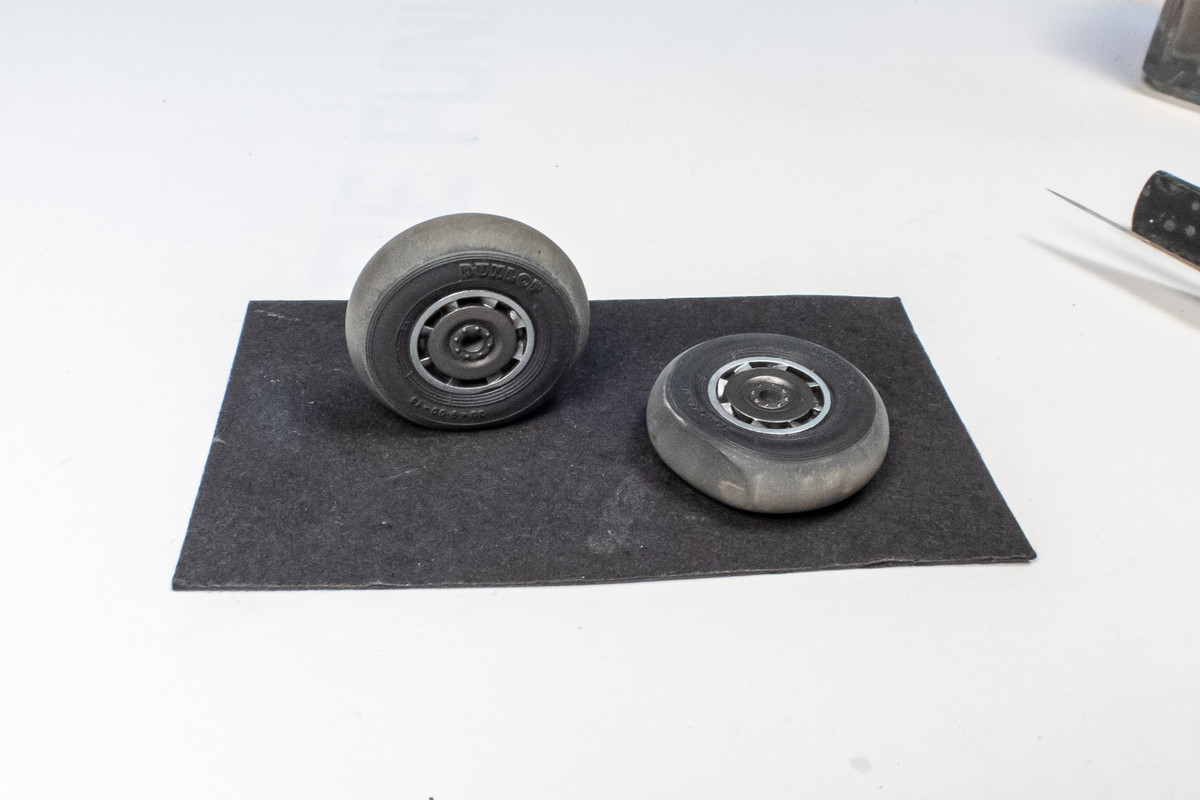
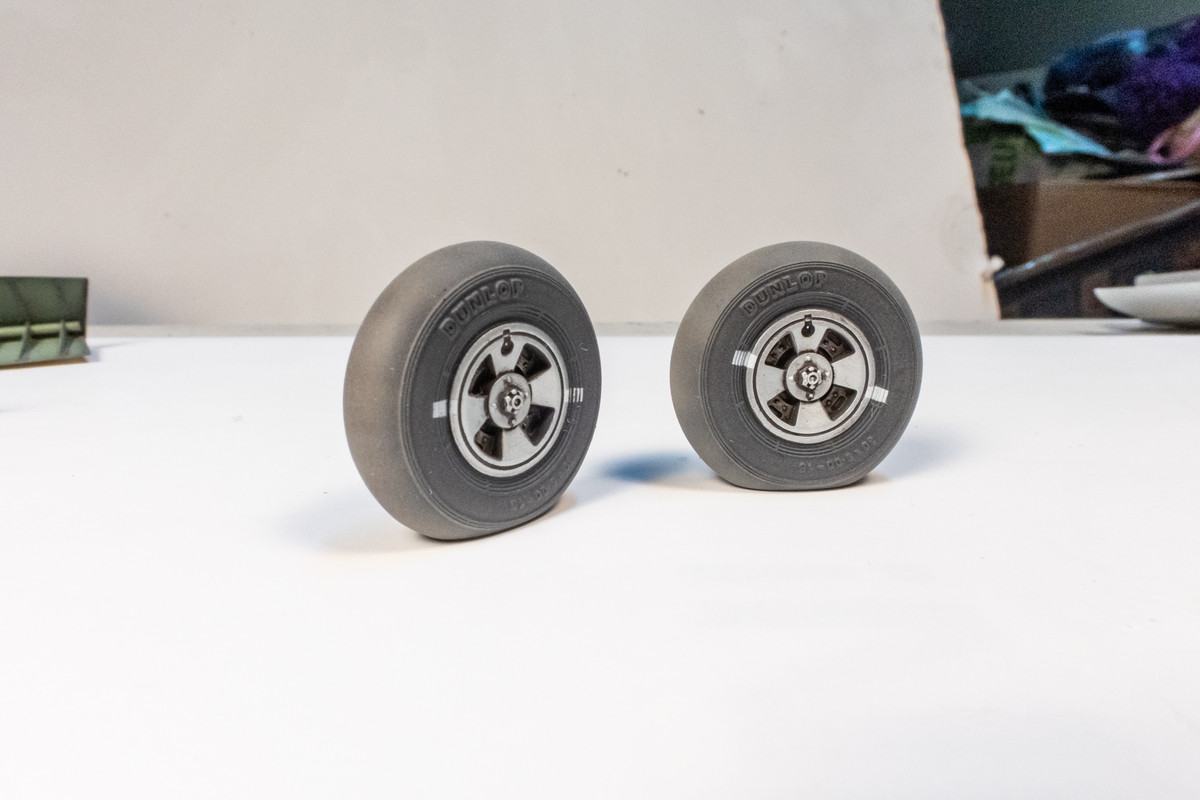
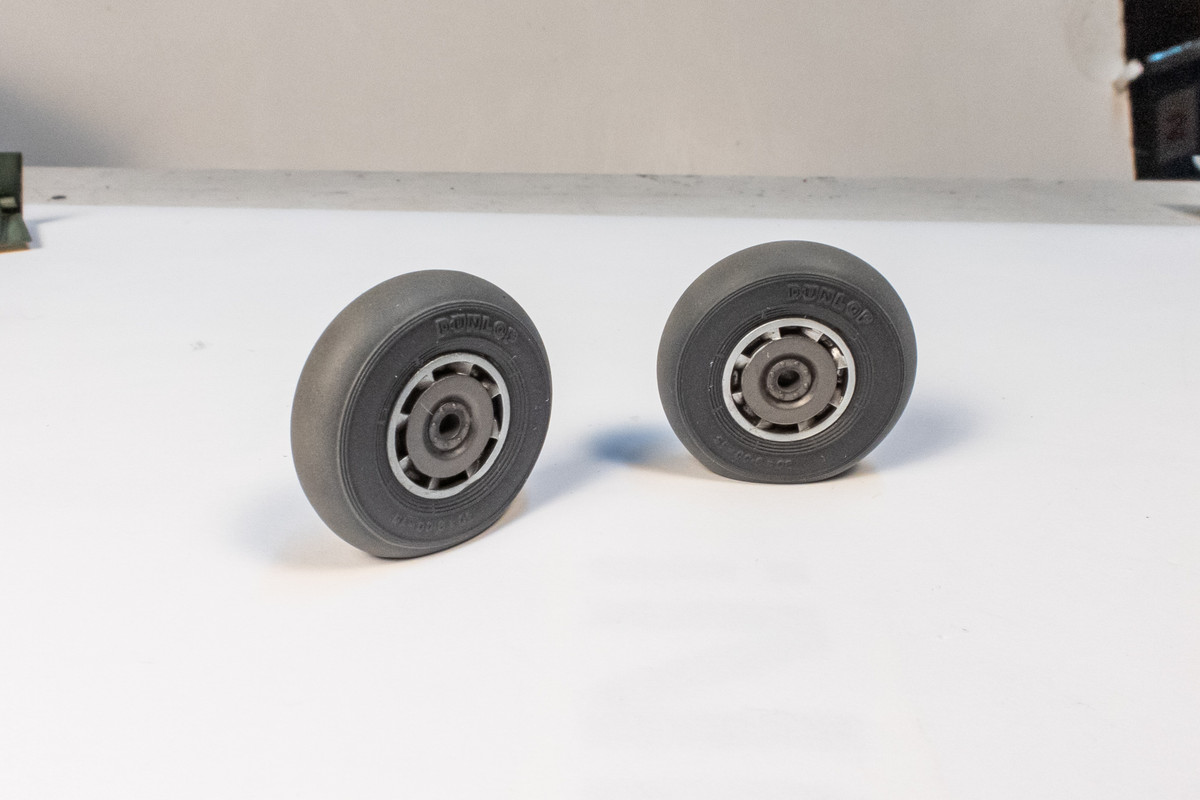
The wheel hubs were painted White Aluminum and then masked off. . The tires were painted a mixture of Red Brown and Black. A lighter tan color was added to the mix in stages and this was applied to the contact surface of the tire in subsequent layers.
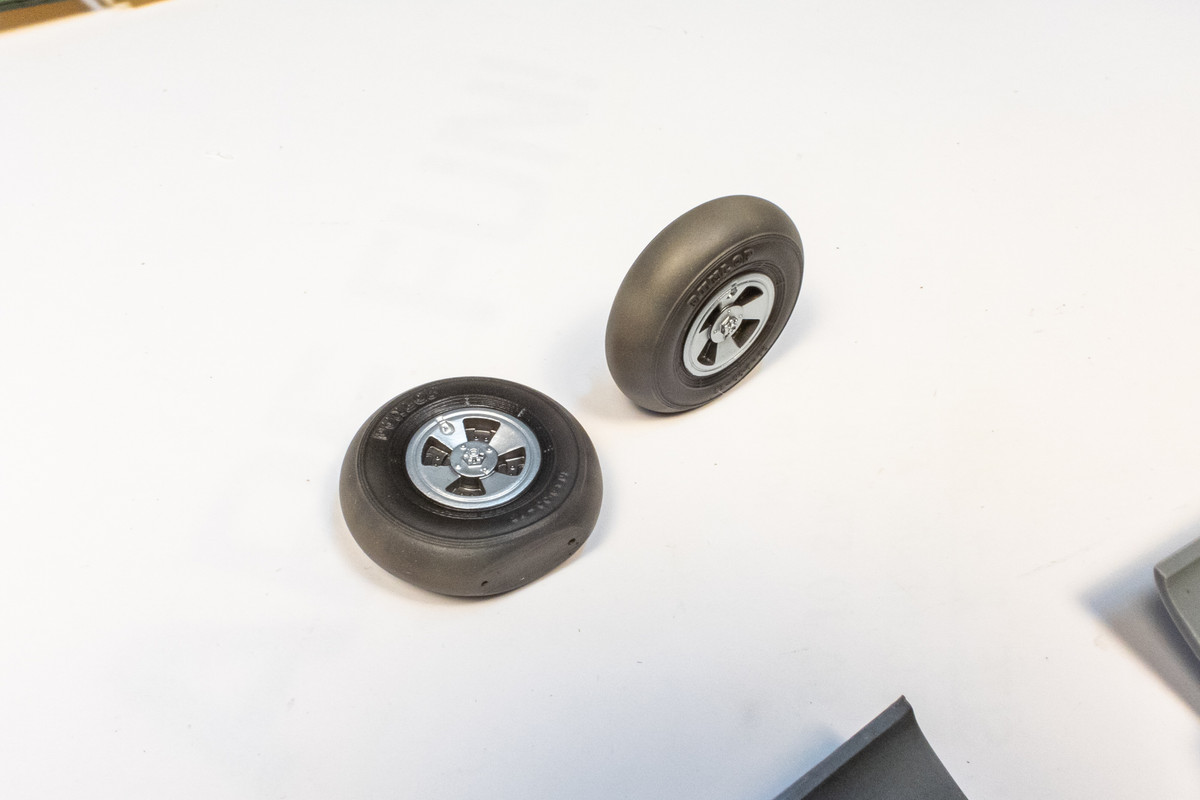
After the base colors, I painted the white alignment marks and gave the wheels a dark pastel wash. This is what the tires look like after a flat coat. There is still one more round of weathering that I am going to perform.
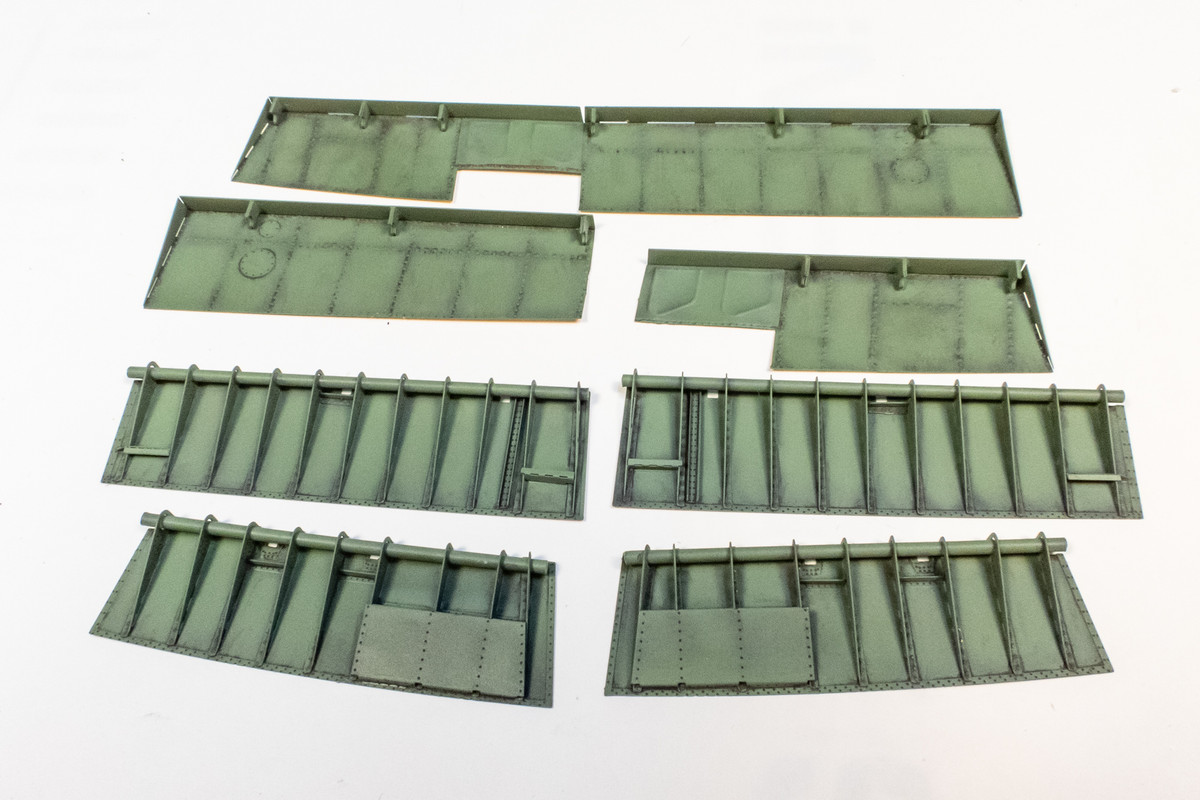
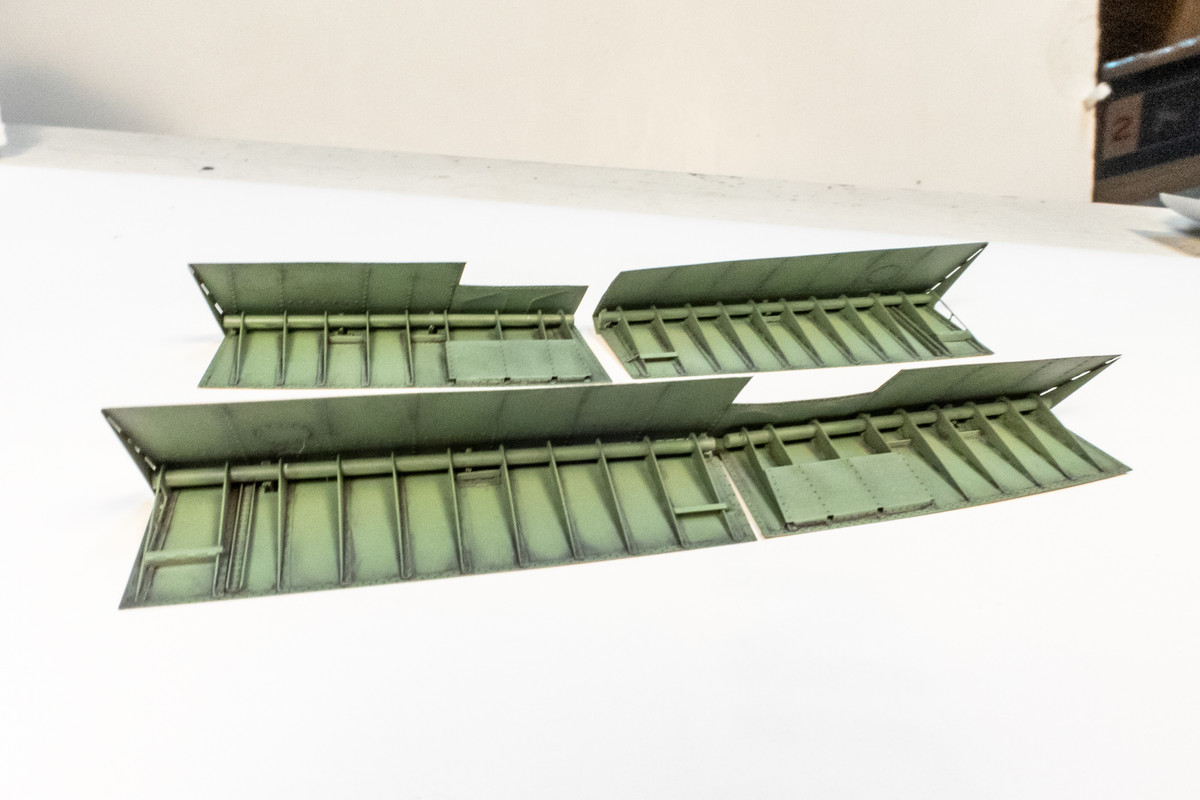
The flap interiors were given a gloss coat and then a dark brown pastel wash to highlight the rivet details. I may do some light post-shading here and then I'll prime the outsides of the lower flaps for exterior painting.
Re: 1/32 Special Hobby Hawker Tempest Mk V
Posted: Mon Apr 25, 2022 10:59 am
by Medicman71
Wow! Such incredible work!
Re: 1/32 Special Hobby Hawker Tempest Mk V
Posted: Mon Apr 25, 2022 3:59 pm
by BlackSheep214
Re: 1/32 Special Hobby Hawker Tempest Mk V
Posted: Mon Apr 25, 2022 6:20 pm
by Floki
Excellent work
Re: 1/32 Special Hobby Hawker Tempest Mk V
Posted: Mon Apr 25, 2022 9:26 pm
by jkim