Page 3 of 41
Re: Revell '56 Ford F-100 "Street Demons" series
Posted: Mon Mar 30, 2015 1:48 am
by Stuart
Looking Good! That's look the business when painted up!
I'd go for nitrous - nitrous is your friend!
Re: Revell '56 Ford F-100 "Street Demons" series
Posted: Mon Mar 30, 2015 11:01 am
by mustang1989
Thanks portman!
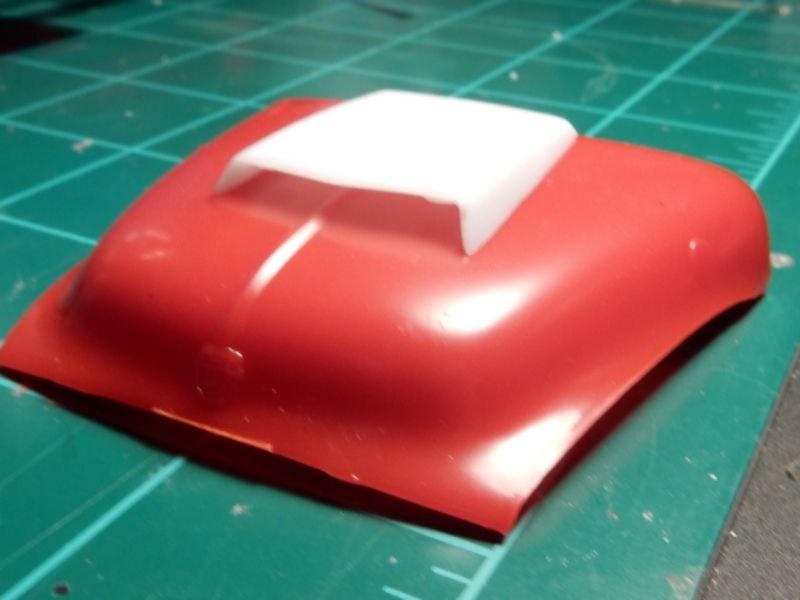
Since the carburetors are going to interfere with the hood line I'll have to make a cut out in the hood and install the Boss 429 hood scoop from Revell's Boss 429 Mustang kit. I'm wondering if this is gonna work........ It's growing on me by the second!
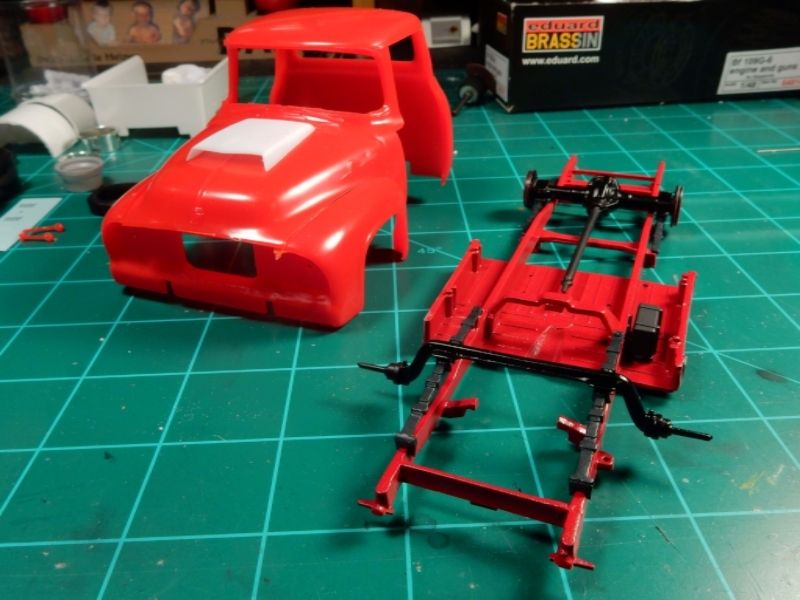
I've got most of the frame and suspension set up the way I want it. I'm not as far along as what I wanted to be but I'm one heck of a lot further than what I was. I kept the front suspension OOB for two reasons: 1) I wanted to keep it that way for nostalgia's sake and 2) in keeping it OOB it made things a lot easier so I'll be able to concentrate most of my efforts on under the hood the same way I did my recent Challenger build( Oh man! This is gonna take forever!!)
Re: Revell '56 Ford F-100 Body and frame updates 3-30
Posted: Mon Mar 30, 2015 6:51 pm
by mustang1989
Thanks Jimmy!! Man I aint tryin' to convert or anything but I bet you that you'd do great. You're a good modeler and innovative at that. You'd do fine.
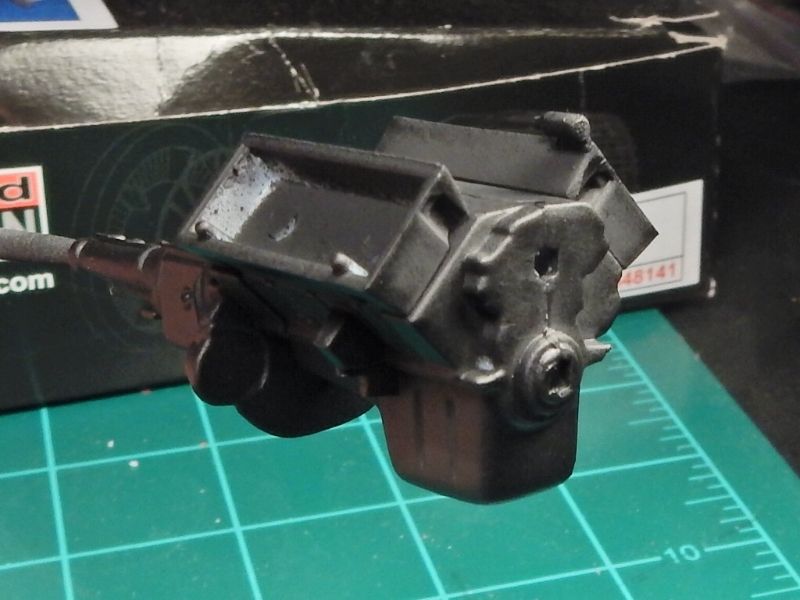
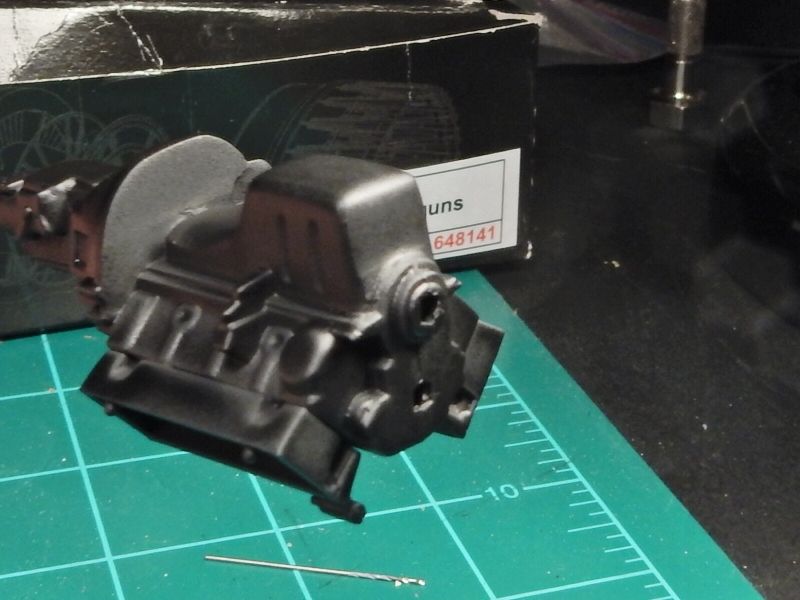
I started on the engine assy this morning. I primed the long block in black in my typical fashion. I like walking my shades of paint dark to light rather than the other way around and this offers some level of pre-shading for the dark crevices and all.
I've already smoothed out most of the seams on the pan and transmission. The ones behind the water pump will be hidden.
Re: Revell '56 Ford F-100 Body and frame updates 3-30
Posted: Tue Mar 31, 2015 1:50 am
by Stuart
That's coming along great guns! - The chassis is looking good!
I like the Air-scoop - I think I'd go for that as well.
Re: Revell '56 Ford F-100 Body and frame updates 3-30
Posted: Tue Mar 31, 2015 5:57 am
by LyleW
I'd vote for the 4 year old...just because. Looking good, Joe.
Re: Revell '56 Ford F-100 Body and frame updates 3-30
Posted: Tue Mar 31, 2015 8:01 am
by mustang1989
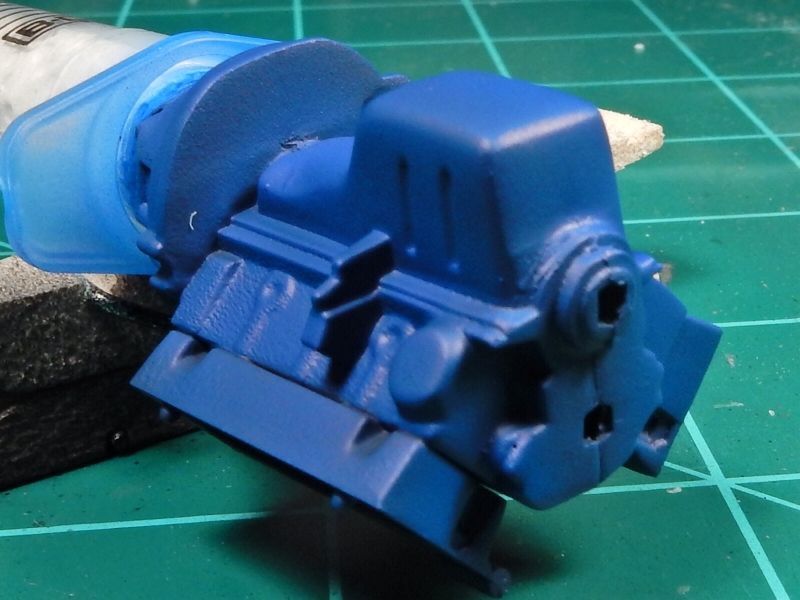
Thanks fellas! I shot some paint on the engine this morning and will more than likely throw a little more paint on it. After that it's off to a gloss coat, a very light wash and then matte finish will be shot on.
Re: Revell '56 Ford F-100 Body and frame updates 3-30
Posted: Tue Mar 31, 2015 10:20 am
by mustang1989
I hear you on that! I've seen instances like that too. There was this one guy in Yoakum, Tx. that had a Mustang bone yard and it was WELL laid out and organized. I can't begin to tell you how many Mustangs he had in that place but there were hundreds I can tell you that. Anyway, I went back some years later on my own on a trip up north and found out from the locals that he had died......................and crushed out every Mustang in the place so nobody else could have them.
I've always had a soft spot for these trucks as well which is why I bought the model as a kid but will never be able to afford one and do with it what I want to do. I'm a big Fox body Mustang fan as well and would like nothing better than to have another 87-93 coupe and throw a 460 in it. Believe it or not they go in like stock stuff and fit under a stock hood with 1-1/2" spacers between the K-member and the body.
Re: Revell '56 Ford F-100 Body and frame updates 3-30
Posted: Wed Apr 01, 2015 10:50 am
by mustang1989
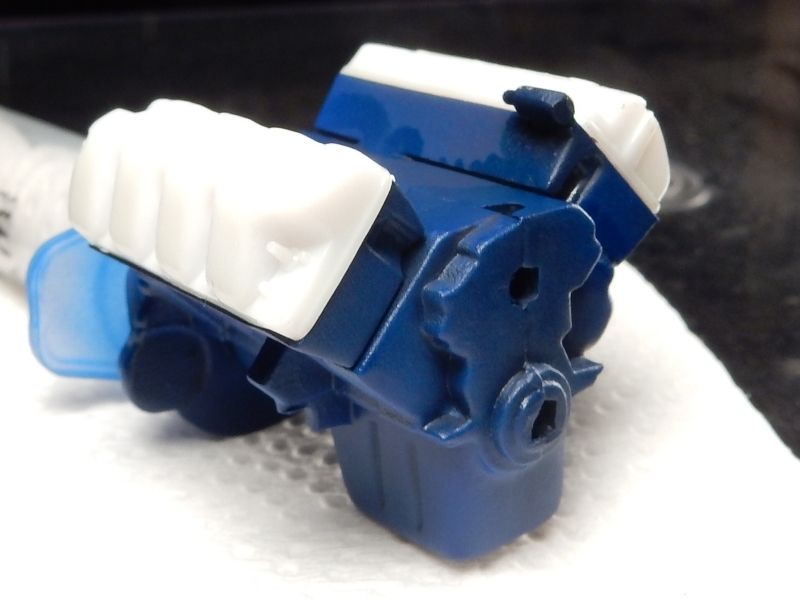
Ok I applied the wash and let it dry for 3 hours.........................did I mention I've been up since 1:00 AM???? Couldn't sleep so I hit the bench. Oh well, I'll pay for it later! After drying I hit the engine with a coat of Vallejo Matte Finish. It worked like a charm. Then I Easy Off'd the chrome rocker covers as these will ultimately get an Alclad coating. I managed to base coat the starter and the exhausts. I installed the steering linkage on the front end (this may give me a little trouble later but I think I can tweak things a little and get by with the oversight), sand the other rear tire and spray another coat of gloss black on the front wheels in preparation for the Alclad that will be applied next week.
In the pic below if you look closely you can see subtly darkened areas on the timing cover. Just enough to get the effect going. The intake manifold side of the L/H head shows the residue left behind by the wash. I also did some carving on the rocker covers to get them to fit flush