Page 3 of 5
Re: 1/72 Italeri F-5F
Posted: Tue Aug 16, 2016 5:10 pm
by Fermis
What in the wide-wide world of sports is goin on 'round here?!!!
Re: 1/72 Italeri F-5F
Posted: Tue Aug 16, 2016 7:00 pm
by Paul
Hey, it's Slim Pickens!
Re: 1/72 Italeri F-5F
Posted: Sun Aug 21, 2016 5:14 pm
by Fermis
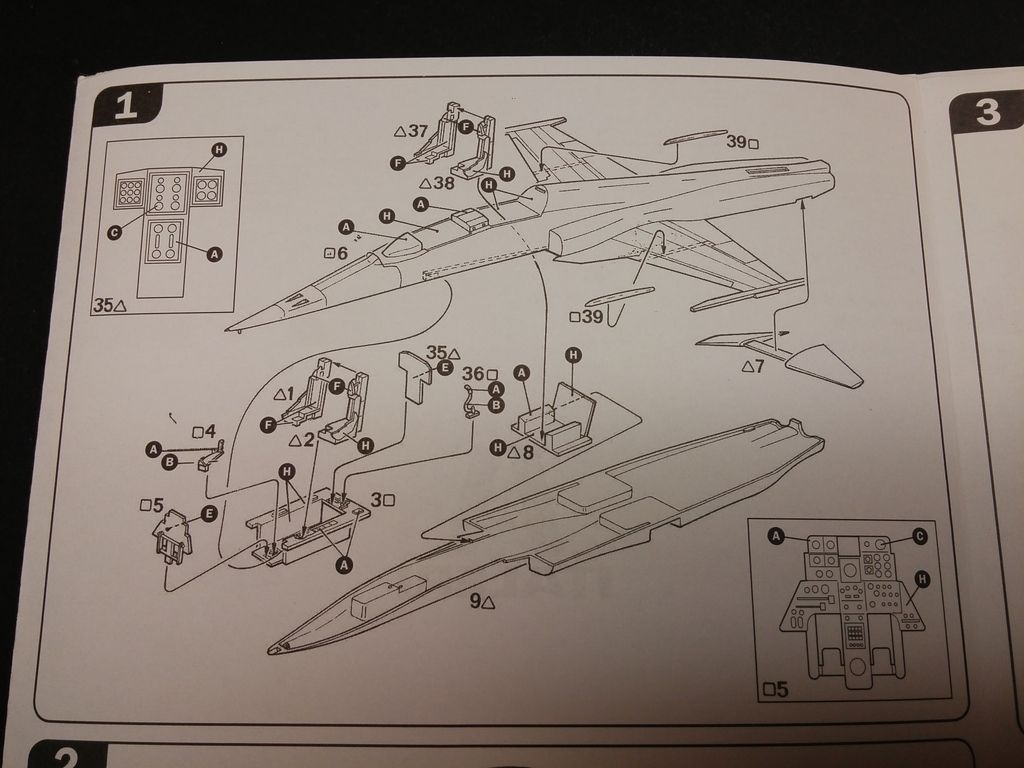
Step 1 covers the cockpit and fuselage...
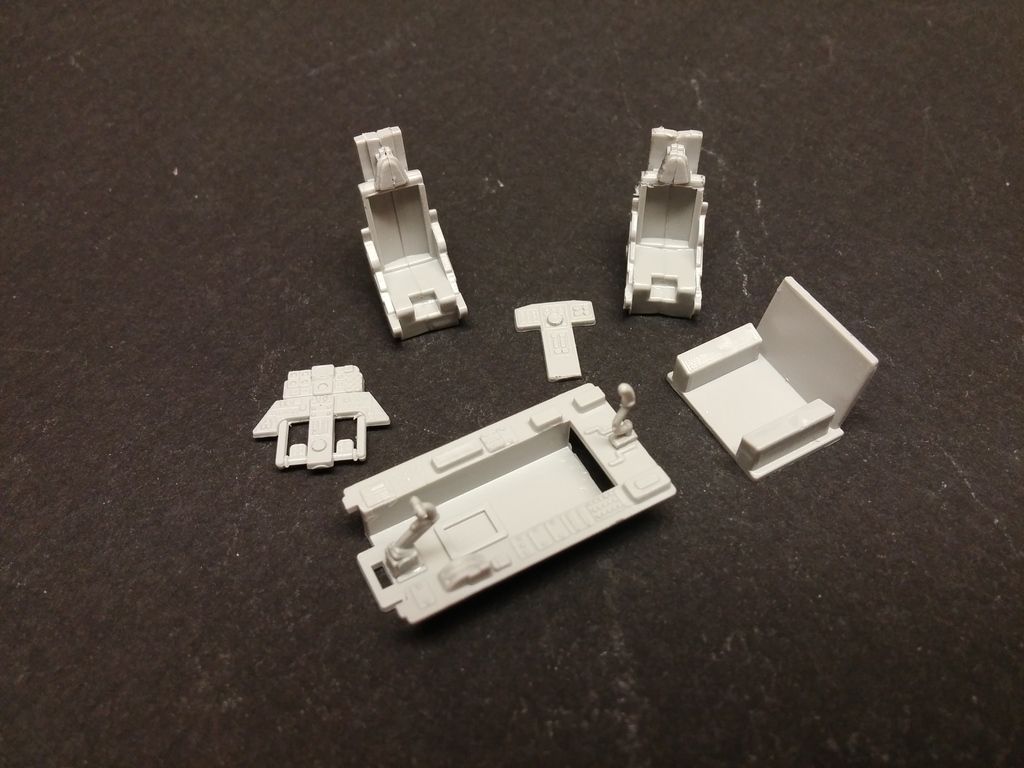
The basic components of the pit...
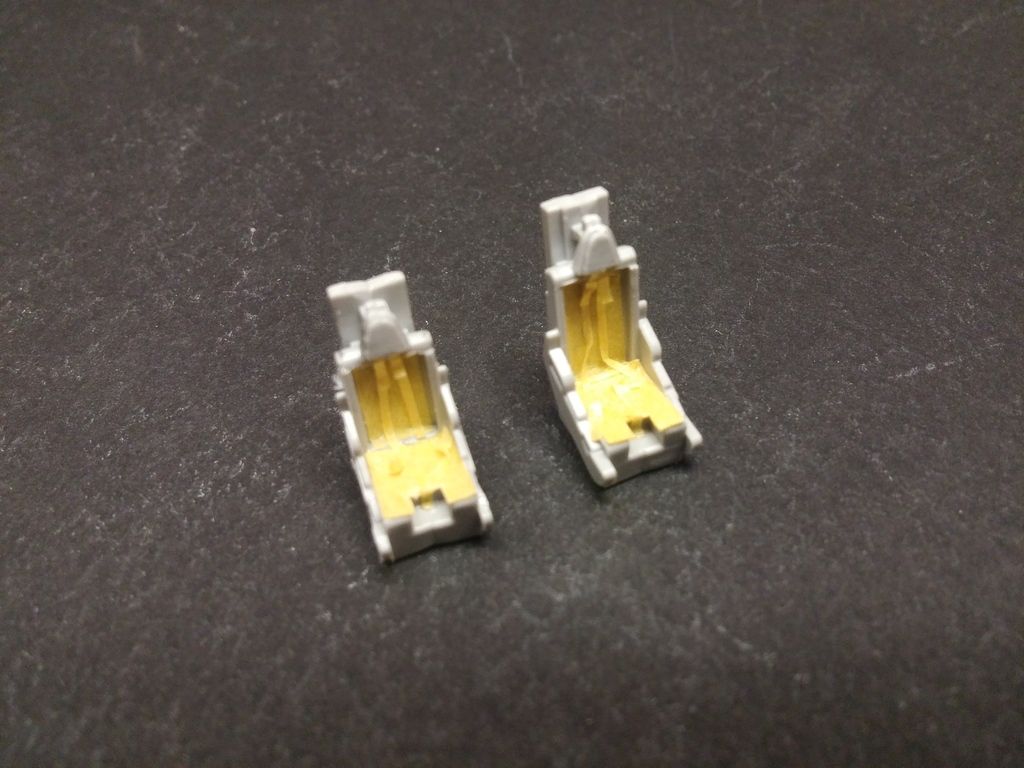
The seats are done in side/side halves, leaving a seam up the middle. I know this is supposed to be completely OOB...and had there been pilot figures, I would have used them to hide the seam. Instead, I used some Tamiya tape to make the seat cushion and hide the the seam up the back rest. Also, used tape to make basic harnesses.
All painted up and closed in the fuselage...
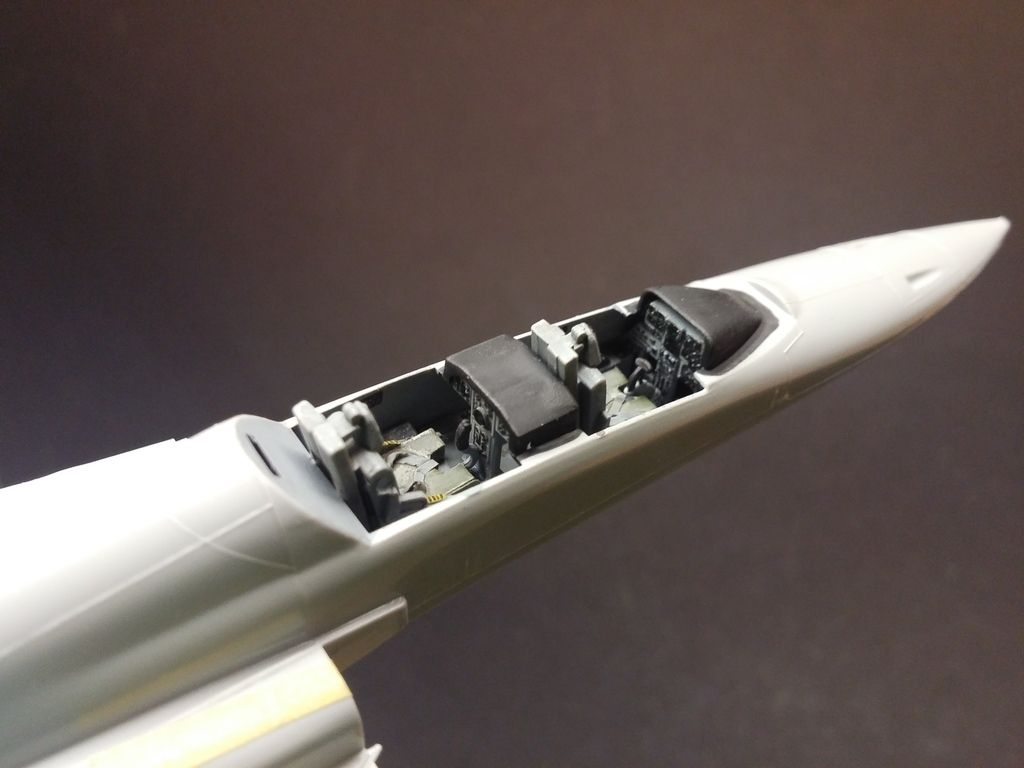
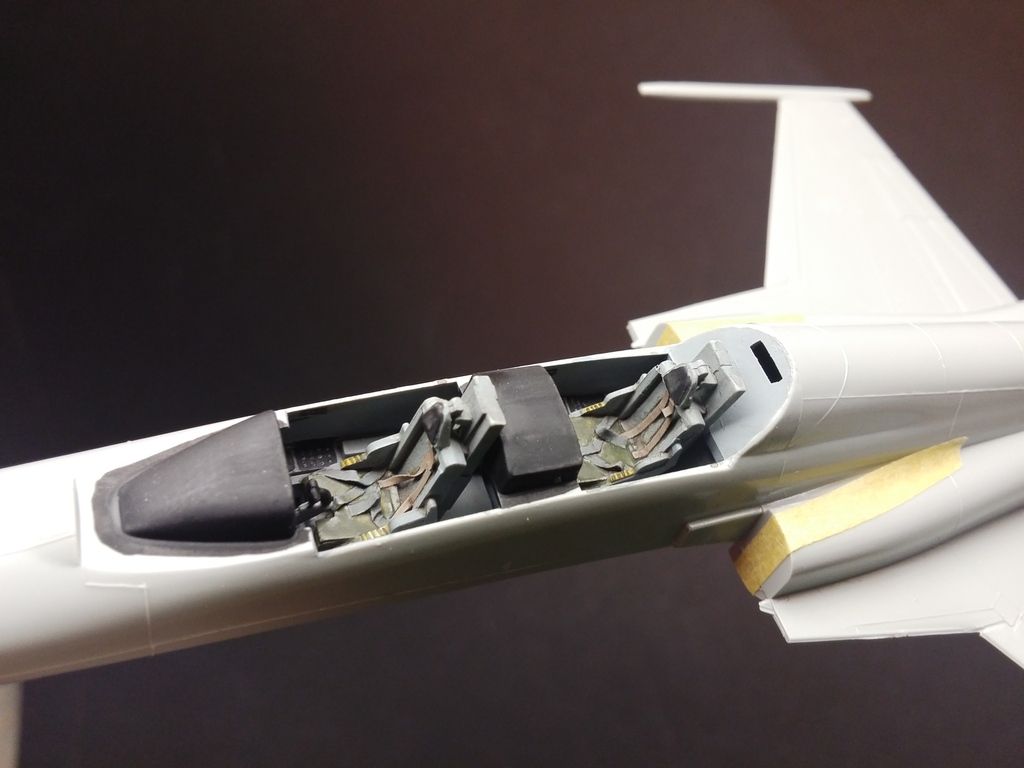
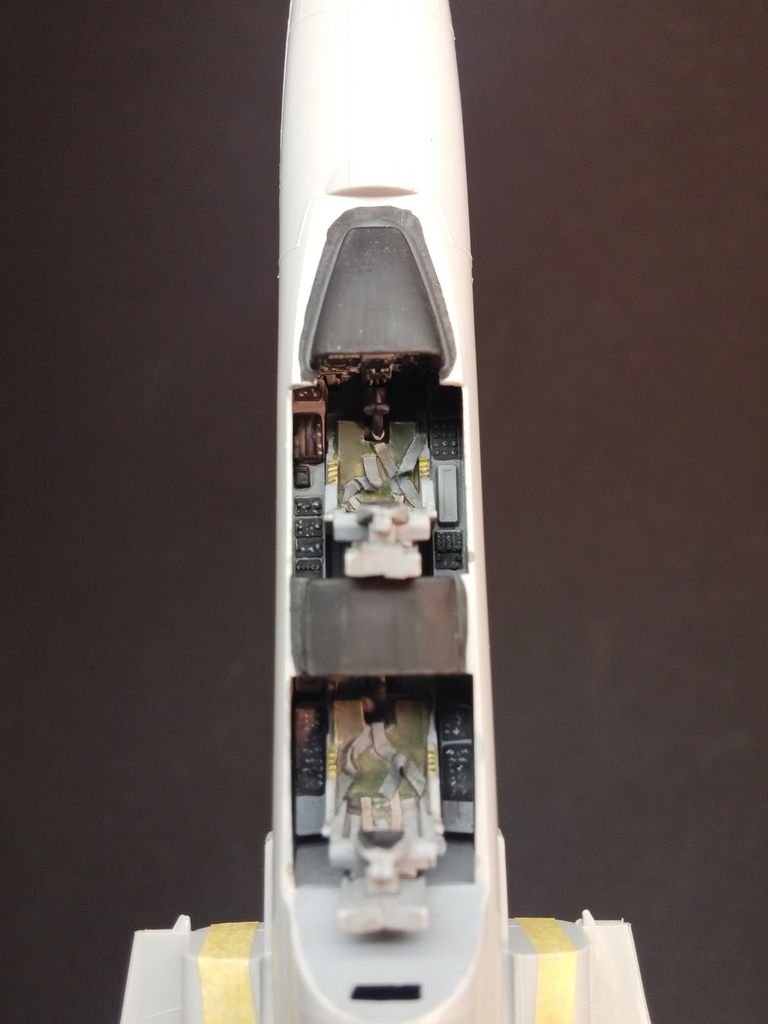
You can see in one of the pics, that the front IP sits a little low...that is 100% my own fault. The front tub mounts to the upper fuselage half, while the rear tub mounts to the bottom half. I glued the tubs in place, then glued the fuselage halves together....I added the seats afterwards. I pushed down a little too hard on the front seat, pushing the front tub down a little bit. It WAS a good fit, before I messed it up. Otherwise, everything has been a decent fit, thus far.
Re: 1/72 Italeri F-5F
Posted: Sun Aug 21, 2016 8:24 pm
by Stikpusher
Adding to a review build?

Well it looks great! Especially with the additions!

Re: 1/72 Italeri F-5F
Posted: Mon Aug 22, 2016 12:26 am
by Thomas_M
Nice and easy fix of the seam down the middle of the bang seats!
Re: 1/72 Italeri F-5F
Posted: Mon Aug 22, 2016 12:20 pm
by LyleW
We will let you off the hook!

Looking might nice.
Re: 1/72 Italeri F-5F
Posted: Tue Aug 23, 2016 3:30 am
by Stuart
That's a superbly painted cockpit Fermis - and a good use of simple additions.
If you don't mind me asking - how did you paint the control panels on the side consoles without going over the light grey cockpit colour with the black? Are they painted, or did you do them with a sharpie paint pen or something similar?
The definition you’ve achieved is really good – and it’s something I’d love to improve on my own jet builds in the future.
Cheers!
Re: 1/72 Italeri F-5F
Posted: Tue Aug 23, 2016 6:17 am
by Fermis
portman wrote:That's a superbly painted cockpit Fermis - and a good use of simple additions.
If you don't mind me asking - how did you paint the control panels on the side consoles without going over the light grey cockpit colour with the black? Are they painted, or did you do them with a sharpie paint pen or something similar?
The definition you’ve achieved is really good – and it’s something I’d love to improve on my own jet builds in the future.
Cheers!
Everything has been brush painted. Everything in grey, first. Then black...then a little bit of white for the fine details.
Re: 1/72 Italeri F-5F
Posted: Tue Aug 23, 2016 3:15 pm
by Stikpusher
Fermis wrote:portman wrote:That's a superbly painted cockpit Fermis - and a good use of simple additions.
If you don't mind me asking - how did you paint the control panels on the side consoles without going over the light grey cockpit colour with the black? Are they painted, or did you do them with a sharpie paint pen or something similar?
The definition you’ve achieved is really good – and it’s something I’d love to improve on my own jet builds in the future.
Cheers!
Everything has been brush painted. Everything in grey, first. Then black...then a little bit of white for the fine details.
(note to self- must try these techniques...)

Re: 1/72 Italeri F-5F
Posted: Fri Aug 26, 2016 3:22 pm
by Fermis
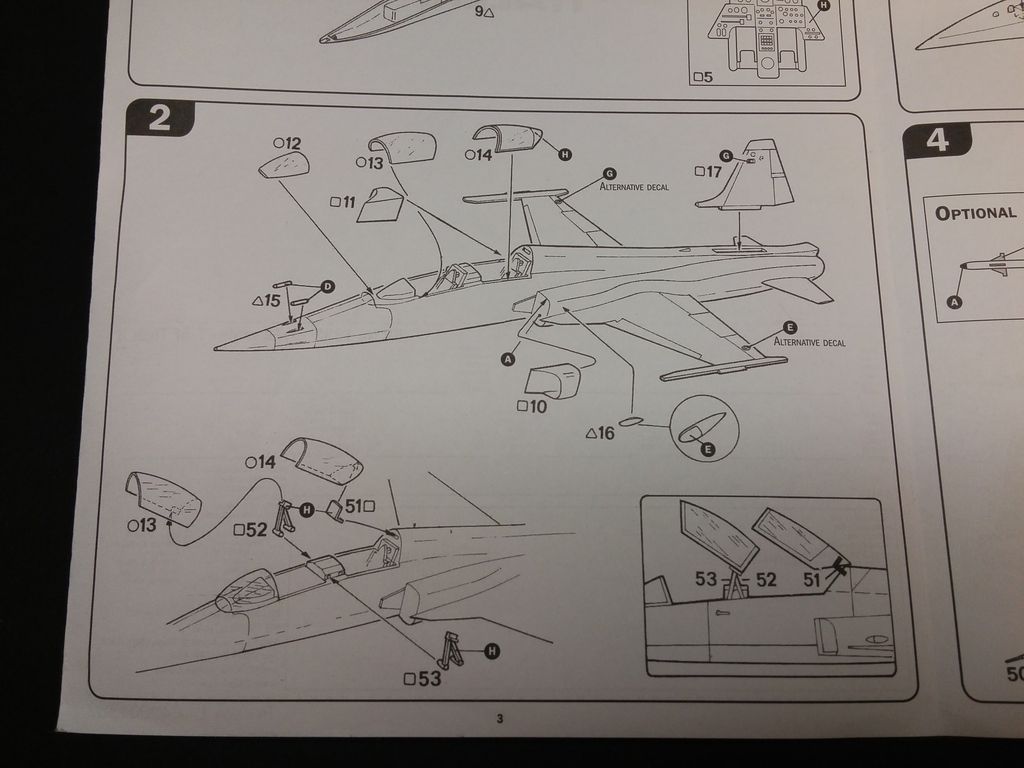
Step two cover tail, intakes, canopy and some misc. bits.
The tail should have a flat piece on top. It is not mentioned in the instructions, but I did find what I believe to be the proper piece...#47. I was planning to go with the canopy open...however, there is supposed to be a piece between the front and rear canopy...again, not mentioned in the instructions, and no part on the sprues.
You can see the part on this example (mostly red)

So...I closed 'er up.
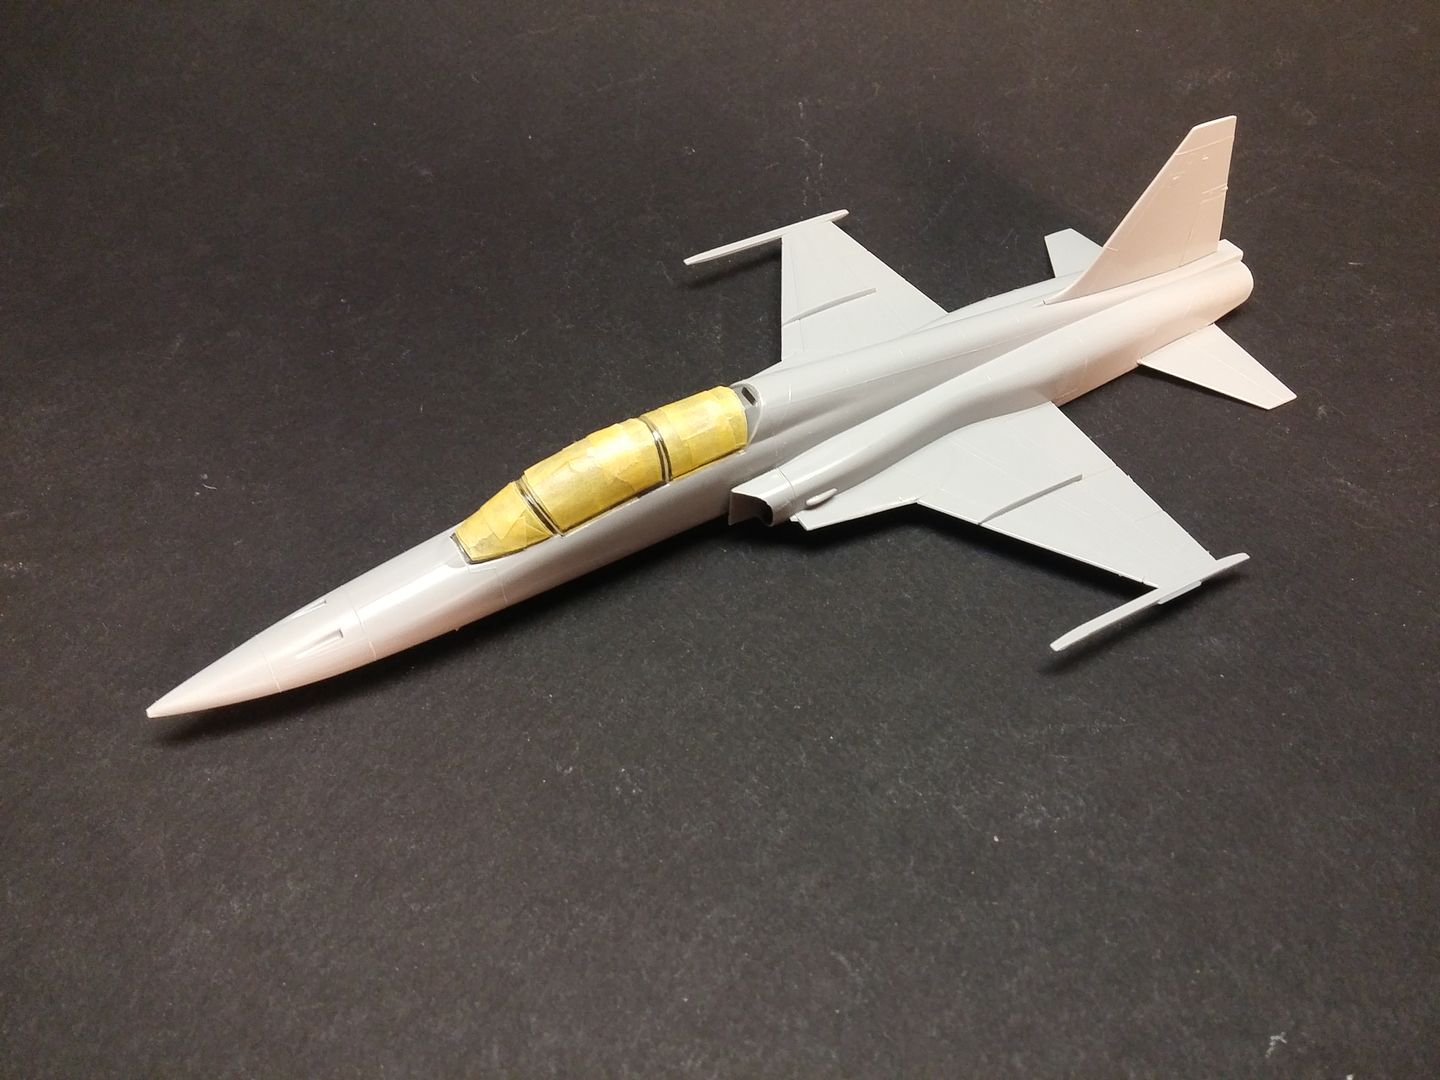
Also of note...The nose of the kit comes to a point. It should have a bit of "duck bill" shape to it. (This could easily be sanded to the proper shape though).
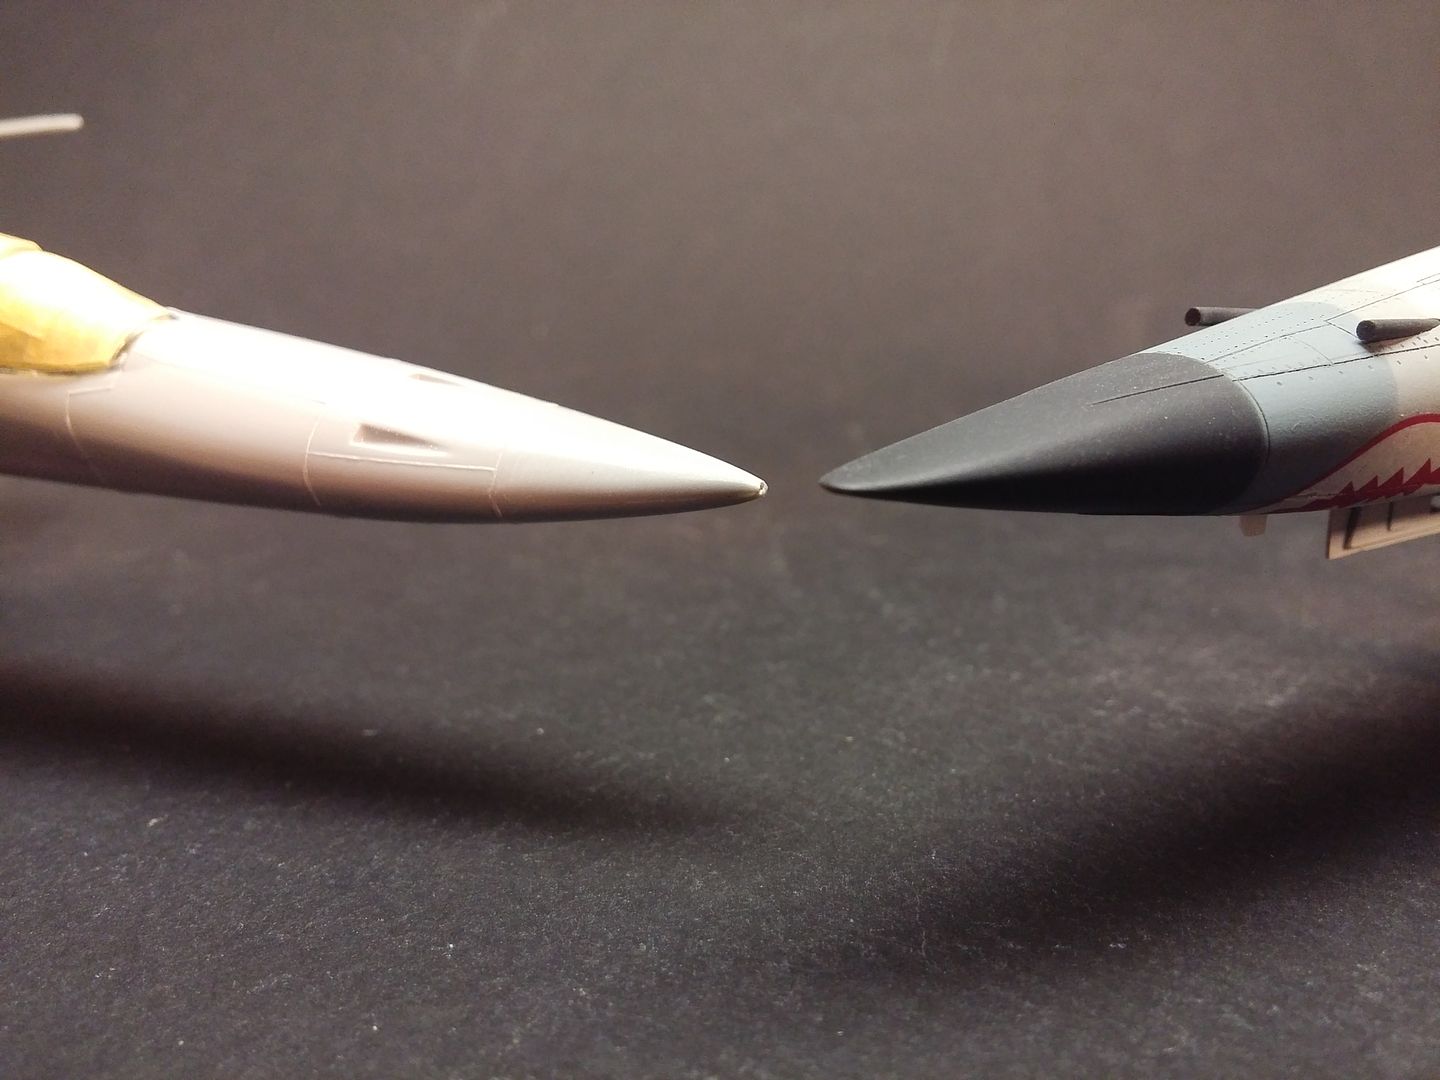
Still...no real issues with fit and things are moving along with very little hassle.