Page 3 of 6
Re: 1/72 Dragon P-61
Posted: Wed Dec 13, 2017 10:52 am
by Duke Maddog
Sharp looking plane Fermis! That is looking most impressive.
Re: 1/72 Dragon P-61
Posted: Mon Dec 18, 2017 7:41 pm
by Fermis
Got this one a little closer to painting...
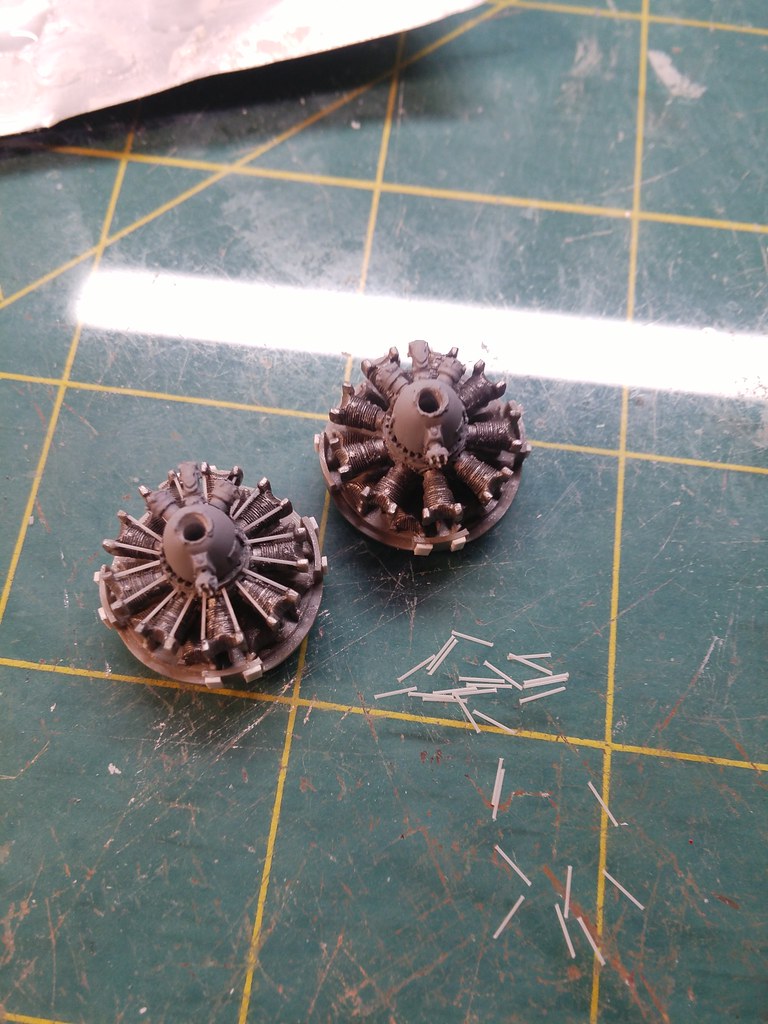
Worked the engines up. Quickboost didn't include the rods, so I used some stretched sprue for those...
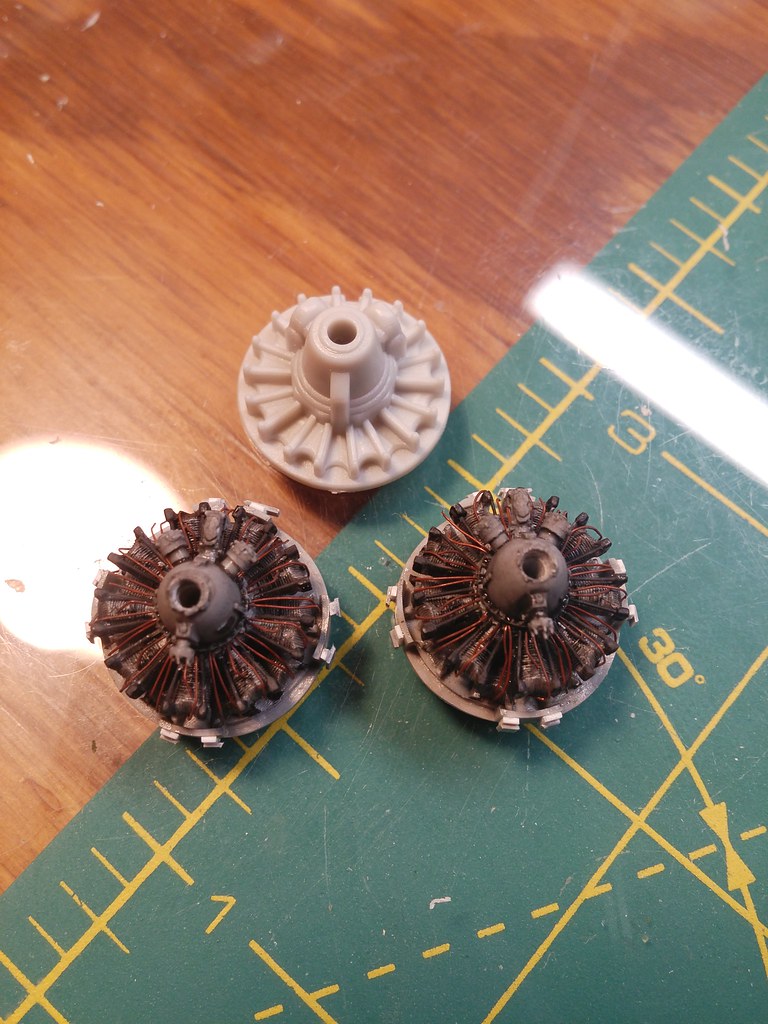
Also used some copper wire to wire up the mags...
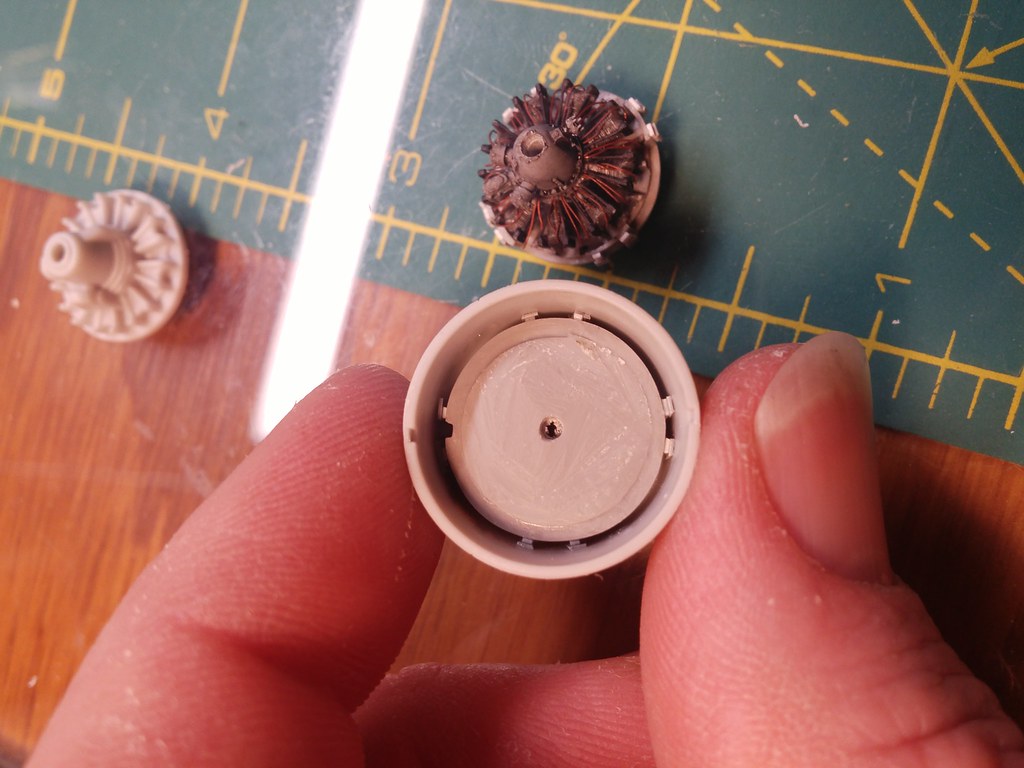
I had to add some spacers around the outside to get a snug/centered fit in the nacelles...
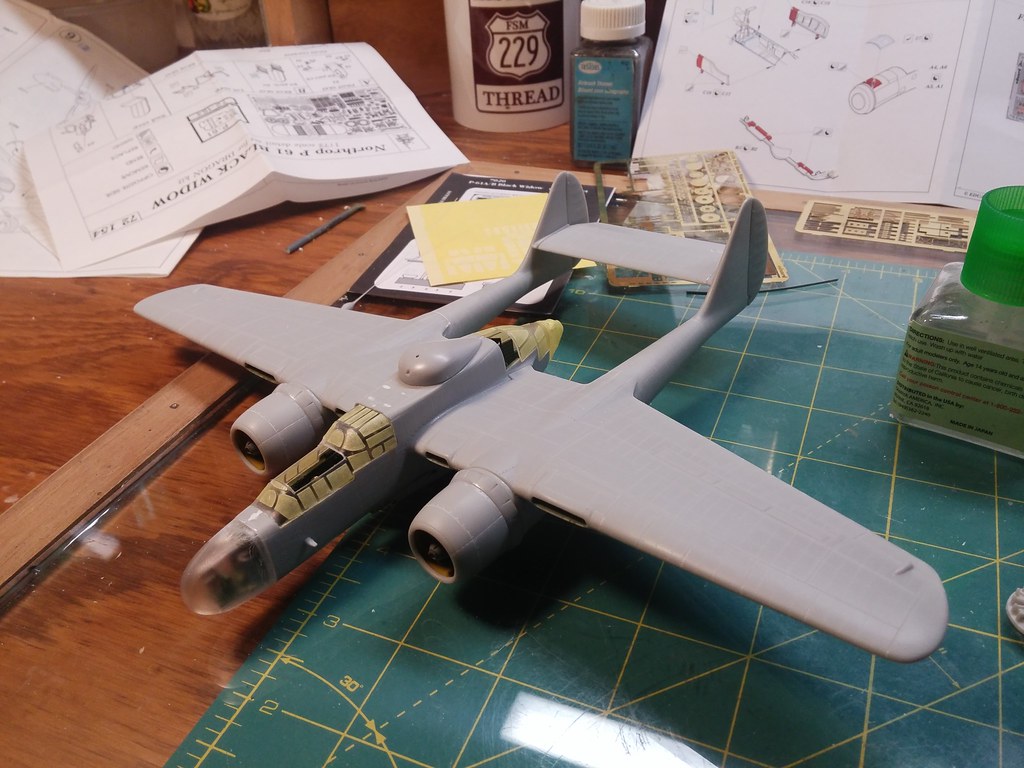
Just gotta do some masking and prep some of the fiddly bits and it'll be headed to the paint booth!
Re: 1/72 Dragon P-61
Posted: Thu Dec 21, 2017 4:16 pm
by Fermis
Got some colors thrown at this little beast!
(Pics don't show the pre-shade/highlighting effects very well at all...a bit washed out in the lighting)
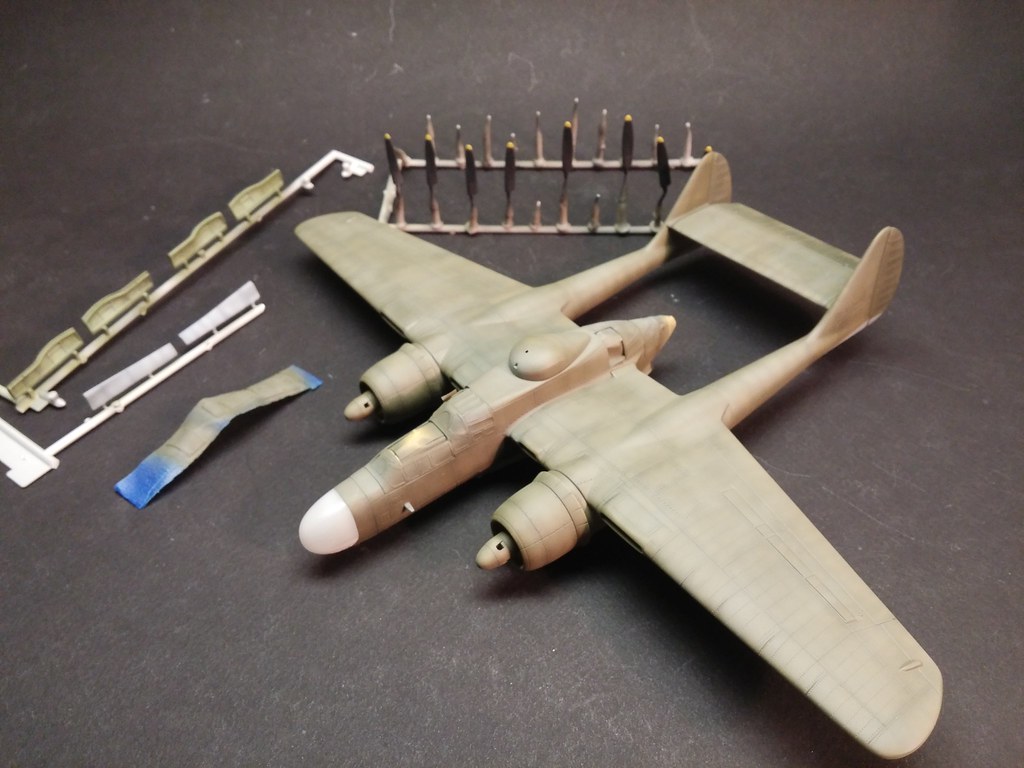
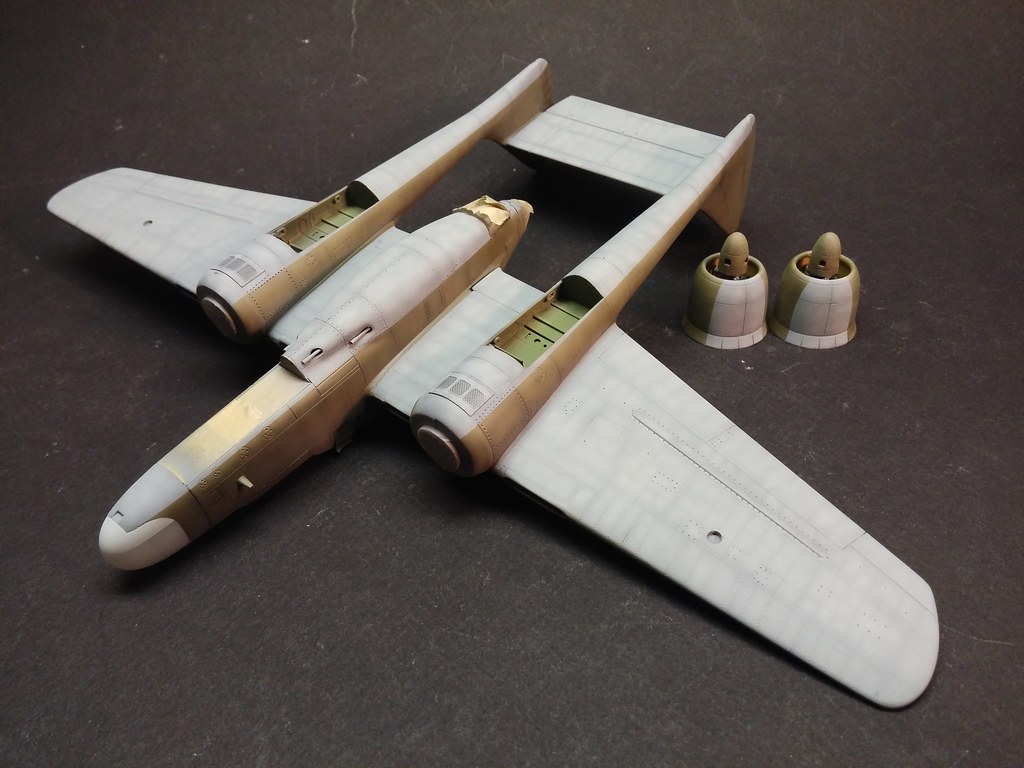
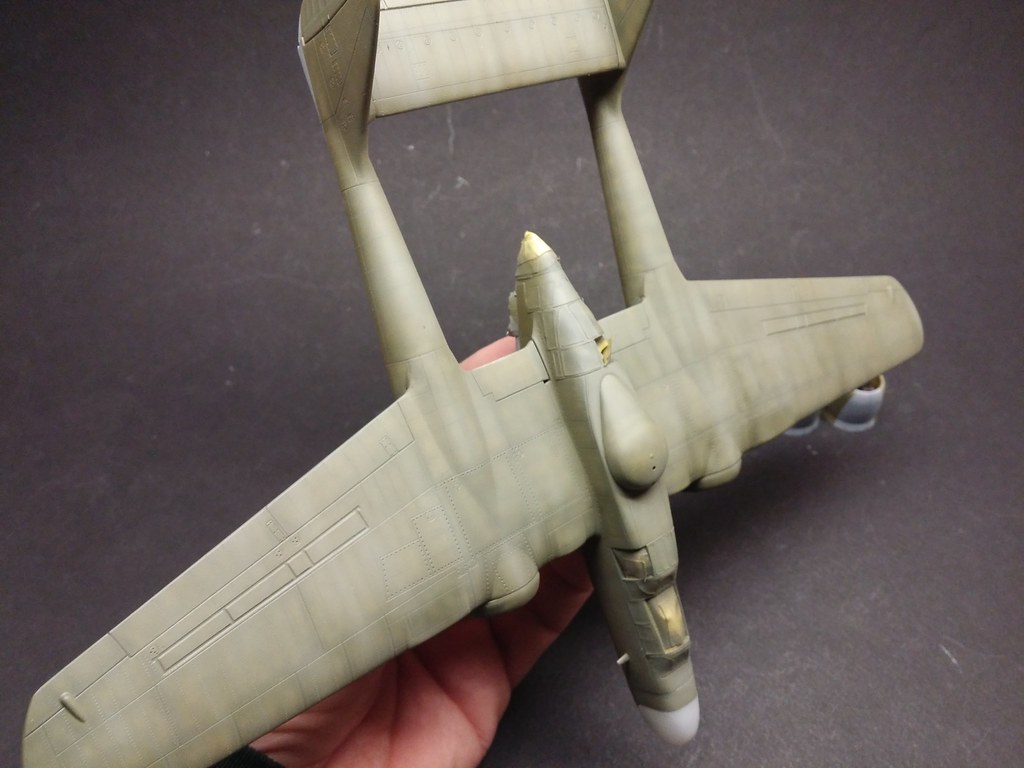
For the nose, I masked and sprayed the lower portion in a very light grey. Removed the mask and "frosted" the top portion with clear gloss, tinted with the same light grey...
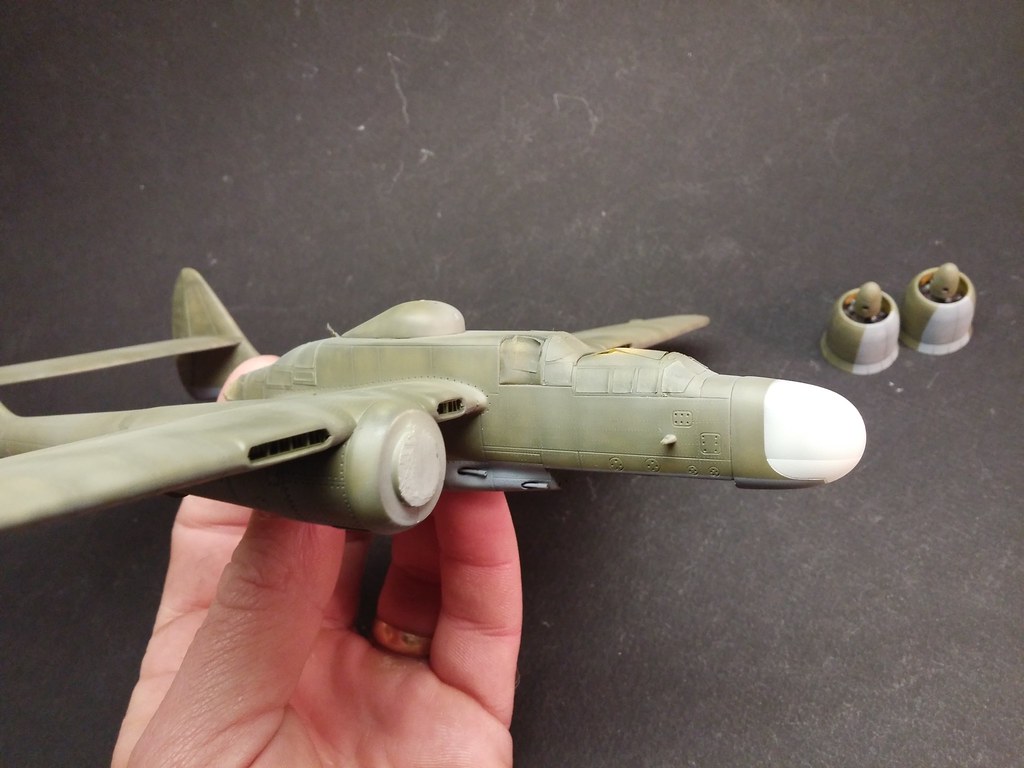
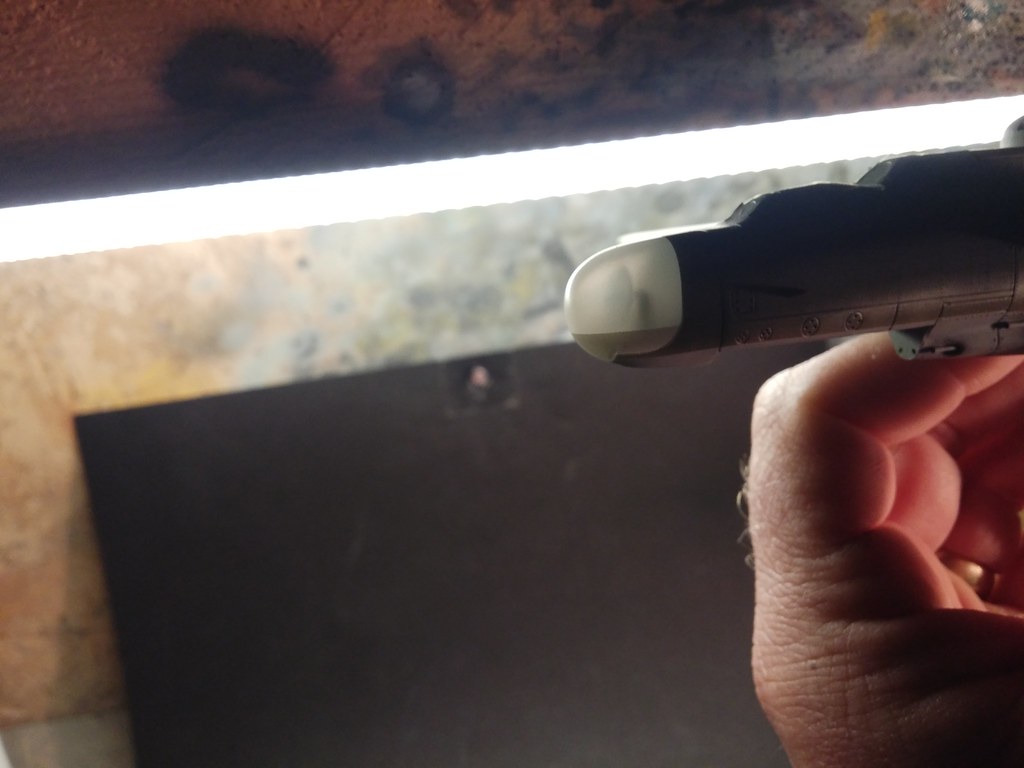
As is typical, pics don't quite tell the same story as what you actually see with the eye.
Re: 1/72 Dragon P-61
Posted: Thu Dec 21, 2017 5:10 pm
by Stikpusher
Interesting approach for the radome. It looks proper.
Re: 1/72 Dragon P-61
Posted: Sat Dec 23, 2017 4:23 pm
by Duke Maddog
That was a stroke of genius on that nose Fermis! Way to go!
Re: 1/72 Dragon P-61
Posted: Sun Dec 24, 2017 10:23 am
by Fermis
Thanks dudes!
Markings on!
The nose art and tail numbers came from an a/m set (that didn't have any of the other markings), the rest came from the kit, which were terrible. The walkway stripes ended up turning into about 56 pieces. In the process of getting them to the point of "passing"...more words I didn't even know I knew, spewed from my mouth. Once those were all done, I sealed em in with another gloss coat. For the first time, I used salt (Flickr isn't uploading that pic, for whatever reason). I wet down the model (working in sections) and dabbed on some seas salt...let dry...then sprayed lightly with a light grey, tinted clear gloss. After that dried and salt removed, I used the same tinted gloss for the exhaust staining.
The effects are a little blown out by the lighting, but there's enough there to get the idea...
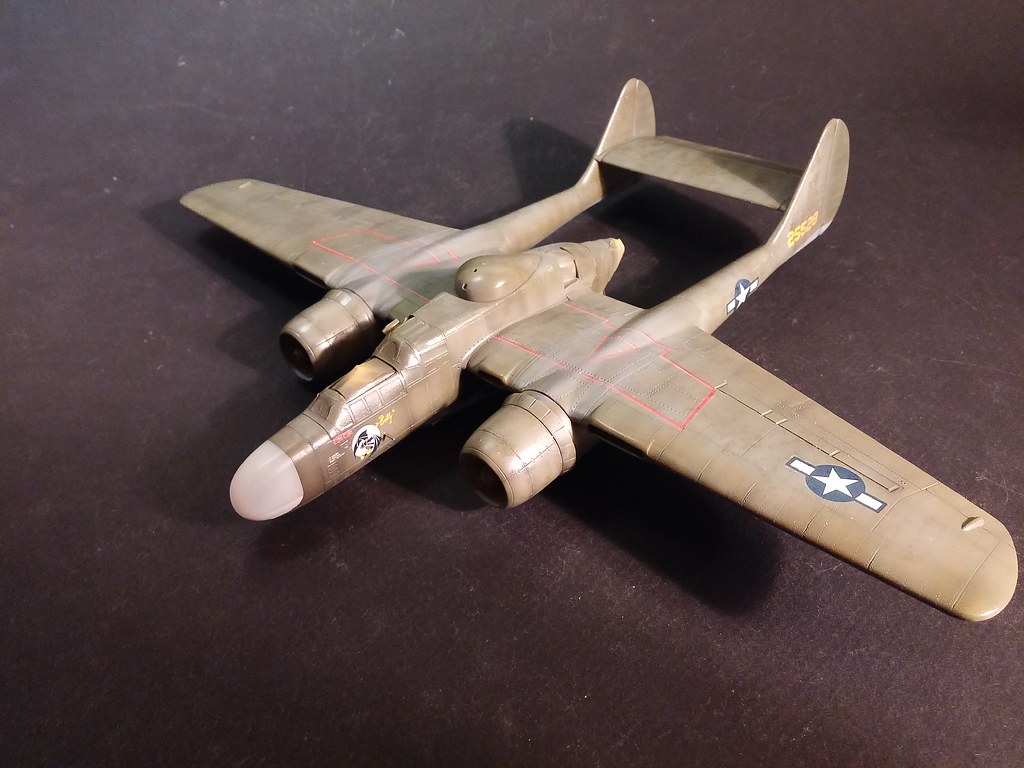
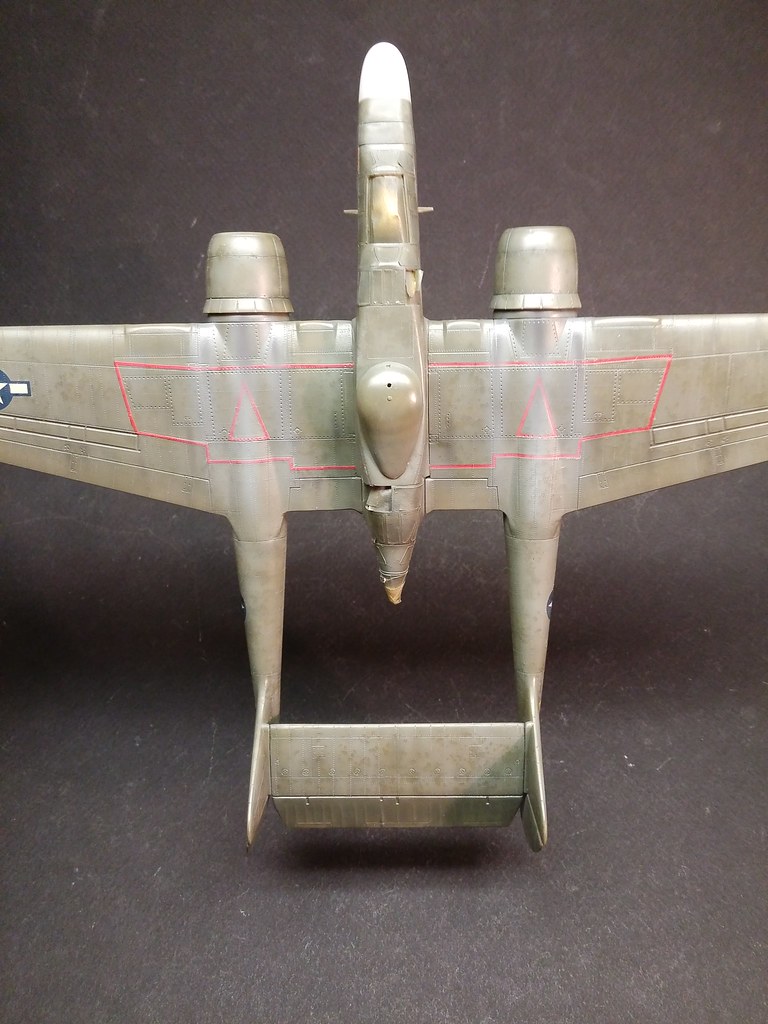
A wash, dull coat and some pastels will finish things off.
Re: 1/72 Dragon P-61
Posted: Mon Dec 25, 2017 1:27 pm
by Duke Maddog
Wow! Magnificent Fermis! Way to go!
Re: 1/72 Dragon P-61
Posted: Mon Dec 25, 2017 8:40 pm
by BlackSheep214
Re: 1/72 Dragon P-61
Posted: Tue Dec 26, 2017 11:29 am
by Stikpusher
Almost to the finish line now... can’t wait to see the final result!
Re: 1/72 Dragon P-61
Posted: Tue Dec 26, 2017 3:16 pm
by BorgR3mc0
How do you do those engines? I have a Quickboost set for the Dakota. But the wiring and rods are putting me off. So do you paint first? Then add rods and wire and the detail painting? And you you drill the holes in the engine for the wire or are those dents enough?


