Page 3 of 17

Re: BsYamato's rotors

Posted: Wed Jan 24, 2018 11:41 am
by BsYamato
Thanks :) the little german is waiting for primer, windows was already polished.

..meanwhile.. another rotor, a freezed work by few years came into the kitchen table

Image

Image

Image

Image

Image

Image

Image

Image

Image

As the old italeri tool can't be compared to the new zvezda hind family (detail level, precision and accuracy of reproduction) i decided to build it fast oob and takin advantage of some same color used on both versions :)

So , about two or three sessions and the italeri was inner painted and closed

Image

Image

Image

Image

Image

Image

Image

a quick comparation between the two kits

Image

Latest session

Image

Image

Image

Putty and sanding to come :)

Asap i'll put probably another two helos :)

At the next :drum:

Re: BsYamato's rotors

Posted: Wed Jan 24, 2018 1:32 pm
by KSaarni
Ahhah!

A 3rd kid Mil-24 on the block !

Looking good... But... Zvezda looks way better !! :-D

- Kari

Re: BsYamato's rotors

Posted: Mon Feb 05, 2018 10:20 am
by BsYamato
Heres busy bunker table yesterday, primer day on few kits (included an italeri hudson not in picture)

Image

Also intuducing two more helos:

Mil mi-4 KP, not an actual start but a freezed work of two months ago, i think :hmm:

Image

Image

Image

Image

Image

aftermarket additional decals

Image

A good weight in the nose

Image

Strange but correct inners for the KP hound

Image

testfitting

Image

primer and inner color, also glued windows

Image

IP from the box, better and more correct than the hobby boss one

Image

glued fuselage

Image

Image

Rotor, not yet finished (blades are already weighted from factory)

Image

now actual works done last night:

Glued more pieces about the fuselage

Image

Modified main rotor blades shafts with stretched sprue

Image

Image

Last pieces on the main rotor and the spoiler of the fourth mysterious helo for the GB :)

Image

At the next

Re: BsYamato's rotors

Posted: Wed Feb 07, 2018 5:21 am
by BsYamato
More works on the hound:

Added more details at the rotor housing and painted frames and some inner detail

Image

Image

At the next!

Re: BsYamato's rotors

Posted: Wed Feb 07, 2018 9:03 am
by KSaarni
Cool !

- Kari

Re: BsYamato's rotors

Posted: Wed Feb 07, 2018 9:58 am
by Stikpusher
That is looking real good BSY. What color are you using for the interior gray?

Re: BsYamato's rotors

Posted: Wed Feb 07, 2018 11:47 am
by BsYamato
Stikpusher wrote:That is looking real good BSY. What color are you using for the interior gray?
Lately i'm mixing the vallejo grey primer with needed colors for inners :cool: in this case just a little percentage of blue to give an azure touch of the color, in other case adding black or white yo darken or lighteen the color. The advantage is the better grip of the color
Re: BsYamato's rotors

Posted: Wed Feb 07, 2018 2:06 pm
by Stikpusher
Now that makes perfect sense. Especially since there seems to be a good bit of variation in Soviet Interior Grays in photos.

Re: BsYamato's rotors

Posted: Wed Feb 21, 2018 5:45 am
by BsYamato
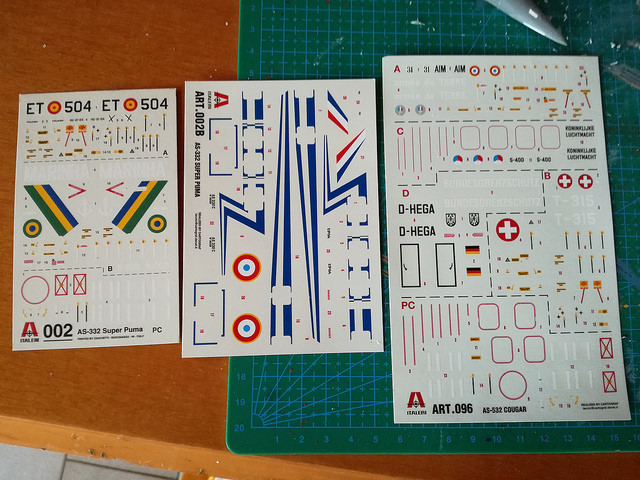
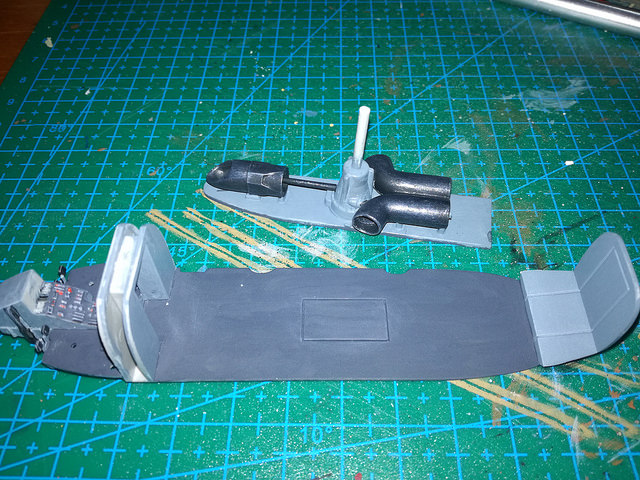
Introducind the Italeri Cougar, Swiss use i'll do

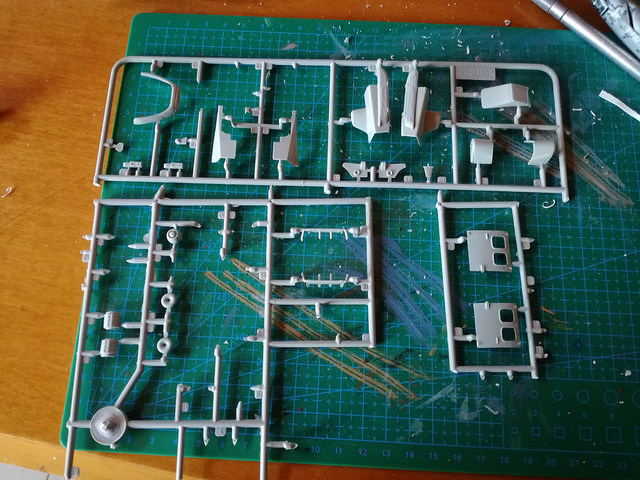
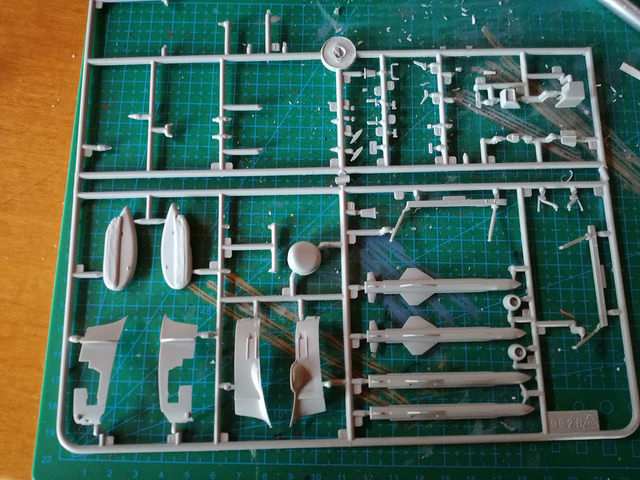
I take pictutes of complete sprues but i lost them :(
So heres actual pieces on sprues, most unused for this version

Image

Image

Image

Who gave me this kit was Italeri collaborator and fit the kit with almost all decals that italeri produced for super puma/cougar boxes

Image

But withouth instructions :yikes: and worong boxart...
So.. heres works done till now:

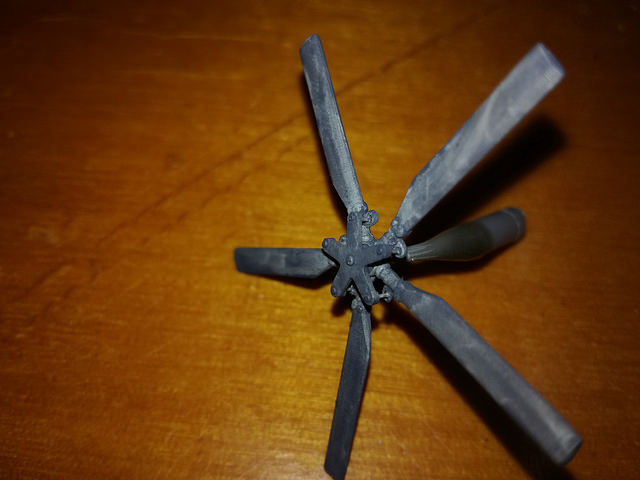
Tail rotor with black first layer ( replaced original control rods with stretched sprue)

Image

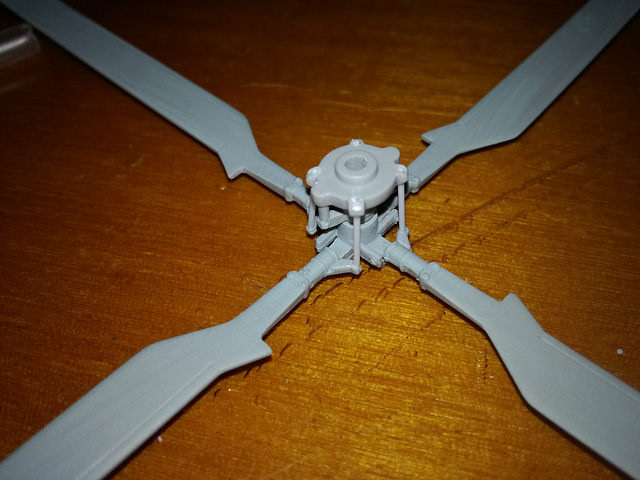
Almost same work on the main rotor, replaced original "pistons" with adeguate diameter plastic rods

Image

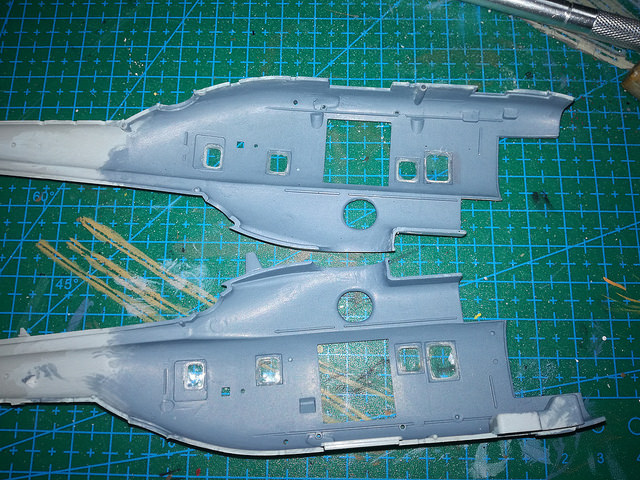
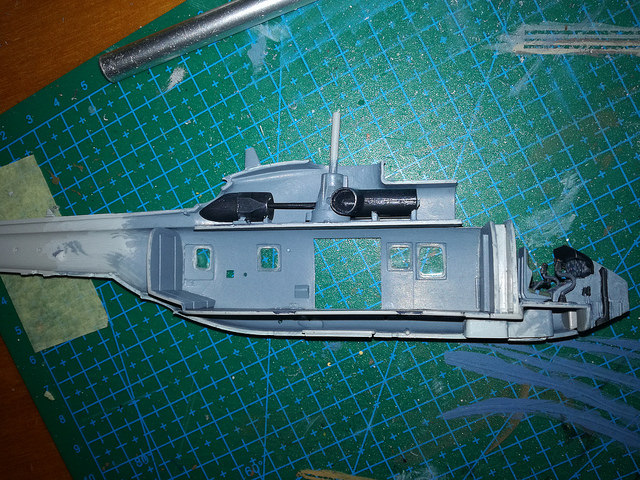
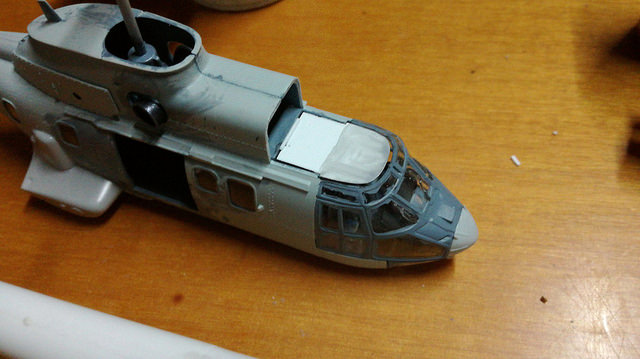
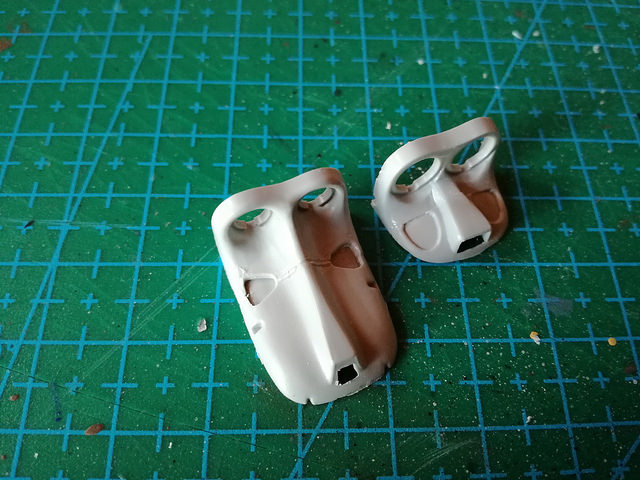
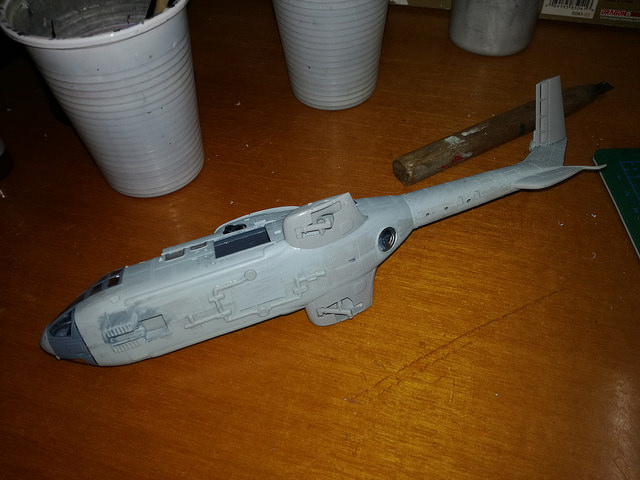
Fuselages with inner (presumed) color and windows glued

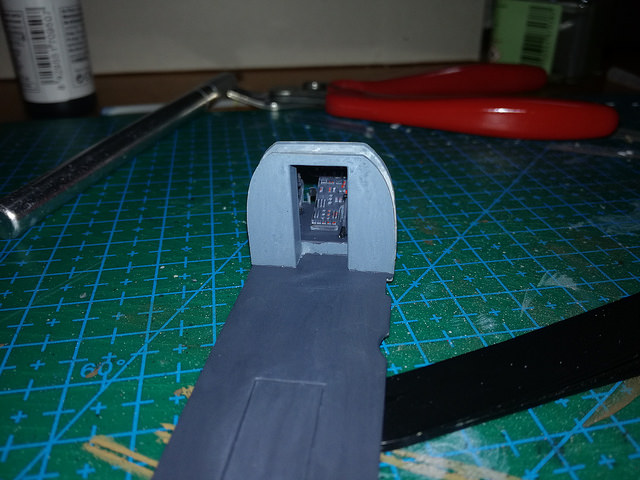
Image

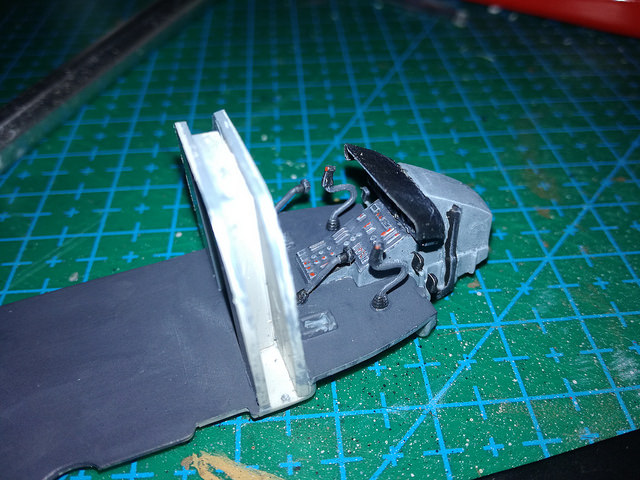
Inner cockpit/cargo zone painted and the engines block.I added engines shafts throught engines and rear exhaust (probably Apu unit) .

Image

Image

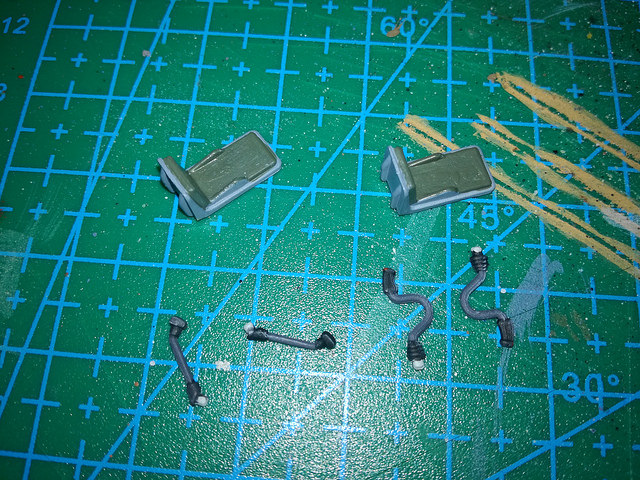
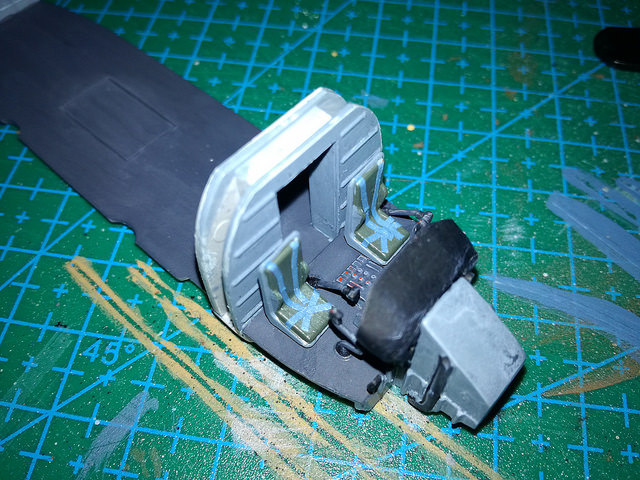
Seats and control stiks

Image

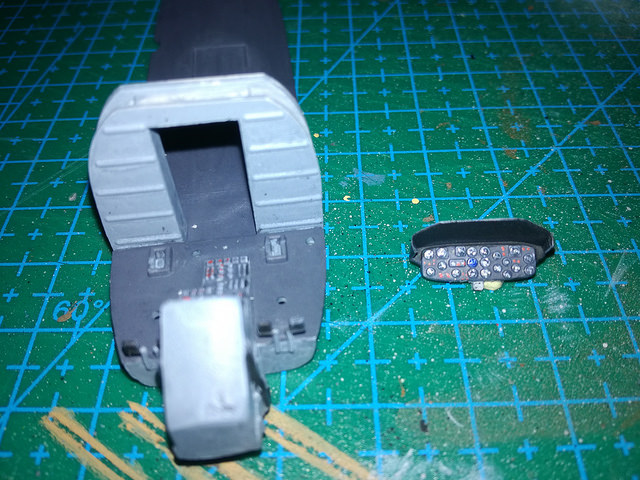
IP painted (probably is not correct, cougars seems have digital instruments with few "clocks")

Image

Glued ip and cockpit pieces and added simply mask tape belts painted

Image

Image

And fixed in the fuselage

Image

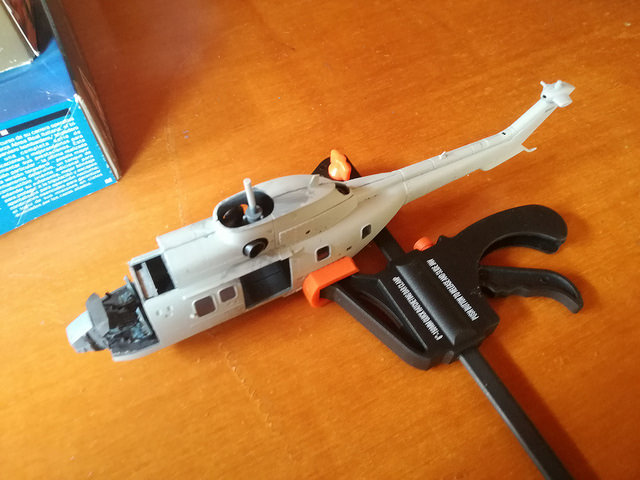
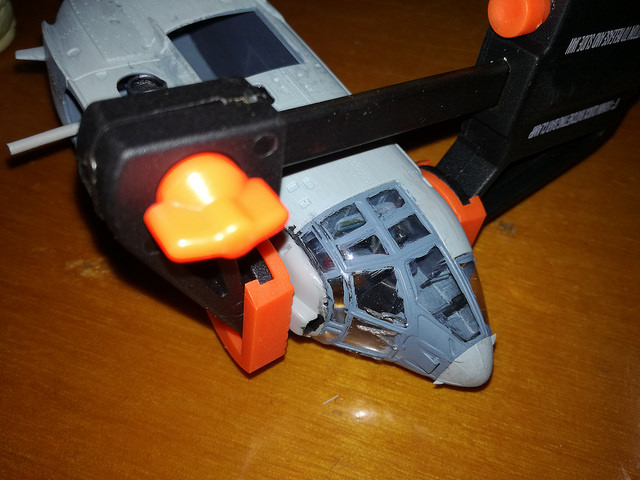
fuselages second glue step with adequate clamp

Image

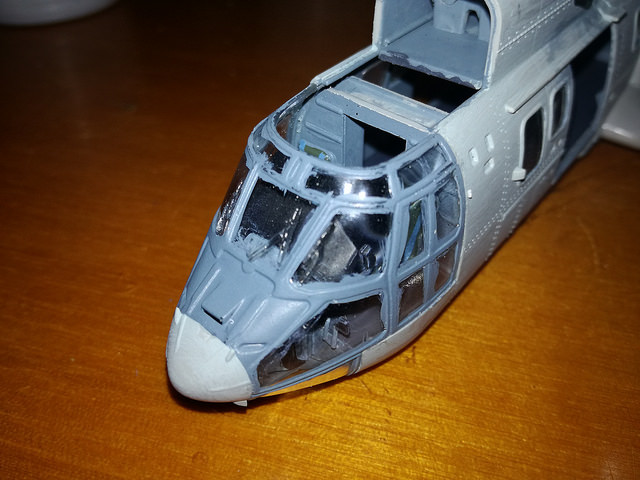
Glazed nose in place

Image

Image

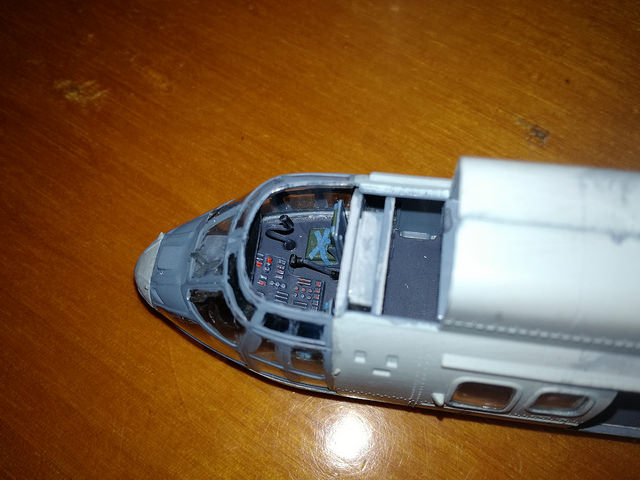
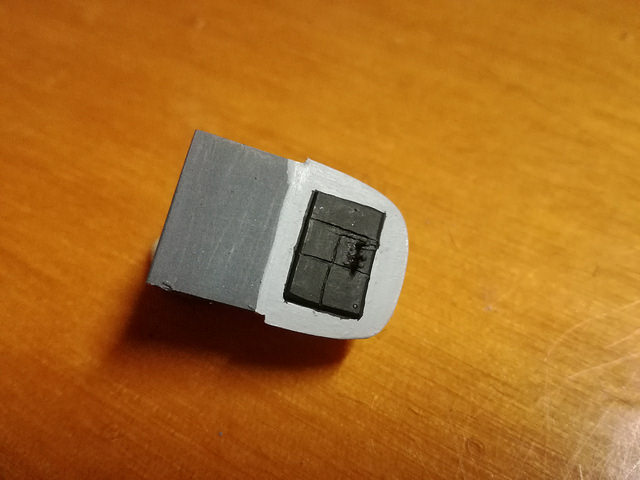
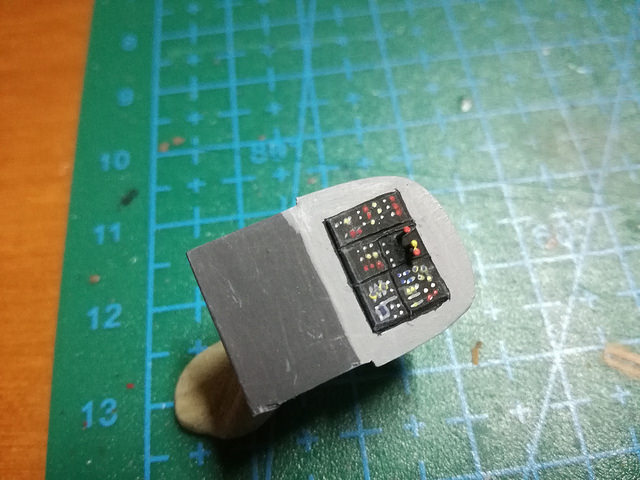
The kit don't have upper consolles, so i made one

Image

Image

Image

Then front engine and ceiling

Image

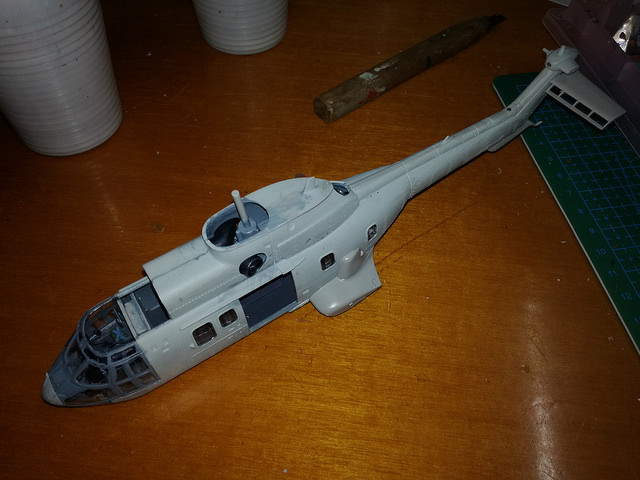
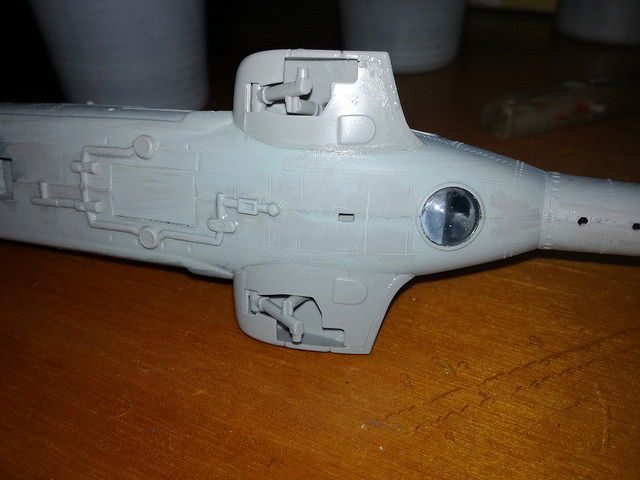
Side sponsors and other external pieces glued , lots of pieces to glue again :(

Image

Image

Image

Then the BO-105 tha takin advantage of field green mixed of the Hind A, not the same, the hind was lighteen (notice the two colors in the trays on the right )

Image

And KP hound updates

Modified front gears with some refine cut and added reinforces

Image

Main gear on with added force pins, the kit have only some weak sign were pieces are to glue. Also little cannon and bottom goondola- Also the cockpit on.

Image

Image

Painted cannon and glued in place with the gondola

Image

Image

Front gears added , main wheels not glued

Image

Glued strenght rods to the front gears , pilot ladder and others

Image

Image

Image

Tail bumper on

Image

That's alla for now about my rotors :)

Re: BsYamato's rotors

Posted: Wed Feb 21, 2018 4:05 pm
by Stikpusher
Those are all progressing very nicely!