Page 3 of 15
Re: Trimaster FW190A8
Posted: Thu Mar 21, 2019 10:43 am
by jkim
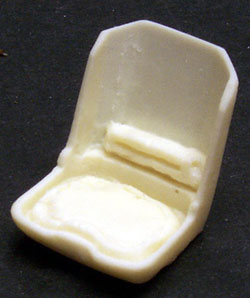
The Ultracast seat looks good too.
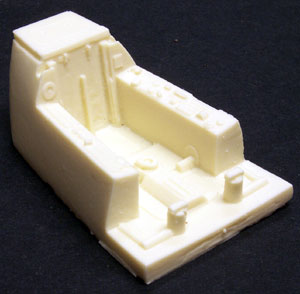
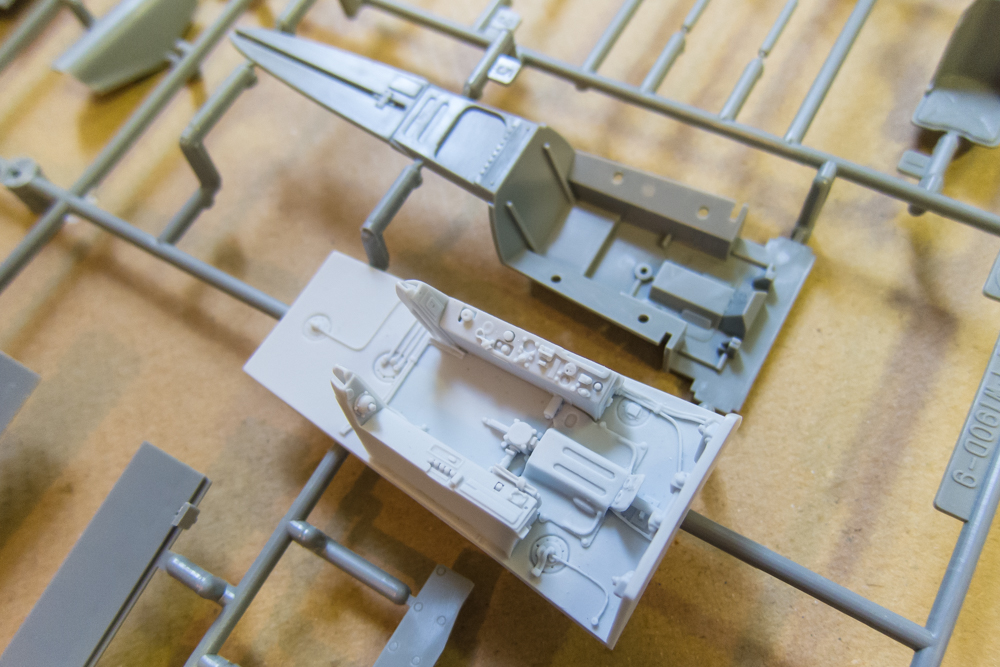
Both cockpit tubs, but especially the Verlinden look very long and narrow. Compare with the 1/32 D-9 version from Hasegawa and Eagle Editions.
Re: Trimaster FW190A8
Posted: Thu Mar 21, 2019 1:29 pm
by Floki
Stikpusher wrote:Most of those seats have a cushion molded in the seat pan of the bucket seat. But most pilots flew with a seat pack parachute, which negates the need for a cushion. And also raises a pilot up where he would have to be hunched down under the canopy if he had a seat pack parachute and a seat cushion. If using a backpack parachute, that small shelf in the seat pan rear supports the backpack chute, and then a seat cushion is a good idea....
Thanks for the info Carlos, I didn't know what that shelf was before until now.
John: I'll be using the ultracast on the Dragon kit, the verlinden cockpit is the same exact size and is pretty much a drop in replacement, something I'm not use to seeing from verlinden. But both do look to be out compared to other fw190 kits.
Re: Trimaster FW190A8
Posted: Thu Mar 21, 2019 4:51 pm
by Floki
Thanks for that info Bruce, No Verlinden didn't add that bit but a bit of styrene and some copper wire should replicate that just fine.
Did some dry fitting today.

Awful big gap here but I think adding a piece of the part tree to spread the fuselage out a bit will close that up a lot.


That's where I'm at right now I'll start figuring out where to cut to show all the open hatches tomorrow.
Thanks for looking.
Re: Trimaster FW190A8
Posted: Thu Mar 21, 2019 6:49 pm
by speedgraflex
I would be tempted to add a stringer on each side of the cockpit tub. Glue the stringer to the sides of the fuselage first then when you are ready epoxy the tub on top. Your plan to use stretched sprue sounds spot on! That’s gonna full the gap in the top section. Have you tried fitting any additional parts yet?
 Also have you tried a dry fit where you start with the wing sections on top and get those nice and tight first then add the bottom section? That might close the gap more.
Re: Trimaster FW190A8
Posted: Thu Mar 21, 2019 6:50 pm
by Mopar Madness
I recall these Trimaster kits being pretty hi-tech back in the day. Nice to see one coming back to life!
Re: Trimaster FW190A8
Posted: Thu Mar 21, 2019 7:39 pm
by Floki
Mopar Madness wrote:I recall these Trimaster kits being pretty hi-tech back in the day. Nice to see one coming back to life!
Thanks Chad, compared to Revell kits of the time this is super hi-tech just out of the box the fit is pretty good. After building a lot of newer kits here recently this one so far is right up with them, I am curious to see how it compares to Eduard's band new 190s but that will be a long time from now.
Re: Trimaster FW190A8
Posted: Thu Mar 21, 2019 7:45 pm
by Floki
speedgraflex wrote:I would be tempted to add a stringer on each side of the cockpit tub. Glue the stringer to the sides of the fuselage first then when you are ready epoxy the tub on top. Your plan to use stretched sprue sounds spot on! That’s gonna full the gap in the top section. Have you tried fitting any additional parts yet?
Also have you tried a dry fit where you start with the wing sections on top and get those nice and tight first then add the bottom section? That might close the gap more.
Thanks Bruce, the gap at the top is more from my tape coming lose and not from Ill fit but a stringer would help keep everything tight. This is the only way I've tried dry fitting since the bottom wing has some warp in it with the top wing section on it pulls it into place. I've also got the gear bay dry fitted here too it's a nice fit no headaches. I forgot to get a photo of that, also I got so much room between the cockpit and gearwell that the resin stub doesn't really need to be removed but I still am just so I can have a nice flat surface to work with.
Re: Trimaster FW190A8
Posted: Thu Mar 21, 2019 11:07 pm
by speedgraflex
Cool! I just refitted the PCM 1/32 cockpit just to see how that works—I was definitely inspired by your work! Lookin' good—keep going!!!
Re: Trimaster FW190A8
Posted: Fri Mar 22, 2019 6:16 pm
by Floki
I've been getting a lot of inspiration from your build Bruce.
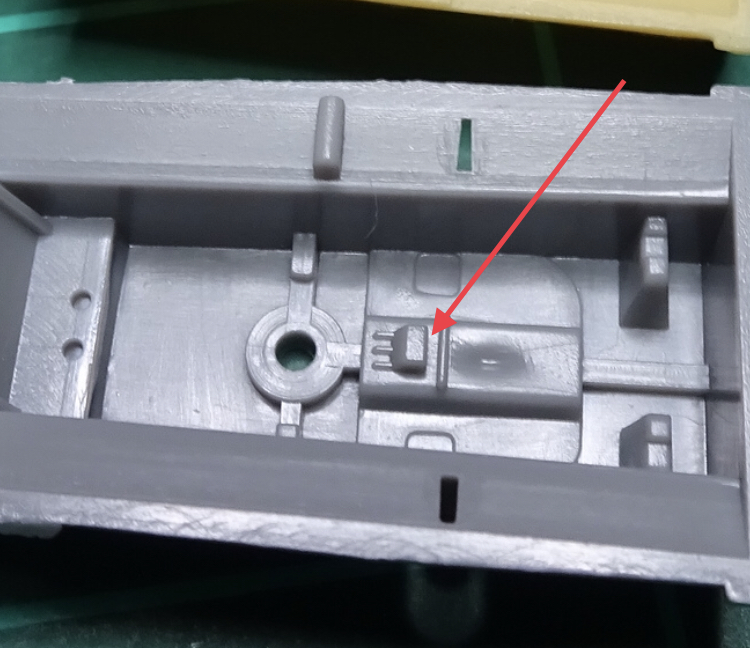
Just a small update. I got the plug taken off the cockpit tub at work last night using a low speed dye grinder with a tootsie roll. Then earlier tonight I cleaned the kit control stick up and drilled a small hole in the bottom and added a wire, then drilled out the hole a bit bigger in the resin pit so I'll have a nice solid attachment point.


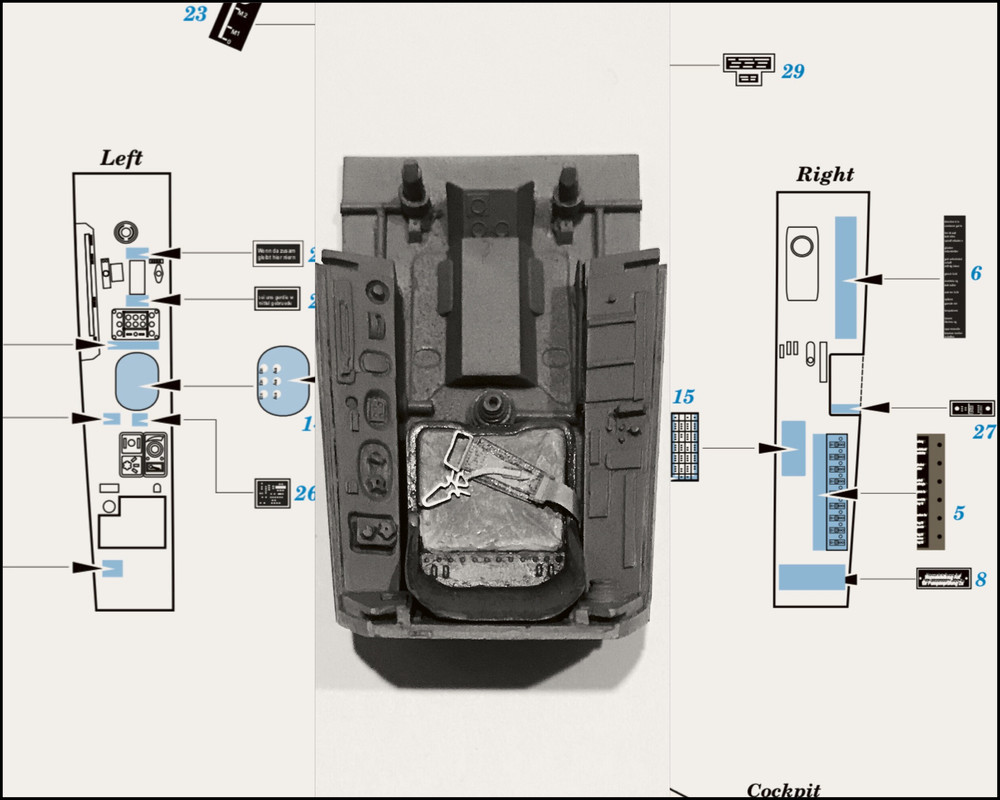
I also got in the HGW belts, these are going to be fun, I should of also got in my decals and placards from Spruebrothers today, They arrived in Indianapolis last night then to Muncie, then someone at the post office must of read something wrong because it was forwarded to Clinton Indiana. When I tried to figure out where my package was today the guy at the post office told me someone must have just seen my name on it and thought it needed to go to Clinton Indiana and was put in the wrong tub. Oh well they said it will be here tomorrow or Monday at the latest. Also got my 109K from Carlos today so plenty to keep me busy.
Thanks for looking.