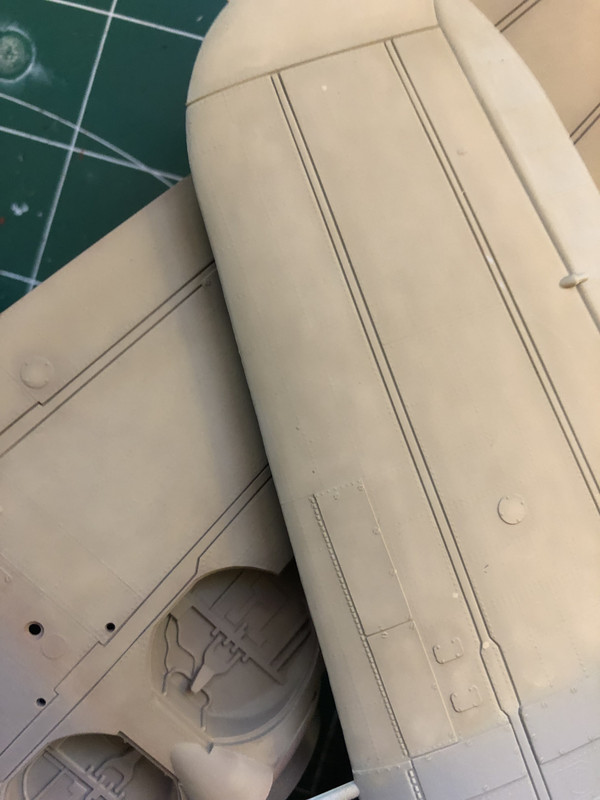
After not being 100% happy with my paint mixture, I ended up experimenting and beating my head against the wall with it for a while before finally emailing Mr. Nick Millman over at Aviation Of Japan Dot Com. He’s one of the foremost proponents of I guess what people might refer to as the “Brown Zero” school of thought.
And he answered me!
He told me the color I’d mixed, using the Greg Springer formula was a very good and close match to the extant chips.
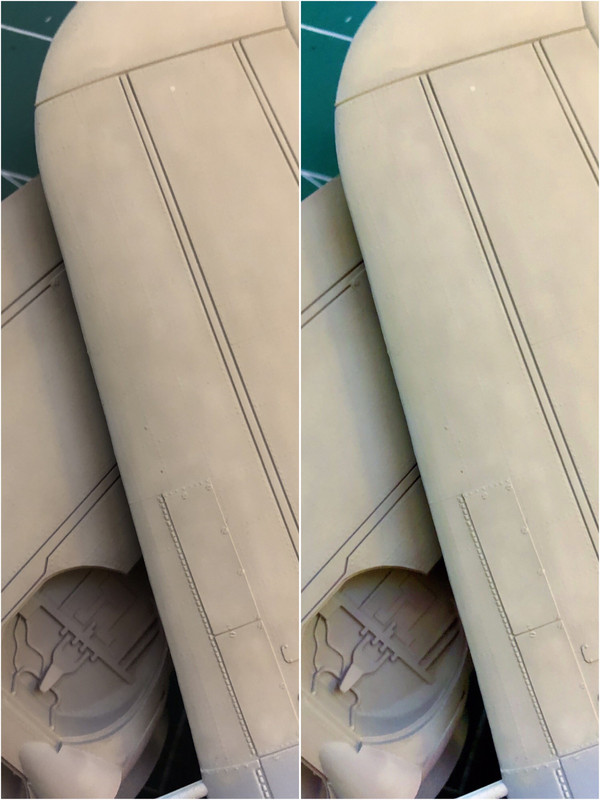
I mixed up more, this time lightening it with a bit more white and Gray Green, and performed another test. Mr. Millman advises that in order to allow for the paint to keep its “color shifting” property when lightened, I’d need to lighten it with light green along with the white, and that made sense. He further explained that Tamiya’s Gray Green is a great color for depicting the paint in a weathered state.
I came up with this. Note how it’s nice and caramel colored and then the yellow comes out when the light hits it at a different angle. That’s what I was trying to achieve. I had read an account of a Corsair pilot who happened upon some Zeros, and he marveled at how the Zero appeared “gold” at first. That’s what got me. Here’s the latest which I’m very happy with:
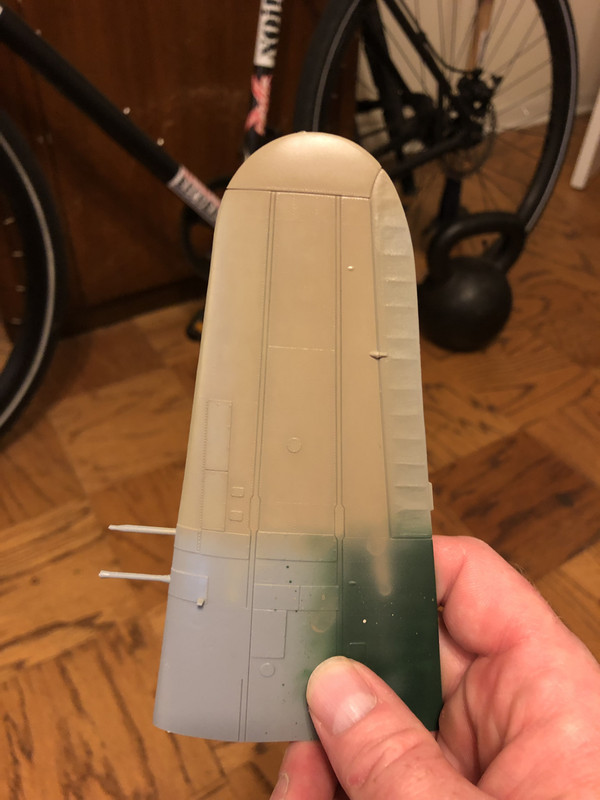
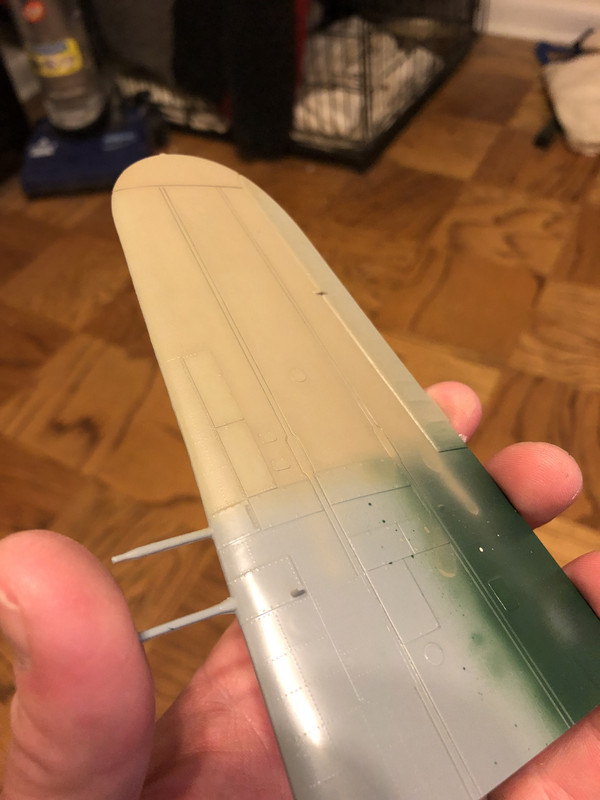
I hit the leading wing edge as well as a few raised details with heavily-thinned Gray Green as an experiment in localized weathering. I’m doing a well-maintained Zeke, but I’d like to have a little weathering. Instead of chipping at the wing roots and other high-traffic areas, I’ll be using this Gray Green blended in there instead. I like how they look together.
And here are the color references I used this-go-round, note the top chip:
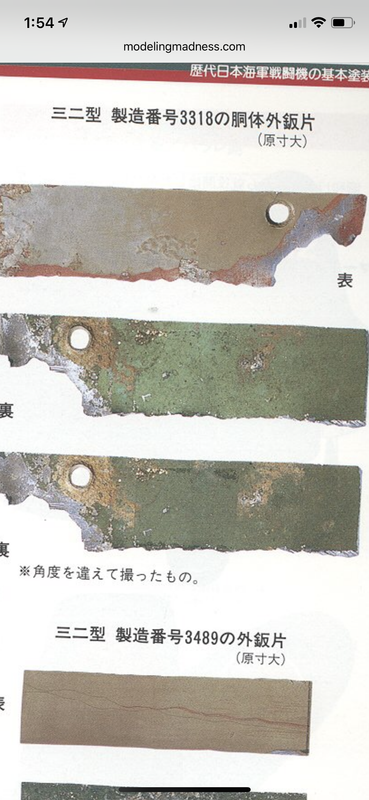
So a word about these chips. I have noticed some ball-breaking and nit-picking amongst some modelers concerning using color chips to match colors we mix. I hear things like:
”Well, just remember that you’re looking at the chip on a computer screen and as such what you’re seeing maybe might not be 100% accurate...”
And:
”Well ackshually those artifacts have been exposed to the elements and therefore the paint doesn’t look like how it did when it was factory applied...”
And other such smug BS.
And I think it works both ways. The modeler finds some research, reads it, uses it and then claims to have a definitive corner on the truth of the matter which he then feels compelled to share with any modeler within earshot, whether the poor jabroni wants to listen or not.
I don’t want to create a situation like that because:
1. I HATE when people nit-pick over my work. Seriously, it sends me into an ungovernable rage.
2. I am simply not qualified to say what is or isn’t correct in these matters.
Here’s the deal. I’ve spent a lot of my ephemeral “free time” reading articles about this, looking at paint chips, and mixing colors lately, puzzling over this. And aside from and more importantly finally coming up with a mix that I liked, I also reached several conclusions about who I am as a modeler and what I’m trying to accomplish with my models.
Yes, accuracy when doing historical subjects is desirable. But there’s no way that I’ll ever be able to be 100% accurate, period, full-stop. And I don’t want to get into a debate about that, either, because let’s be honest for a minute-
1. I’m not building the aircraft out of the same materials
2. I’m not painting the airscraft with the same paint that was used back then
3. I’ve never seen a Zero sitting on a carrier getting ready to go bomb Pearl Harbor
4. I have astigmatism in one eye and I’m near sighted in the other eye and this affects my vision when looking at these relics and references
5. I could go on and on but you get the point
That said, I make absolutely NO claims henceforth about the verisimilitude or “definitive accuracy” of my work, because frankly, it would be stupid and illogical for me to do that.
What is my work, then?
I pick a subject that catches my eye. I read about it. I research it. I think about it. And in doing so a vision of it forms in my mind which I try to execute. Sometimes it works and sometimes it’s a spectacular failure -and that’s life. I’m not a pilot. I’m not an aircraft mechanic. I’m not a former Mitsubishi employee who built Zeros. Therefore, I have no idea how these aircraft were maintained, repaired, or how they weathered at all. I just make educated guesses based on data I’ve read which other people compiled.
So that’s what I am as a modeler- an artist who builds a vision for a project based on educated guesses, and my work is the culmination of educated guesses executed on a three dimensional canvas. My work is art based on educated guesses and in no way reflects reality 100%.
I’m moving forward with the color I’ve shown in this post. I’m also ordering the Eduard PE set for the engine because it’ll look awesome on there when the cowl is removed.