
Whichever scheme you choose - I'm sire it'll end up looking great.pzl66 wrote:Yes there are A LOT of schemes! I need to buy more to do the schemes I want to do! Problem I am running into is picking a scheme to do with the cowl opened up since when the model is done it will go on the shelf that way. This scheme I am going to do here in this thread I like it closed ip to show it complete. Next 109 is going to be a G-6 that has been grabbing my eye. I do wish Eduard would make a new mould of the fuselage like the F and G models as a supplement to the original fuselage. This way if you want it closed you can build it closed with less fighting (it’s not that bad but their F and G models are so nice!)
PZL-Messerschmitt Flugzeugwerke GmbH
Re: 1/48 Eduard Bf 109E-4 W.Nr. 5587
Stuart Templeton 'I may not be good but I'm slow...'

-
mustang1989

- Moderator
- Posts: 5035
- Joined: Tue Mar 18, 2014 8:35 pm
Re: 1/48 Eduard Bf 109E-4 W.Nr. 5587
YESSSS!!!
Re: 1/48 Eduard Bf 109E-4 W.Nr. 5587

In my quest to find the easiest way to assemble a closed Eduard 109E, so far I have found that attaching the parts that you see on the “unpainted” exterior 109 is attach the panels that would give access to the ammo cans that are located behind the engine. Attach all parts that touch both side of the fuselage to the right hand side fuselage AFTER you have confirmed fitment of the halves is correct, watch for the mating areas to apply a quality cement like Tamiya or Mr Hobby thin cement (right hand when sitting in the pilot seat). The lower cowl radiator needs to be dry fitted when the halves are taped together, it needs to be able to “drop” in place. If there is resistance or you see the fuselage halves separating at all, take it out and sand the side tabs until it is able to drop in. What I found is not only are you obviously trying to get it to align in place but if it doesn’t drop in and you are forced to later on to “sqeeze” the front halves together, it will tweak the alignment and you will be left adding filler and sanding away. This way you have very very minimal sanding to do since it sits flush and you are only left with a seam.
Back to the cover I described above, install them on the fuselage now! Don’t wait til later on, this is the best time to lock it down with proper strength of the plastic weld. You also will get the best alignment for later when you mate the upper gun cover and cowl (saw off the parts Eduard states in the instructions for the gun mounts), but deviate from the instructions and saw off what would be the cylinder heads of the engine so you can mount the exhaust stubs to them. They mount in place very easy and you can spend more time focusing on a nice fuselage fitment instead of trying to get the engine to fit, while juggling the proper fitment of the fuselage halves, and later on the upper cowl fitment. It may not look pretty doing this but to get the best possible fit, and finish with the least amount of hassle, this way work perfect!
Messerschmitt 109 Addict
-
speedgraflex

- Moderator
- Posts: 11358
- Joined: Fri Feb 10, 2017 11:08 pm
- Contact:
Re: 1/48 Eduard Bf 109E-4 W.Nr. 5587
Would you mind posting photos or photos from the instructions? I have never built an Eduard kit for this very reason. Thanks in advance!
Make more models!
Re: 1/48 Eduard Bf 109E-4 W.Nr. 5587
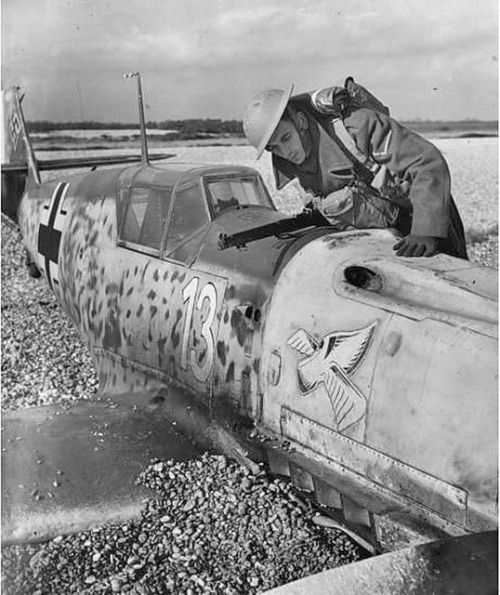
Keep those reference photos coming! (That’s a nice pic of an E-3!)
Better than pictures is the pdf of the instructions themselves:
https://www.eduard.com/out/media/8263.pdf
I would not let the issues I posted scare you or deter you from building an Eduard kit, once you figure out a trick here or there they are very rewarding kits. Or save yourself some head ache and learn from others! The F and G models are supposed to be “easier” based of the directions but the Emil is still a gem in my eyes.
Messerschmitt 109 Addict
-
speedgraflex
- Moderator
- Posts: 11358
- Joined: Fri Feb 10, 2017 11:08 pm
- Contact:
Re: 1/48 Eduard Bf 109E-4 W.Nr. 5587
Thanks for the advice and instructions, too! I like learning. Their tooling is beautifully detailed in 1/48. I think Eduard repackaged the 1/72 FM 109. I just ordered PE.
Make more models!
Re: 1/48 Eduard Bf 109E-4 W.Nr. 5587
Very very nice... Man now I want to build a 109 too!pzl66 wrote:
Stuart Templeton 'I may not be good but I'm slow...'
Re: 1/48 Eduard Bf 109E-4 W.Nr. 5587
Thanks!
There are plenty kits out there, if you choose the Eduard kit try to get the profipack or get the weekend kit and get the masks for it!
There are plenty kits out there, if you choose the Eduard kit try to get the profipack or get the weekend kit and get the masks for it!
Messerschmitt 109 Addict
Re: 1/48 Eduard Bf 109E-4 W.Nr. 5587
I should add that in the picture the only thing glued on the 109 on the left is the wings and the previously noted interior pieces. I store it with the wings taped the to fuselage which is taped together. If you look at the instructions there is a point that says “for closed nosed, skip to page 9/10 (depends if you have weekend edition of profipack instructions)” it will tell you to trim off the top front corner of the engine but I would not even do that. Since you get a way better fit with the lower radiator assembly which the engine would block you from doing, just cut the section of the engine that have the exhaust ports so you can attach the exhaust stubs to. I will take a picture of this part when I get there, again.speedgraflex wrote:Thanks for the advice and instructions, too! I like learning. Their tooling is beautifully detailed in 1/48. I think Eduard repackaged the 1/72 FM 109. I just ordered PE.
Messerschmitt 109 Addict