Page 3 of 17

Re: Maddog Manufacturing 2020 Production

Posted: Tue Feb 25, 2020 6:17 pm
by Duke Maddog
Thanks Brandon! I'm trying to keep production up. This is a good number here but I must have another 12-15 shelf queens to get back to.

Got an update coming soon, stay tuned.

Re: Maddog Manufacturing 2020 Production

Posted: Thu Feb 27, 2020 1:13 am
by Duke Maddog
Well, I had a rather large and lengthy update to post here but when I tried to open the SD card with my pics, I couldn't do it. Looks like that old card finally gave up the ghost in a catastrophic failure. So, I went out and bought more SD cards and a new reader so now I'm starting all over camera wise. When I got home, I went in and shot pics of my latest progress, most of which is many steps ahead of what I was hoping to show. So this will be a much shorter update showing where I am to date.


So let's begin this tour.....

Aircraft first, again; mostly because I have only a few.

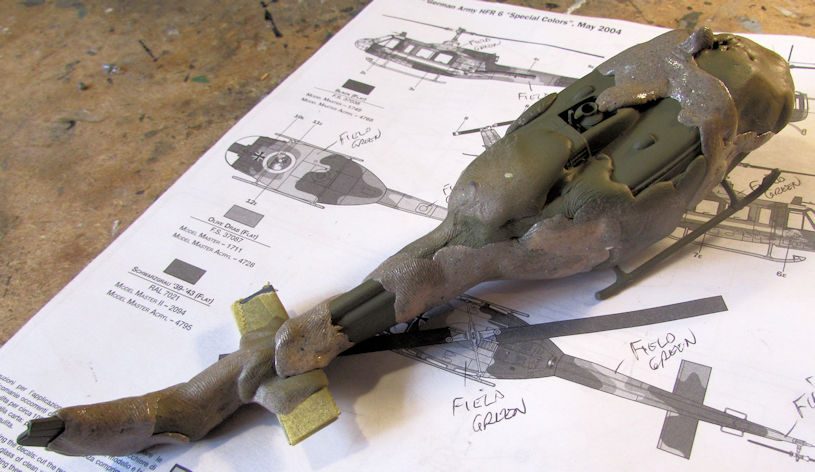
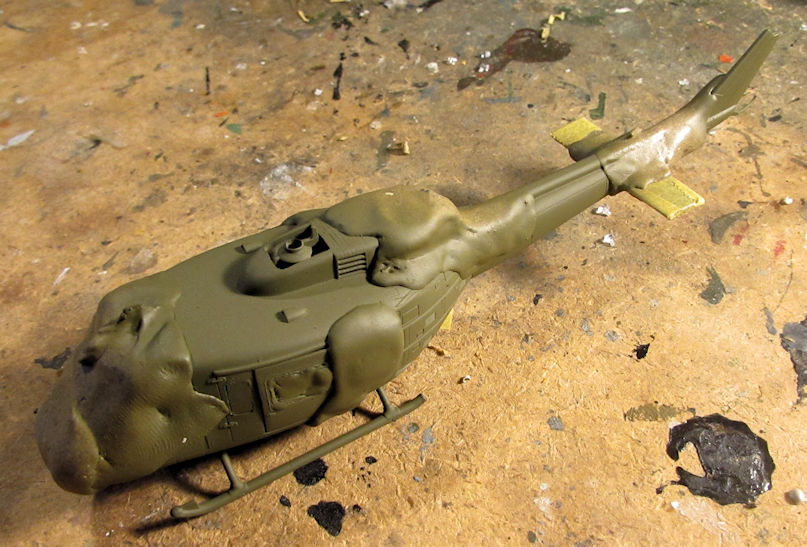
First up is my German helicopter. I had painted a basecoat of dark grey and then masked it with Silly Putty. Those pics were lost in the crash. Once it was masked, I shot it with the second camouflage color Olive Drab:

Image

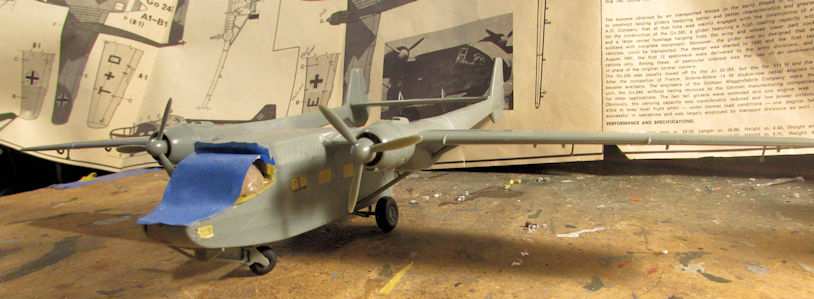
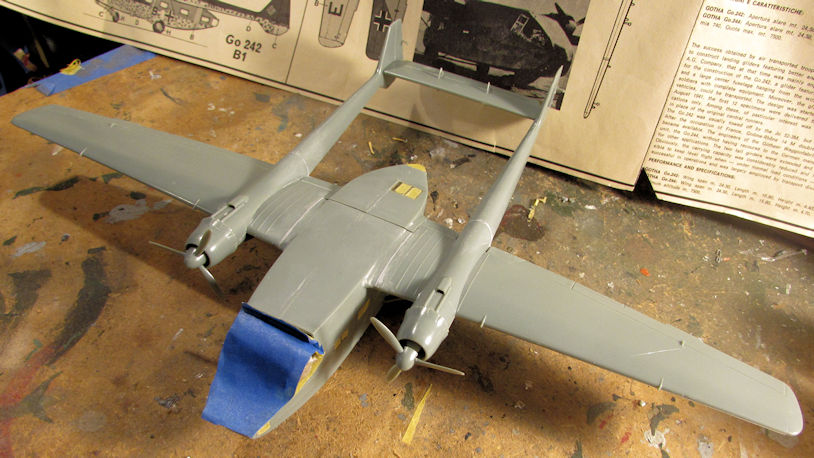
That's where that is so far. Next I worked on my Gotha Go-244. I added the landing gear and then masked all the windows; after having sanded the whole thing smooth. Here she is standing on her own three feet:

Image

Image

Next thing I need to do is find a nice light blue to shoot the underside of this; and then finish the painting after.


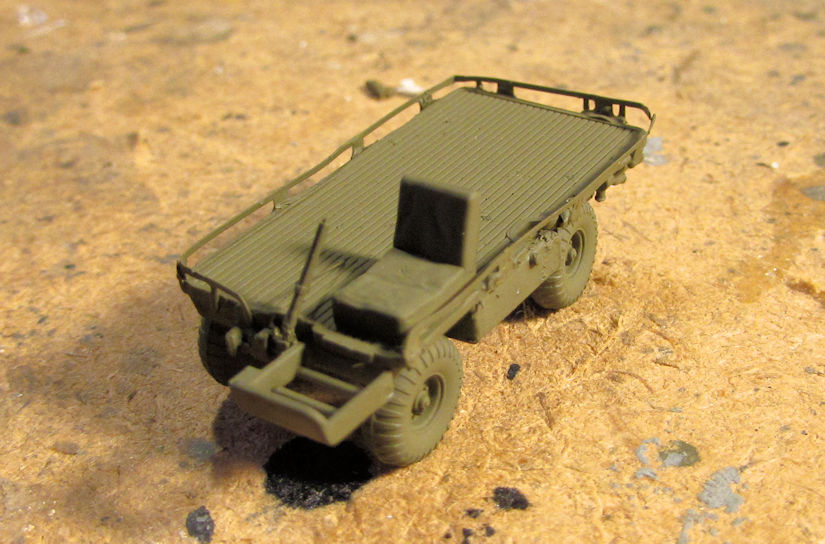
Moving on to my armor, here's a little beastie I started and got painted very quickly since I don't seem to have pics of this in my WIP folder, which means they are probably lost in the crash. Here's my M-274 Mule, already painted and waiting for additional details:

Image

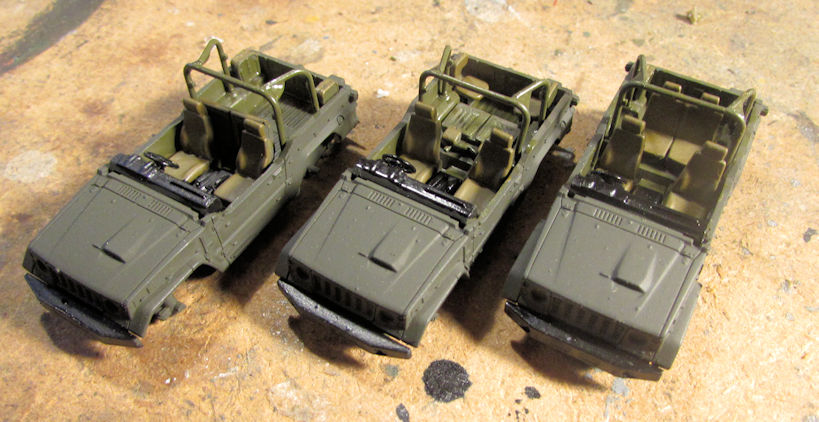
Next, here are three more little vehicles that I don't think I posted yet; which I started a few days ago. These are the Fujimi 1/2-ton trucks for the JGSDF. There are three seat configurations on the interiors, so I made one of each. I built them, airbrushed the exteriors, and yesterday I painted the interiors:

Image

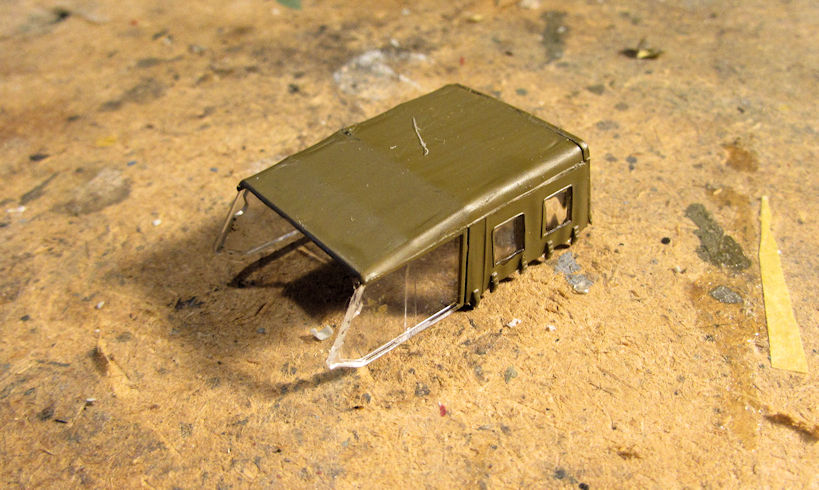
Two of those trucks will have tilts over them, so I assembled and painted one to see how it was going to look. Here it is painted; I haven't test fit it to the vehicle yet:

Image

Disregard the dust on top; it's already gone.

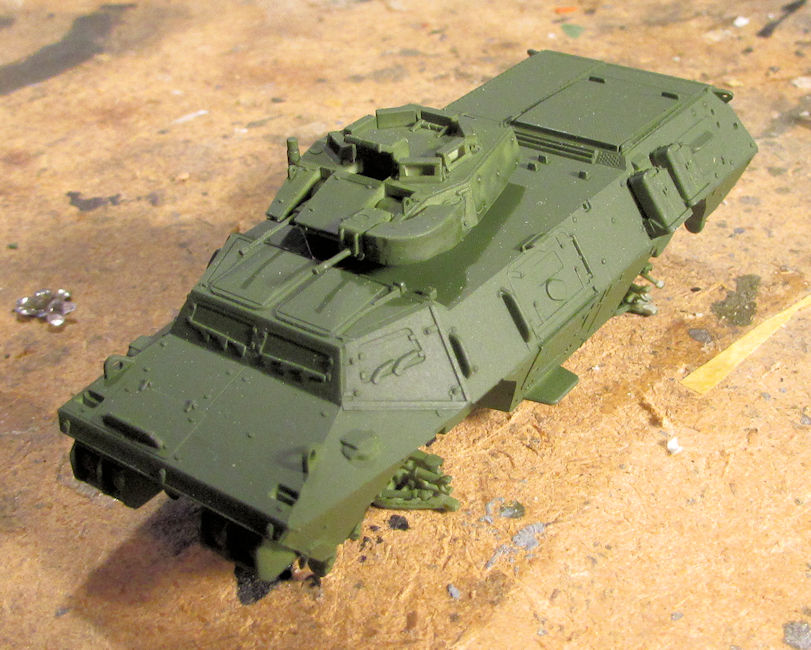
After that, I painted the base coat on the M-1117 Guardian, the first of her three-color camouflage:

Image

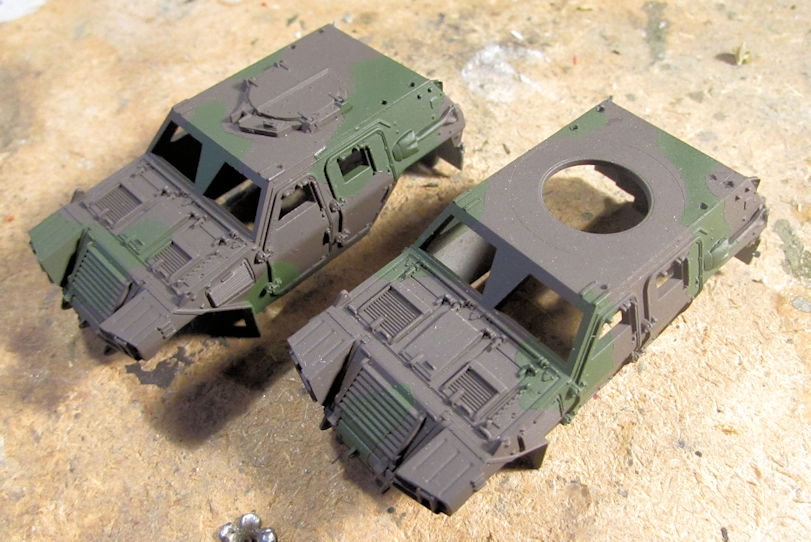
More pics that were lost showed my masking and painting of the two JGSDF light armored vehicles exterior bodies. I masked them with the Silly Putty and shot the second color. Here they are after I removed the Silly Putty:

Image

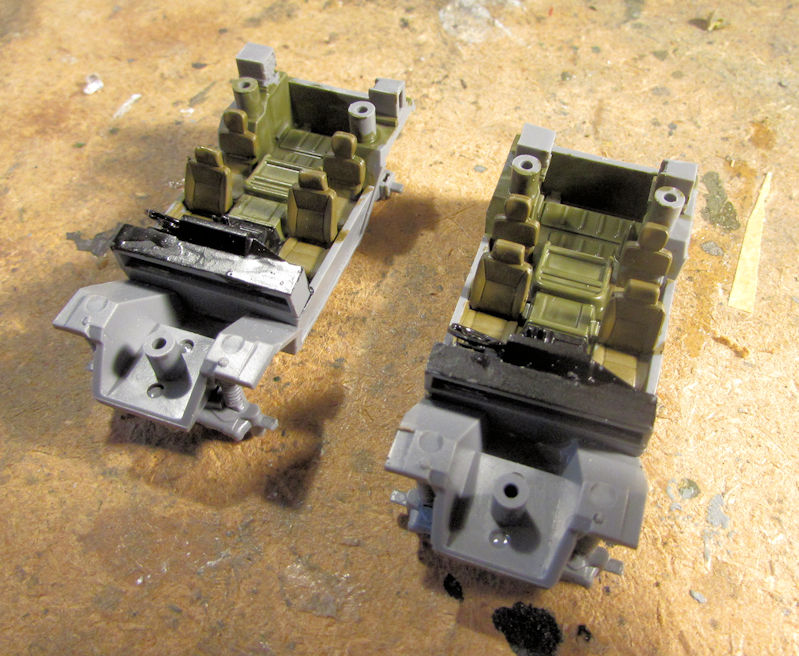
Later, when I was painting the interiors of the three half-ton trucks, I also painted the interiors of these trucks:

Image

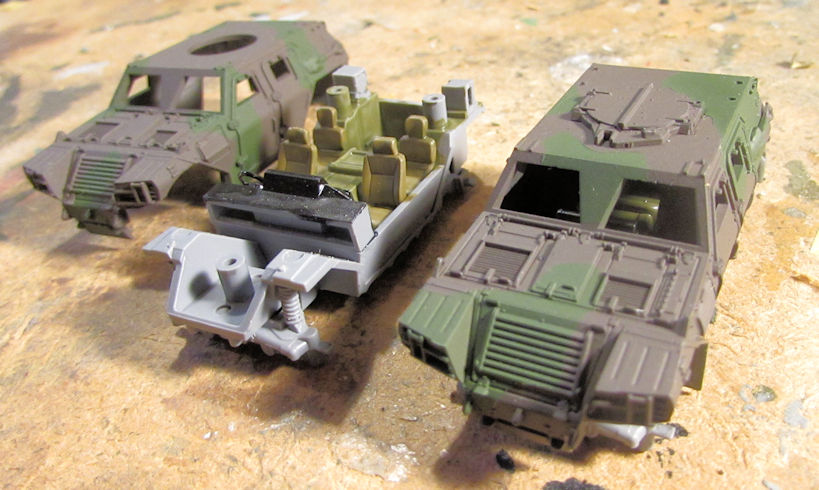
Later on, I test-fit one of the exterior bodies to one of the interiors to see how much could be seen:

Image

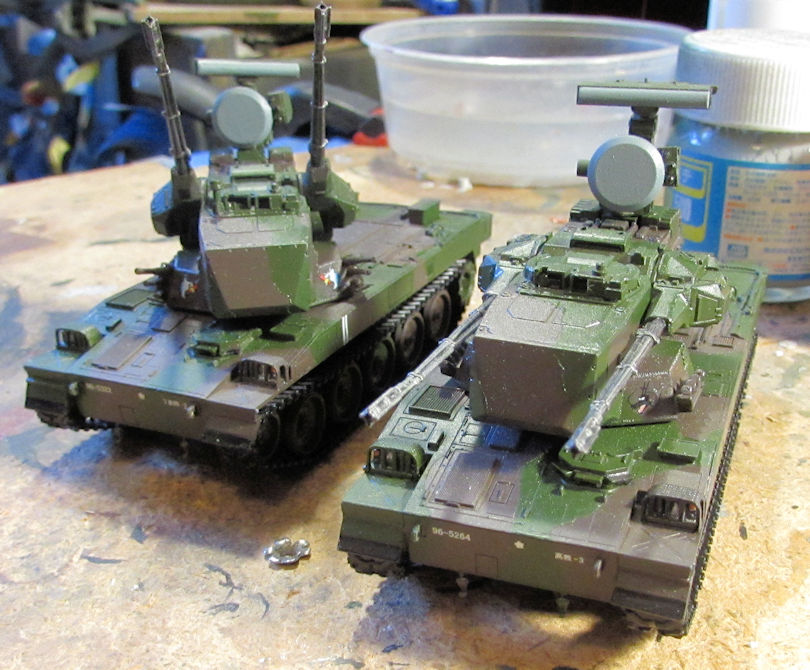
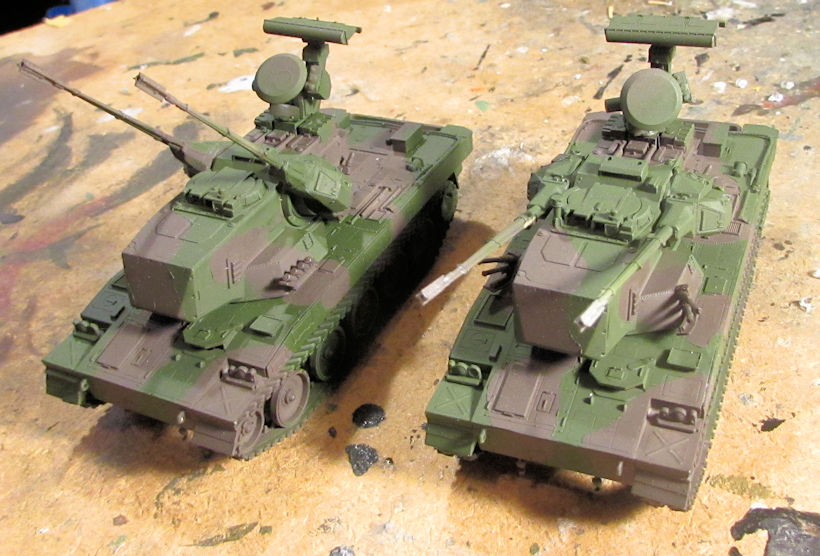
While that was drying, I masked my JGSDF Self propelled anti-aircraft guns with Silly Putty and shot the second color. The pics of the things masked before I shot them were lost in the crash, but here they are after I shot the paint and removed the Silly Putty:

Image

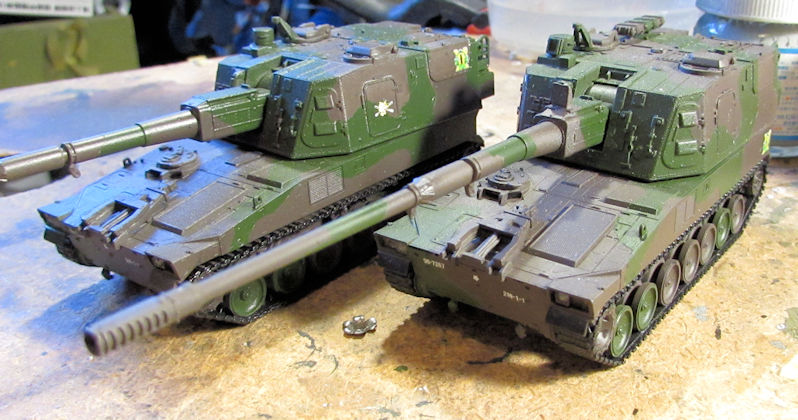
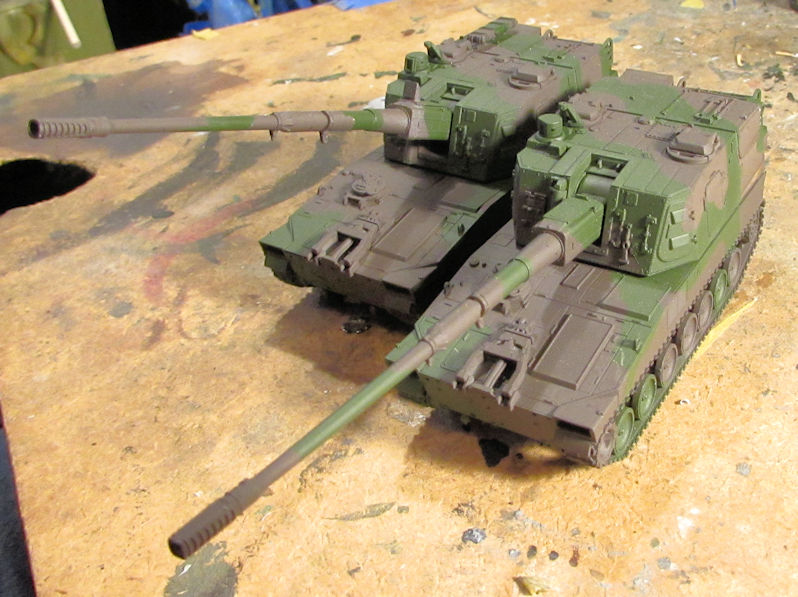
After that, I also masked and shot the JGSDF Self Propelled Artillery guns; as before, the pics of them masked and shot were lost. Here they are all painted and Silly Putty removed:

Image

And that is where I am now to date. Hopefully I'll get more done this weekend. Thanks for looking in, comments are welcome.

Re: Maddog Manufacturing 2020 Production

Posted: Thu Feb 27, 2020 2:09 am
by Floki
Sorry to hear about your SD card giving out, I've had happen to me before too. Looks like you accomplished alot. I really like that mule every time I see one I think of this Vietnam documentary about hue and seeing one of them with a recoilless rifle mounted on it.

Re: Maddog Manufacturing 2020 Production

Posted: Thu Feb 27, 2020 4:57 am
by Stuart
Great stuff Mark - I'm loving all of those JGSDF builds! What type of AAA AFV's are those?

Re: Maddog Manufacturing 2020 Production

Posted: Thu Feb 27, 2020 8:24 am
by Stikpusher
A 1/72 Mule... that must be tiny! Those things are so cool. Your JGSDF is gaining some serious additions there- SP field artillery, SP air defense artillery, LAVs, 1/2 tons... I wonder if anybody makes some 1/72 Japanese movie monsters... :whistle:
The Huey and the Guardian are looking real good too. That sucks about the SD card and losing the previous batch of update photos.

Re: Maddog Manufacturing 2020 Production

Posted: Thu Feb 27, 2020 8:38 am
by LyleW
Mark, more outstanding work. Quite varied and interesting. Well done!

Re: Maddog Manufacturing 2020 Production

Posted: Thu Feb 27, 2020 11:37 am
by Medicman71
The machine is at it again! Great work Duke!

Re: Maddog Manufacturing 2020 Production

Posted: Fri Feb 28, 2020 8:38 pm
by Duke Maddog
Thanks for the awesome replies guys!

Thanks Floki, I do plan on mounting a recoilless rifle on one of my mules. There are two in the kit, and one will have a .50 caliber Ma Deuce.

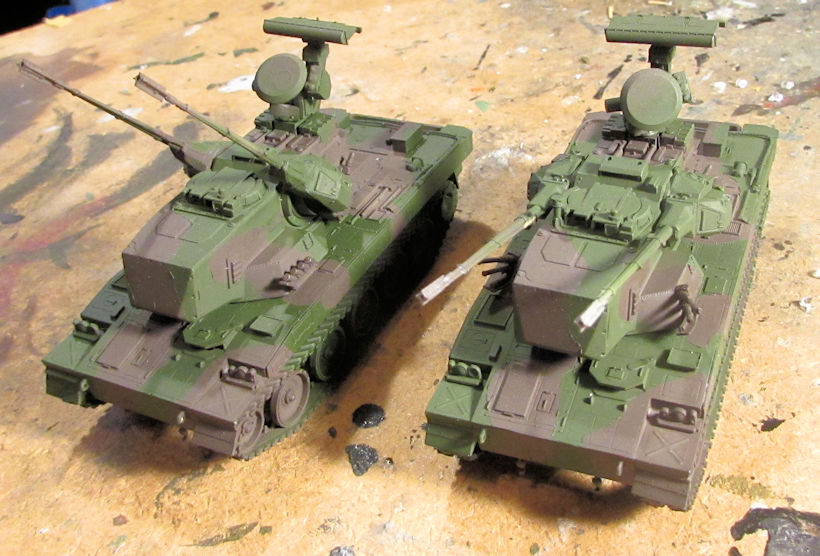
Thanks Stuart, I'm glad you like all those Japanese AAA vehicles. They are JGSDF Type 87 Self Propelled anti-aircraft vehicles sporting 30mm cannon. They were originally supposed top go on Type 61 tank hulls, but they proved to be too small. They then decided to put them on the Type 74 tank hull.

Thanks Carlos, those mules are indeed tiny. Only one inch long, possibly a millimeter or two shorter in fact. When I built that one at Hobby Day; I was constantly afraid of losing that whole thing.

Yeah, my Japanese Forces are getting a massive influx of equipment alright! Don't forget; I also have a JGSDF anti-ship missile truck too. I do believe any Godzilla doll/toy about 16-18 inches tall would be a prefect monster to add to any diorama of JGSDF vehicles defending the Motherland.

Lyle, thanks! Variety does help keep things fresh.

Thanks Medic! Hopefully this 'machine' doesn't break down anytime soon!

Re: Maddog Manufacturing 2020 Production

Posted: Mon Mar 02, 2020 11:23 am
by Stuart
Thanks for the info on the triple A Duke!

Re: Maddog Manufacturing 2020 Production

Posted: Sun Mar 15, 2020 7:35 pm
by Duke Maddog
Well, I hadn't realized how long it's been since I updated this. I have a lot of pics to show. Thanks to everyone telling me to stay home, I've been doing a lot of work in the Hobby Room. So, you've been warned, this is gonna be a long and tedious one! I hope I don't bore you too badly....


Here's the results of all my latest work, starting with my aircraft...


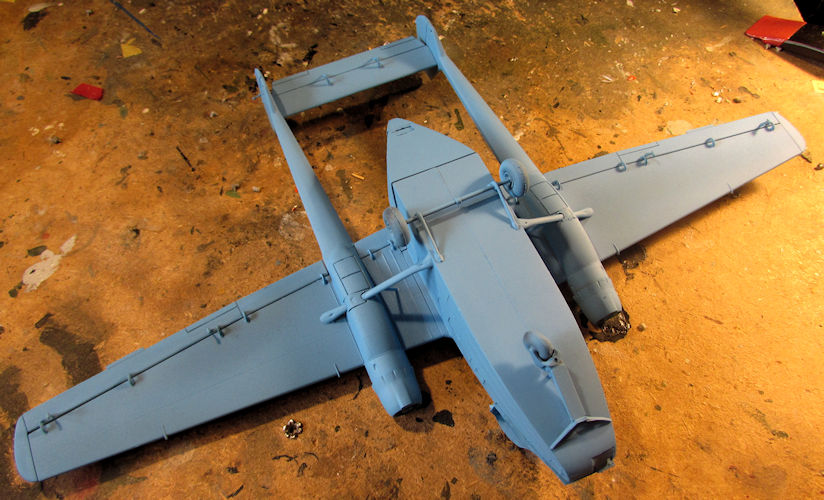
On my Gotha Go-244, I shot a light blue underneath the plane, hitting all underside and vertical surfaces possible:
Image

It looks more stark than it is, but I am still hoping it'll tone down a bit later on.

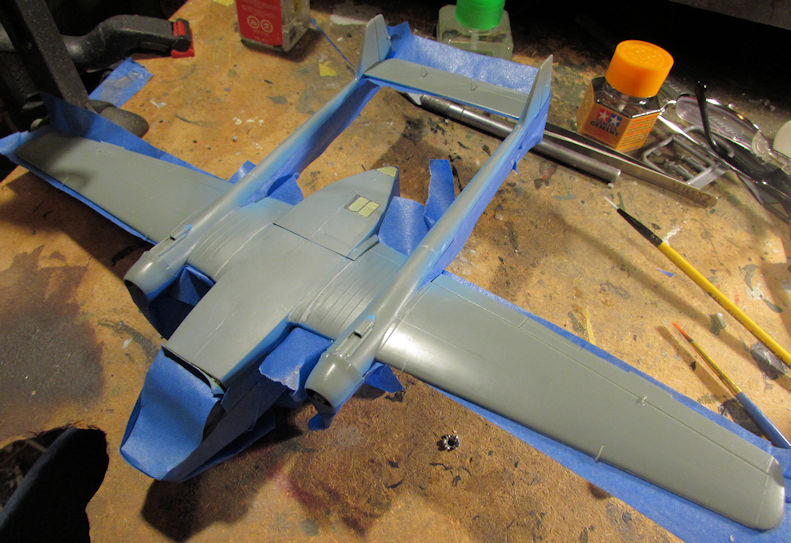
After that dried, I masked off the underside as much as possible to prepare for upper surface painting:
Image

That was harder than expected. I hope to get some paint shot this coming week.

Next, I masked off the German helicopter with Silly Putty and shot the second color:
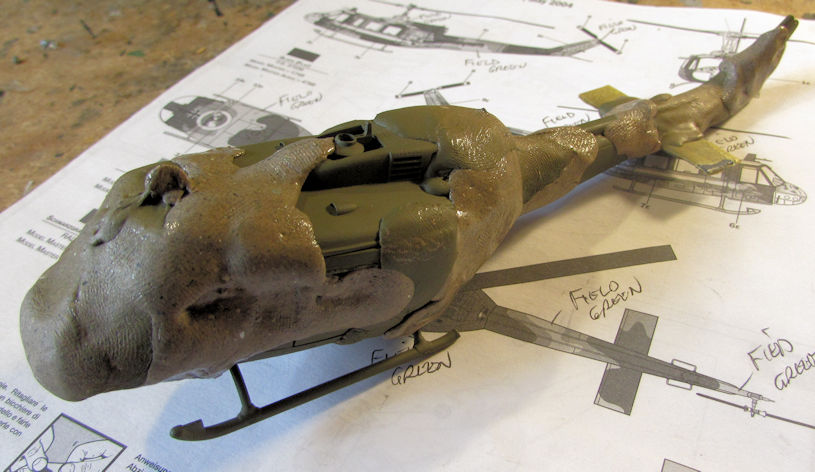
Image

Image

Later, when that was dry; more masking and then the third color. I didn't have a medium green so I improvised:
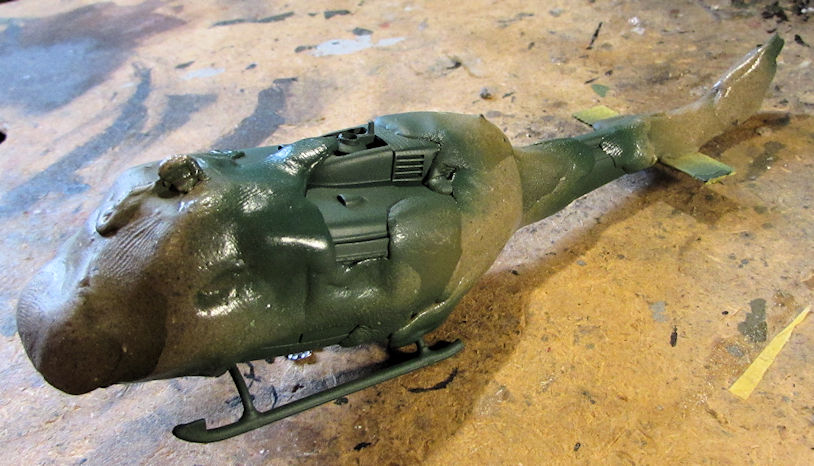
Image

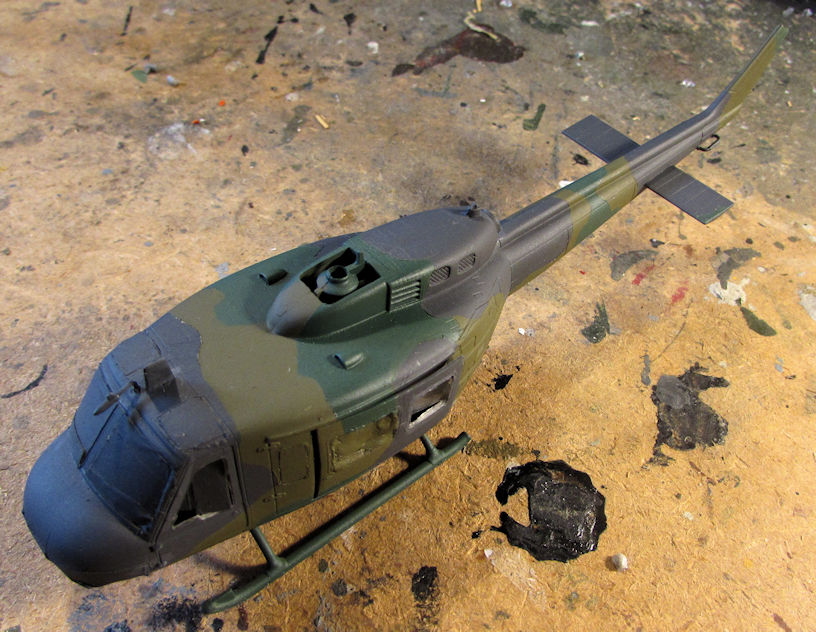
Once all that was dry, off came the Silly Putty and here she is in all her three-tone glory:
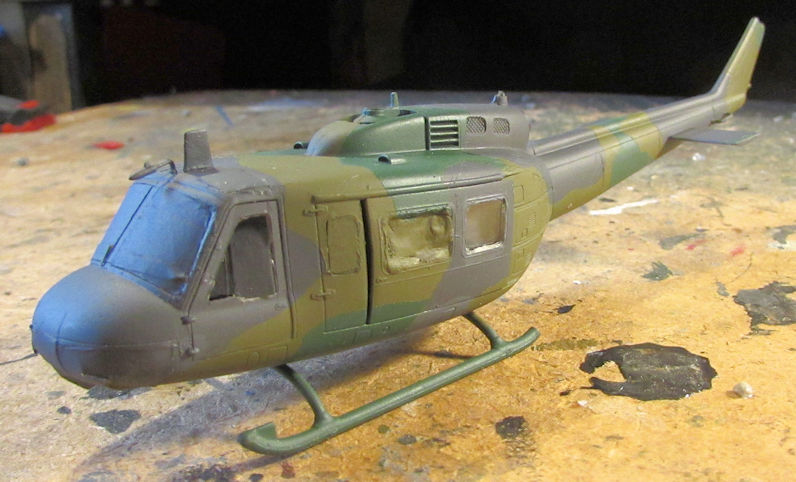
Image

Image

You can see how well the Micro Crystal Clear worked for holding windows in. Yeah. I got them fixed later; this time with Gator Grip glue.

After that, I pulled out my Israeli F-16 I Sufa and started the decals on it. I got most of the walk lines and other detail stencils on the top and bottom:
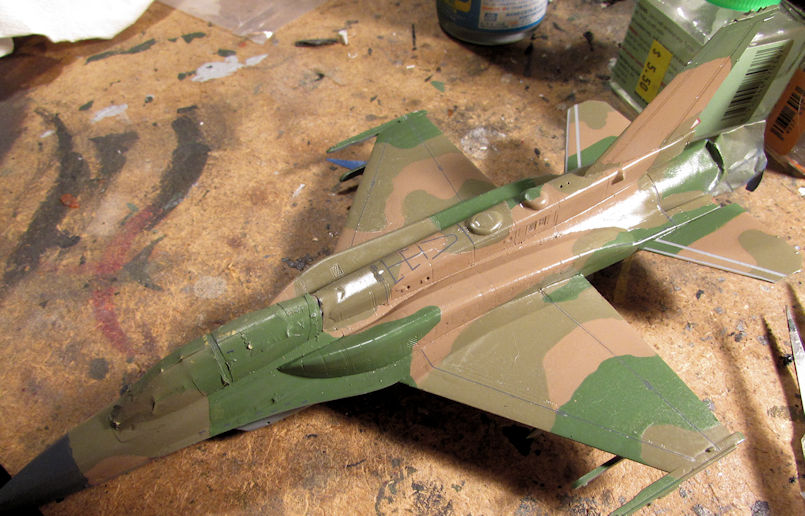
Image

I then let that sit and dry. I plan on clearcoating that again and then applying the remaining decals.

Moving on, I decided to answer the siren song of the C-54 that had been singing to me to start. Thanks to another friend working on this, that singing became louder so down it came. Naturally, I started with the pilots' seats:
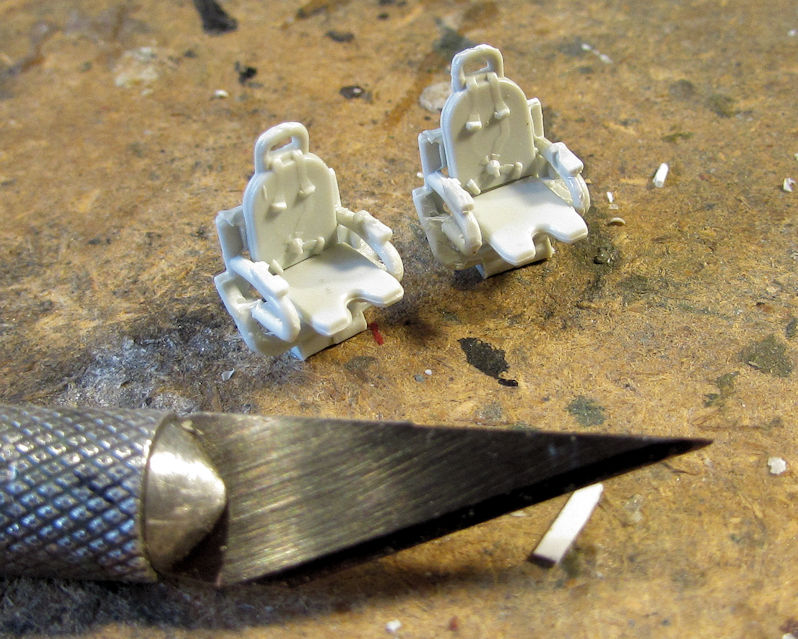
Image

Yeah, they are that small, and four pieces each...

Next was the cockpit that they sit in. This was fairly easy:
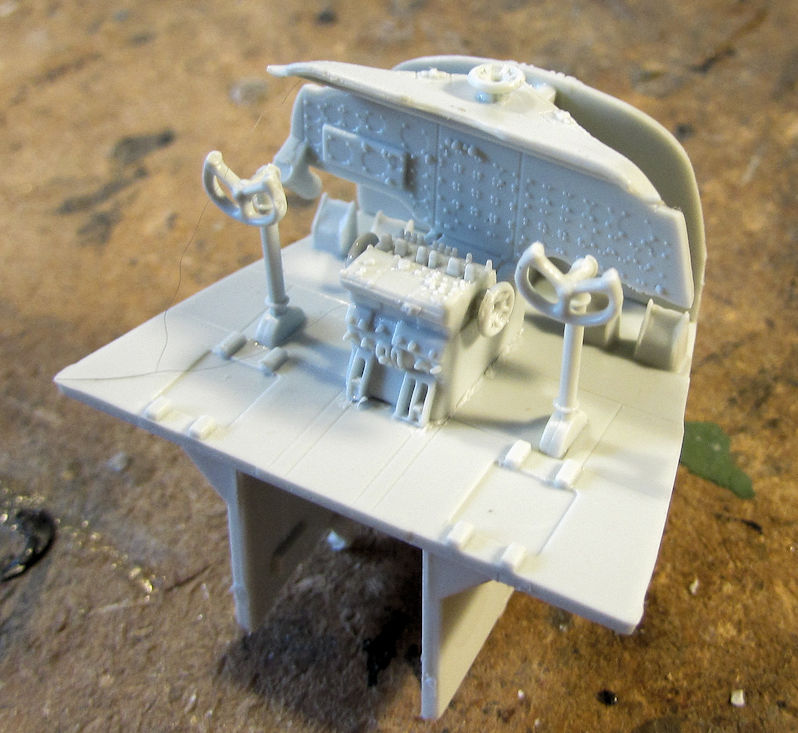
Image

Later I dry fit the seats in place to see if they would hamper my attempts to paint this later. They would so they didn't get glued in here:
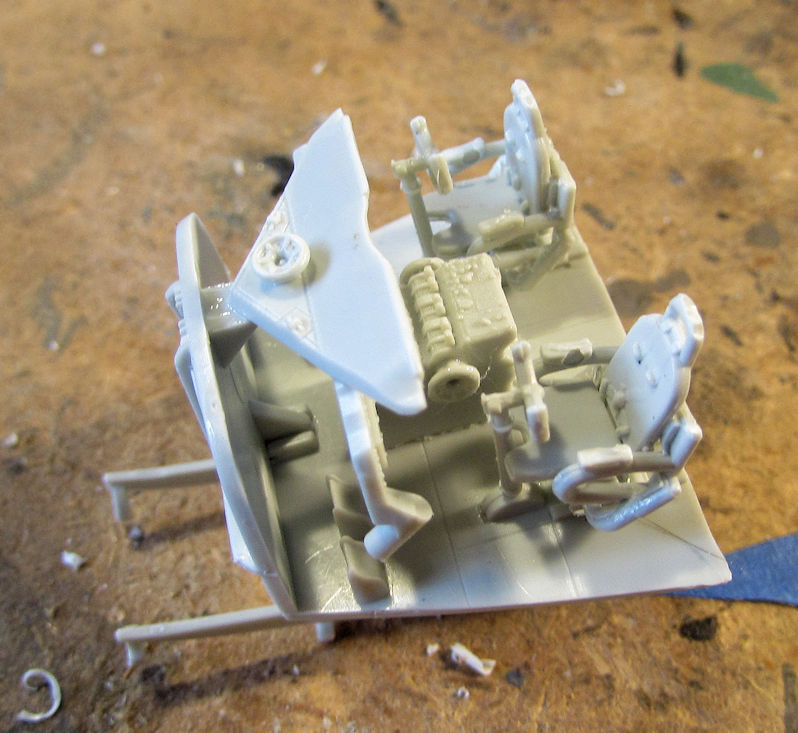
Image

Next I assembled all the secondary cabin nooks behind the cockpit and added them to the floor of the rear cabin:
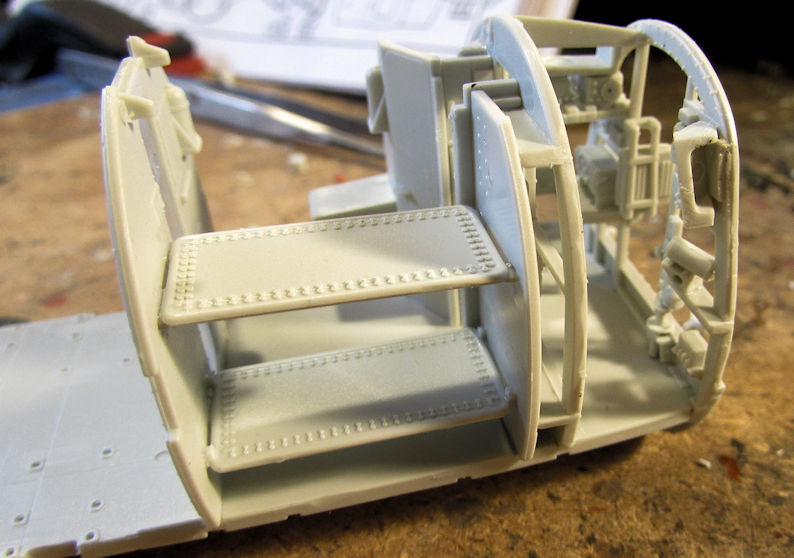
Image

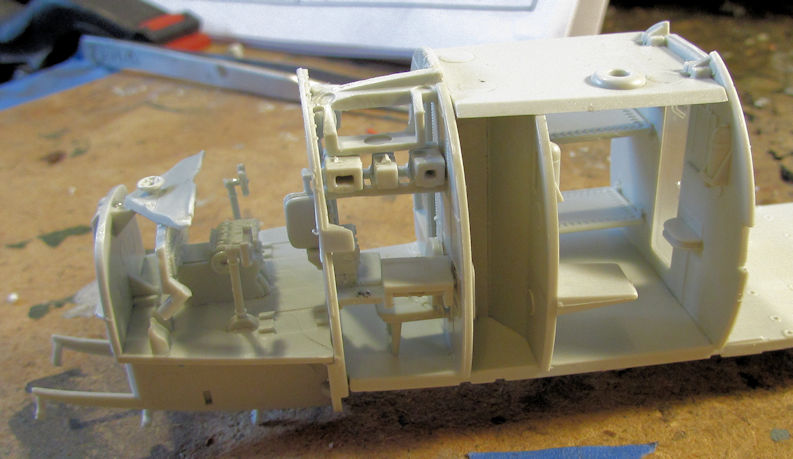
Yeah, after careful review, I won't be painting any of that given that none of it will be seen through the windows. I won't be assembling all the troop seats in the main cabin either as this will be all closed up. Still, I had to dry-fit the assembled cockpit to the rear cabin assembly:
Image

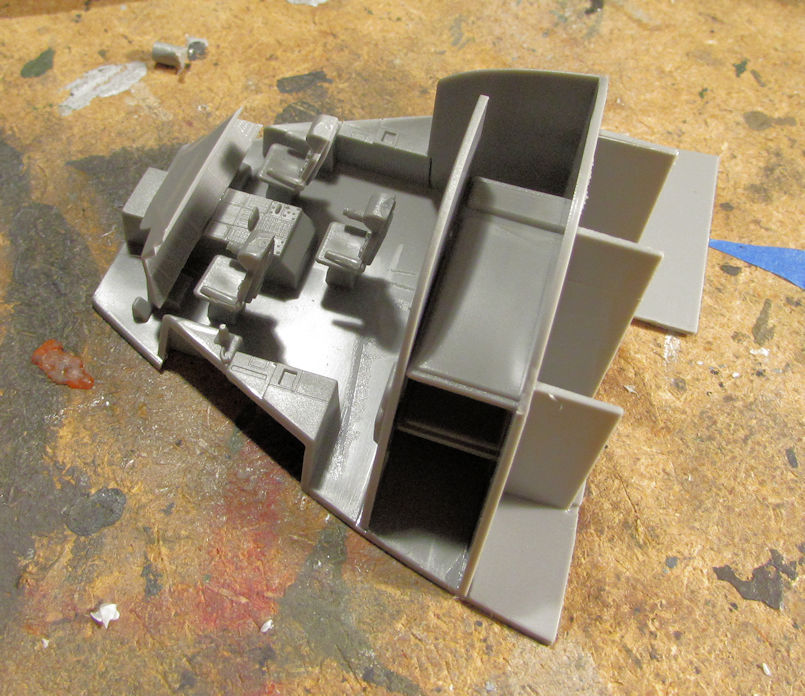
That's all I got done on that. The next model I pulled out was an even bigger plane, the A-400 Grizzly used in Europe. Mine has the option to make it a German bird so that is what I'll make it. After all, my Germans are my largest force right now!

I started once again with the cockpit as before:
Image

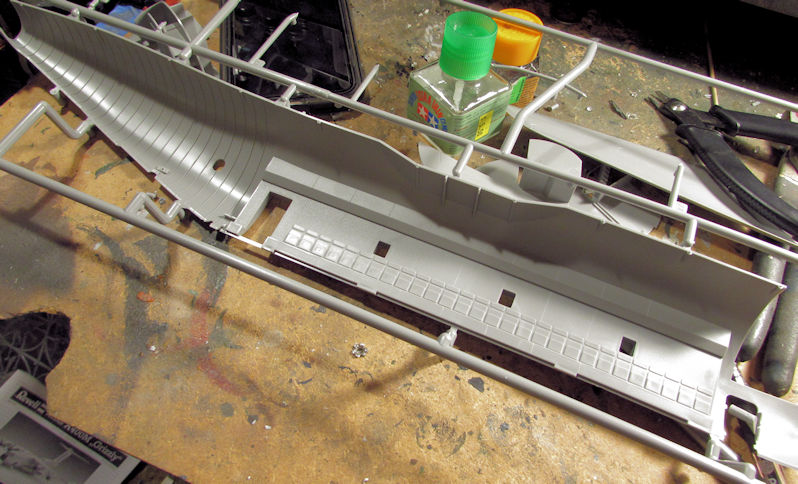
This model also has a full interior enclosed in an interior shell just like the C-54 does. Here's one half of it here:
Image

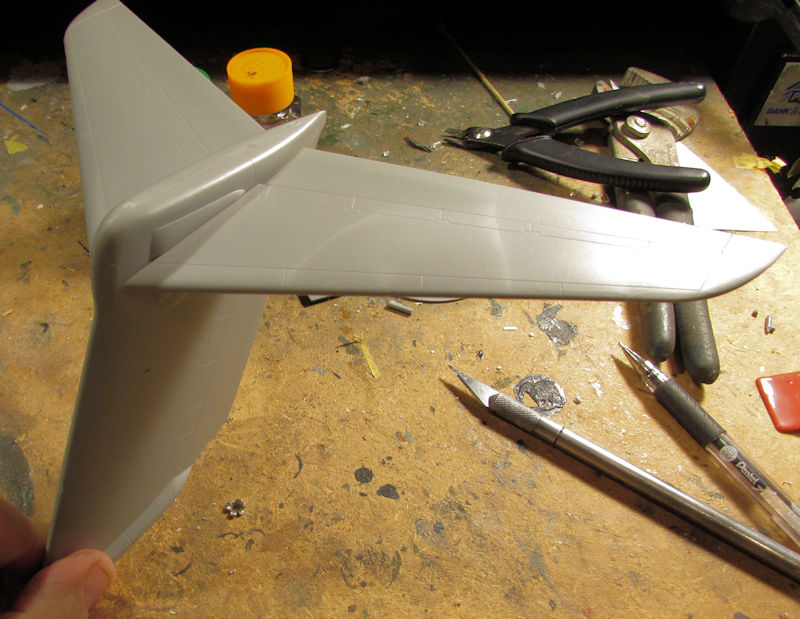
As this bird will be all closed up as well, I won't be painting that interior. Next I assembled the tail, only dry-fitting the horizontal surfaces. You can see how big that is too:
Image

I then assembled all these greeblies which go on the underside of the wing:
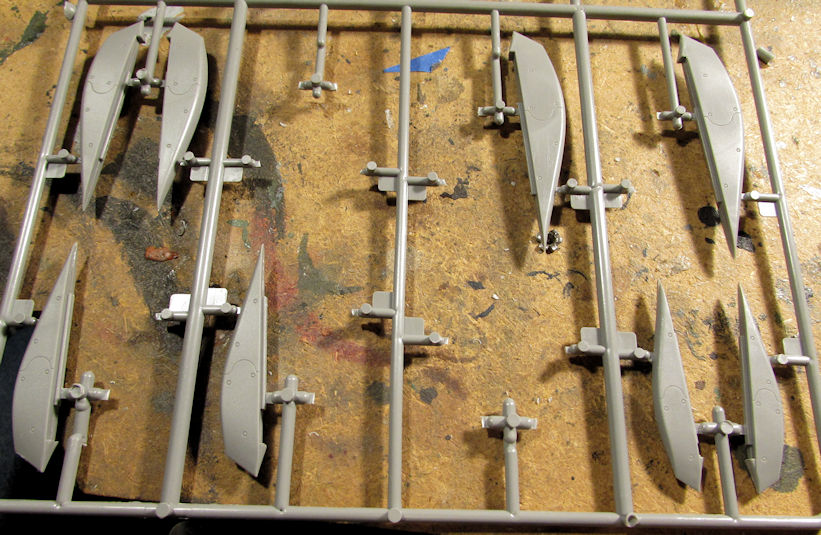
Image

And here is the wing I'll be adding those to. Check out the wingspan:
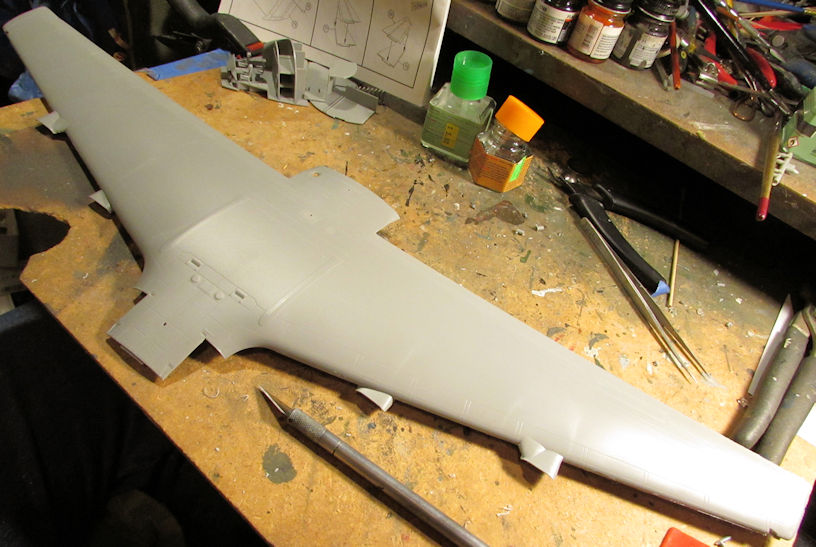
Image

I already added those fences to the underside of the wing; they'll be seen in the next update.

Moving on, I then started my monster of a kit, the An-124; first assembling the cockpit:
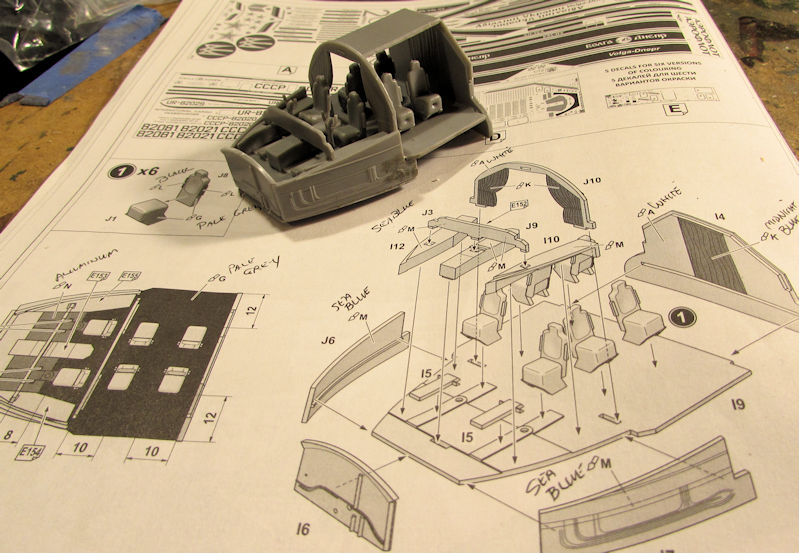
Image

Fortunately, that is all the interior this model has. However, I do have to assemble all the wheels. Here is the first ones after assembly:
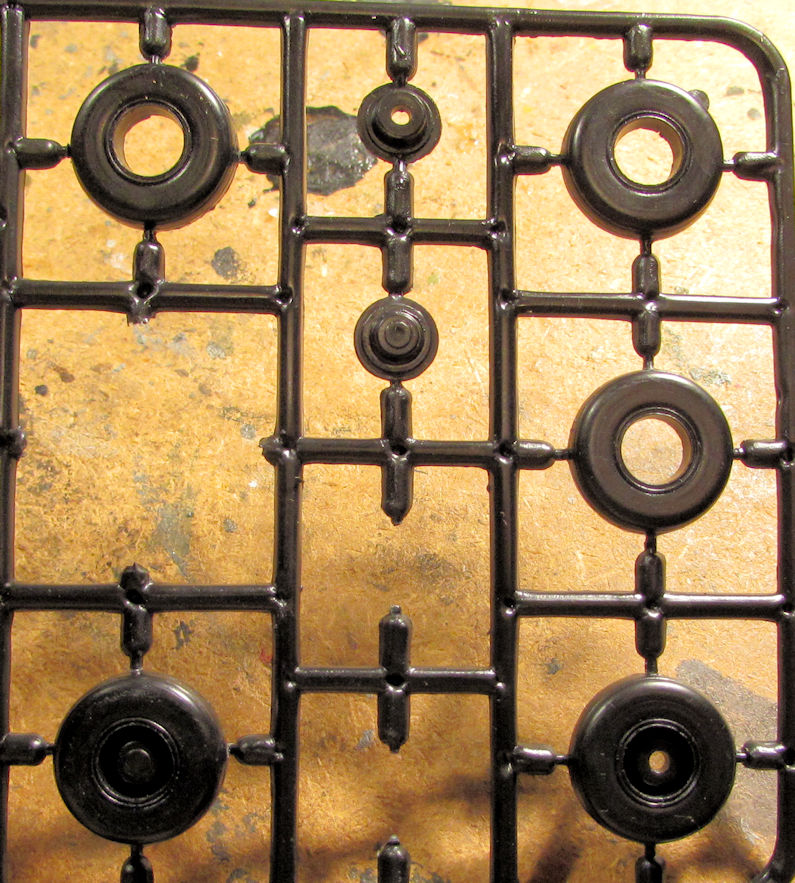
Image

Now, each of those outer circles are the wheel halves. The inner, smaller circles are the hubs that go inside those circles. You can see the lower wheel halves with the hubs installed. Here are all the wheel halves on that sprue already done:
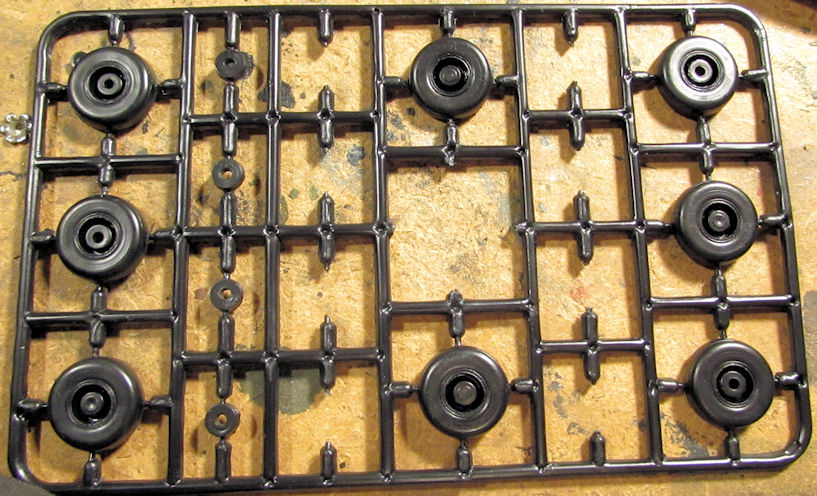
Image

That's four wheels. Sixteen more to go....

I decided that was enough so I moved on to assemble the main landing gear wells:
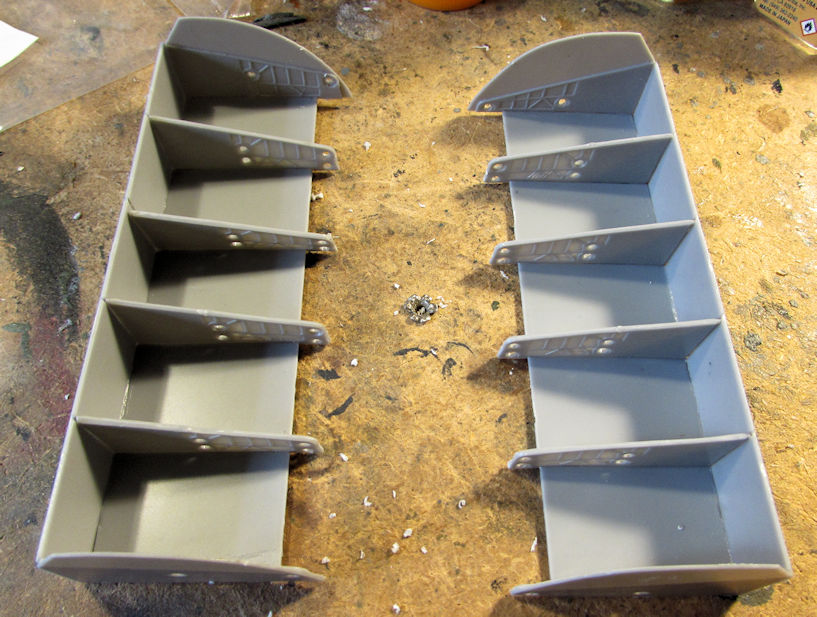
Image

That was harder than expected, but they are done. That's as far as I got on that plane. In fact, that was enough on all planes for now, so I started on my armor.


On the bench I had about ten small scale armor models that were within spitting distance of being done. Time to bring them over the finish line.


My first one was my US M-1117 Guardian. I had a base coat on it so I decided to brush paint the second of three camo colors:
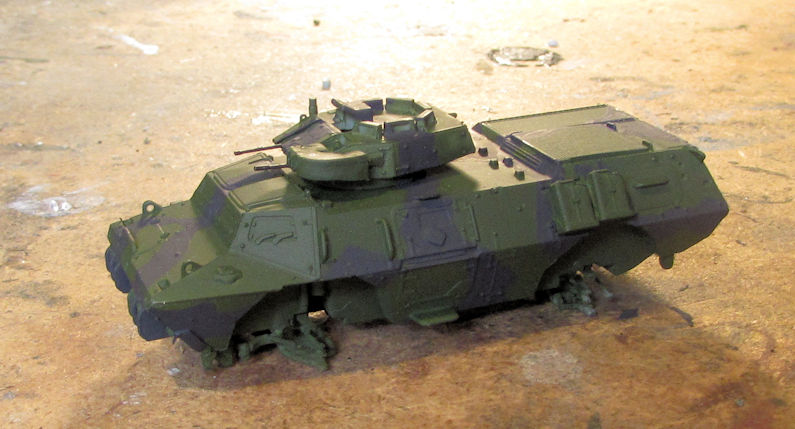
Image

Later, I did the second color and a number of details:
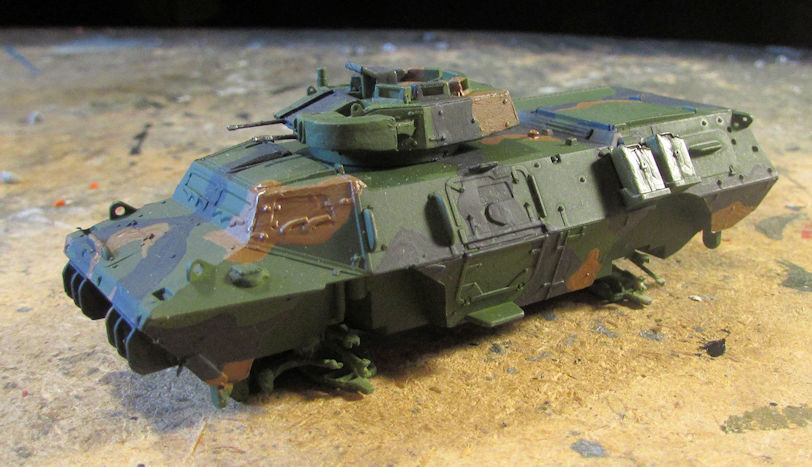
Image

Image

After all that was dry, and before I added the wheels; I shot some dirt weathering on the underside and in the wheel wells:
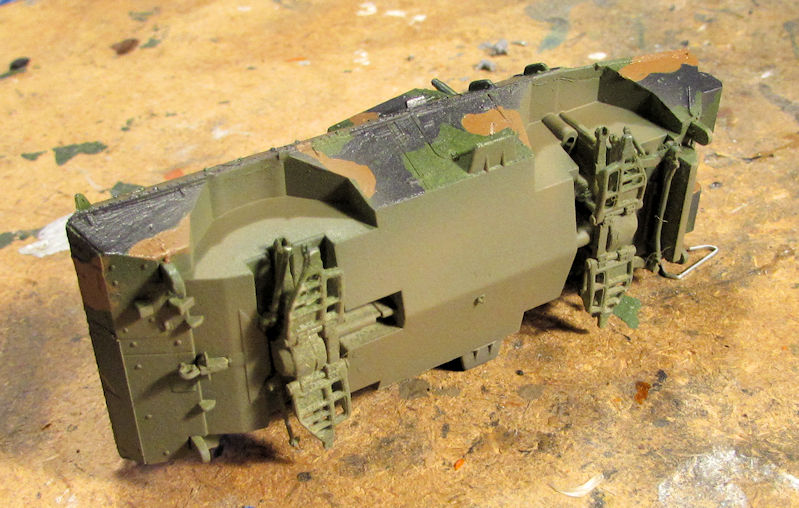
Image

After that, I added the wheels, decals, detail parts and finished the weathering. This little car is done now.

Next, I worked on the three half-ton trucks for my JGSDF. I started out by painting all the wheels on the sprues:
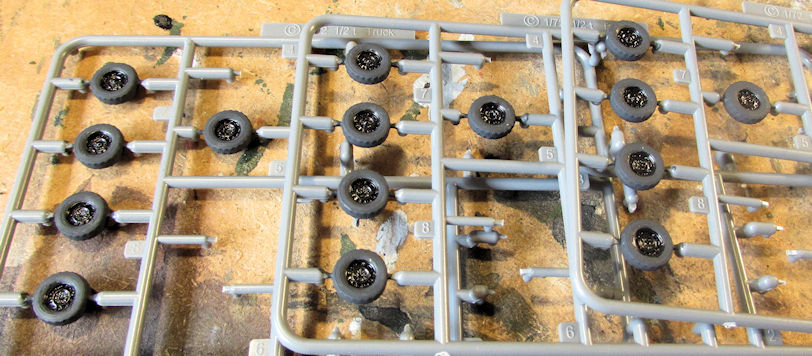
Image

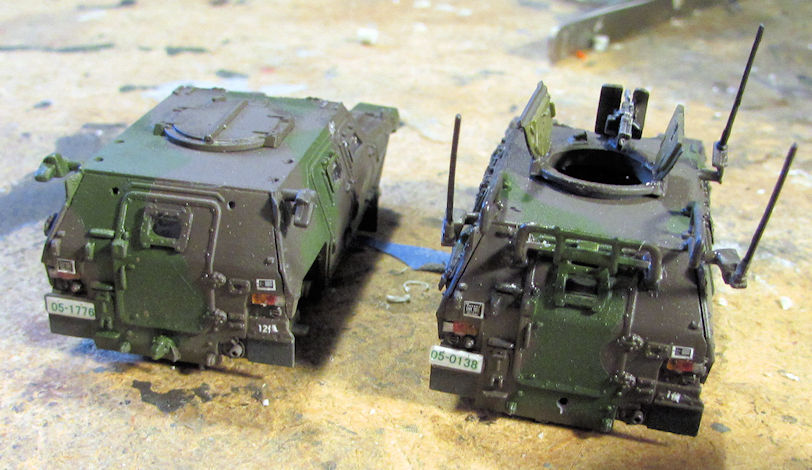
After that, I added the windows and other detail parts to these trucks, thereby showing the variants that are available:
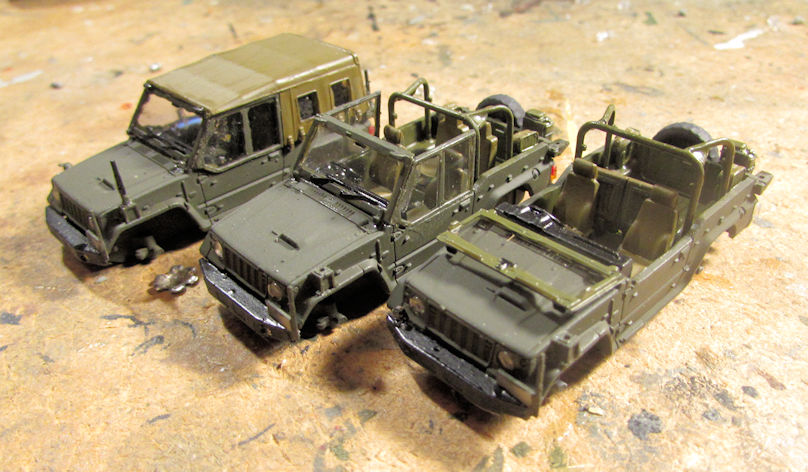
Image

From back to front these are a light scout, liaison and cargo trucks.

When I dirtied up the M-1117, I also dirtied up these underneath and in the wheel wells:
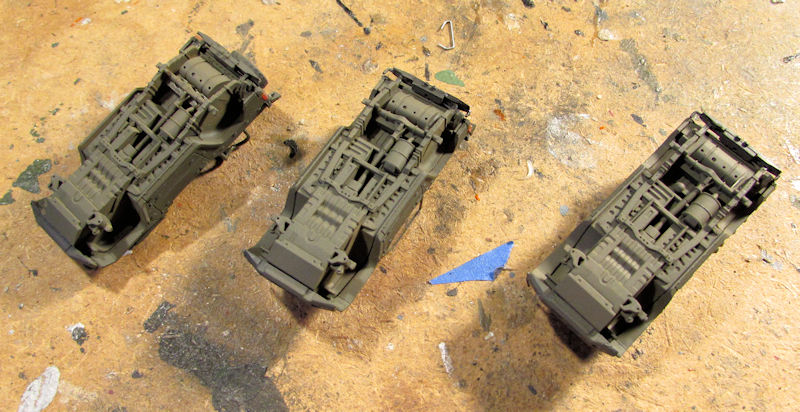
Image

Even though it’s not that visible here, I also dirtied up the cargo bed of the one truck:
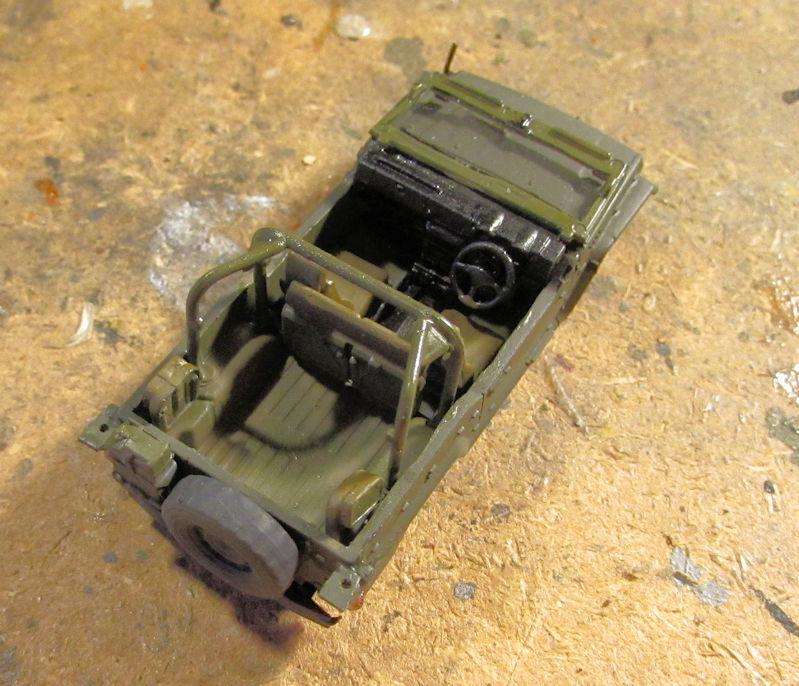
Image

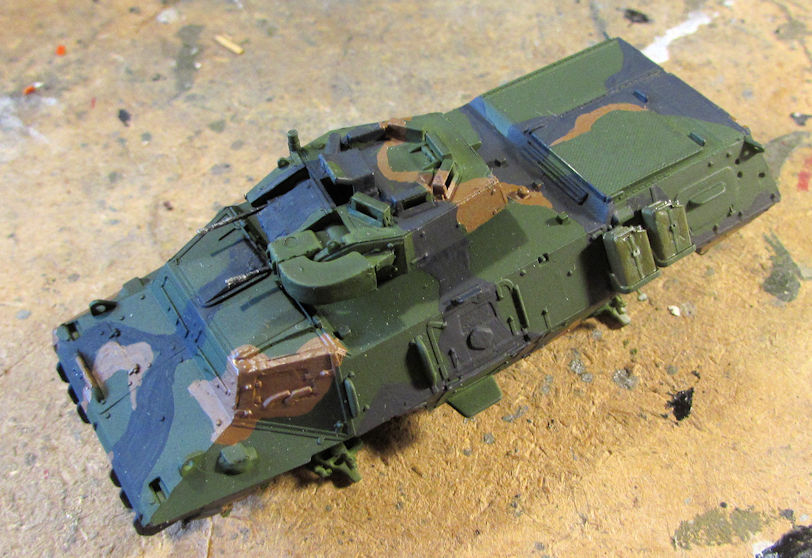
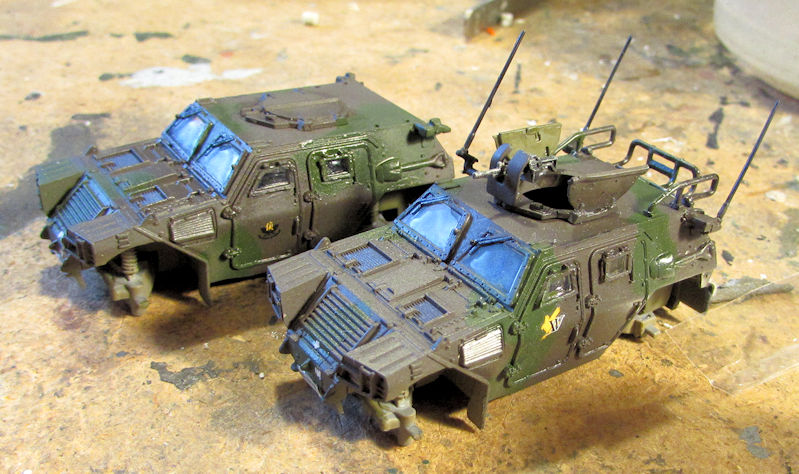
Next I worked on the two Light Armored Vehicles, completing the camouflage pattern and removing the Silly Putty, and then adding the detail parts to them:
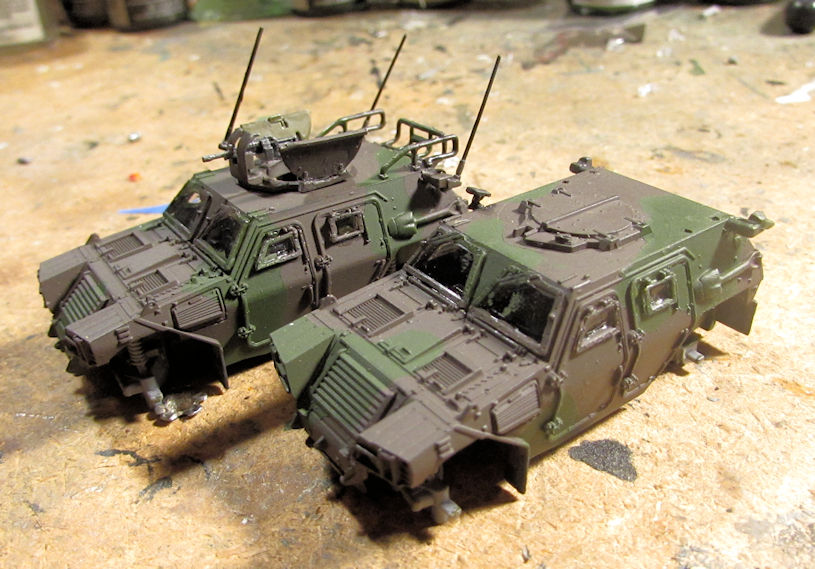
Image

I then painted the wheels and tires like I did with the half ton trucks:
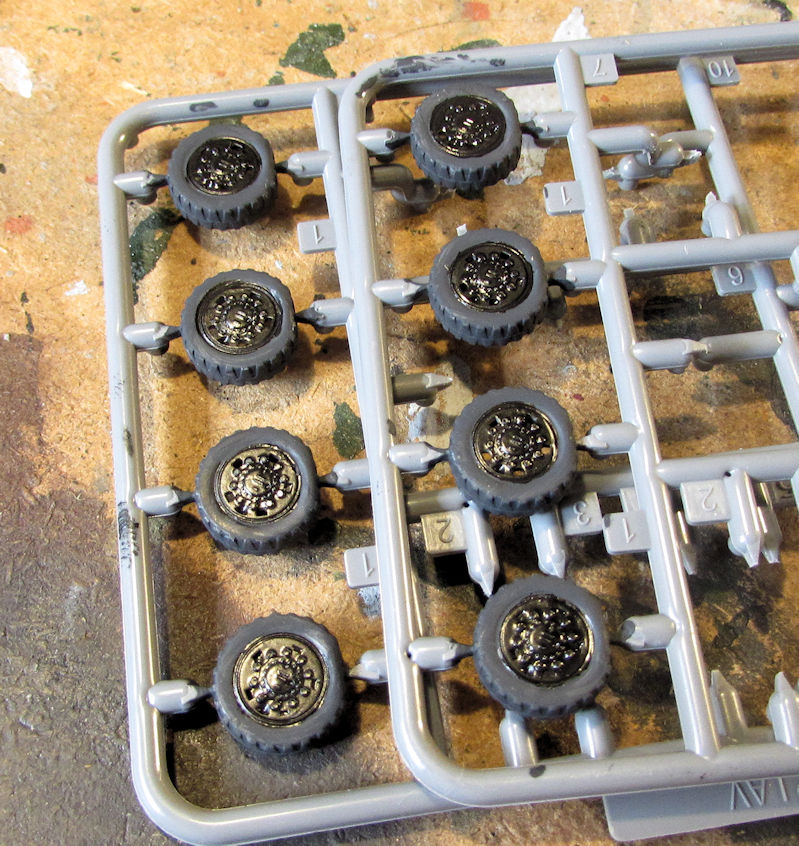
Image

Later I dirtied up the bottom and wheel wells of these two:
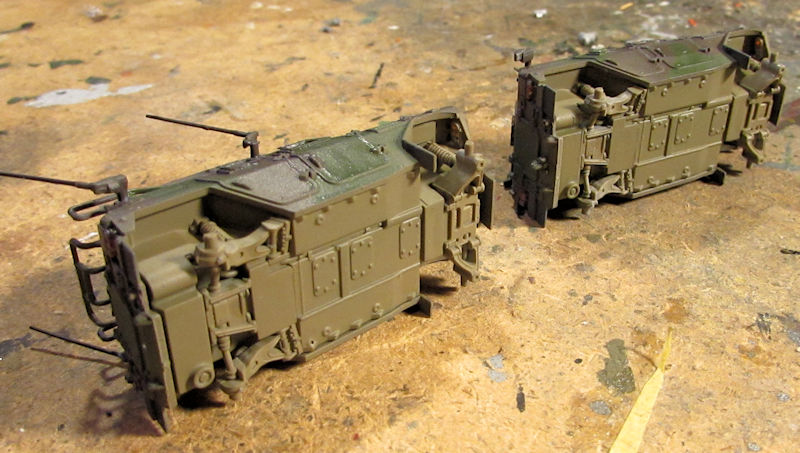
Image

After that came the clear coat and decals on these:
Image

Image

Afterward came dull coat, weathering and details to finish these off.

Next are the two Type 87 anti-aircraft vehicles. I also shot the second camouflage color and then removed the Silly Putty:
Image

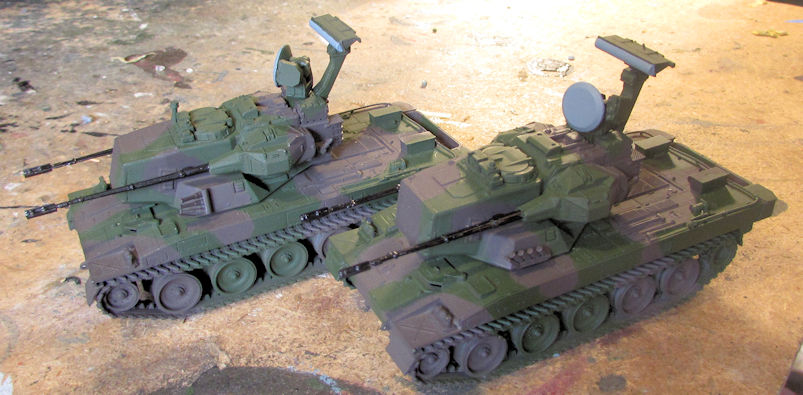
Later I painted the guns and radar on these:
Image

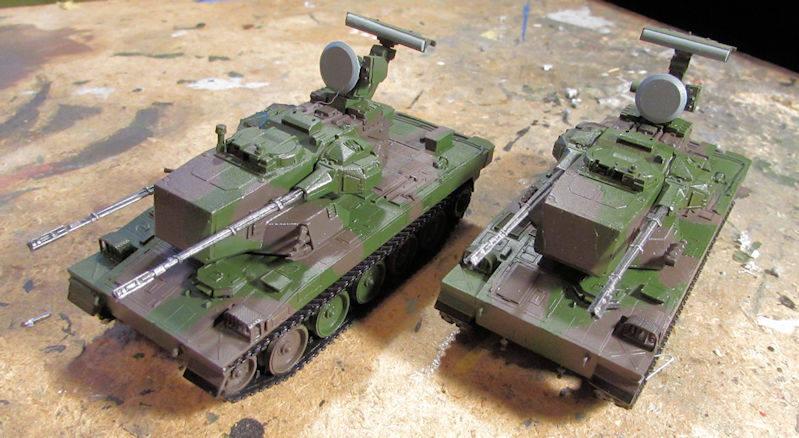
When that dried, I shot the clear coat on these for decals:
Image

And finally decals:

Image

Afterward was the dull coat, detail painting and weathering to finish these off.

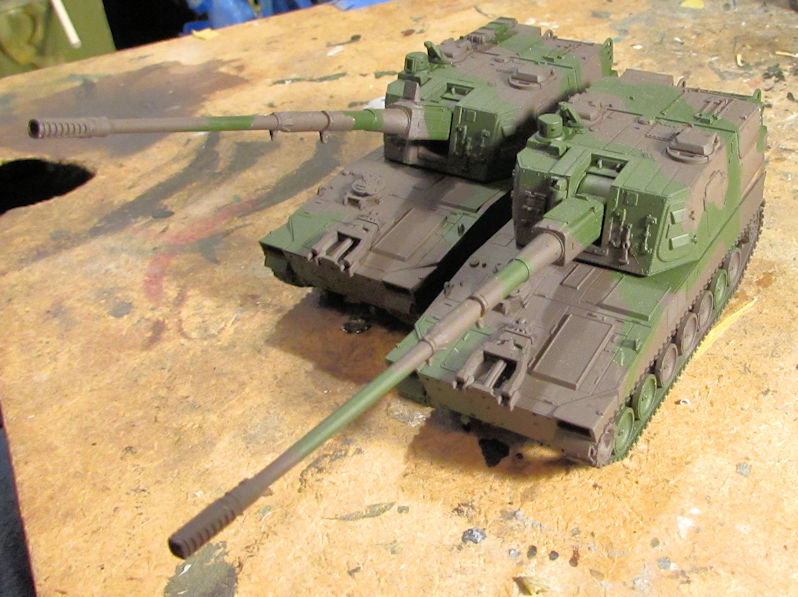
Finally, I shot the final color on the camouflage pattern for the Two Type 99 Self Propelled Guns. After Silly Putty was removed they looked thusly:
Image

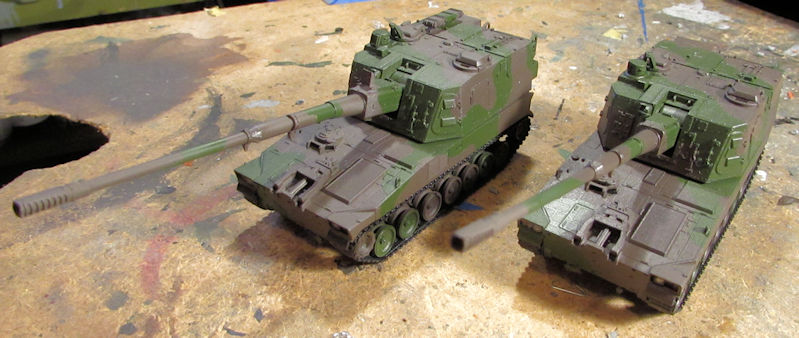
Afterward, I glossed them like the others:
Image

And then the decals went on:

Image

Once they were dry, I dull coated them, added details and then weathered these two to finish them off.

So, I was able to get these last ten vehicles finished on Saturday afternoon. Later on I’ll try to get those finished pic posted. Until then, enjoy the tour; if it isn’t too boring. At least I gave you all something to do while staying at home to avoid the beer virus! LOL!

Thanks again for looking in, comments are welcome.