Re: 1/32 Revell Bf109G-6/AS Hohenjager
Posted: Thu Feb 06, 2020 11:34 am
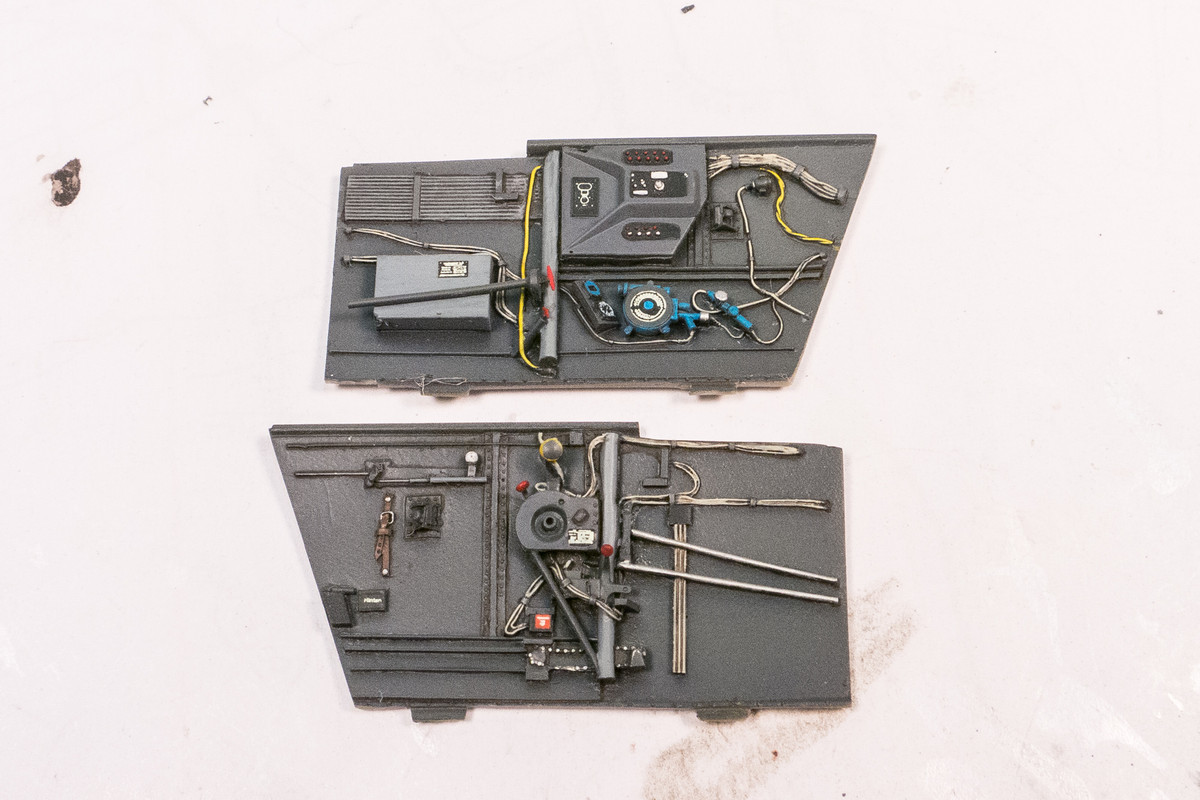
Thanks guys! It looks like the instruments are not quite centered within the dial faces but I think that is simply the camera perspective. But I'll have to double check.
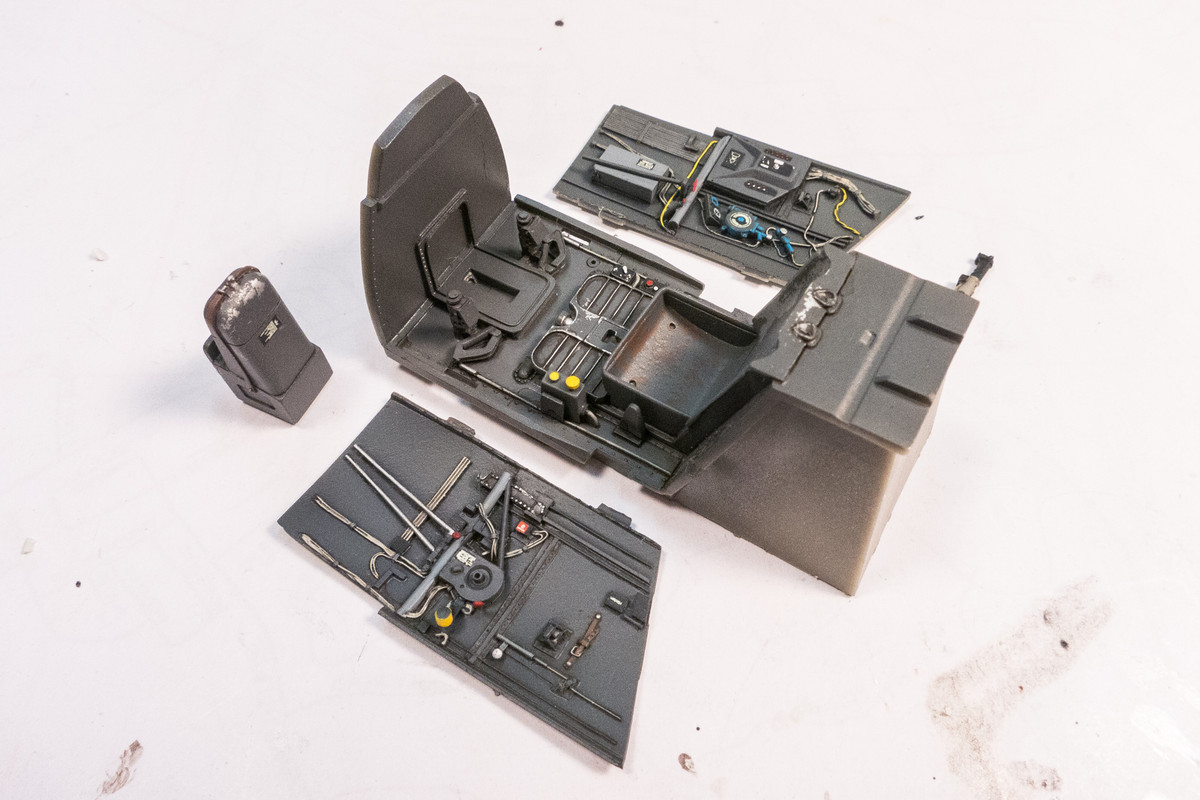
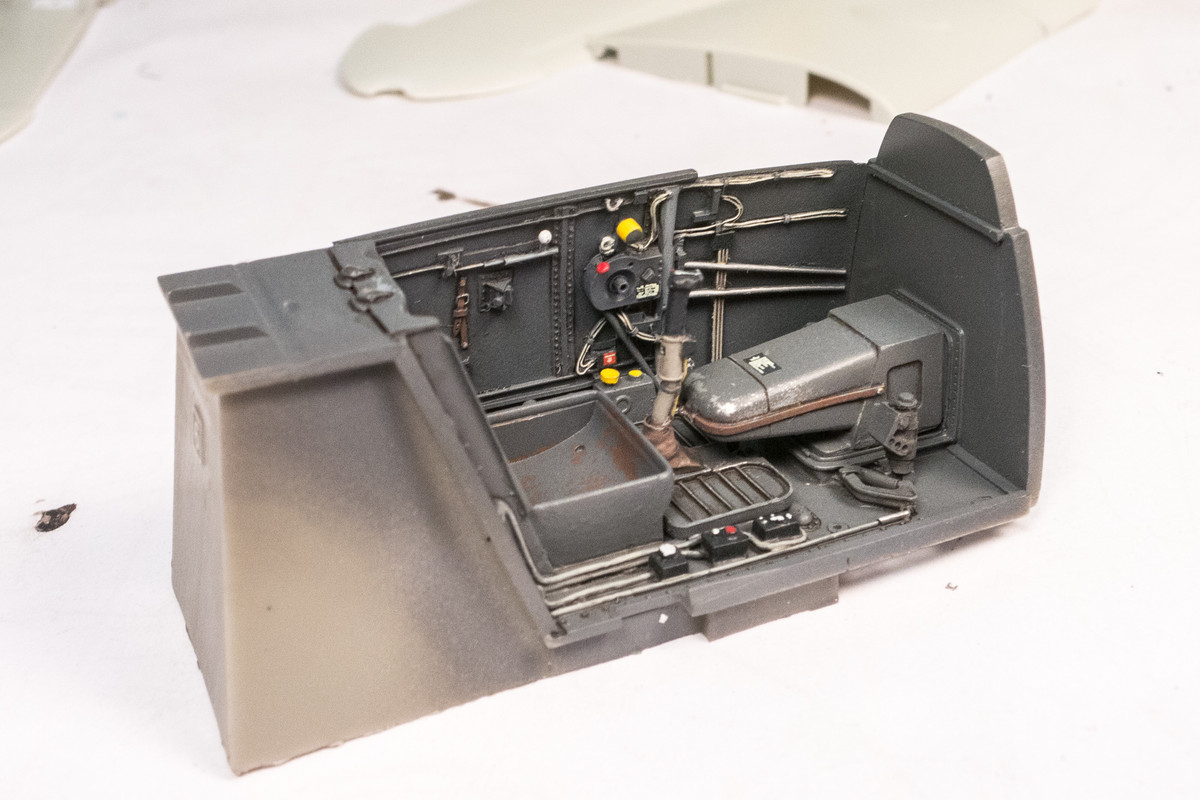
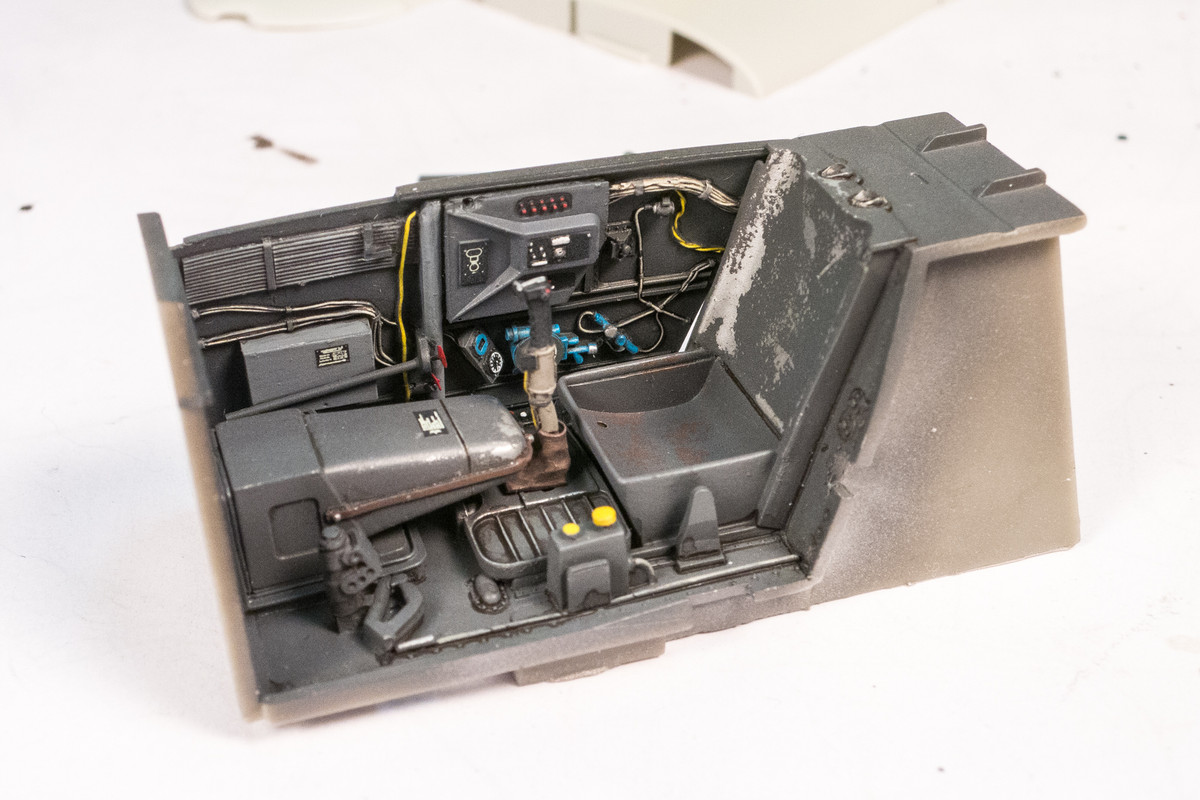
I've gone through several frustrating rounds of painting the cockpit tub.
First Try...
I painted the seat and footrest area Tamiya AS-12 Silver and the bucket was handbrushed in brown to replicate wood construction. I then applied MiG Scratches Effect and then RLM 66 over everything. The chipping from the MiG Scratches Effect was way too extreme (big chunks) and so I started over.
Second Try...
This time I used good old hairspray but forgot to paint the bucket brown. I was going to accept that mistake since the harnesses would cover most of the seat anyway. The chipping started really good but I got overly aggressive in one area and ruined it.
Third Try...
So I wiped it away and started over with the AS-12 for the third time. By this time, all of this wiping had started to reveal the repair seam on the seat back. So I started a round of sanding/filling.
I'm halfway through the process of repairing that seam and I'll be applying the base silver on the cockpit tub for a FOURTH time. I'll try to remember to paint the seat bucket brown.
I've gone through several frustrating rounds of painting the cockpit tub.
First Try...
I painted the seat and footrest area Tamiya AS-12 Silver and the bucket was handbrushed in brown to replicate wood construction. I then applied MiG Scratches Effect and then RLM 66 over everything. The chipping from the MiG Scratches Effect was way too extreme (big chunks) and so I started over.
Second Try...
This time I used good old hairspray but forgot to paint the bucket brown. I was going to accept that mistake since the harnesses would cover most of the seat anyway. The chipping started really good but I got overly aggressive in one area and ruined it.
Third Try...
So I wiped it away and started over with the AS-12 for the third time. By this time, all of this wiping had started to reveal the repair seam on the seat back. So I started a round of sanding/filling.
I'm halfway through the process of repairing that seam and I'll be applying the base silver on the cockpit tub for a FOURTH time. I'll try to remember to paint the seat bucket brown.
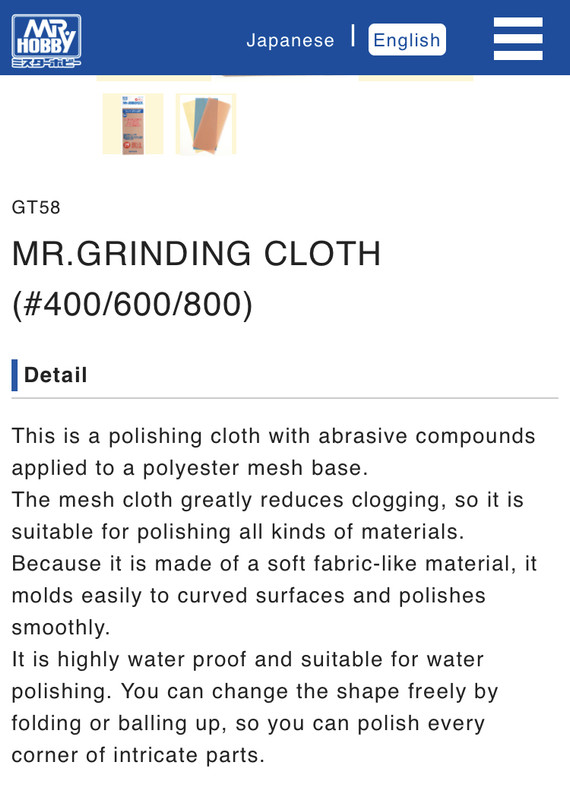
 Normally, I use a stiff paint brush dipped in water to slowly loosen the paint layer above the hairspray. Are you saying you use the polishing cloth instead of a brush?