1/32 Revell Me262B-1/U1 Nachtjager

Post your work in progress of your aircraft builds in here.
User avatar
jkim
Elite Member
Posts: 4073
Joined: Mon Apr 10, 2017 4:03 pm

Re: 1/32 Revell Me262B-1/U1 Nachtjager

Post by jkim »

Great detective work guys! Based on the twin-tube thingy that is on the top of the Eduard mystery assembly, I would have to say that you are correct, Carlos!

Image
Image

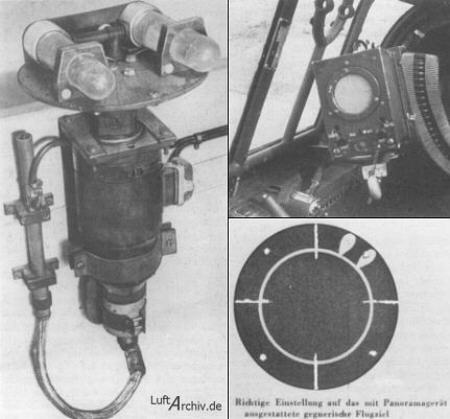
It looks like Eduard is providing a FuG 350 Naxos assembly but whether or not the object in the photo of Red 6 is a Naxos remains unclear. I found this quote on the now-defunct Stormbirds website...
Despite all that we have learned about the Nachtjäger (night-fighter) Me 262 variants, some fundamental questions remain. The radar operator's electronics suite is one such area where detailed information has proven exceedingly difficult to come by.

These postwar photos of FE-610, captured by the United States Army Air Forces, reveal an as yet unidentified component mounted to the canopy above the boxy FuG 16ZY radio. While long thought to be a part of the onboard Neptune RADAR equipment, a recent dialogue on the matter over on the Stormbirds Forum has since called this into question.

So ... the question remains: what is mounted to the canopy just above the FuG 16ZY console? Is it the FuG 350 "Naxos" Zc, a Spanner night vision system or perhaps some other device fitted by the Allies during postwar testing?

If you feel that you can positively identify it, please contact our staff archivist Richard Eger. If possible, please try to include references to any relevant photographs, schematics, charts or original documents that may help to support your conclusions.

Last edited by jkim on Sat Nov 21, 2020 3:52 pm, edited 1 time in total.
John aka JKim
-----------<><
Image
User avatar
jkim
Elite Member
Posts: 4073
Joined: Mon Apr 10, 2017 4:03 pm

Re: 1/32 Revell Me262B-1/U1 Nachtjager

Post by jkim »

I'm going to leave this mystery box off of my build but I wanted to report another possible alternative as pointed by Radu at LSP. He thinks that it might be...get this... a Bernhardine Hellschreiber! No, I'm not making that up! The FuG 120 "Bernhardine" printer system was the airborne counterpart of the FuSAn 724/725 "Bernhard" radio-navigation beacon of the Luftwaffe, 1941-45.

Check the link and scroll to about 1/2 way down and you'll see that this was specified to be installed on nightfighters including the Me262.
https://www.nonstopsystems.com/radio/he ... e-eqpt.htm

That's' good enough for me! For those that don't know, Radu is man who created RB Productions (although I don't think he's involved anymore) and had a personal role in the design of the Revell kit that I am building right now!

I DO think that Carlos was correct in that the Eduard's version is definitely patterned after the Naxos 350 unit.
John aka JKim
-----------<><
Image
User avatar
Stikpusher
Moderator
Posts: 21183
Joined: Sat Apr 05, 2014 8:37 pm
Location: Ceti Alpha 5

Re: 1/32 Revell Me262B-1/U1 Nachtjager

Post by Stikpusher »

That makes sense also. In either case, it’s in a good spot for the radar operator to utilize.
"Surely I have made my meaning plain? I intend to avenge myself upon you, Admiral. I have deprived your ship of power, and when I swing 'round, I intend to deprive you of your life."

FLSM
User avatar
jkim
Elite Member
Posts: 4073
Joined: Mon Apr 10, 2017 4:03 pm

Re: 1/32 Revell Me262B-1/U1 Nachtjager

Post by jkim »

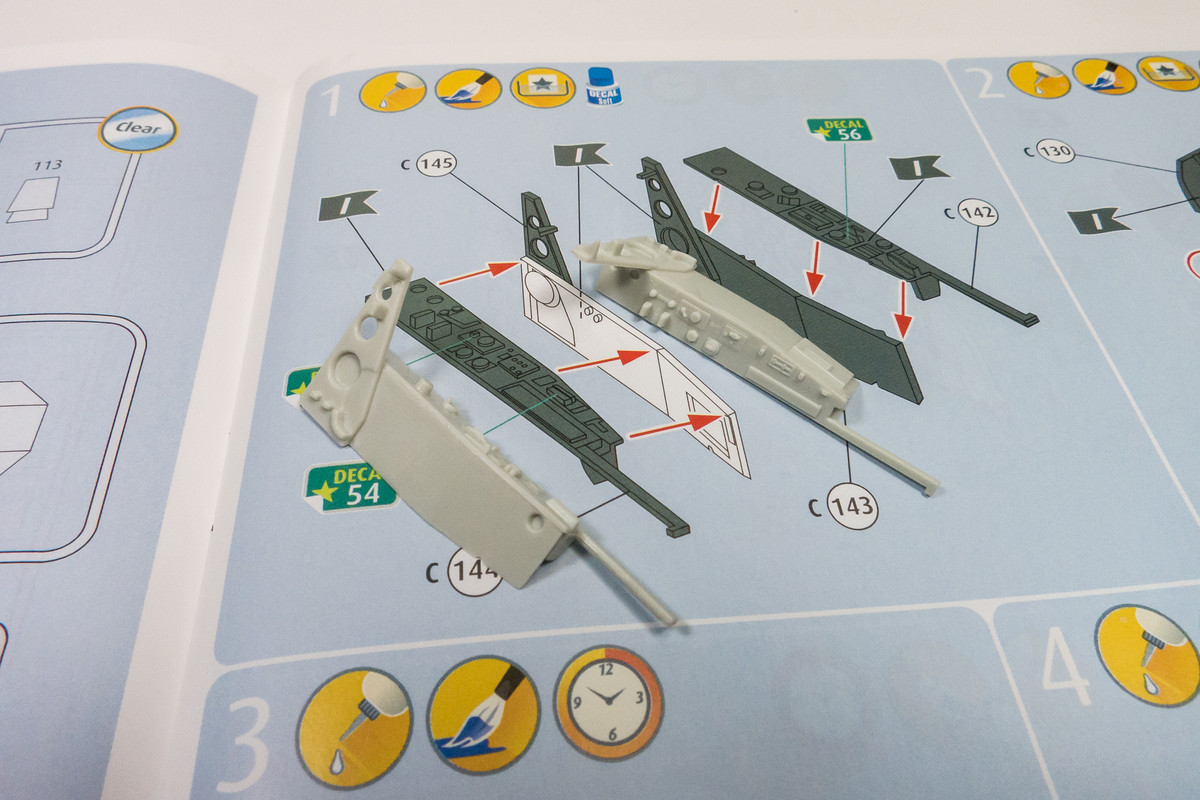
I haven't had much modeling time the past few days. The few hours I've spent on the Nachtjager have been spent looking at the cockpit components, referencing both the kit and Eduard PE instructions and trying to get subassemblies together prior to painting and determine which PE parts to use.

For example, I've decided to glue some subassemblies like the pilot side panels together so that I can, at some point, dry-fit the cockpit components together.
Image

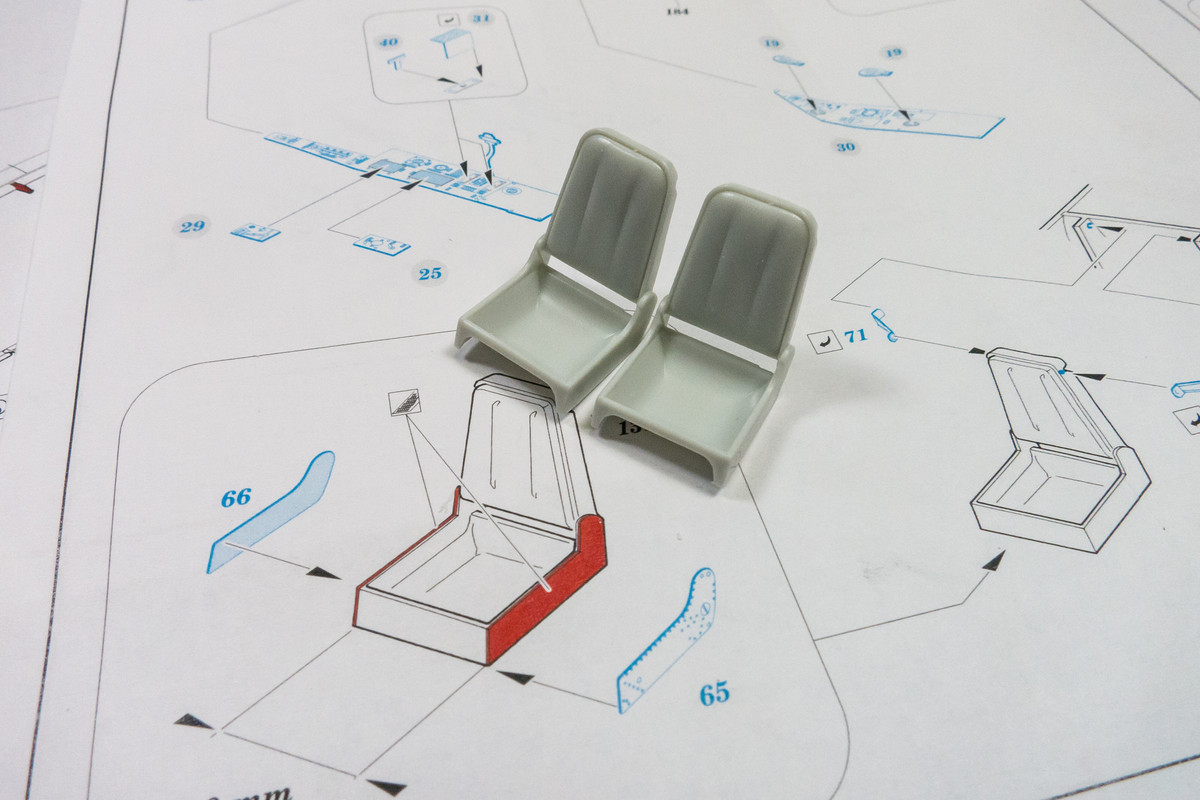
There are PE faces for the seats side frames but I doubt that they will be seen from above so I am planning on not using the PE parts. I'll make a more informed decision once I know how the seats fit within the cockpit.
Image

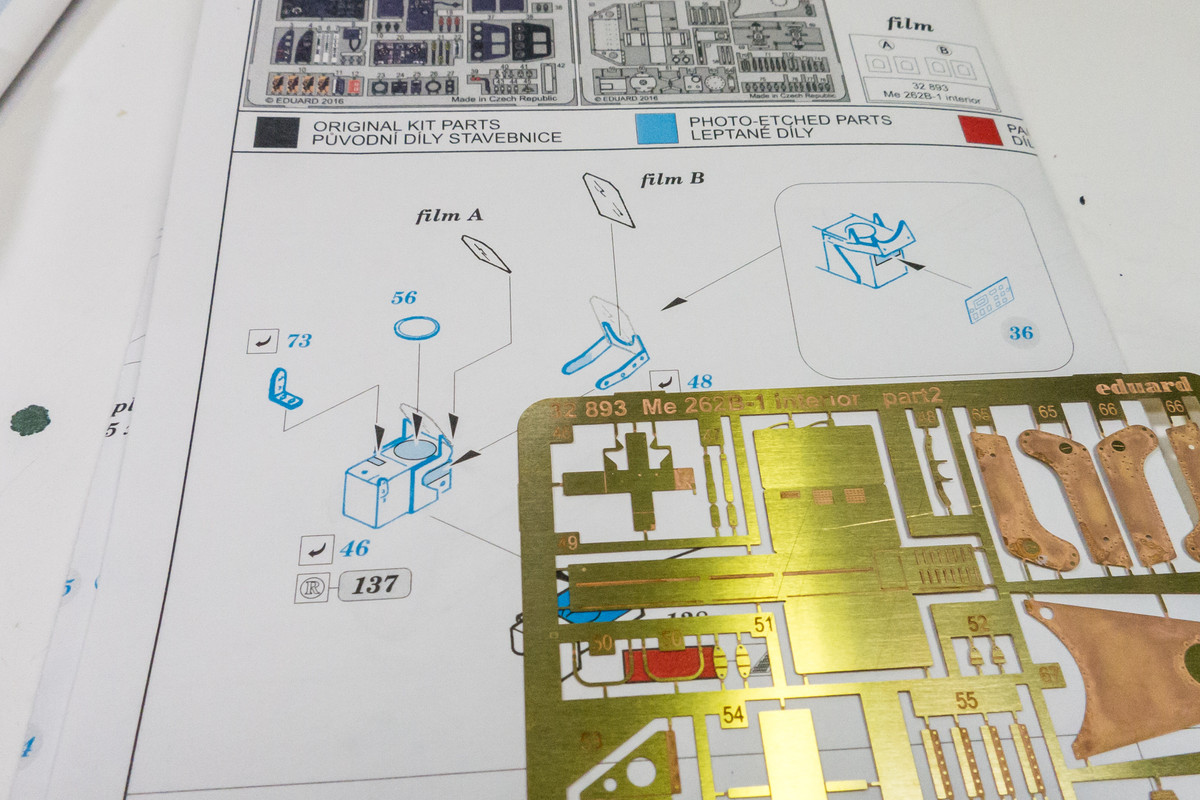
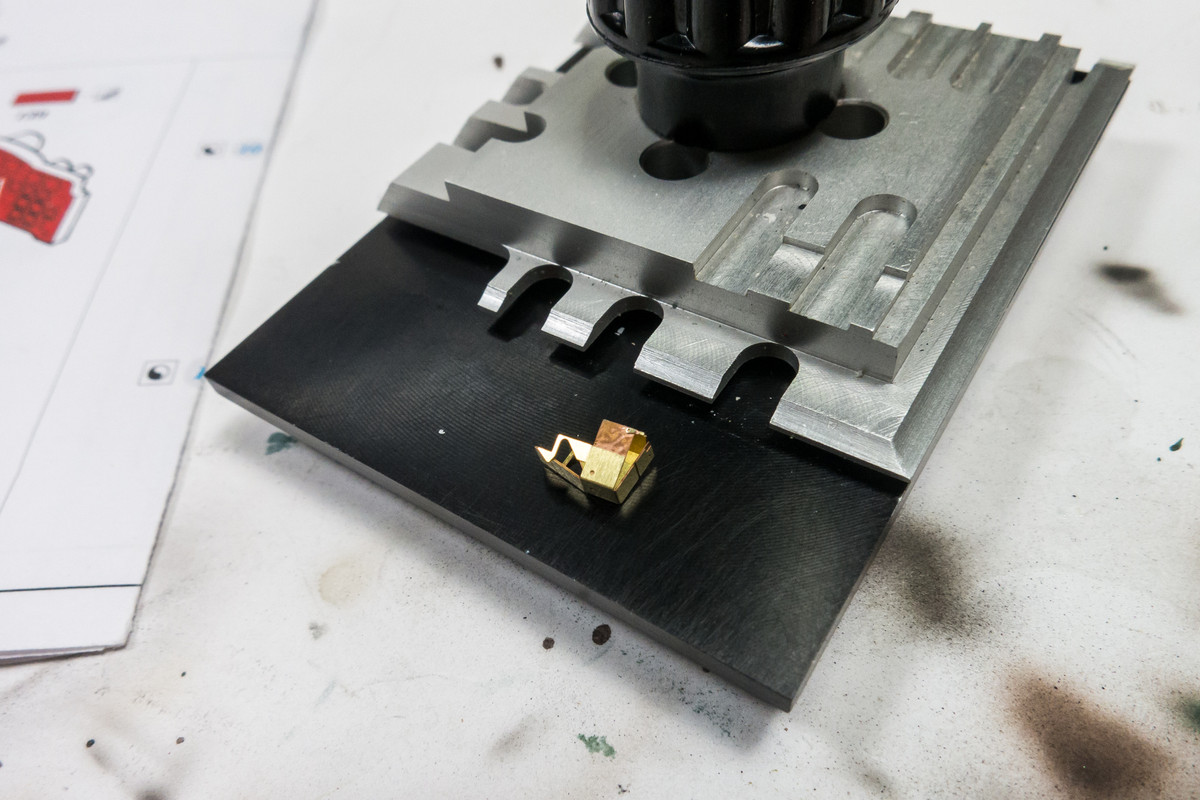
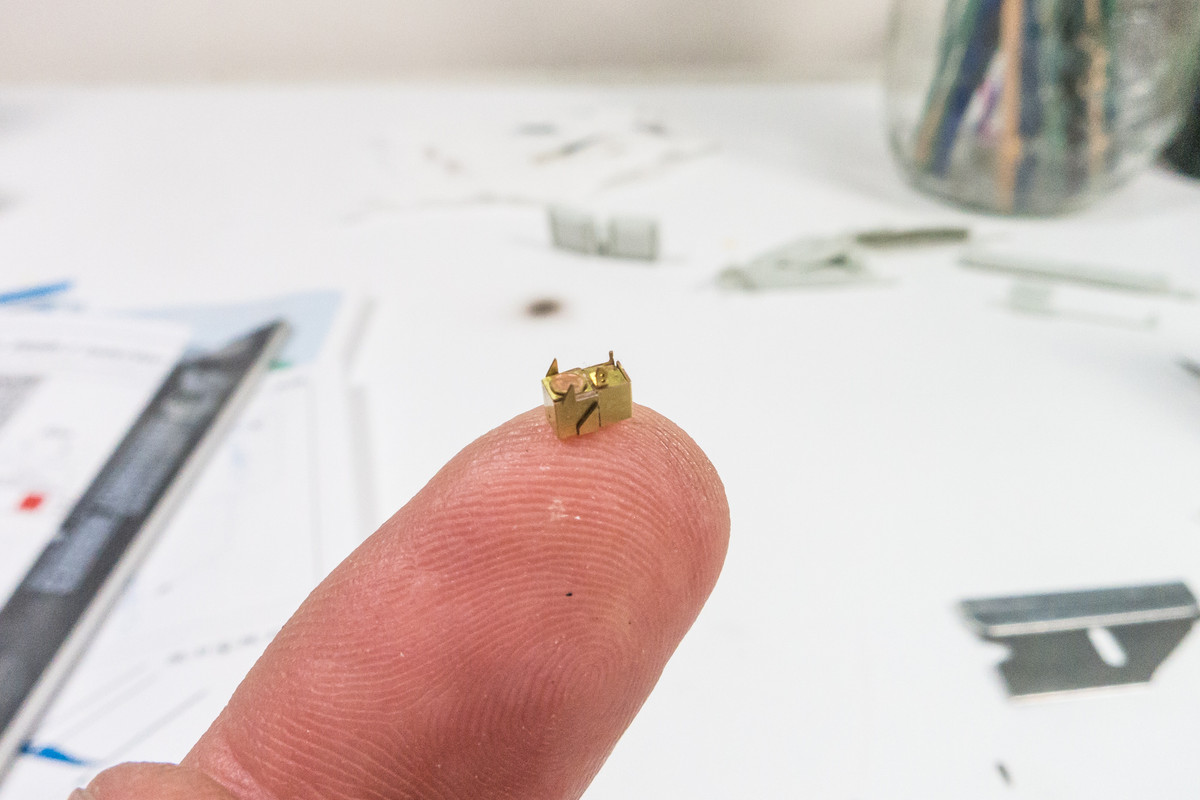
One PE component that I think will be superior to the kit part is the Revi 16 gun sight. It's no bigger than the size of a matchhead and yet it is made up of six separate parts... should be a fun assembly exercise.
Image

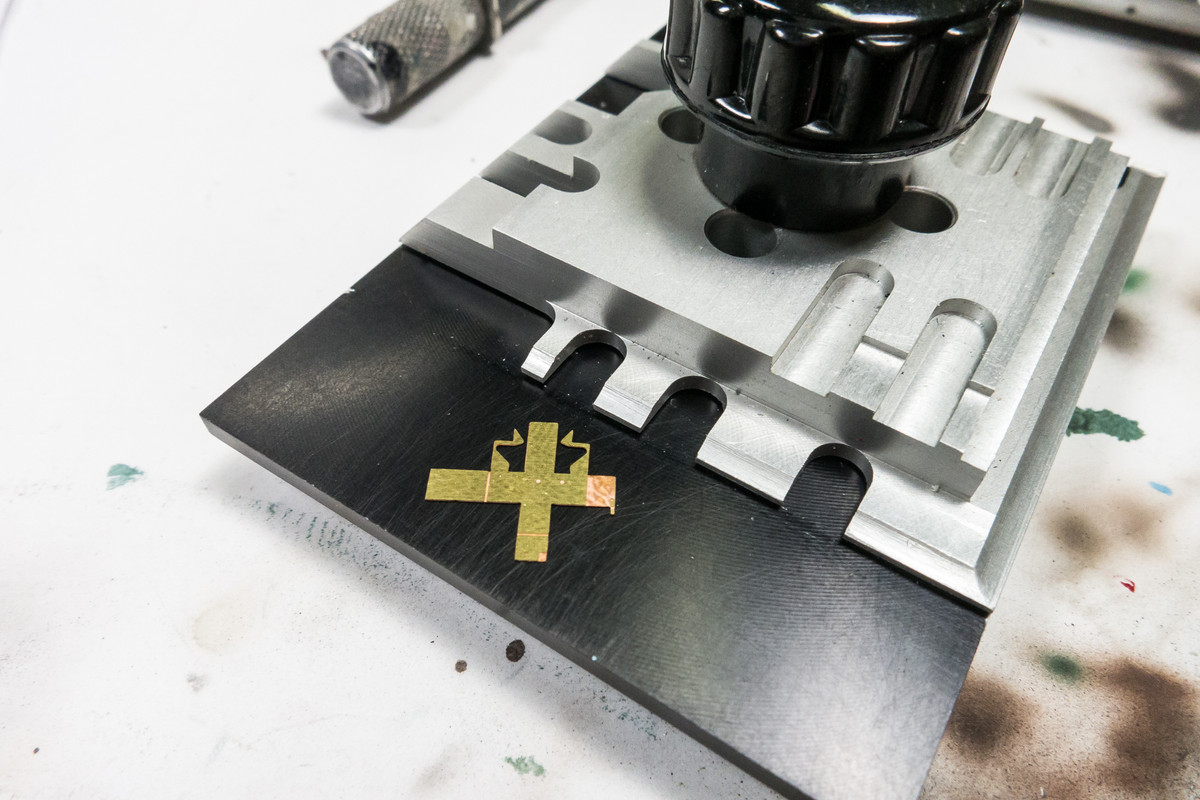
A PE bending tool is helpful when bending PE, especially if you want to get crisp/straight folds. I have a couple but The Bug by Small Shops is the one that I end up using most often.
Image

Once the initial folding is done, the box shape of gun sight is closed into final shape using my fingers and tweezers.
Image

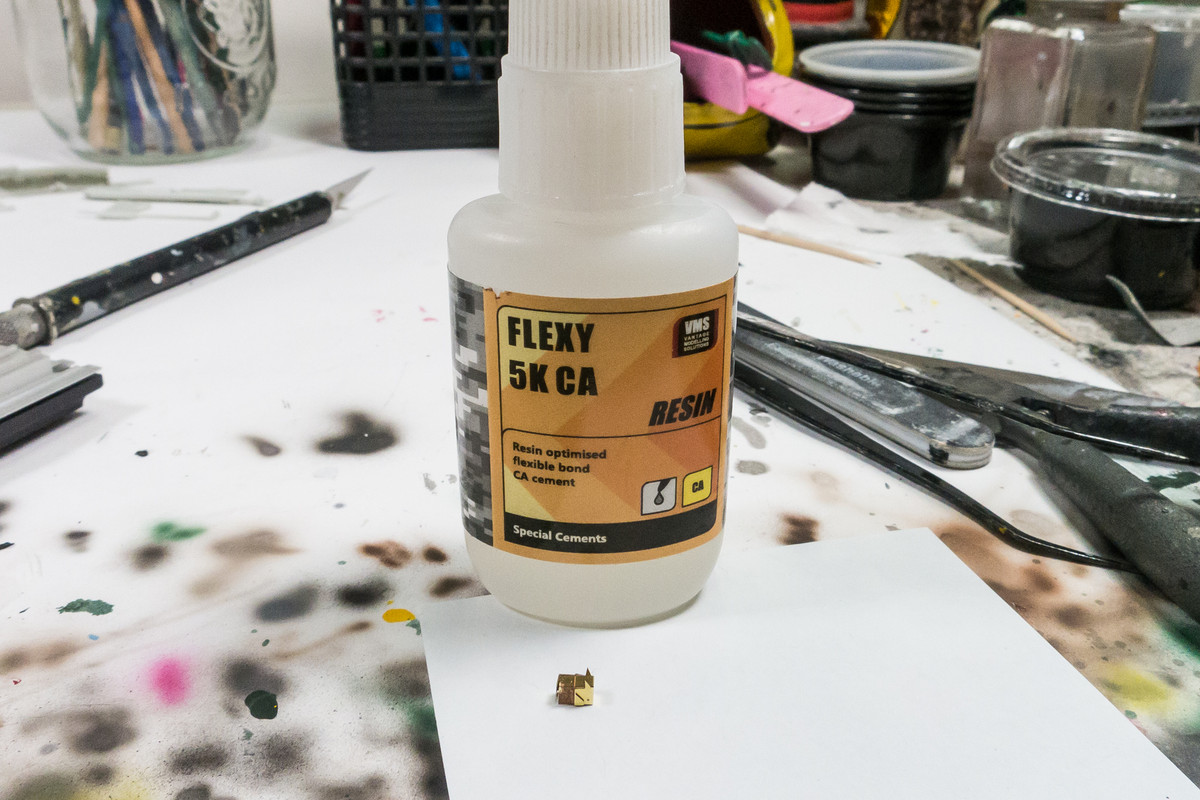
CA glue along the closed joints seals the box shut.
Image

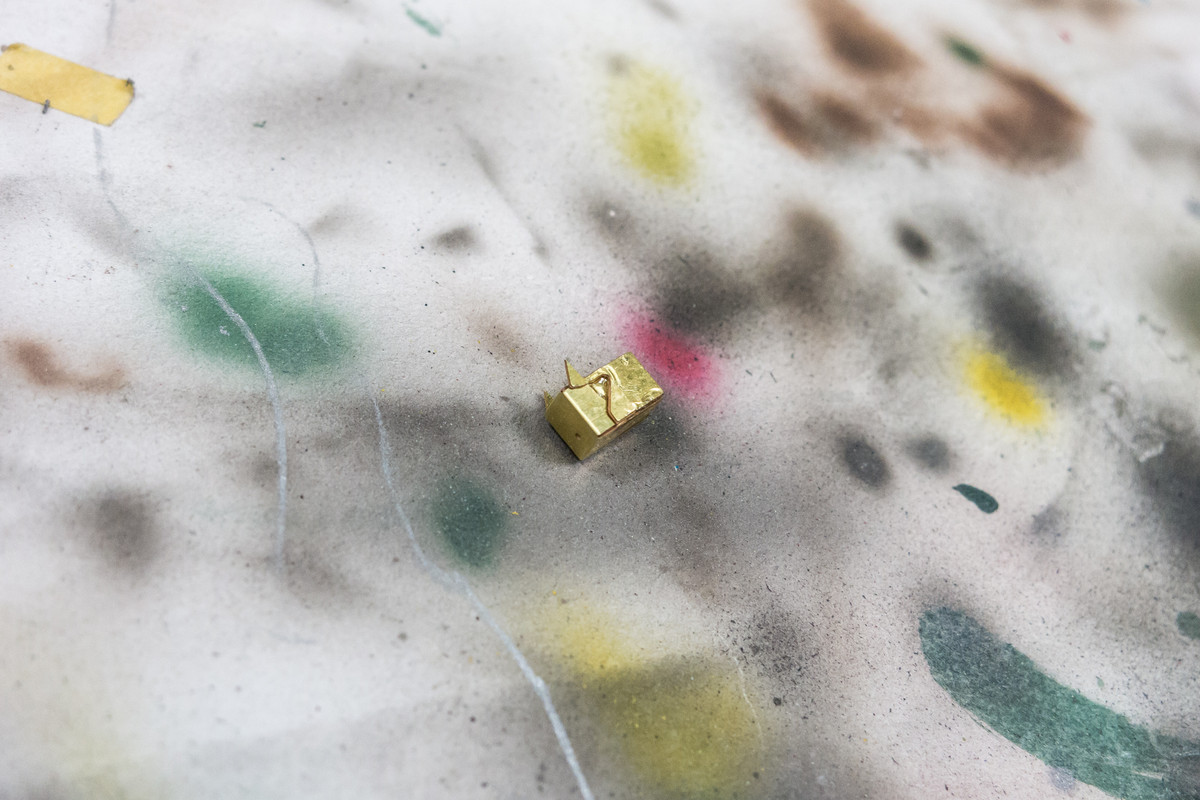
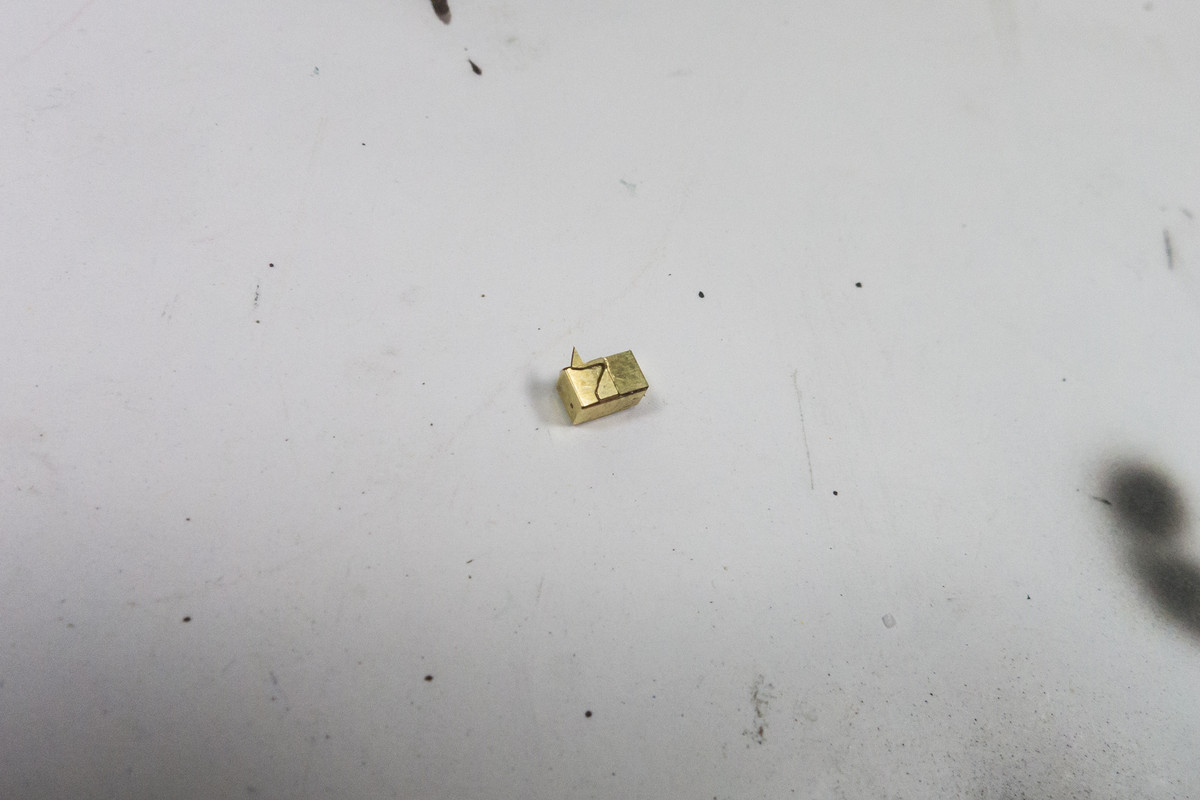
I used a small stiff paint brush moistened with Great Planes Pro CA Debonder to "scrub" away the excess CA glue.
Image
Image

A visual reminder of how small this thing is.
Image

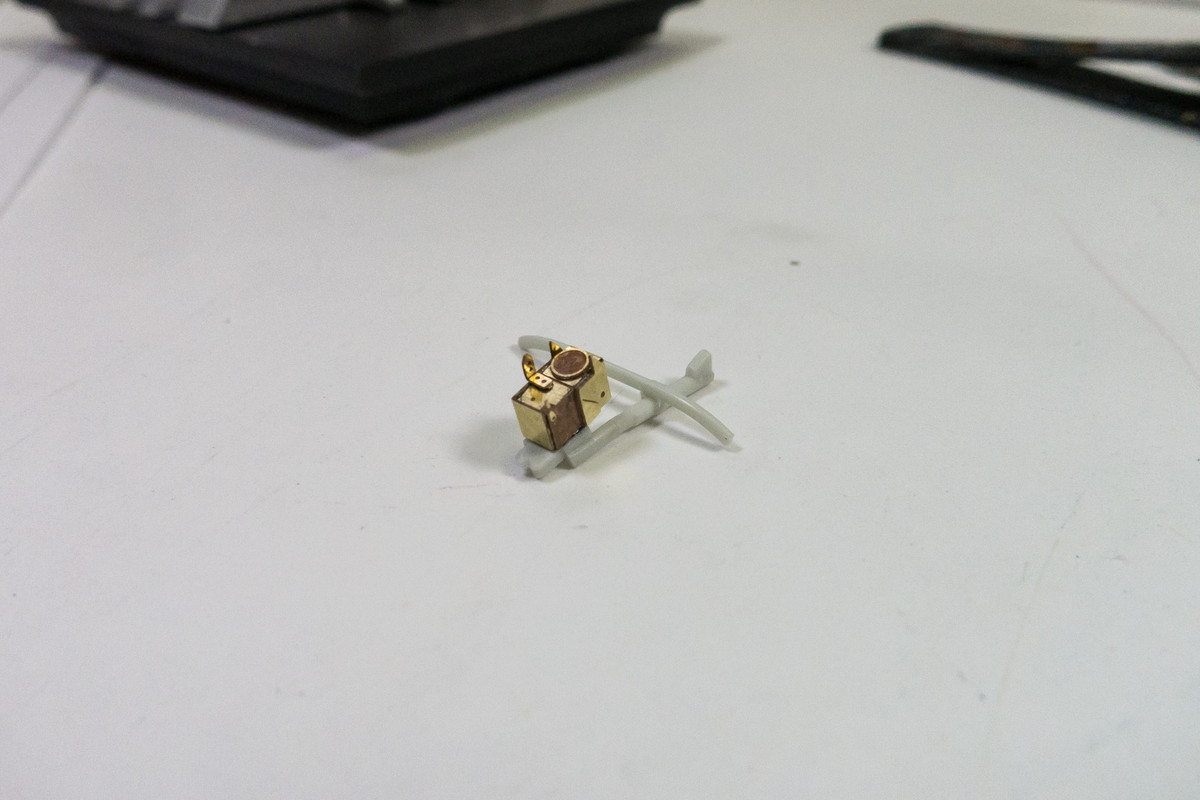
I thought it would be a good idea to mount the Revi gun sight onto the mounting arm to make it easier to handle and less likely to lose.
Image

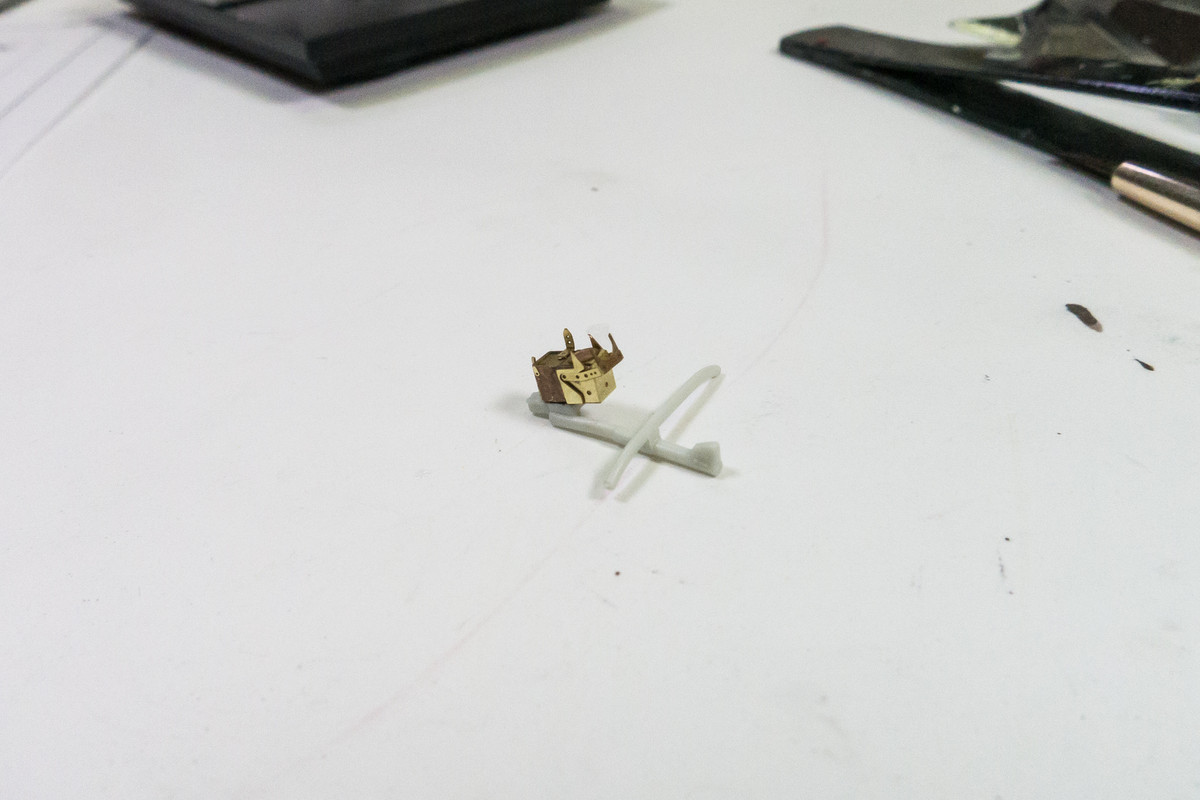
The final bits are added to the gun sight assembly.
Image

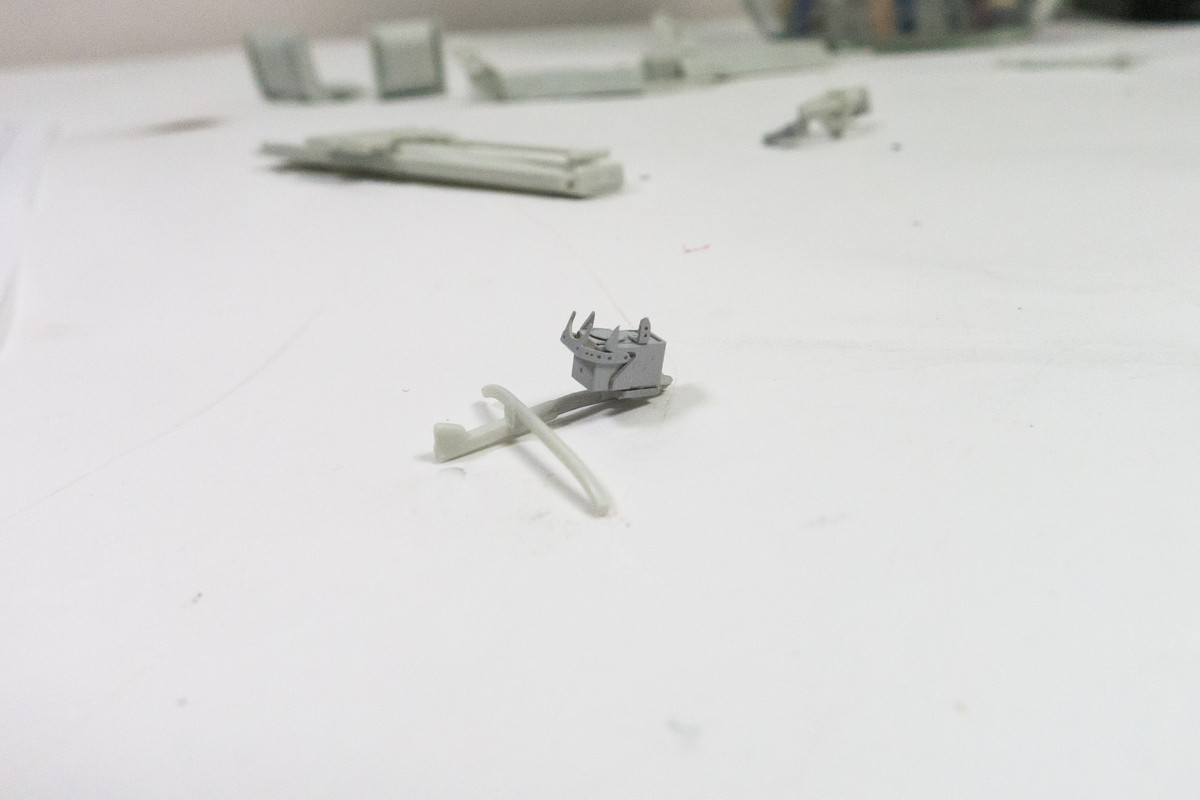
The gun sight is primed with Mr Primer Surfacer 1000.
Image
Image

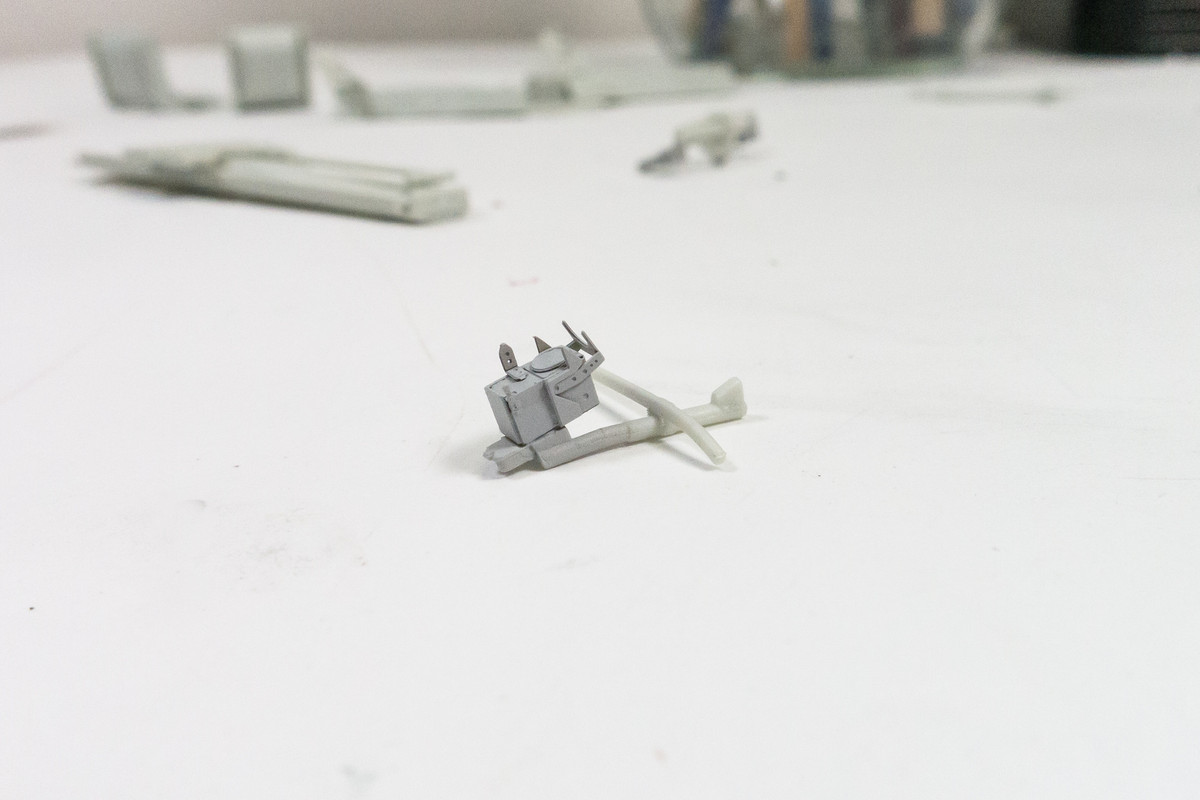
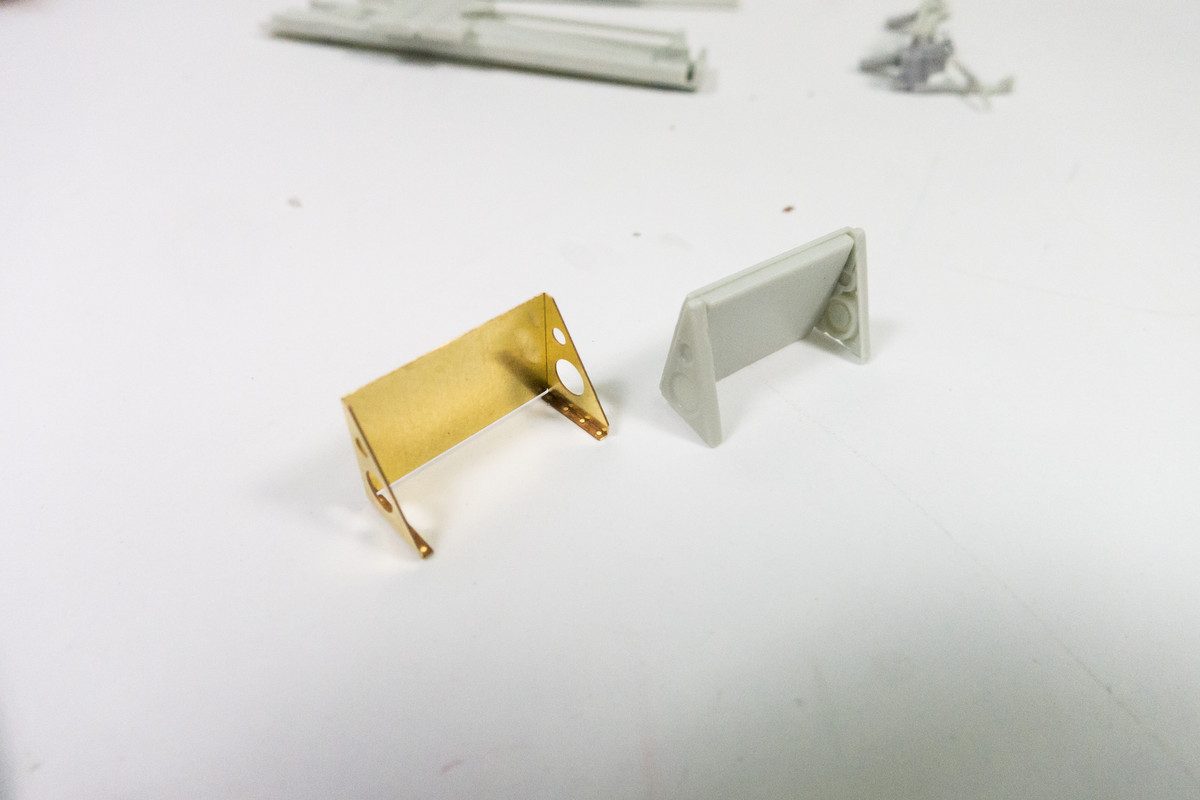
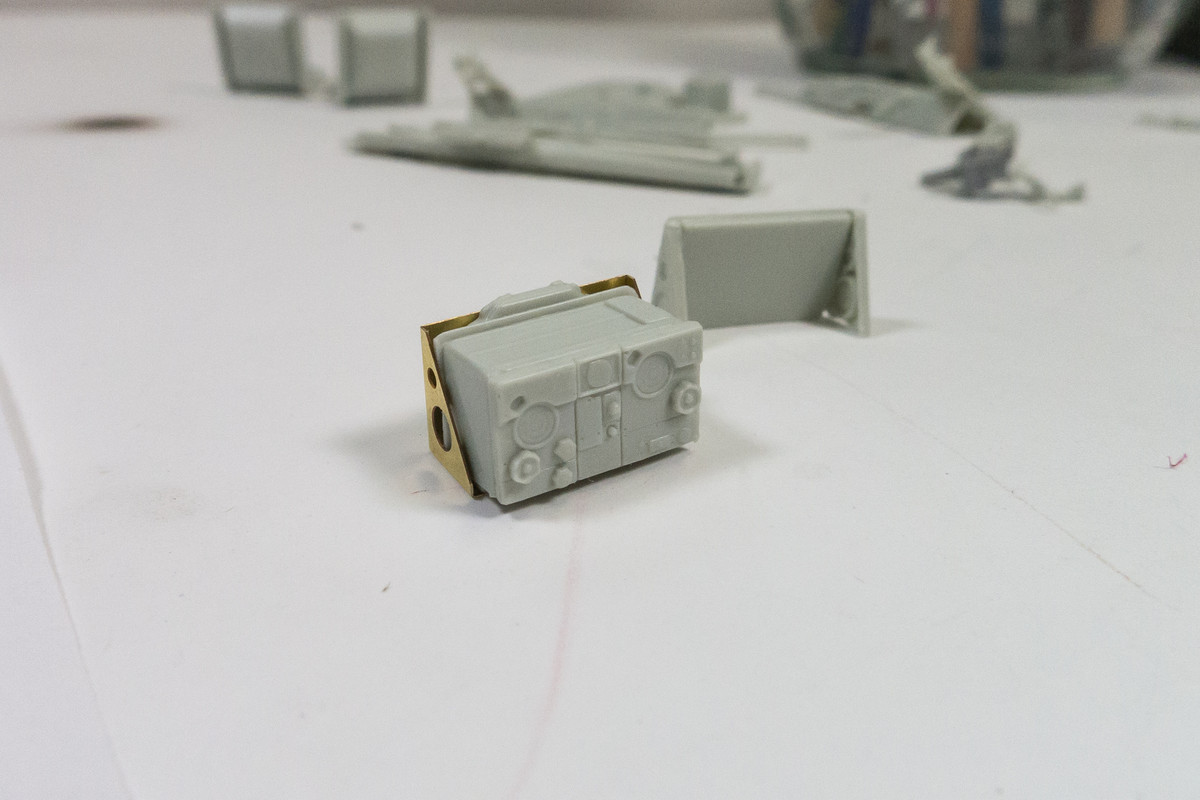
Sometimes a mix and match approach will be used. The kit radar assembly has better raised detail than the flat PE box but the PE frame is a big improvement over the kit part. So I'll be using the kit radar mounted on the PE frame.
Image
Image

That's all for now!
John aka JKim
-----------<><
Image
User avatar
Medicman71
Elite Member
Posts: 11299
Joined: Mon Apr 07, 2014 9:32 am
Location: Houston, Tx

Re: 1/32 Revell Me262B-1/U1 Nachtjager

Post by Medicman71 »

You know I do the same thing. Use some PE if it's better than the kit part. Nice work on folding that gun sight.
Mike

Sponsored by Boeing, Lockheed Martin, Northrop Grumman, Saab, BAE, and Dassault
User avatar
KennyX
Elite Member
Posts: 2631
Joined: Sun Dec 24, 2017 11:19 am

Re: 1/32 Revell Me262B-1/U1 Nachtjager

Post by KennyX »

I’m not entirely fond of kit gun sights these days. And I’m not good at handling small PE parts either. So for me, it’s always fun to see what other modelers are doing with that stuff. That PE gunsight of yours looks great and we be an excellent addition to this model.
Kenny X
Head Mother Trucker In-Charge @ Kenny X’s Reichs Winzigkleines Flugzeugewerks *and now* Airboat Records, too!
User avatar
Duke Maddog
Elite Member
Posts: 7668
Joined: Tue Jun 03, 2014 11:22 am
Location: Rowland Heights, CA

Re: 1/32 Revell Me262B-1/U1 Nachtjager

Post by Duke Maddog »

You're a better man than I Gunga Din! I don't know that I'd ever be able to fold and assemble something like that gunsight in P/E.
The Duke
Virtuoso of Miniatures

"Do you know what the chain of command is? It's the chain I get and beat you with 'till you understand who's in ruttin' command!"
-Jayne Cobb, Firefly Episode 2 "The Train Job"

We are modelers - the same in spirit, in hunger to insanely buy newly released kits, hustlers in hiding our stash from our better halves and experts in using garbage as replacements for after-market parts.
User avatar
jkim
Elite Member
Posts: 4073
Joined: Mon Apr 10, 2017 4:03 pm

Re: 1/32 Revell Me262B-1/U1 Nachtjager

Post by jkim »

Thanks for checking in!

Based on some warnings that I received about the cockpit, I focused on a couple of areas today: the rear cockpit side panels and overall fit.

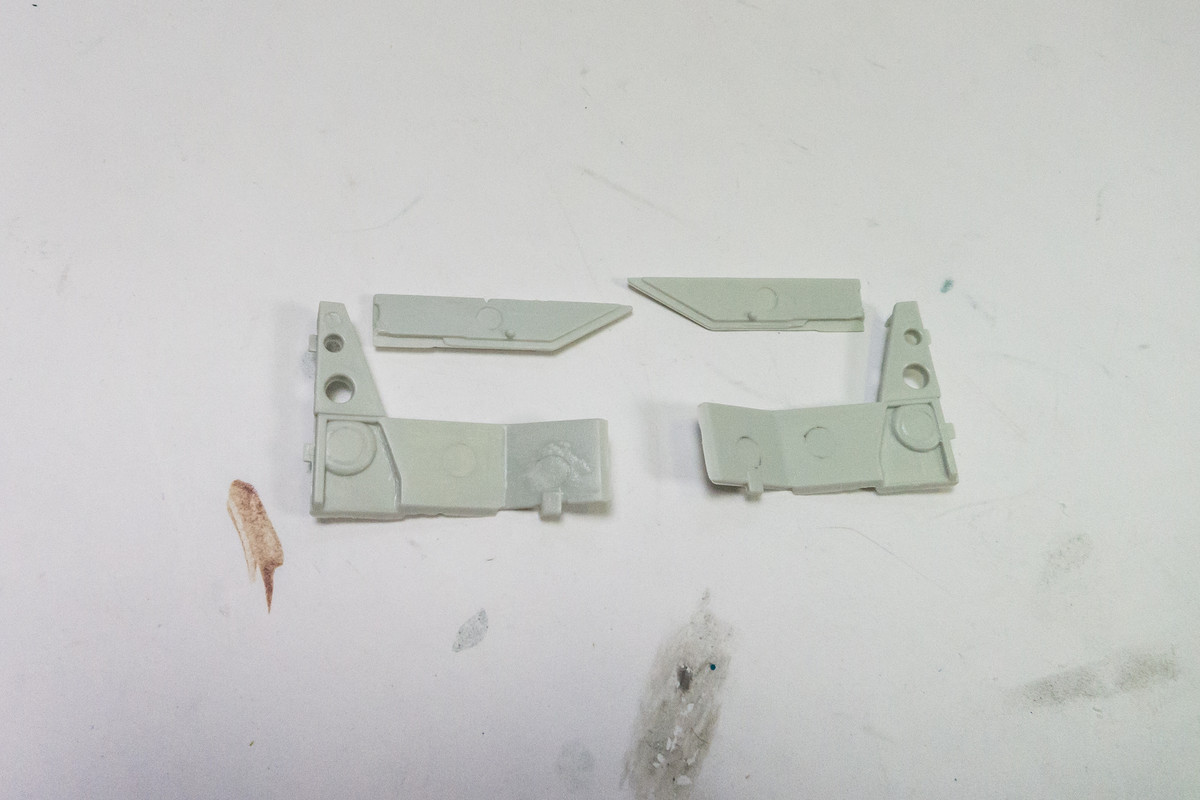
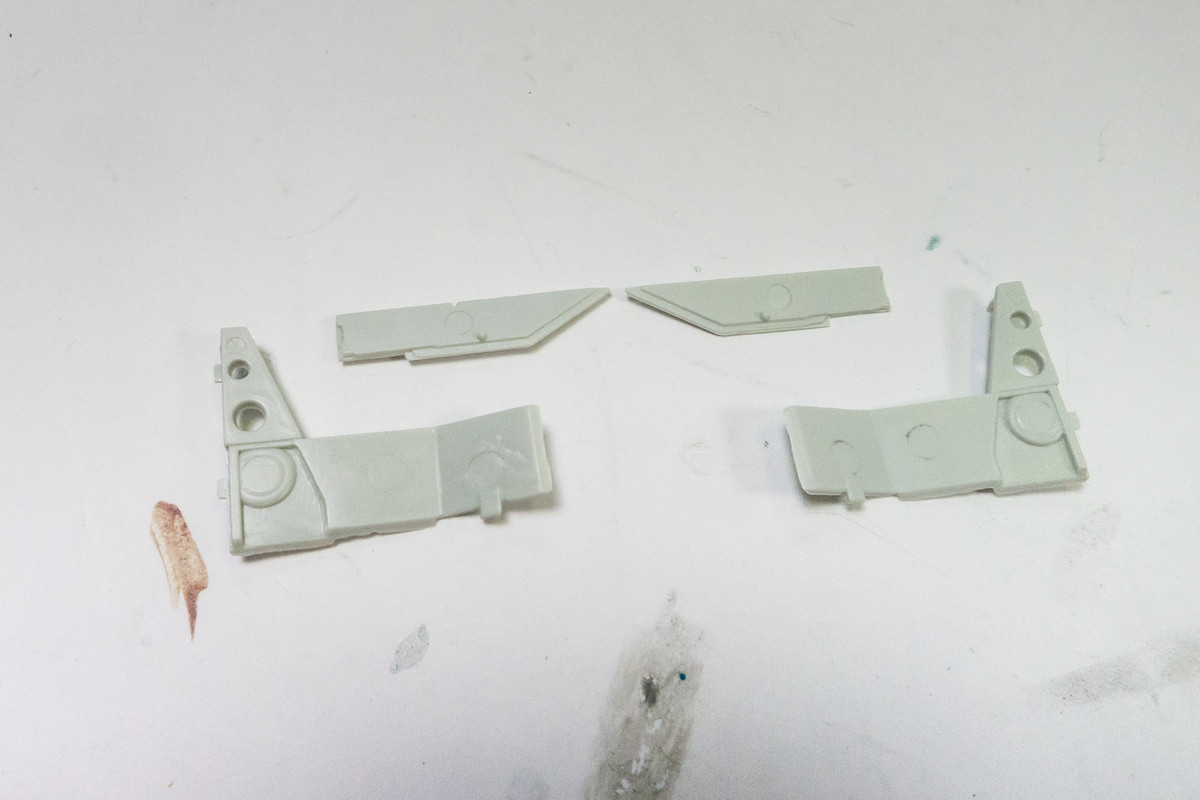
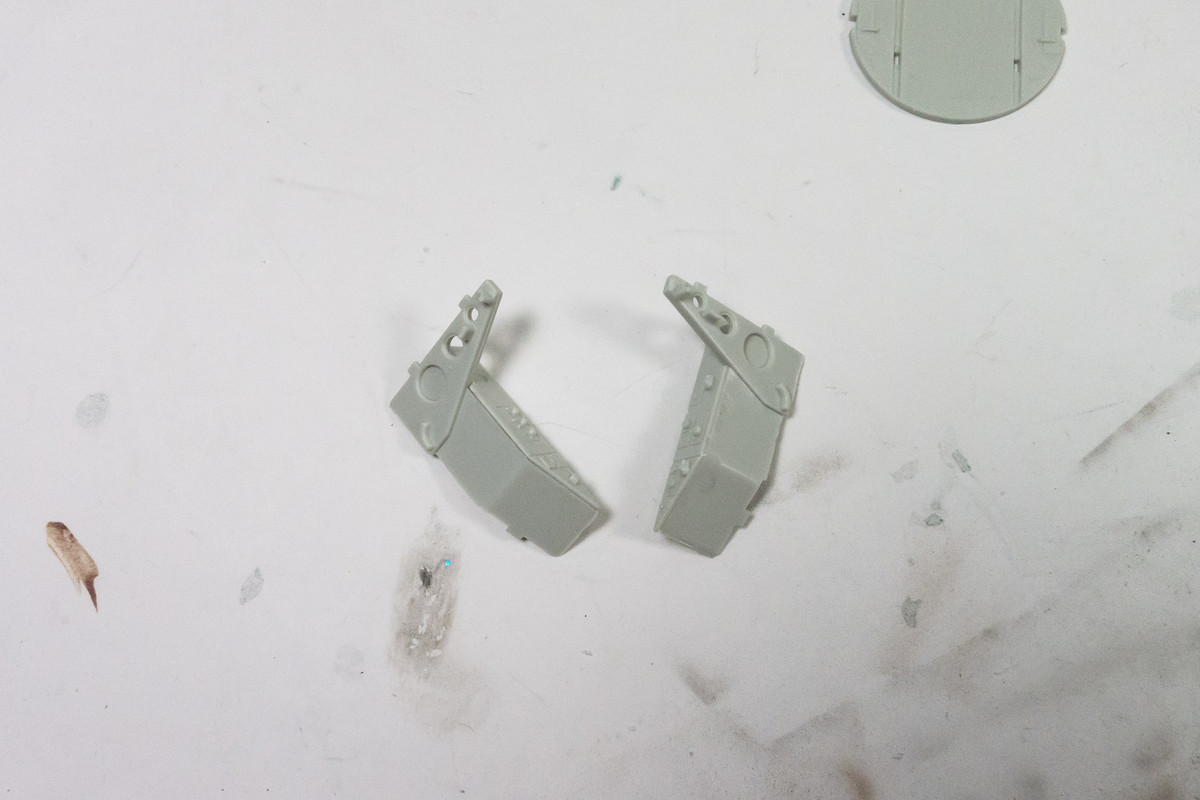
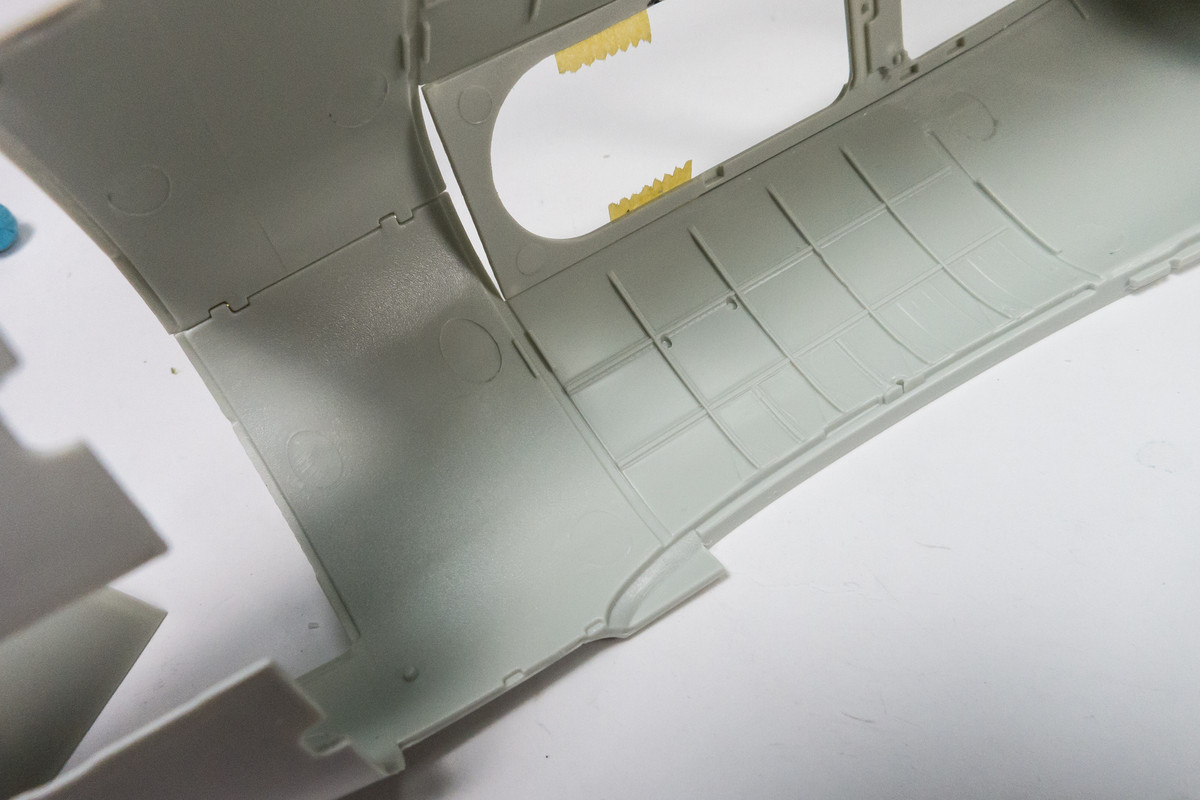
First up were the rear side panels. LIke the front, the panel faces need to be mounted on the walls. Looking at the parts after a test fit revealed a simple problem. In order for the panel to fit the wall, the glue edge of the panel needs a notch, which is absent. You can see, from underneath, that Revell had probably accounted for this notch but didn't quite follow through.
Image

A simple and easy fix to cut the notch out since the plastic is very thin anyway.
Image

I unloaded too much Tamiya Extra Thin onto on starboard panel and will need to let this dry completely before trying to smooth it out.
Image

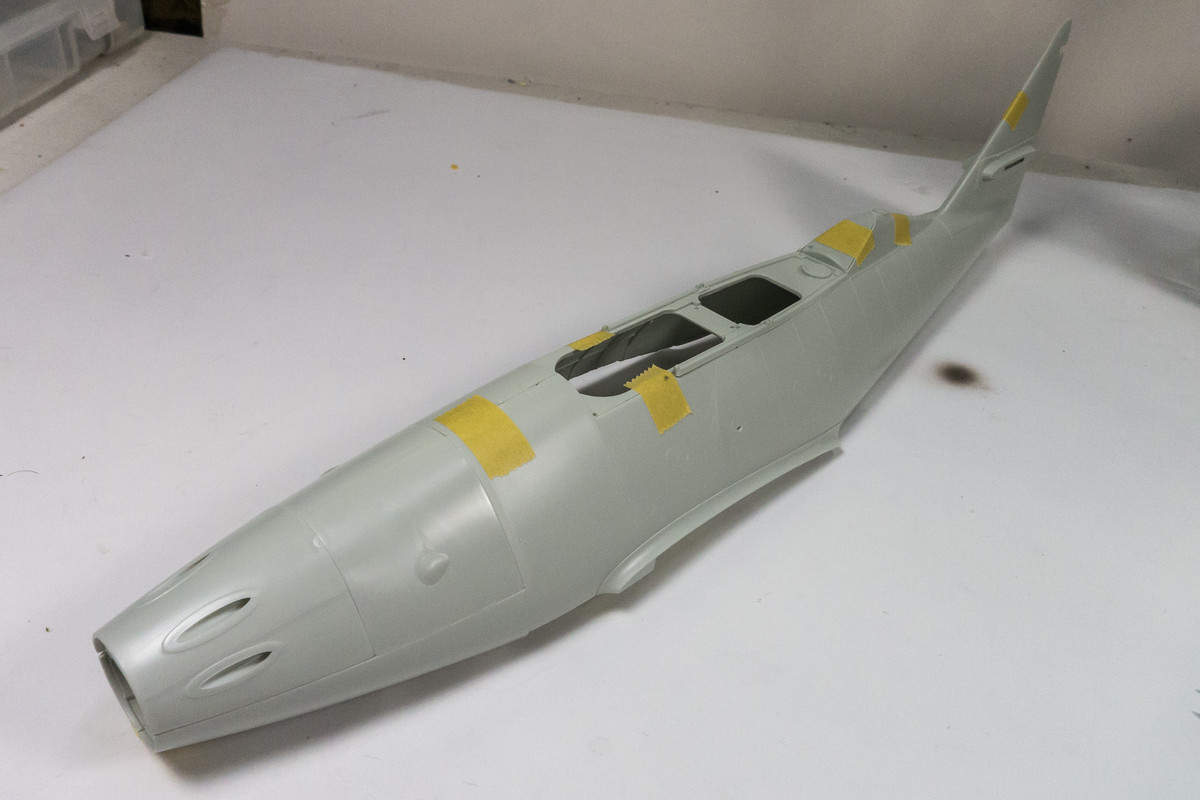
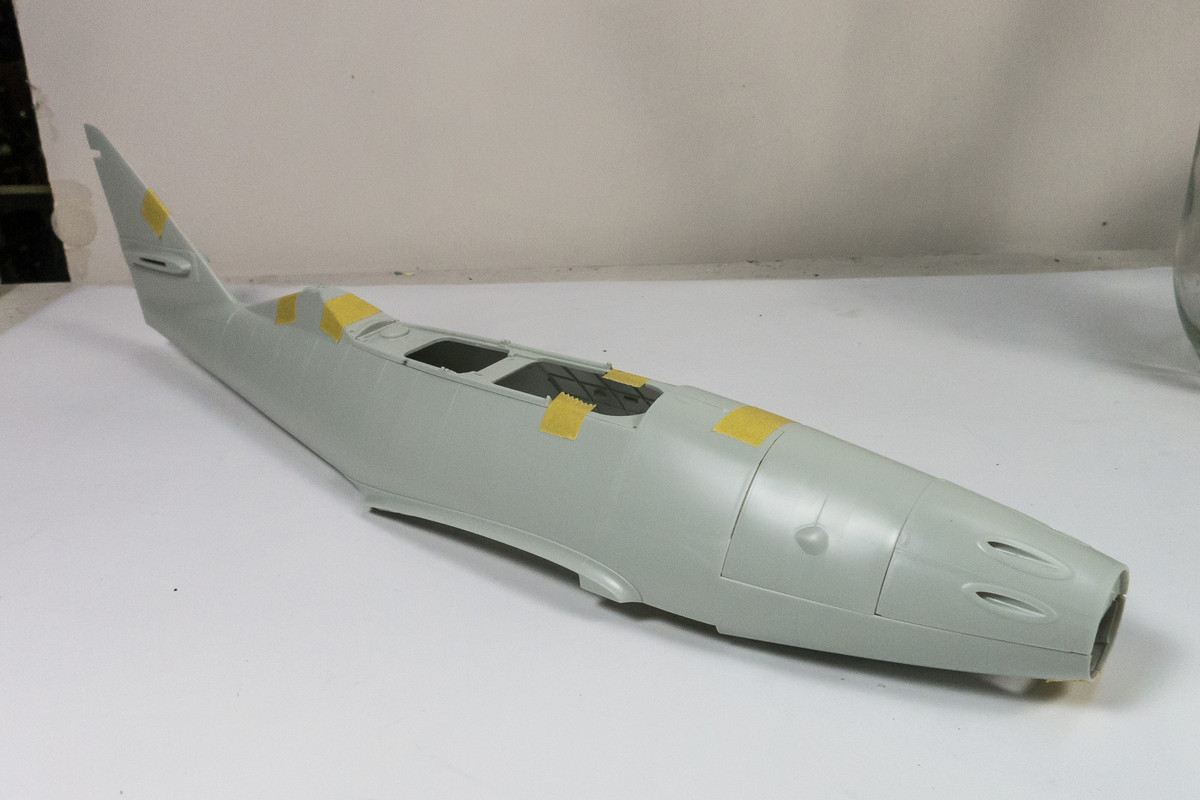
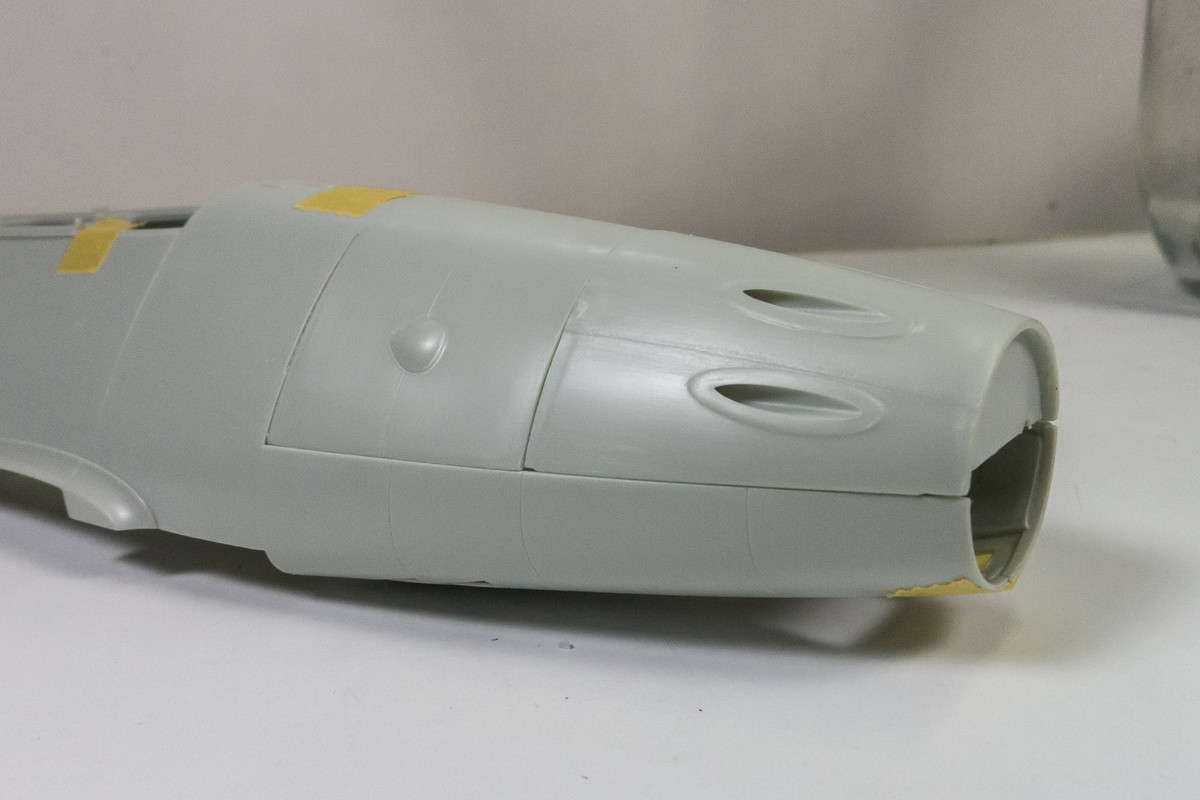
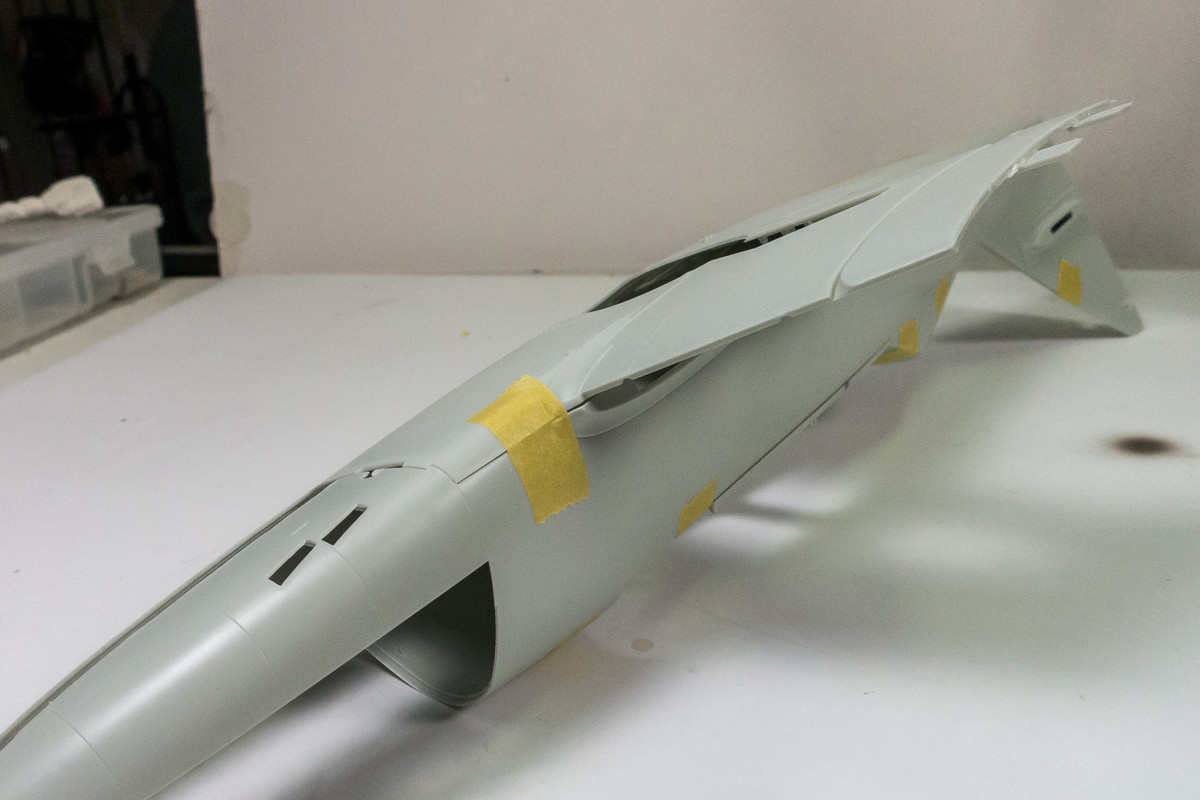
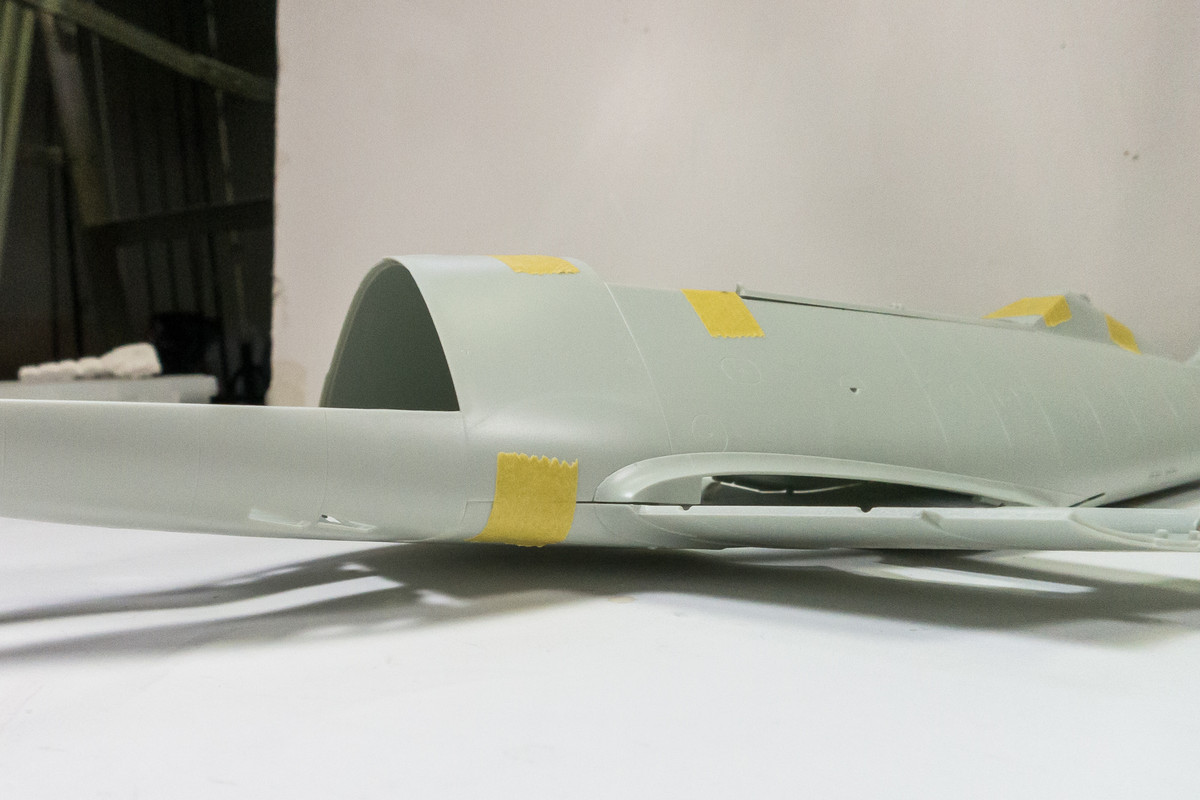
Next, I wanted to start checking the overall fit of the major external components and how they relate to the internal parts. The first test fit is of the major fuselage parts including the cockpit sill and nose cowlings. With the fuselage sides and cockpit sill taped together, the two nose pieces seem to fit acceptably well.
Image
Image
Image

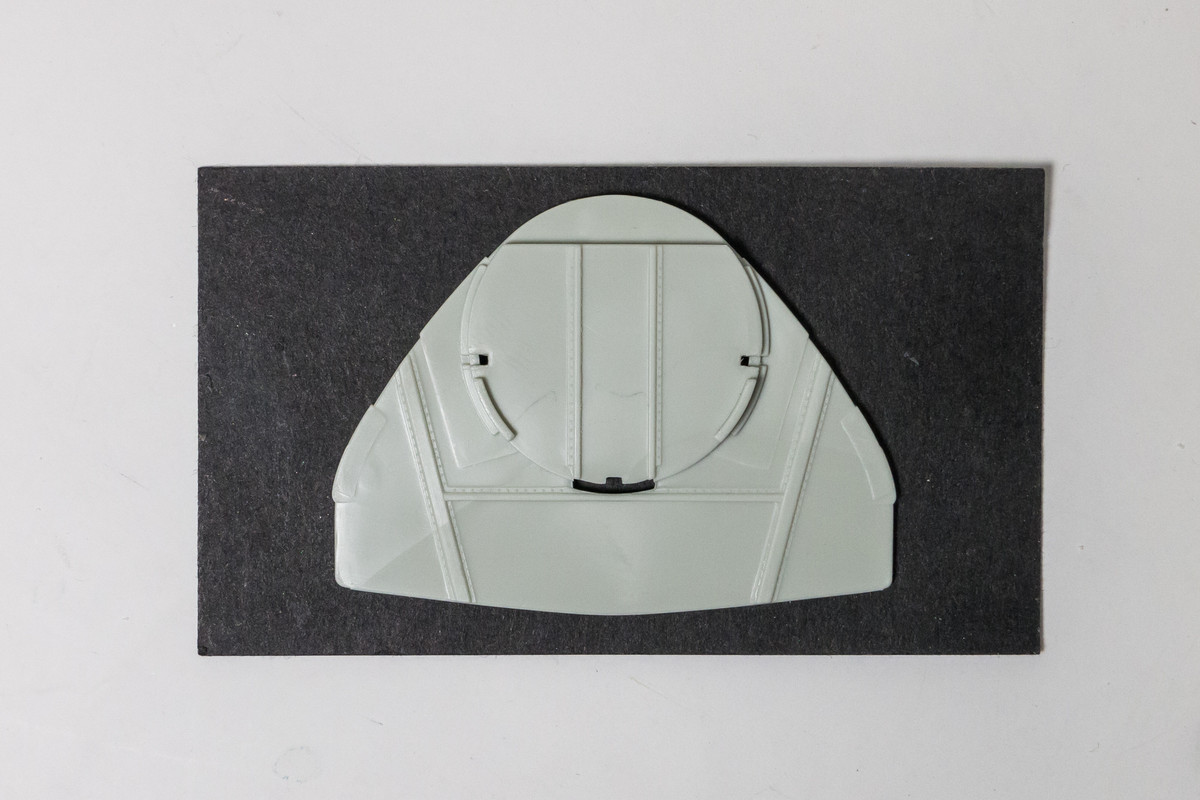
The cockpit assembly is meant to glued after the fuselage sides are attached, from the bottom opening. Since the cockpit is modular and is comprised of multiple bulkheads and internal sub-assemblies attached to those bulkheads, test fitting everything at one time without glue is next to impossible. So I'm going to do what I can and I'll start out by checking out the largest internal bulkhead, Part C129.

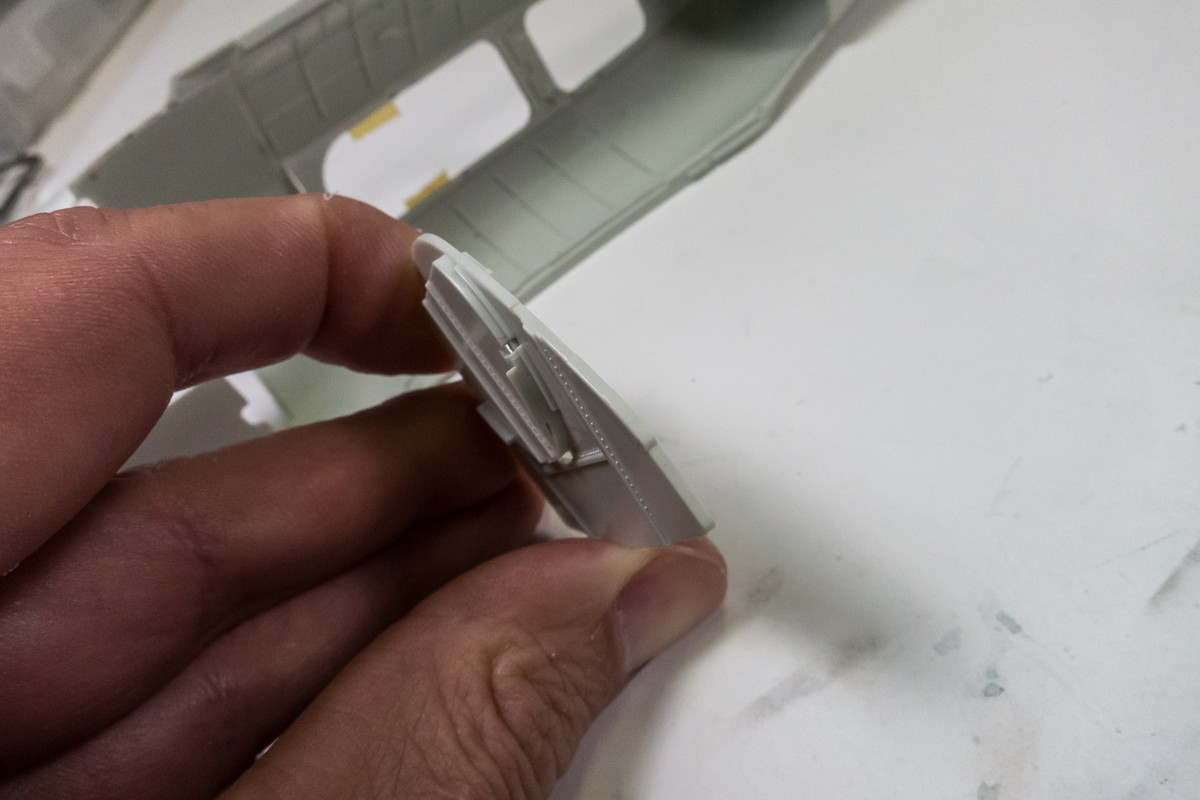
As you can see, the outline of this bulkhead features some subtle but noticeable irregularities.
Image
Image

However, the receiving groove on the inside of the fuselage is smooth. Based on this observation, one might be tempted to sand the edges of C129 to make it fit flush within the appropriate groove. Don't!
Image

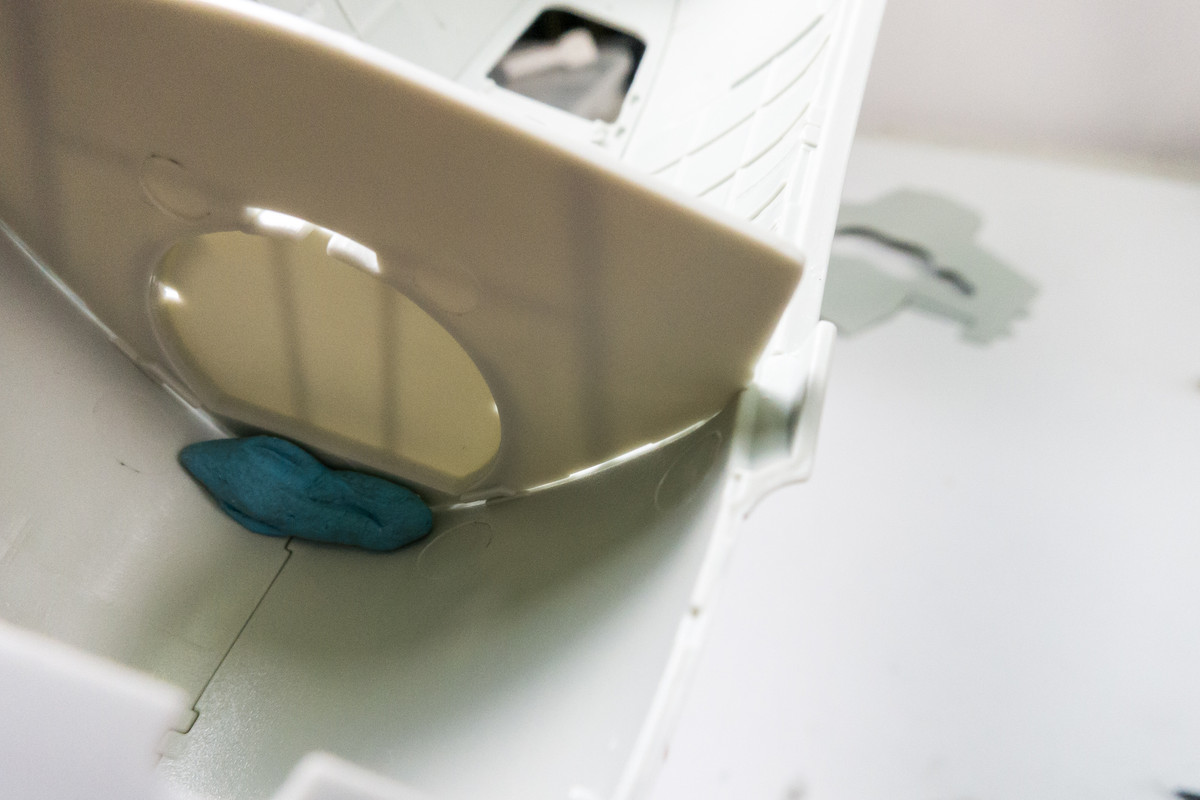
The bulkhead is held in position using BluTack. With a light shining behind it, you can see the how the sides of the bulkhead are not flush.
Image

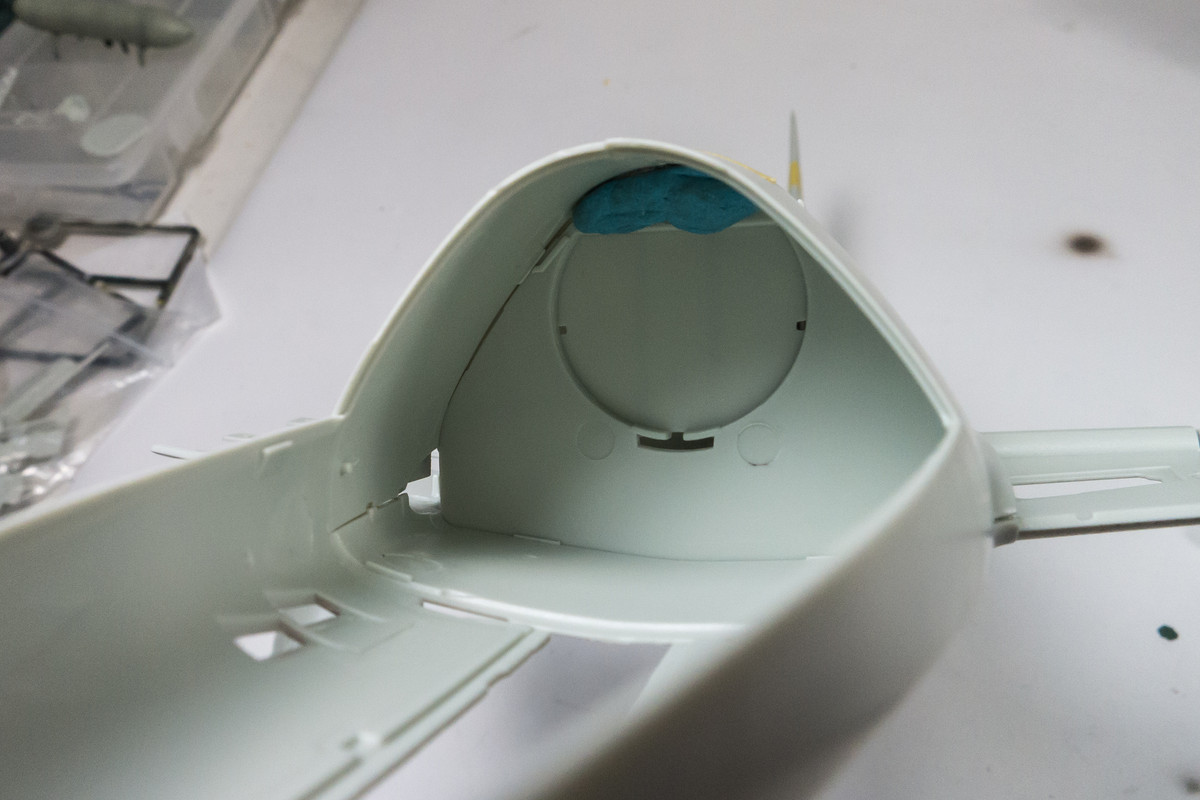
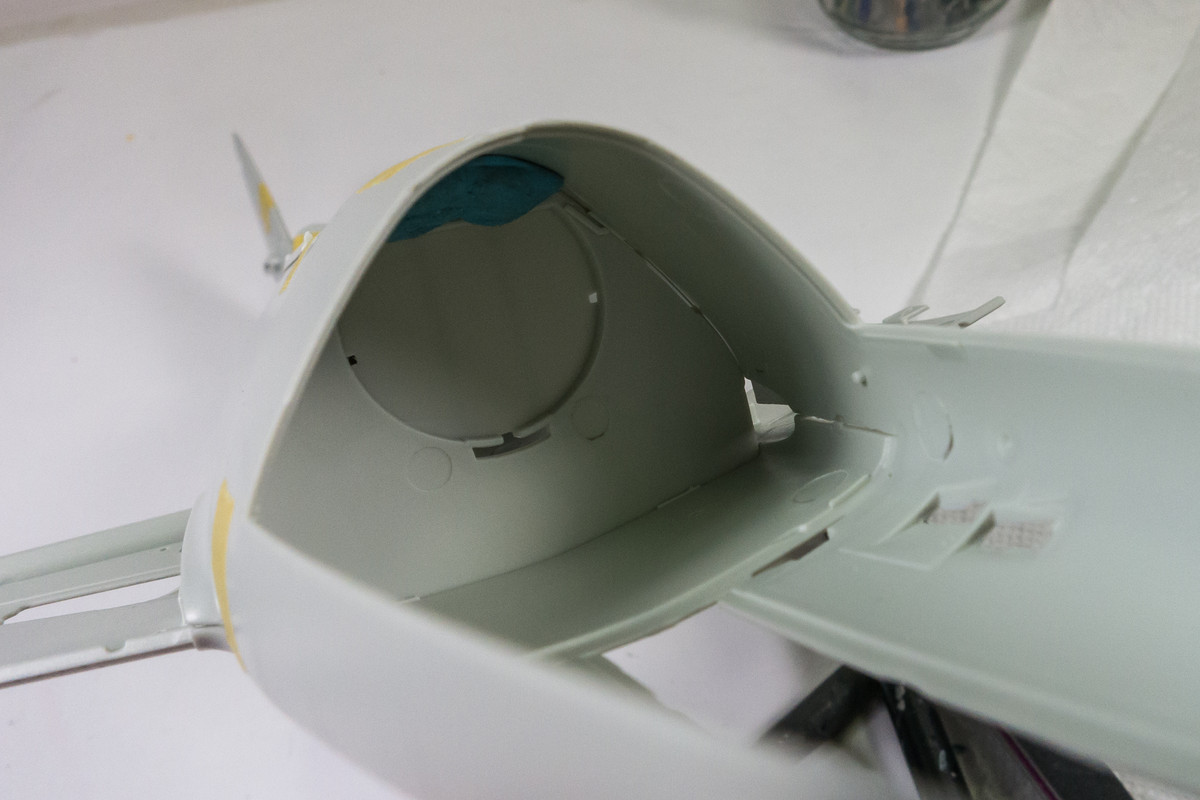
The bottom center wing part is placed into position. It does not appear that the fuselage sides are being pushed apart unnaturally by the bulkhead. Fit looks ok from this perspective.
Image
Image

Viewing from the outside confirms this assessment. It looks like the bulkhead is needs no trimming.
Image
Image

This is not definitive... just one part of the puzzle. This has me contemplating the need to dry-fit the other internal components. Maybe attaching parts temporarily with white glue if necessary.
John aka JKim
-----------<><
Image
User avatar
Floki
Elite Member
Posts: 3548
Joined: Wed Dec 12, 2018 2:23 am
Location: Muncie, Indiana

Re: 1/32 Revell Me262B-1/U1 Nachtjager

Post by Floki »

A lot of good progress John. On Revi gunsights I've been using quickboost resin gunsights. Looks better than kit and no bending PE. In 1/32 it's probably a lot easier than trying to bend one in 1/48
March as one, Don't look back
Odin's sons... Attack!
Unleash hell! Do not repent! Warfare grants us no lament
Let your weapons slash and tear This is no place for fear
Hold the lines! Move as one! In unity our victory's won
Our shields will form a mighty wall
United we shall never fall
User avatar
keavdog
Elite Member
Posts: 4780
Joined: Thu Jan 10, 2019 1:14 am
Location: Earth

Re: 1/32 Revell Me262B-1/U1 Nachtjager

Post by keavdog »

Impressive PE skills there brother!
Thanks,
John
Post Reply

Return to “Aircraft Work in Progress”