SPAM Review- Revell 1/24 Gemini Spacecraft complete 8/26

Look here at SPAModeler kit previews and reviews!
User avatar
Stikpusher
Moderator
Posts: 19020
Joined: Sat Apr 05, 2014 8:37 pm
Location: Ceti Alpha 5

Re: SPAM Review- Revell 1/24 Gemini Spacecraft update 7/31

Post by Stikpusher »

Thomas_M wrote:"Pigs in space!" Haha!!! That´s "Schweine im Weltall" in German, a sound bite I make use of whenever something goes wrong... :mrgreen:
Image

Like this??? :lol:
"Surely I have made my meaning plain? I intend to avenge myself upon you, Admiral. I have deprived your ship of power, and when I swing 'round, I intend to deprive you of your life."

FLSM
User avatar
LyleW
Admin
Posts: 13742
Joined: Fri Dec 13, 2013 7:25 am
Location: Mt. Washington KY

Re: SPAM Review- Revell 1/24 Gemini Spacecraft update 7/31

Post by LyleW »

that's funny right there, I don't care who you are. . .
To make each build less crappy than the last one. Or, put another way, "Better than the last one, not as good as the next one!"..
User avatar
Stikpusher
Moderator
Posts: 19020
Joined: Sat Apr 05, 2014 8:37 pm
Location: Ceti Alpha 5

Re: SPAM Review- Revell 1/24 Gemini Spacecraft update 8/2

Post by Stikpusher »

I thought it was pretty funny myself... the style of the artwork kinda looks like something from Mad magazine back in the day... :lol:

Ok, so I have not been overly motivated to be at the bench much this past week or so, but I have been doing little bits of progress here and there along the way. So here we go...

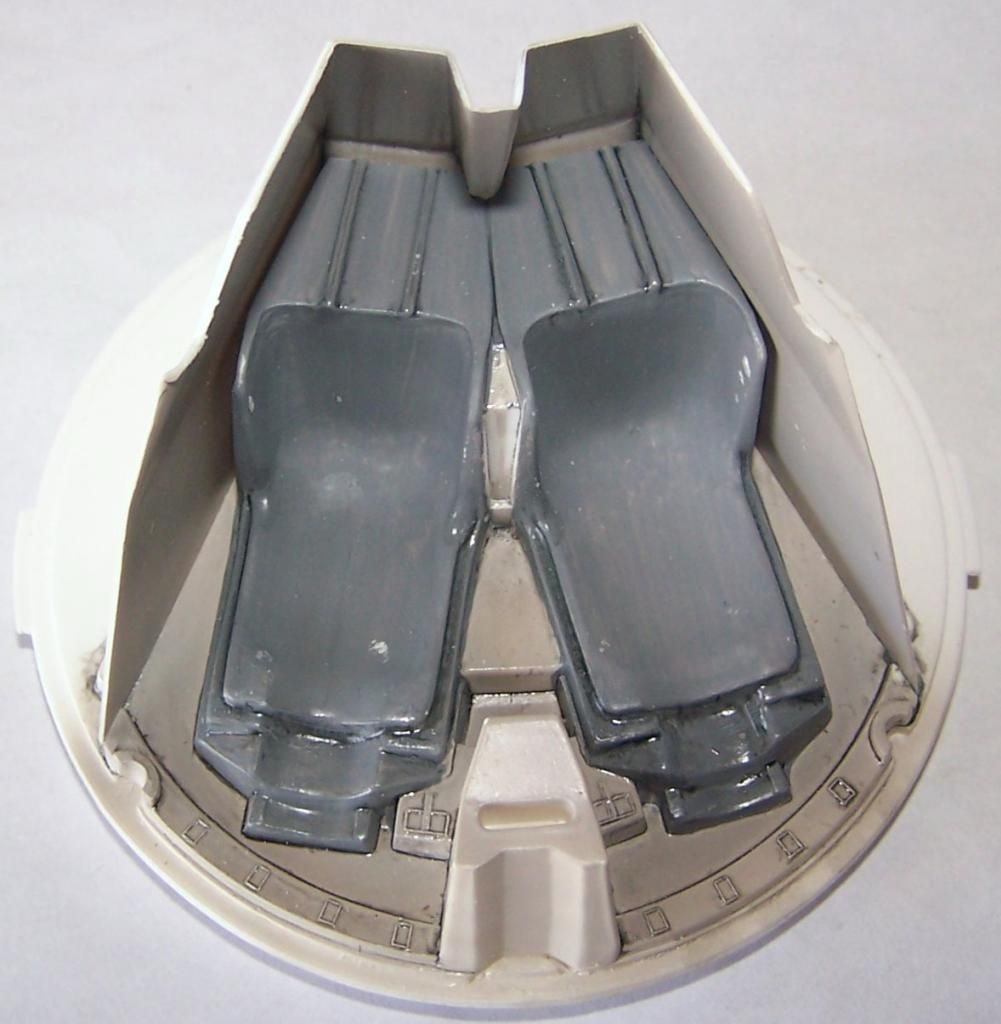
Step 2 is cockpit work so I glued the sidewalls to the rear bulkhead
Image

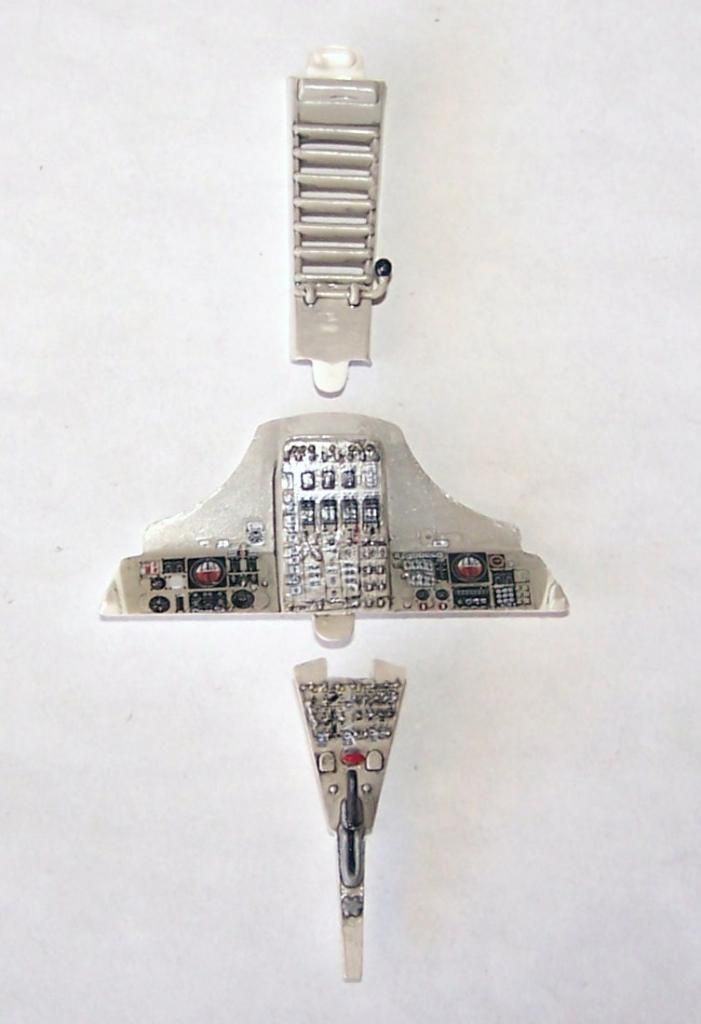
and added the decals to the center console and instrument panels
Image

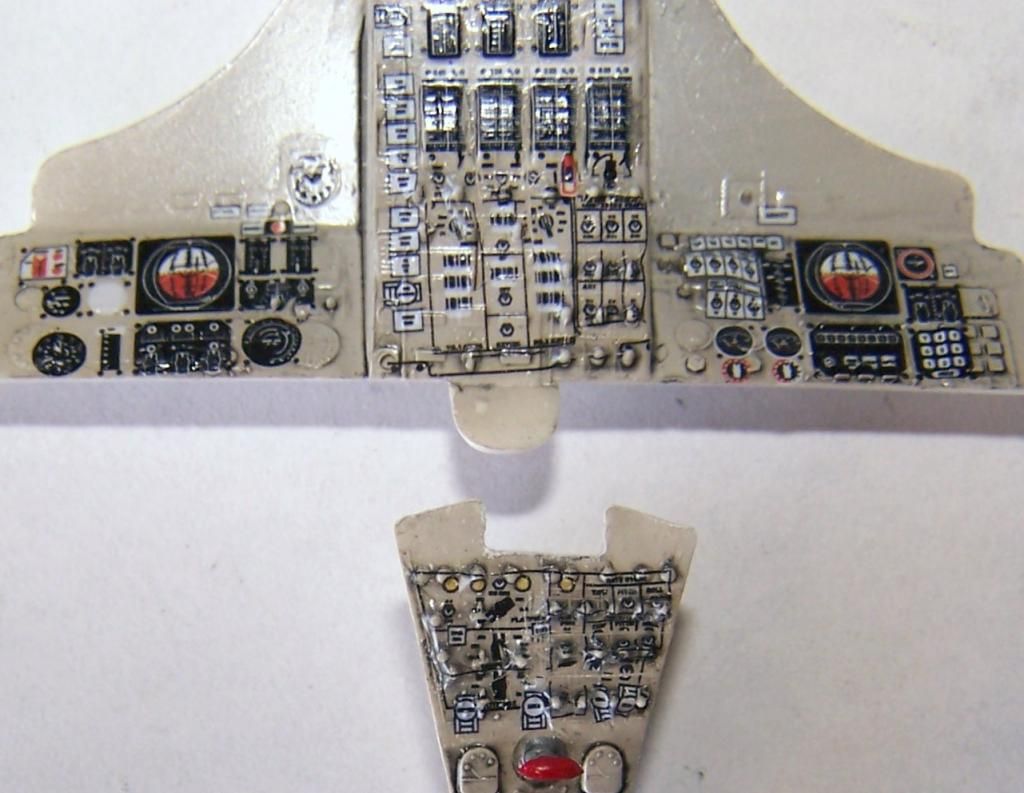
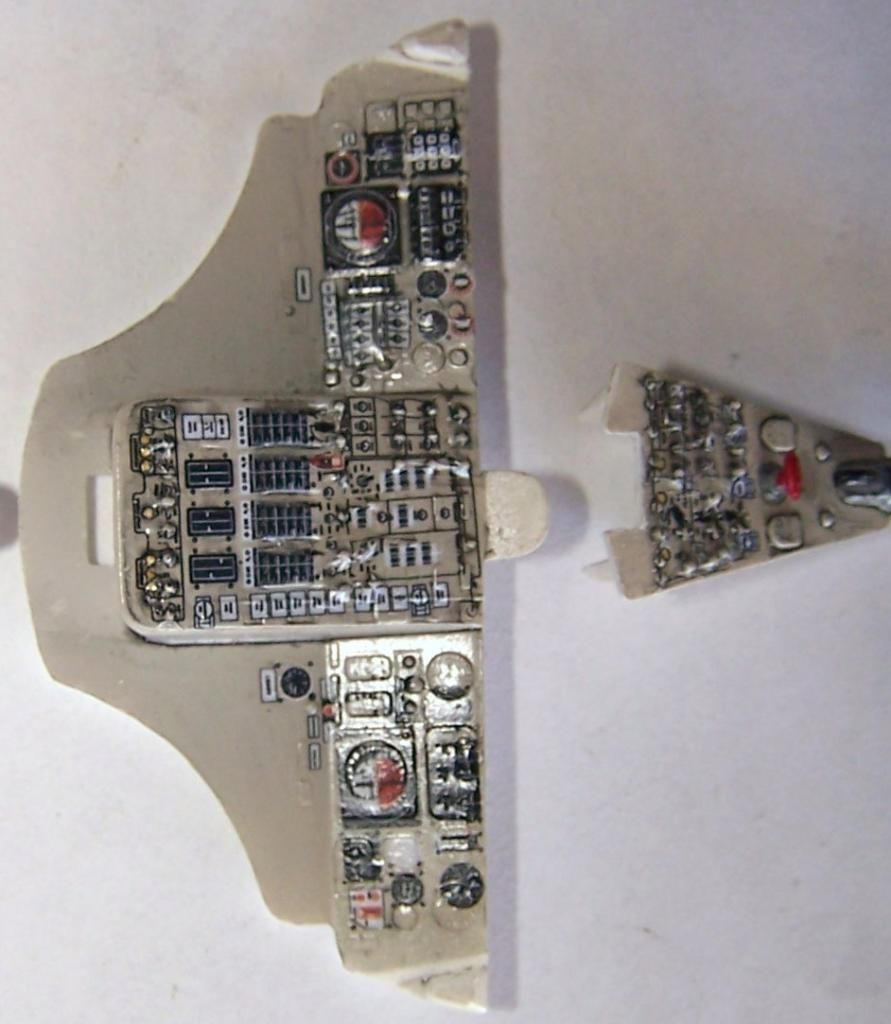
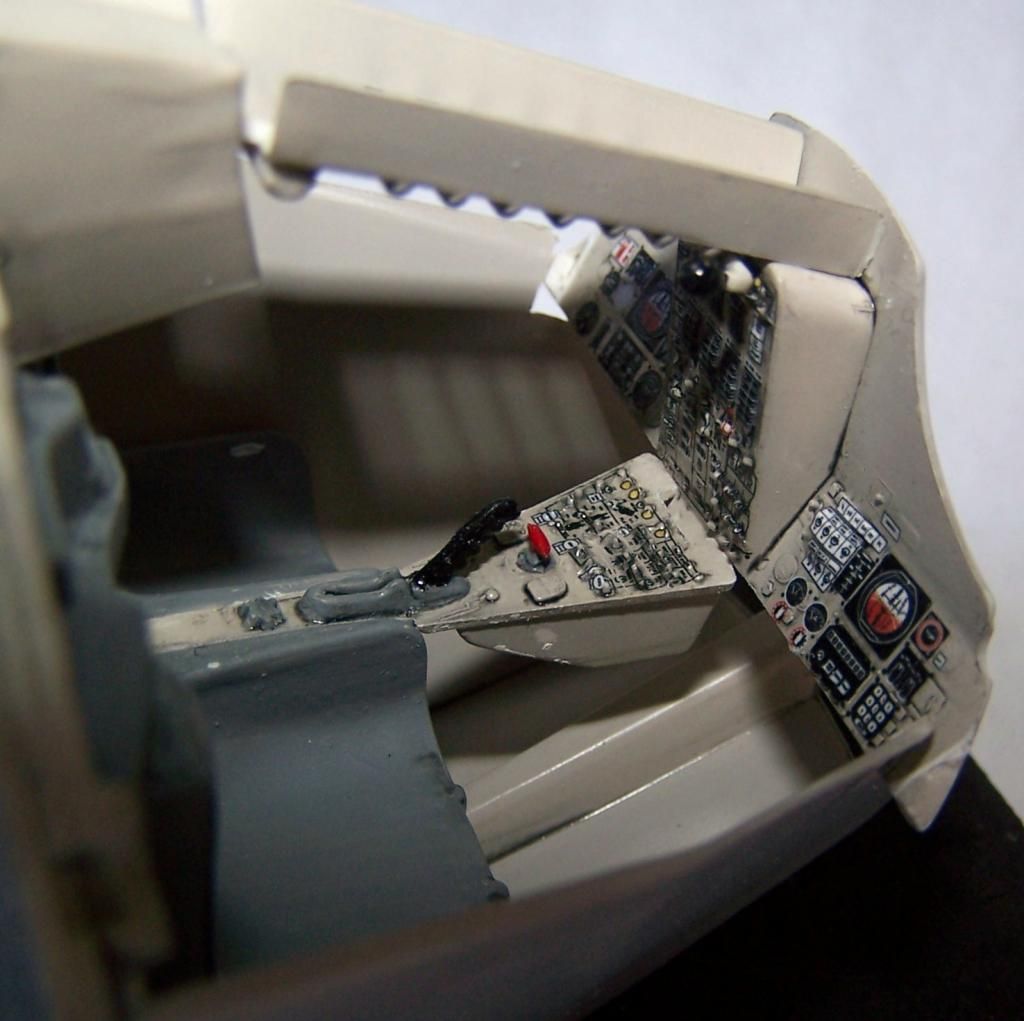
now here is where there is a problem with the kit. The decals do not match the molded detail properly. Espcially the side parts of the front instrument panel- those would be best cut into 3rds on either side of the artificial horizon istrument and then placed accordingly. Also all the raised switches played a bit of havoc with the main decals, in spite of multiple dousings of Solvaset.
Image

Image

for those of you who plan to build this kit, cut up the IP decals into smaller sections and apply them in those portions. Combined with washes and highlight work painting the IP and center console really have serious potential. Live and learn.

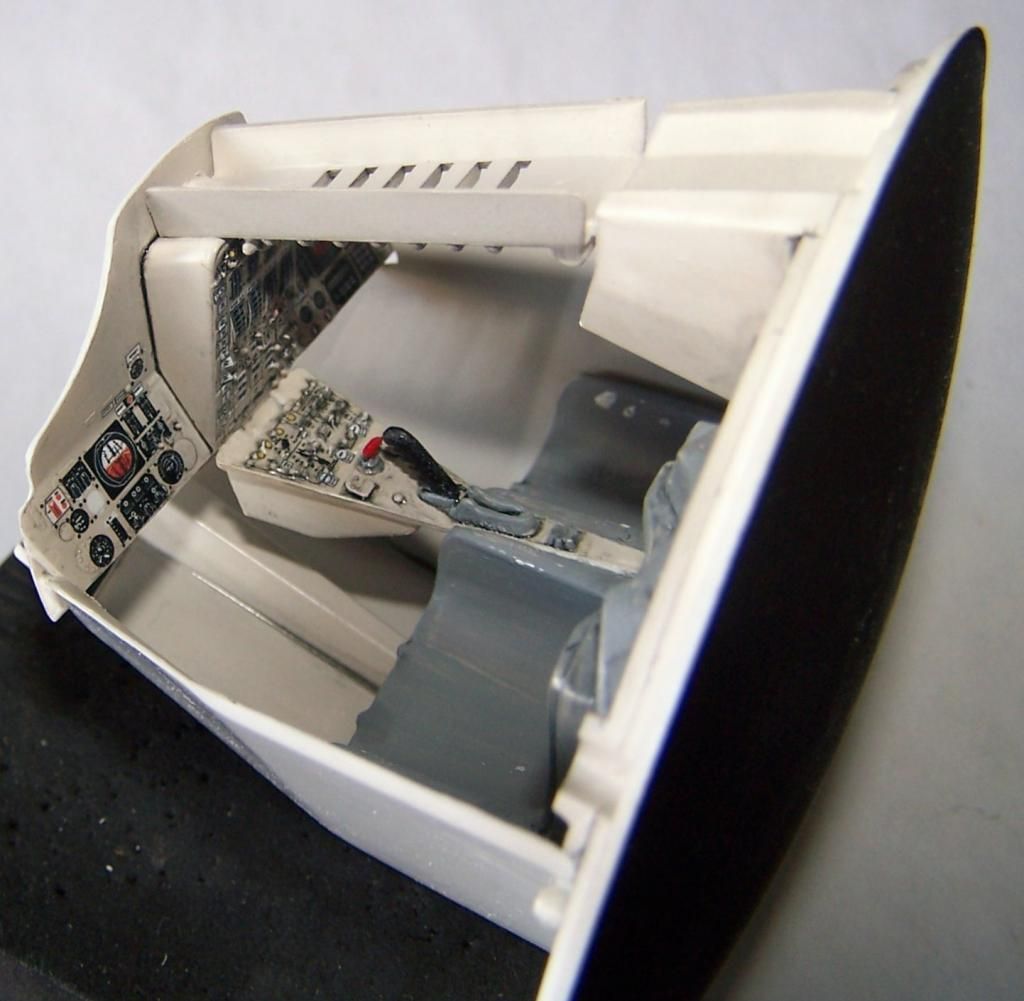
here are a couple views of the cockpit with the consoles in place but no exterior- I think it looks pretty good with what the kit provides, and some basic painting techniques.
Image

Image

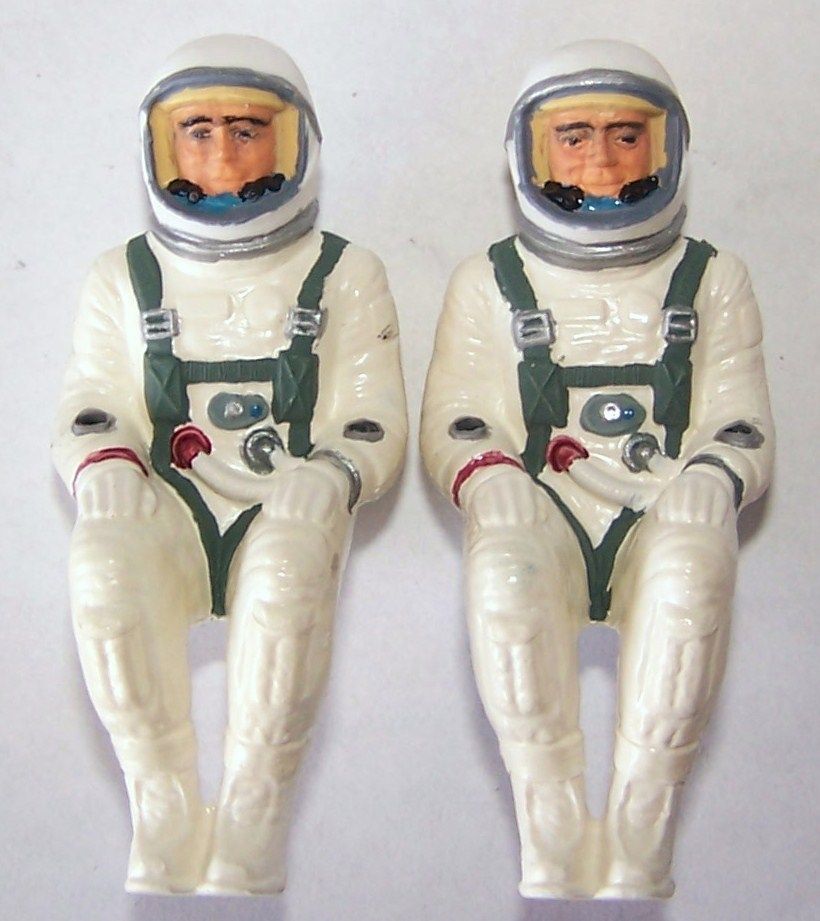
I also have done some more face work on the Astronaut figures. I still need to do some washes and highlights on the faces and suits, before I add the decals and face visors, but they are coming along well enough
Image

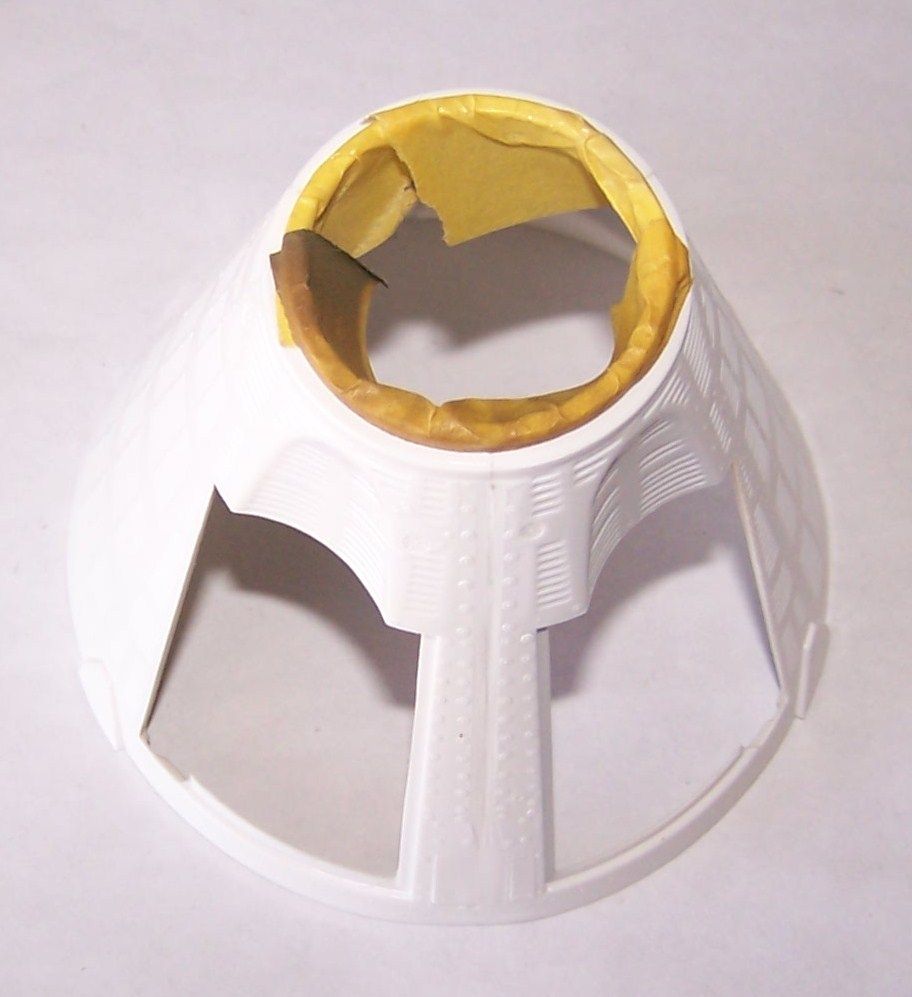
and the last portion of Step 2 has you build the capsule exterior
Image

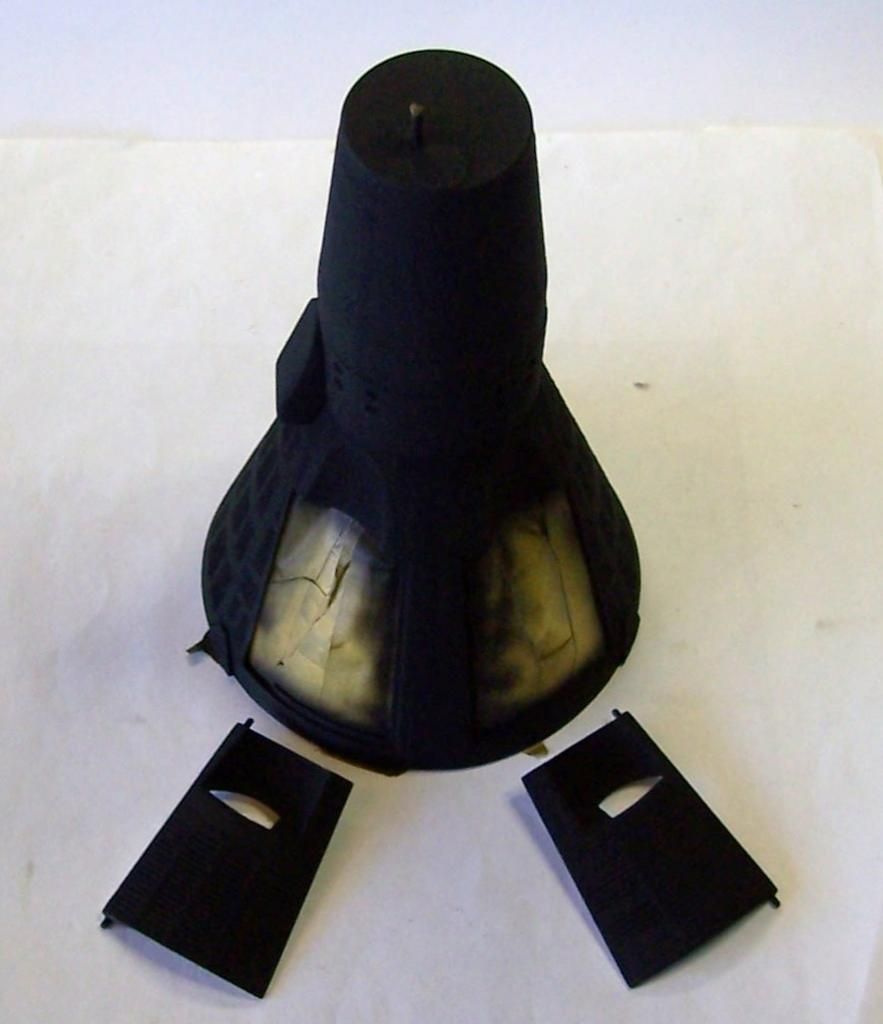
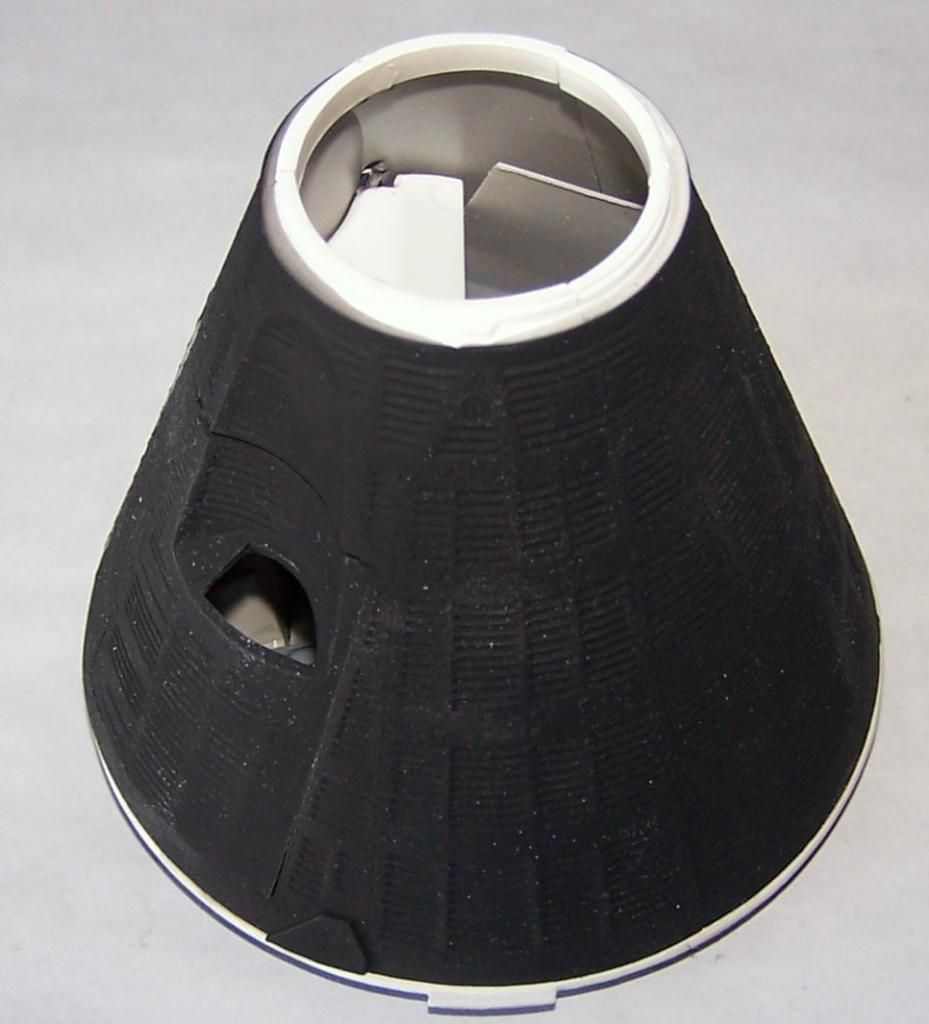
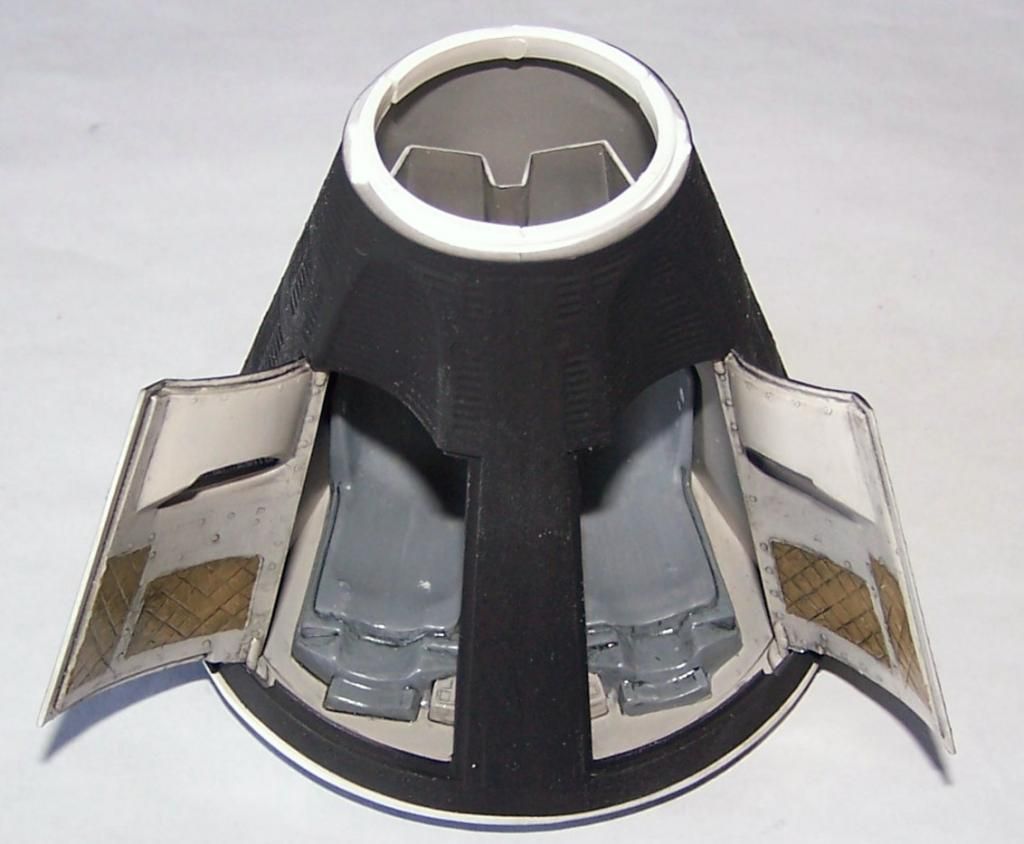
and then I finally began to add some paint- again, I am no following the kit call outs as they are inaccurate. I used Humbrol Matt Black for a primer coat on the capsule exterior
Image

Image

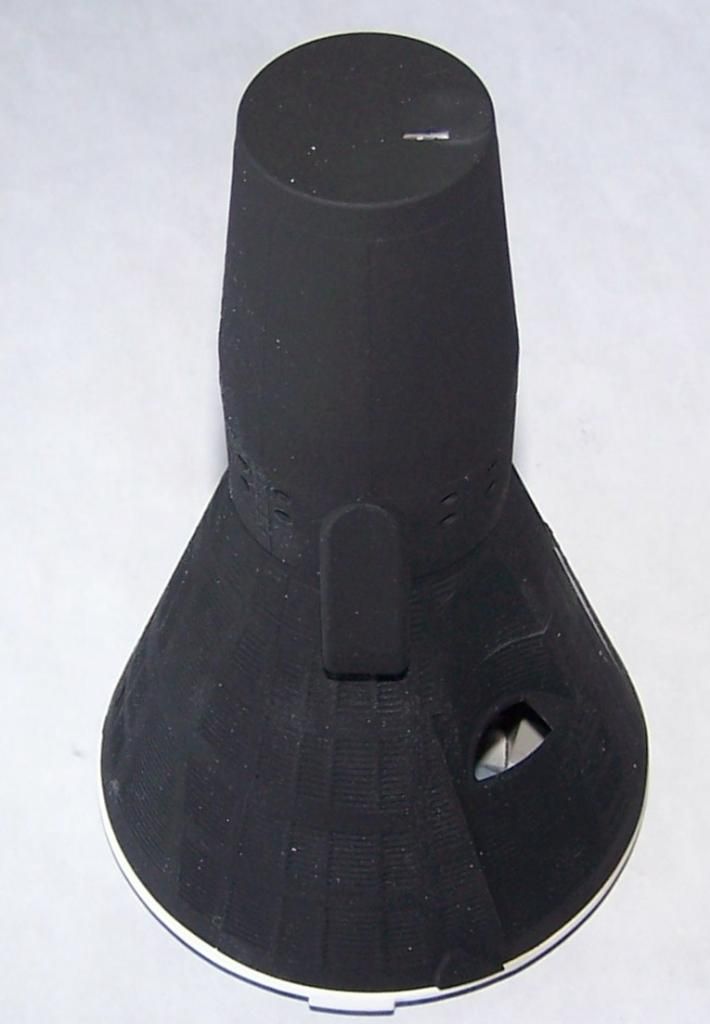
Step 3 begins with adding the nose section to the Capsule, which I painted up at the same time as the crew portion
Image

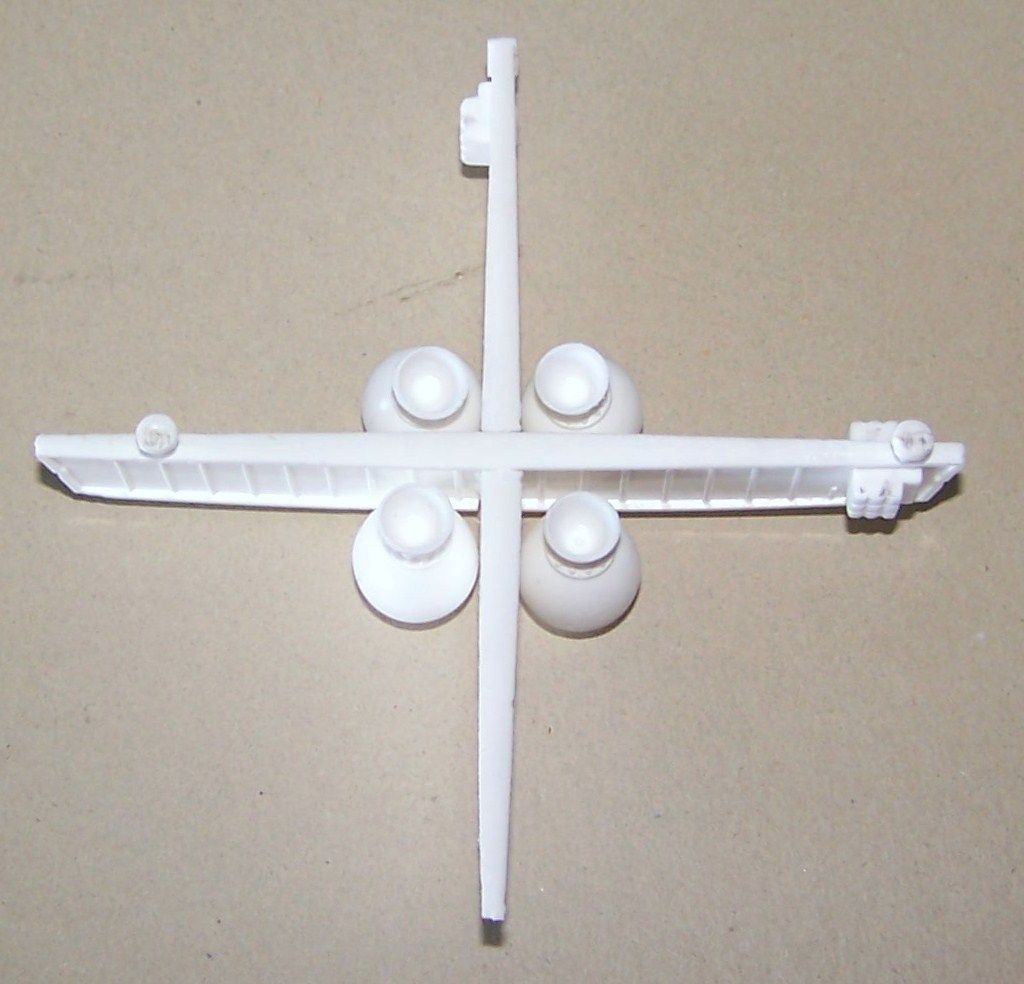
then you are next directed to build the retro rockets and their mounting assembly (I have not glued them in place until after they are painted
Image

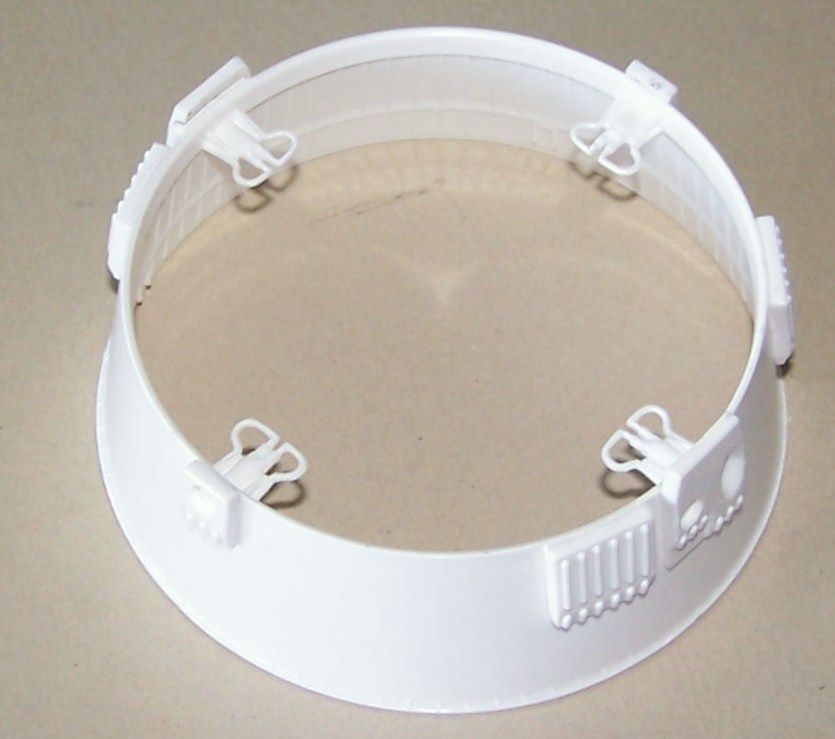
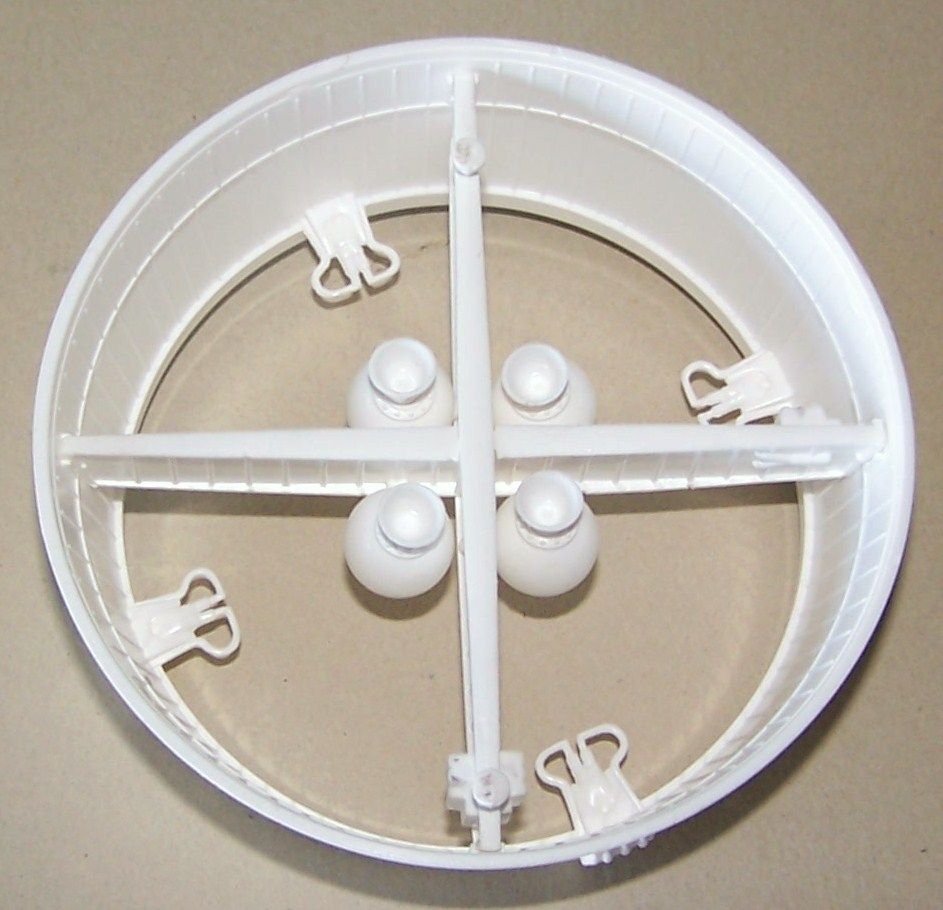
Then we are on to Step 4 and building the exterior of the Retrograde Section
Image

and gluing the Retro Rocket mount assembly into place
Image

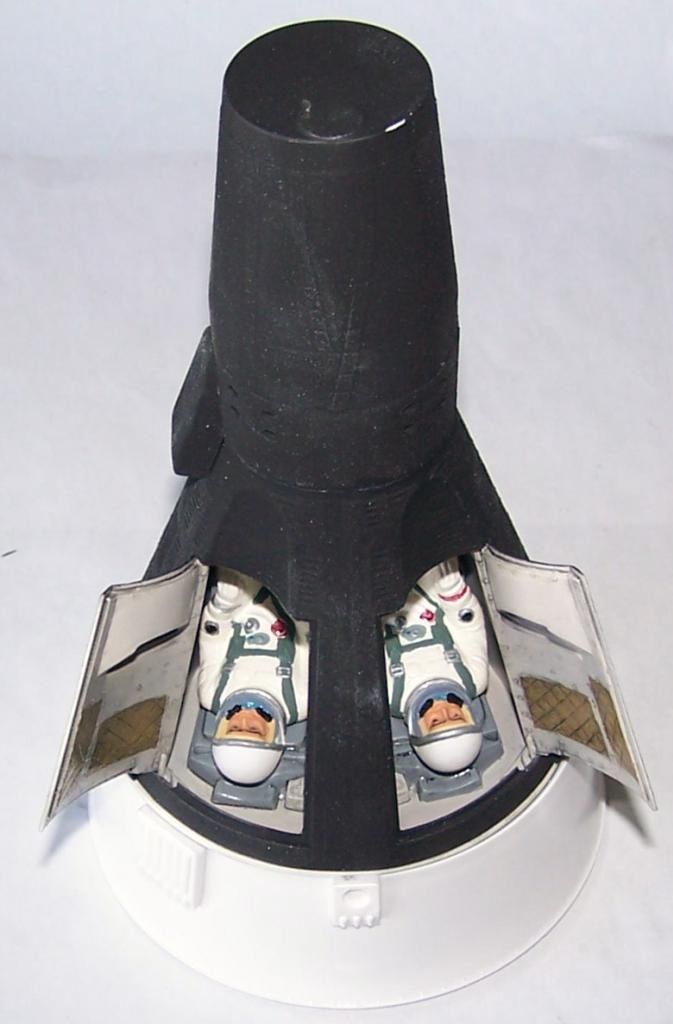
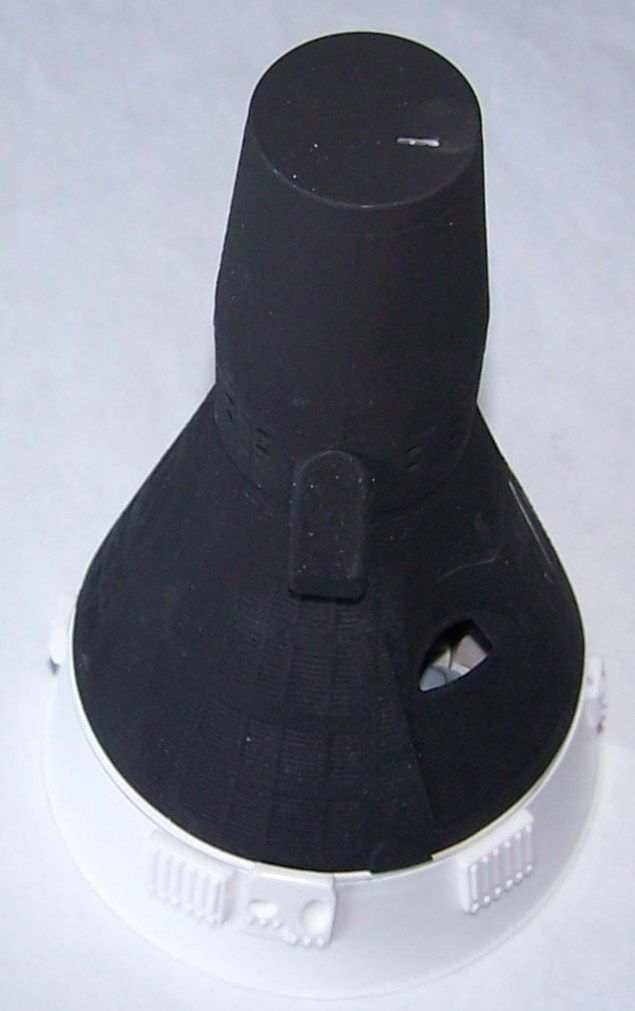
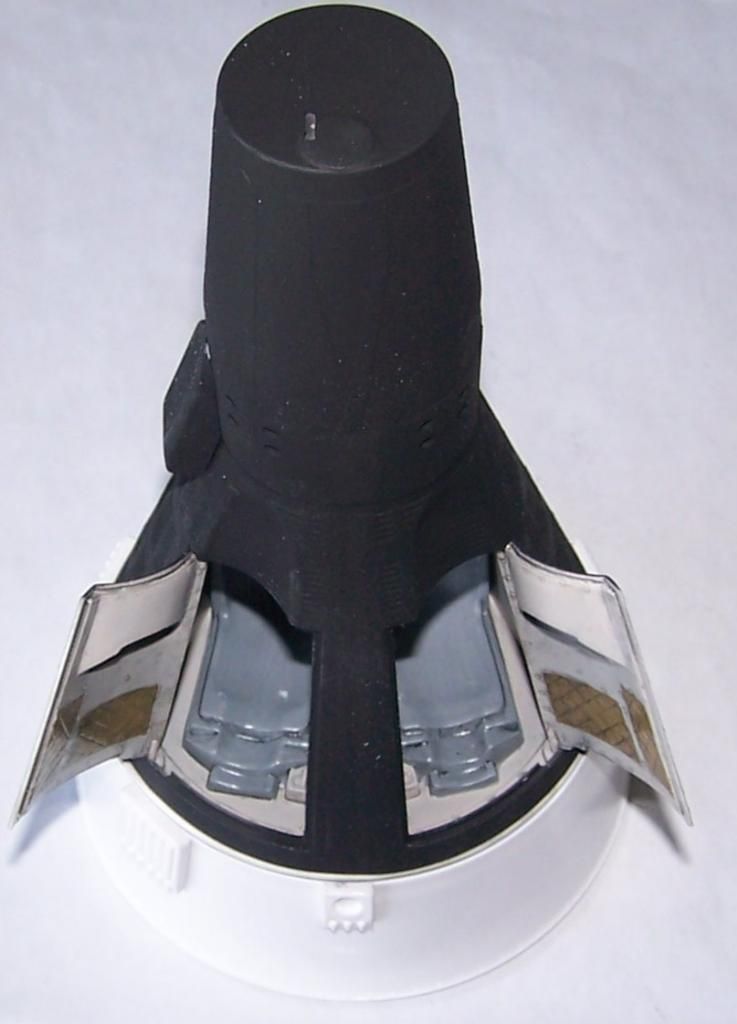
Then of course I had to do some test fit shots with the Cabin Section placed onto the Retrograde Section
Image

Image

Image

more coming in a few days...
"Surely I have made my meaning plain? I intend to avenge myself upon you, Admiral. I have deprived your ship of power, and when I swing 'round, I intend to deprive you of your life."

FLSM
User avatar
Thomas_M
Admin
Posts: 4411
Joined: Fri Dec 13, 2013 9:43 am
Location: Bad Wurzach - Germany
Contact:

Re: SPAM Review- Revell 1/24 Gemini Spacecraft update 8/8

Post by Thomas_M »

Bad news on the decals not fitting the plastic parts. What´s going on, Revell? :cry:
I see there even is a parking brake given in the cockpit! :mrgreen:

A pleasure to follow you here!
User avatar
Stikpusher
Moderator
Posts: 19020
Joined: Sat Apr 05, 2014 8:37 pm
Location: Ceti Alpha 5

Re: SPAM Review- Revell 1/24 Gemini Spacecraft update 8/8

Post by Stikpusher »

Well I had a nice long detailed reply posted up, but one again, my POS ASUS tablet dumped it. Jeez this thing really is terrible about that. The longer and more detailed I type a post on the device, the higher the probability that it will dump and lose the work.

Here is a product review for everybody- STAY AWAY FROM ASUS... their tablets are crap!!!!!! :evil:
"Surely I have made my meaning plain? I intend to avenge myself upon you, Admiral. I have deprived your ship of power, and when I swing 'round, I intend to deprive you of your life."

FLSM
User avatar
Thomas_M
Admin
Posts: 4411
Joined: Fri Dec 13, 2013 9:43 am
Location: Bad Wurzach - Germany
Contact:

Re: SPAM Review- Revell 1/24 Gemini Spacecraft update 8/8

Post by Thomas_M »

How about writing the long posts in WORD or another similar program? You also could enter the picture links and save your work as often as you like to. I do so when writing a long text to be entered into a website text field. This usually fails, so I learned to have a backup in WORD first...

On the other hand: you also could get some real computer... ;) :D
User avatar
Stikpusher
Moderator
Posts: 19020
Joined: Sat Apr 05, 2014 8:37 pm
Location: Ceti Alpha 5

Re: SPAM Review- Revell 1/24 Gemini Spacecraft update 8/8

Post by Stikpusher »

I have to just do my real computer "work" on a real desk top as I am now.... :? So where was I? Ah yes... lets see if I can re create my lost thoughts... :roll:

As far as the decals go, if that is the worst glitch that I find in building what the kit supplies, then I think that is a minor thing overall. And like I said, a few simple cuts to the decals will aid any builder in better placing them to create a really top notch IP. The "parking brake" that you mention, by which I presume you mean the red "T" handle just ahead of the joystick, I have no idea what that is in actuality. The instruction sheet labels it as a "release handle" (for what I have no idea). But I have yet to come across any photos of a red "T" handle on any Gemini cockpits yet. But, that being said, what I have learned is that there were variances between many of the Gemini craft in details of payloads and equipment. No two were identical apparently, depending upon their mission parameters.

One thing that I have come across in photos is that the kit overhead console part is pretty much fictitious, at least as far as compared to any photos that I have found. Those "louvres" should actually be narrow guard bars protecting rows of switches in between them. And that solo lever handle should actually be several of a different shape and configuration. For those who wish to correct that gig (not too challenging to do with some wire, sheet and strip styrene in this scale), as well as create the missing cockpit sidewall switch panels, I found this excellent NASA diagram of Gemini 5.

http://www.ibiblio.org/apollo/Gemini5-panels.png
"Surely I have made my meaning plain? I intend to avenge myself upon you, Admiral. I have deprived your ship of power, and when I swing 'round, I intend to deprive you of your life."

FLSM
User avatar
Stikpusher
Moderator
Posts: 19020
Joined: Sat Apr 05, 2014 8:37 pm
Location: Ceti Alpha 5

Re: SPAM Review- Revell 1/24 Gemini Spacecraft update 8/8

Post by Stikpusher »

Lets try this again... I seem to be having technical difficulties with computers here lately... really starting to anger me at times... :evil:

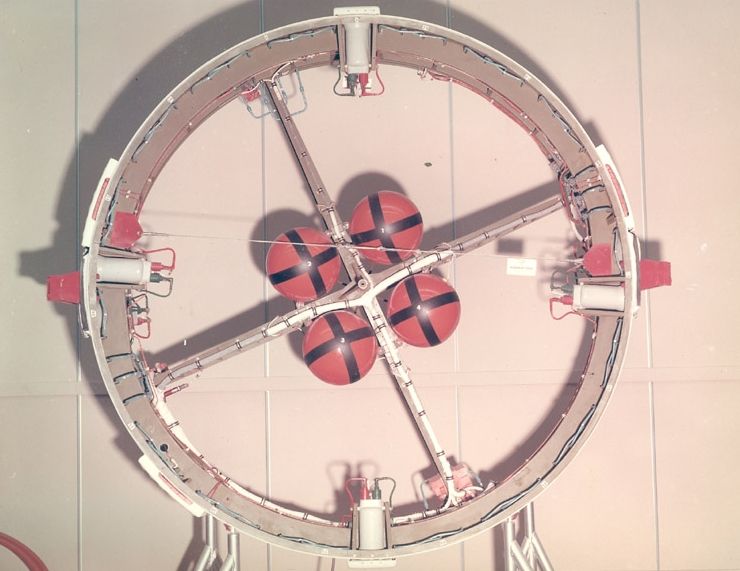
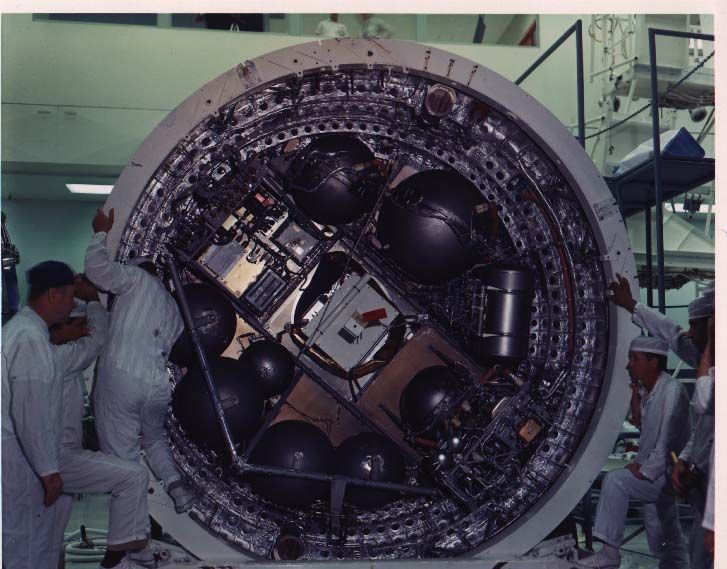
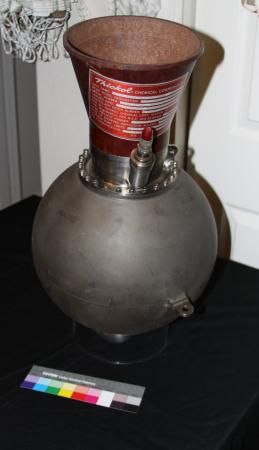
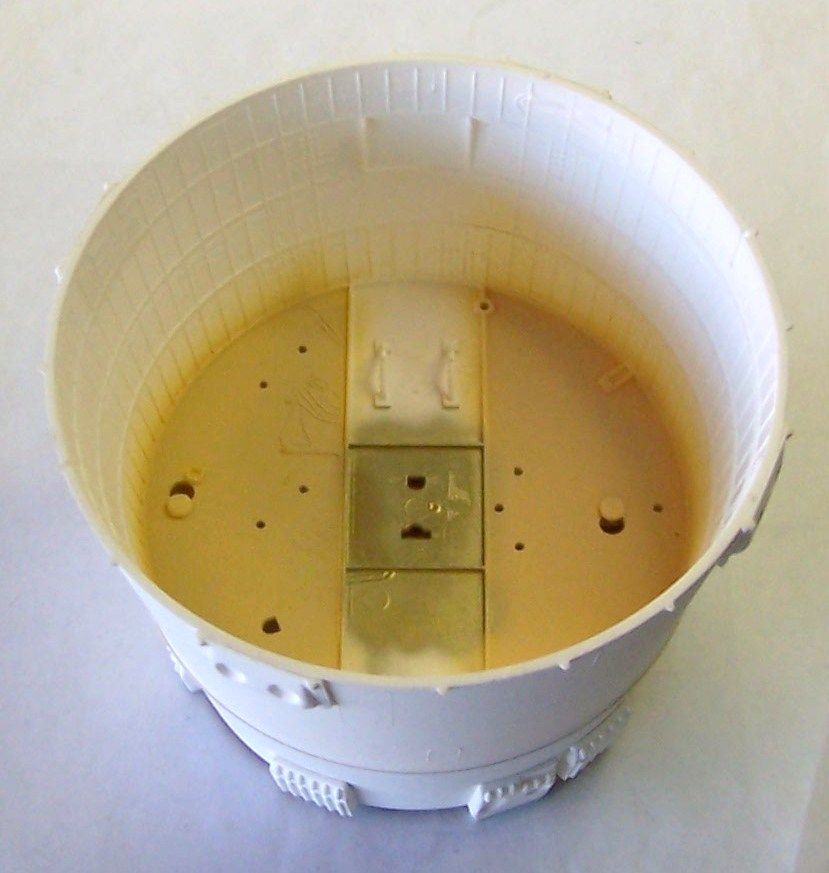
So during the week I built all the small sub assemblies for Steps 5 & 6, which are essentially the internal components that go inside the Equipment Stage. And I added the final external parts on Step 7, which is the nosecone radar antenna and the manuvering rocket nozzle housings on the Equipment Stage. After building those items, I did seam clean up, but I did not glue it all in place. Instead I sperglued them on to toothpicks for handling during airbrushing. Then using the following photos that I found online as reference, I began my airbrushing session today.

Retrograde Section
Image

Equipment Section
Image

Retro Rocket
Image

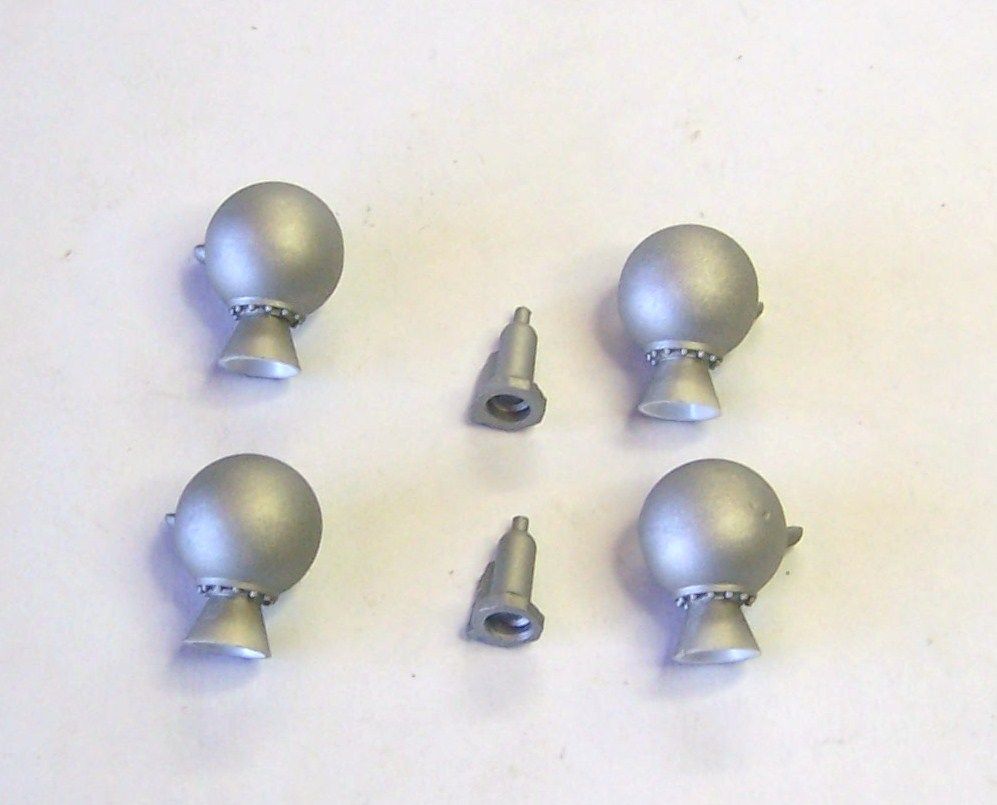
Retro Rockets and Manuevering Rockets (Testors Flat Steel). I still need to paint the nozzles and their attachment collars
Image

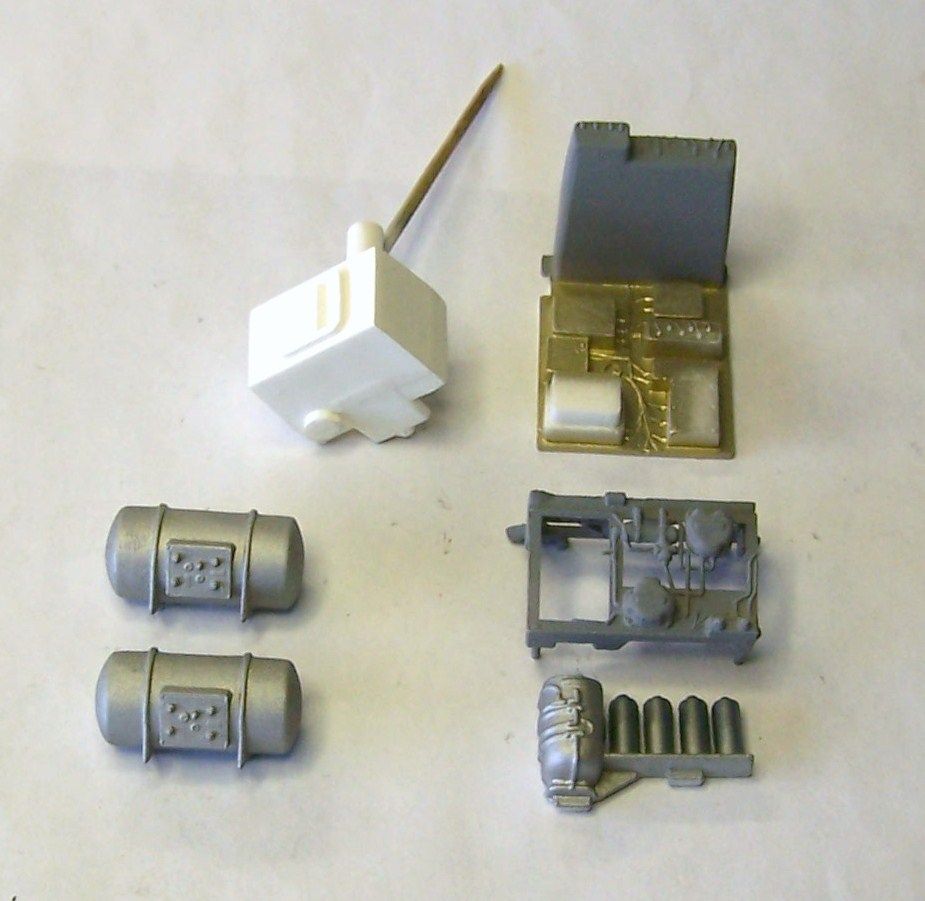
Electronics:clockwise from upper right Electronics Package, Cooling Unit, Battery Power Cells, and Rendezvous Radar
Image

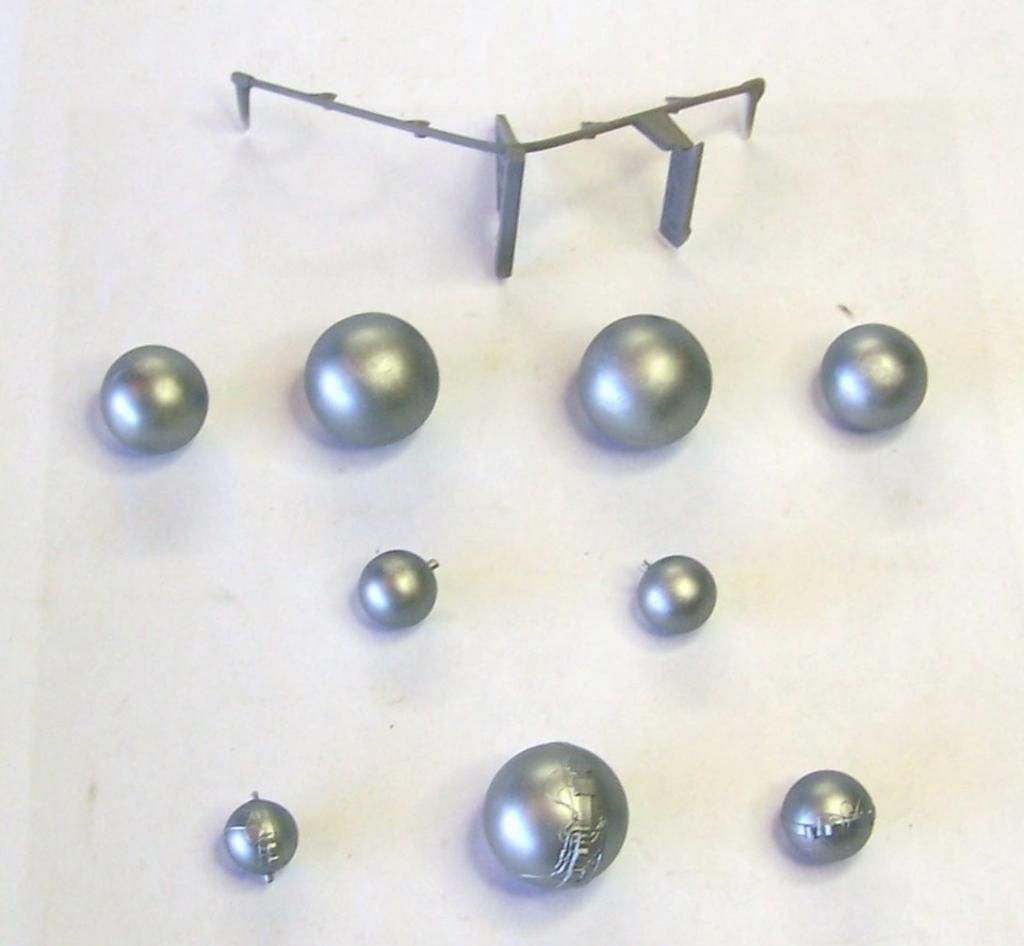
Then we have the balls... Spaceballs that is. Oxidizers, Fuel, Reactant, Oxygen, and Pressure cells, along with the mounting framework for the Reactant Cells. The rest mount onto the top of the Equipment Stage (Model Master Oiled Steel and Dark Gull Gray)
Image

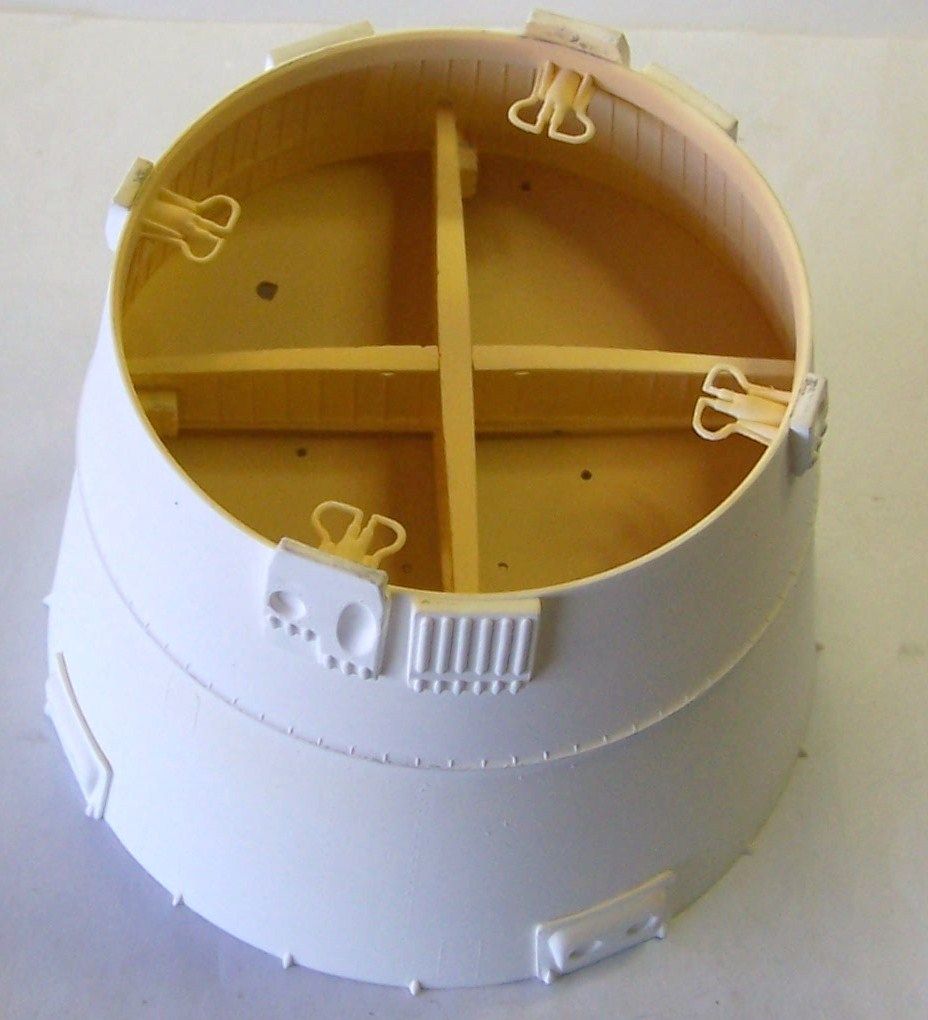
Then based upon the above photos, and having read that the cover between the Retrograde Stage and the Equipment Stage was made from fiberglass, I opted to use MM Radome Tan, which is a standard US aerospace fiberglass color. And I gave the external portion of those Stages a base coat of Humbrol Matt White
Image

Image

Then I did a touch up coat of Humbrol Matt Black on the Capsule itself
Image

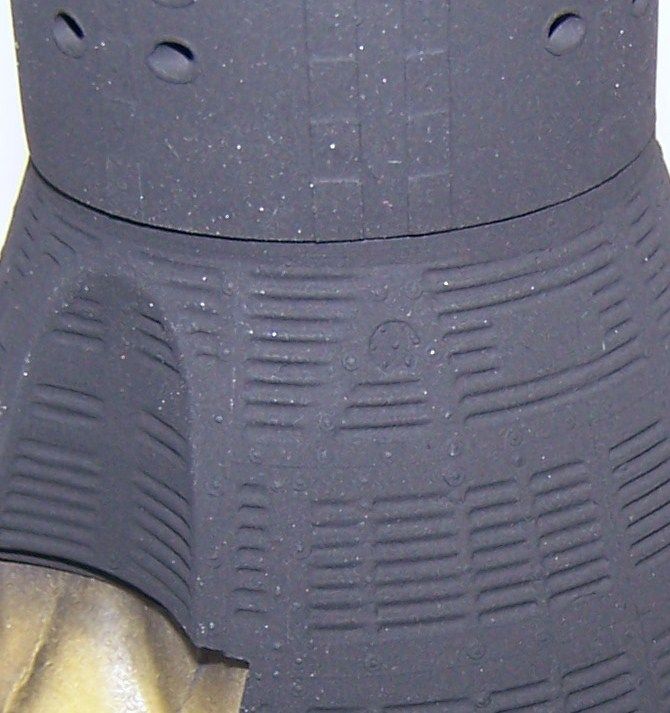
The surface detail looks really nice under a coat of paint now (please pardon the plastic sanding dust that shows up here)
Image

Image

More to come in the next few days...
"Surely I have made my meaning plain? I intend to avenge myself upon you, Admiral. I have deprived your ship of power, and when I swing 'round, I intend to deprive you of your life."

FLSM
User avatar
LyleW
Admin
Posts: 13742
Joined: Fri Dec 13, 2013 7:25 am
Location: Mt. Washington KY

Re: SPAM Review- Revell 1/24 Gemini Spacecraft update 8/10

Post by LyleW »

Wow.....just, Wow. You have set the bar quite high on this one. The IPs look simply amazing, the paint is terrific....on and on.
To make each build less crappy than the last one. Or, put another way, "Better than the last one, not as good as the next one!"..
User avatar
Stikpusher
Moderator
Posts: 19020
Joined: Sat Apr 05, 2014 8:37 pm
Location: Ceti Alpha 5

Re: SPAM Review- Revell 1/24 Gemini Spacecraft update 8/10

Post by Stikpusher »

Thank you Lyle. I dont know about how high I am "setting the bar", but I just want to do the best I can with what is in the box and while following the directions. The basic kit is good, but it has SO MUCH MORE potential with either scratch work or Aftermarket items.
"Surely I have made my meaning plain? I intend to avenge myself upon you, Admiral. I have deprived your ship of power, and when I swing 'round, I intend to deprive you of your life."

FLSM
Post Reply

Return to “Product Previews & Reviews”