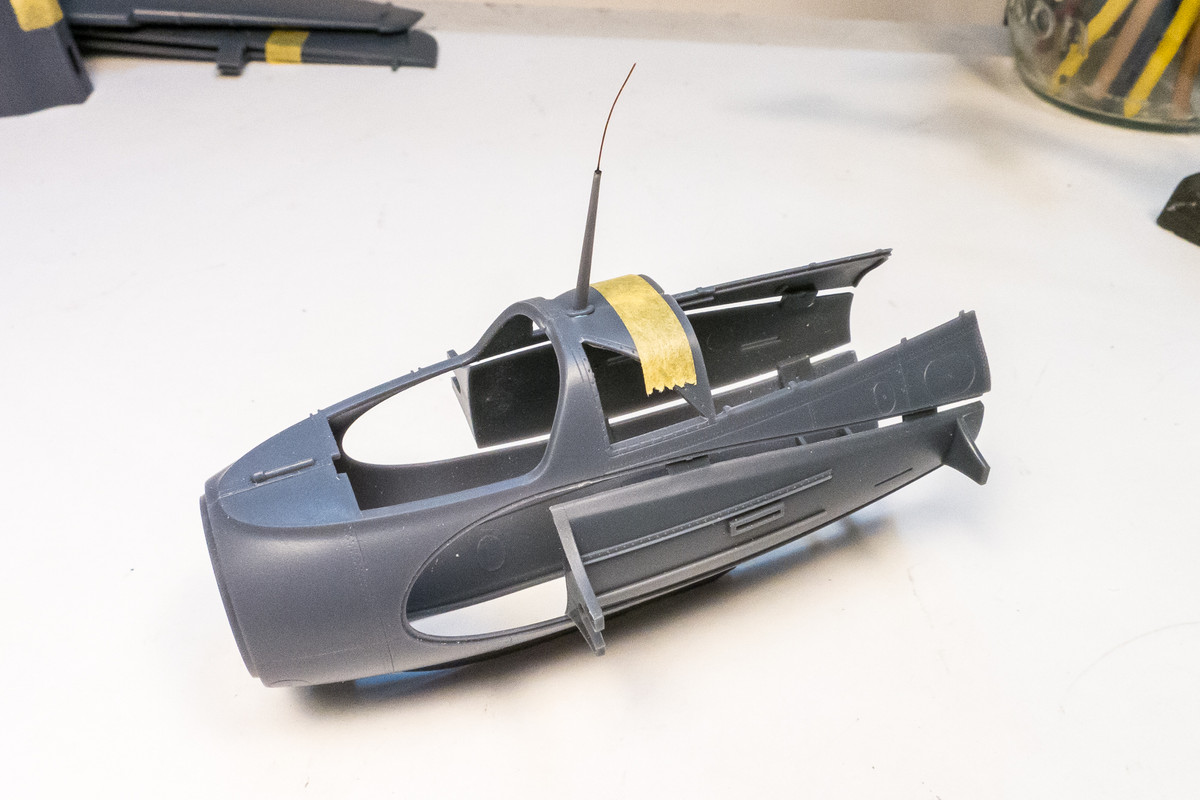
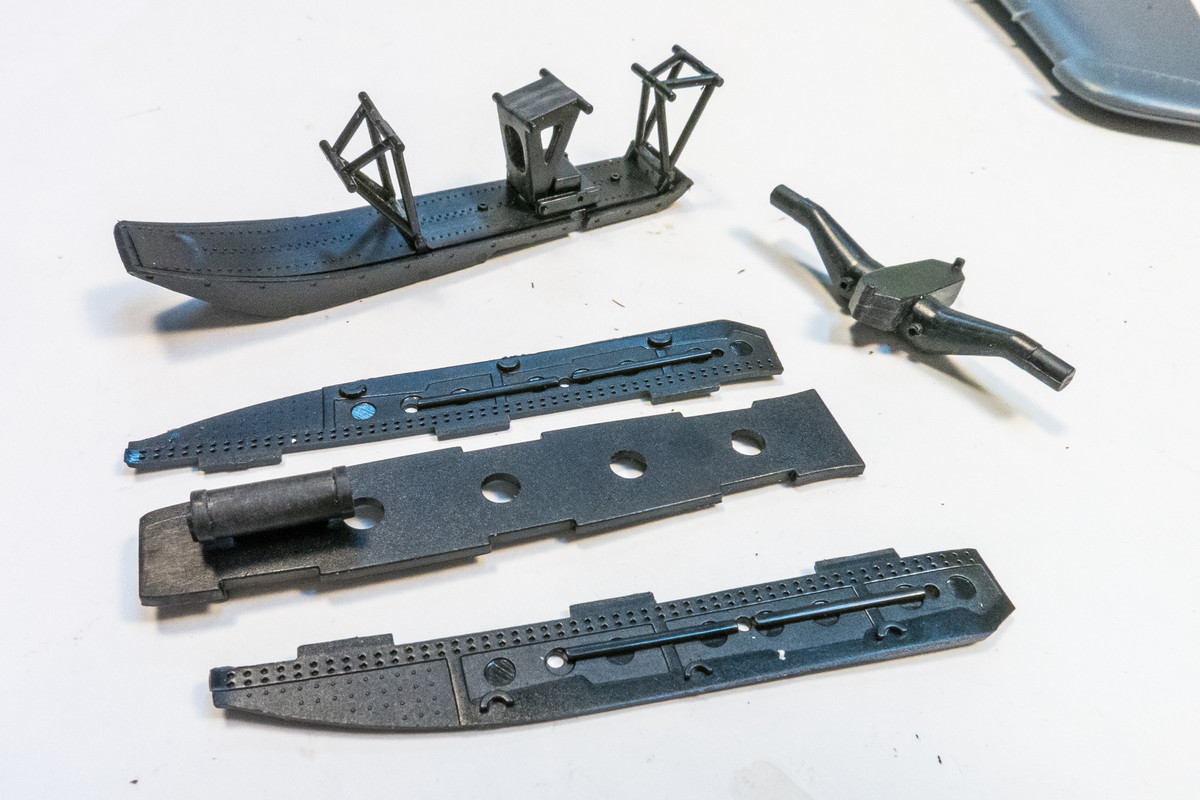
Re: 1/32 Meng Me163 Komet
Posted: Sun Jul 11, 2021 9:13 am
Which scheme are you going to do, John? I like the red scheme myself.
 )
)I THINK I built the Hasegawa 163 way back when although I don't have much recollection of what the kit was like except that it also had the rocket motor. Since the Meng kit is fairly recent, I'm sure it is much more detailed than the much older Hasegawa kit.Stikpusher wrote:Looks quite a bit more intricate than the old 1/32 Hasegawa Komet.
Glad to have you following the build. Hopefully, I'll avoid any major problems so that you'll be encouraged rather than discouraged!Bish wrote:Got this one on my shopping list so will deffinetly be following along.
Thanks Kari! I have the lightbox with the opening on the top, which makes it ideal for shooting pics of sprues.KSaarni wrote:Great pictures and review of the kit !
I was encouraged by a previous request to Meng to replace some broken parts on their Tiger II kit. They were pretty prompt with a free replacement. And I just received a confirmation from Meng that they'll be sending a free clear sprue replacement soon.Floki wrote:Looks like a very nice kit. When I reached out to kitty hawk about the Voodoo canopy being cracked right down the middle, they wanted $15+shipping just for that one part. I could see if I broke it but it came brand new in the box that way. Hopefully Meng has better customer service.
Thank you! I've got a short trip to LA tomorrow so hopefully I'll be able to report back on this build in a couple days.Handiabled wrote:I'll be watching this one!
Thanks Paul! Any and all encouragement really helps keep me motivated to continue!Paul wrote:OK, John, You go dude!
I'm going to do Yellow 2, which is a JG400 machine that I posted at the beginning of the thread. The red scheme is very eye-catching but I prefer to do a more standard camo scheme.BlackSheep214 wrote:Which scheme are you going to do, John? I like the red scheme myself.
Yes, it is a very nice kit. Not overly complex but there are a number of very small and delicate parts that I've already started to break!scorpiomikey wrote:Its a very pretty kit. Beautiful details both inside and out.
Ill admit, a little intimidating for me.
Im planning to do mine in red for one of the group builds on here (that may or may not have ended by now
 I chose the red scheme because it was the simplest to do.

That's a great looking Komet! Mine won't be as eye-catching as your red one but will hopefully be a fun build.Gary Brantley wrote:I'm looking forward to seeing this one John. I know it will be spectacular! Unlike my own Komet. I built the ancient ex-Hawk Testors kit back in 1989. It may have had 20 pieces in total.
Here's a pic taken last year I believe, out at the Cameron airport:
The yellow bottom on the captured 163 makes for another eye-catching scheme but I've always had a soft spot for any late war Luftwaffe scheme with brown (RLM 81) in it.Medicman71 wrote:I'd have to do the captured machine myself.
The trip to LA was to relocate my mother-in-law to a care facility and yes, we took the trip in the new car. The new car is a 2021 Hyundai Santa Fe Hybrid to replace my GMC Acadia, which died at 188,000 miles.speedgraflex wrote:A short trip to Los Angeles… new car? I’m looking at the Gaspatch version in 1/48. I think that’s a killer model. I’m sure you’ll do wonders with Meng, but I wonder why you didn’t go for this instead? New tool, etc.
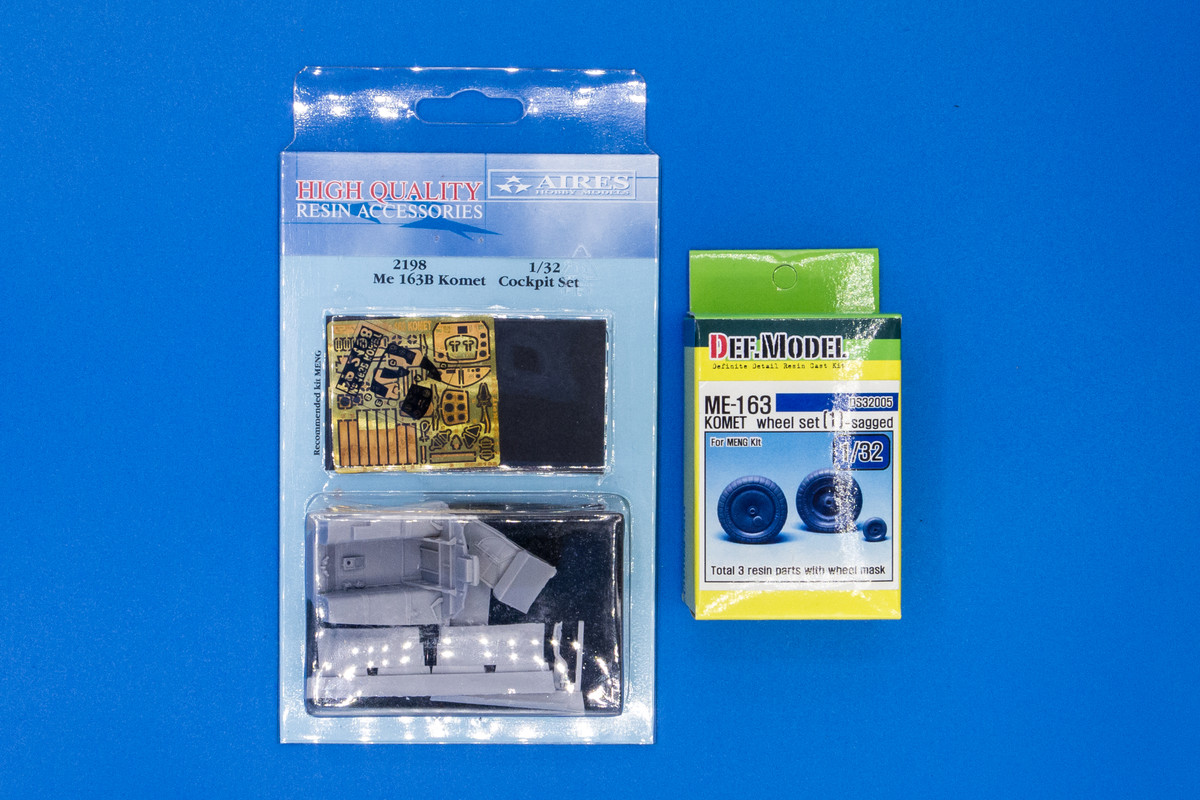
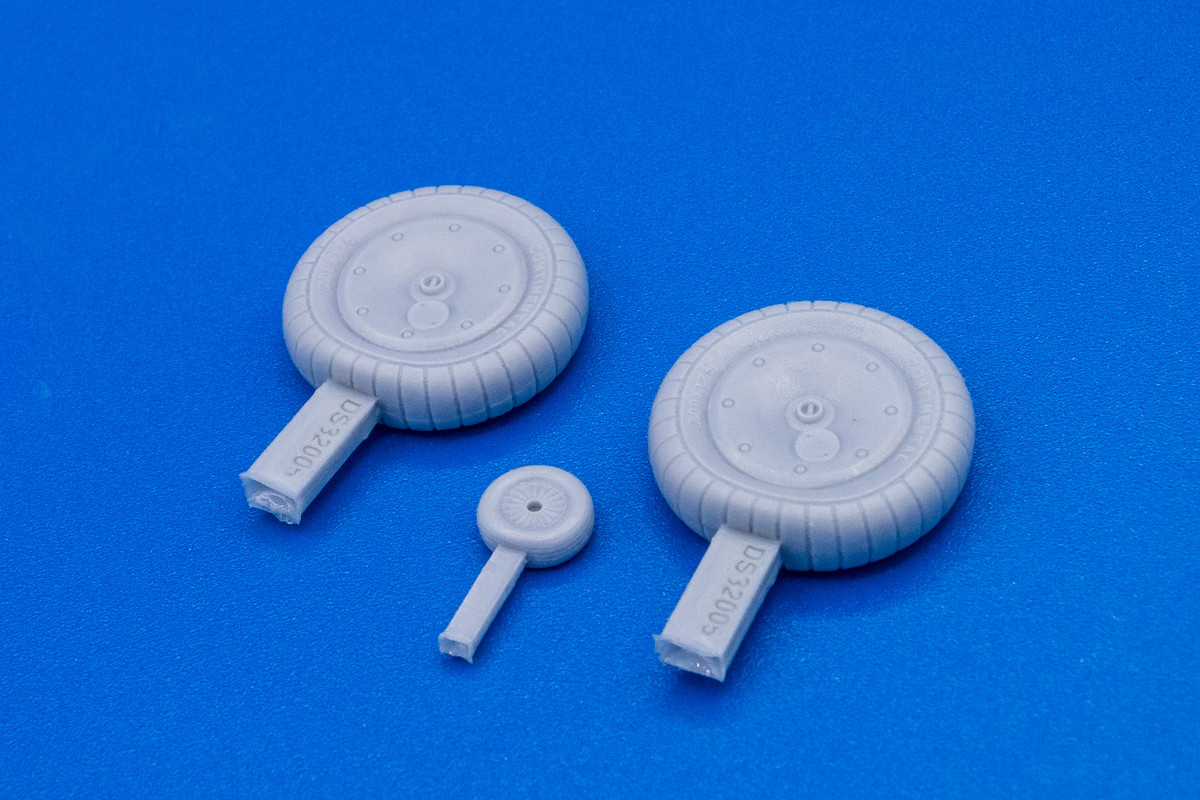

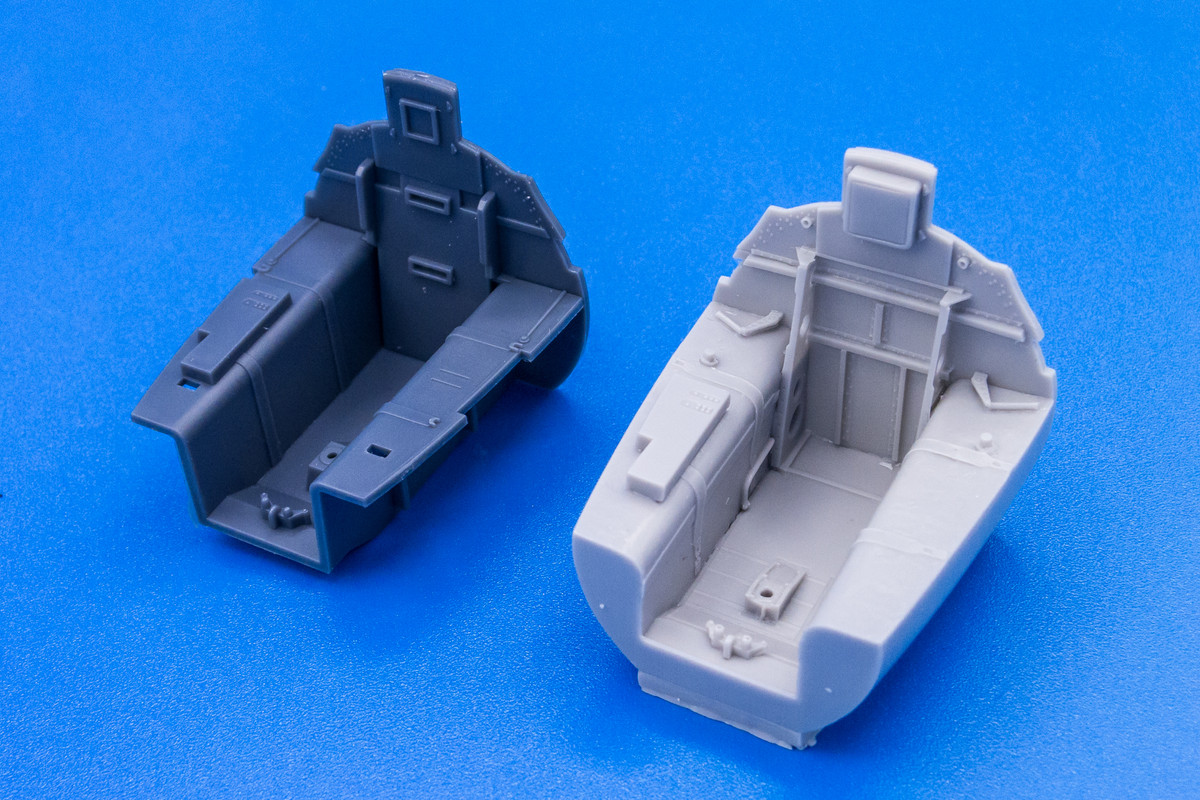
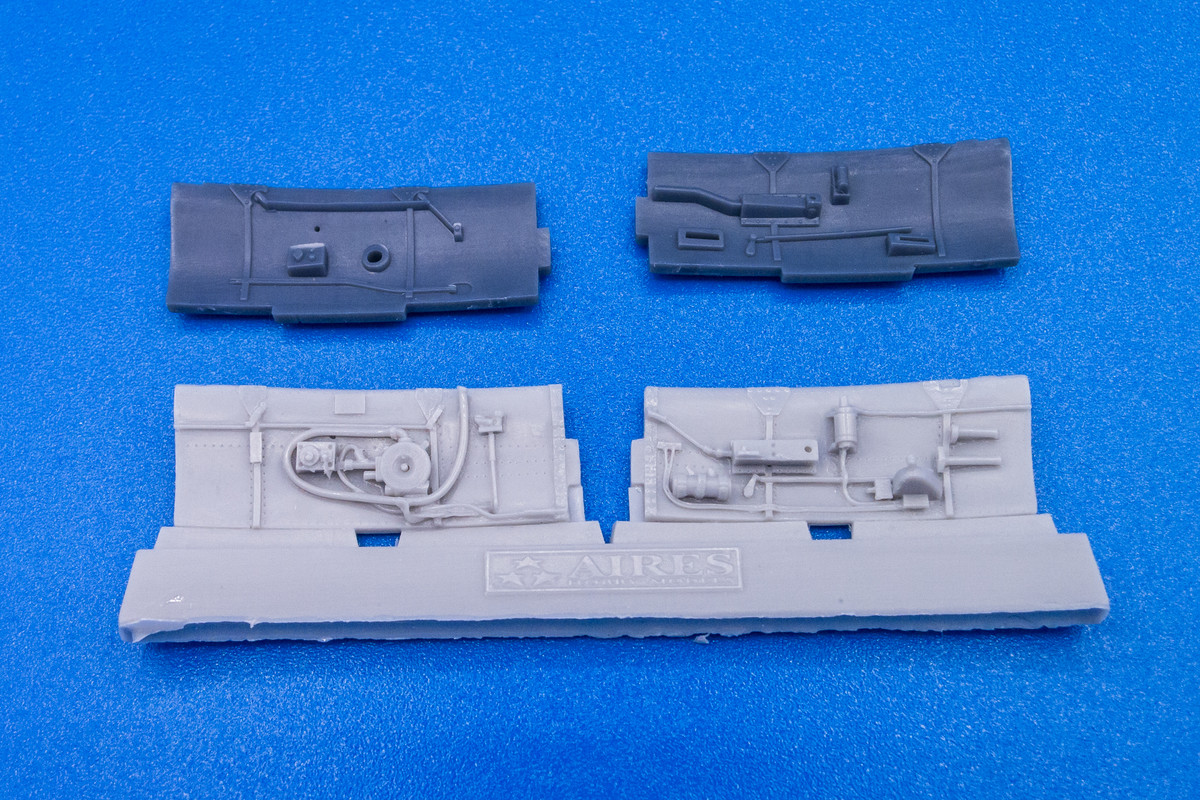
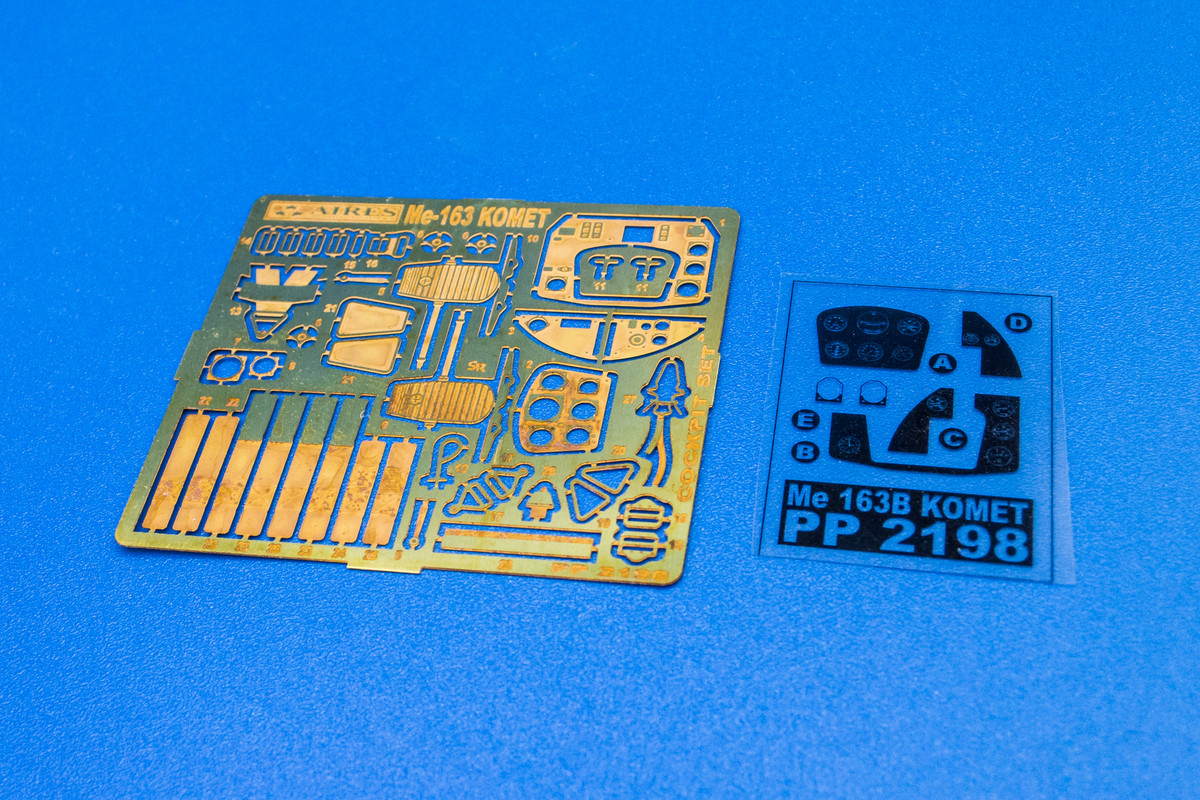
Great pics again John!jkim wrote:The instrument panel features instrument dials printed on clear acetate. I much prefer this "older" technique than any of the pre-painted options currently available including the newer 3D stuff.
It looks good to me, especially with the outdoor backdrop! I really like how you do that! And no... not a master by any means. Just a guy who likes to build models and is trying to learn and improve.Gary Brantley wrote:Thank you John. It was among the first five or six built after starting the hobby in 1988. It's pretty crude really but sort of a place-holder for the type for now. I'll be interested in watching as your work on this one progresses; I'll try to learn from a master modeler while class is in session!
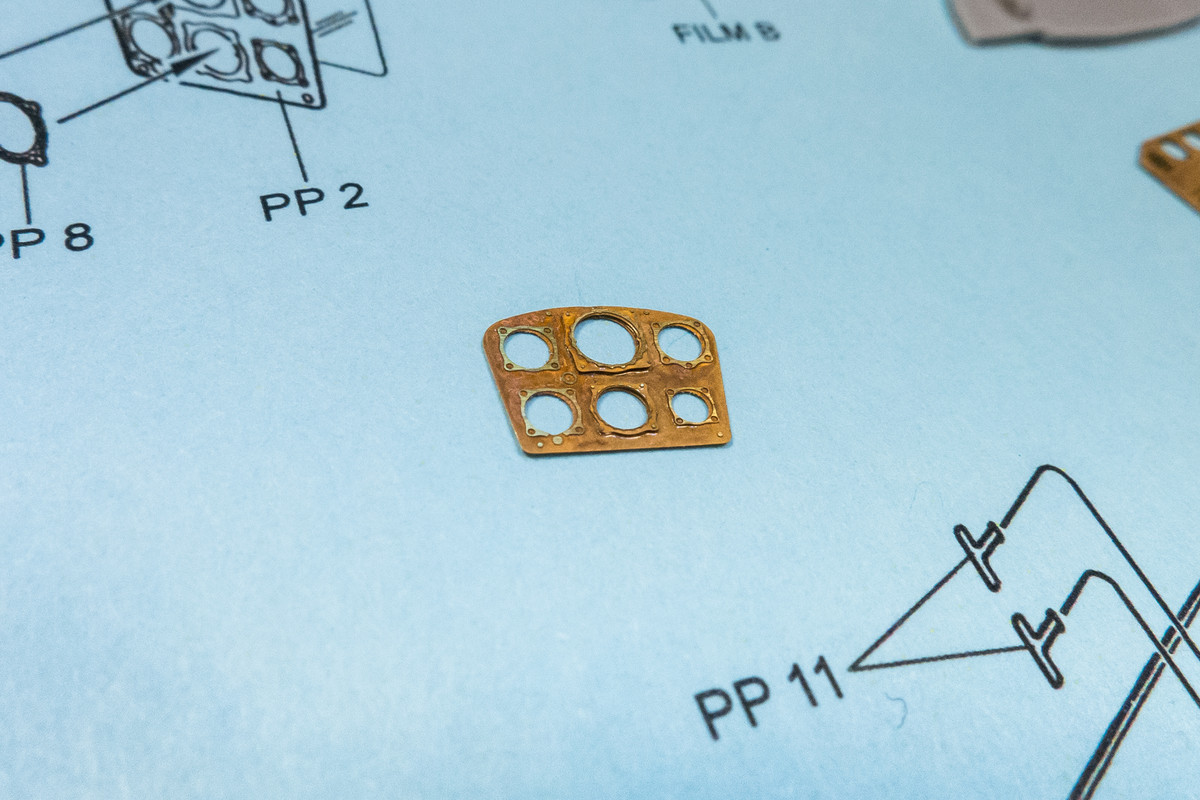
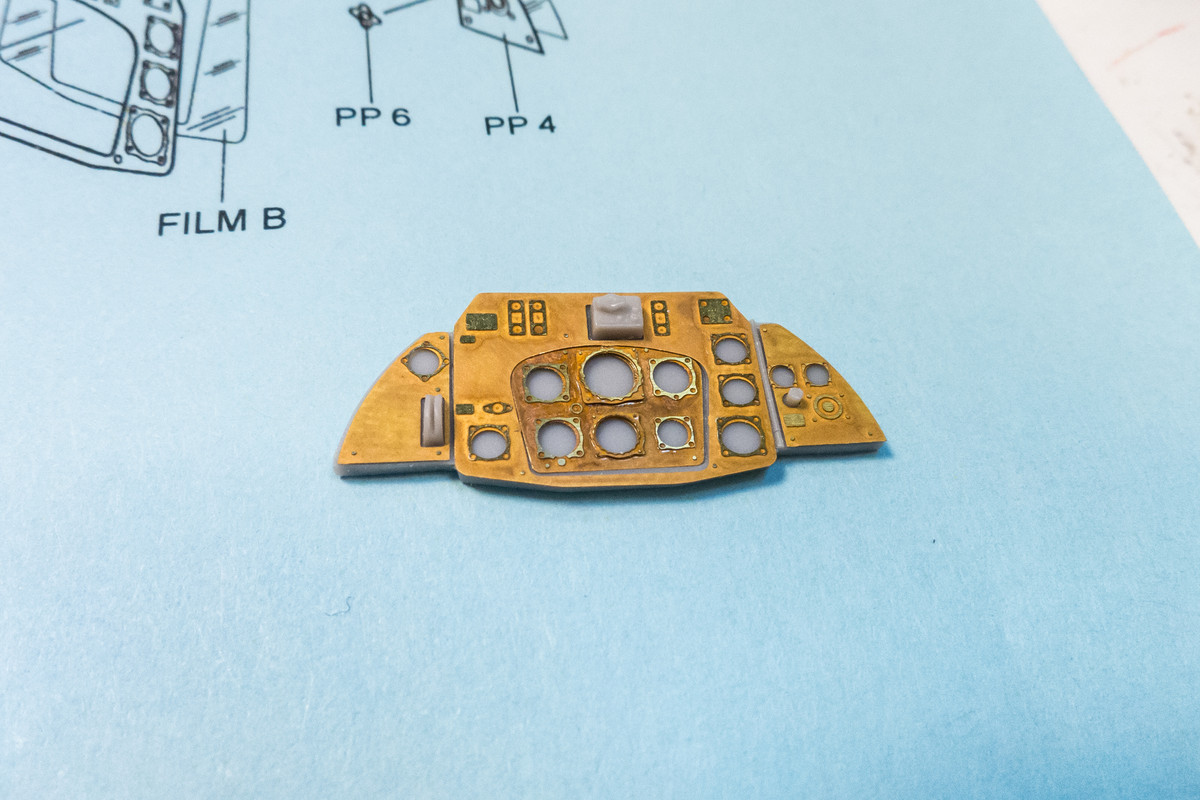
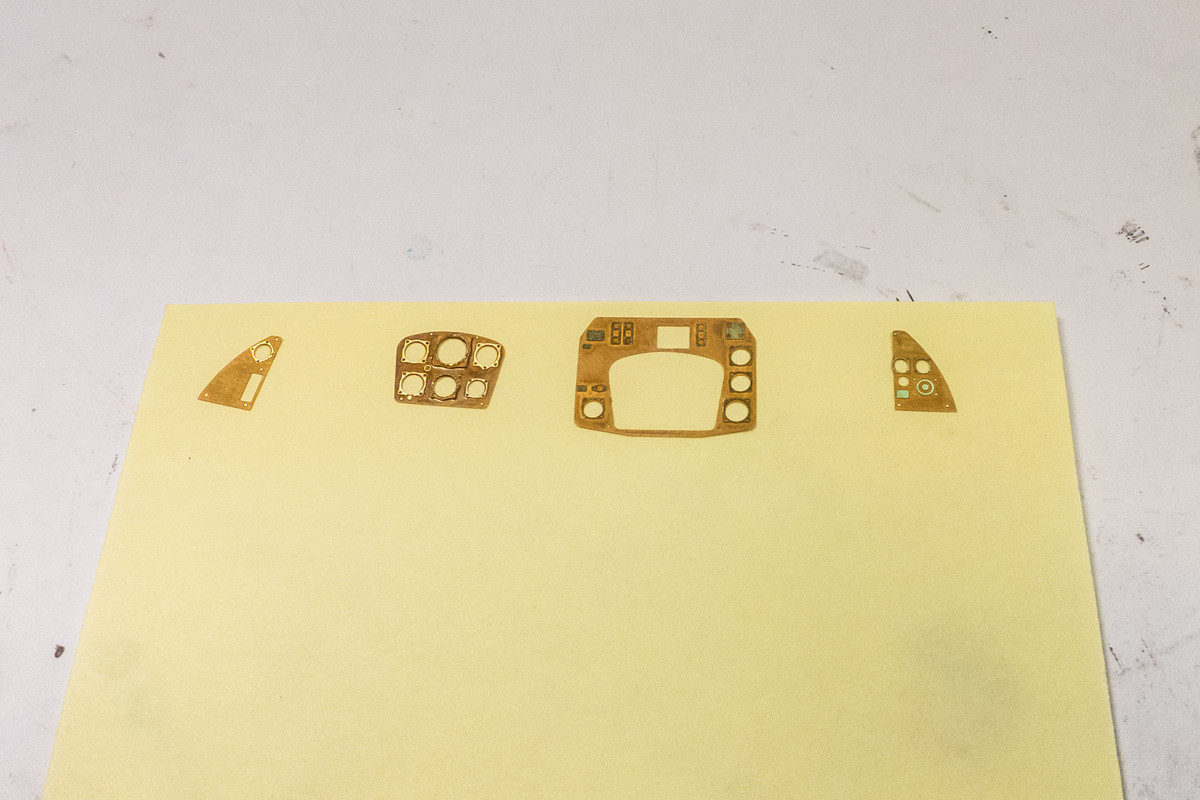
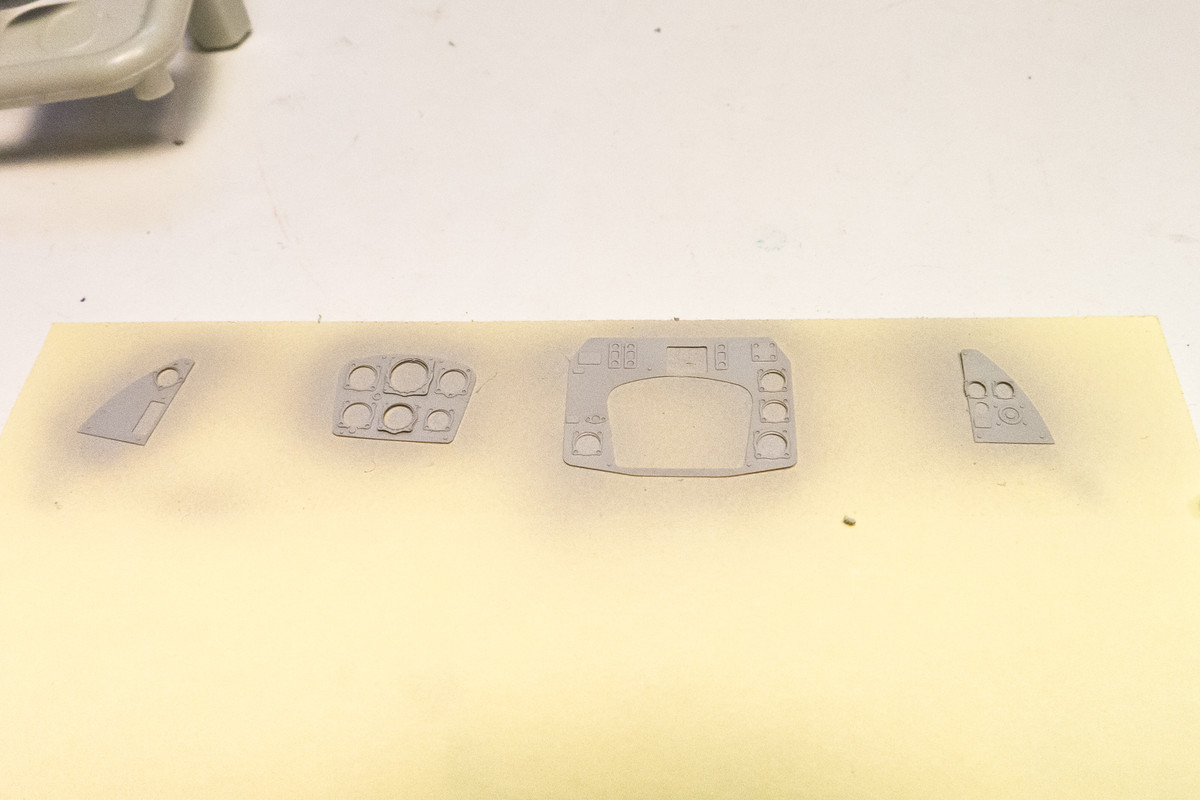
Thanks Kari! There's different layers to deal with but these types of instrument panels can surprisingly easy to assemble and paint. The first thing to do is to remove the photoetch panel faces from the sprue. I recommend doing this and cleaning up the sprue attachments now instead of painting the faces on the brass fret.KSaarni wrote:Great pics again John!
Really curious to see when you come in the build to this point, when you build the IP using that stuff above.
I have a couple of kits that has this "older" IP technique, but I have never even tried to build such a complicated PE-part + acetate combination.
But I'm sure after seeing how you tackle that, I might try myself !
- Kari