Page 3 of 14
Re: 1/72 IBG Fw 190D-9 Early Production
Posted: Sat Feb 05, 2022 1:51 am
by jkim
Floki wrote:You're right with nothing to gage scale that engine looks like it could be 1/48 or bigger. The AM seems to be a good buy.
Hopefully, I'll get those gun barrels this coming week!
mostrich wrote:That looks extraordinary for a 1/72 kit. Surface detail is sublime.
I'm in!
Yeah, it's very impressive for a 1/72 scale kit. Although, I'm not a great judge since I don't have much experience at this scale.
I performed a round of dry-fitting just to see the view into the engine compartment from the wheel wells. Although there is opportunity to add detail in there, it would be a bit tricky since the engine bulkhead is built into the wingspar. This forces construction to occur in an order that makes adding detail harder than if the engine compartment was totally separate.
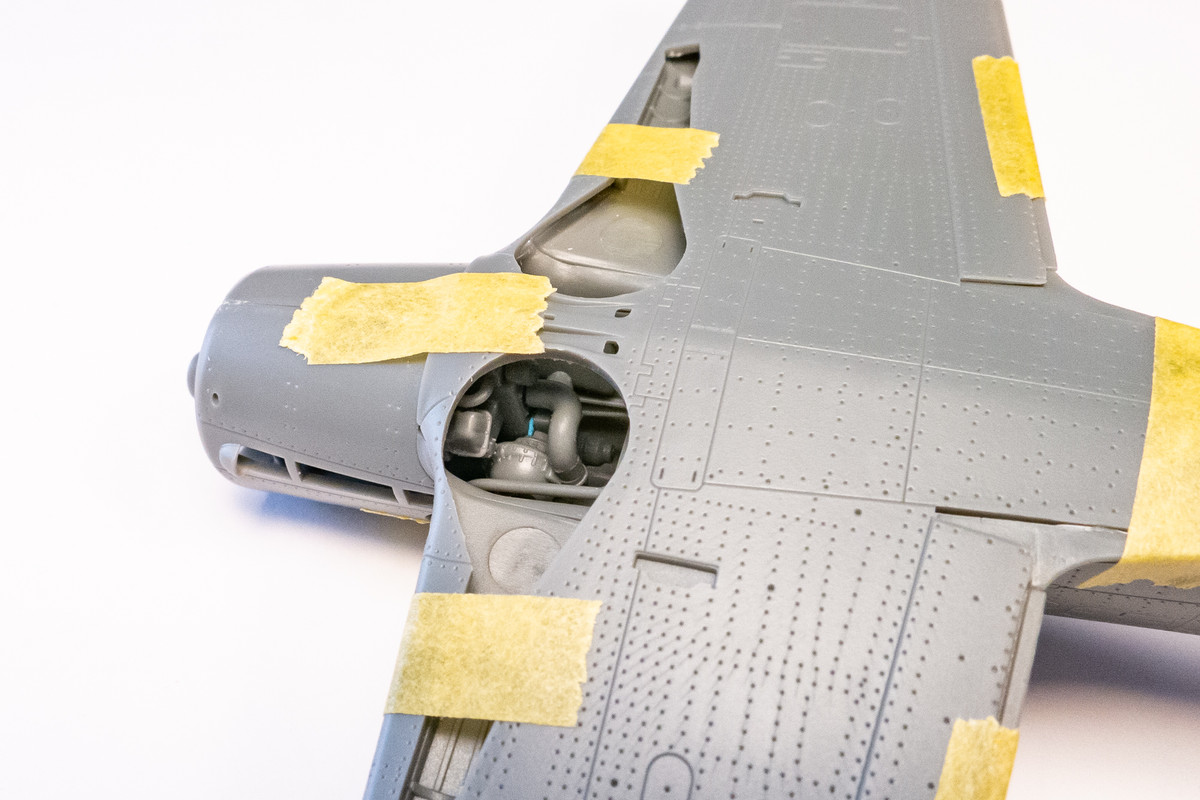
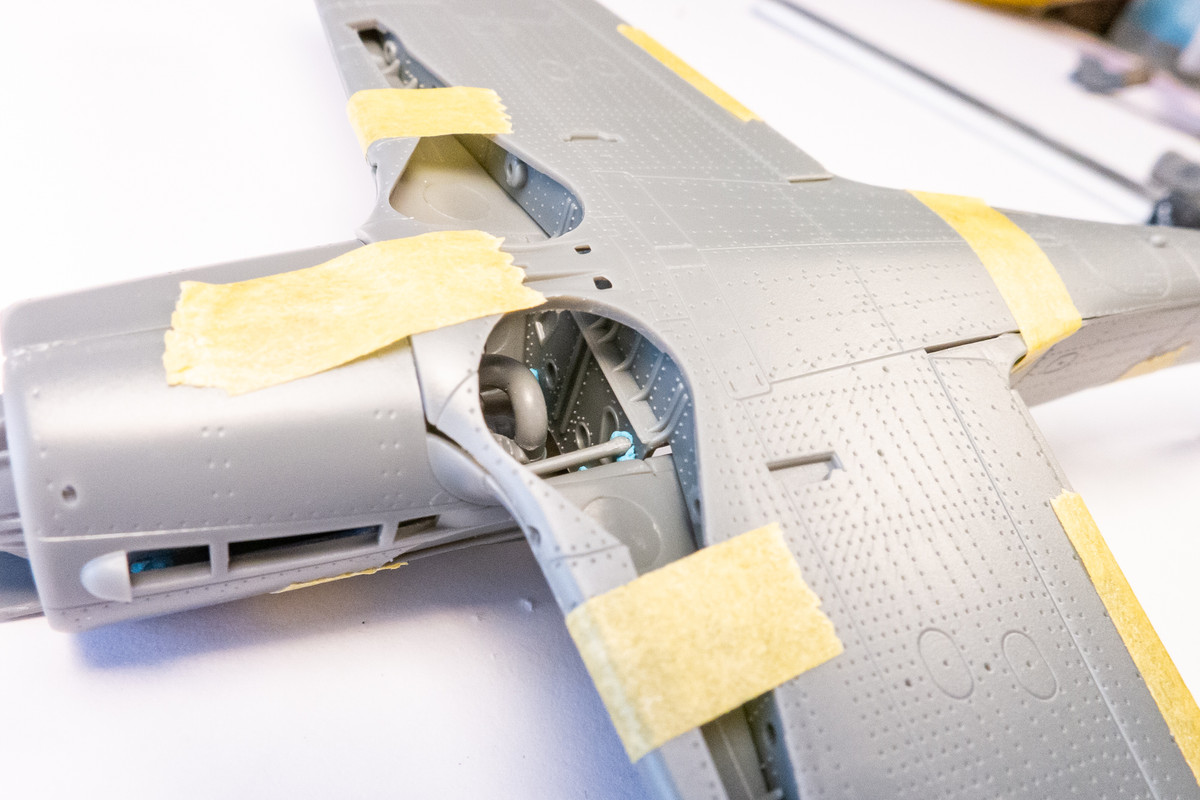
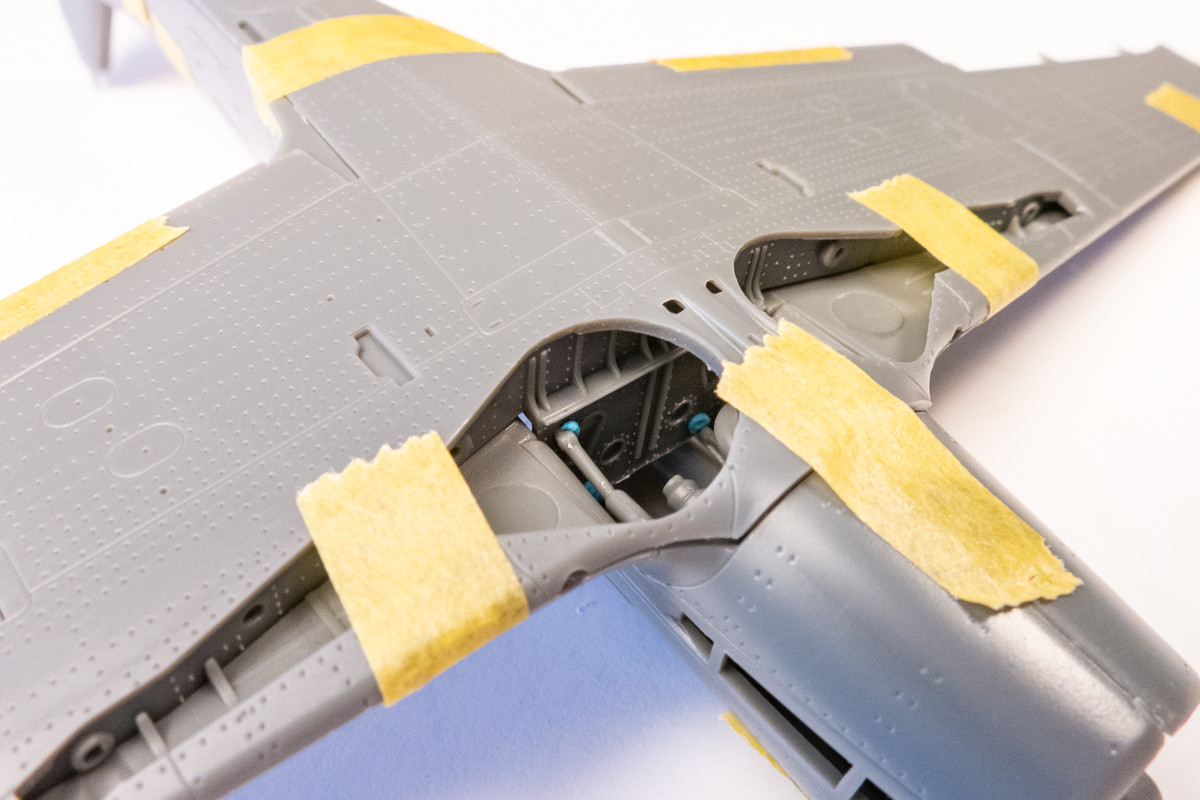
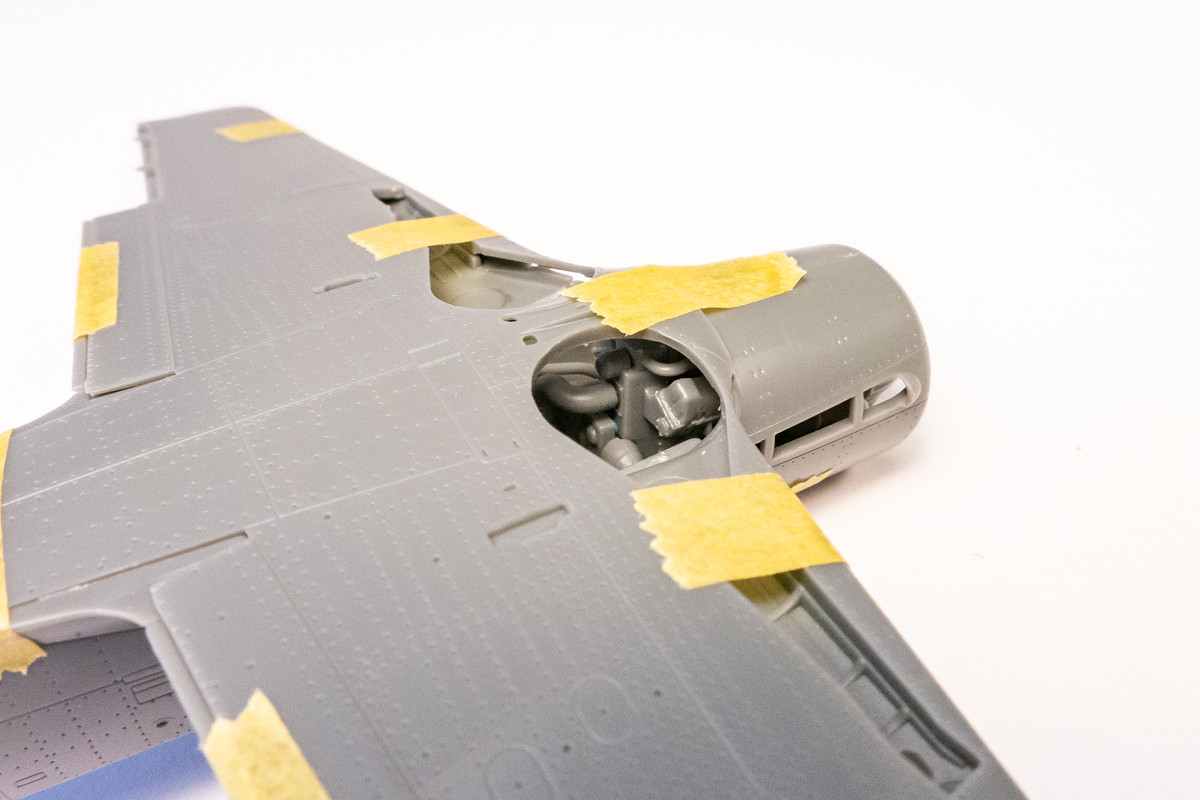
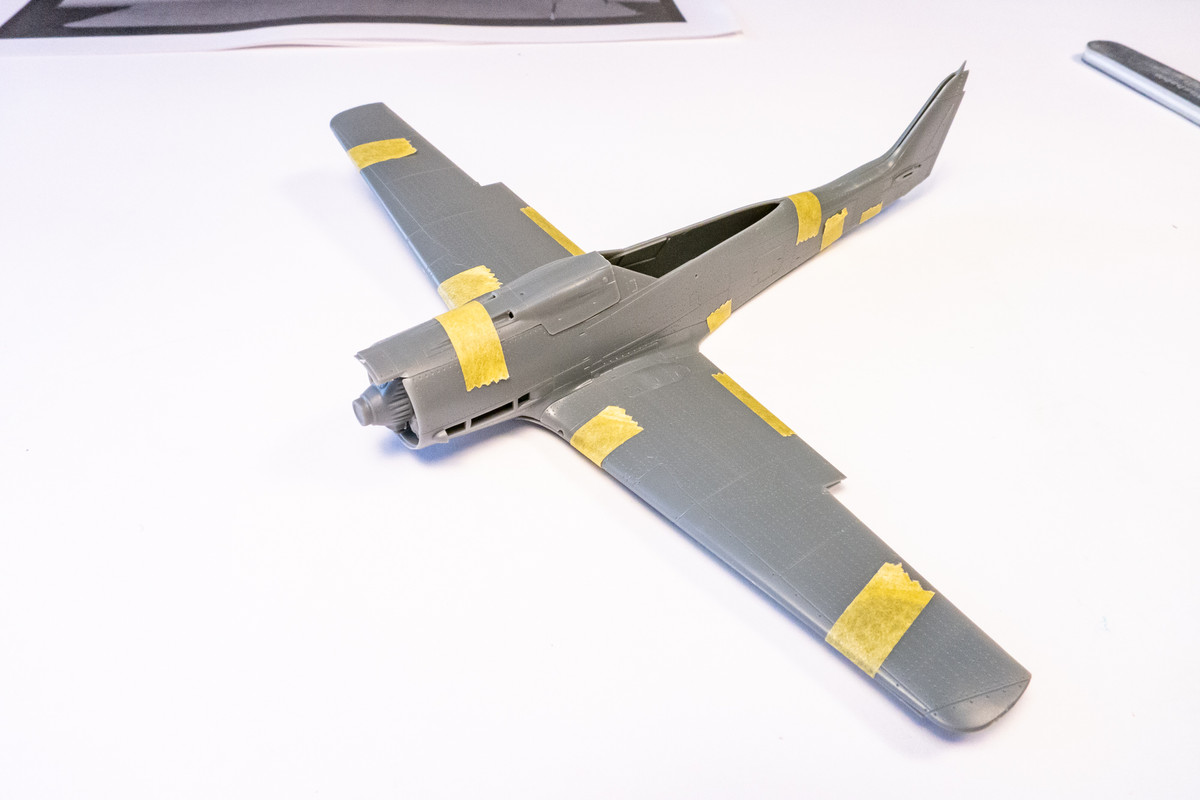
Overall, the fit seems to be VERY good and I don't foresee any problems.
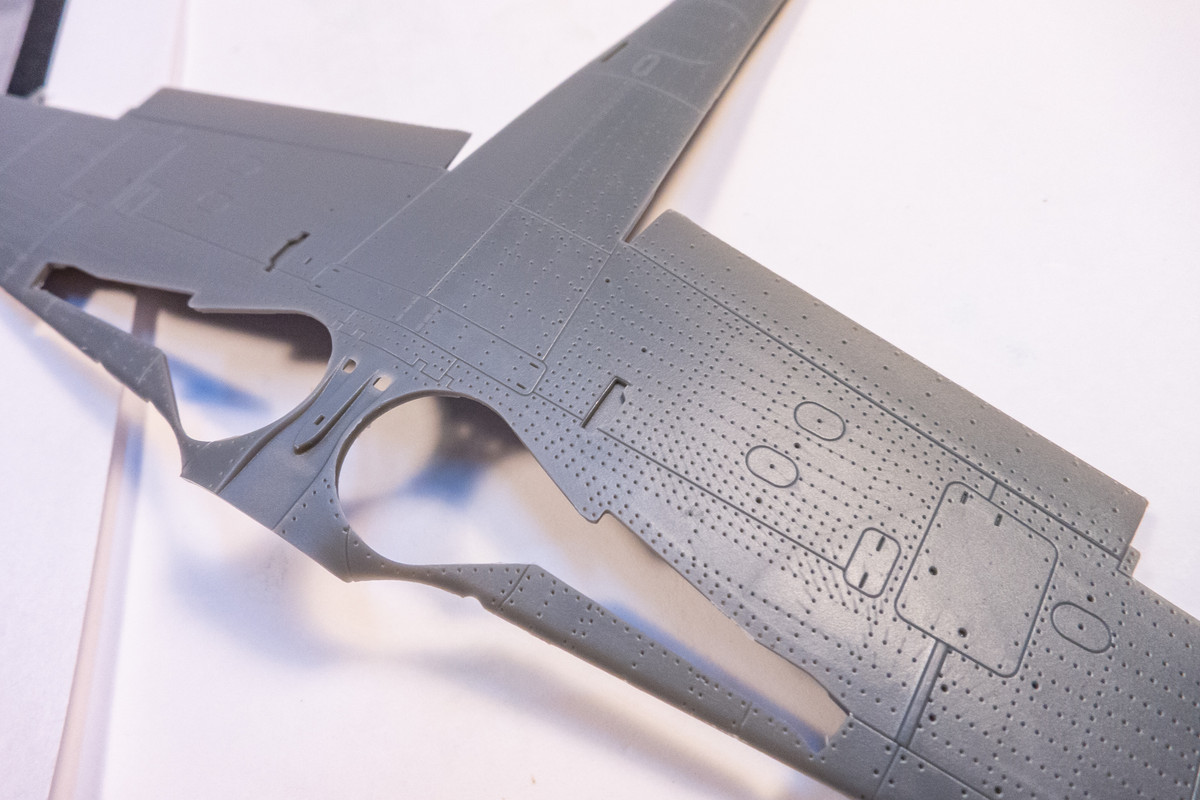
I thought it would be a nice touch to open up the wing ejection ports.
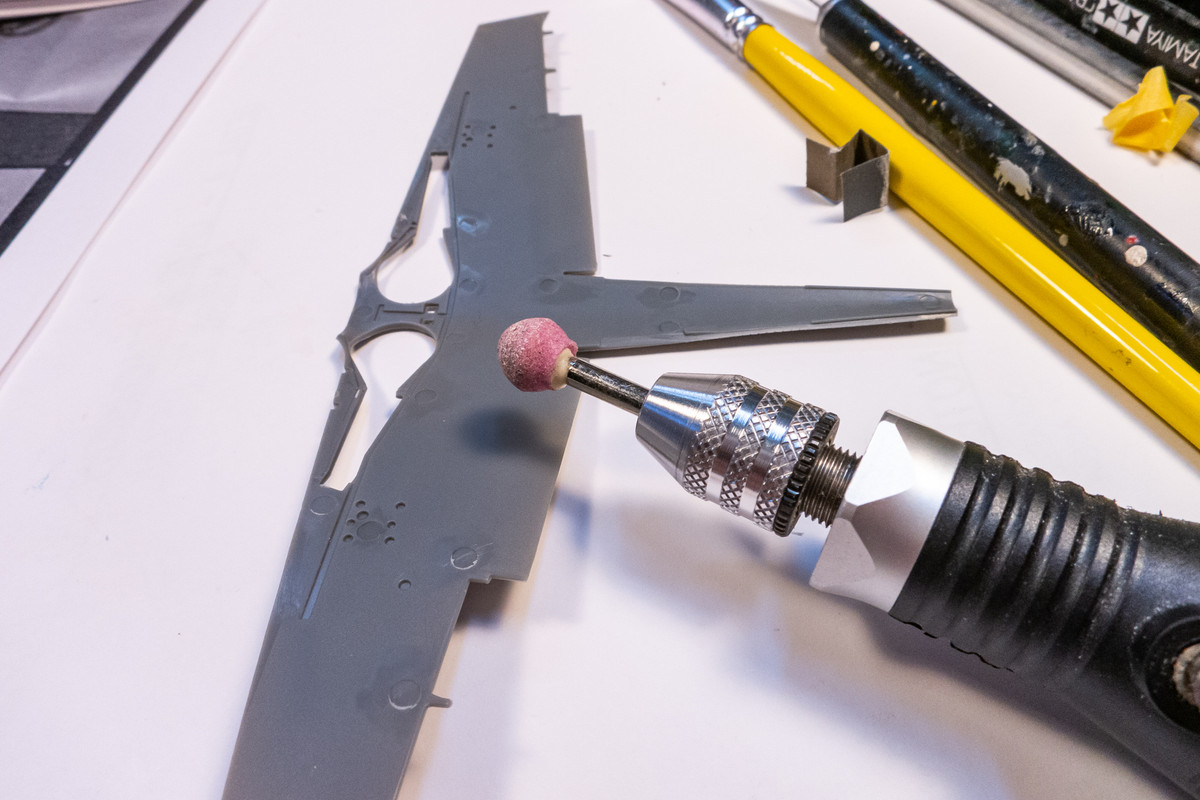
A rotary tool like this David Union 300 makes things much easier. I can grind the plastic down from the interior side to make cutting easier.
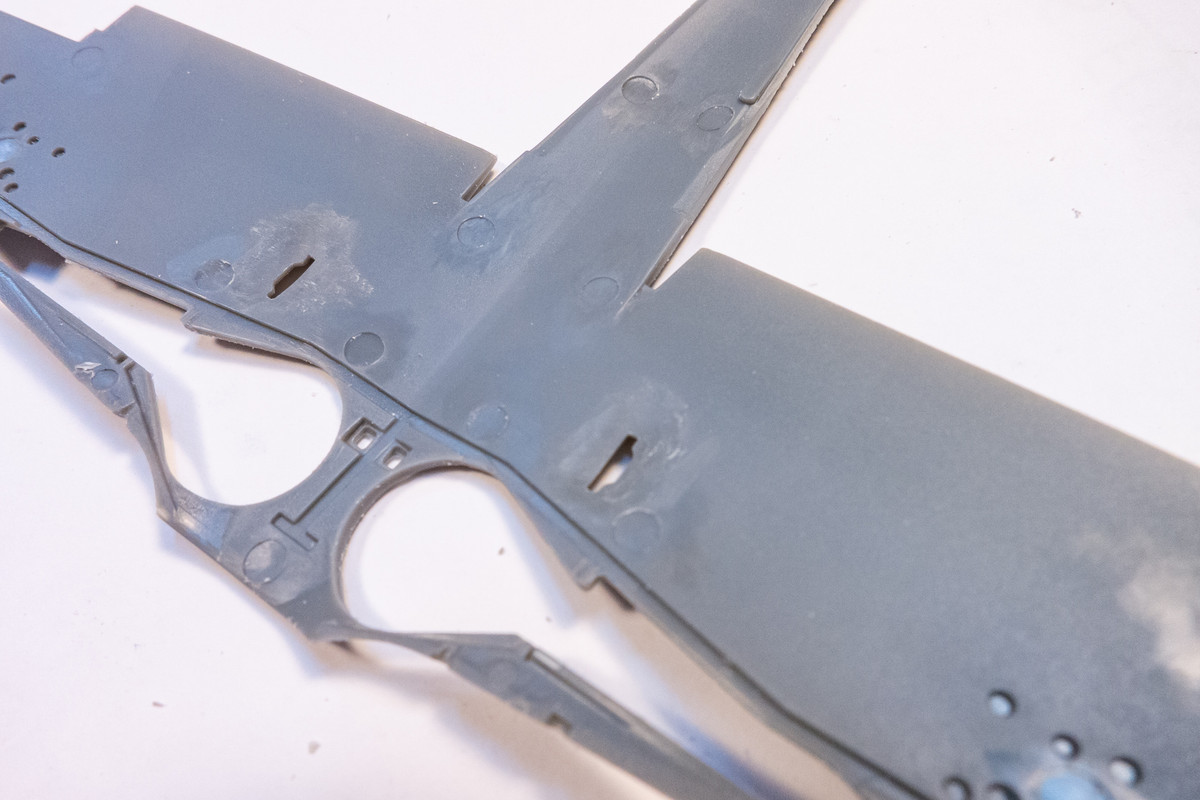
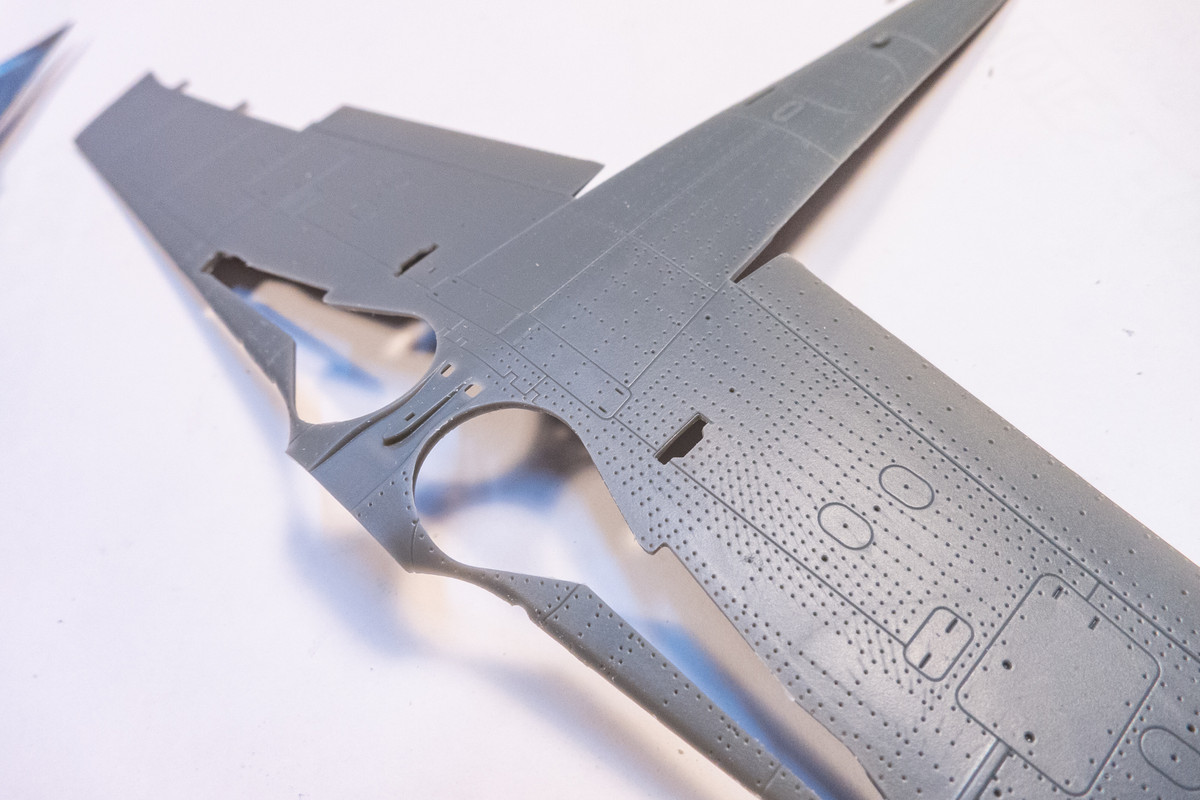
And then... my camera broke! Some sort of lens error that doesn't seem fixable. So I just put in an order for a replacement.
Re: 1/72 IBG Fw 190D-9 Early Production
Posted: Sat Feb 05, 2022 8:24 pm
by jkim
Jumping over to the cockpit... it is a much simpler affair than the engine. I would've preferred the manufacturer to have put more detail in the cockpit than the engine but the 190 cockpit is relatively simple and the view into the pit, even with the canopy open is not the greatest so I don't think this is a big minus.
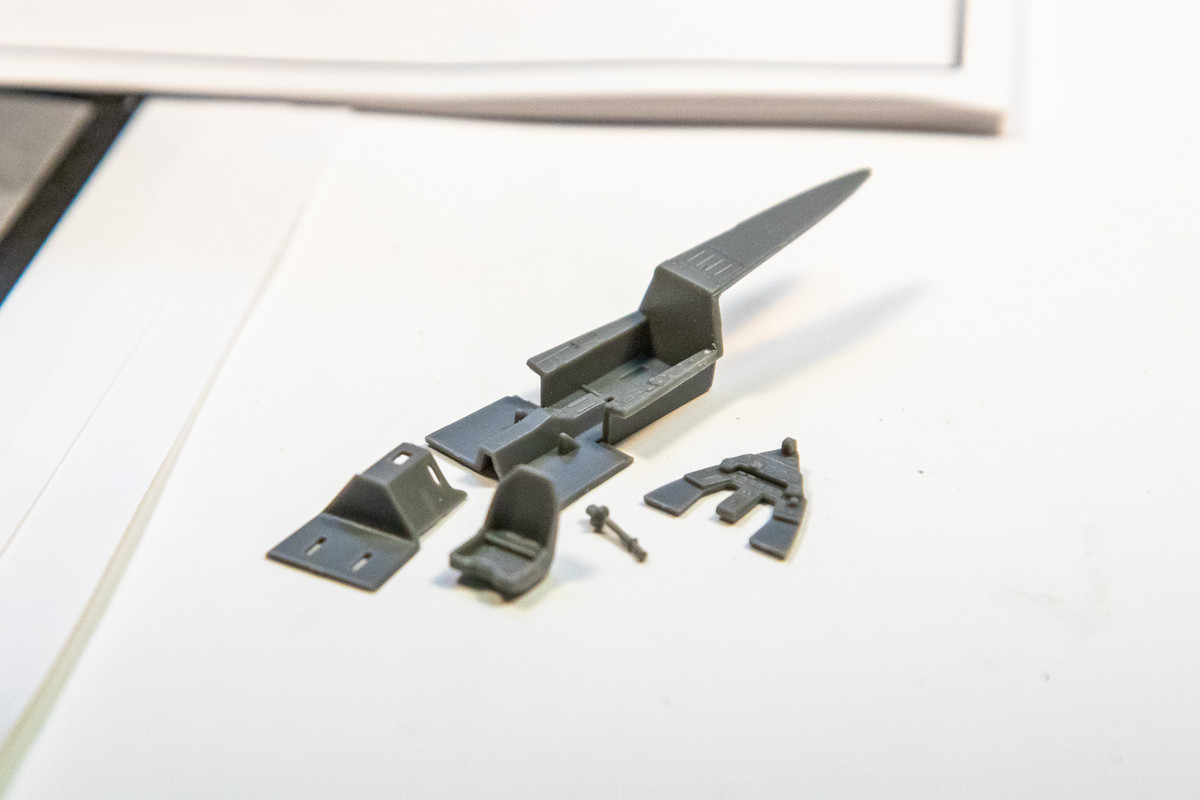
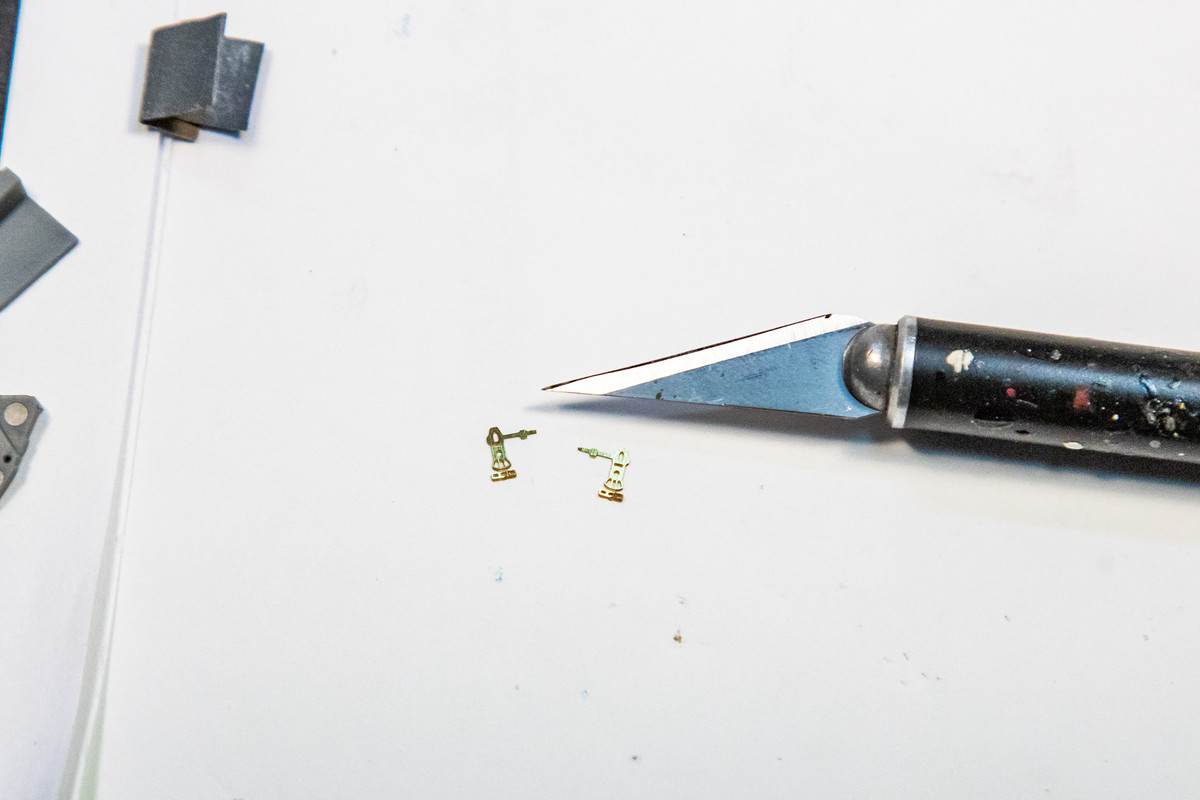
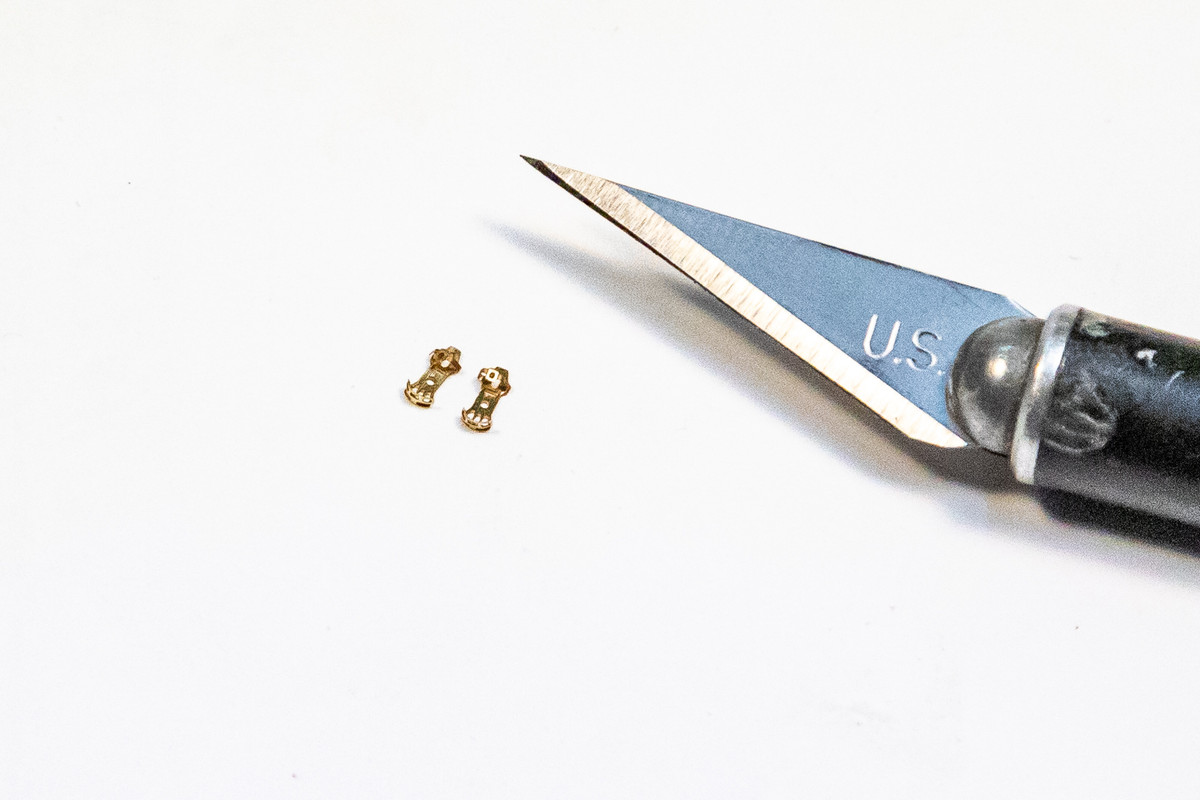
The PE fret includes two tiny foot pedals! Nice touch but I doubt these will be seen since they are tucked under and behind the instrument panel.
The cockpit is given a coat of RLM 66 Dark Grey (Mr Hobby Aqueous).
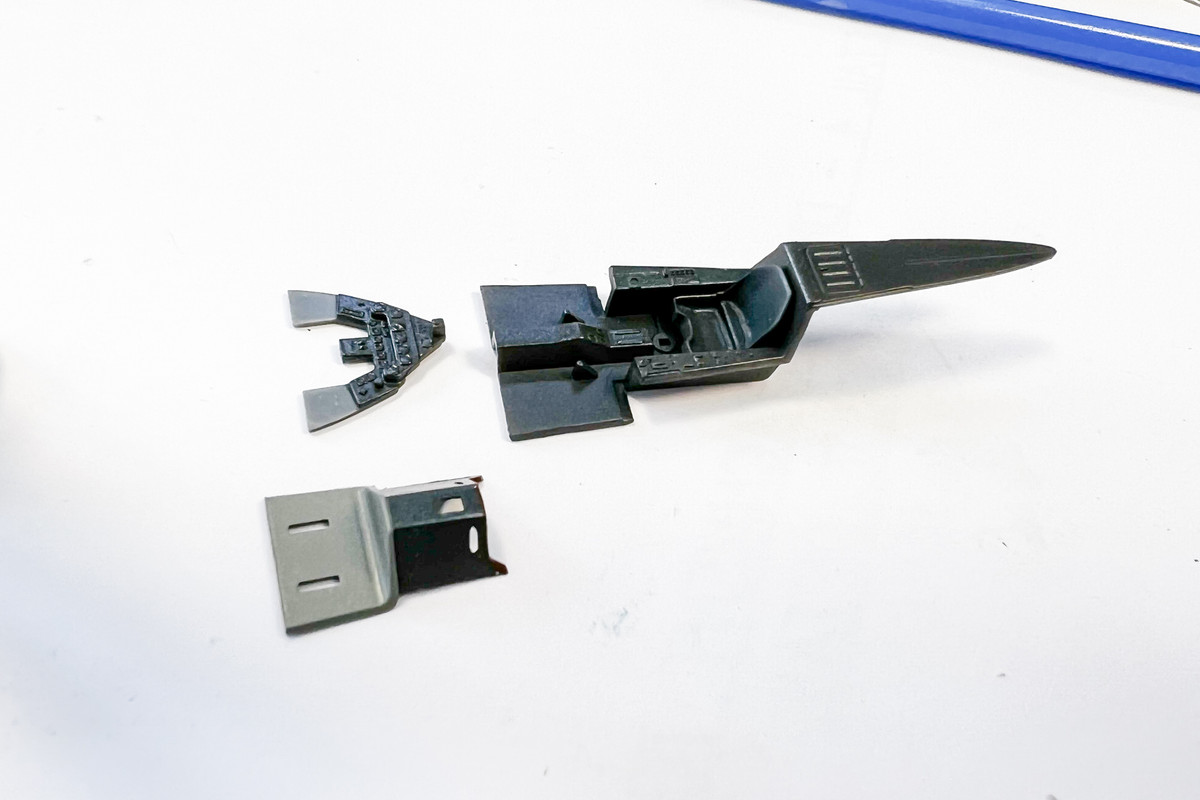
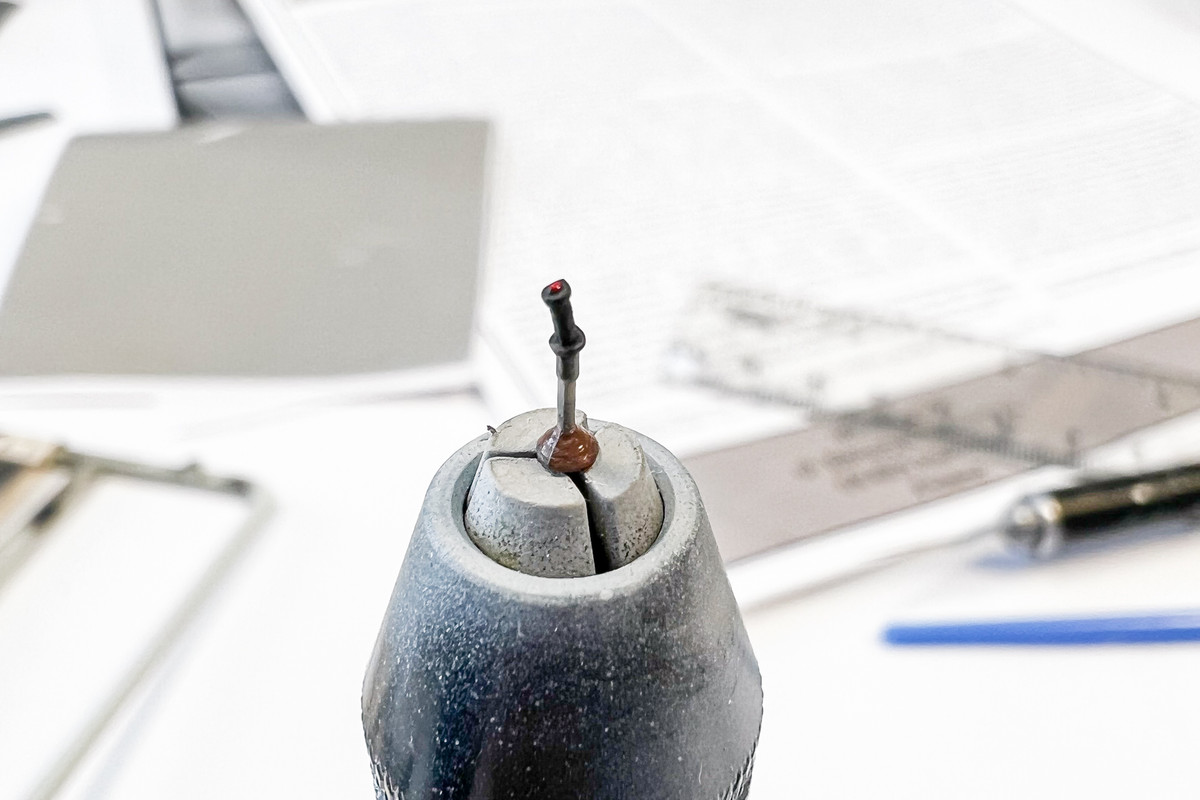
A pine vise is a great way to hold small parts during painting. The photograph reveals a pretty big seam on the circular base!
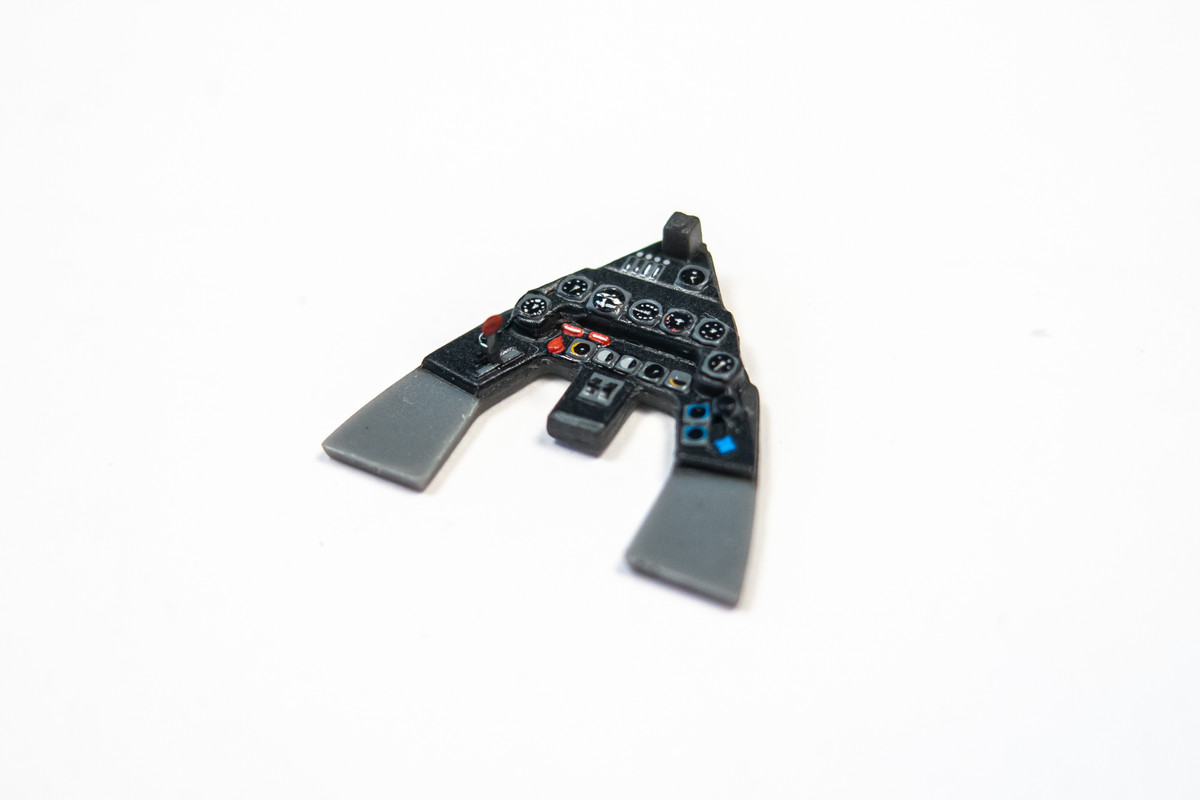
Instead of painting the instrument details, I've elected to use the kit decals for the panel details. My references show that the panel backgrounds should be RLM 66 Dark Grey and not black but for this build, black they shall be. Since the kit parts feature raised details, we'll have to see (a) if the decal details match the molded details and (b) if decal solvent will settle the decals onto the raised details.
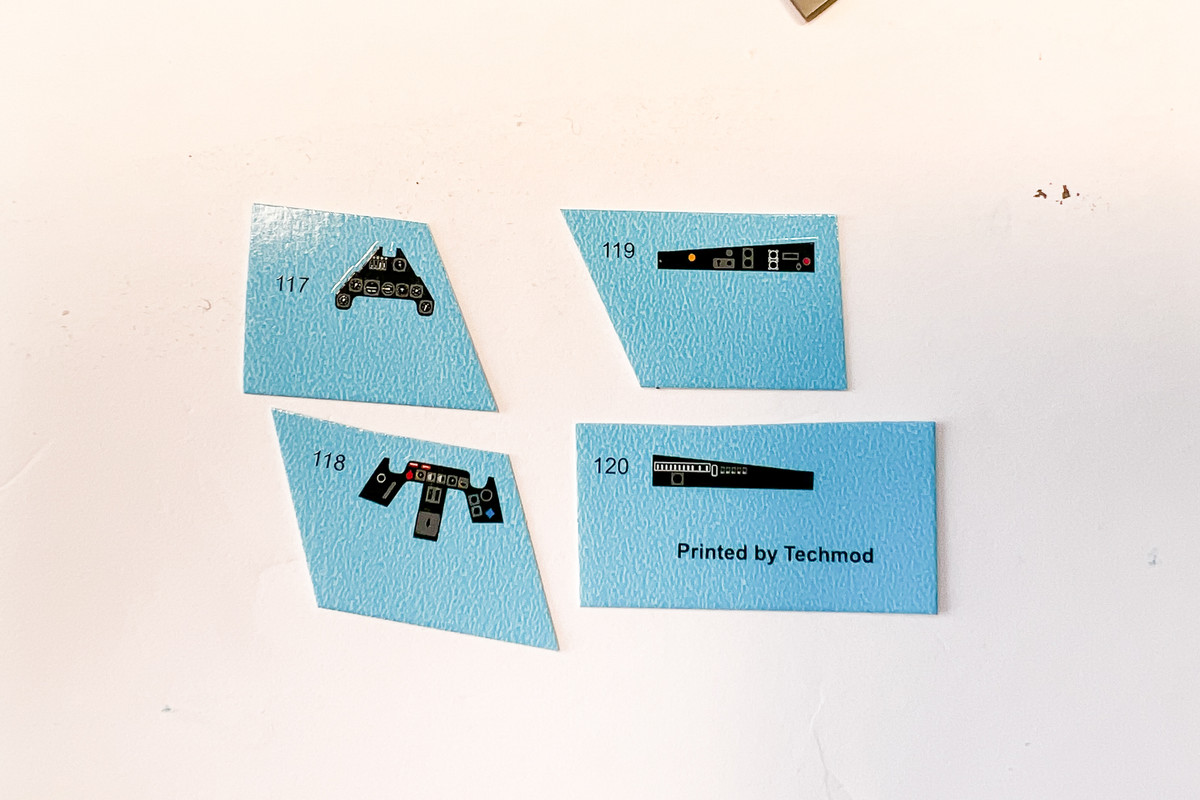
Here is the decal as it is initially placed on the upper instrument panel.
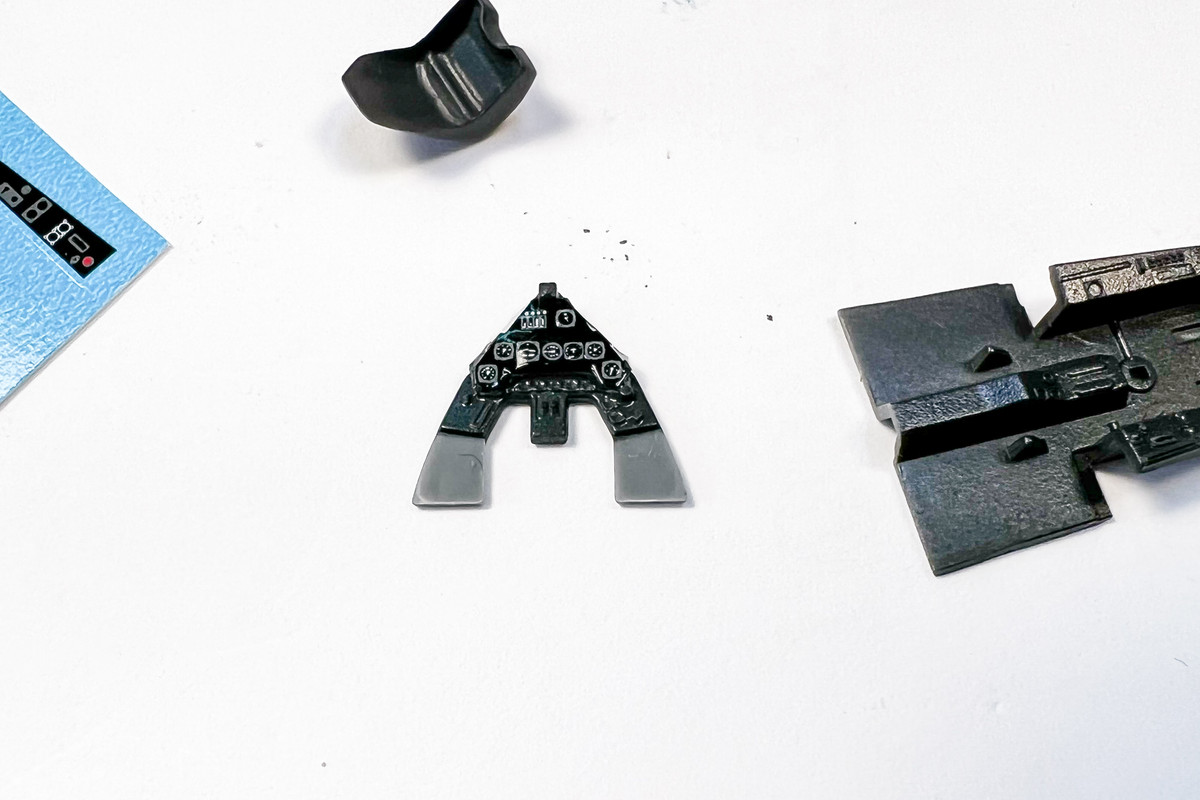
Walthers Solvaset is my preferred decal solvent in situations where the decal needs to conform to some radical features. Multiple applications did a good job of melting the decal right onto the instrument panel.
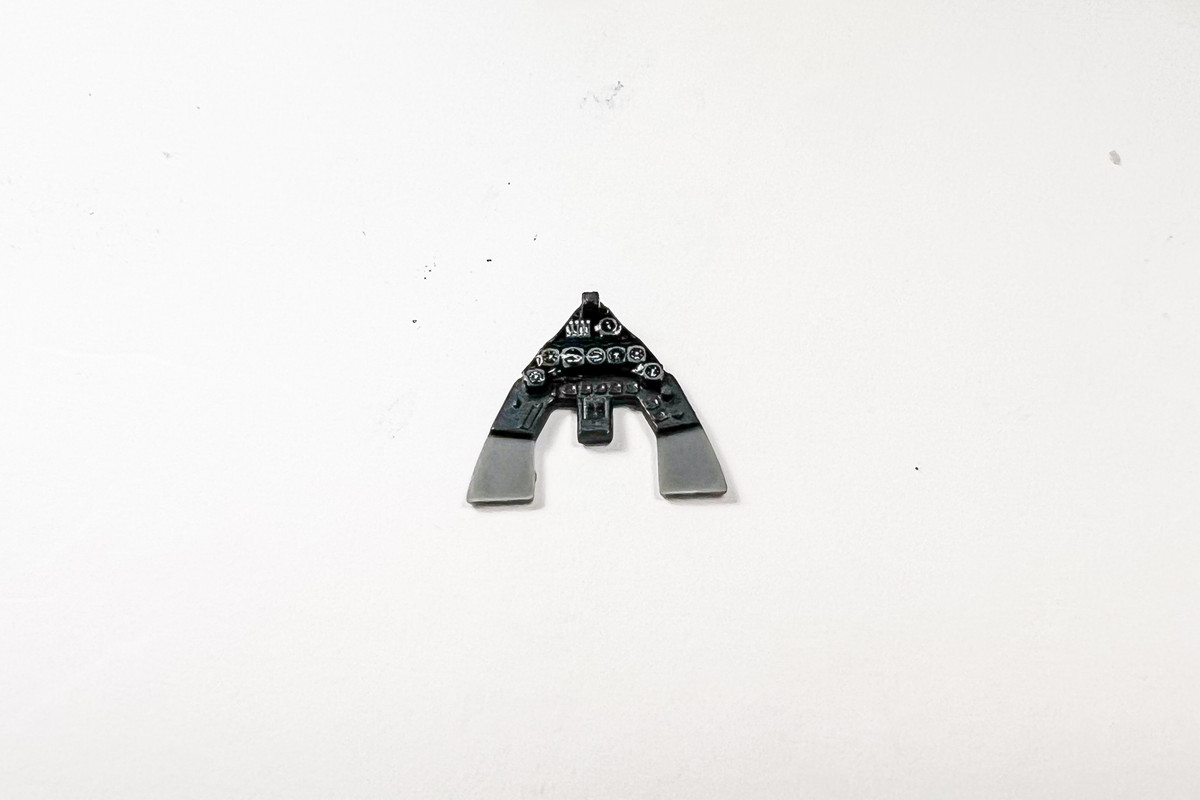
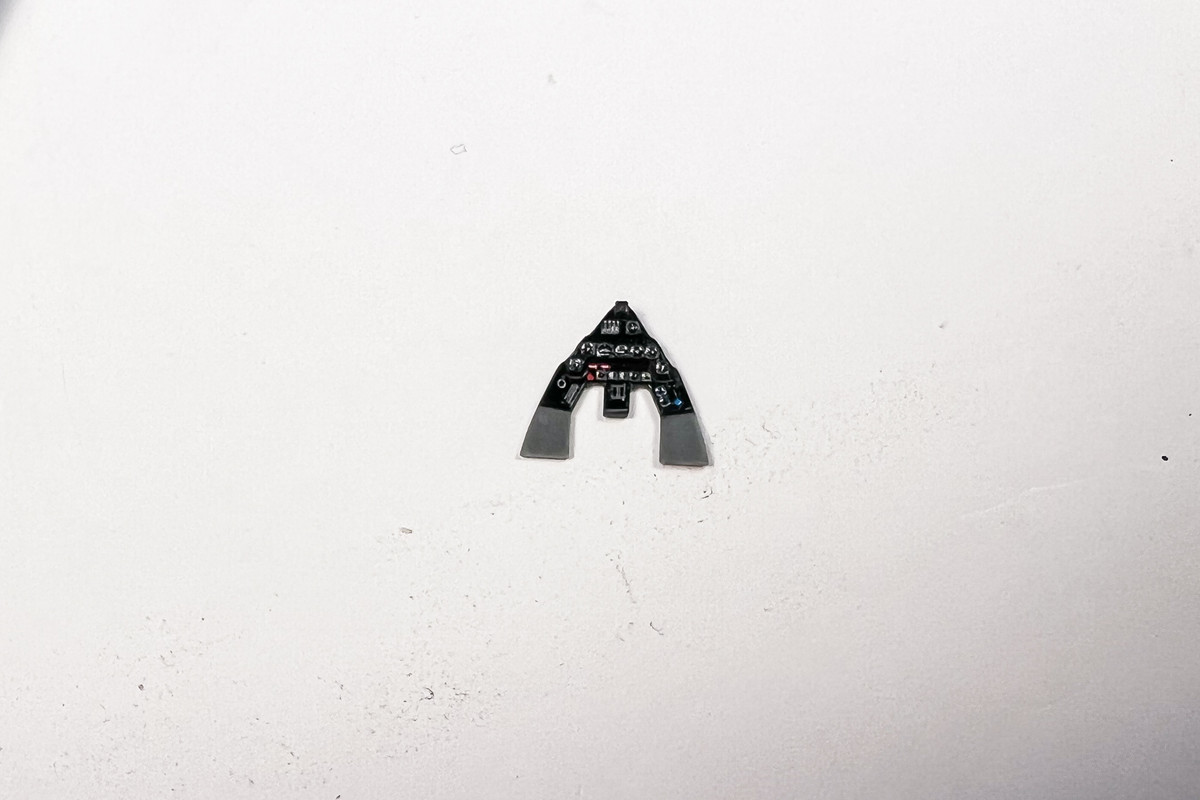
Both upper and lower instrument panels have been decaled. The IBG decals scored well on both points... I'll try to get better photos later.
Re: 1/72 IBG Fw 190D-9 Early Production
Posted: Sun Feb 06, 2022 2:21 pm
by Duke Maddog
Brilliant work John. The cockpit looks great. I also use Walthers Solvaset as my "nuclear option" when I need decals to suck down over complicated details. Smart move.
Re: 1/72 IBG Fw 190D-9 Early Production
Posted: Mon Feb 07, 2022 3:50 pm
by jkim
Thanks Duke! Solvaset is great stuff!
I'm sorry but my photography is not up to par at the moment. Switching between my iPhone and DSLR isn't giving me optimal results so bear with me until the new camera arrives later this week.
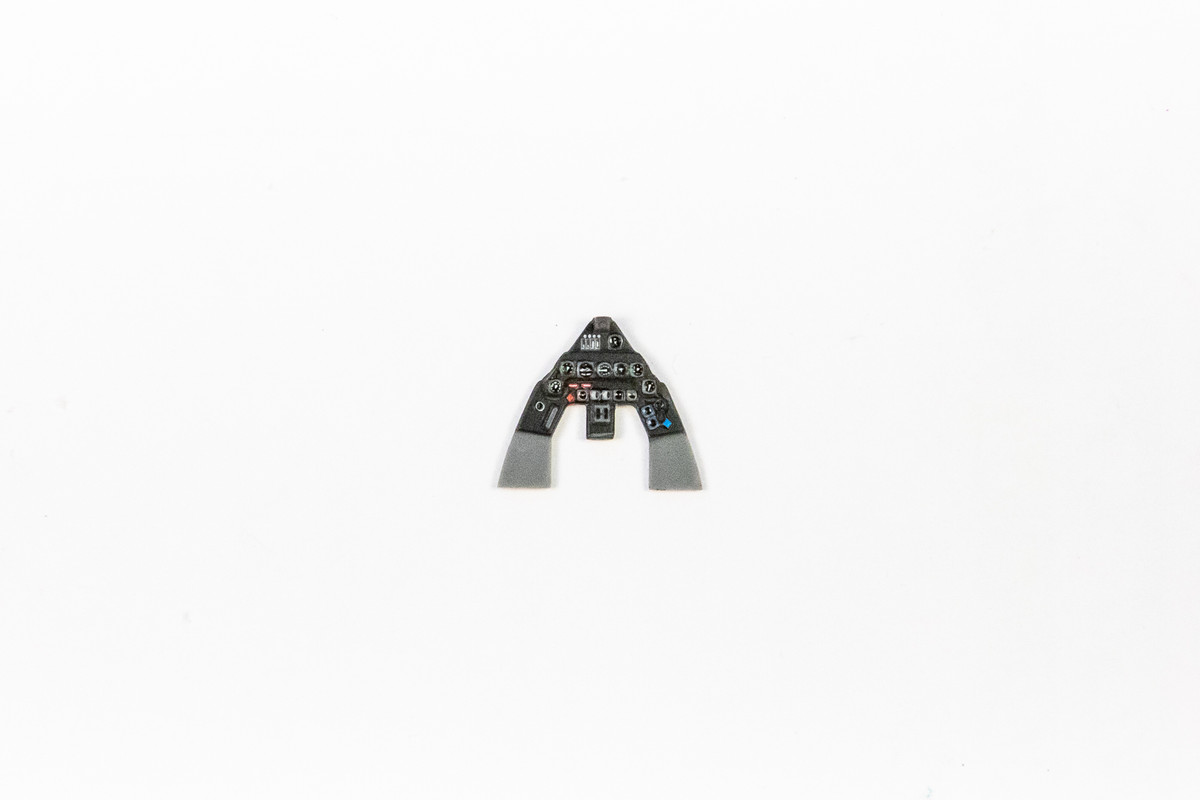
Here are a couple views of the instrument panel. It's hard to see but the decals settled in very well with the help of Solvaset and they seemed to align fairly well to the corresponding raised surface of the plastic panel.
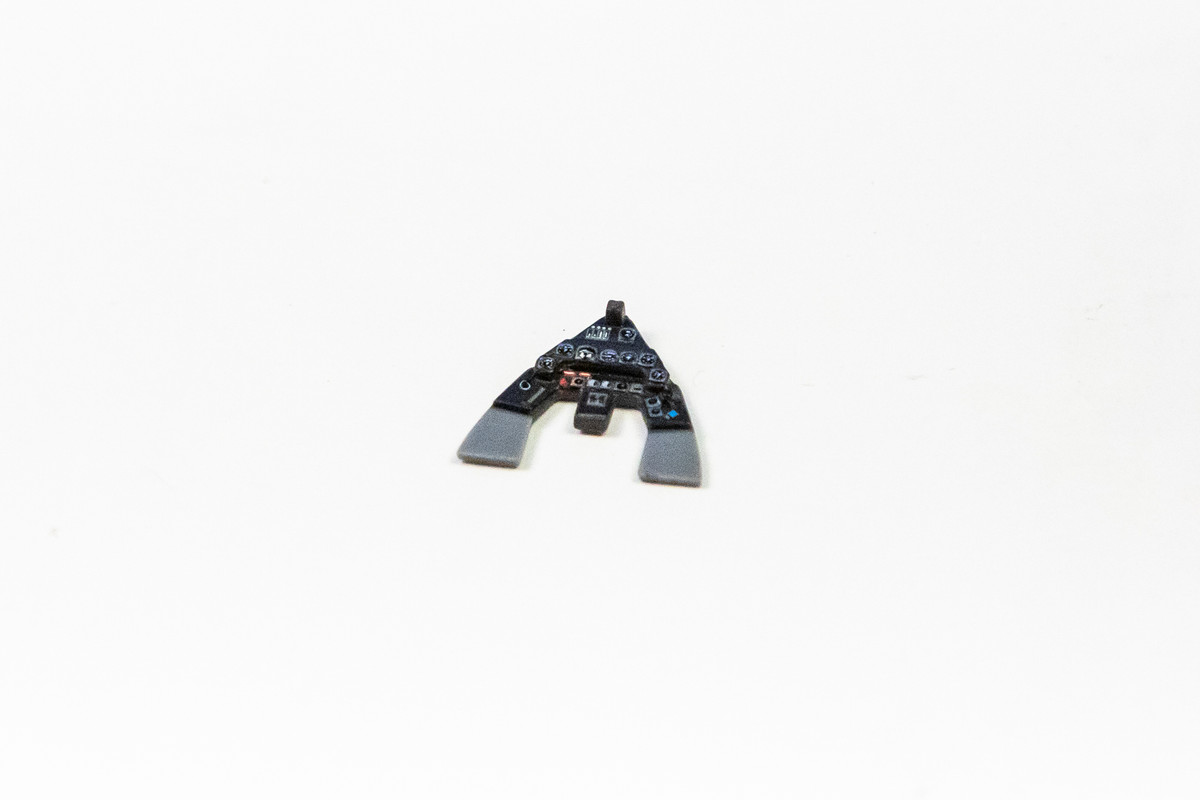
Similar results with the two side panels on cockpit tub.
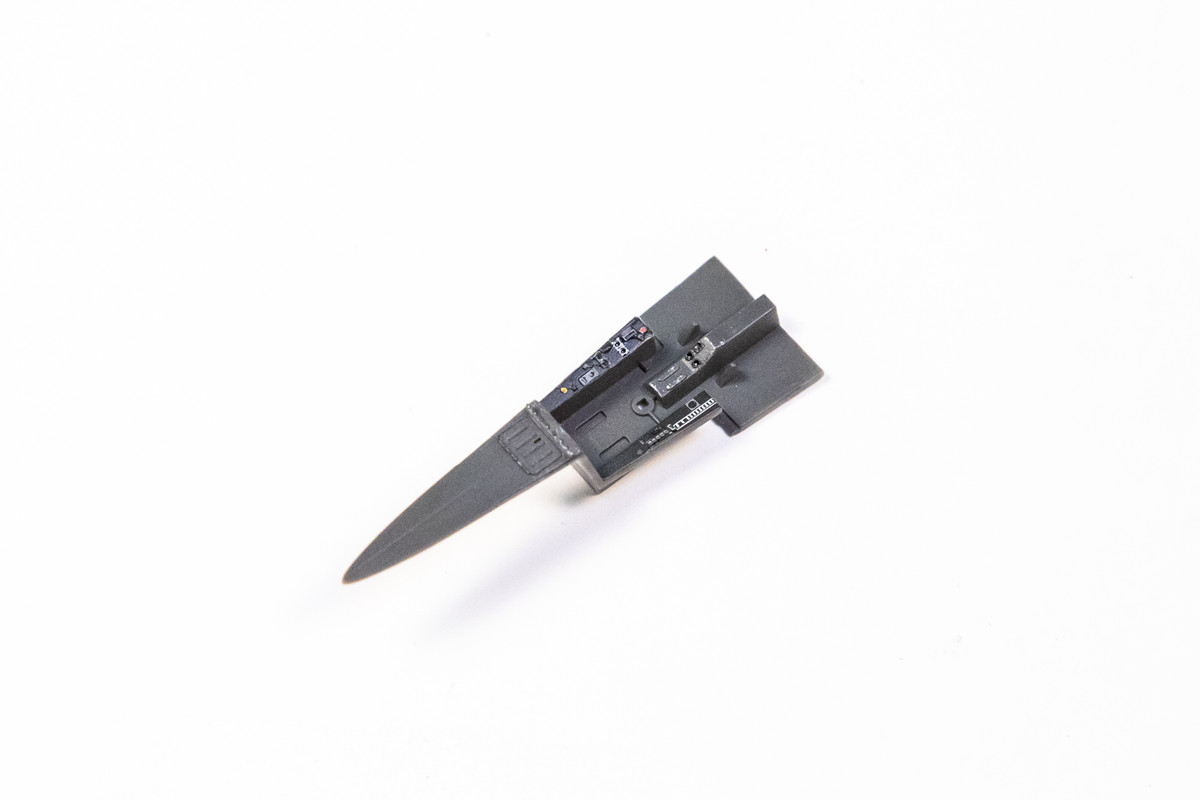
The foot pedals have been painted and secured into place using CA glue. I upgraded the throttle by replacing the handle part with a small section of plastic rod.
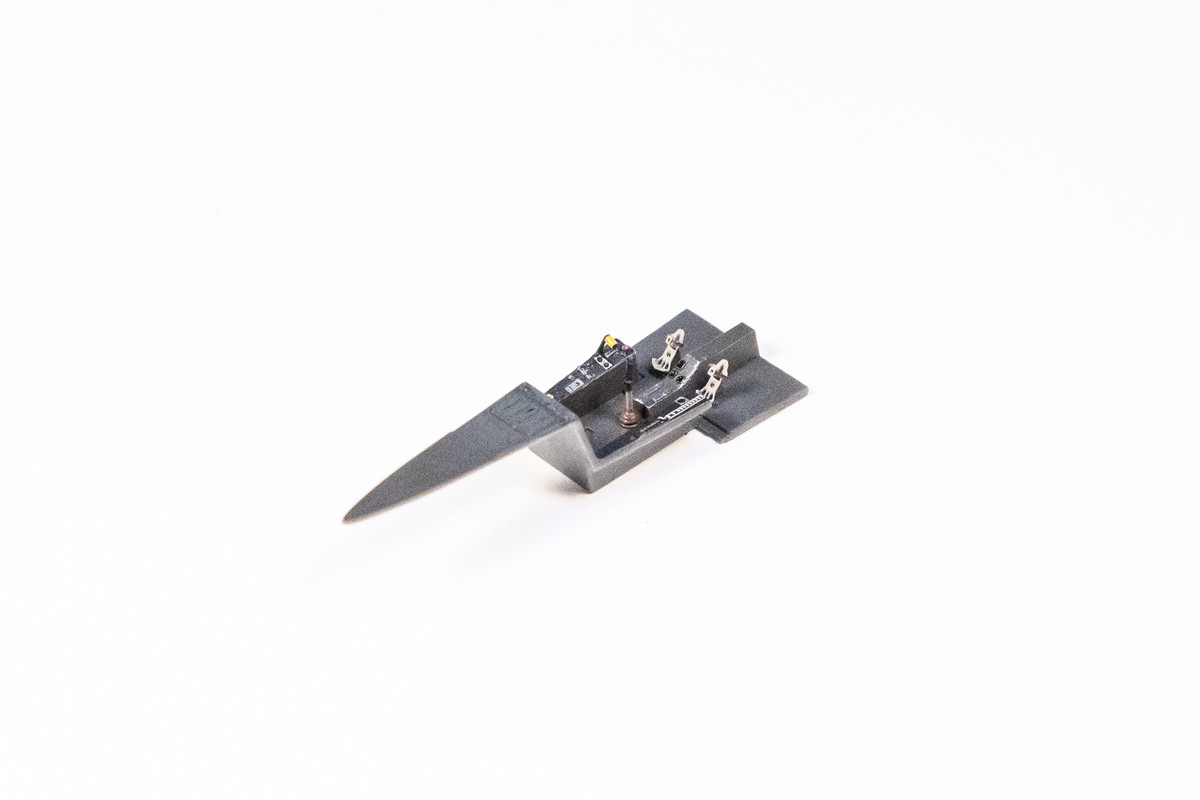
Same view of the cockpit tub with the instrument panel in place. I've not glued it into place yet as there is a small PE lever that needs to be added to the IP.
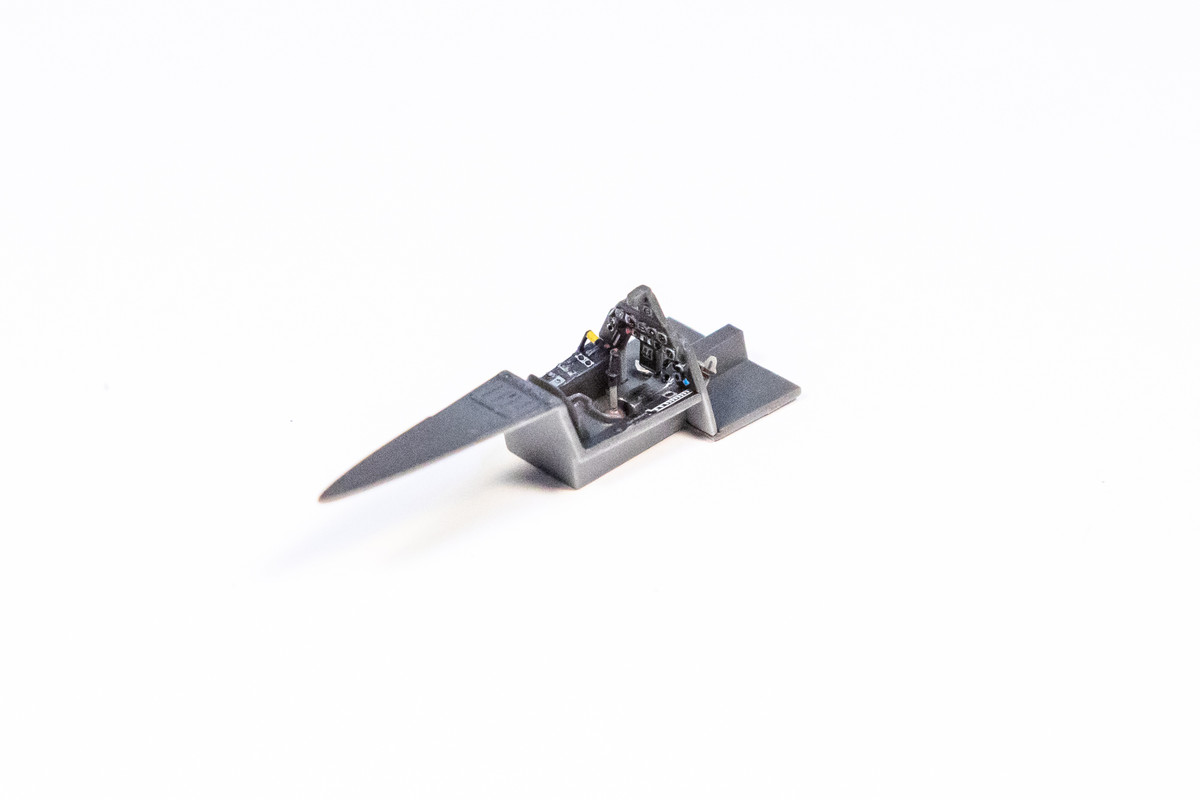
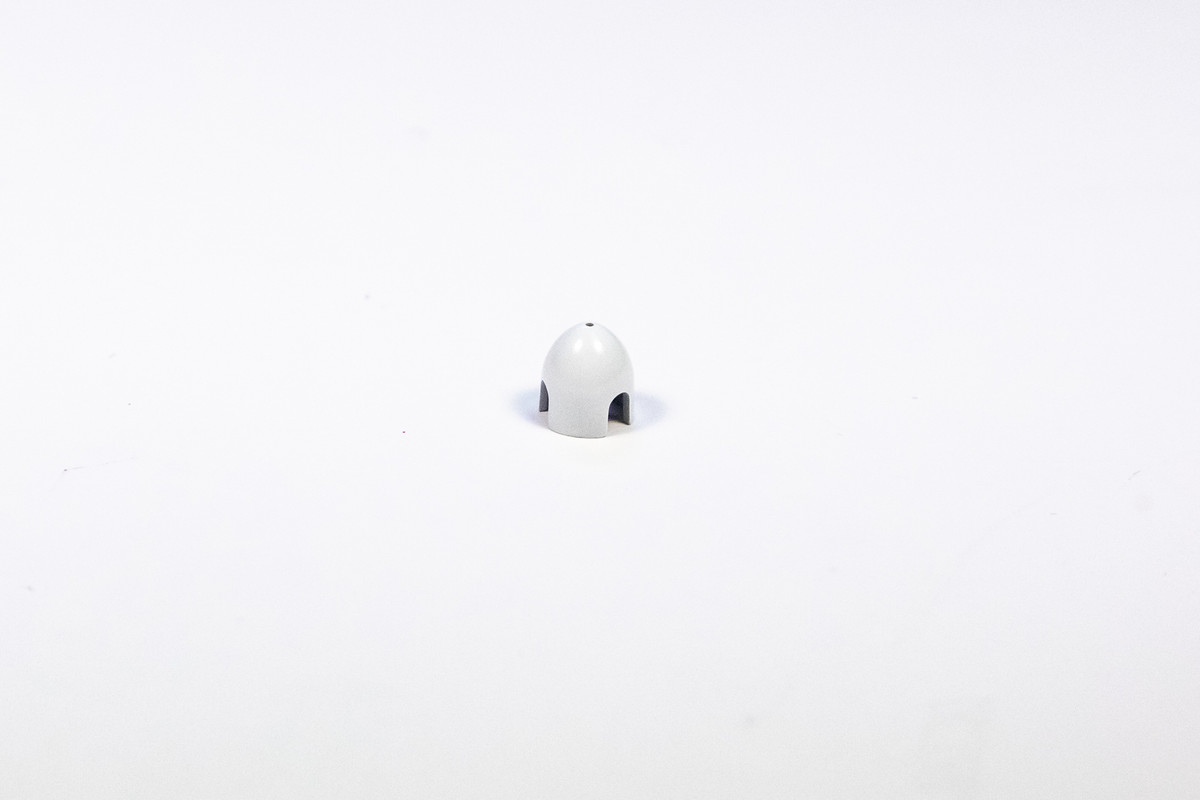
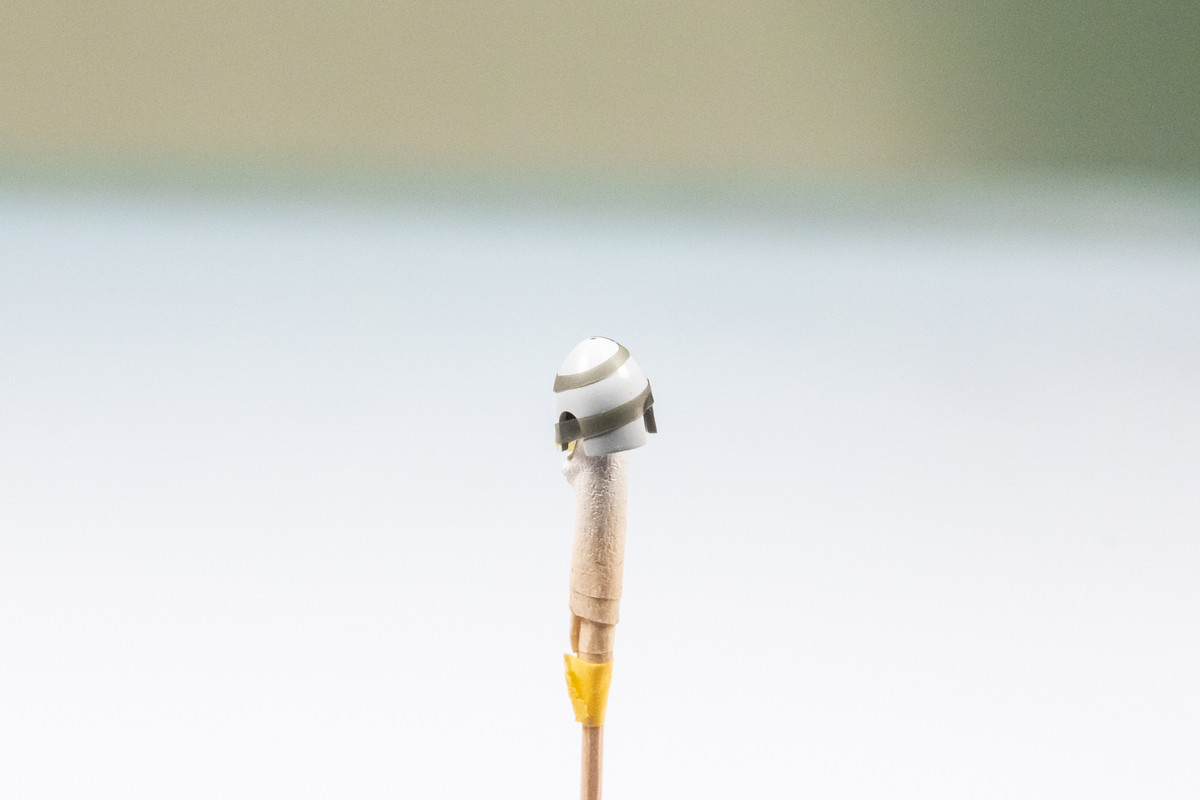
I still need to add the PE seatbelts to the seat. But in the meantime, I am preparing the spinner for the spiral, which will be painted using a downscaled spiral mask.
Re: 1/72 IBG Fw 190D-9 Early Production
Posted: Mon Feb 07, 2022 11:11 pm
by jkim
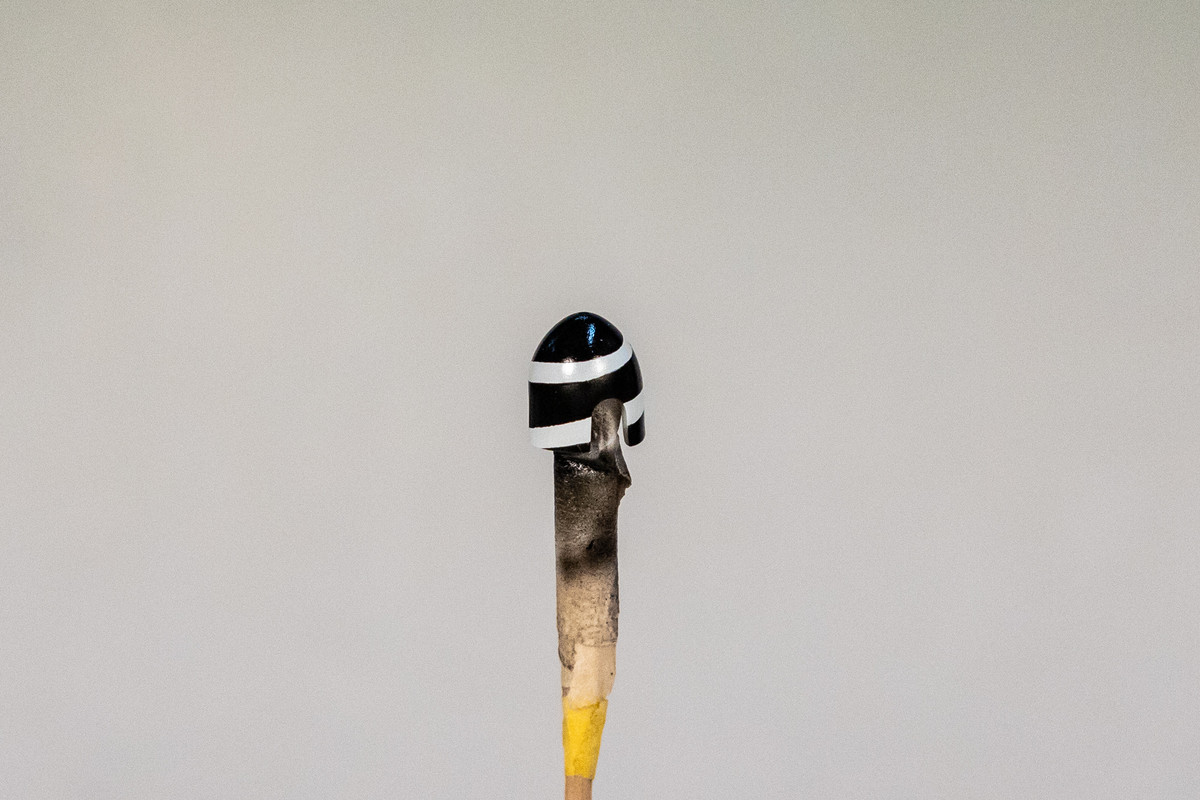
Continuing where I left off... I sprayed the masked spinner with black. Removing the mask revealed a decent, if not perfect, spiral.
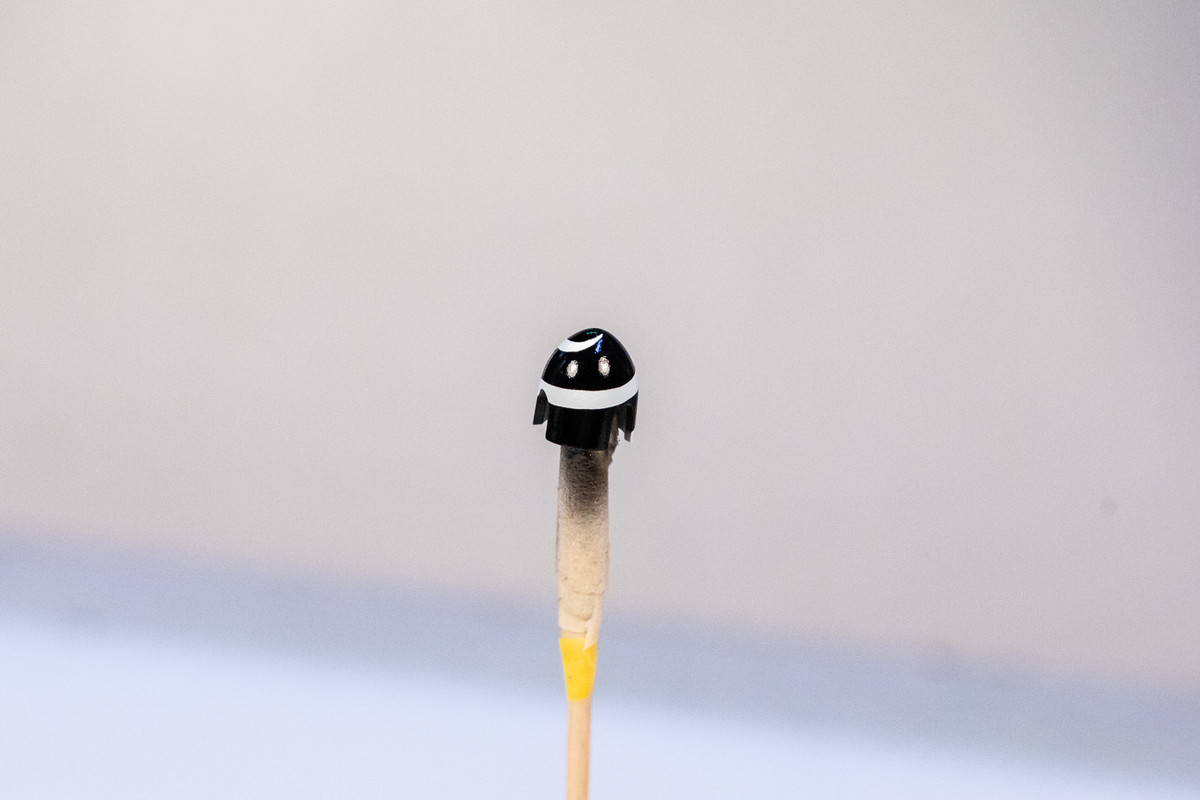
There were some minor imperfections but these can be fairly easily corrected with some careful masking and finesse spraying with the airbrush.
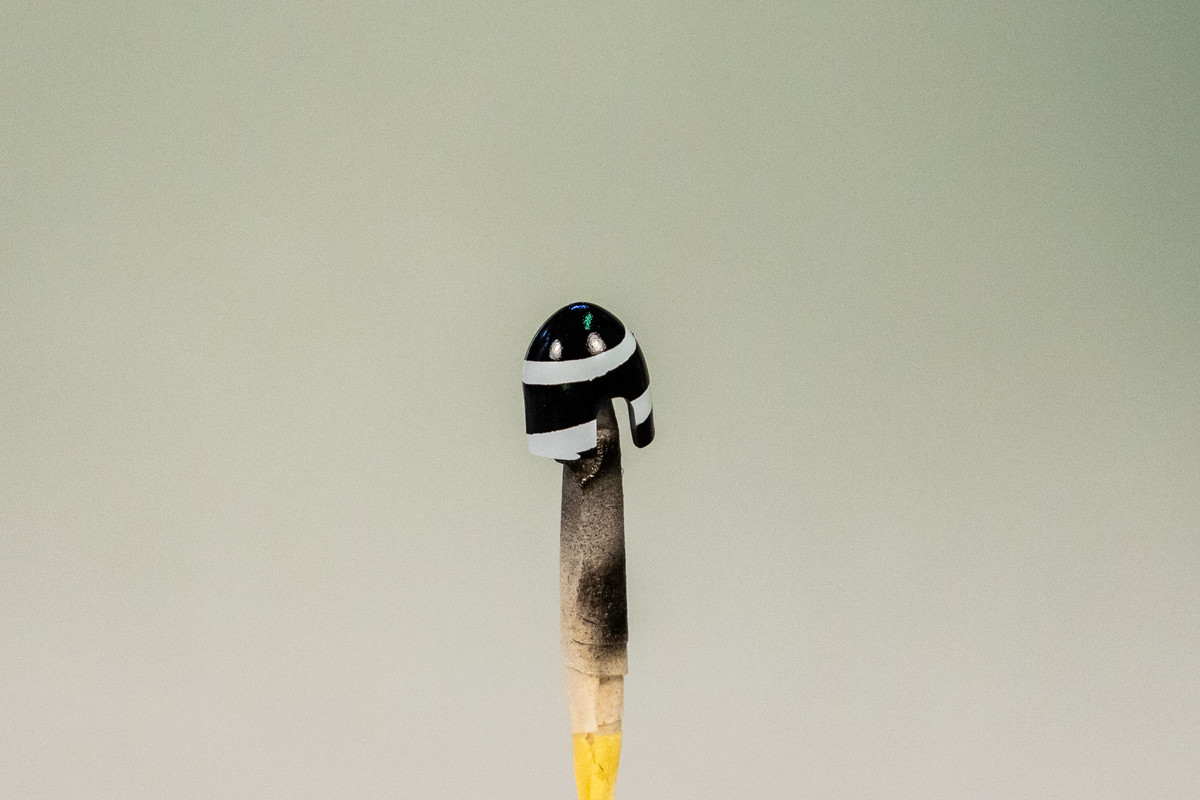
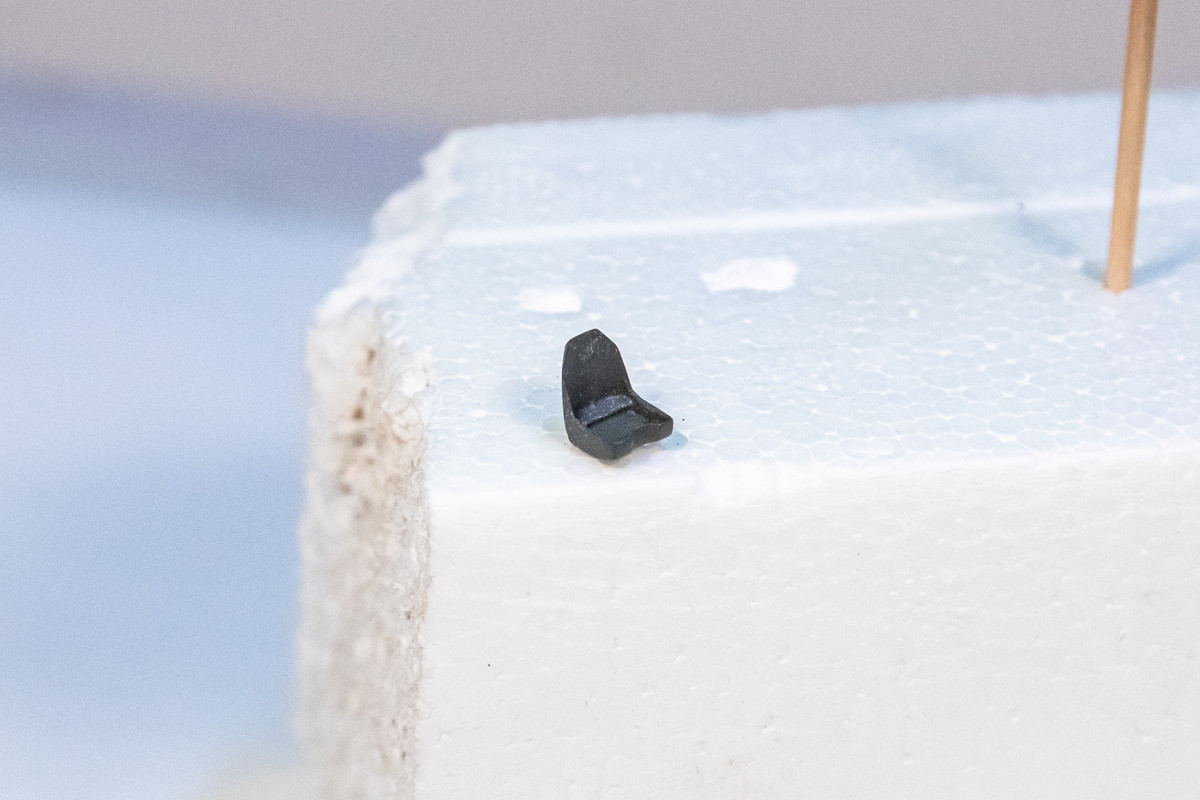
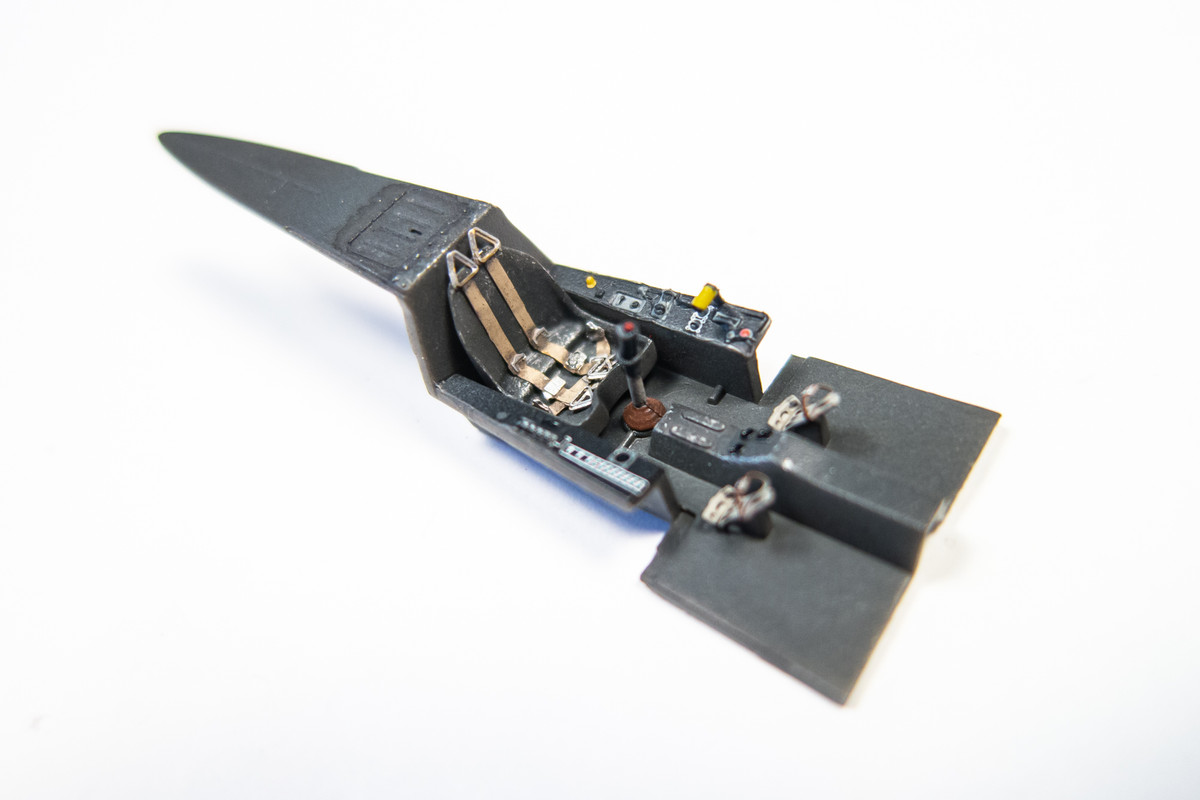
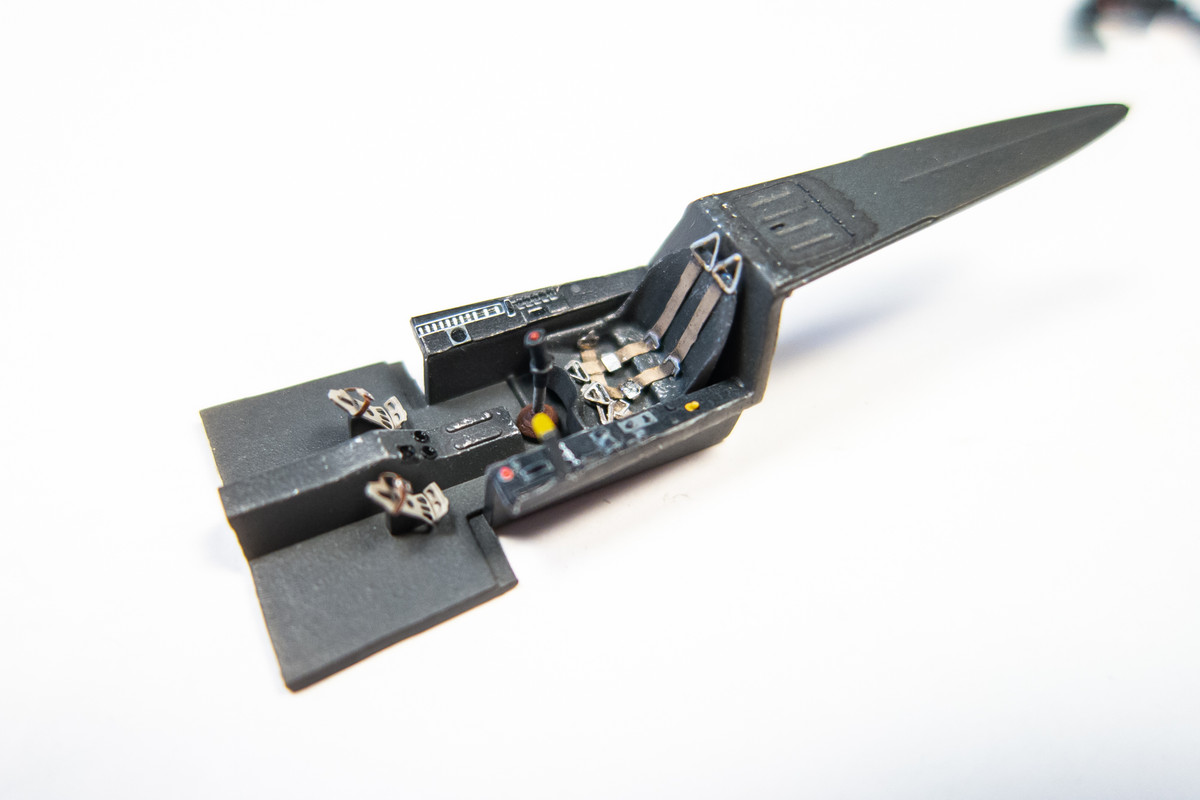
Moving back over to the cockpit, the painted seat is ready for some PE seatbelts. I elected to paint these separately and add them to the seat after painting.
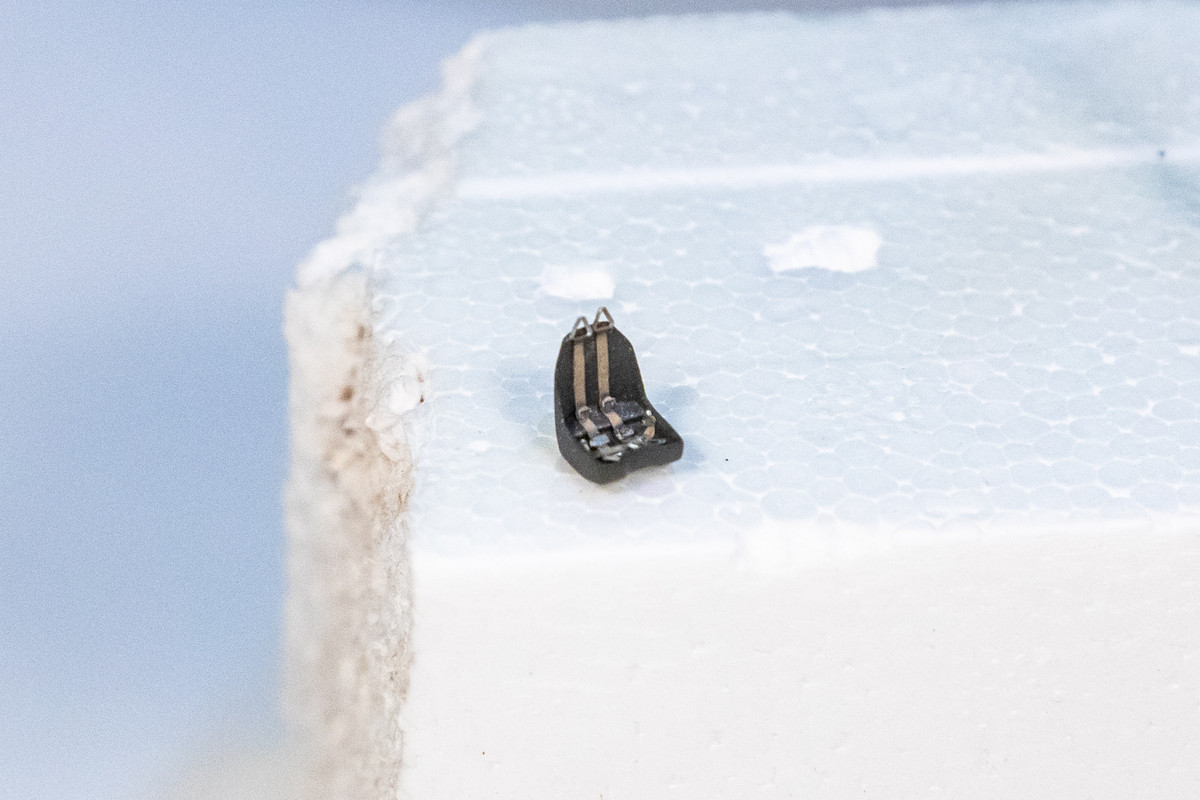
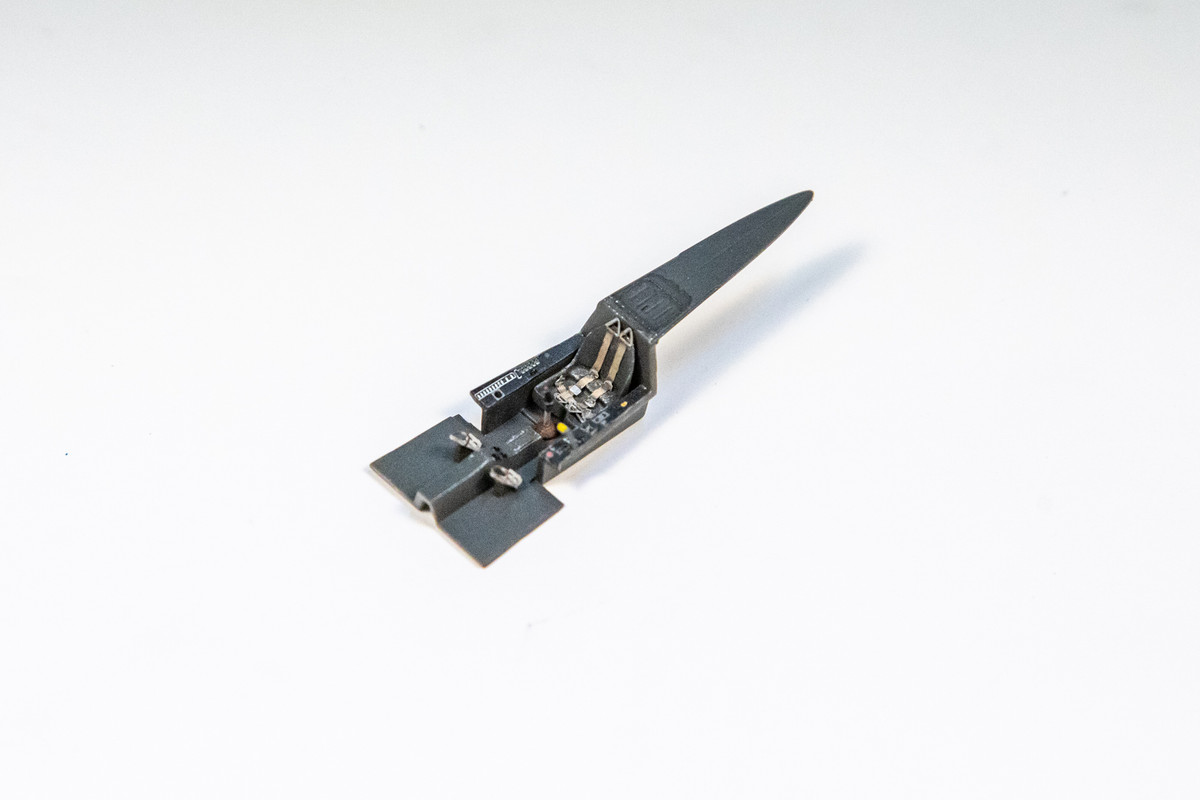
Cockpit tub is nearing completion as the finished seat is glued into place.
I received the Master brass gun barrels in the mail today. I recognized the vendor's mailing address... Sterling, VA... I used to live there a LONG time ago!
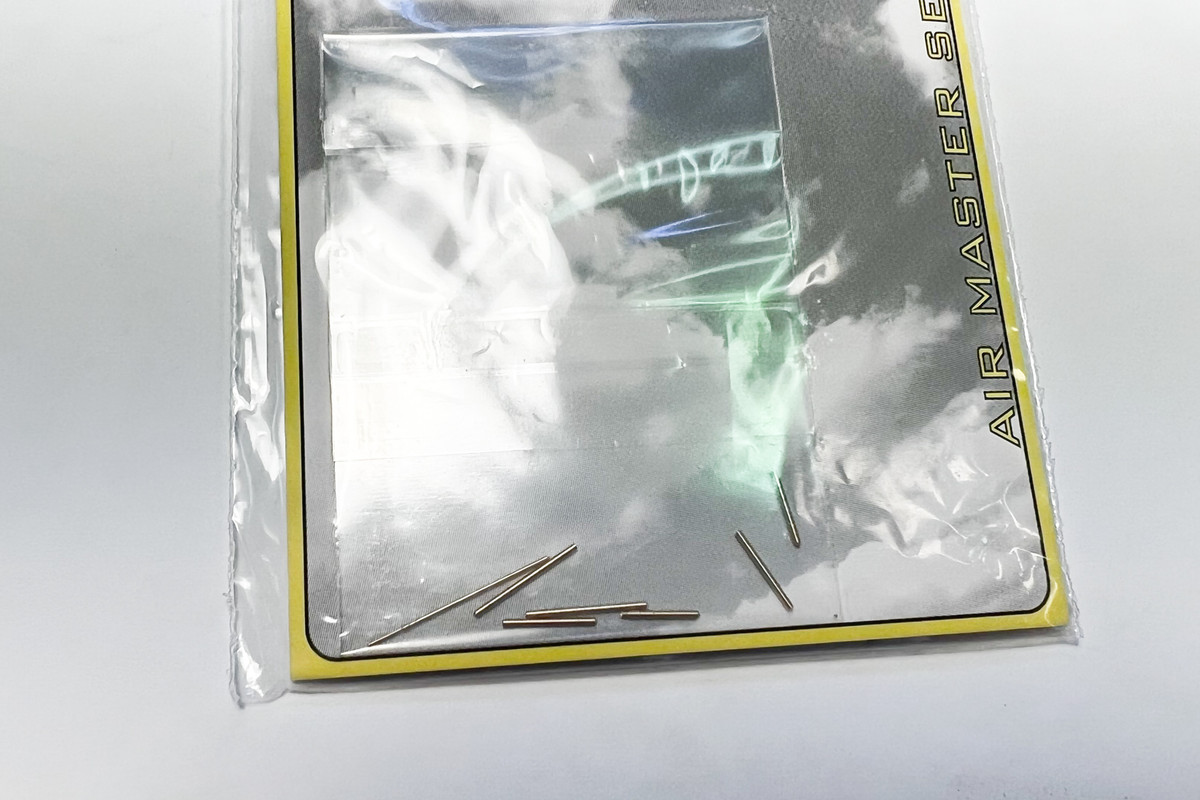
There's a few ways that I can utilize these MG131 gun barrels. I can cut off the plastic barrels from the gun bodies and mount the new barrels. But the connection between the gun bodies to the gun mounts, the gun mounts/ammo cannisters to the bulkhead and the bulkhead to the interior fuselage shelf is not very positive and I'm afraid that I'll have difficulty in getting the barrels aligned nicely in the gun troughs.
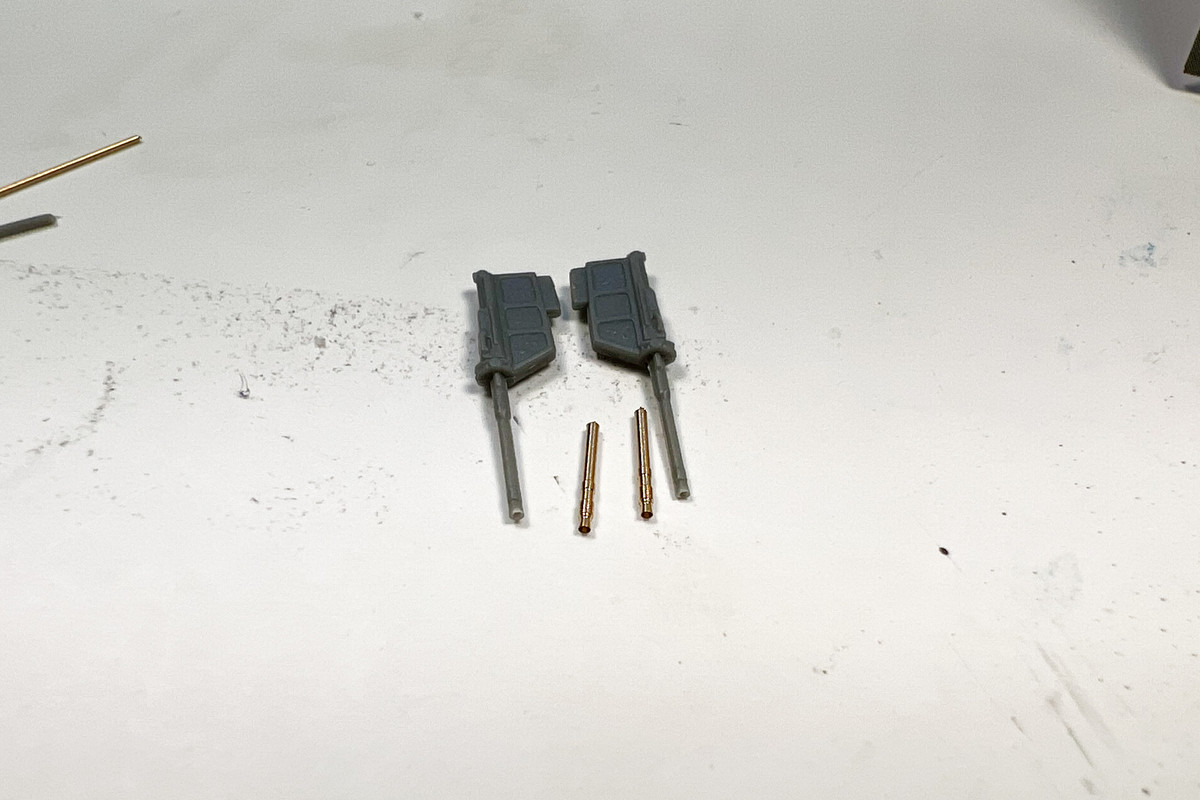
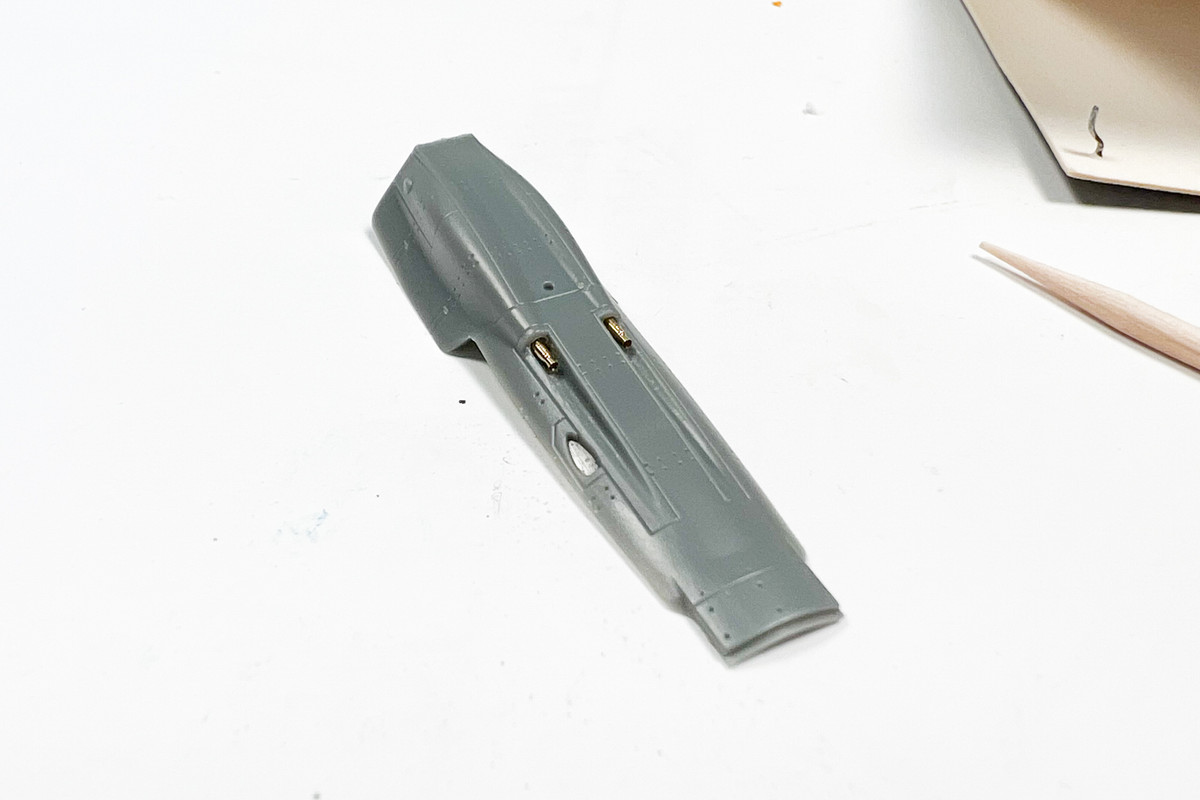
Nothing above the ammo cannisters will be visible so instead, I am going to use small blobs of Milliput putty on the inside of the gun cowling to hold the brass barrels in place. I mocked up this approach using Blue Tack and I think it will work fine.
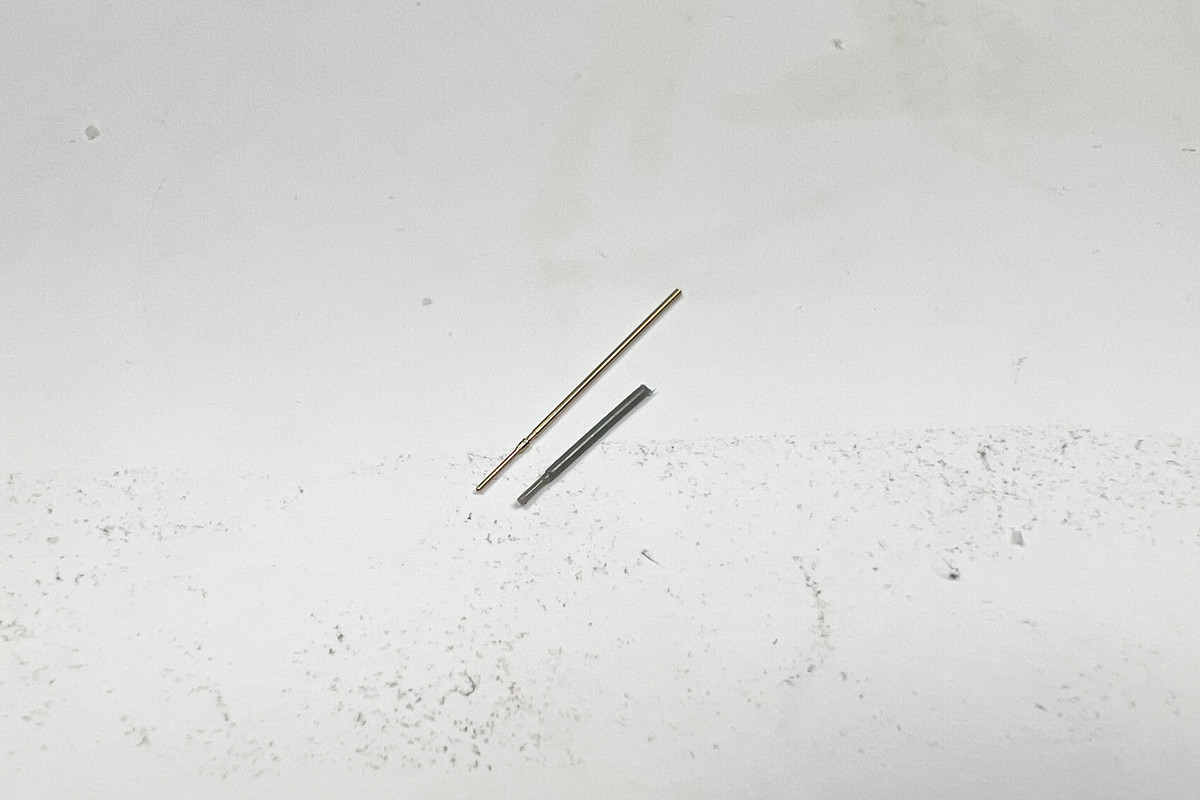
The bonus is this pitot tube, which is appreciably finer than the piece that I cut off from the wings. I'll have to drill an accepting hole in the wing to accommodate the longer brass part. The set also comes with the MG151 wing cannons but I've already made replacements out of brass tubing that I'll use instead.
Re: 1/72 IBG Fw 190D-9 Early Production
Posted: Mon Feb 07, 2022 11:26 pm
by keavdog
Spinner looks great - not sure I could do that in 1/72 scale
Re: 1/72 IBG Fw 190D-9 Early Production
Posted: Tue Feb 08, 2022 9:51 am
by Stikpusher

Everything is looking better and better John.
Re: 1/72 IBG Fw 190D-9 Early Production
Posted: Tue Feb 08, 2022 11:39 am
by jkim
keavdog wrote:Spinner looks great - not sure I could do that in 1/72 scale
Thank you! I wasn't sure if it was going to work either. The Oramask material works best when you can slightly stretch the spiral into place and I didn't know if such a tiny sliver of a mask would allow that type of application. But it worked fine. Same techniques that I'm using at larger scales... just doing them on a smaller scale!
Stikpusher wrote:
Everything is looking better and better John.
Thanks Carlos! The most frustrating thing is not having the right camera to record these steps. Waiting patiently for the EBay process to move to shipping.
Re: 1/72 IBG Fw 190D-9 Early Production
Posted: Tue Feb 08, 2022 4:02 pm
by Duke Maddog
Wow, that is something I never tried before myself. You nailed it fantastically! Beautiful office as well!
Re: 1/72 IBG Fw 190D-9 Early Production
Posted: Tue Feb 08, 2022 4:59 pm
by jkim
Thank you Duke! I appreciate the supportive comments as usual!
Update on the camera situation. My current camera, a Canon Powershot S110 is SHOT, pun intended. Lens will not retract and camera gives lens error message and shuts off. I found a used Powershot S120 on EBay and ordered it right away. I'm expecting to come later this week. In the meantime, trying to plug my iPhone and DSLR into my workflow has been frustrating. They are both capable photo-taking instruments in their own rights but not great for what I need to do when taking in-progress photos. In the meantime, my wife dug up my old Powershot S100 from storage. It has some exposure issues of its own, which caused it to be replaced by the S110, but it DOES work and I can get some decent shots with it until the new camera arrives.
Here are some sample shots with the interim S100...
The completed instrument panel.
The completed cockpit tub. The pronounced staining around the pilot's hatch on the rear deck is from a pastel wash that has since been wiped off.
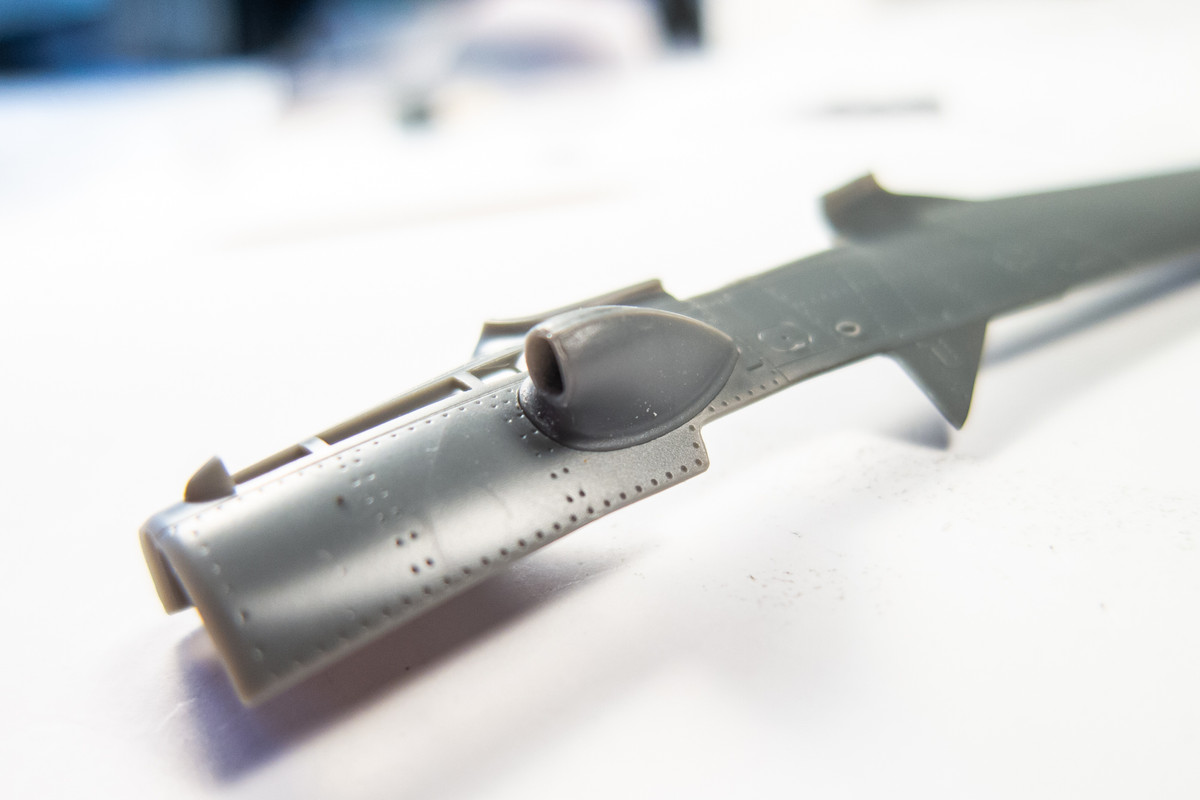
Preliminary fit check of the two-piece supercharger intake. Like I've said, the fit on this kit is very good.
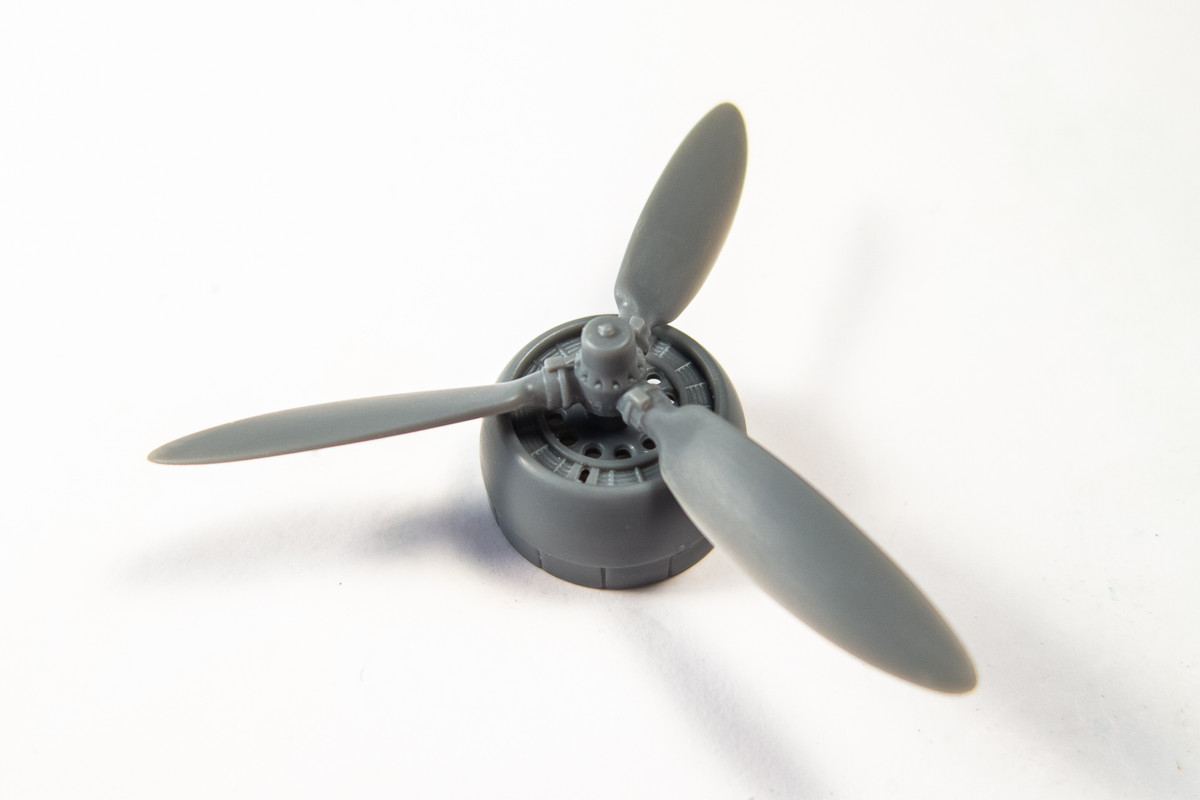
An initial view of the propeller mounted on the radiator cowling. I've taken the time to shave the propeller blades thinner.